

This homemade salted caramel recipe is not only easy to make, it is super quick too! With only 4 simple ingredients, this caramel sauce can be prepared in less than 15 minutes and can be enjoyed with a wide range of your favorite desserts.
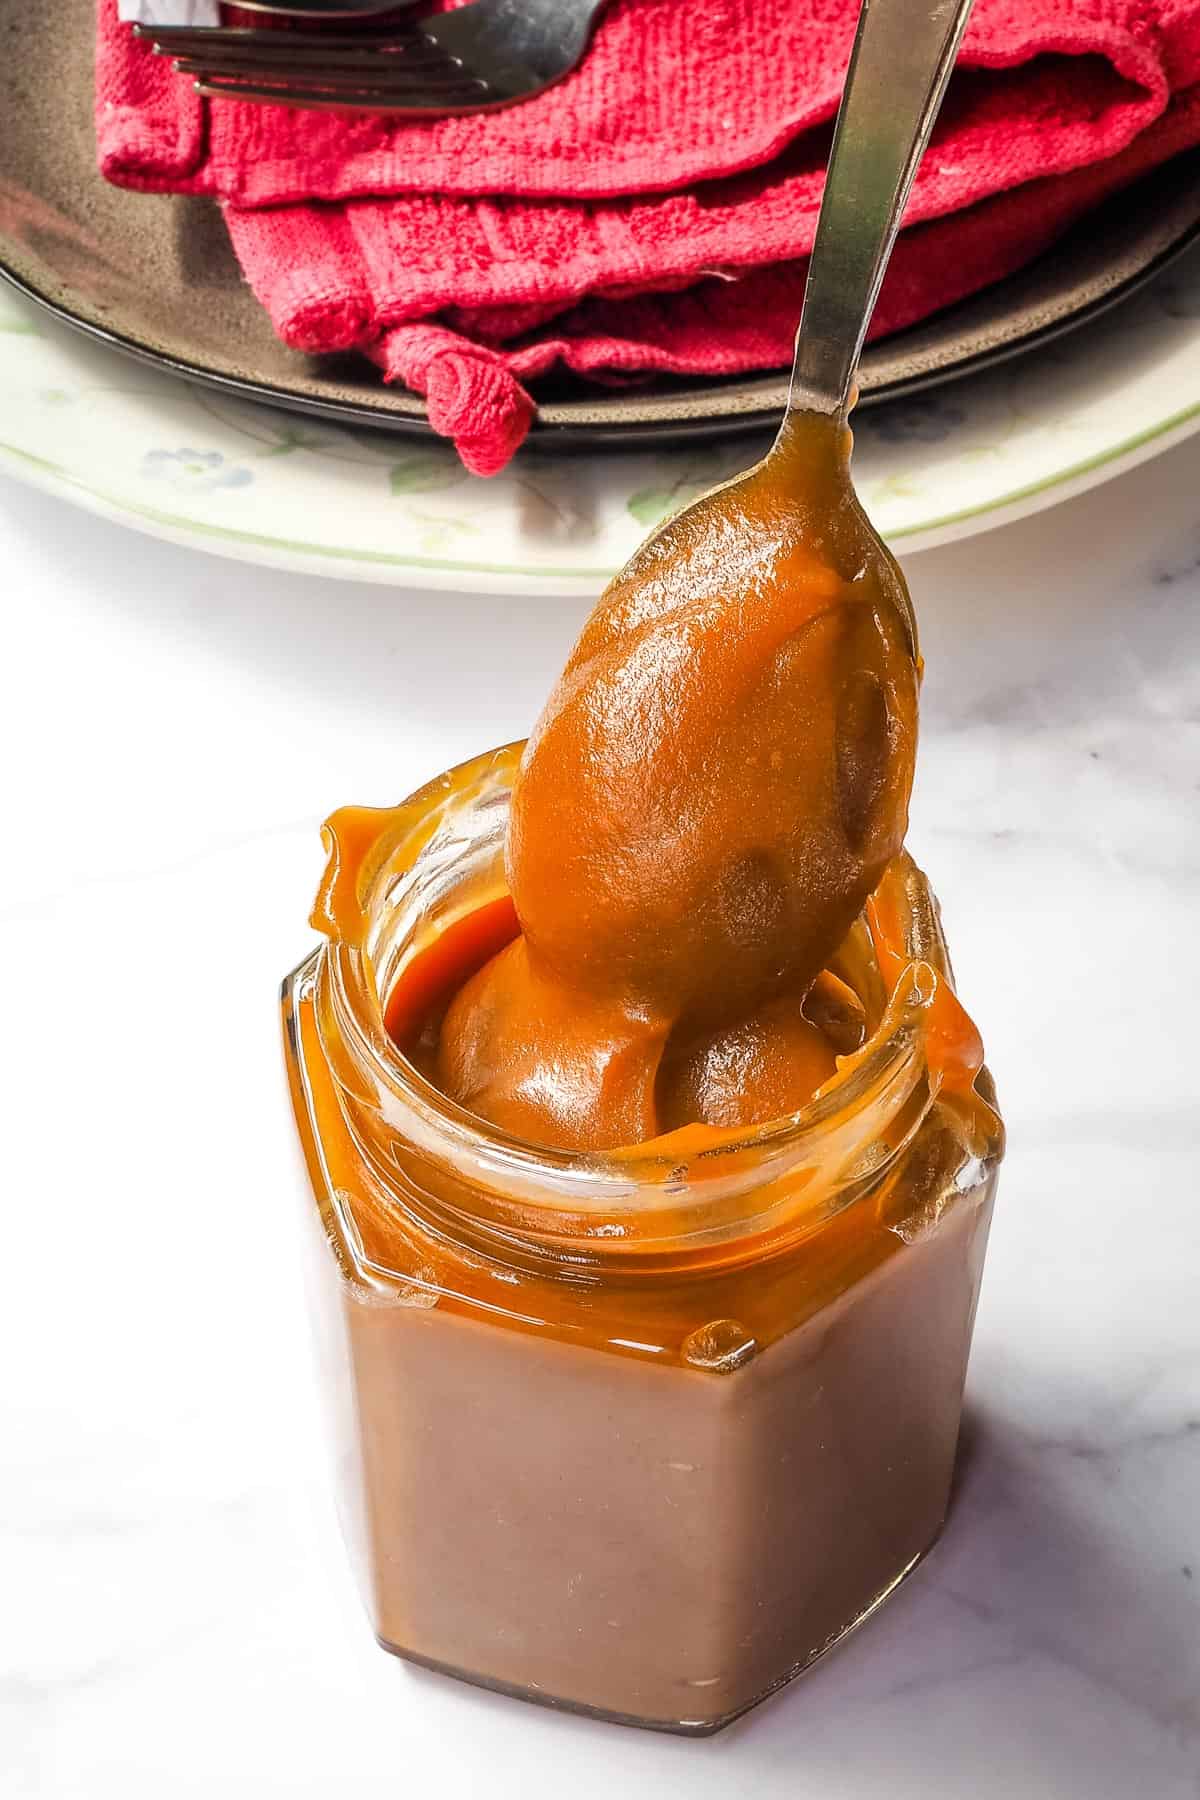
In fact, if you are a fan of caramel sauce, it is almost impossible to avoid popping in a spoonful of it into the mouth every time you see it or take it out to use in your baking.
Jump to:
❤️Why you will love this recipe
- This is a great recipe for easy caramel sauce with just a few simple ingredients (4 basic ingredients).
- If you are a fan of caramel sauce, you will love how simple it is to make your own homemade caramel sauce with this easy recipe. You don’t need any special tools, not even a candy thermometer and can make yourself a batch in under 15 minutes.
- You can use it to make caramel desserts or simply drizzle on your favorite desserts.
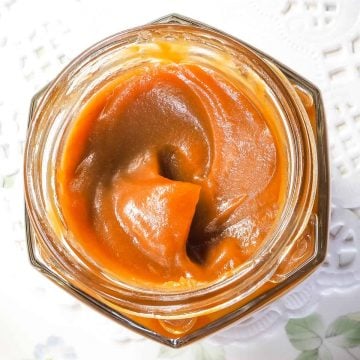
- Packed in small mason jar, this easy salted caramel sauce makes great gift for family and friends.
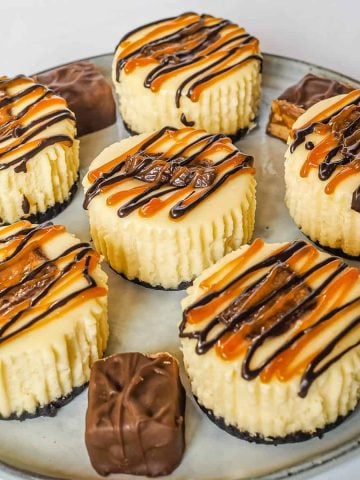
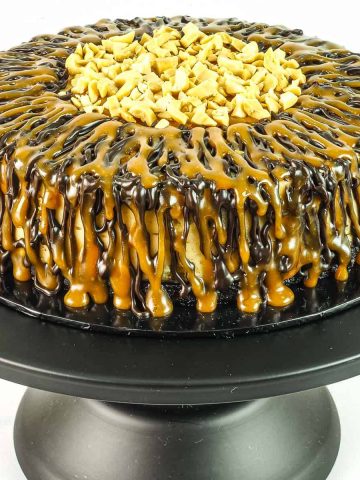
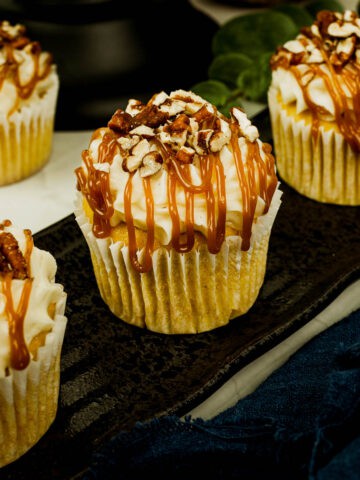
Like this easy recipe? See how I have used this salted caramel in my mini salted caramel cheesecake, mini snickers cheesecakes, chocolate peanut butter cheesecake, salted caramel pumpkin cupcakes, Halloween pumpkin cupcakes and these decadently moist chocolate pumpkin cupcakes.
And while you are here, you might also want to check out how to make your own lemon curd and use it to make the most luscious lemon curd cheesecake, pumpkin puree (without oven) to make soft and fluffy pumpkin spice pound cake, cherry coulis for your own homemade black forest ice cream and kiwi coulis for a creamy and tangy kiwi mousse.
📋Ingredients
- Granulated sugar - I prefer to use granulated sugar as it dissolves quicker compared to coarse sugar.
- Heavy whipping cream - use full fat cream for a creamy sauce.
- Butter (salted) - I prefer to use salted butter but you can also make this recipe with unsalted butter. Increase the amount the rock salt below.
- Rock salt - enhances the taste of the caramel.
*Refer to the recipe card below for full list of ingredients and exact quantities. For best results, use a digital kitchen scale where applicable*
🧾Substitution and Variations
- If you prefer to use unsalted butter, increase the amount of salt added to the salted caramel to compensate for the unsalted butter. The salt mentioned in the recipe is rock salt which is slightly less salty compared to table salt. You only need to add a small extra pinch.
- Rock salt can be replaced with table salt. If you are using regular table salt in place of the rock salt, you would need to reduce the amount indicated in the recipe to avoid overly salty caramel sauce.
- You can also use flaky sea salt or fine sea salt.
- Granulated sugar can be replaced with brown sugar.
This recipe has not been tested with other substitutions or variations. If you do try, please let me know in the comments section below!
👩🍳How to Make
The cooking process
Here is the step-by-step photos and instructions with images on how to make your very own homemade salted caramel sauce.
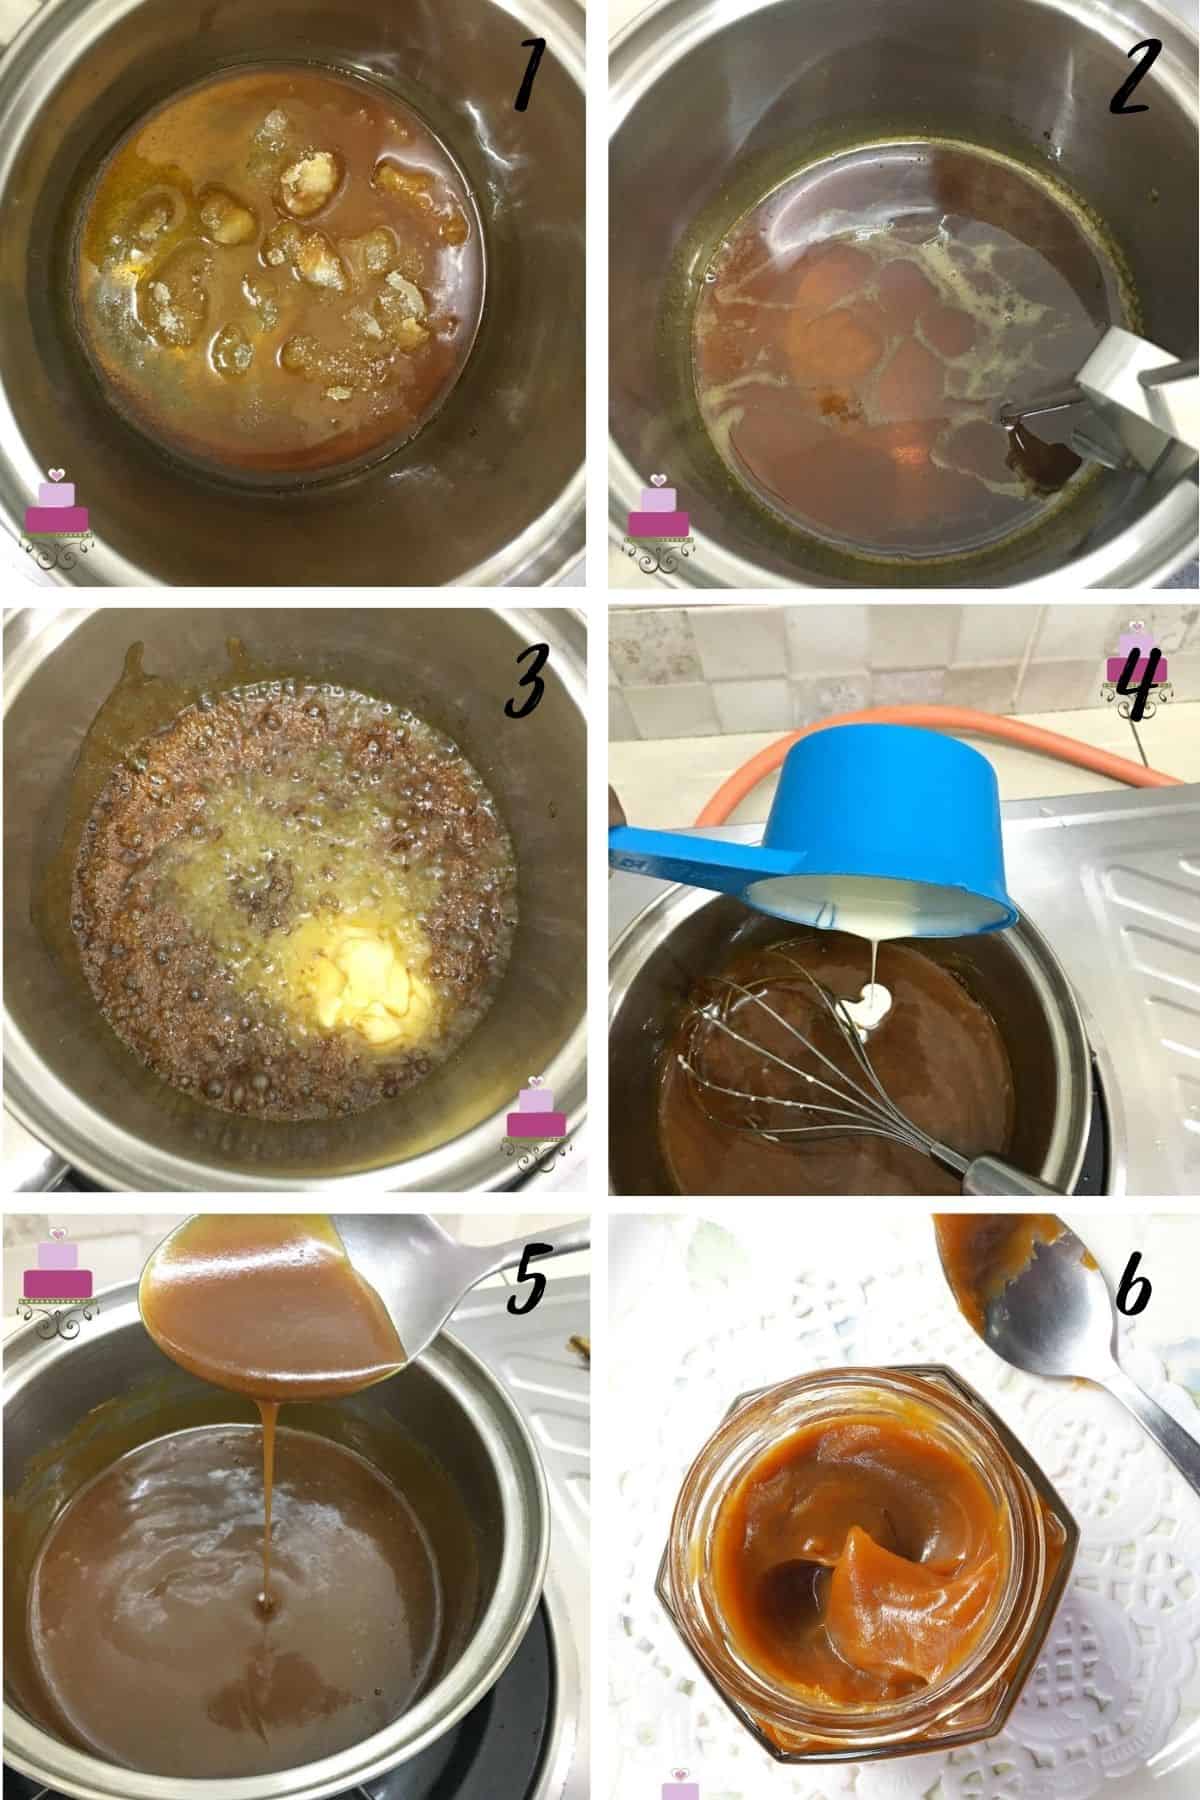
- Start by measuring the sugar into a deep medium saucepan. Melt it over low heat, stirring every now and then until the sugar dissolves. At this stage, if you see clumps of sugar in your pot, it is fine. Dissolve it over very low heat. At the end of the process, the sugar should caramelize into a light amber shade.
- Keep the heat on until the sugar cooks into your desired shade of deep amber color, keeping very close attention on it at this stage as it can very quickly get burned.
- Once it reaches the shade you prefer, add the butter to the hot sugar. Whisk both (be careful of splashes) for about a minute. The sugar might bubble up rapidly when you add the butter if the butter is cold and that is fine. If the butter melts and remains separated from the sugar even after vigorous whisking, that is fine too.
- Carefully add the cream into the melted butter-sugar mixture in a thin steady stream. Again, if the cream is cold, the caramel mixture will start bubbling rapidly. Continue to stir until the bubbles subside.
- Cook the caramel until it has thickened slightly, but not too thick. The sauce will thicken considerably as it cools down.
- Sprinkle the salt into the plain caramel. Stir and pour it into a small jar. Keep the caramel refrigerated. Once chilled, the salted caramel will be very thick. To soften it, heat up the caramel for a few seconds in a microwave or double boil until it reaches drizzling consistency.
🍽️Serving & storage
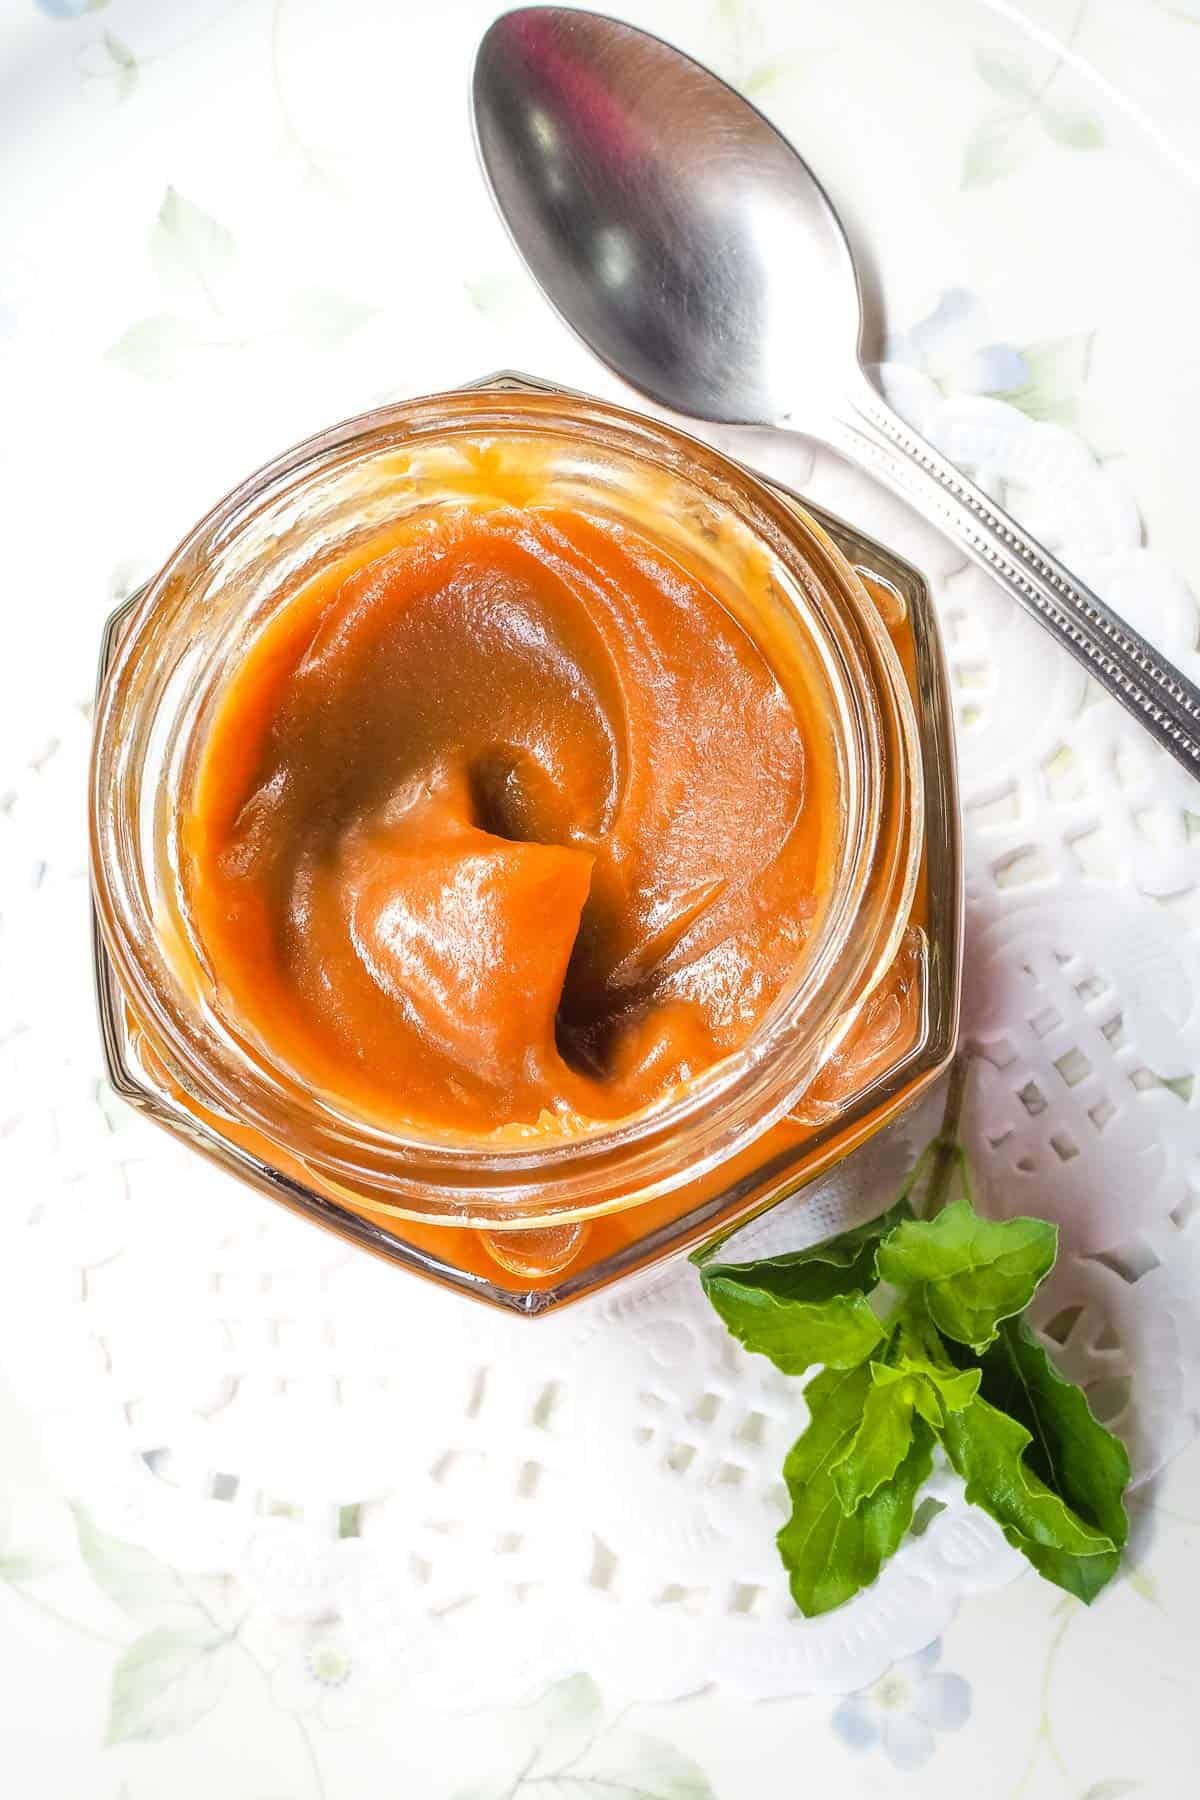
- The salted caramel will thicken considerably after it has completely cooled down to room temperature.
- It will thicken even more once chilled so do not try to thicken the sauce to your desired consistency with heat. To bring the salted caramel back to its drizzling consistency, heat it up over a double boiler or the microwave.
- This sauce has a rather long shelf life. It can be kept in the refrigerator for a good one month.
- If you wish to keep it longer, this salted caramel can be frozen for up to 3 months. Pour it into an airtight container. Simply heat up the sauce to bring it to a soft, drizzling consistency before using it on your dessert.
💡Expert Tips
- The taste of your salted caramel is predominantly dependent on the degree to which the sugar is caramelized before the butter and cream are added. Some people like a more intense tasting caramel and therefore prefer to let caramelization happen to a deeper amber color. Others prefer a lighter flavor and choose to not let the caramelization beyond a light amber color.
- The choice is entirely dependent on your personal taste, but do take note that once the sugar starts to caramelize, it will continue to do so at a very quick rate and therefore the tendency to get burnt is very high. Overly browned sugar will result in a burnt salted caramel that can be bitter to taste.
- Once the sugar is melted, it will turn amber very quickly. For effective monitoring of the color, it is best that the interior of your saucepan is light so that you are able to see the color as it caramelizes and decide on the exact point to add butter and cream to it.
- Adding cold butter and cold cream into the melted sugar can cause rapid bubbling. There is no impact on the taste or texture of the salted caramel though. If you want to reduce the bubbling, bring both the butter and cream to room temperature before adding to the caramelized sugar .
⭐What can you use the caramel sauce for?
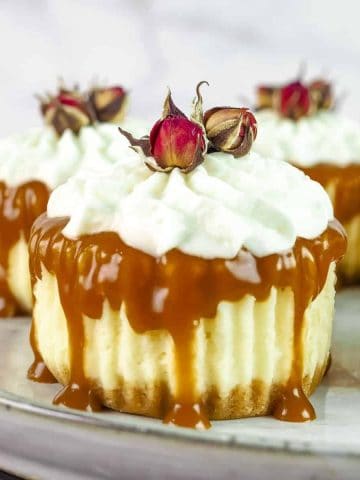
Salted caramel is a delicious combination of sweet caramel with a hint of saltiness. It is often used as a drizzle or topping and is also included as an ingredient in making desserts. Here are some of the common uses for salted caramel:
- Drizzled as a topping on ice cream sundaes, brownies, cakes, cheesecakes (like this salted caramel cheesecake, Snickers cheesecake and chocolate peanut butter cheesecake) and pies.
- Used as a sweetener for lattes and hot chocolate.
- Used as a filling for layer cakes, cupcakes (like these salted caramel pumpkin cupcakes, Halloween spider cupcakes and decadent chocolate pumpkin cupcakes), tarts or these homemade brioche doughnuts.
- Drizzled over freshly popped popcorn for a sweet and savory snack.
- Incorporated into buttercream frosting to make salted caramel flavored buttercream.
- Used as a filling for tarts.
💭FAQs
Salted caramel is caramel with added salt.
Caramel is typically made by heating up sugar to the point it caramelizes (turns amber) and then butter, cream and salt are added to it to turn it into a sweet, buttery sauce.
The addition of salt enhances the taste of the caramel and instead of plain sweetness, you get to taste a bit of the savory saltiness which makes an absolutely perfect combination in the salted caramel sauce.
Regular caramel sauce is sugar that is cooked until it turns amber and mixed with butter and cream. It can be made into a sauce consistency or can even be made into more solid form that can be cut into candies.
Salted caramel is very similar to caramel, and the only difference is the inclusion of salt in it. The salt enhances the taste of the caramel and works great on any dessert.
To make thick salted caramel, you will need to cook it slightly longer after adding the butter and the cream.
Salted caramel will thicken as it cools down, so if you want make to thick salted caramel sauce (spreadable consistency), you will need to cook it until it reaches a fairly thick consistency but not too thick as it will continue to thicken as it cools down. Stir constantly to avoid it from burning.
The first stage of making salted caramel is the process of caramelizing the sugar. This is where the sugar is heated up until its starts 'burning' or caramelizing. It will start turning amber as it caramelizes and subsequently to a darker color before it is completely burnt (cannot be used at this stage).
If your salted caramel is bitter, it is likely due to the prolonged caramelization process. Keep a close watch on the sugar as it caramelizes and as soon as it reaches a light amber stage and the sugar is all dissolved, add the butter to stop the caramelization process. Work on very low heat to better manage the process.
❤️More Recipes You Will Love
Do you like this recipe? Please leave a 5-star ⭐⭐⭐⭐⭐rating in the recipe card below and consider a review further down this page. I would love to hear from you. Thank you!
📖Recipe
Salted Caramel Recipe
For best results, use the metrics measurements. US customary measurements have not been tested and are only meant for guide.
Ingredients
- 100 g granulated sugar
- 125 ml heavy cream
- 50 g butter salted
- ⅛ teaspoon rock salt
Instructions
- Place sugar is a heavy bottom saucepan and melt over low heat. Stir occasionally to help speed up the melting.
- As soon as the sugar is all melted and has turned amber, add the butter and give it a quick whisk. The mixture may bubble up rapidly. If the butter separates, try to whisk it in, if it remains separated, it is fine.
- Slowly add the cream in a thin stream and mix well. The mixture may rapidly bubble with the addition of the cream.
- Cook the caramel over low heat until it has thickened slightly. The salted caramel will continue to thicken as it cools down, so it does not have to be perfectly thick at this stage. Add salt and mix well.
- Remove from heat and let it cool to room temperature before transferring it into a clean jar.
- Keep the salted caramel refrigerated.
Notes
-
- The taste of your salted caramel is predominantly dependent on the degree to which the sugar is caramelized before the butter and cream are added. Some people like a more intense tasting caramel and therefore prefer to let caramelization happen to a deeper amber color. Others prefer a lighter flavor and choose to not let the caramelization beyond a light amber color.
- The choice is entirely dependent on your personal taste, but do take note that once the sugar starts to caramelize, it will continue to do so at a very quick rate and therefore the tendency to get burnt is very high. Overly browned sugar will result in a burnt salted caramel that can be bitter to taste.
-
- Once the sugar is melted, it will turn amber very quickly. For effective monitoring of the color, it is best that the interior of your saucepan is light so that you are able to see the color as it caramelizes and decide on the exact point to add butter and cream to it.
-
- Adding cold butter and cold cream into the melted sugar can cause rapid bubbling. There is no impact on the taste or texture of the salted caramel though. If you want to reduce the bubbling, bring both the butter and cream to room temperature before adding to the caramelized sugar.
Leave a Reply