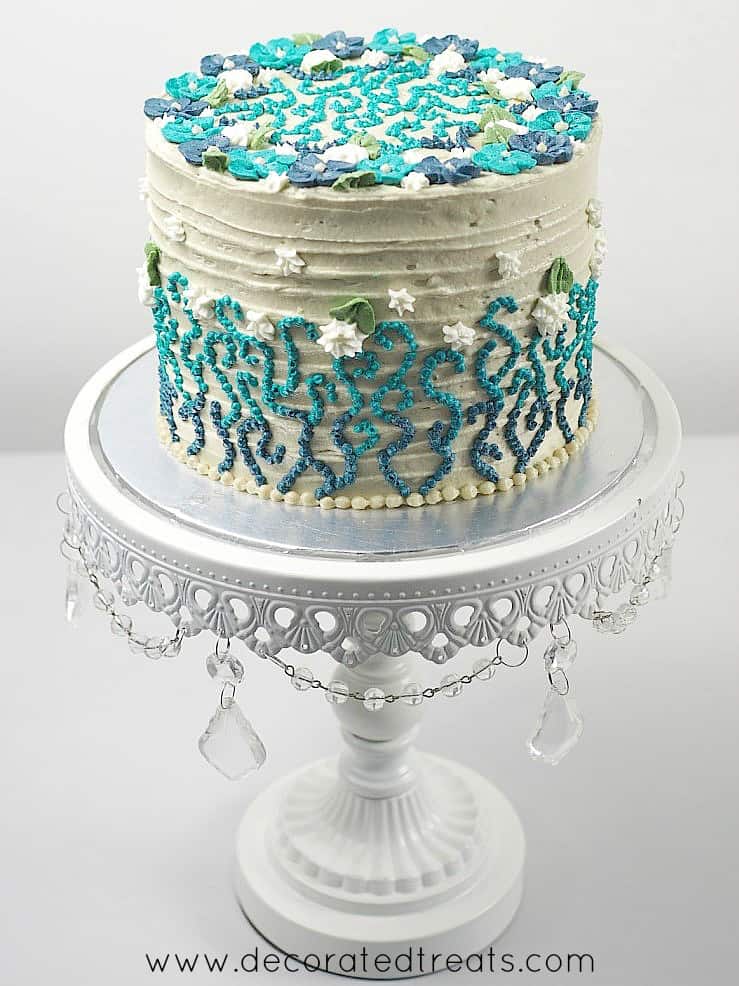
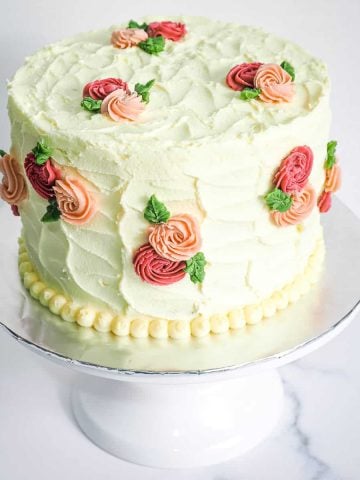
Learn how to make simple buttercream flowers cake with this easy tutorial. The buttercream flowers are easy to make and you can get the cake done fairly quickly.
🧾Supplies Required
- Cake - I used my coffee cake recipe for this cake. The cake was baked in two 6 inch pans and filled with vanilla buttercream.
- Buttercream - I used untinted vanilla buttercream for the filling and to crumb coat the cake. I also used buttercream for the final brown frosting, the flowers, and the leaves on the cake.
- Wilton food color in Juniper Green
- Americolor food coloring in turquoise, navy blue, royal blue, brown, black
- Piping tips - I used Wilton round piping tip number 3
for dots swirls, star tip number 18
(for large lilies), and star tip number 16
(for small lilies) for the water lilies, leaf tip number 352
for the green leaves and petal tip number 101
for the 5 petal flowers.
- Disposable piping bags
👩🍳How to Make
Step 1: Bake and Cover the Cake with Buttercream
Once the cakes are baked (I baked two 6 inch round cakes) and cooled, level the tops and sandwiched them with buttercream followed by a thin layer of crumb coat.
Cover the whole cake with buttercream tinted with brown and black. I used very little brown and black to tint the buttercream. The idea is to get just a light tint of black-brown to the icing. Smooth the icing on the cake.
Step 2: Make the Horizontal Lines on the Buttercream
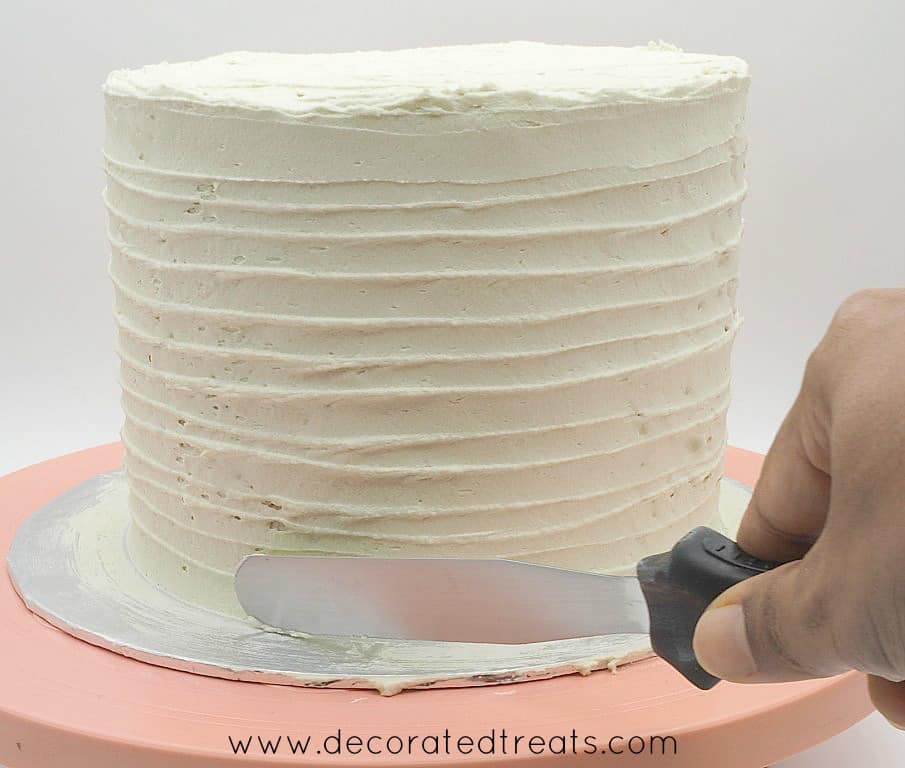
Next is the horizontal lines on the sides of the cake. You need a palette knife for this. Hold a palette knife on one hand as shown below and then used the other hand to turn the turntable continuously. As you turn the turntable, gradually move your hand holding the palette knife upwards so that the lines continue forming until the top.
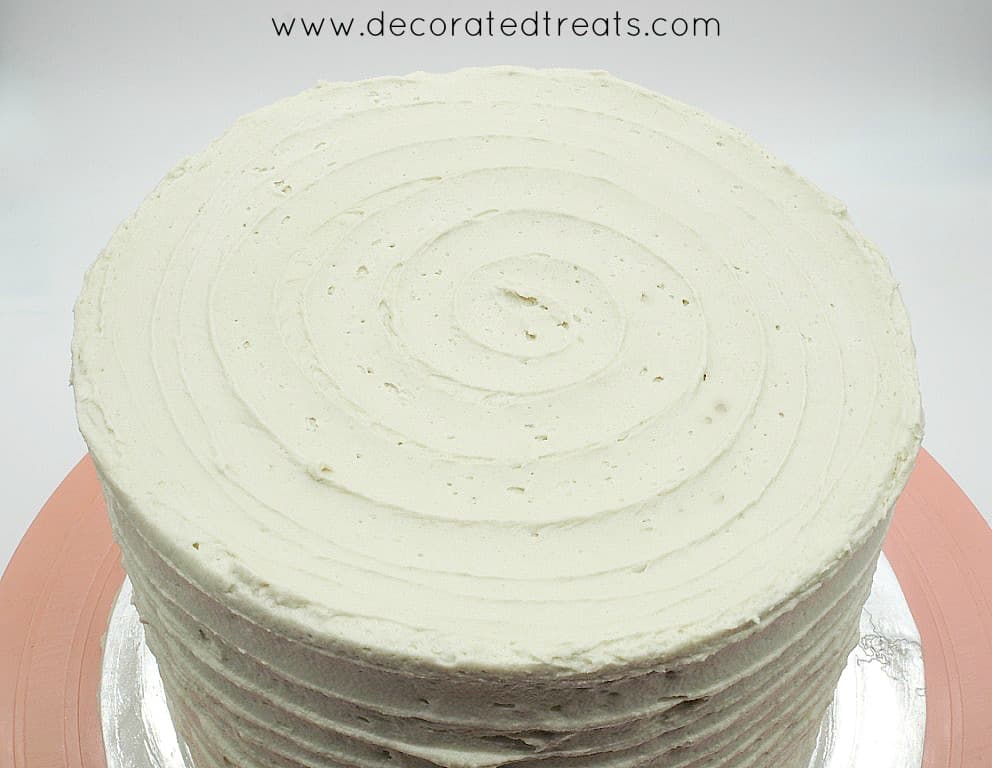
In doing this, the knife should only very lightly touch the icing to avoid it from totally scraping off the icing from the cake. Once the sides are done, continue with the top of the cake, starting from the outside and slowly moving towards the center of the cake.
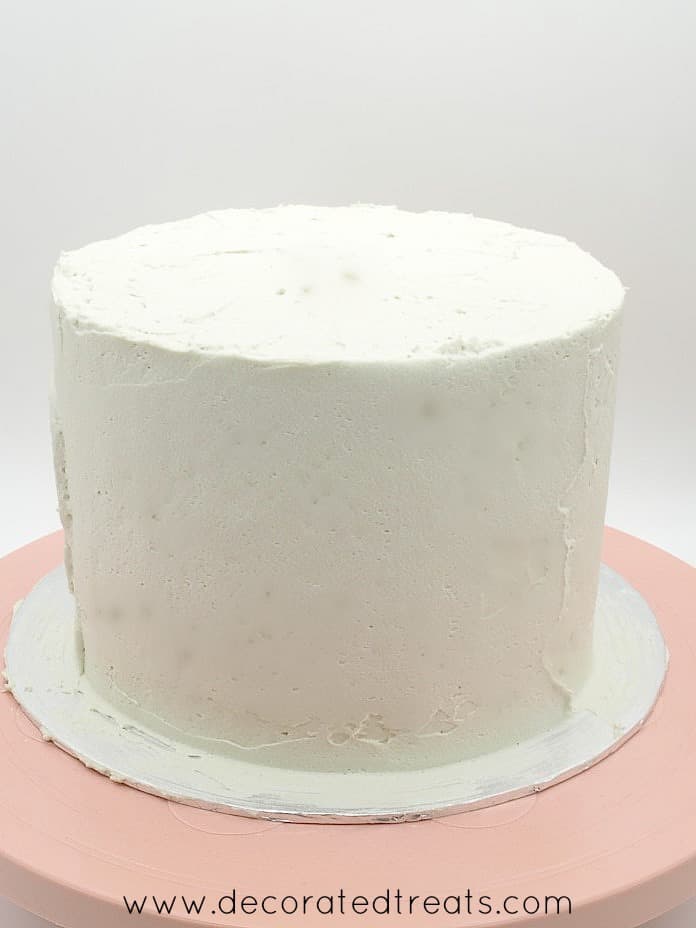
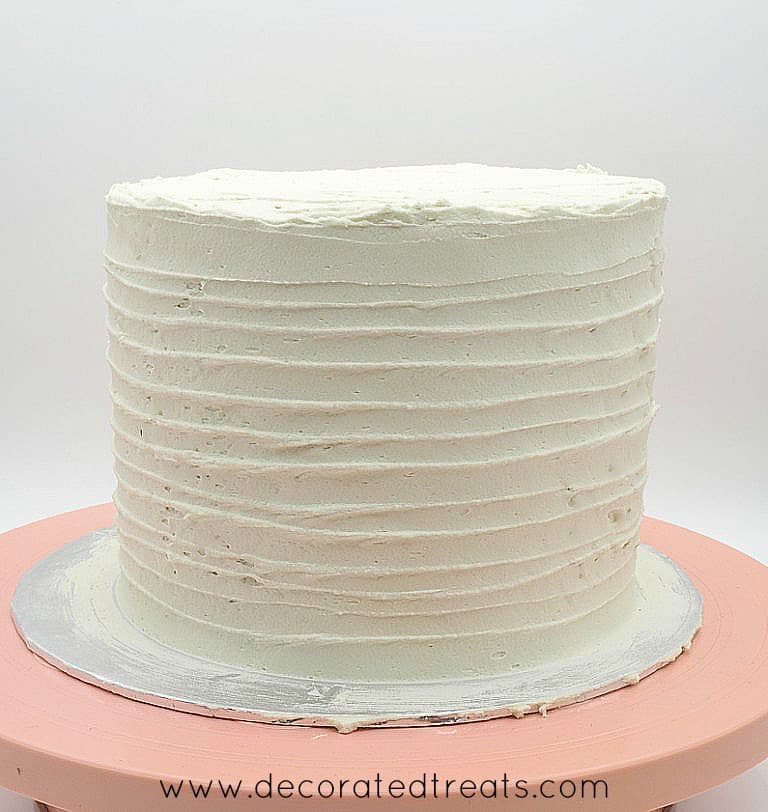
This image is to show you how I held the palette knife while rotating the turntable. Like I mentioned above, the lines should start from bottom to top. I had already done the lines before I took this shot, so the picture below is only to show how I held the palette knife.
And here was how the top of my cake looked like.
Step 3: Pipe the Buttercream Bead Border
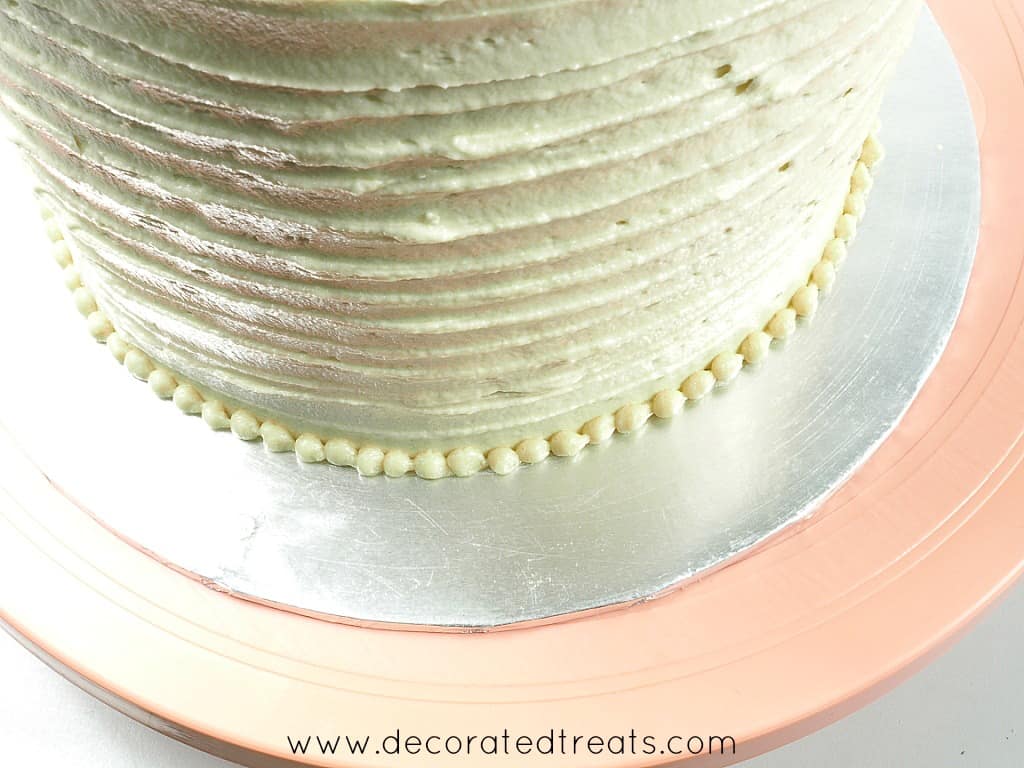
For the cake border, using Wilton tip #3 to pipe a bead border all around.
Step 4: Make the Buttercream Flowers
Tint some buttercream into blue and turquoise.
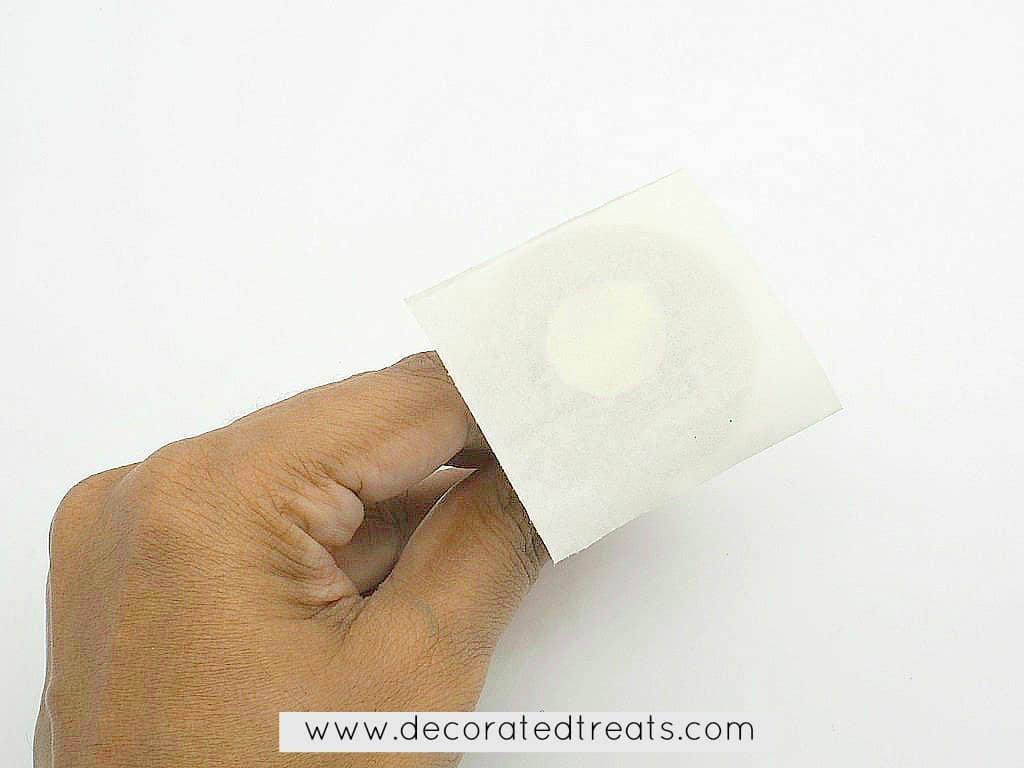
Cut square parchment paper pieces. You will be using one piece for each flower. To pipe the flowers, attach the paper to a flower nail with some buttercream.
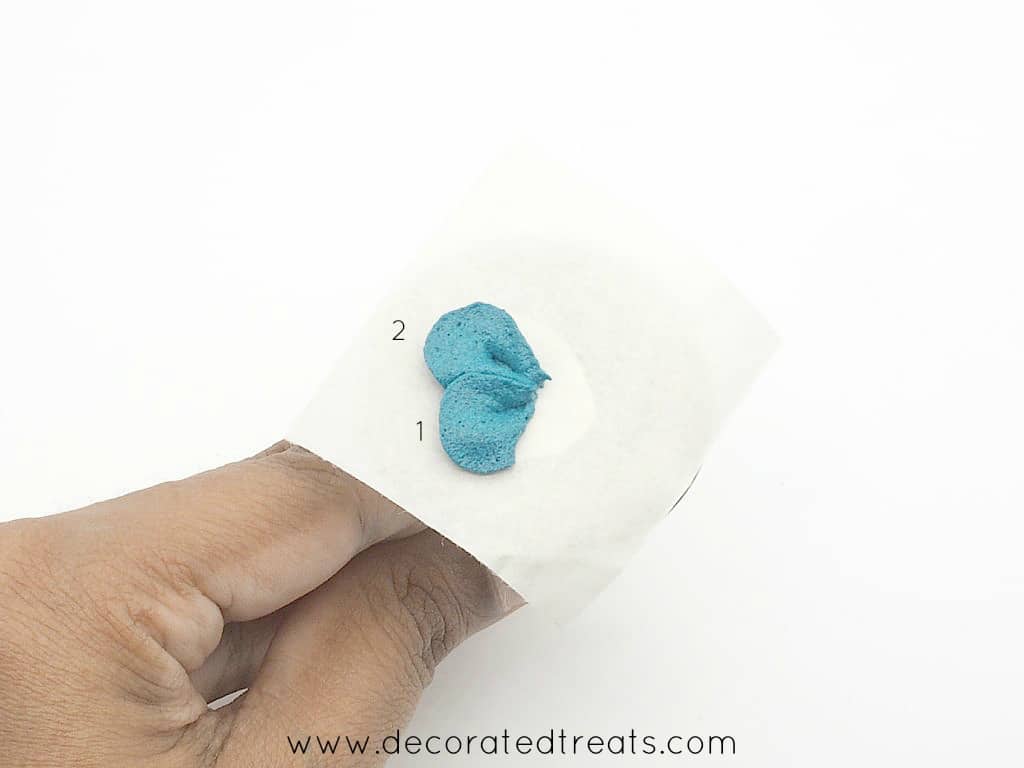
Using petal tip #101, pipe 5 petals to make each flower.
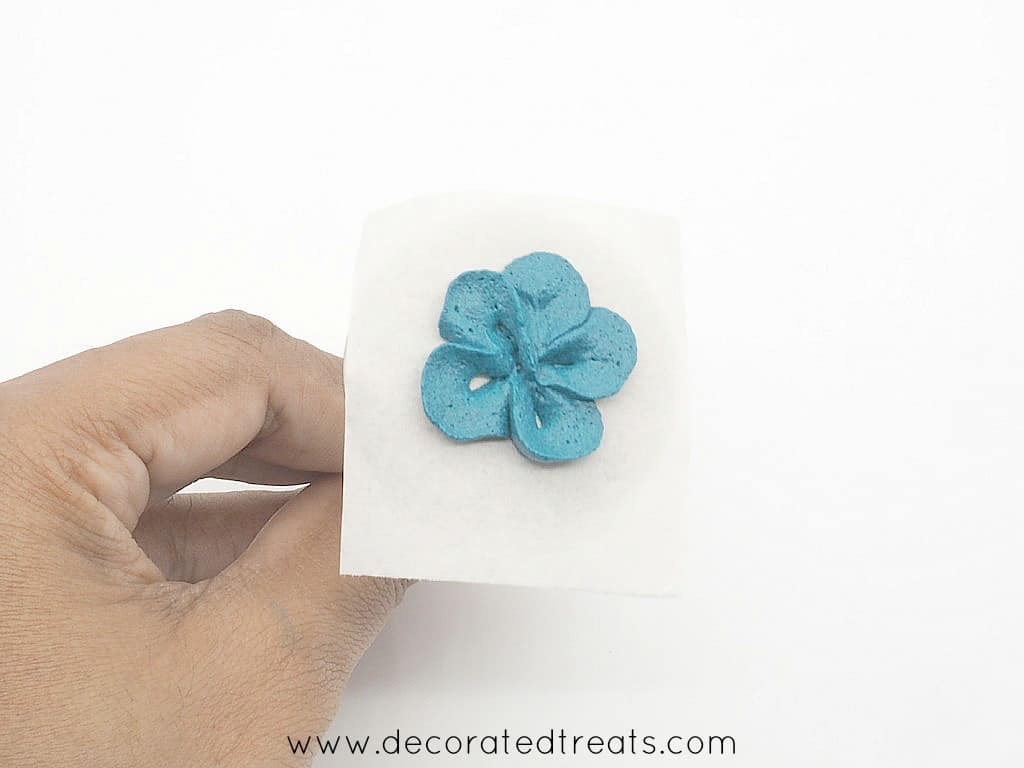
This is how the completed flower should look like.
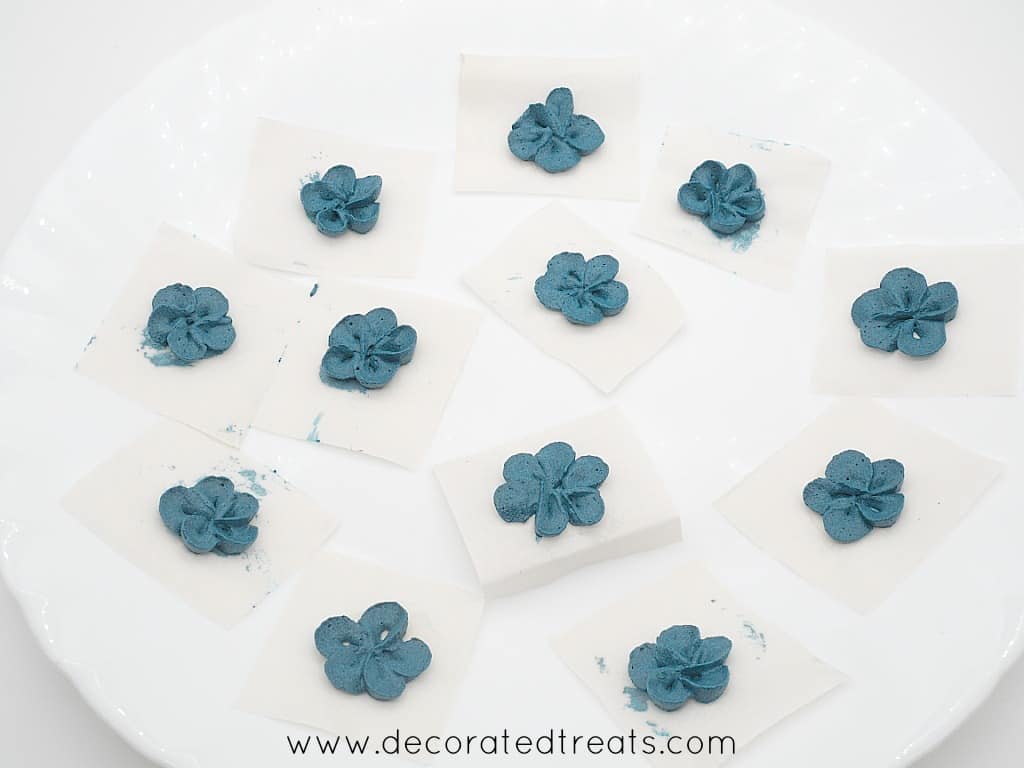
Slide the paper off the flower nail and place it on a flat tray. Freeze until the flowers become firm.
When ready to use, peel them off the paper and place them gently on the cake with a spatula. Pipe white centers for the flowers using Wilton tip #3.
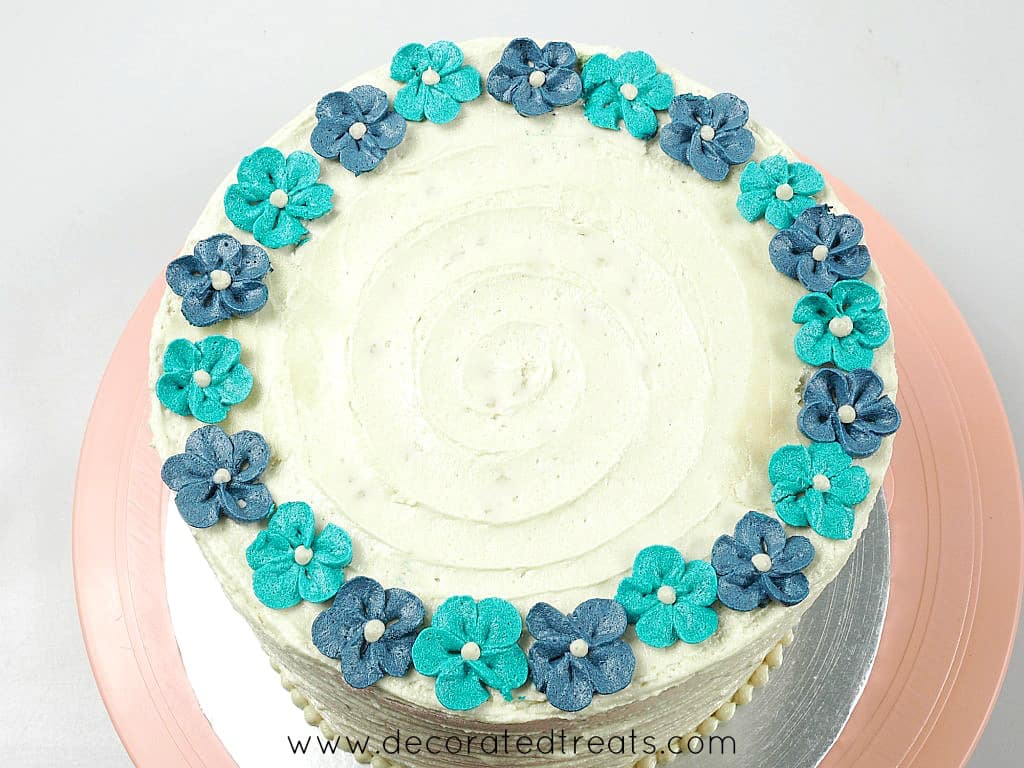
Next are the lilies. Use tips #18 and #16 and white buttercream. To make the lilies, pipe one star on the cake, lift the nozzle completely, and then pipe another one on top of the earlier star.
Pipe white buttercream stars randomly on the cake near to the flowers on top of the cake. Add some green buttercream leaves after the flowers.
Step 5: Make the Dot Swirls
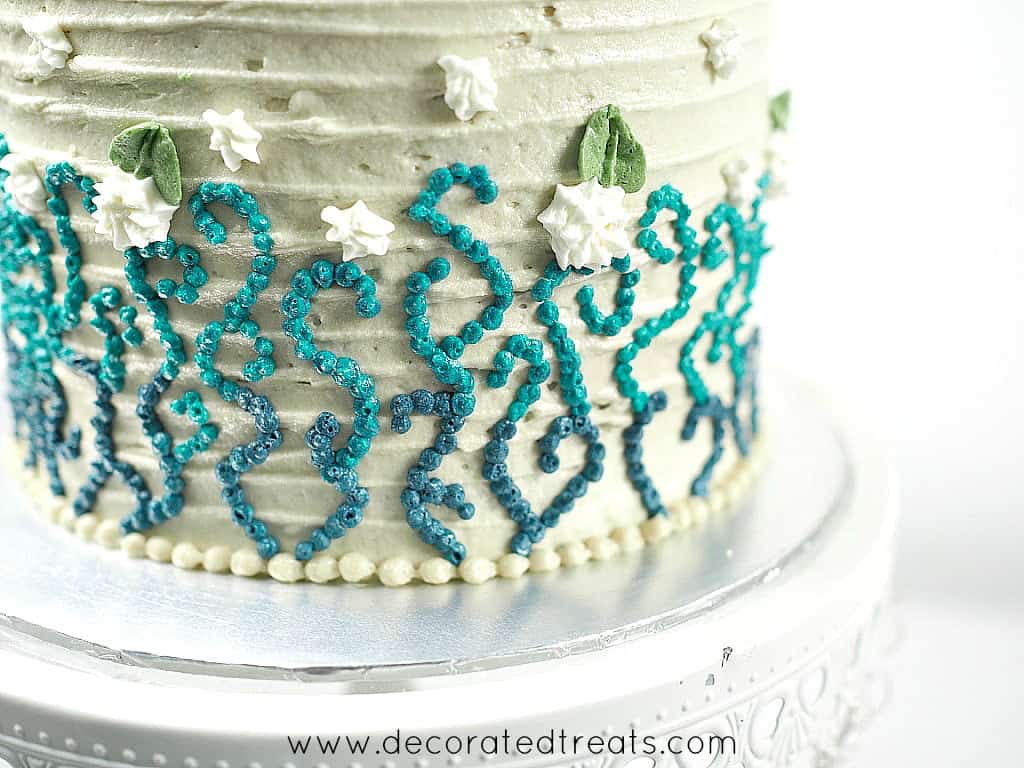
Once the flowers are all done, you can go ahead and do the swirls in dot piping. To do this, use Wilton tip #3. Start with the dark blue dots, beginning the scrolls close to the flowers and then continue to the center of the cake with turquoise icing. This was how the top of my cake looked like:
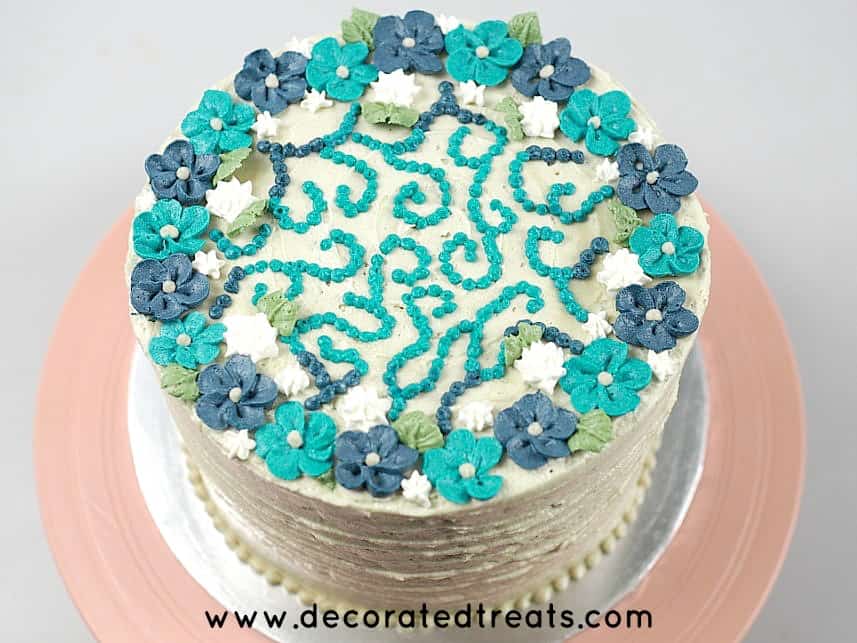
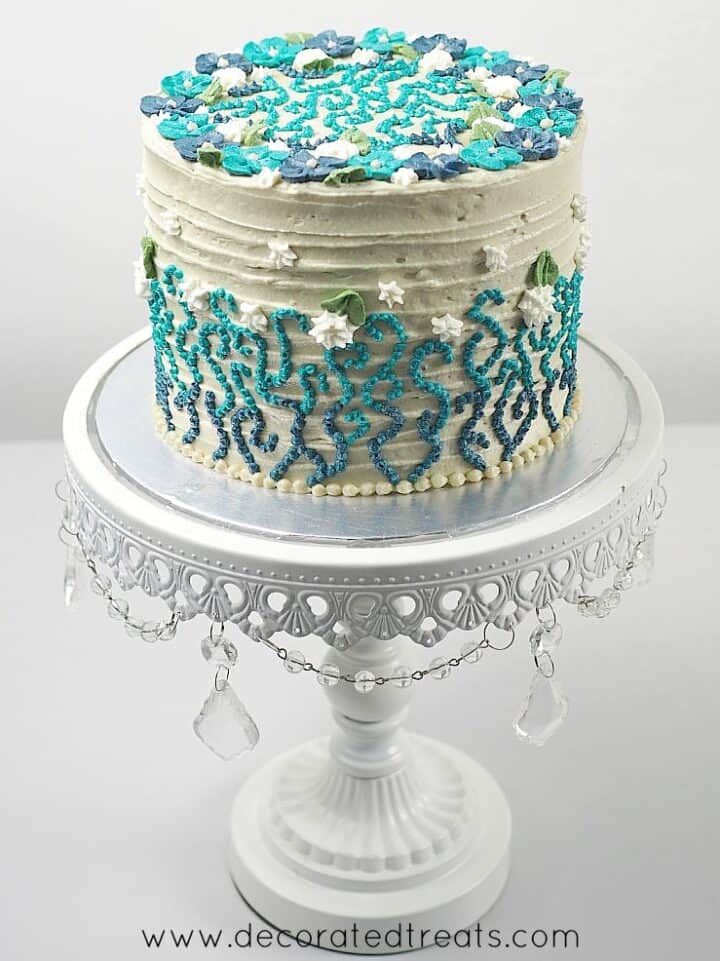
Complete the cake by piping the same swirls and white lilies on the sides of the cake, but only halfway up:
And that's pretty much how to decorate this simple buttercream flowers cake.


Leave a Reply