This mini confetti cake is one of my sprinkles inspired cupcakes and cakes. I have made a number of sprinkles themed cupcakes (pinata cupcakes, sprinkles layered cupcakes, sprinkles cupcakes) and this is the first of my sprinkles based cake (more to come, hopefully).
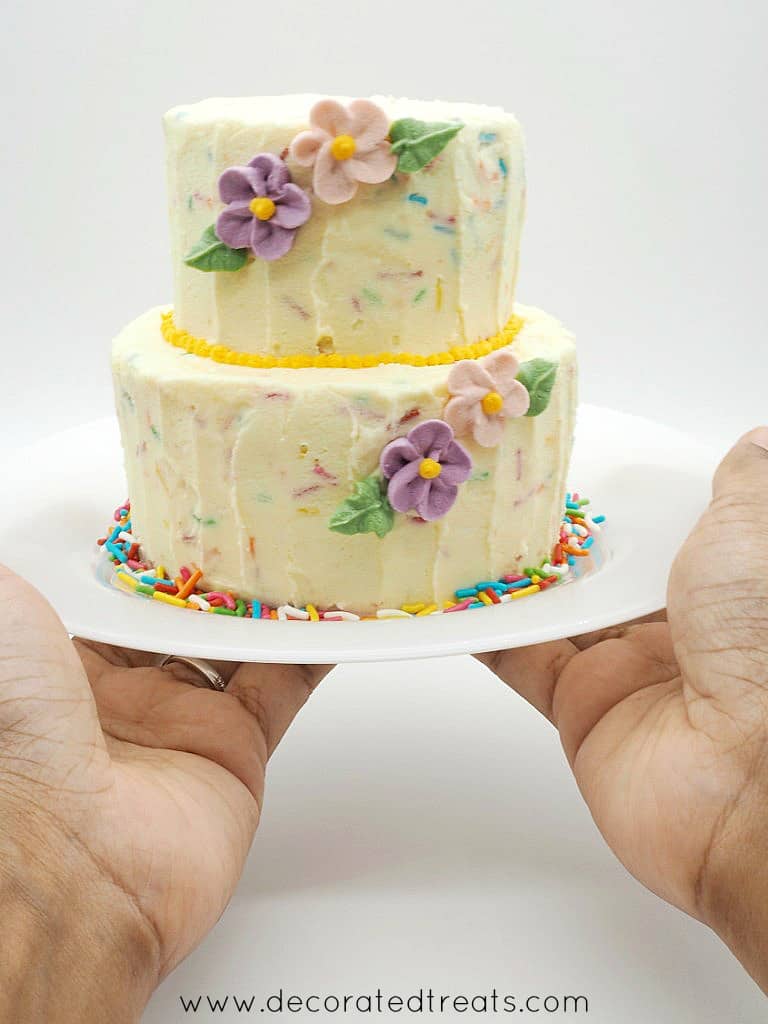
A 2 tier mini confetti cake held in hands
According to Wikipedia, confetti cakes are cakes with sprinkles mixed in the batter, and when baked, the sprinkles melt into dots of colors in the cake resembling confetti. Hence the name 'confetti cake'.
The mini cake idea I am sharing on this page not only has the 'confetti' effect in the cake, it also carries the same effect in the frosting, creating a truly fun confetti cake with an explosion of colors not only on the inside but also on the outside.
This is a two-tier mini confetti cake. I say mini because the tiers are mini, with the top tier measuring 3 inches in diameter while the bottom tier measures 5 inches in diameter. Each tier measured 2 inches high, so the overall height of the cake was only 4 inches!
Here is how I made the Mini Confetti Cake
These are the supplies I used to decorate this 2 tier mini confetti cake:
- Mini cakes - I made the cake using my butter pound cake recipe. Like I mentioned earlier, this is a two-tier mini cake. And the tiers measure 3 inches and 5 inches in diameter each. The height is 2 inches each.
- Buttercream - I used buttercream to cover the cake as well as for the cake border. For cake covering, I made the buttercream as usual. I did not tint it though (click here to see my buttercream recipe) and added the sprinkles in the end. It is important to remember to add the sprinkles only at the end. This is because if you beat the sprinkles with a mixer, you risk breaking the sprinkles up. I added the sprinkles after the creaming process and only used a spoon to mix the sprinkles in the icing. As for the cake border, I tinted some of my buttercream with yellow food coloring. There were no sprinkles added to it.
- Disposable piping bags and Wilton round tip number 3 for the bead border.
- Royal icing flowers - I know royal icing is probably not the best combination for buttercream. Ideally, the flowers should have been made with buttercream (click here to see my tutorial on how to pipe simple buttercream flowers). However, I had some of these royal icing flowers on hand and decided to use them instead of making new buttercream flowers.
And this was how I decorated the cake:
- First and foremost, as in any cake decorating, I leveled the mini cakes. I did not layer the cakes though, since this is a mini cake and the cake tiers were only 2 inches high each.
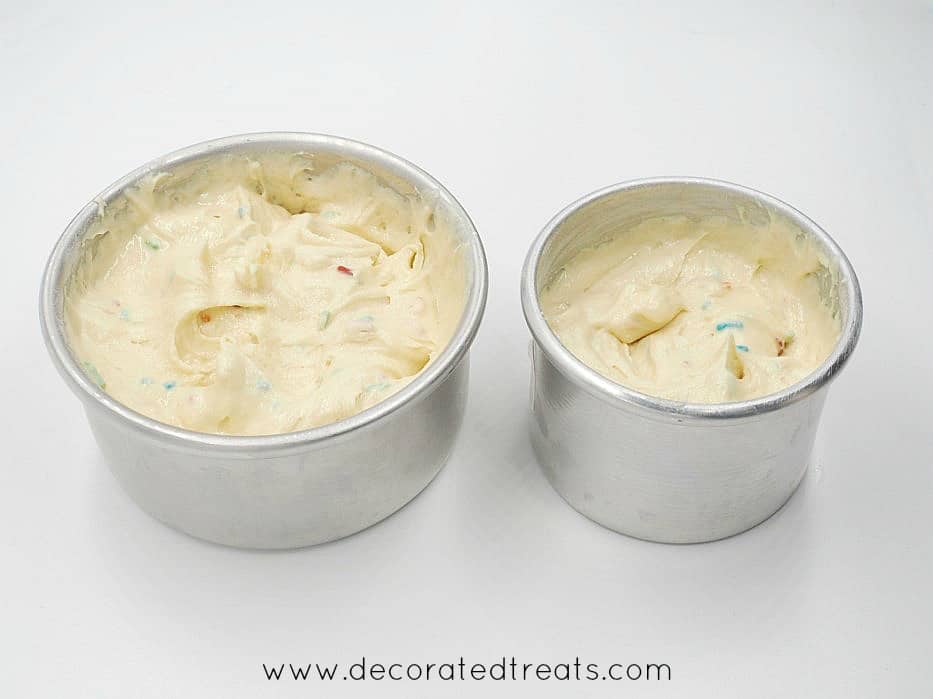
Confetti cake batter
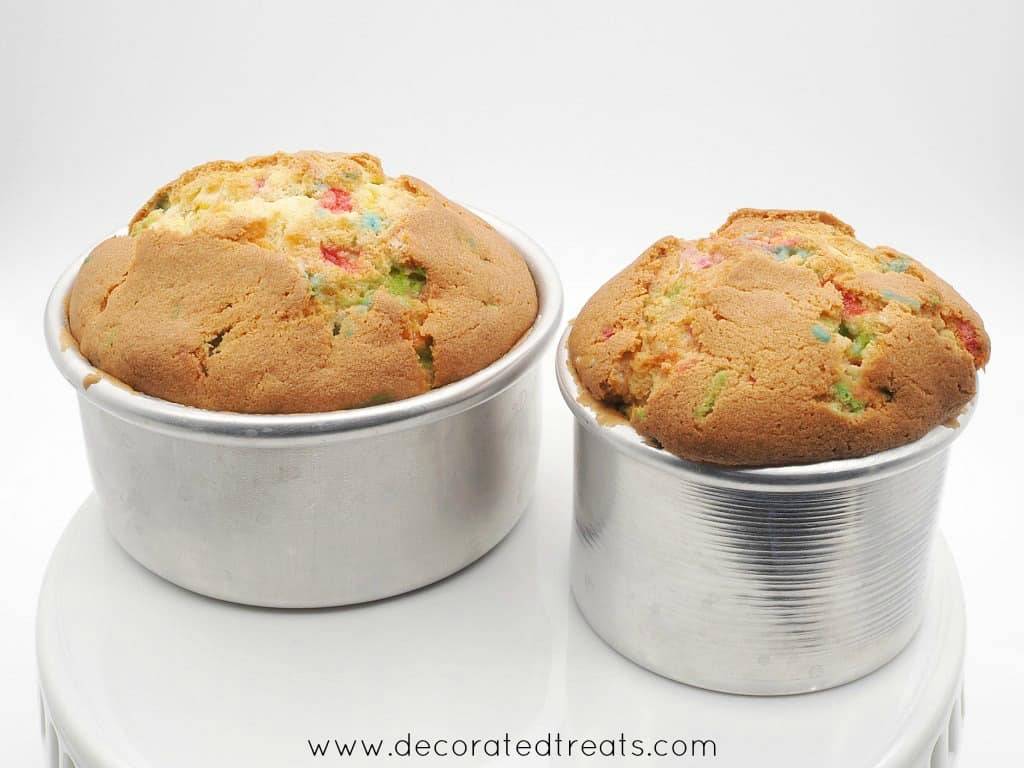
Baked mini confetti cakes
- I covered each cake layer separately with the confetti buttercream.
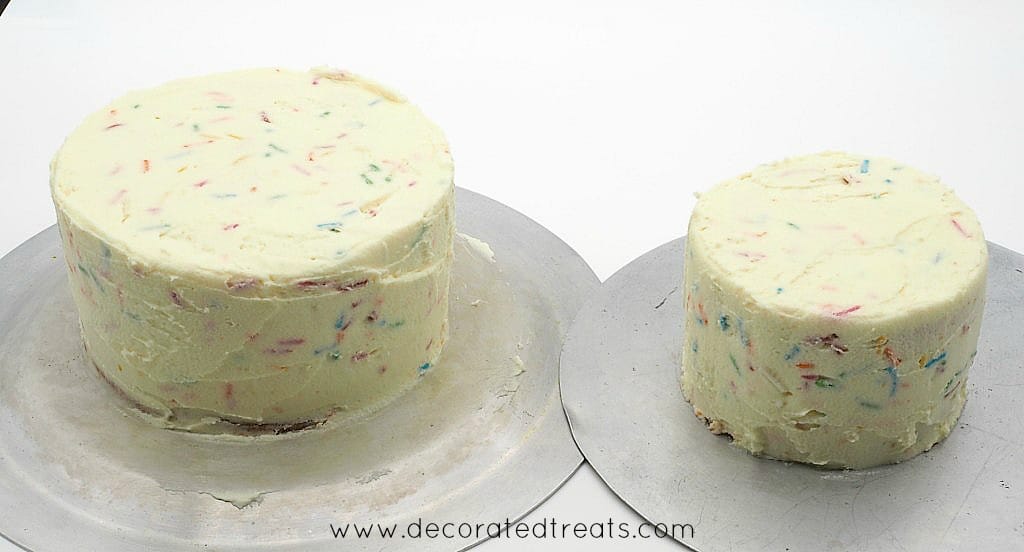
2 mini tiers of cakes covered in confetti buttercream
- Once each layer was completely covered, I transferred the smaller tier onto the bottom tier.
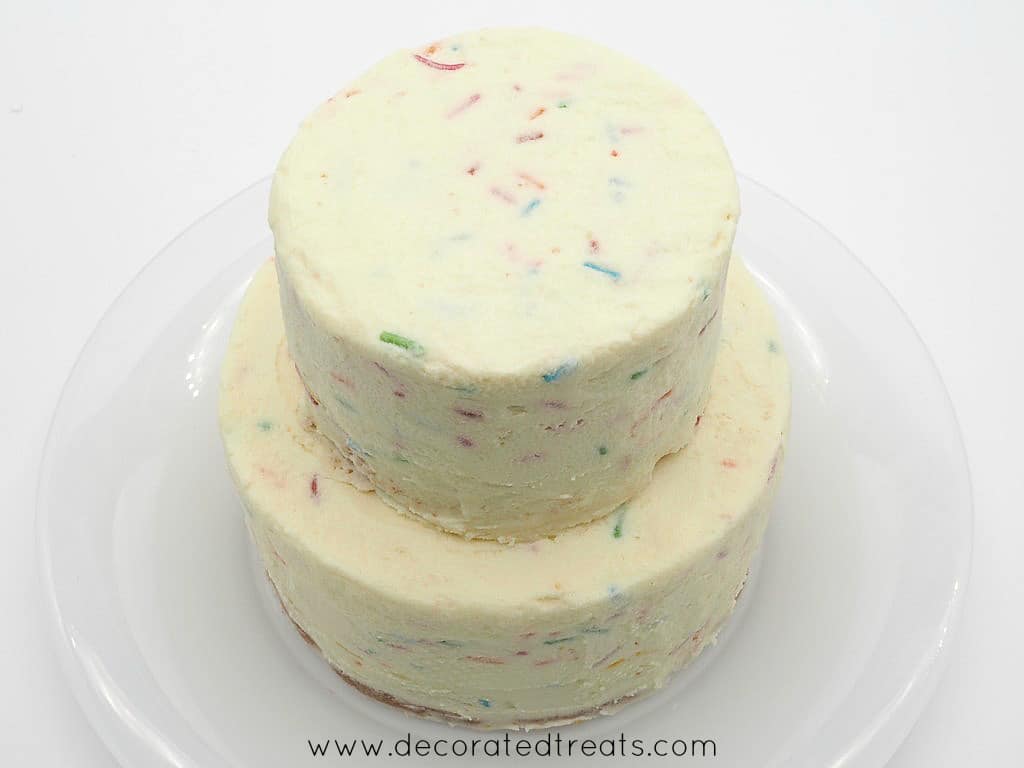
Confetti buttercream covered mini cake
Decorating the sides of the mini 2 tier cake
- Using a palette knife, I created vertical lines on the confetti buttercream, all around the top and bottom tiers.
- To create the lines, hold your palette knife (as shown) with the tip slightly pressing the icing. Slide the knife upwards, creating the wide lines effect on the icing. Take the knife off the cake as you reach the top of the tier. Repeat the process until the whole cake is covered with the lines. To make the width of the lines remain uniform all round the cake, make sure the area of the knife that touches the cake surface is the same. And to ensure this, hold the knife in the same position as you rotate the cake.
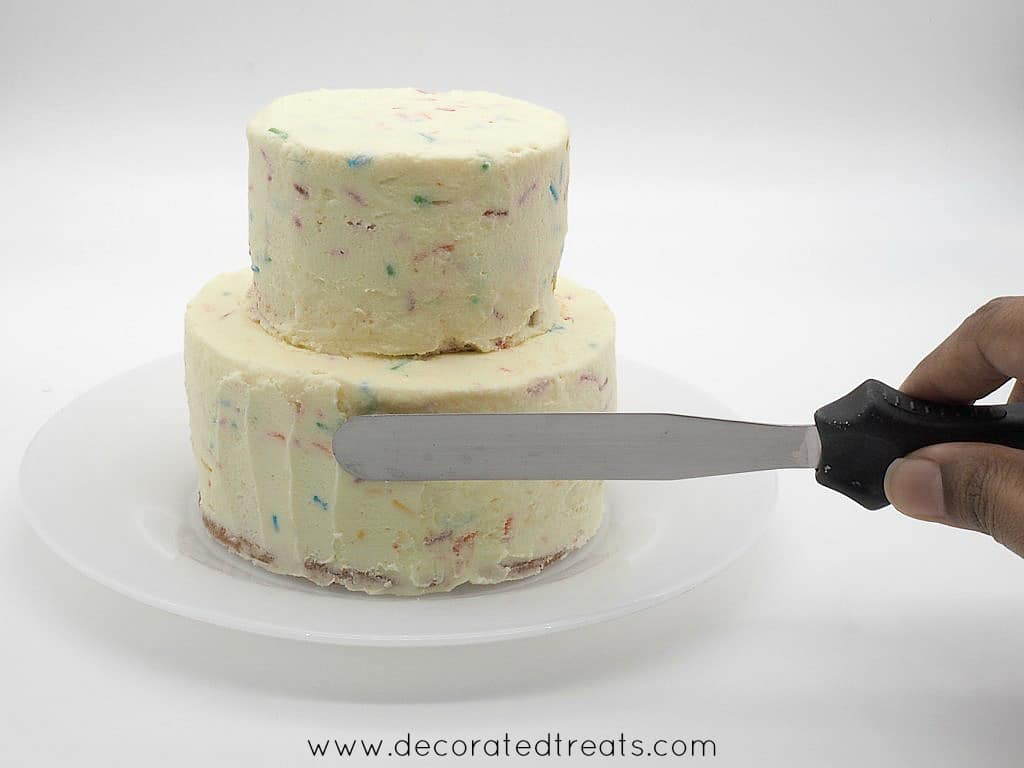
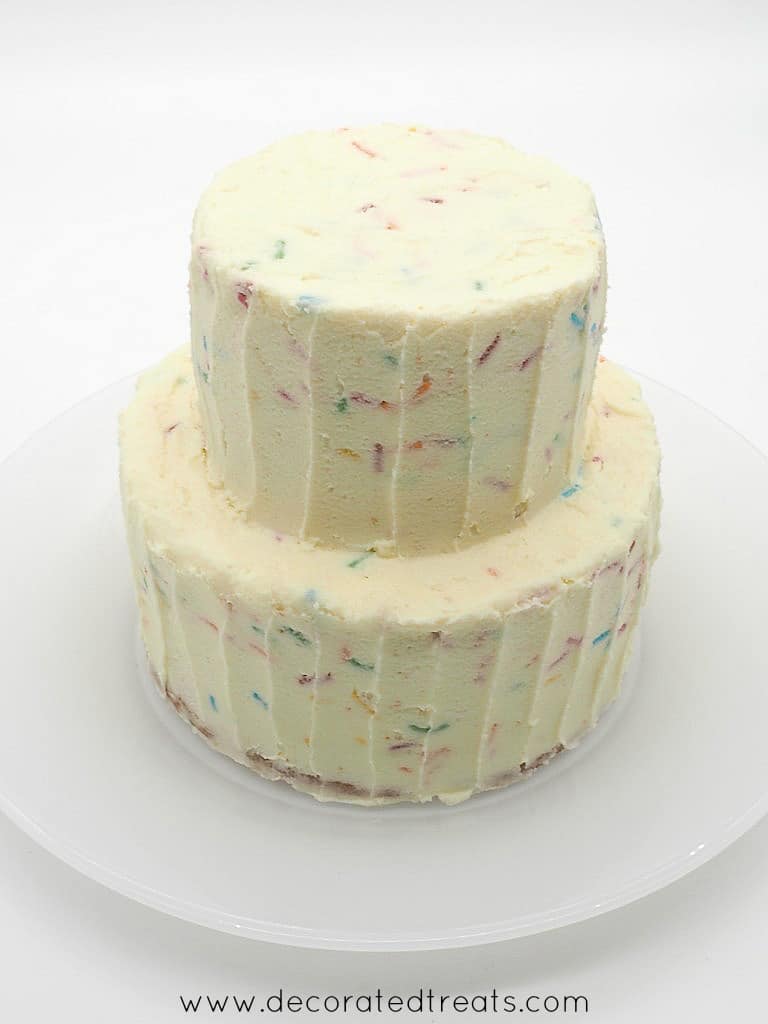
Vertical lines on a confetti buttercream covered 2 tier mini cake
Adding the bead border to the top tier of the mini cake
- Once the lines were done, using yellow buttercream (without any sprinkles added) and piping tip #3, I piped a tiny bead border all around the top tier. I then attached the royal icing flowers on the cake with a dot of buttercream. After that, I piped some leaves to complete the flowers. And finally, for the finishing touch, I sprinkled some more sprinkles all around the base of the confetti cake.

And this is how I made my mini confetti cake, with cheerful speckles of color inside and out!
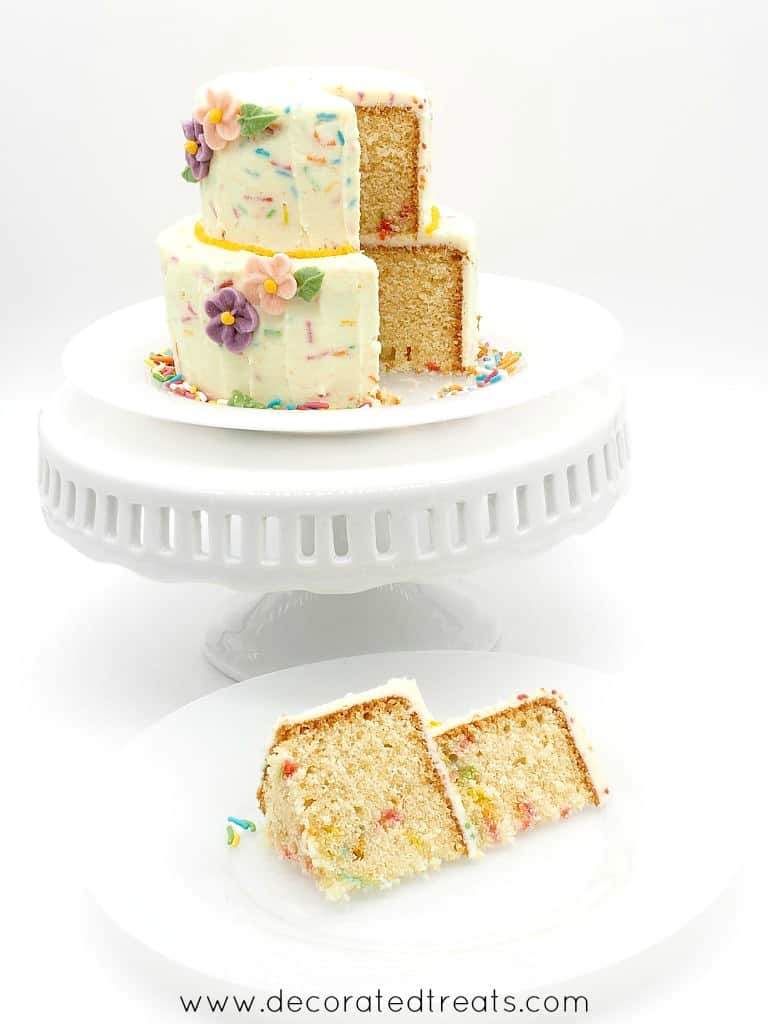
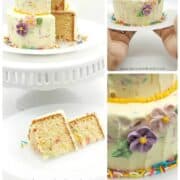
Mini confetti cake, inside and outside!
Hope you enjoyed this mini confetti cake idea as much as I enjoyed putting it together.
Happy caking 🙂


Leave a Reply