

Learn how to make tiered cakes with this easy guide. You will learn how to assemble tiered cakes, both with and without pillars, including all the tools you need to make stable, professional looking cakes.
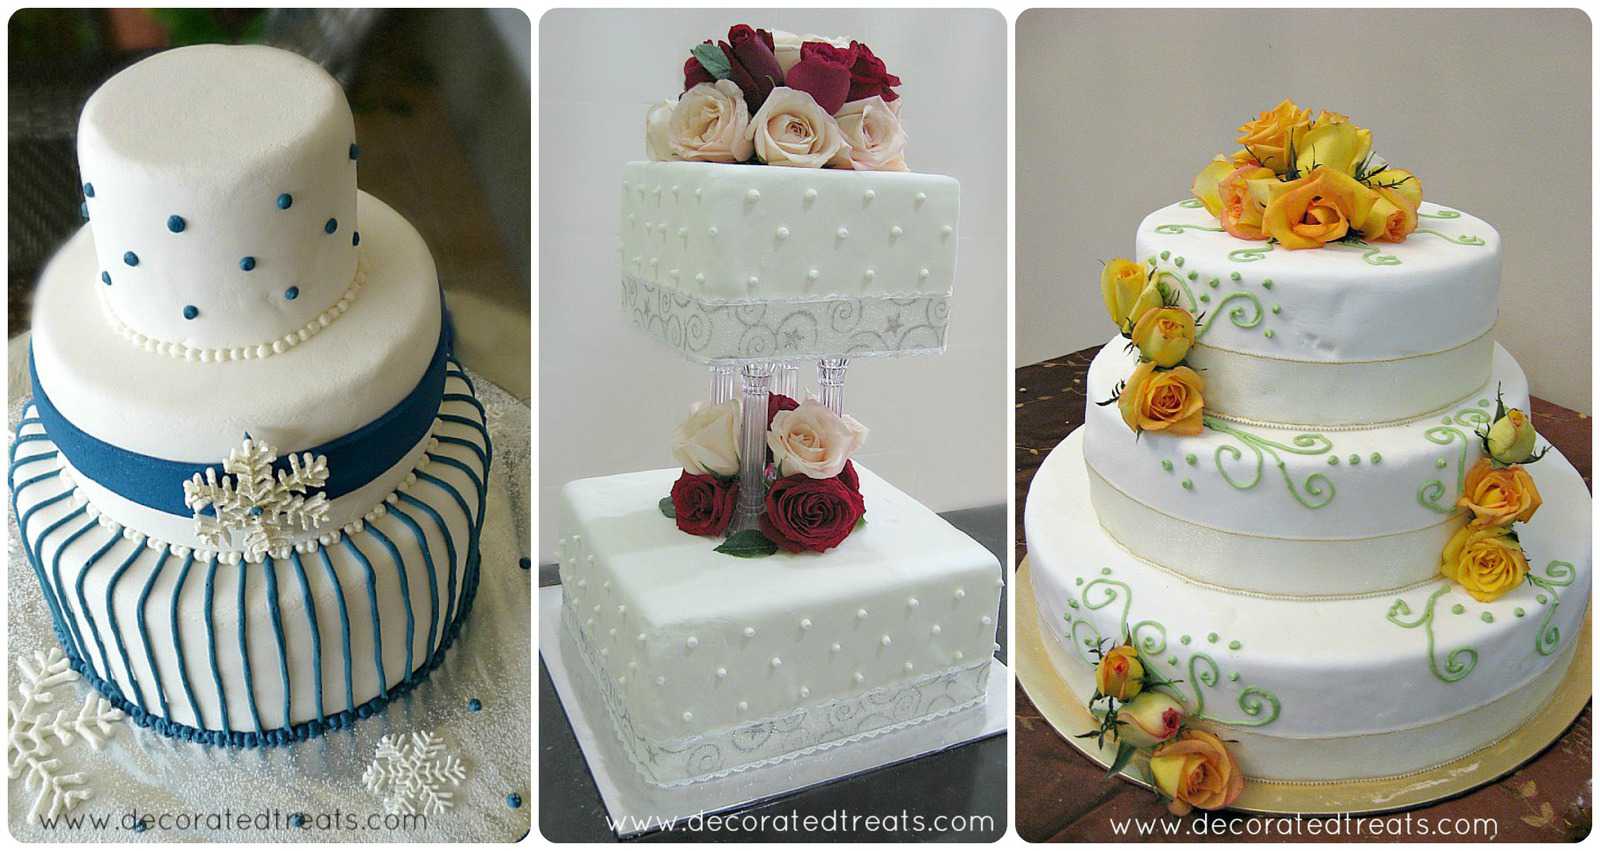
Making stacked or tiered cakes is not as simple as stacking the cakes on top of one another.
Though it literally looks like a matter of just stacking them on top of one another, these cakes need to be internally structured. This is so that they stand stable. Plus it ensures the bottom tiers do not get compressed by the weight of the top tiers.
Jump to:
❤️Why you will love this tutorial
- It explains the different types of tiered cakes and the tools required to make the cakes.
- It provides step by step guide to assemble these cakes, both with pillar and without pillars.
- You will get to learn how to internally structure cake tiers before stacking them.
If you like this tutorial, you should also check out my other tutorials on how to make your own cake boards, how to decorate the cake boards like a pro, how to line cake tins, how to calculate cake recipes and how to level and layer cakes.
Types of cakes
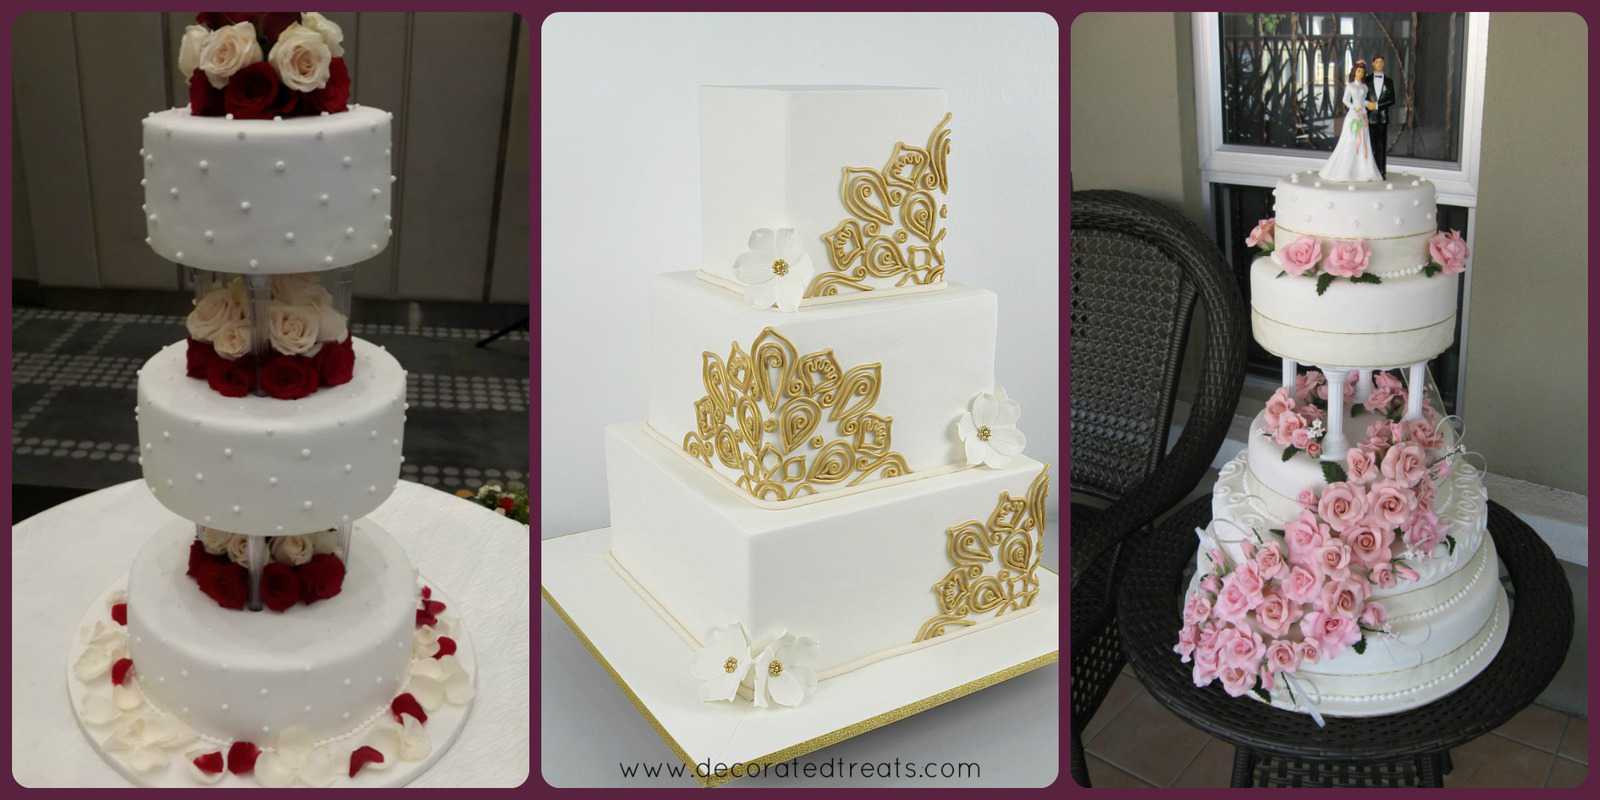
There are basically 2 types of tiered cakes.
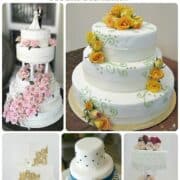
The first type is where all the cake tiers or layers stacked on pillars on top of one another.
The second type is where all the cake layers are stacked on top of one another without any pillars.
And then there is another type that is a combination of both these 2 types where there some of its tiers are stacked on pillars and some are stacked directly on top of one another.
Important factors
When making tiered cakes, there are important factors you need to pay attention to:
The stability of the cake - The taller a cake gets, the more unstable it becomes, especially those on pillars. While it may look ok once assembled, any movement to the cake table or to the cake tiers while cutting it, or movement during transportation can literally topple the cake.
To avoid this, there needs to be a mechanism in place that holds all the cake layers together so that they do not topple easily.
A long dowel rod is typically inserted in the center on an assembled stacked cake to hold all the tiers together. It is however, not necessary for pillared cakes.
The weight of the cake - In case in never occurred to you, cakes can be heavy (especially those covered in fondant) and stacking a couple of these on top of one another will slowly and definitely compress the bottom tiers.
To avoid this, each cake tier (except for the top most one) must have an internal structure to support the weight of the cake on top.
Bubble tea straws or dowel rods (cut to match the height of each cake tier) are inserted into each layer before another cake is stacked on top. These rod and straws help to hold the weight of the top layers and will prevent compression on the cake.
The weight of the cake is also an important factor when choosing the base cake boards for tall cakes. The boards should be sufficiently thick and sturdy to hold the weight of the cakes without breaking.
✂️Tools Needed
1. Dowel rods or bubble tea straws
Dowel rods are long and thin wooden rods and are widely available in craft and baking specialty shops. There are also plastic cake rods, and they function in the same way as the wooden rods.
Bubble tea straws are the fat straws used for drinking bubble tea and come in a variety of colors.
Dowel rods and bubble tea straws are used to provide internal support for individual cake tiers and can prevent compression due to weight of the top cakes. Straws are much easier to cut and despite being straws, are very sturdy and provide good support for stacked cakes.
Dowel rods in particular, are also necessary for the overall stability of the cake, to make sure the stacked cake layers do not slip off during transportation or any movement to the cake table. They are typically used for stacked cakes where a single long rod would be inserted through all the cake tiers from the top all the way to the bottom tier to hold them in place.
2. Cake boards
For tiered cakes, you will need a base cake board that is a few inches larger than the lowest tier cake. It should be thick and sturdy enough to hold the weight of the tiered cake.
In addition to the base cake board, you will also need one cake board for each of the cake tiers. For these cakes, the boards should be of same diameter as the cake that it is meant to hold.
It is best to use cardboards to hold the these tiers. This is for ease of poking a dowel rod through the middle of the stacked cakes to hold them from sliding off during transportation.
For pillared cakes, you will be using separator plates instead of cake boards. Separator plates are a must for tiered cakes which use pillars. These plates have special knobs at the bottom where you can secure the pillars into.
Separator plates can be slightly larger in diameter than the cake it is holding or be of exactly same diameter as the cake, depending on your cake design.
3. Pillars and separator plates
These are required for cakes stacked on pillars. There are many different types of cake pillars available in the market. They come in different shapes and colors and are used to make tall tiered cakes.
Each tier would typically require 4 pillars, so if you are making a 3 tiered cake, then you will need 2 sets of such pillars.
Separator plates, on the other hand, serve the same purpose as cake boards, but these plates come with special knobs underneath (normally 4 knobs to hold 4 pillars)which helps secure the cake pillars, resulting in a very stable cake support structure.
👩🍳How to assemble cakes without pillars
Supplies required
- A base cake board - should be strong enough to hold all the tiers. It should be also at least a few inches larger than the base cake diameter.
- Cardboard cake circles for each of cake tier - ideally, the diameter of these circles should be the same as each cake tier.
- Dowel rods and/or bubble tea straws
How to stack
Step 1: Place each tier on a cake board. Place your lowest cake tier on the base cake board. Place the rest of the other layers on their respective cardboard circles.
Remember that for stacked cakes, the cake boards for all tiers (except the base) has to be of the same diameter as the cake it is going to hold.
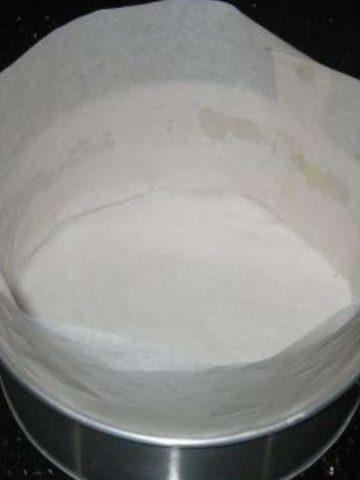
Also make sure to make a hole right in the center of each of the cake circles before placing the cakes on (but not the base cake board).
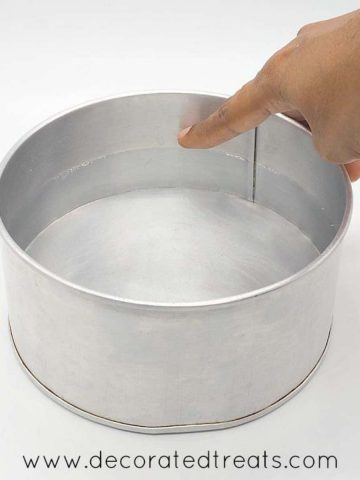
Step 2: Insert bubble tea straws/ dowel rods into the base cake tier. Take one dowel rod or straw and poke it into the cake towards the center (but not in the center).
Press the rod/straw down until it touches the cake board. Mark the rod/straw to the height of the cake (with a marker).
Step 3: Cut the straws /rods. Remove the rod/straw from the cake tier. Cut at the markings. Use the measured straw to cut a few more straws / rods to the same length.
Note: For each cake tier, you will need at least 4 or more straws. The larger the cake tier, the more straws you will need.
Step 4: Insert the cut rods/straws into the cake tier. Poke the cut straws / dowel rods into the base cake in a circular pattern, with a gap of 2 to 3 inches apart, but within the diameter of the top tier cake.
These straws and rods should not be visible once the top tier cake is placed on the base cake.
Repeat steps 2 to 4 for all cake layers except for the topmost one.
Step 5: Stack the tiers. Once you have done that, you can start stacking up the cakes on one another.
Step 6: Secure with a long dowel rod in the center of the cake. Make sure the cakes are well centered.
To make it easier to insert, take a long dowel rod, sharpen one end of it to look like a pencil and poke it right through the center of all layers until it touches the bottom cake board. It should go through the holes in each of the cake circles.
You should only poke through the topmost tier if you intend to cover the top with any decoration that will not show the dowel rod hole.
If the top of the cake is intended to be left plain, cut the dowel rod so that the length stops a few inches short of the full height of the whole stacked cake.
Poke it through the center of second-tier before adding the top most tier. Poke until it reaches the base cake board.
At this point, you should be able to see a bit of the dowel rod poking out from the top of the stacked cakes. Take the topmost tier and carefully insert it into the rod while stacking in on the rest of the cake.
Make sure the dowel rod that is protruding out goes through the cake from the bottom through the center of its cake circle.
Video tutorials
Here is a video tutorial by Krazy Kool Cakes on how to stack tiered cakes.
And here is another video, showing in detail how to safely lift your fondant covered cakes when stacking them.
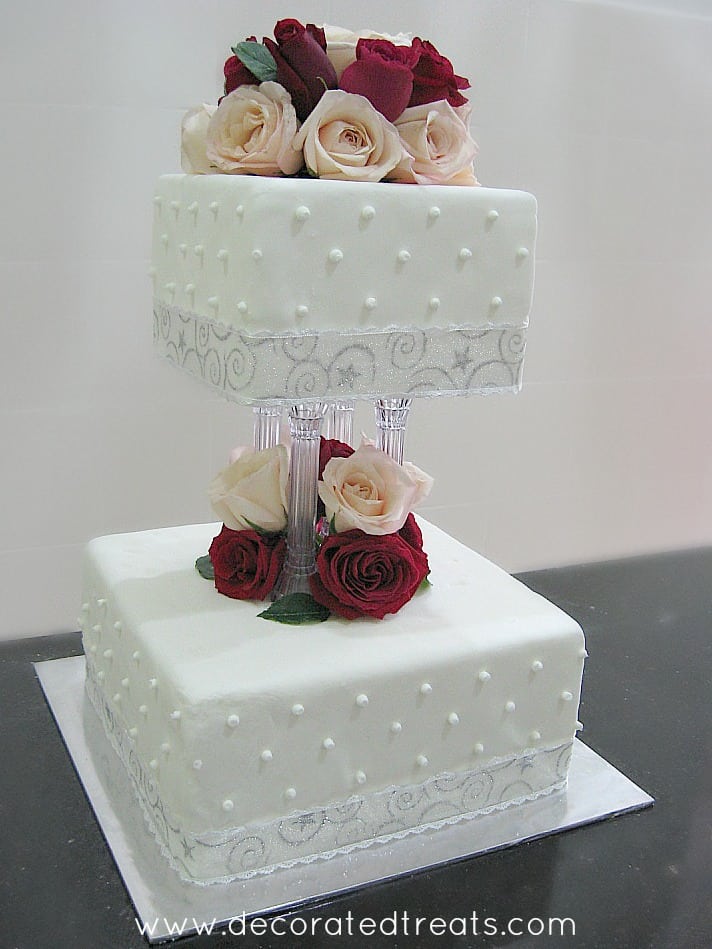
👩🍳How to assemble with pillars
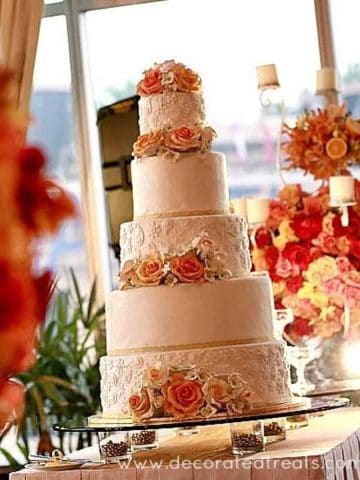
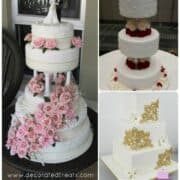
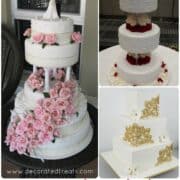
Cakes with pillars are basically cakes that are stacked on top of one another on pillars such that there is a visible gap between each layer like this cake:
Supplies required
- A base cake board - should be thick and sturdy to support the weight of the cake.
- Cake separator plates for each of cake tiers (except for the lowest tier); and
- Cake pillars.
When purchasing the plates and pillars, make sure the pillars can fit securely into the knobs at the bottom of the separator plates. Otherwise, the cake structure will not be stable.
If you are not familiar with cake separator plates and pillars, please ask the store you are buying them from to help you choose the correct plates and pillars.
Not all pillars can fit into all separator plates. Some pillars cannot be poked directly into cakes, requiring one plate at the top and one at the bottom.
Your base cake board should also be strong enough to hold all the layers. It should be at least a few inches larger than the base cake diameter. Place your base cake on the largest cake board.
Place the rest of the layers on their respective cake separator plates. The separator plates can be on the same diameter as the cake it is going to hold.
Or it can be slightly larger. If you intend to pipe a large border, it is necessary to have a separator plate that is at least half-inch larger than the cake diameter.
How to stack
Step 1: Place each cake layer on a separator plate.
Step 2: Mark the pillar points. Start with the base cake. Place your separator plate of the next layer on the base cake. Gently press it down to mark the place for the pillars. (Make sure you don’t exert too much pressure or you will spoil the icing on your cake.
Step 3: Insert the pillars. Remove the separator plate and put it aside. On the base cake where you have marked for pillars, poke each pillar until you can feel them touching the cake board.
Step 4: Stack the cake layers. Once all the pillars are securely poked into the cake, stacked the next tier on the pillars. Make sure the pillars are well secured to the knobs underneath the top tier separator plate.
Repeat the process until all cakes are securely stacked on the pillars.


ummi
how do you transport that cake? aren't the tire will fall off?
Priya Maha
For tall cakes, especially those on pillars, I assemble them at the event venue.