

In this DIY cake boards post, I am sharing the step by step guide on how to make your own cake boards and how to cover them with foil or other decorative paper. This tutorial will come in absolutely handy when you are making your own cake boards, especially odd shaped ones.
Cake boards are not something that people often make on their own. They are so easily available and cheap; there is no reason why anyone would want to make one.
But then again, there are times when I do make my own cake boards and these are the times when I am unable to find the right shape or size for my cakes.
Or when I realize I have run out of cake boards and I am rushing to finish up a cake order and there is no time to run to the store to get one!
Jump to:
❤️Why make your own cake boards (and why you will love this tutorial)
- An easy way to avoid the hassle of having to go looking for odd shaped or not so common shaped cake boards.
- You can make the cake boards in any size and thickness you want, especially if the size of your cake is very small (like 3 inches in diameter) and you are not able to find the correct size cake boards. And also if you are not able to find the the correct thickness to support the weight of the cake (if your cakes are large or tiered and are heavy).
- A quick way to make your beautiful cake look professional with matching design with your cake. For example, if you are making a baby shower cake in a blue theme, you can wrap your cake board in blue paper or foil and create a stunning professional looking cake board. Or if you are decorating a Christmas cake in white royal icing or fondant, what better way to add easy and quick festive cheer to the cake than to wrap the cake board in a Christmas themed wrapping paper.
- A cheap way to making your own professional looking decorative boards, you can get the materials for this tutorial from local craft store or dollar store at cheap cost.
- Can help cover the jagged edges of plain cake boards that are not wrapped.
If you like this tutorial, you should also check out my other tutorial on how to decorate cake boards like a pro.
And for more guides, check out these tutorials on how to line a cake tin, how to calculate cake recipes, how to make dummy cakes, how to resize templates for cake decorating and how to transport a cake.
Common types of cake boards
A cake board is a flat, typically round or square piece of cardboard, foam, or other sturdy material that is used to hold and support cakes.
It serves as a foundation for the cake, providing stability and making it easier to move the cake around. Cake boards are also used to support cake layers in tiered cakes.
They come in various sizes, thicknesses, and designs to accommodate different types and sizes of cakes. Here are the most common types of cake boards:
Corrugated cardboard cake boards
- Most common cake boards available in the market.
- Made from corrugated cardboard, which is a type of cardboard that consists of three layers: a wavy inner layer (called corrugation) sandwiched between two flat outer layers. The corrugation provides added strength to the cardboard to support the weight of a cake.
- Disposable after use.
- Suitable for holding single tier cakes or top cake tiers in tiered cakes.
Foam core boards
- Also known as foam boards or foam-centered boards
- Made from a combination of lightweight foam that is sandwiched between two outer layers of paper or cardstock, which provides stability and support for cakes.
- Typically thicker and more rigid than regular cardboard cake boards and able to withstand larger and heavier cakes.
- Foam board is also typically moisture resistant, which helps to prevent the board from warping or becoming soggy when in contact with frosting or other liquids during the cake decorating process.
MDF cake boards
- Made from a type of engineered wood product called medium-density fiberboard (MDF).
- Denser and more stable than regular cardboard or foam core cake boards, and can withstand heavier cakes without bending or warping.
- Often covered with food-safe wrapping or foil to enhance their appearance and make them more suitable for food contact.
Masonite cake boards
- Made using a type of hardboard, also referred to as HDF or high-density fiberboard. It is more of a higher density as compared to MDF which is medium density.
- Sturdy cake boards and suitable for supporting heavy cakes or multi-tiered cakes.
- Similar to MDF boards, Masonite boards are sold plain and wrapped.
Plywood cake boards
- Made from thin layers of wood veneers glued together.
- The strongest option of all the types of cake boards and best suited for very large and heavy cakes.
- Not very commonly available and may need to be custom ordered.
- Often required wrapping to avoid direct contact of the wood with cake.
📋Supplies required to make your own cake boards
Making cake boards from scratch is really not that difficult, at least in the way I make them. All I use is thick cardboard and food-grade foil (I have even used baking foil) to wrap the board.
Food grade foil can be found in cake decorating supply shops. You can even use decorative paper to provide its food safe or if you are not sure, simply wrap a layer of plastic wrap around it.
- Cardboard - This should be at least one or one and a half inches larger than the size of the cake you want to make the cake board for.
- Cake tin - I use my cake tins to draw out the cake board template. You can also freehand the drawing.
- Ruler - This is to measure the one inch / one and a half inch allowance at the sides of the cake board accurately so that the cake board is correctly sized.
- Cake board foil - this is material that will be used to cover the base board.
- Glue - to stick the wrapping paper or foil to the cardboard.
- Scissors - to cut the cardboard and the wrapping foil or paper.
👩🍳How to Make
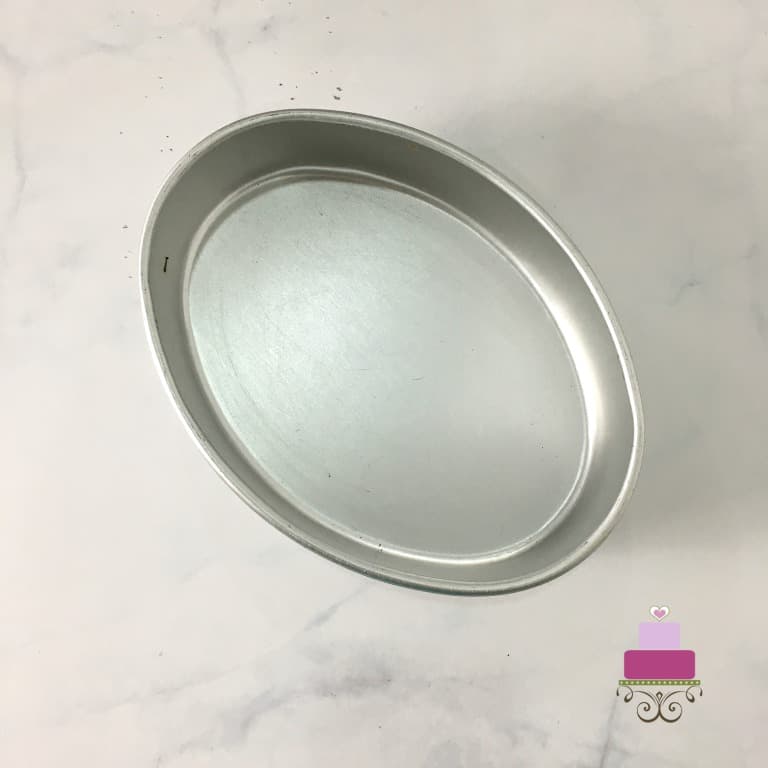
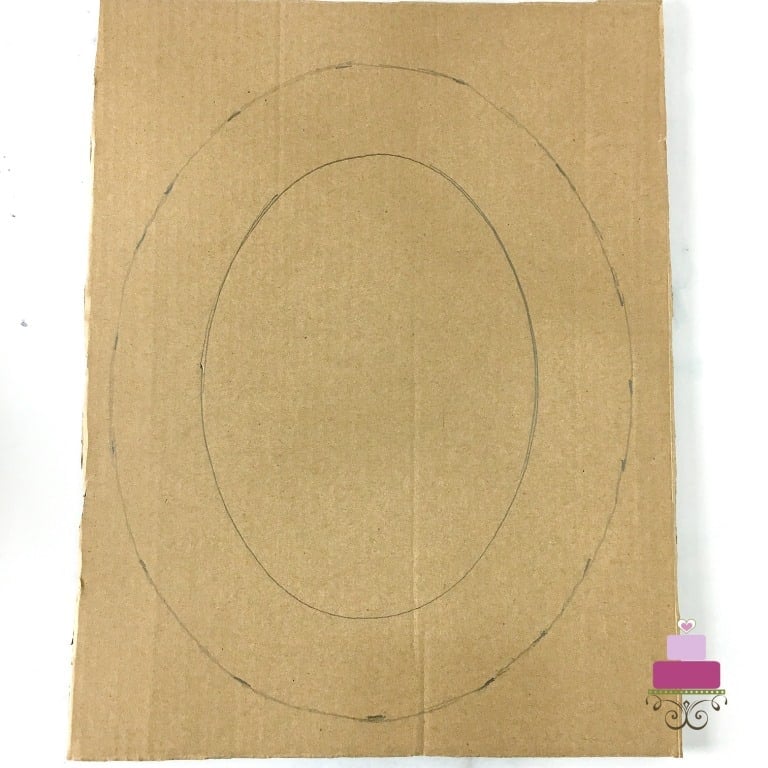
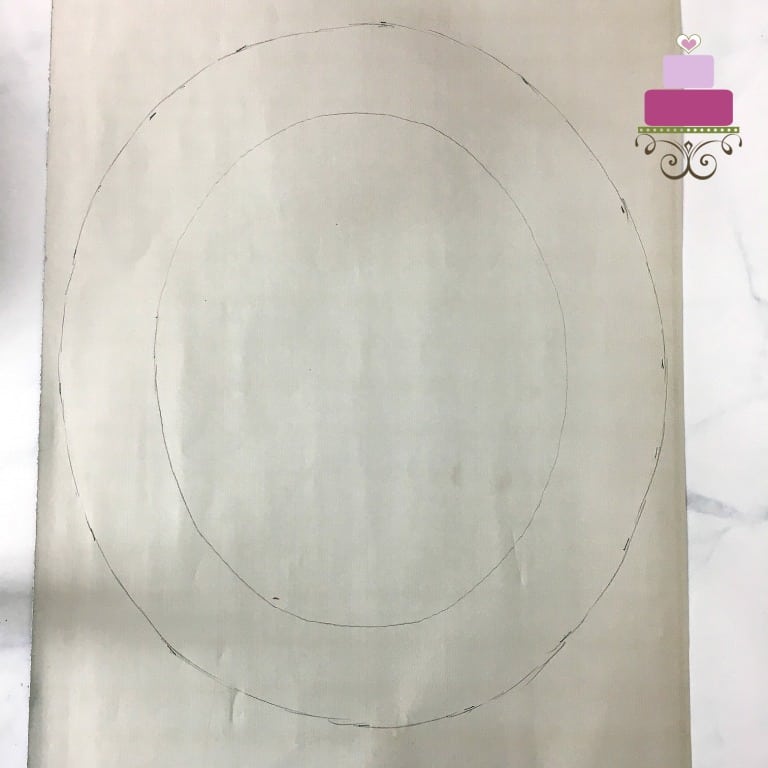
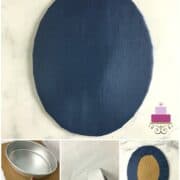
Step 1: Prepare the template
The first step for making the cake boards is to get the template ready. For instance, if you are going to bake an oval-shaped cake and need an oval-shaped cake board, you would need to trace your oval cake tin outline on a piece of cardboard.
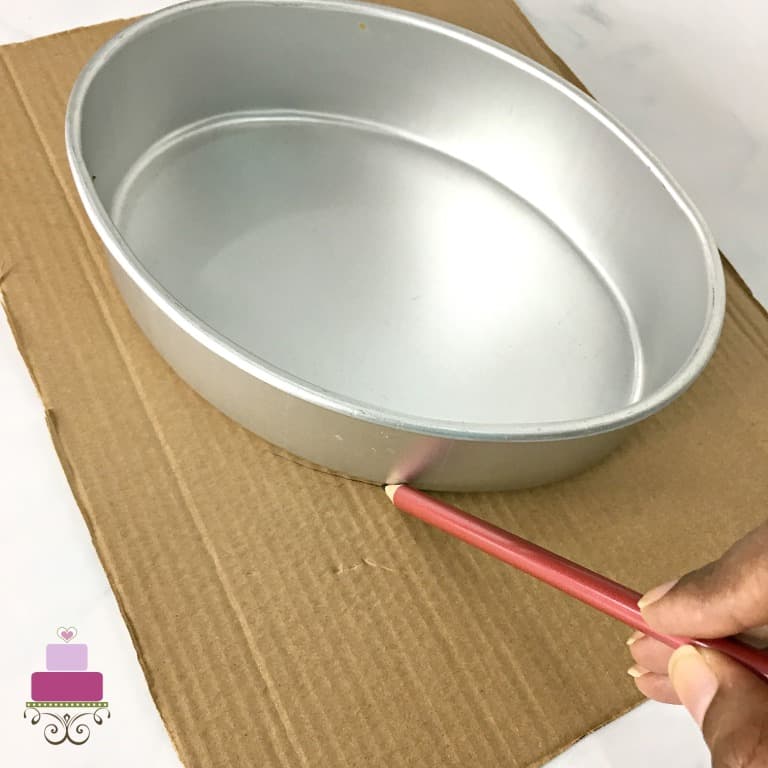
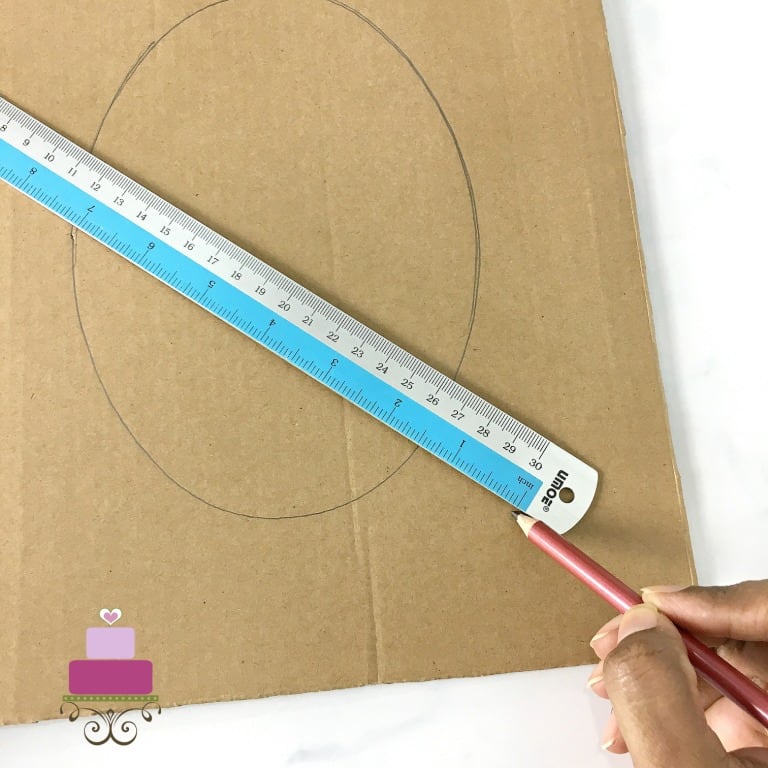
Next, remove the tin and draw another outline, this time, approximately 1 inch to 1.5 inches away from the earlier outline. The 1 to 1.5 inches allowance is to make sure the cake board is slightly bigger than the cake itself.
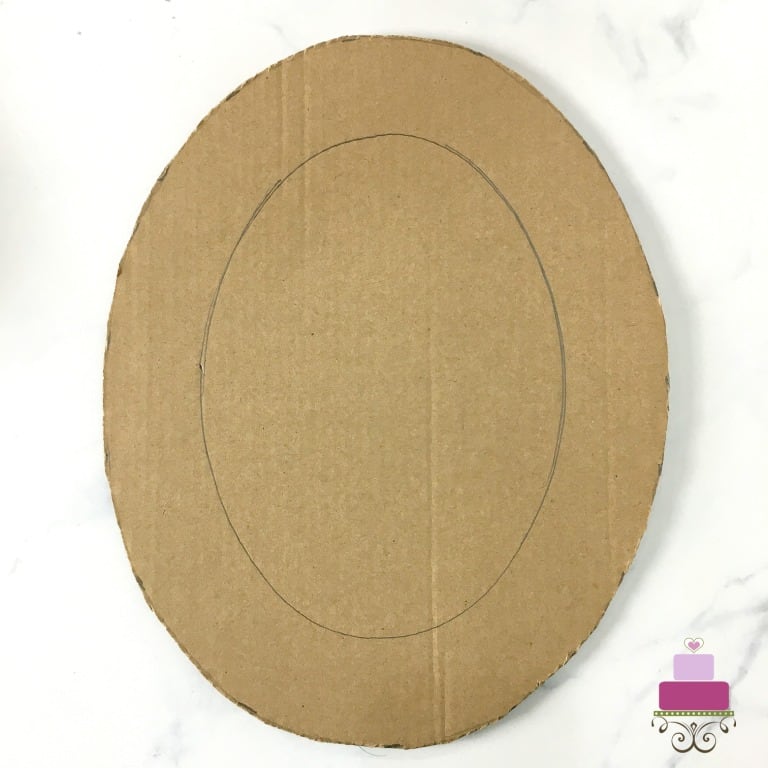
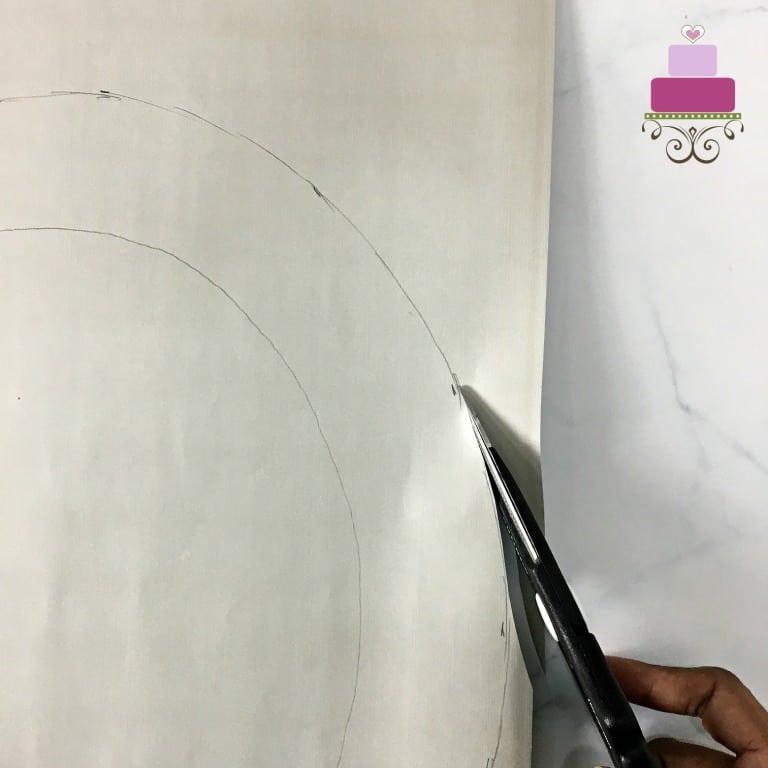
Step 2: Cut the cardboards
Cut the board following the second outline (the outer outline). Repeat the process for another board cut out of the same size.
Note: I use at least 2 boards stacked together to hold my cakes, but if you are ok with one, you need not cut 2 pieces of board. One would suffice.
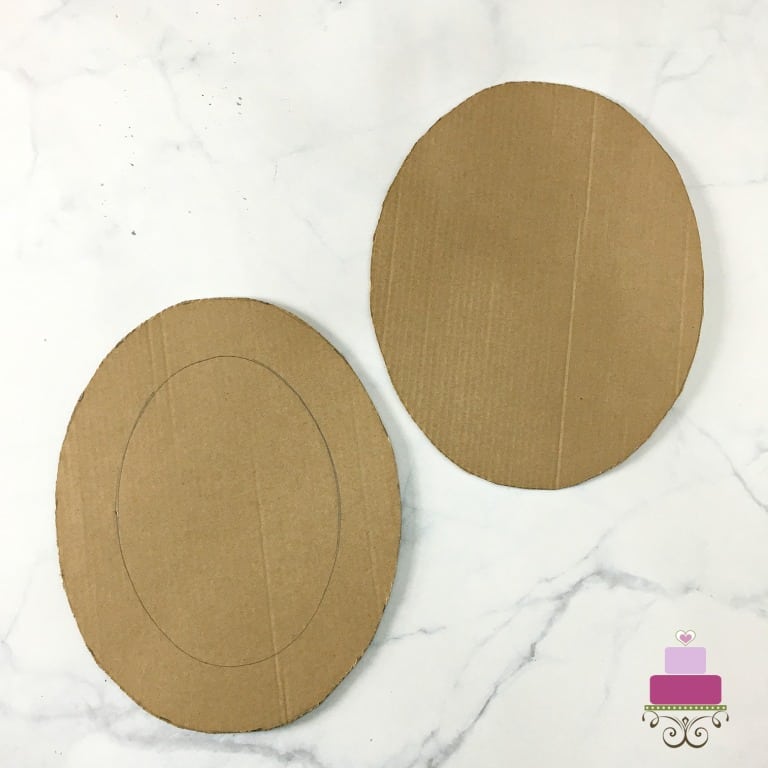
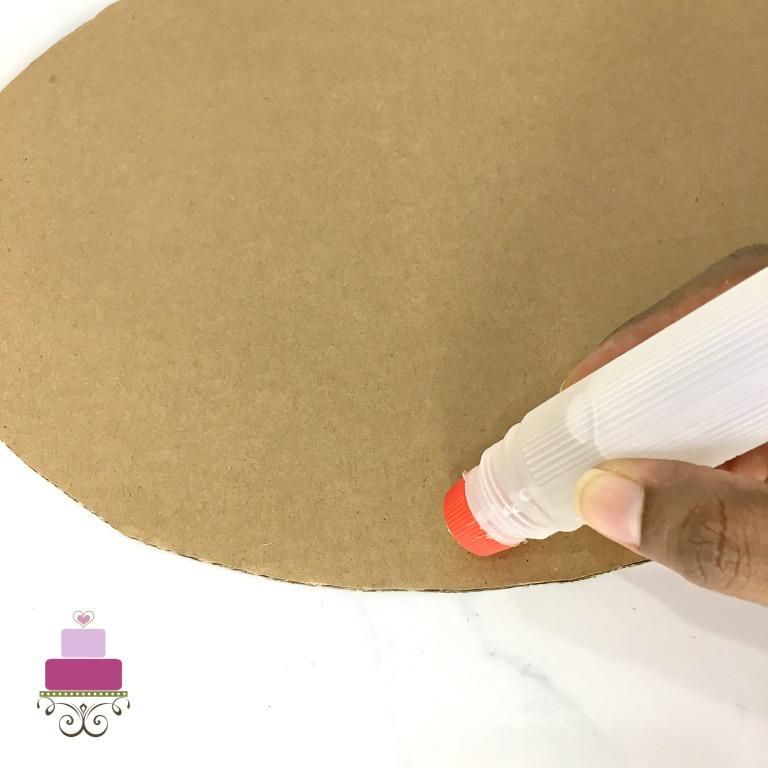
Glue both the board pieces together. This would form the base of your cake board.
If you are using MDF boards or Masonite boards, you will need to use hot glue to stick the pieces together.
Step 3: Cut the wrapping paper / foil
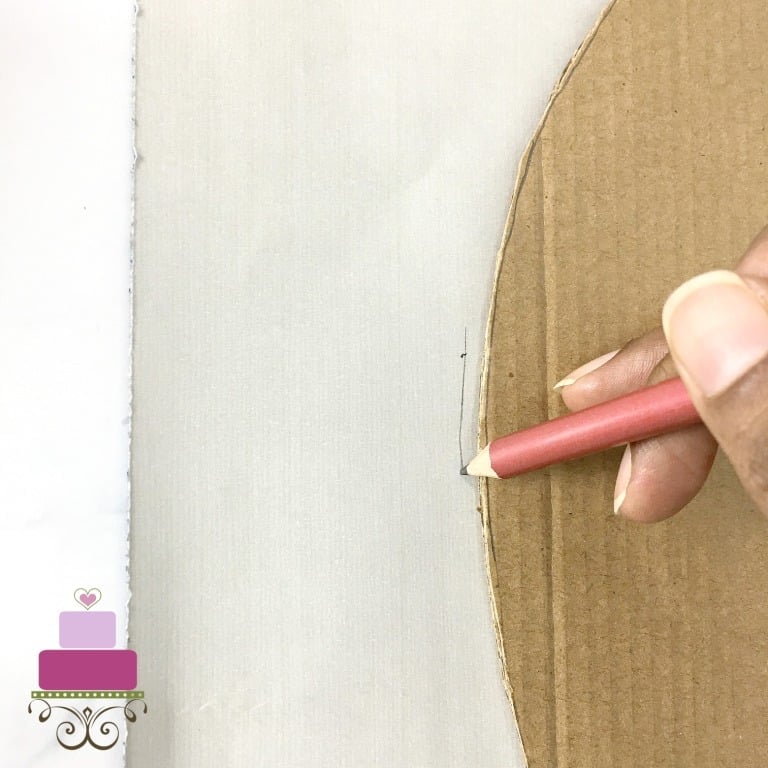
Next, place the cardboard cutouts on your foil and trace the pattern onto the back of the foil.
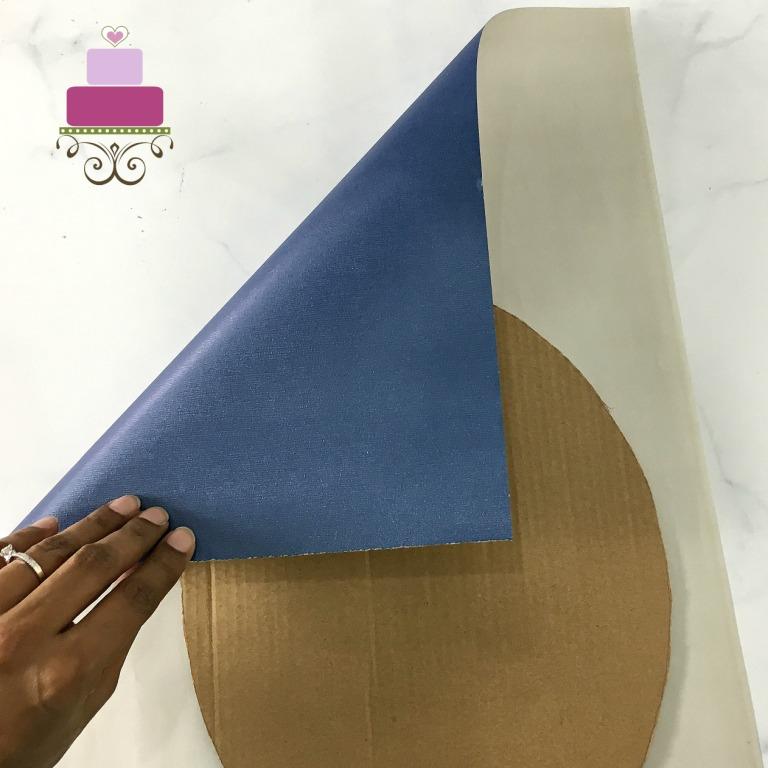
The foil piece that you use to wrap the board template cannot be in the exact same size as the cardboard. This is because it needs to be wrapped around the cake board. It will not be a full wrap. However, the sides need to be folded underneath so that the cake board looks neat and the cardboard is not visible.
For this purpose, when you cut your foil, give it an extra allowance of about 2 inches on the sides. This is so that there is enough foil to fold over the board sides.
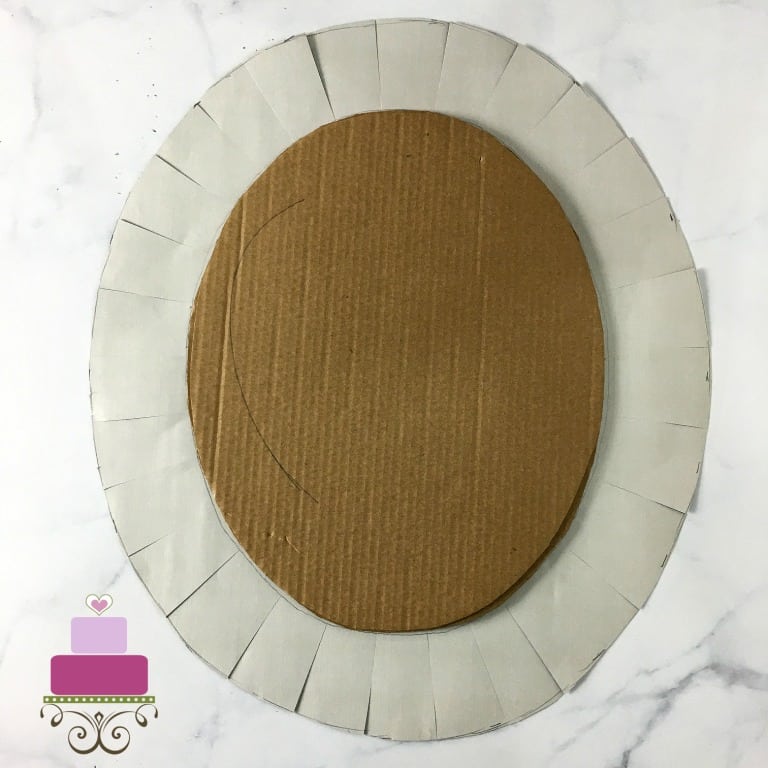
To make it easier to fold over, make short snips all around the foil. When doing this, make sure the cut does not go beyond the outline of the cake pan you made on it earlier.
You can keep each snipping to a distance of about 1 to 2 inches each.
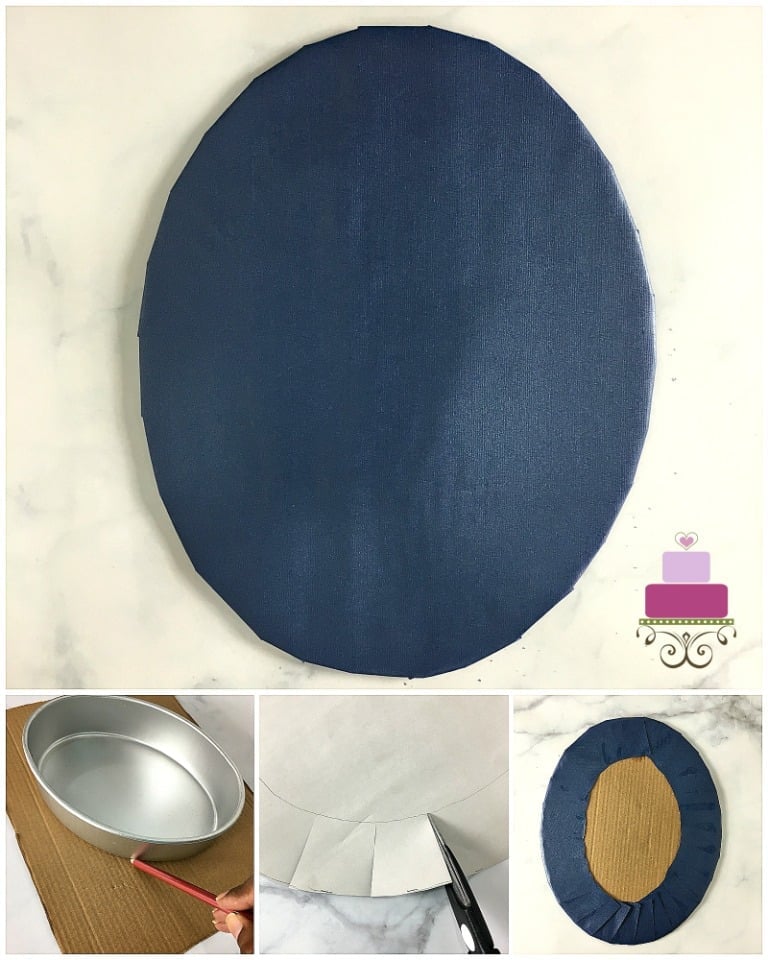
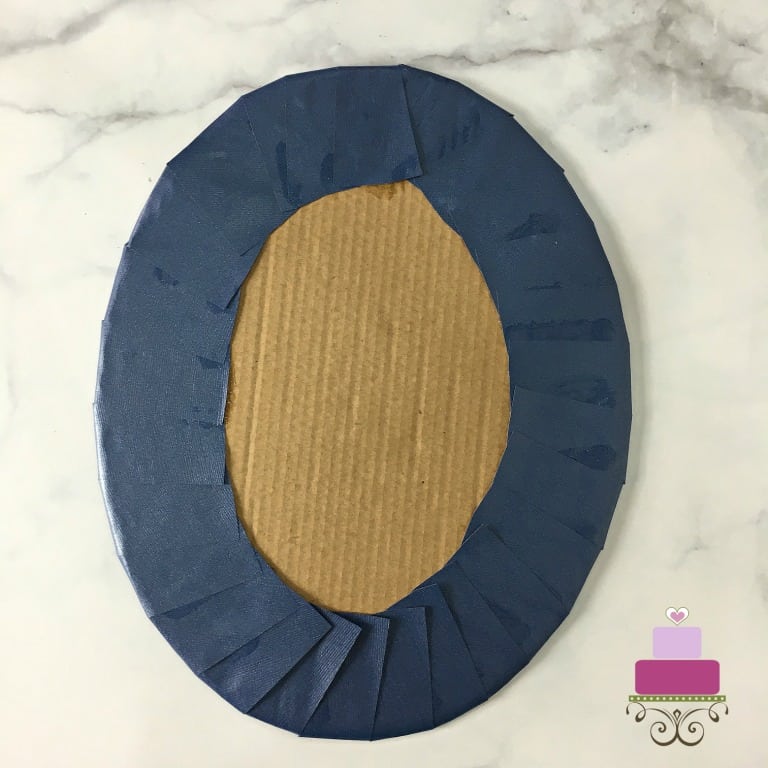
Step 4: Wrap the boards
Finally, wrap the foil around the board and secure the bottom neatly. Foil does not need glue to hold it in place. But, if you use paper or other material, you would definitely use glue to hold everything in place.
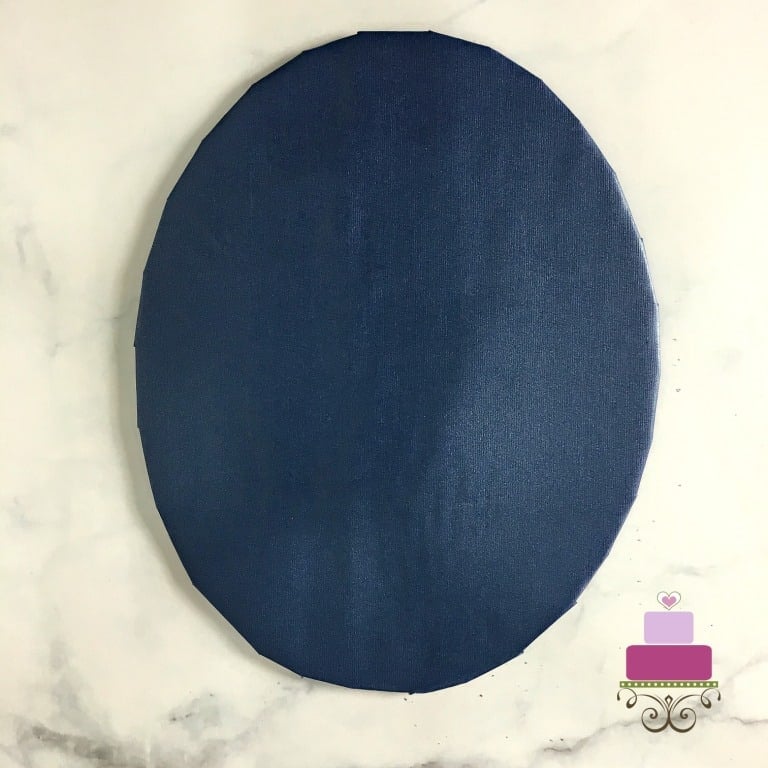
Once the gluing is all done, turn the board over. And this is how the completed cake board would look like:
💡Expert tips
- Always remember to make sure the cake boards are thick and sturdy enough to support your cake weight. I only use cardboards for small cakes (i.e. less than 8 inches in diameter). Even then, I stack at least 2 cardboards together to make sure they are able to hold the weight of the cakes. A few stacks of MDF cake boards will be able to give enough support for a 12 to 15 inches round/square cake. For larger cakes, it is advisable to use plywood boards.
- The color and design of the wrapping paper or foil you use for your cakes should complement your cake design
- Cake base boards or cake drums should be at least one inch wider than the side of your cake (bottom edge of the cake on all sides of the cake.
- If you are using a foil to wrap your cake boards, you can use a bench scraper to smoothen the lines, but don’t apply too much pressure or you might tear it.
This is how I usually make and cover cake boards. But this is not just it. In most cases, when I use plain foil to cover my cake boards, I don’t quite like to leave my cake boards plain and not decorated.
So most of the time, I cover them with fondant (for fondant covered cakes).
Other times, I add some other decorations to it (in the form of fondant cut-outs, candles, doilies, etc). Click here to read all about other cake board decorating ideas.
Hope this cake board DIY tutorial is useful for you in making your own cake boards.
💭FAQs
Yes you can. If you are using a painted paper or material to cover your cake boards, or painting directly on the cake board, be sure to wrap it with a food safe plastic wrap or clear contact paper to avoid the toxins from the paint from seeping into your cake.
Cake drums are thicker cake boards and used as base boards to support heavy cakes.
For light and small cakes, you can easily make a cake drum by stacking a few cardboard cake boards together and wrapping them.
For heavy cakes, you can stack a few MDF or Masonite boards together or use a plywood to make the cake drum.
Cake base board is basically the cake board that is placed at the base on your cake.
In a tiered cake, it will be the bottom most cake board that holds the entire cake. Depending on the size of your cake and the weight, you can make a base board in the similar way as a cake drum above.
You can use a wrapping paper that looks like wood to make your cake board look like wood.
Another option is to cover the top with fondant and use a needle tool to inscribe wood grain lines on it like I did here for this Belle cake.
Another idea to make wood grain pattern on fondant would be this Smurfs cake where I decorated the sides of the cake with tree bark design.
Do not use non food safe material such as paint or glitter and cause these material to have a direct contact with your cake. Always wrap the cake board with a transparent wrapping plastic to ensure this.
Do not wrap your cake board with paper that can absorb grease. This will cause your cake board to look very cheap and unprofessional.
Do not choose a material, color and pattern for your cake board covering that does not complement the overall theme of your cake design.
The easiest way to determine the size is to measure the cake tin, and then giving an allowance of one and half inches all around of extra space on all the sides of the cake.
Your cake board (especially your base board) should be at least 1 or 1.5 inches wider than the cake.
If you are not in for using cake boards, other options would be to place your cakes on pretty disposable plates, ceramic plates, or directly on cake stands. You can also use the base of your loose bottom cake tins as the cake board (provided you don't give the cake away to someone with the base tin).
Or if you do not want to wrap your cake boards, you can decorate them instead. See my post on how to decorate your cake boards for some creative ideas.

Phil Jonah
I really enjoy the teaching hope to come back again for more thanks.