

This tutorial outlines a helpful technique for creating and resizing templates for cake decorating. With only 3 easy steps, you can print any templates or fonts from your computer, be it for making DIY cake toppers or to cut out 2D cakes in the exact size you want, for use on your cakes.
Sometimes, or many times for some, when you print an image or document from your computer, the size of the print out may not be as it appears on the screen and so you end up resizing and reprinting until you get the correct size.
Let me show you how you can resize your templates and get them printed in the exact same size on the first attempt itself. This is the technique I use to decorate some of my cakes like this Godzilla cake, Marvel Superheroes cake, Star Wars birthday cake and airplane cake.
Jump to:
❤️Why you will love this tutorial
- You can learn to create your own number and letter (alphabet) templates for cake toppers.
- You can also use the same technique to create cake templates to make number and letter cakes.
- You get to print out your templates in the exact same size you want them on your cakes without having to reprint many times to achieve the size you wish.
- It saves you lots of money from having to buy templates from elsewhere.
📋Supplies required
- Computer & Microsoft Word application - this is where you will be creating and resizing the templates. You can also use other applications like Power Point or other software using this same technique.
- Paper - to print your templates on after resizing.
- Printer - to print out the templates.
👩🍳How to make
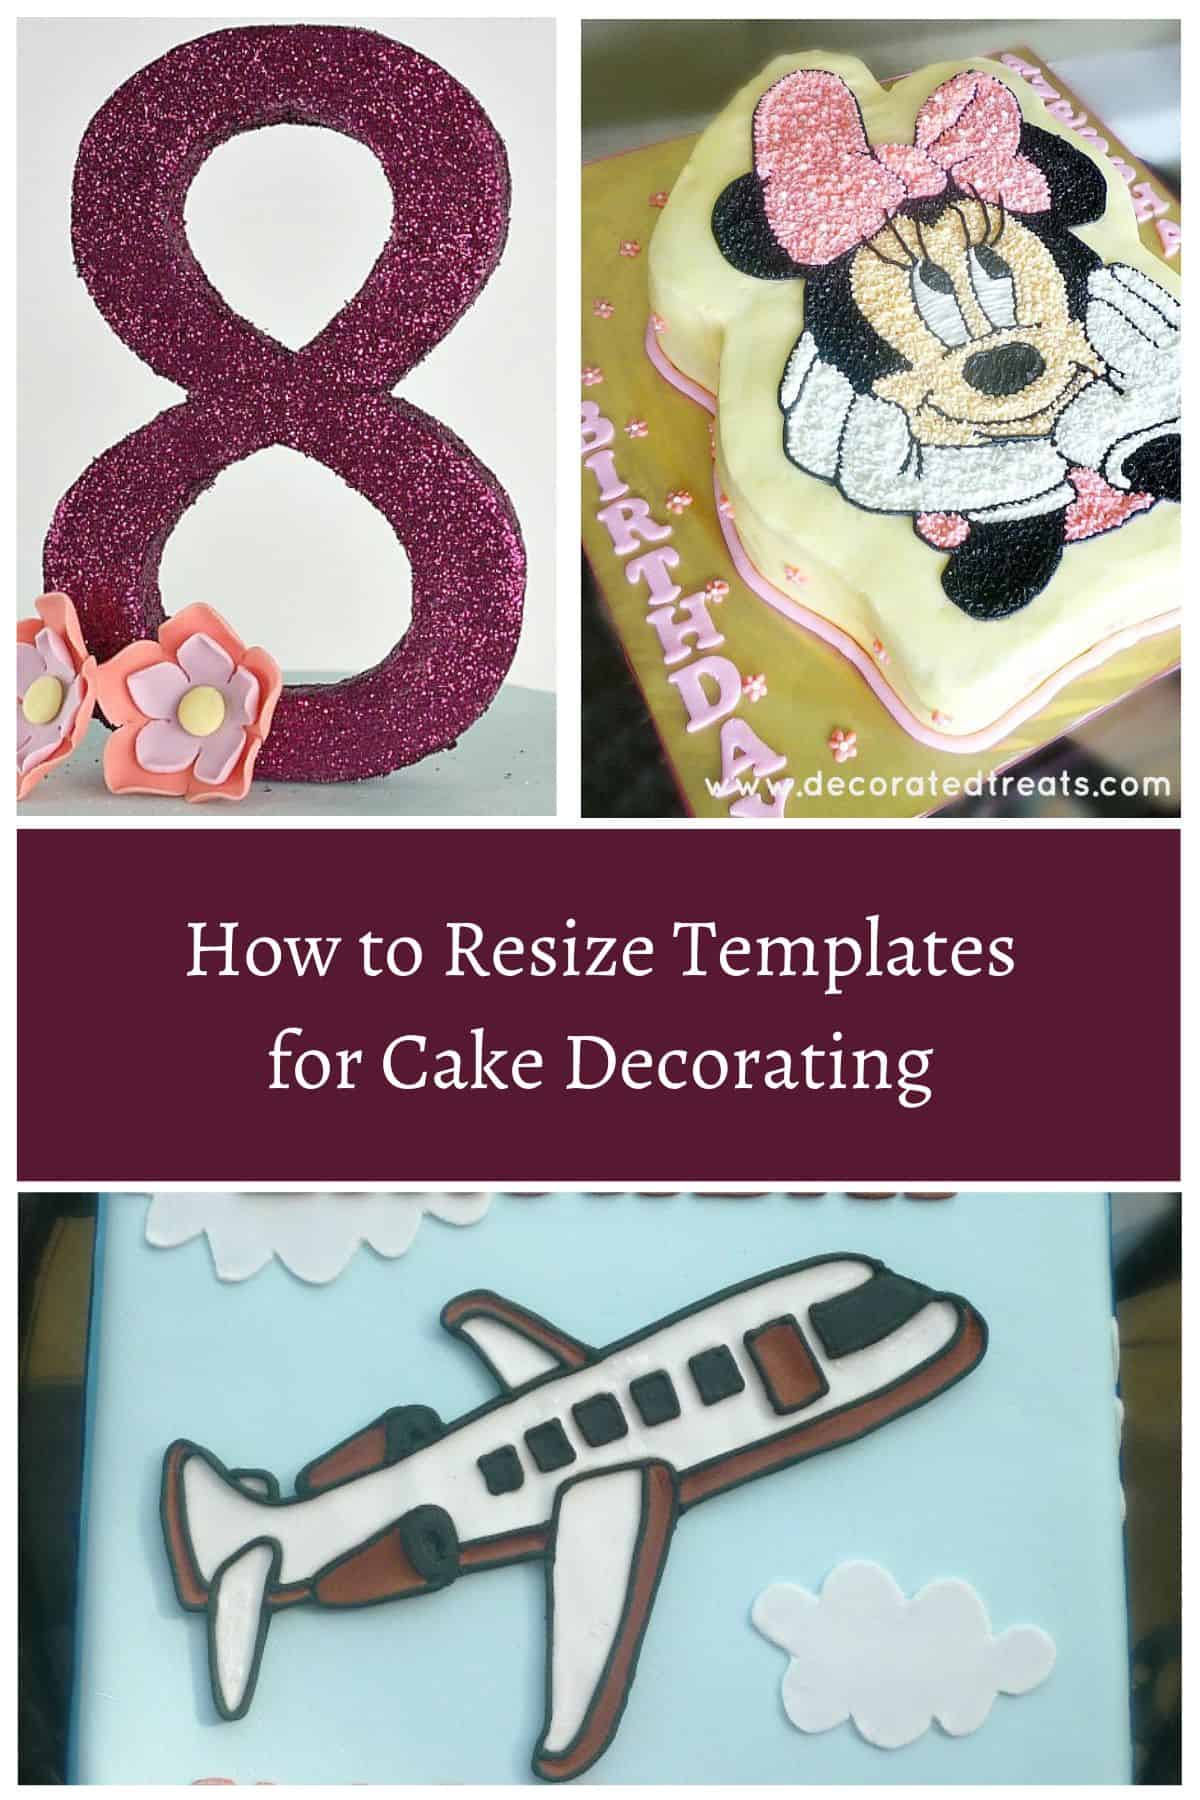
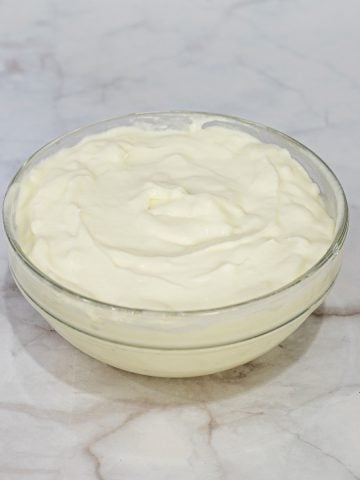
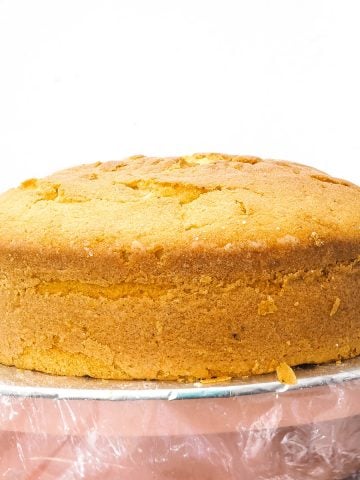
For easy explanation, I will use the number 8 cake topper that I did for this flower cake with edible butterflies below as an example. When I made this cake, I did not have any special cutters for the number '8' topper.
So I made my own template and used it as a guide to cut the number out. The template I used was a simple print out using my computer.
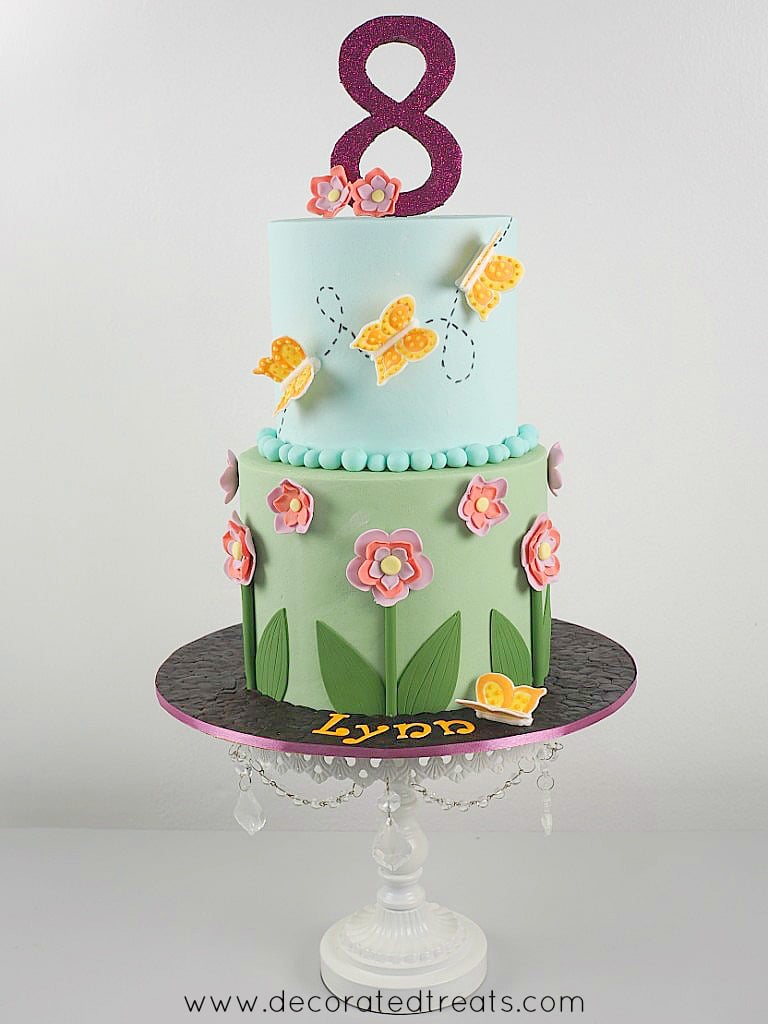
Let's assume you want the topper to be 8 cm in height. This is how you do it:
Step 1: Adjust the screen size on your computer
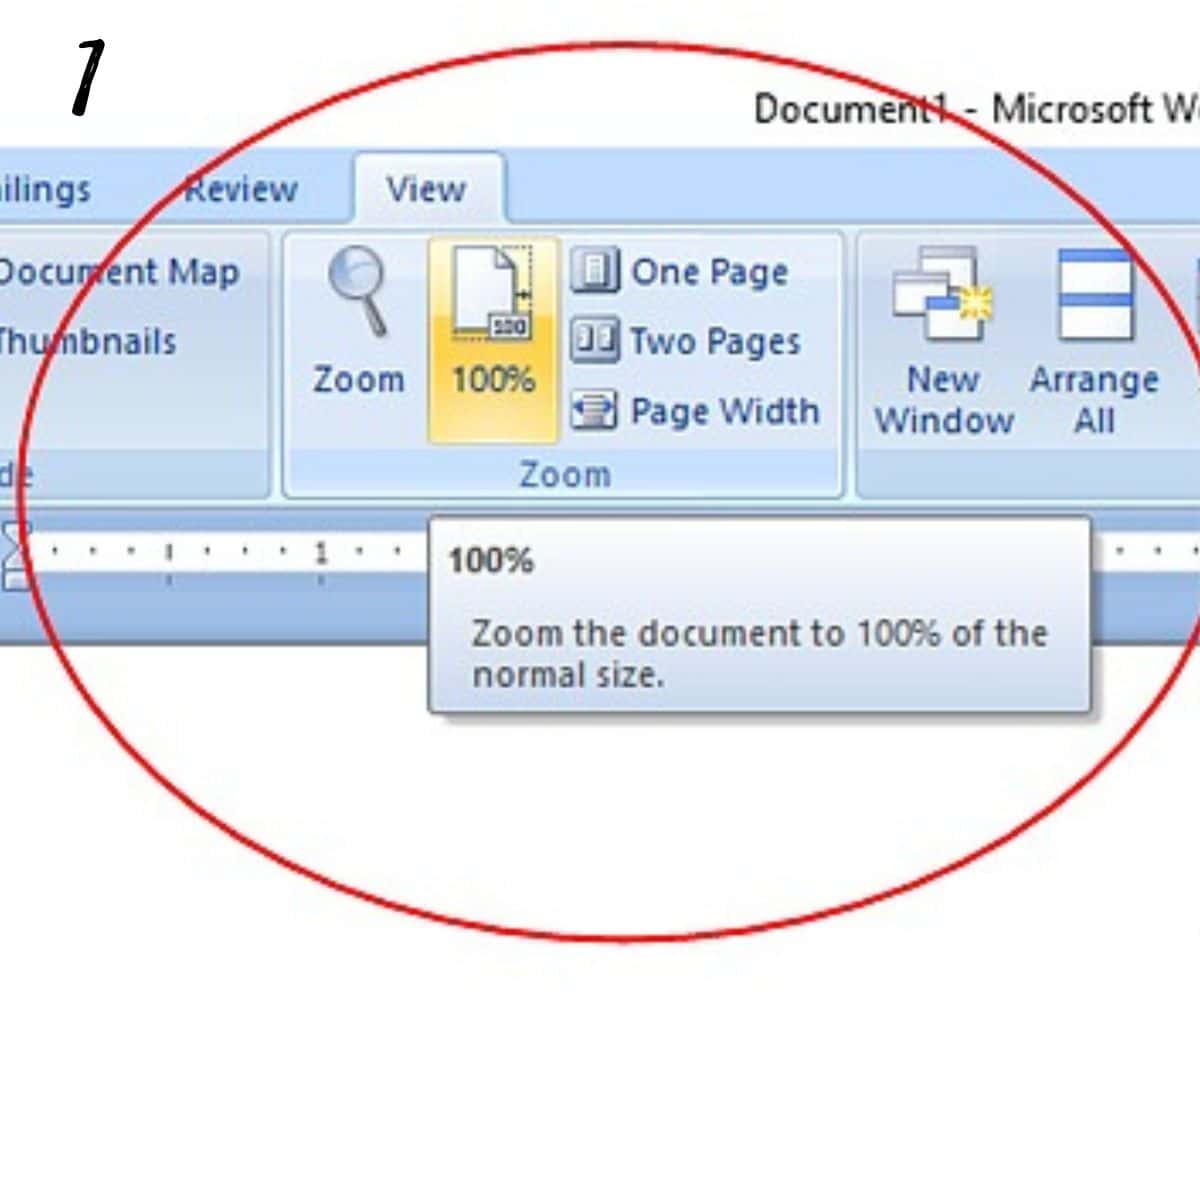
Log on to Microsoft Word application.
And then adjust the ‘view’ setting to 100% (image 1).
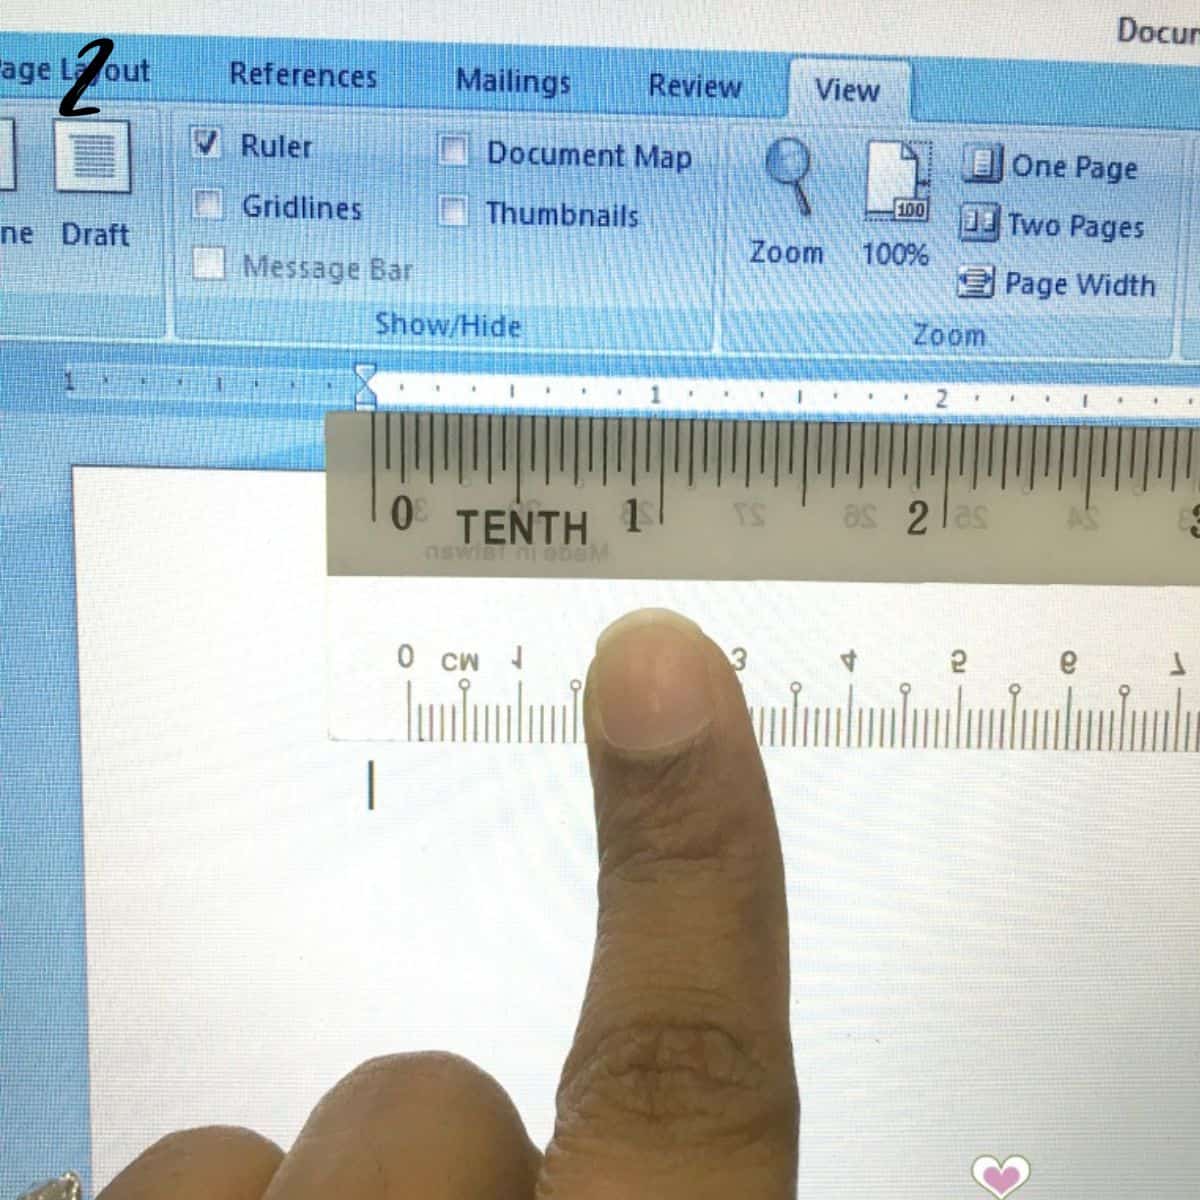
To make sure the 100% view on the screen is also a 100% view on paper, measure the ruler bar on the top of the screen with an actual ruler.
Make sure the 1-inch measure on the screen is exactly the same as the 1-inch measure on your ruler (image 2). This is basically the trick in this technique.
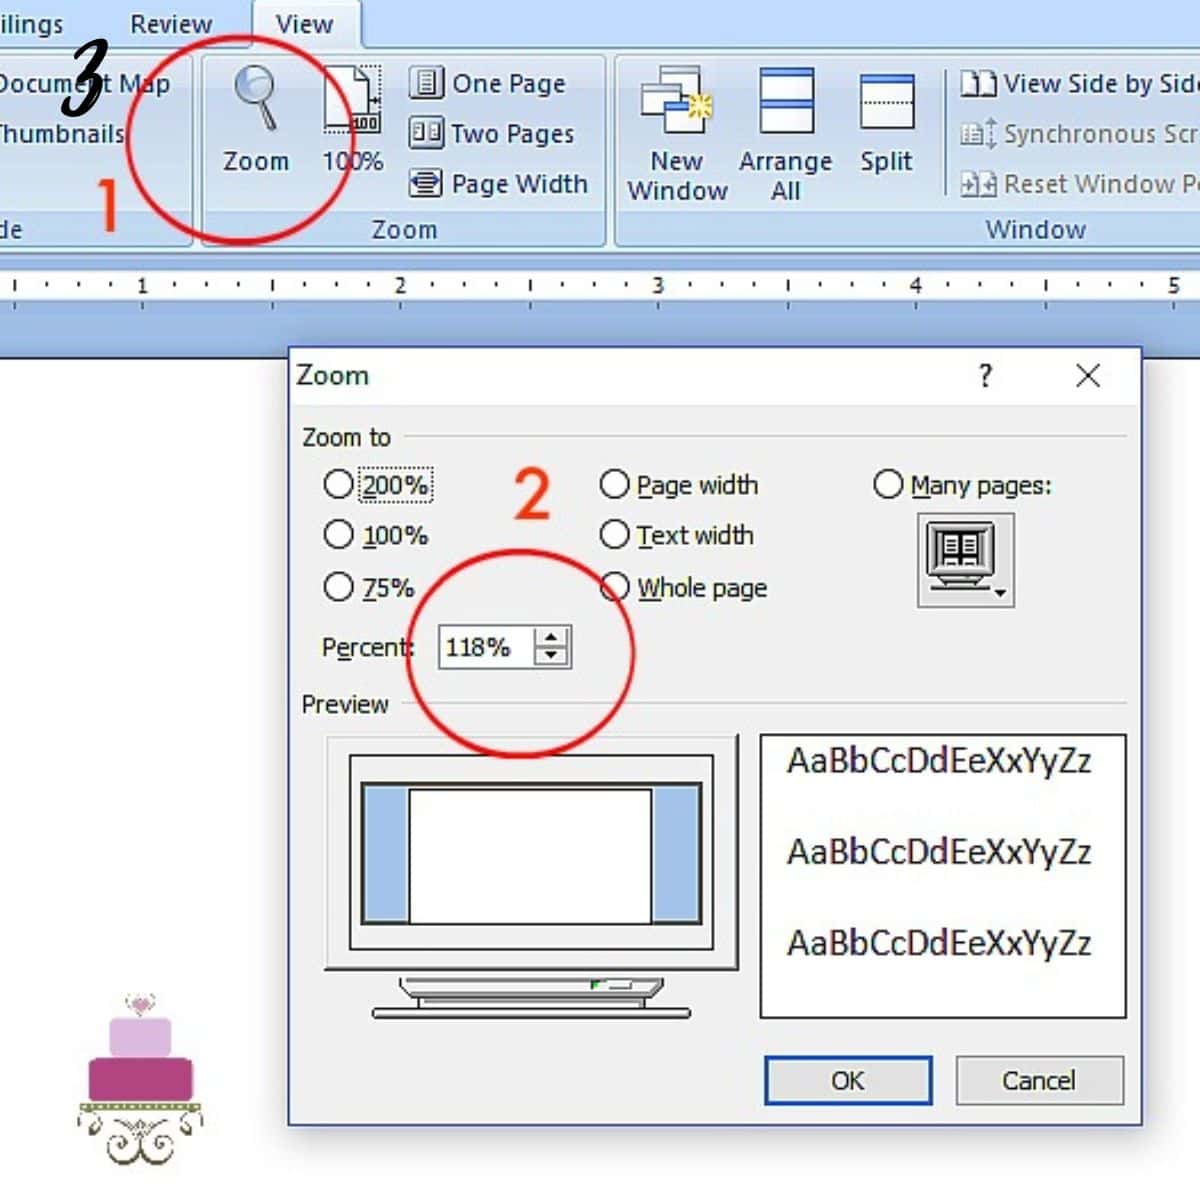
If the measure is not the same (which is the case most of the time), adjust the ruler bar length to match that of the ruler.
To adjust the ruler bar length, click on the 'View' tab and then choose 'Zoom'. A 'Zoom' box will pop up. Here, adjust the 'percentage' until the ruler bar measures the same as your ruler (image 3).
Once the measure on the screen becomes the same as on the ruler, stop the adjusting process.
At this point, any print outs from the Microsoft Document will be in the same size as they appear on the computer screen.
Step 2: Design the template for cake decorating
Once the setting is all perfect, type out the number or alphabet template you wish to make. In this example, it is number '8'.
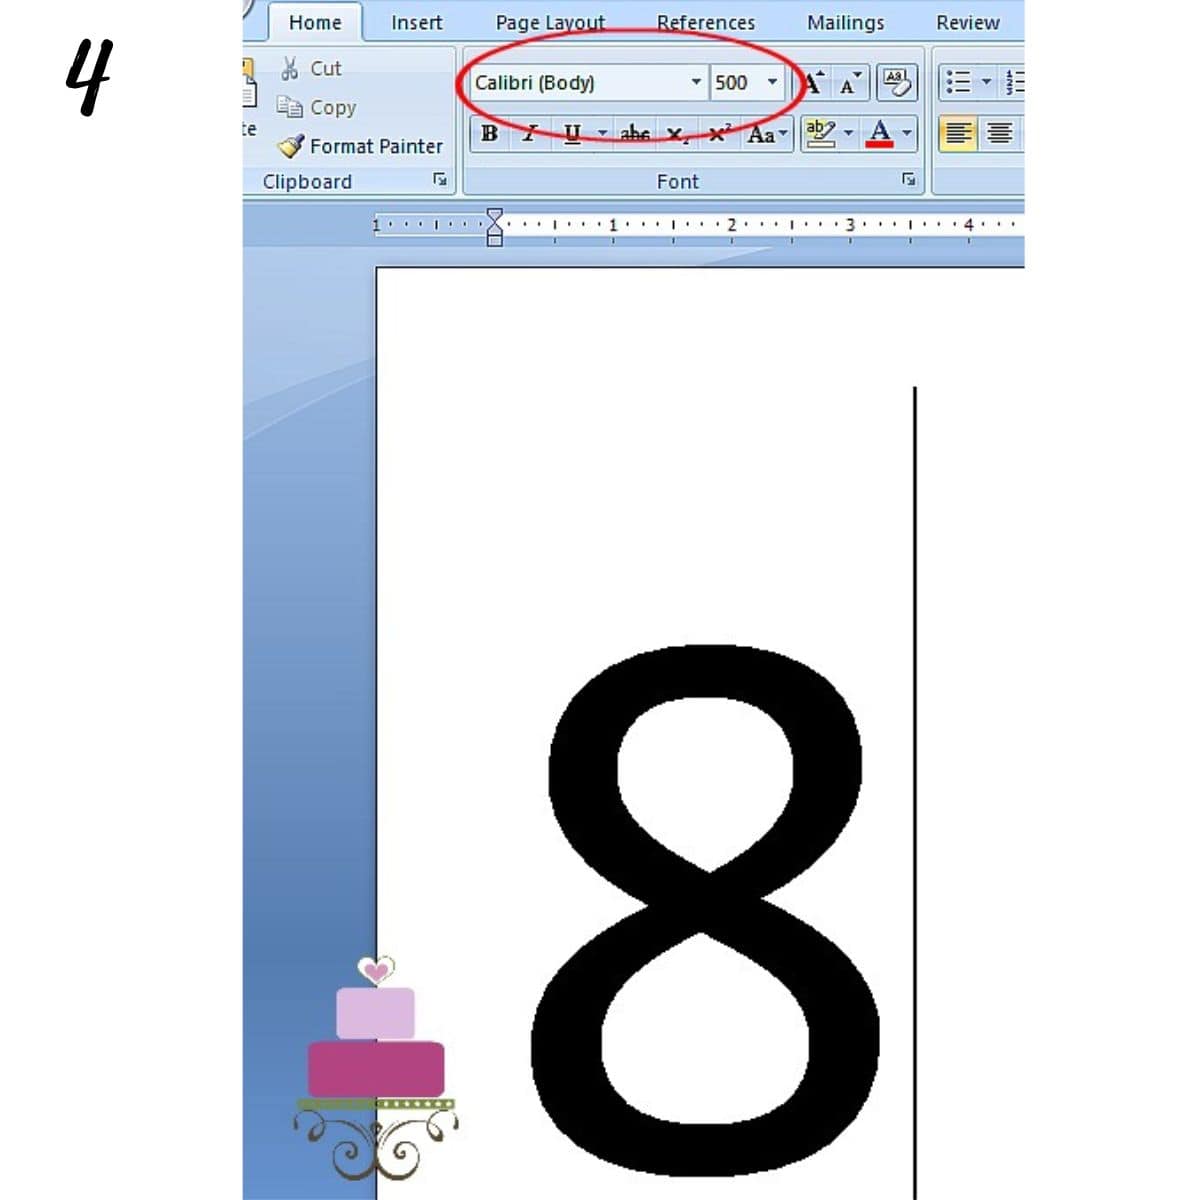
Type the number '8' on your keyboard. And then choose the font you want. In this instance, I chose 'Calibri' (image 4).
Next, adjust the font size to the actual size you want the topper to be on the cake (since you have already adjusted the setting in the earlier steps above, you can be certain that the print out will be in the exact same size as you see on the screen).
In this example, I wanted the topper to be 8 inches high and so I adjusted the size (in this case to size 500) until the number was 8 inches tall (measured with an actual ruler on the screen).
Step 3: Set the template to 'outline' mode
Next, to not waste my printer ink, I set the font to the 'outline' effect. This is how to do it:
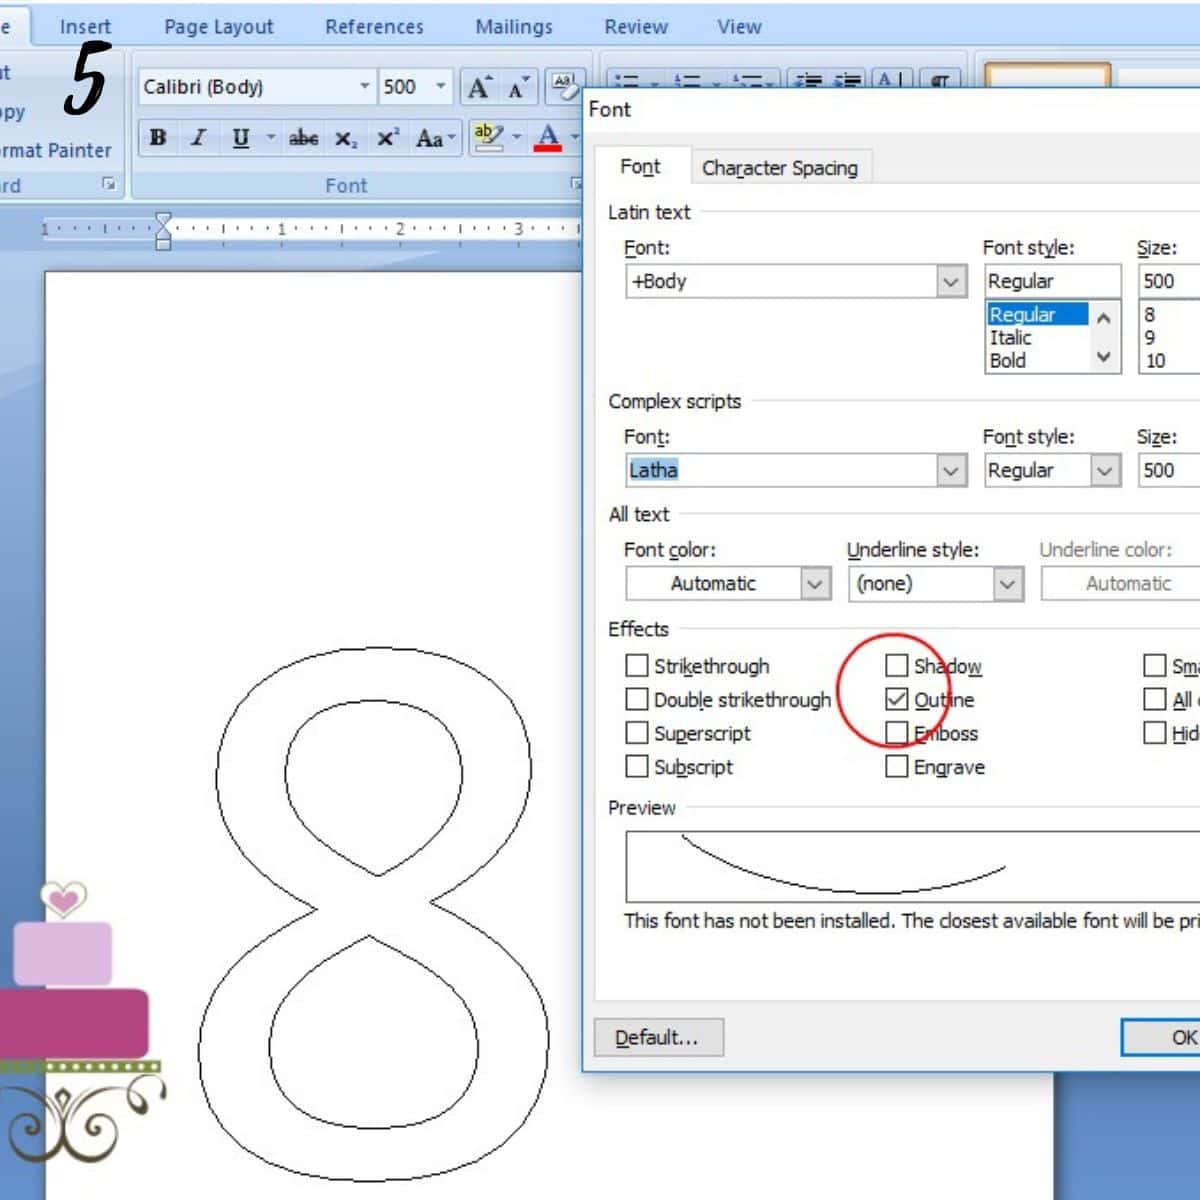
Tick on the box which indicates as 'outline' (image 5). And that's it. The template is ready to be printed out and used to make the topper.
I also use this technique when preparing images for my cut out cakes. For example, when I did this Minnie Mouse cake for my niece, I wanted Minnie’s image to be large enough to fit a 11 inches by 13 inches rectangle cake.
The steps I took to resize Minnie's image were the same as above. However, since I used an image from the internet, these were the additional steps I took:
- I started by copying the image onto a Microsoft Word document.
- And then I adjusted my paper setting to A3. I wanted the image to fit my 11 inches by 13 inches cake which was pretty much the size of an A3 paper.
- After that, I adjusted the ruler bar to fit the actual paper size and then resized the image so that it was large enough to fit my cake, as per the steps above before printing it out as my cake template.
And that’s that. If you have any questions, please feel free to leave them below. I will revert as soon as I can.

Leave a Reply