

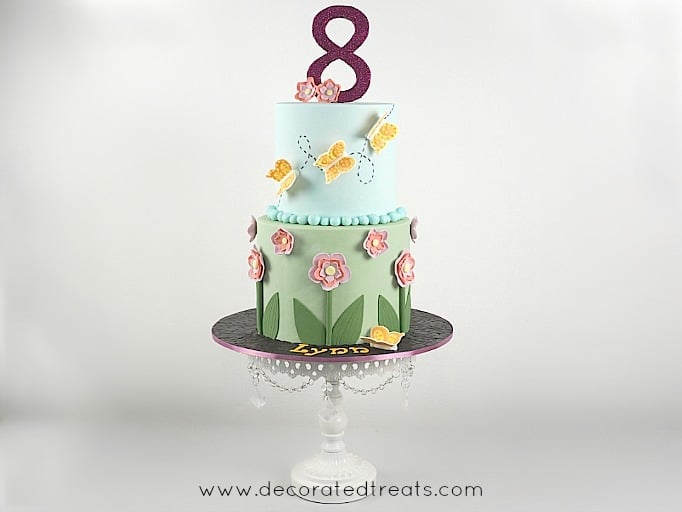
Learn how to make this 2 tier flower cake with this step by step tutorial. Decorated with simple fondant flowers, 3D royal icing butterflies and glittery number topper, this cake is not just pretty, it is easy to make too.
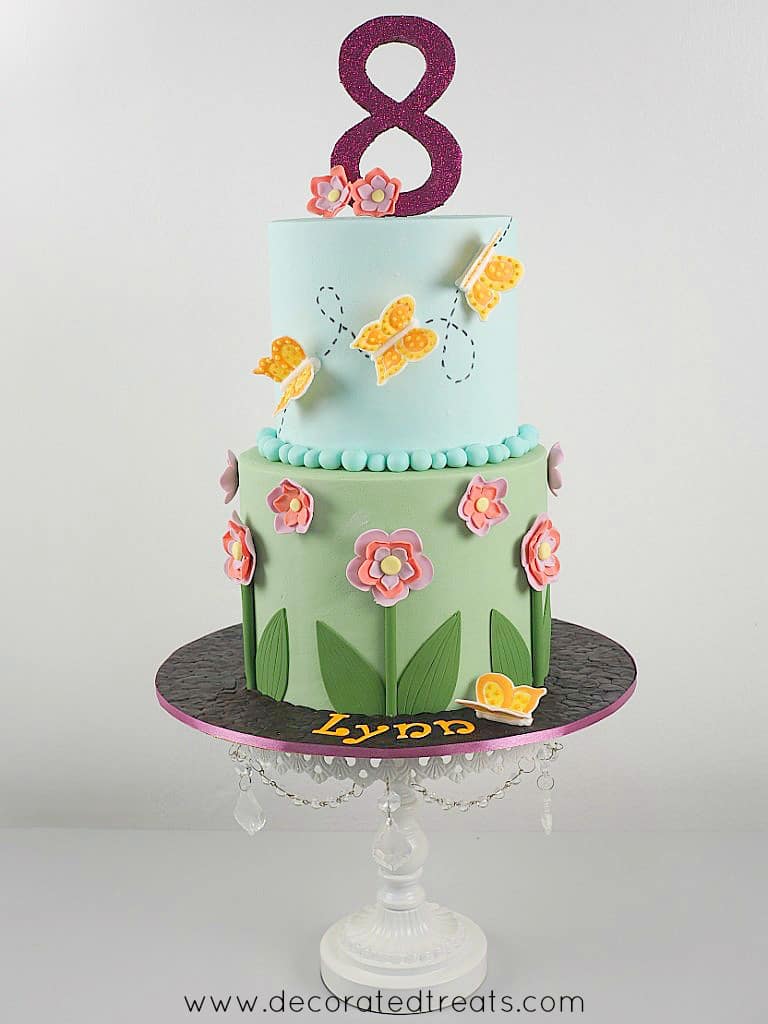
I made this butterfly and flower cake for an eight-year-old girl's birthday. The idea was to make something girly and slightly animated given her age. So I came up with the polka dot edible butterflies and simple fondant flowers. To complete the cake, I adorned it with a large, glittering, eye-catching number '8' topper.
This was a 2 tier cake. I covered it entirely in fondant. The decorations are mostly fondant too, except for the 3D butterflies which were made using royal icing.
If you like this cake, you should also check out this castle birthday cake, simple dog cake design, doll cake, princess castle cake, buttercream castle cake, unicorn cake and this Hello Kitty birthday cake. They make great birthday cake ideas for girls.
🧾Supplies Required
- Cake - It was a two-tier round cake measuring 6 inches and 8 inches in diameter. Both cakes were with an approximate height of 6 inches. I used my butter pound cake recipe for the cakes. I multiplied the recipes by 1.5 times so that each tier was 6 inches high (my recipes are calculated for cakes of 4 inches height). Each tier consisted of 3 layers of cakes.
- Buttercream - I used buttercream to sandwich the cake layers as well as to coat the cakes before covering them with fondant.
- Fondant
- This is a fondant covered cake. I used Satin Ice fondant, covered the top tier in Satin Ice Baby Blue fondant, and the bottom tier in white fondant tinted with Wilton Juniper Green
- Black food marker
- Purple satin ribbon
- Fondant flowers and leaves - these were handmade. I have a separate tutorial page on how to make these flowers.
- Royal Icing butterflies - These are entirely edible and were made using royal icing.
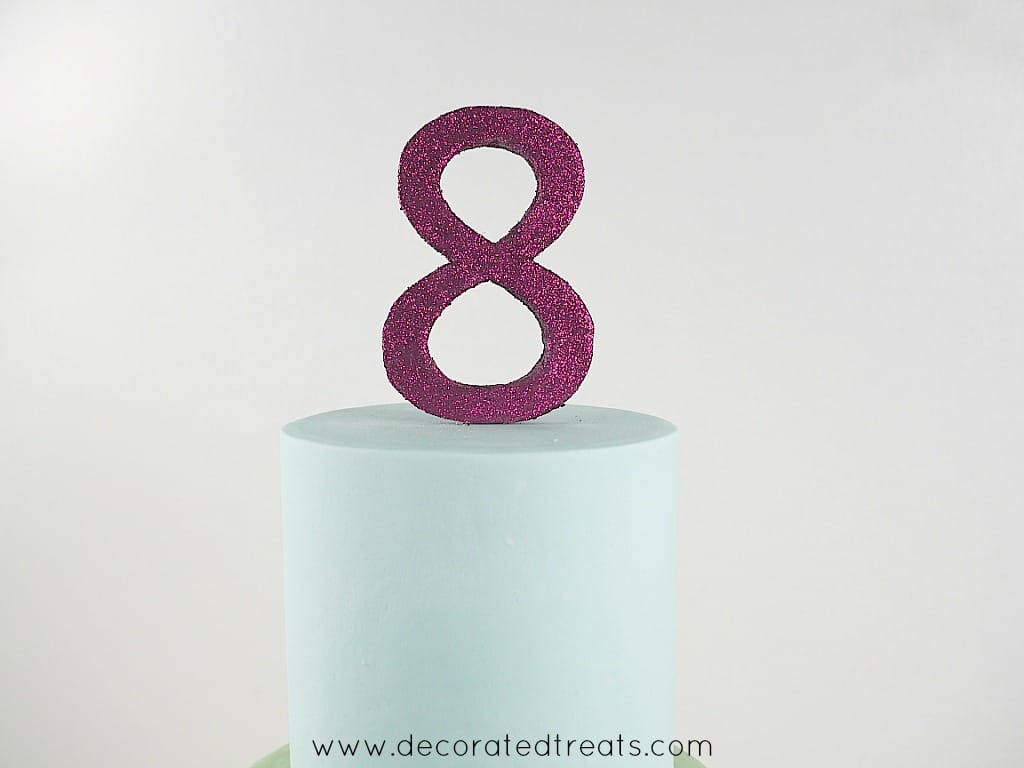
- Number 8 topper - I made this with fondant and glitter dust.
- Fondant glue
- Tappit alphabet cutters
👩🍳How to Make
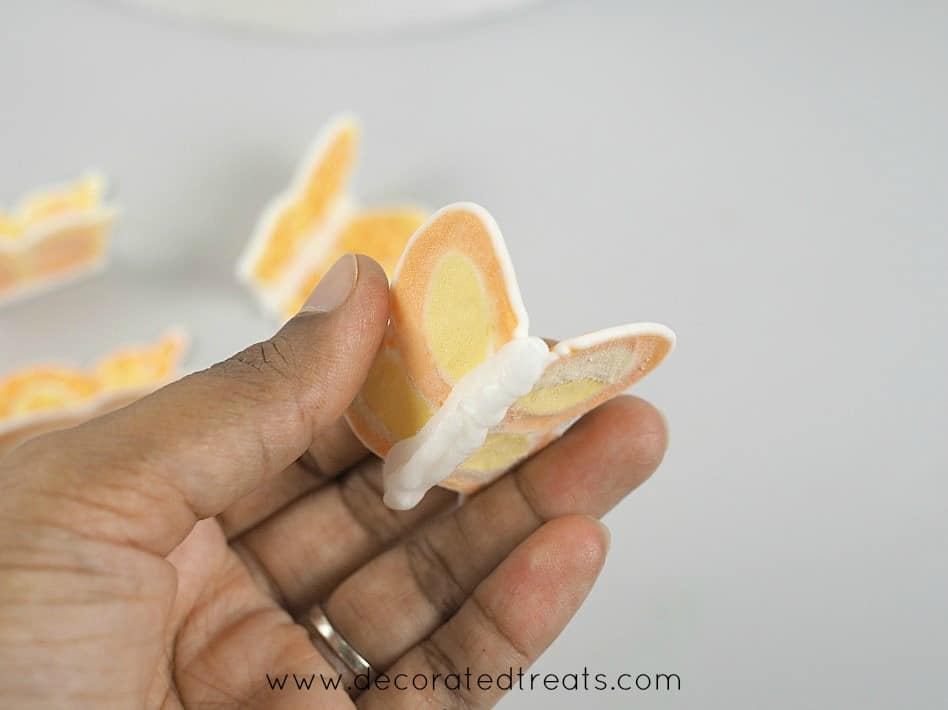
Step 1: Make the Royal Icing Butterflies
I made these a few days in advance so that they are all set and ready to be attached to the cake.
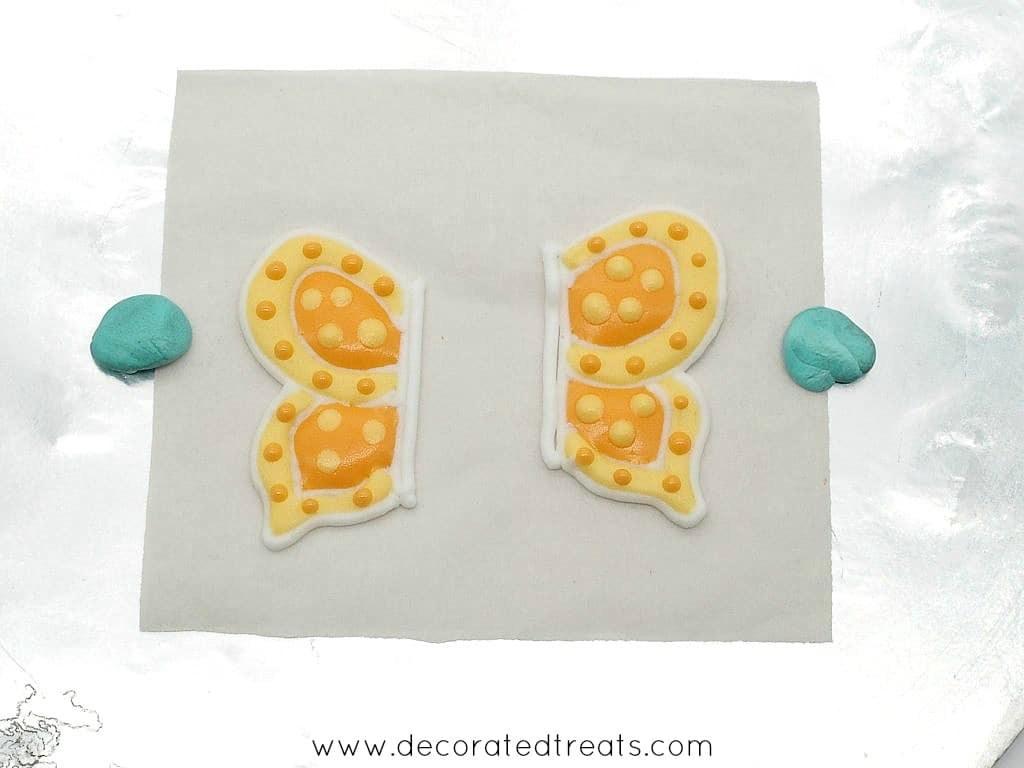
I drew the butterfly wings on parchment paper and piped their outlines in white before filling the wings with yellow and orange royal icing. And then I piped the dots.
I left the wings to set completely (overnight) and peeled them off the parchment paper.
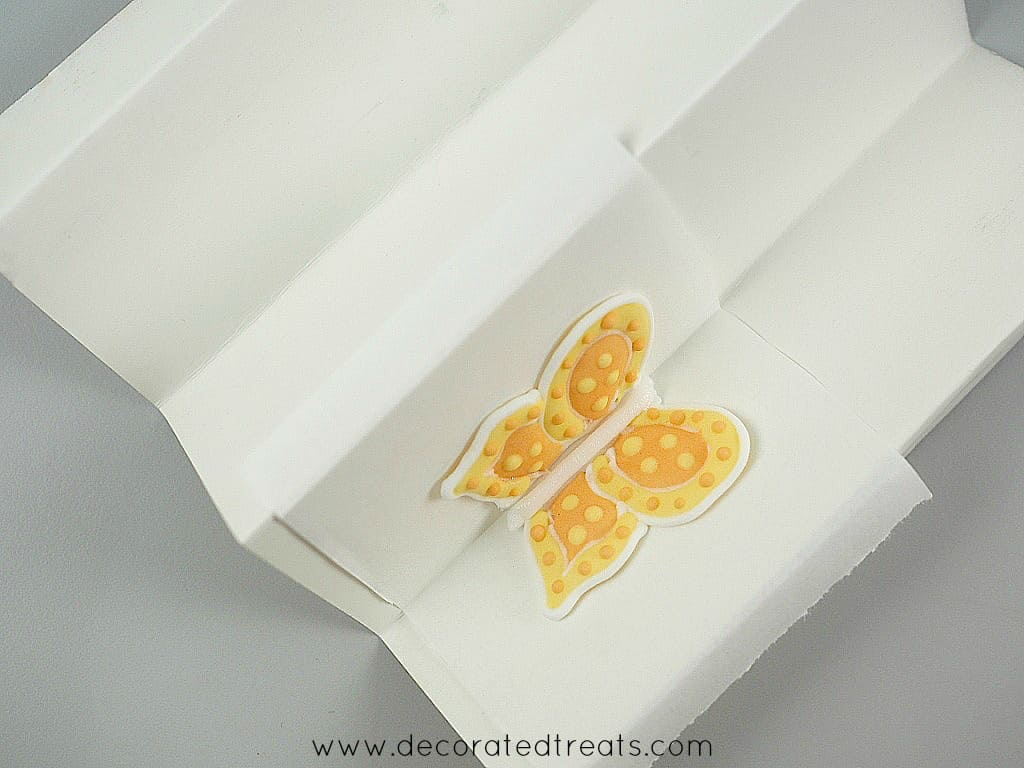
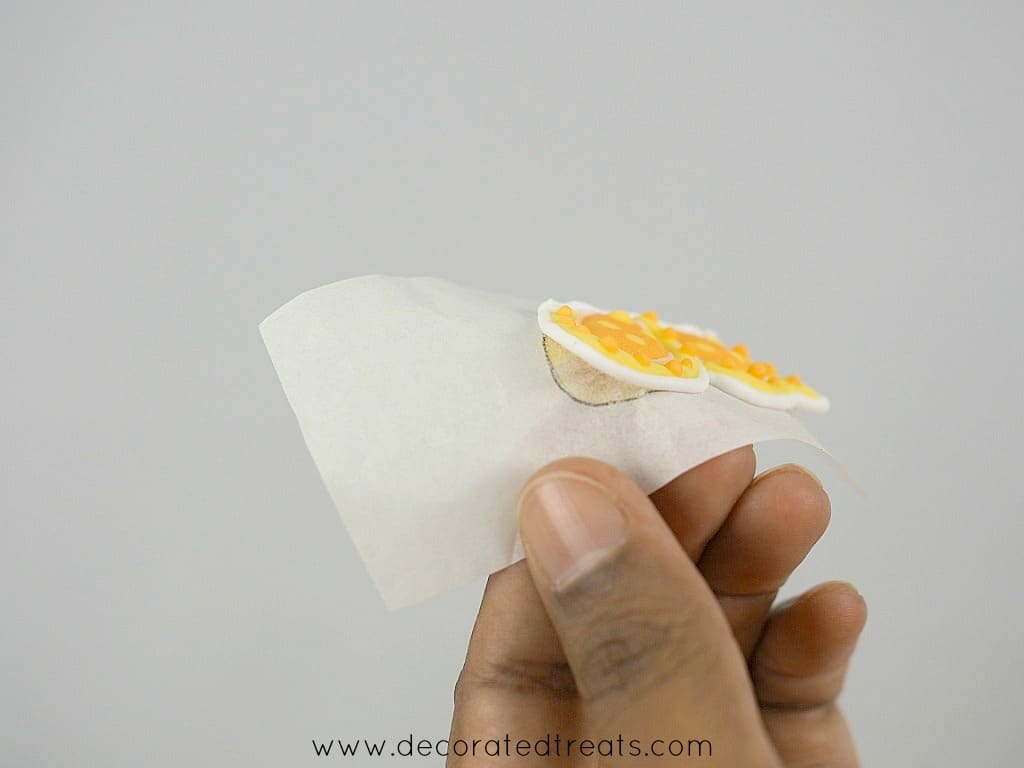
To assemble the butterflies, I folded a cardboard into a 'w' shape and attached 2 wings together with a piping of royal icing in the center (for the body).
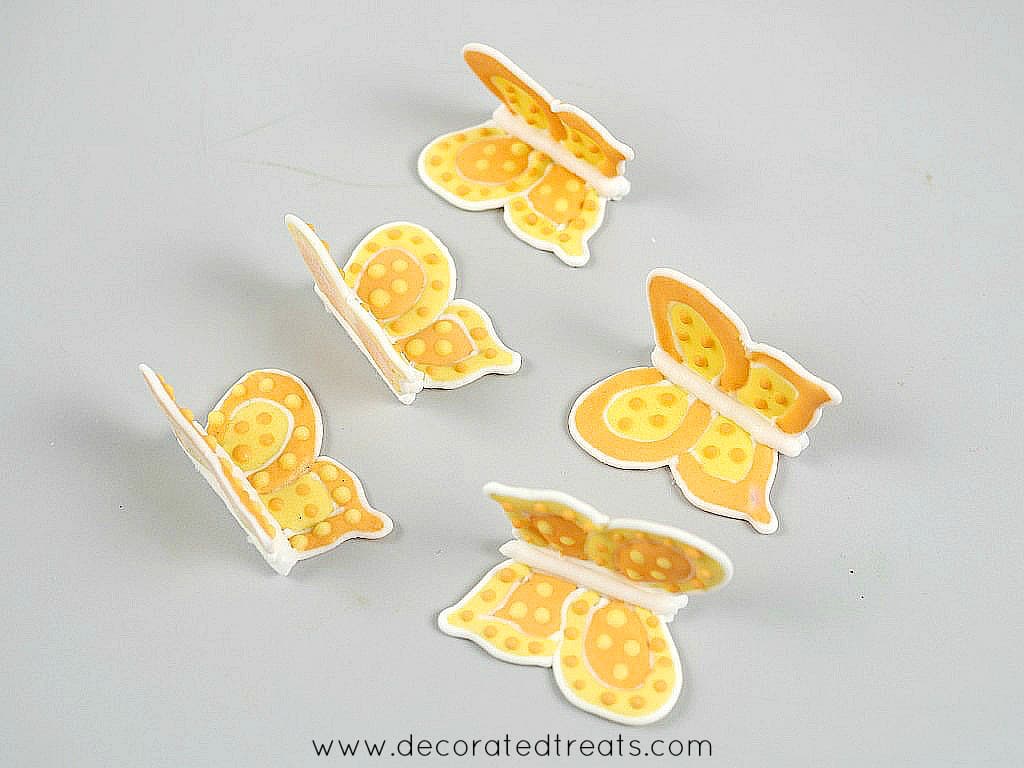
I left the butterflies to set completely before peeling them off the parchment paper.
Step 2: Make the Number Cake Topper
The number topper is also best made in advance so that the has sufficient time to harden and set completely.
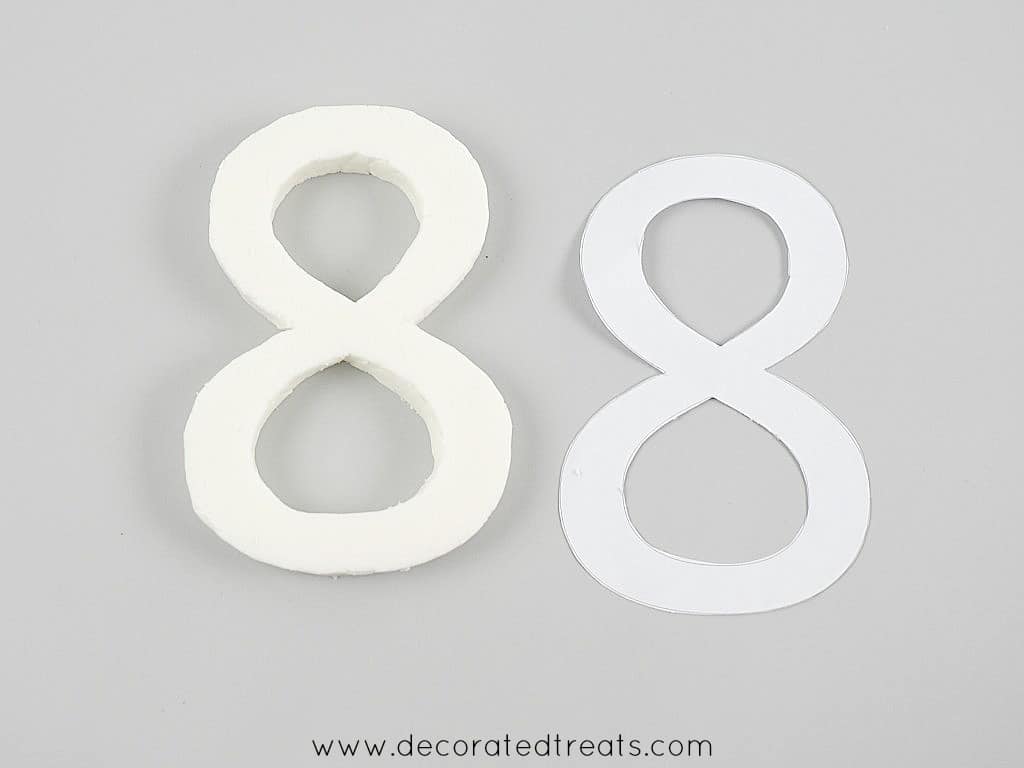
I printed out a number 8 template on a piece of paper and used it to cut thickly rolled white fondant (CMC added).
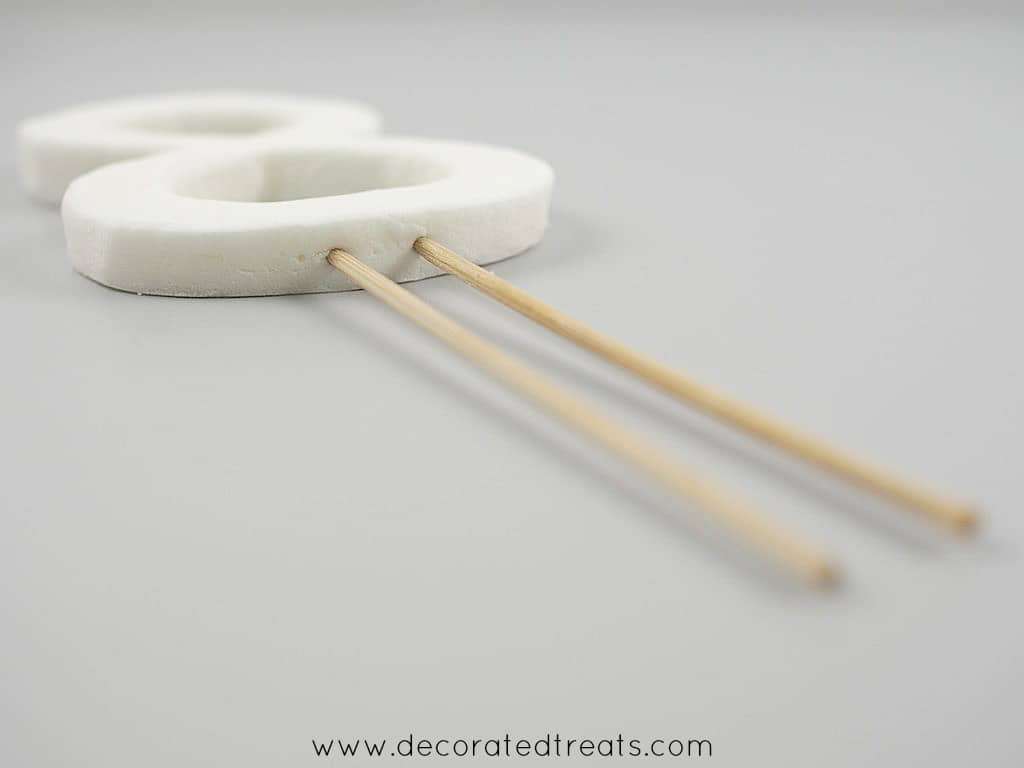
And then I inserted 2 long skewers into the bottom of the fondant number. I dipped the skewers in fondant glue first.
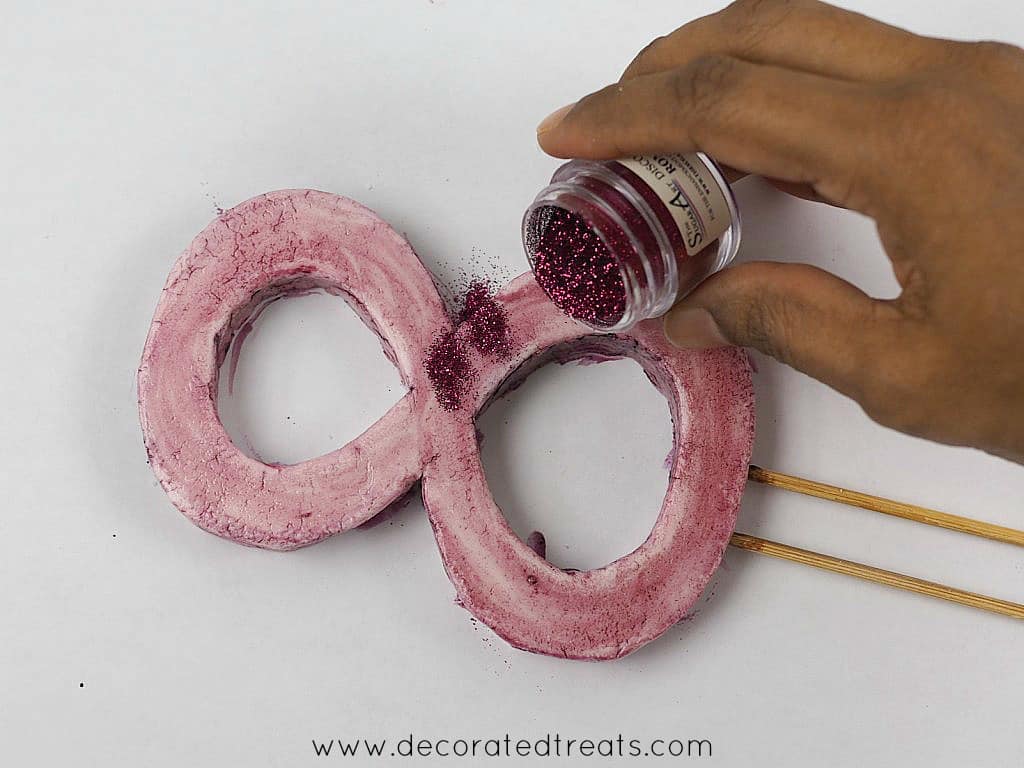
Next, I painted the number with diluted purple food coloring. And then sprinkled the glitter dust all over, including the sides.
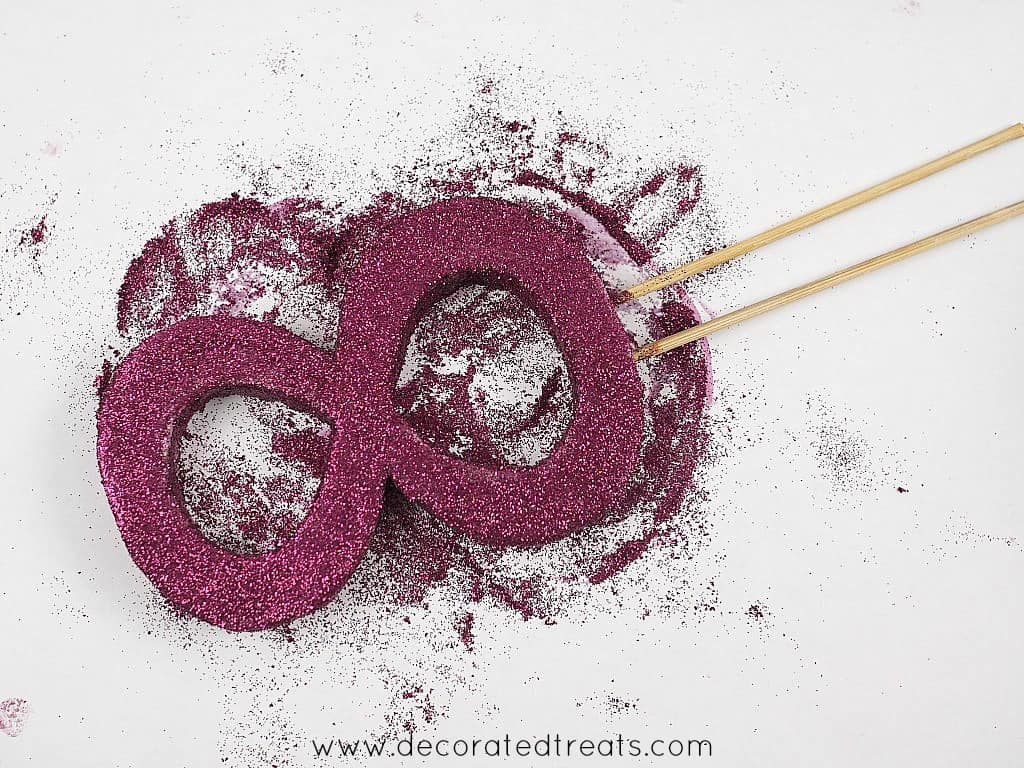
I also added the glitter dust to the back of the number. And then I gently tapped the number to remove excess glitter before setting the number aside to set.
Step 3: Bake and Cover the Cakes with Fondant
A day before the delivery, I baked the cakes, layered, filled and crumb coated them with buttercream and covered them with blue and green fondant.
I then stacked them on top of one another using bubble straws. Here is my comprehensive guide on how to make tiered cakes for more details.
Step 4: Make the Fondant Flowers
I started with the flowers.
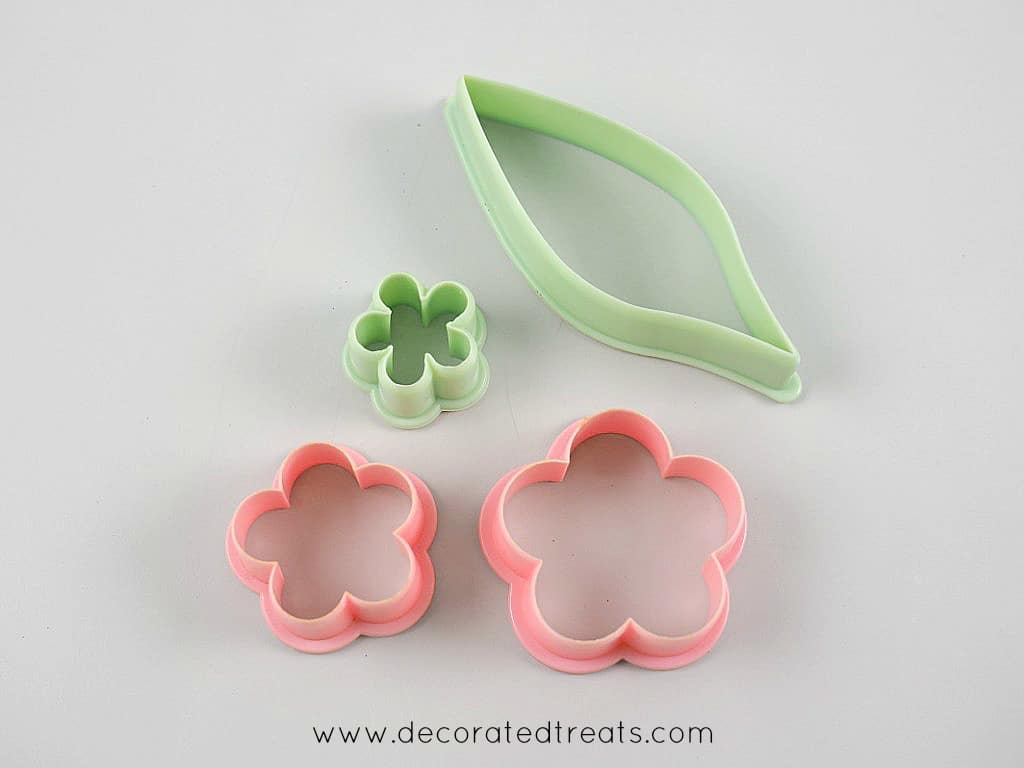
Cutters for the flowers and leaves.
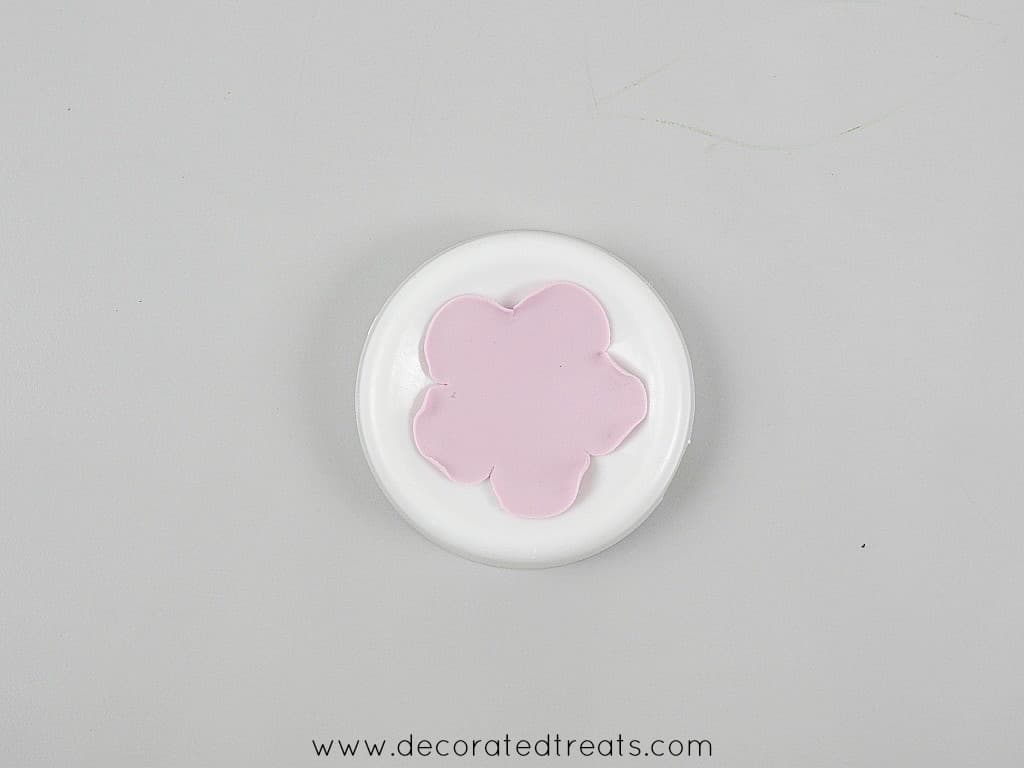
I cut fondant with the largest flower cutter and placed it in a flower former.
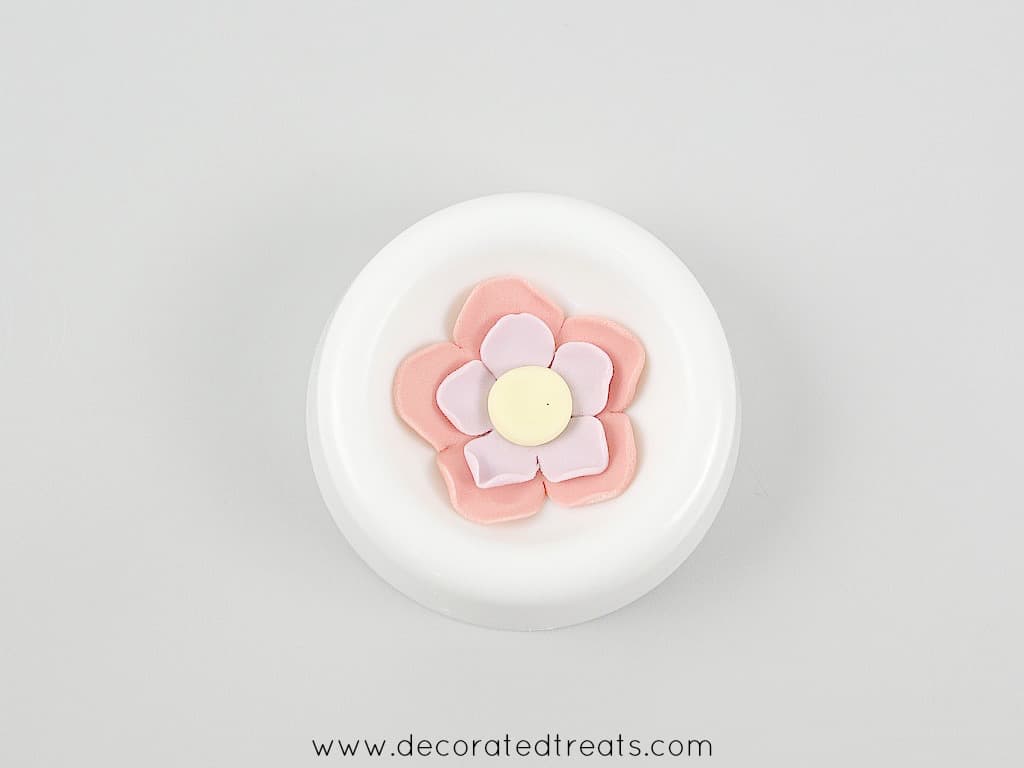
And then I cut the 2nd and 3rd layers of petals and added a yellow fondant center. I lifted the petals and attached to the largest petal formed earlier.
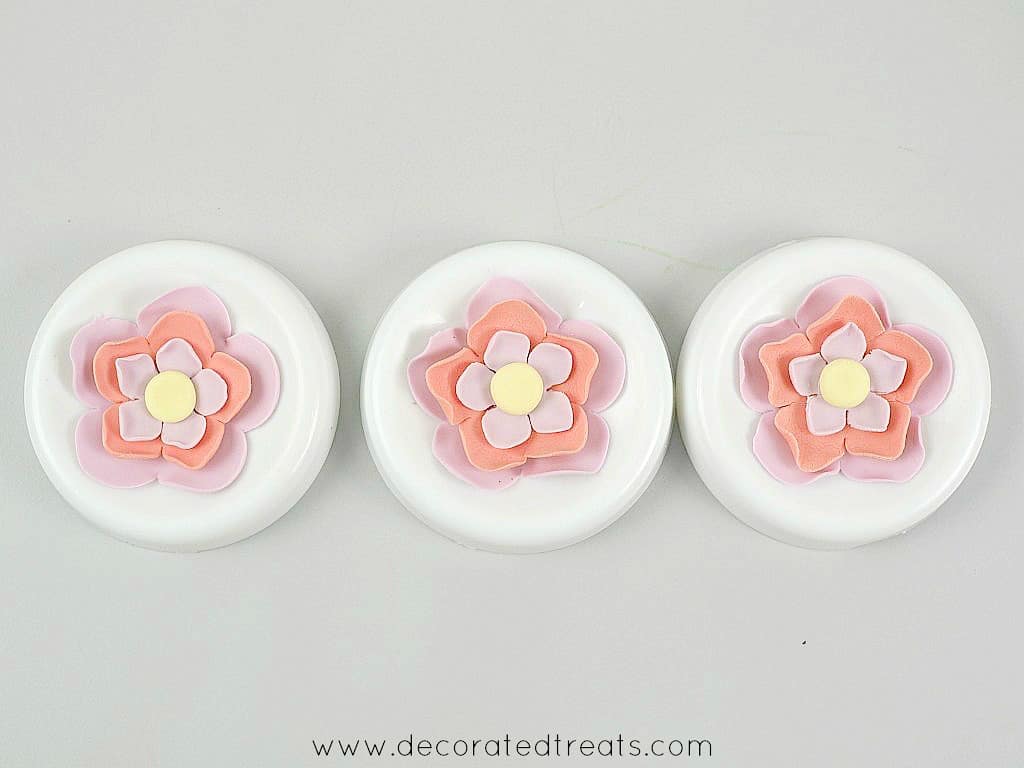
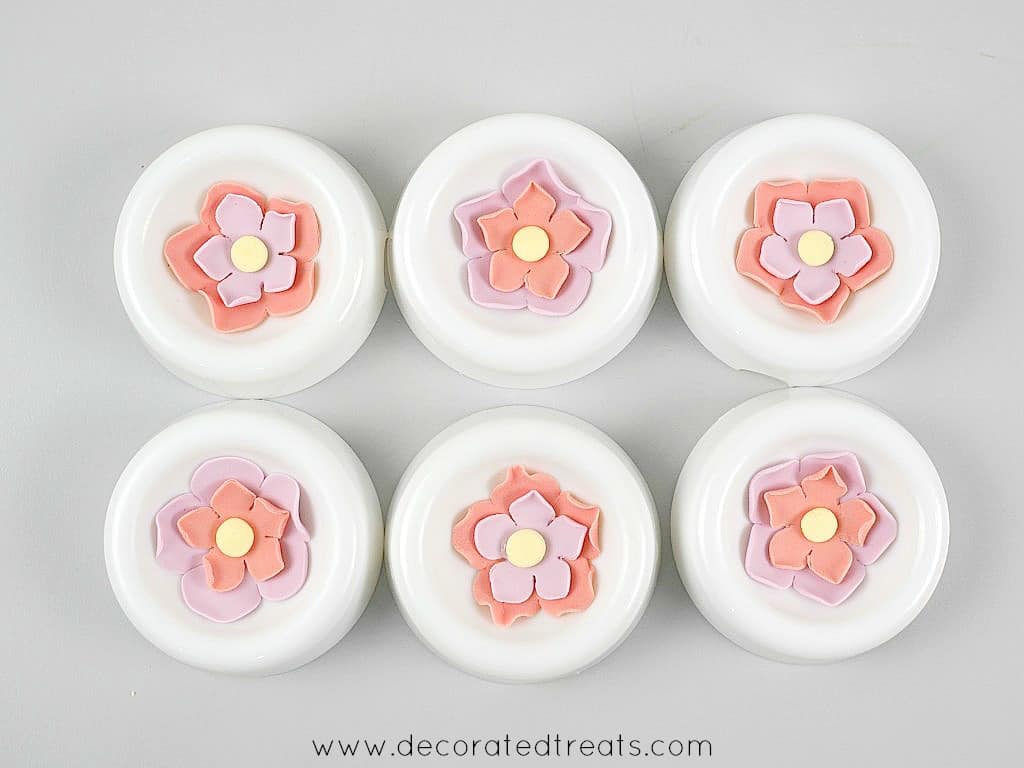
The fondant flowers in different color combinations.
And I also made some with 2 layers of petals.
Step 5: Attach the Stems and Leaves
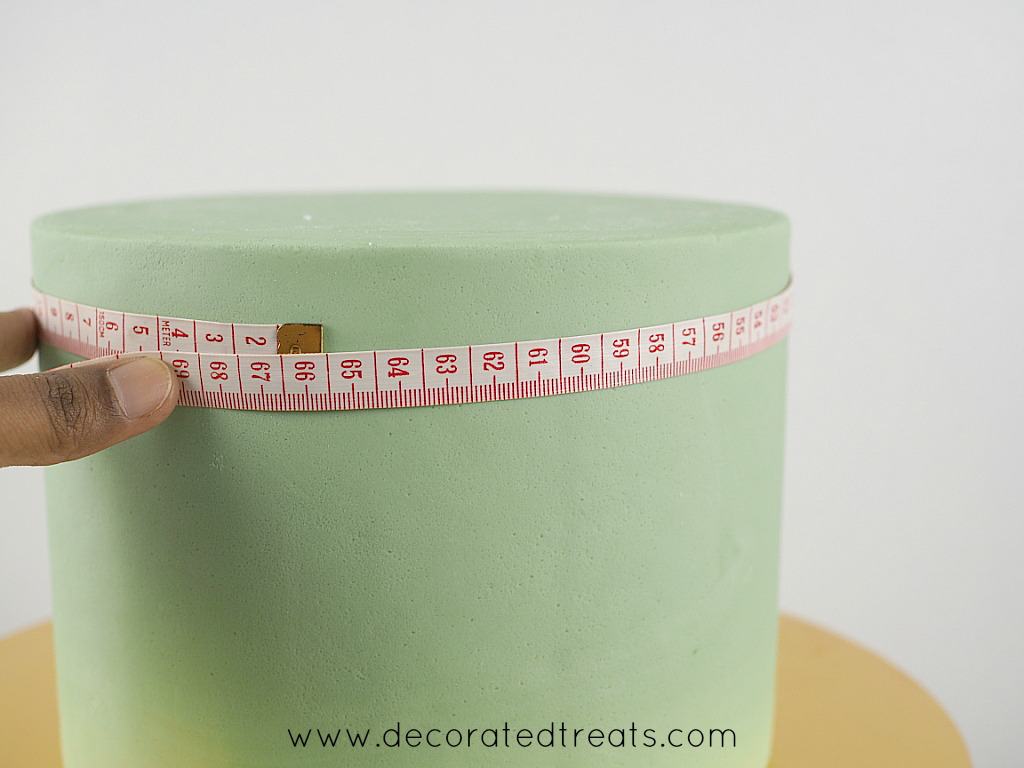
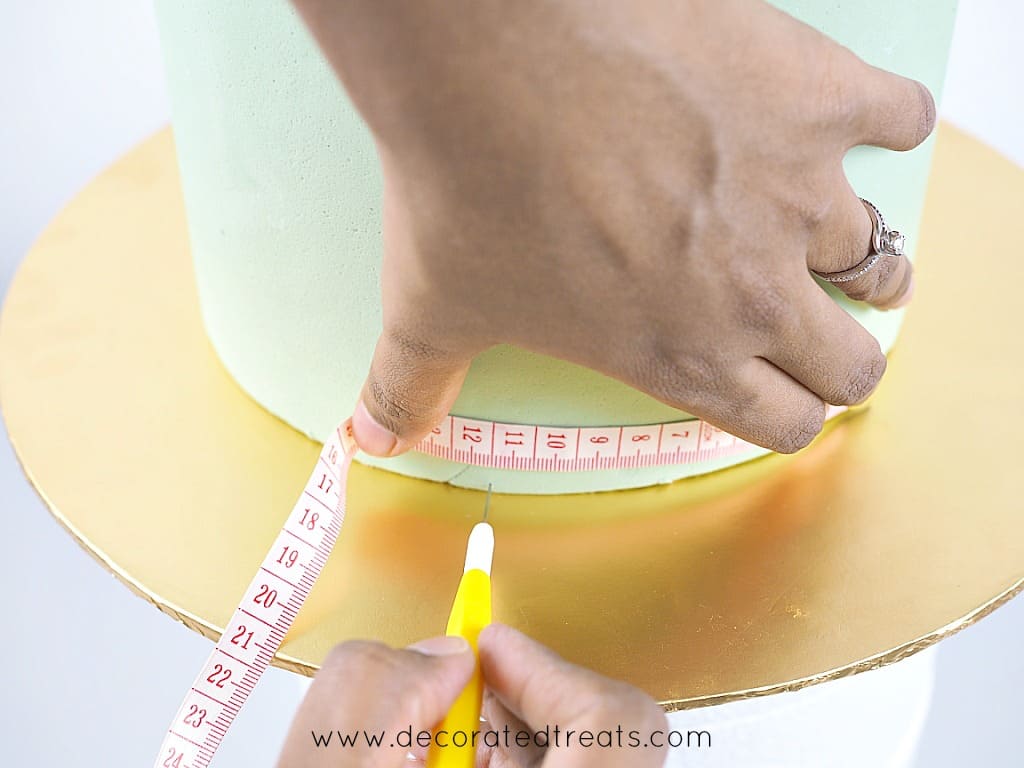
To make sure the flowers were placed in equal intervals all around the cake, I first measured the diameter of the cake and then divided the number such that I get equal intervals. I marked the intervals on the cake and used it as a guide to position the stems and flowers.
Here's how I made the stems and leaves:
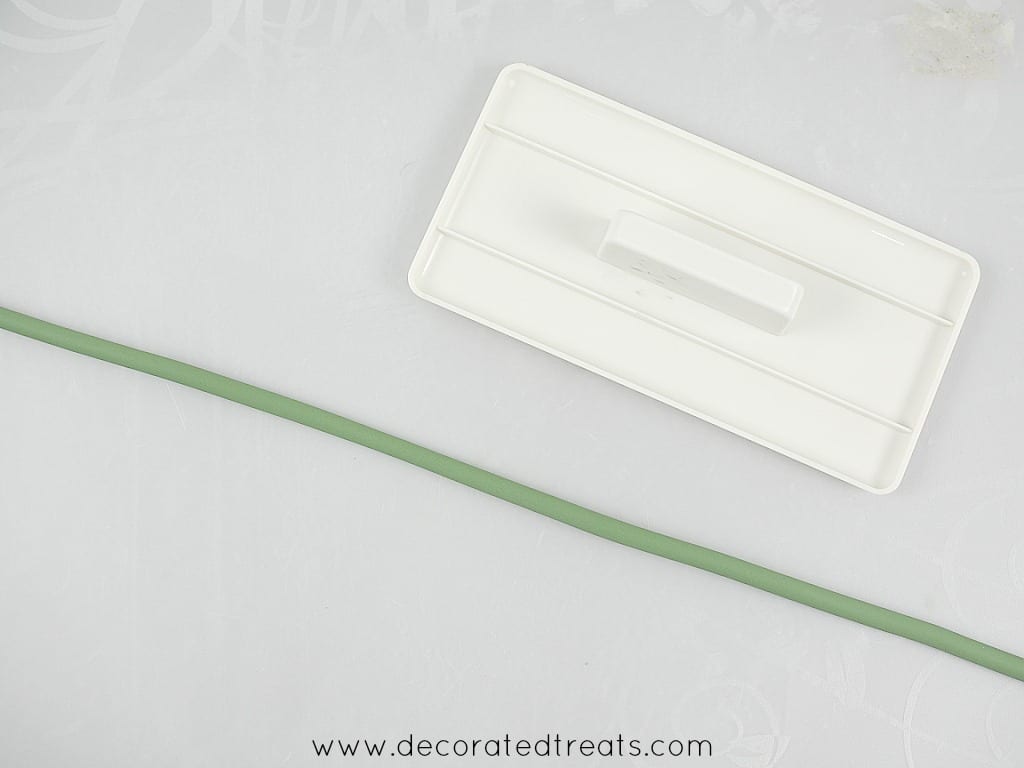
I started by rolling a long strip of green fondant.
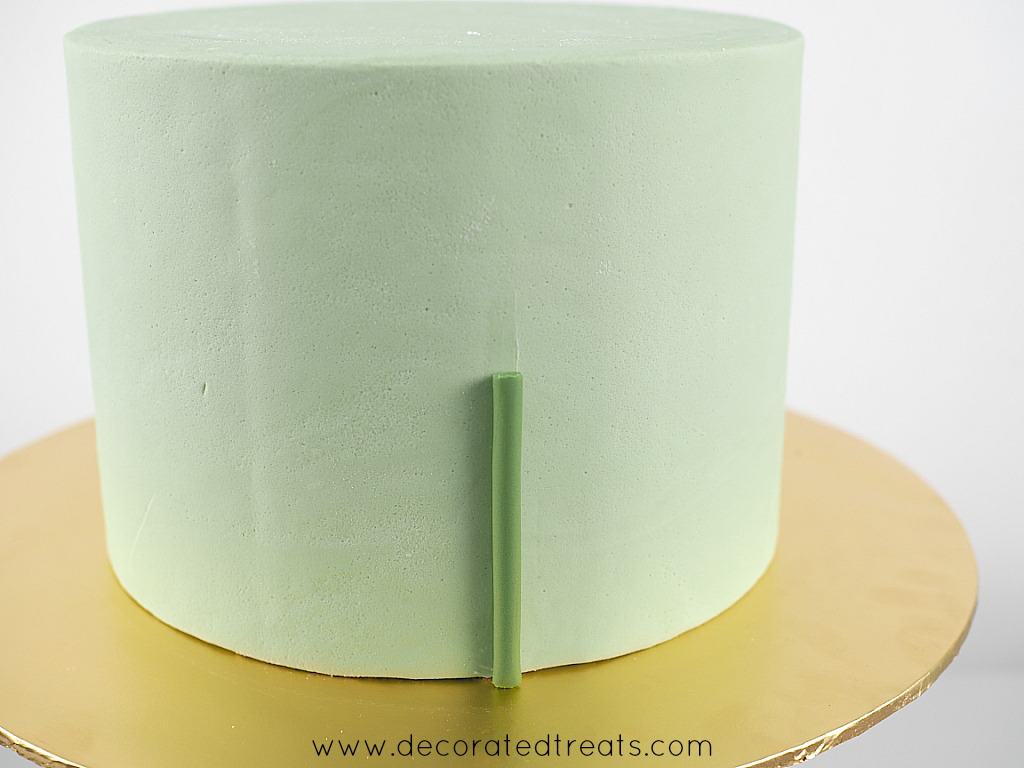
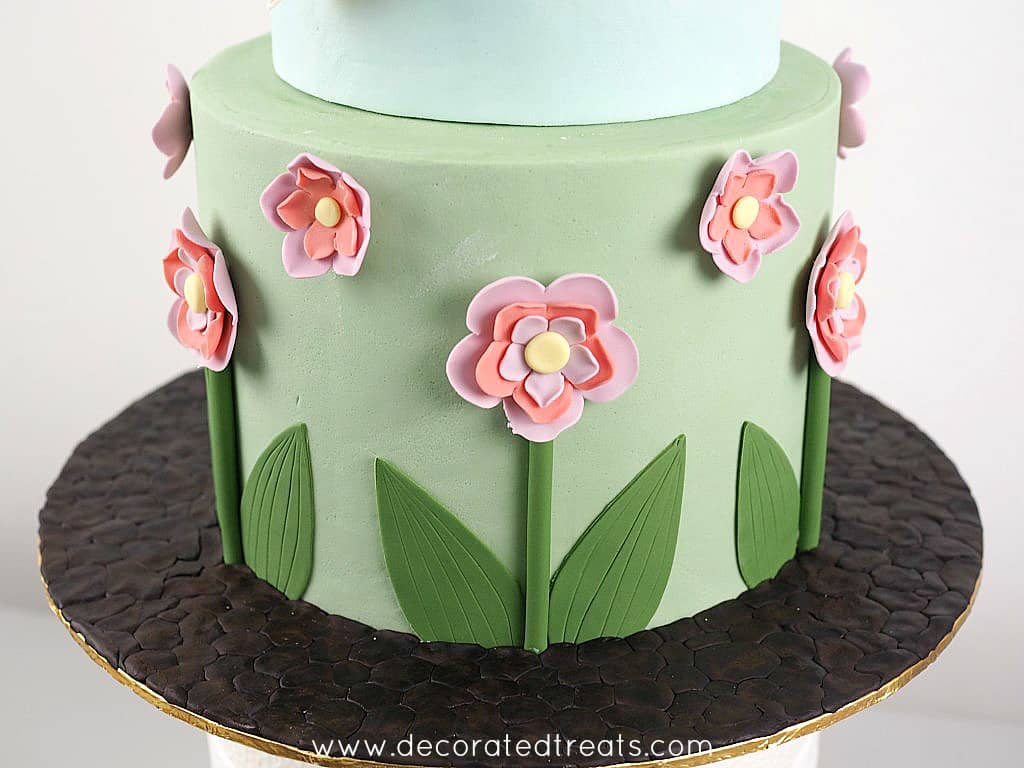
And then I cut into short lengths and attached to the cake where the markings were made earlier.
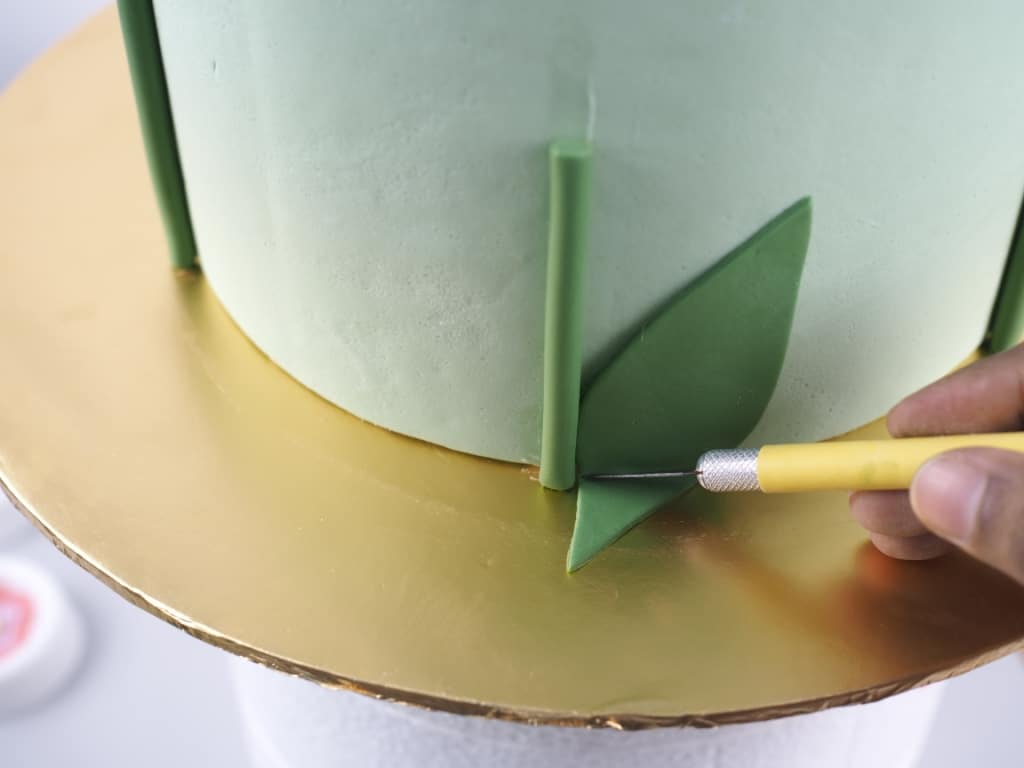
And then I rolled some green fondant and cut out the leaves. I positioned the leaves on the cake and trimmed off excess.
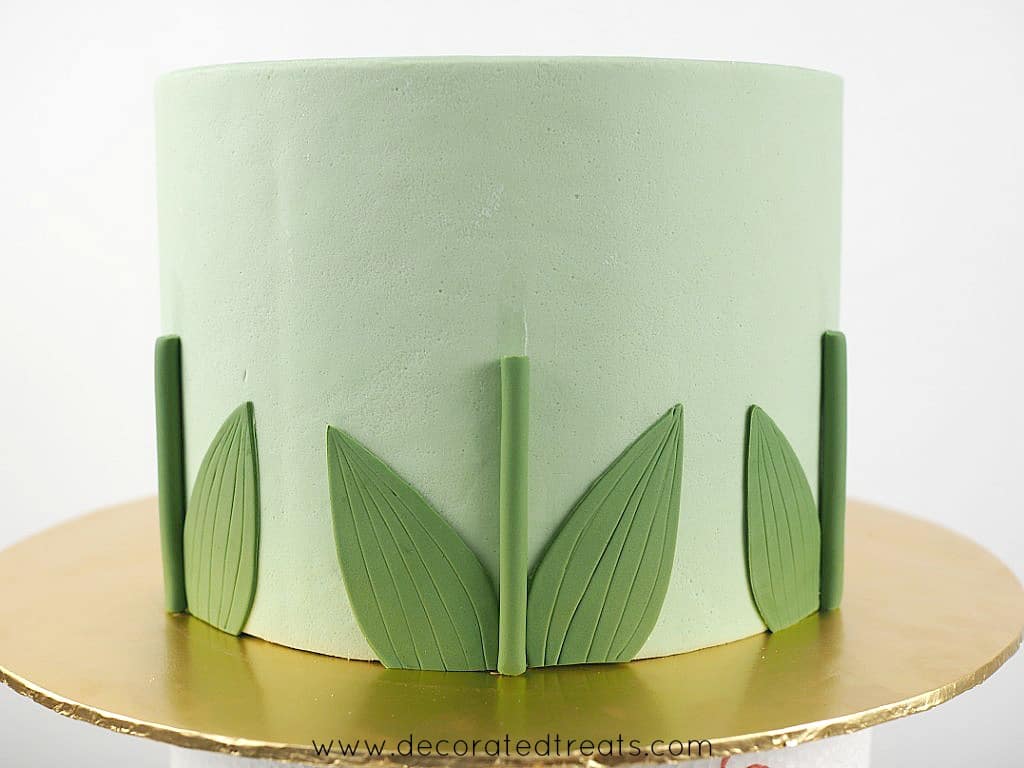
I attached 2 leaves for each stem. And I used a needle tool (or toothpick) to draw the lines on the leaves.
And then I attached the flowers to the cake with shortening.
Step 6: Decorate the Cake Board
After the flowers, I decorated the cake board. Since the cake had a garden theme with butterflies and flowers on it, I did pebbles walkway effect for the cake board. This is a very easy technique but produces very real pebbles walkway effect.
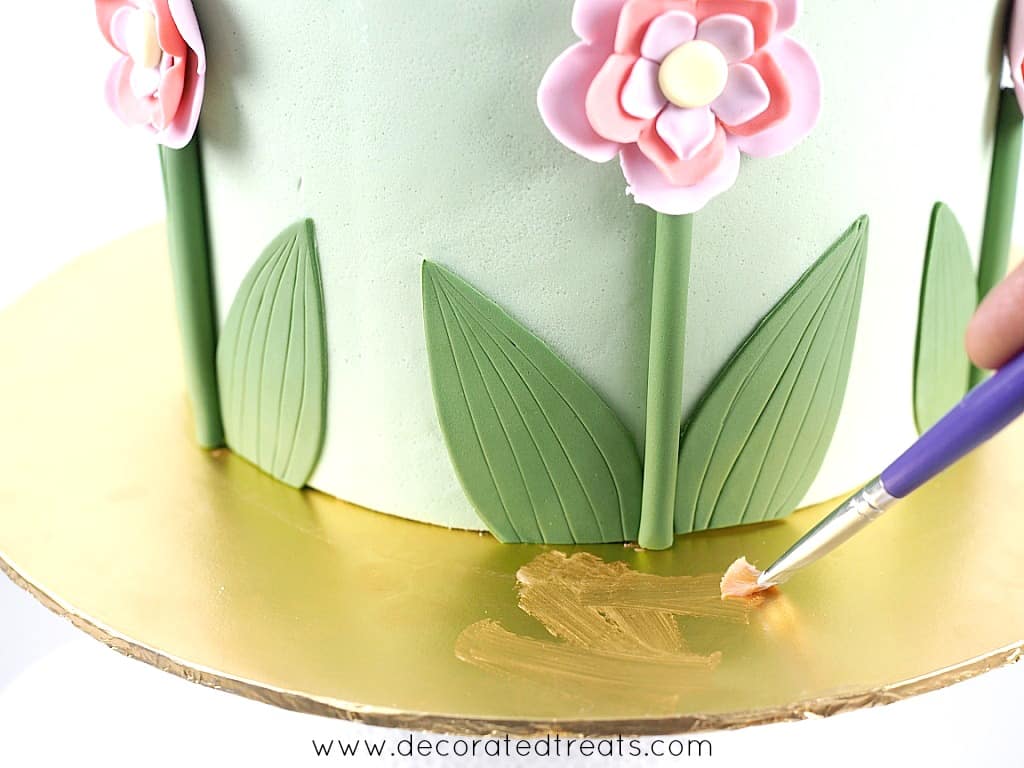
I started by applying shortening to the cake board.
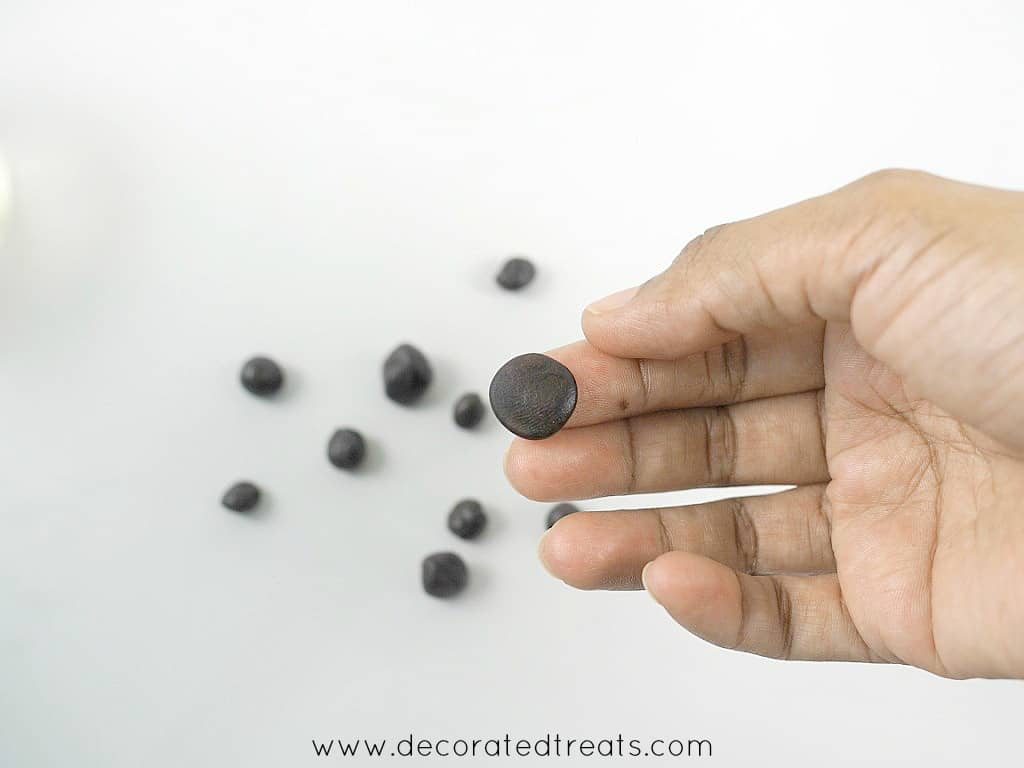
And then I pinched chocolate fondant into small balls and flattened them.
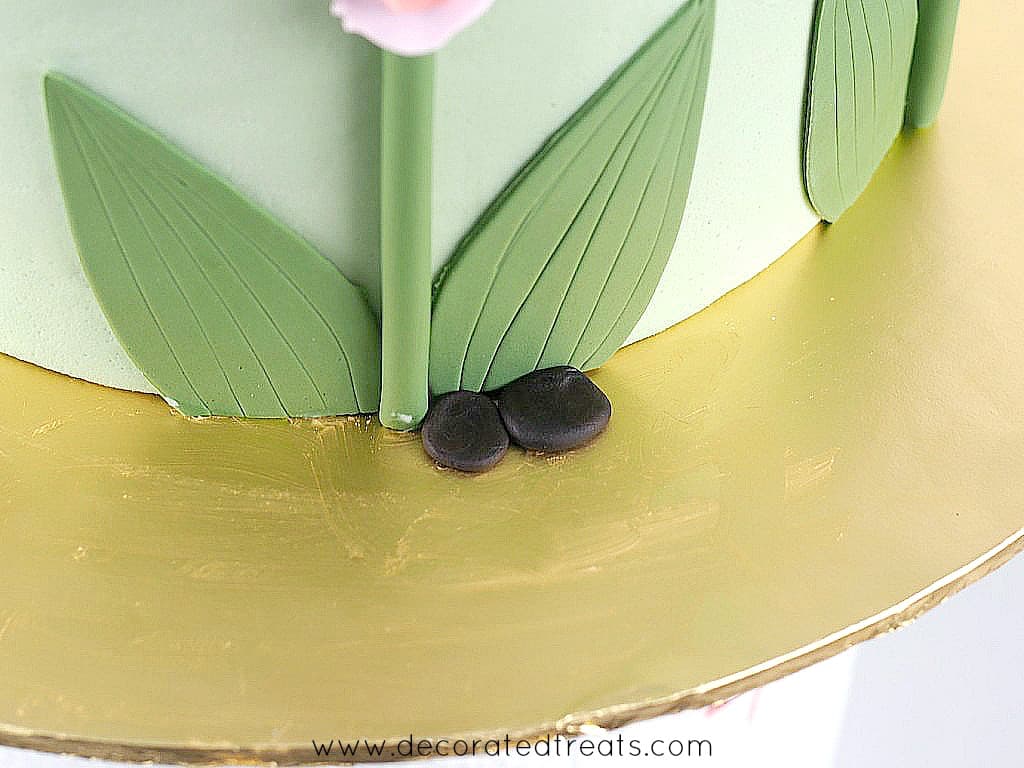
I arranged the flattened fondant balls on the cake board.

And this was how the cake board looked like with the fondant pebbles.
Step 7: Attach the Number Topper
Next, I attached the number topper on the flower cake by poking the skewers at the bottom of the number into the cake.
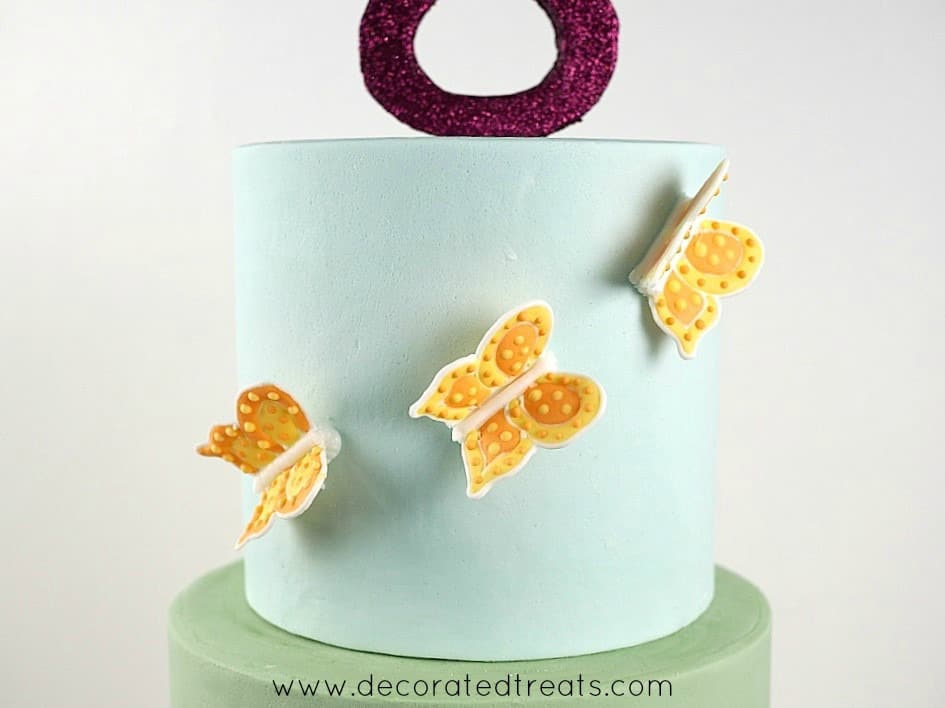
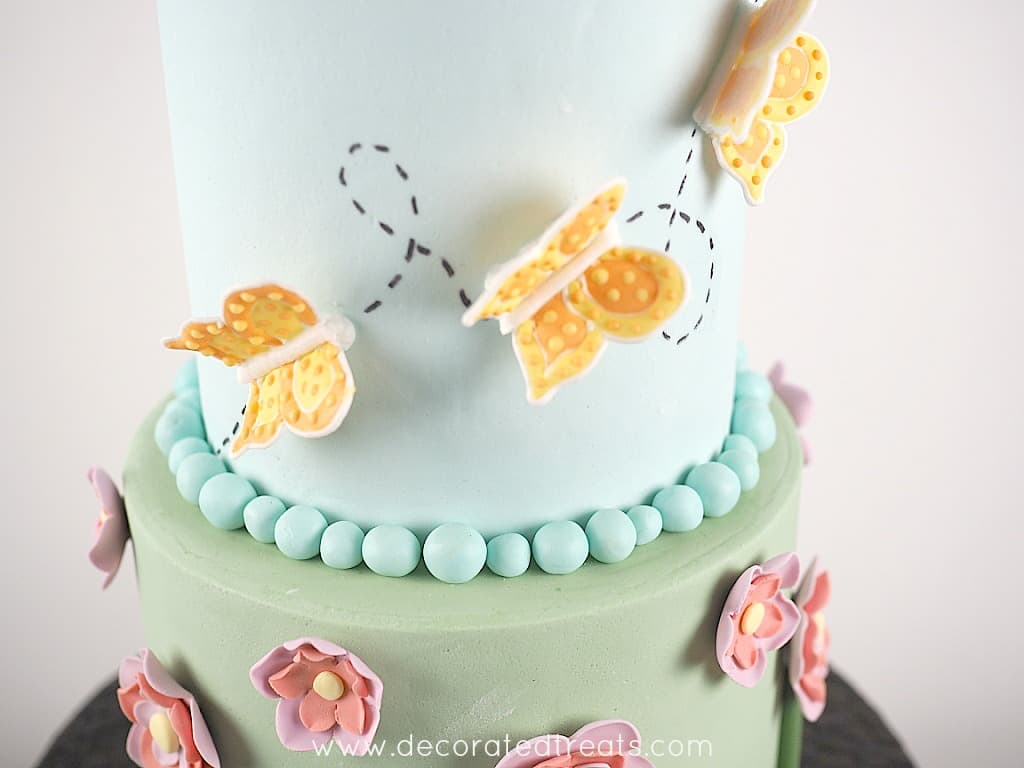
Step 8: Attach the Royal Icing Butterflies
And then the butterflies went on. I positioned them as if they were flying towards the top of the cake. The butterflies were attached with royal icing (stiff consistency). I held them in place for about 30 seconds to one minute each to allow the royal icing to set slightly.
And I made sure I did not move that cake for a good 20 minutes after all the butterflies have been attached. This is to allow the royal icing to set and hold the butterflies in place.
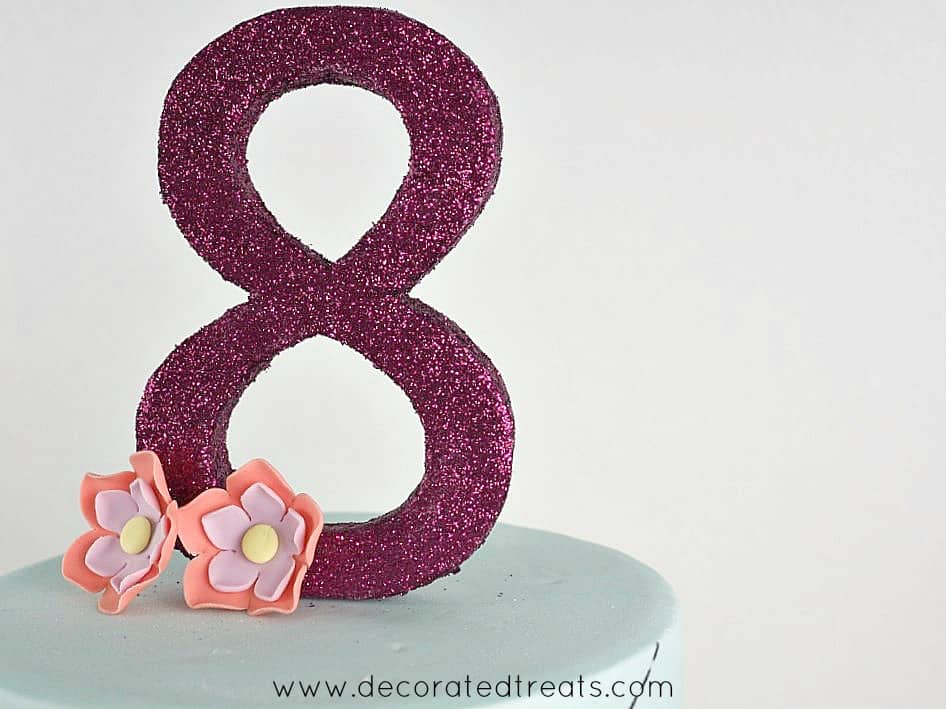
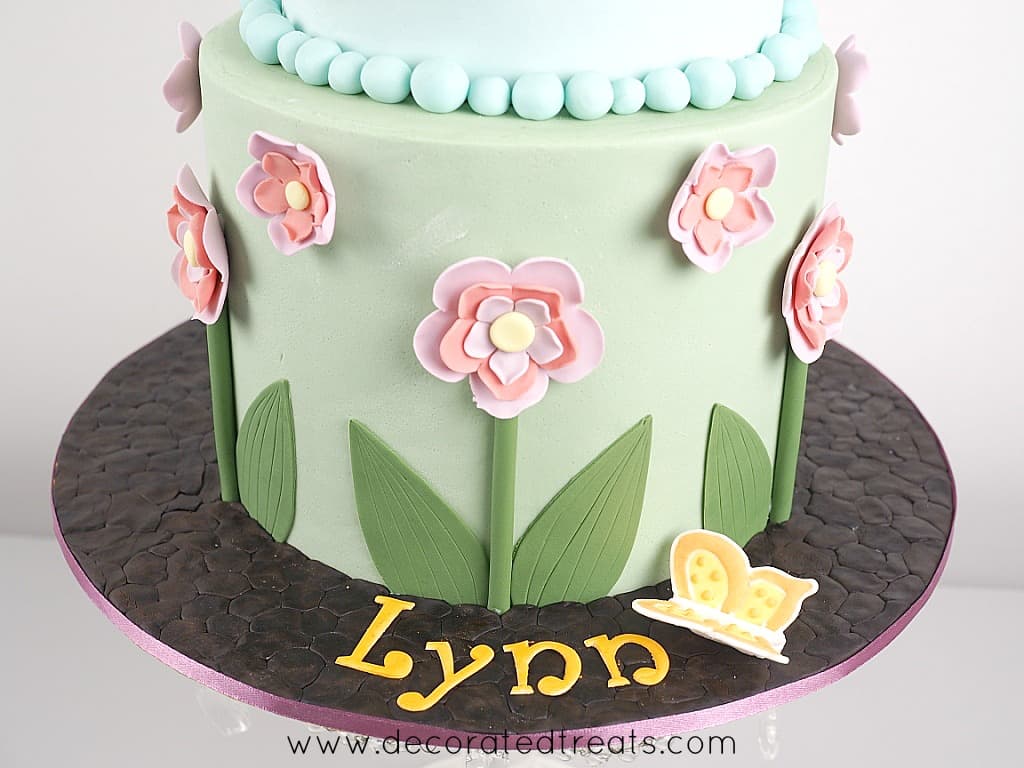
Step 9: Attach the Flower Toppers
Next were the flowers on the top of the cake. I used 2 small flowers and positioned them as shown:
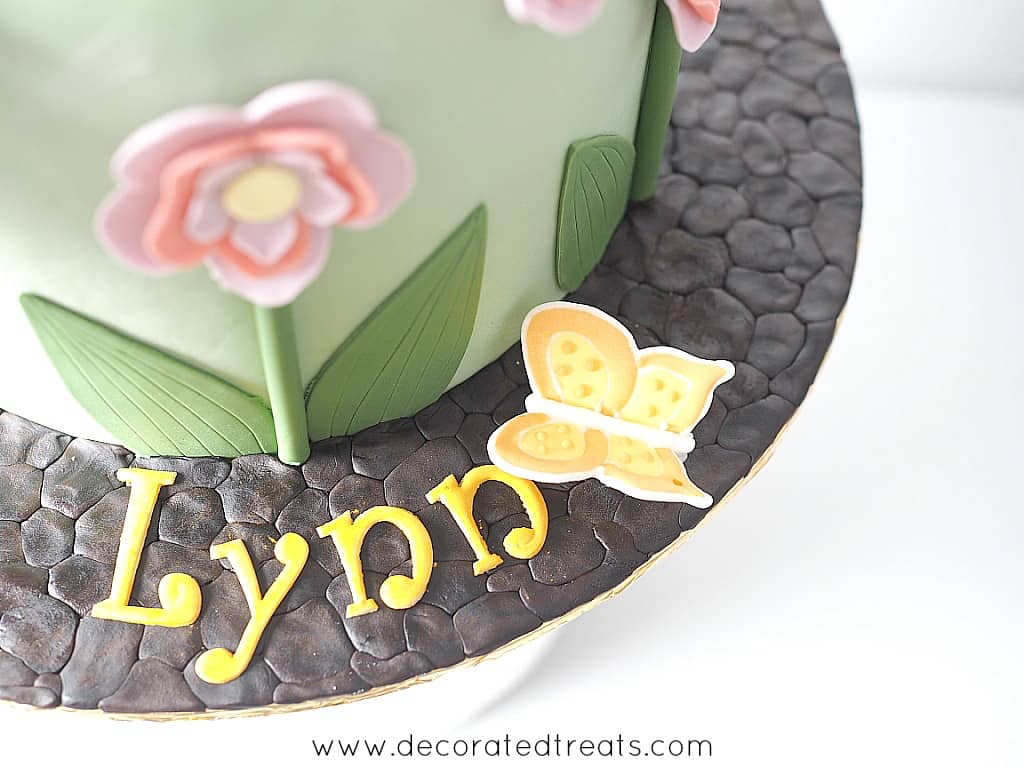
Step 10: Add the Name
As for the birthday child's name, I decided to place it on the cake board. I used Tappit cutters for the alphabets and attached them to the cake board with shortening.
And I added a butterfly at the end of the name. And then I wrapped the sides of the cake board with purple ribbon.
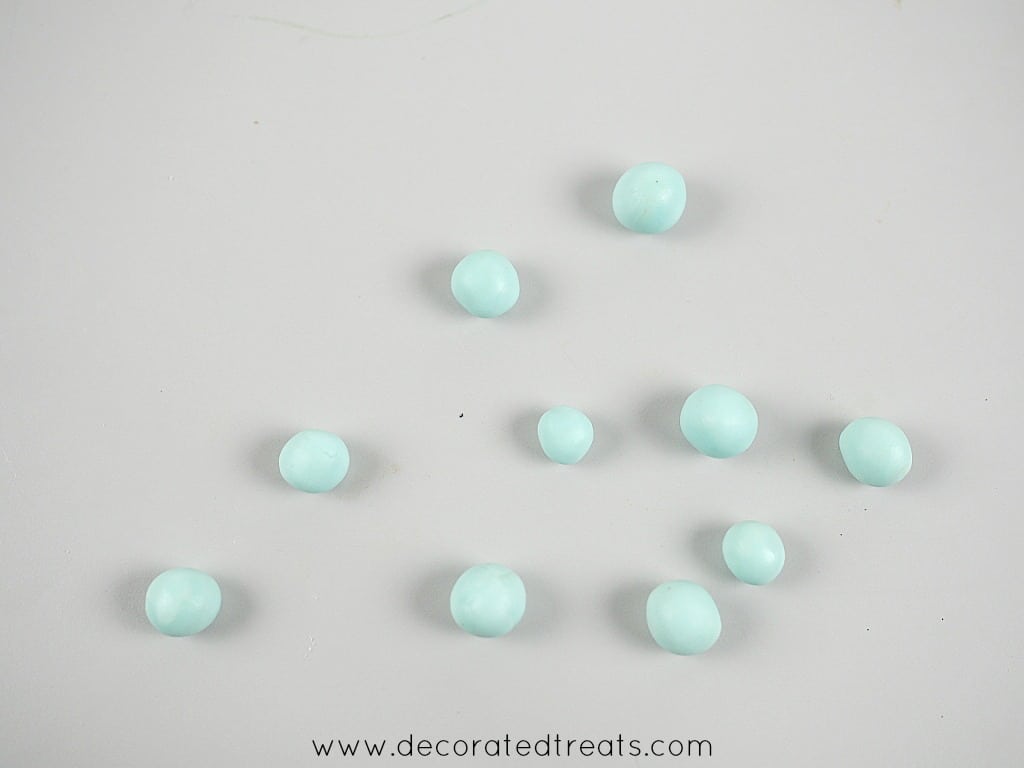
Step 11: The Cake Border and Finishing Touches
The last two steps were the border for the first tier and the butterflies flying line. For the border, I pinched out small pieces of blue fondant in random sizes, shaped them with hand into round balls, and attached all around the border with shortening.
And finally, the butterflies flying line. I used a black food marker to draw the flying dots on the cake.
And that's that. My pretty butterflies and flower cake.


Leave a Reply