

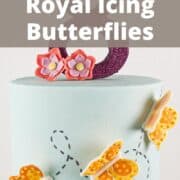
Learn how to make royal icing butterflies with this easy step by step tutorial. It teaches you how to make completely edible butterflies in 3D shapes that you can use to decorate your cakes and cupcakes.
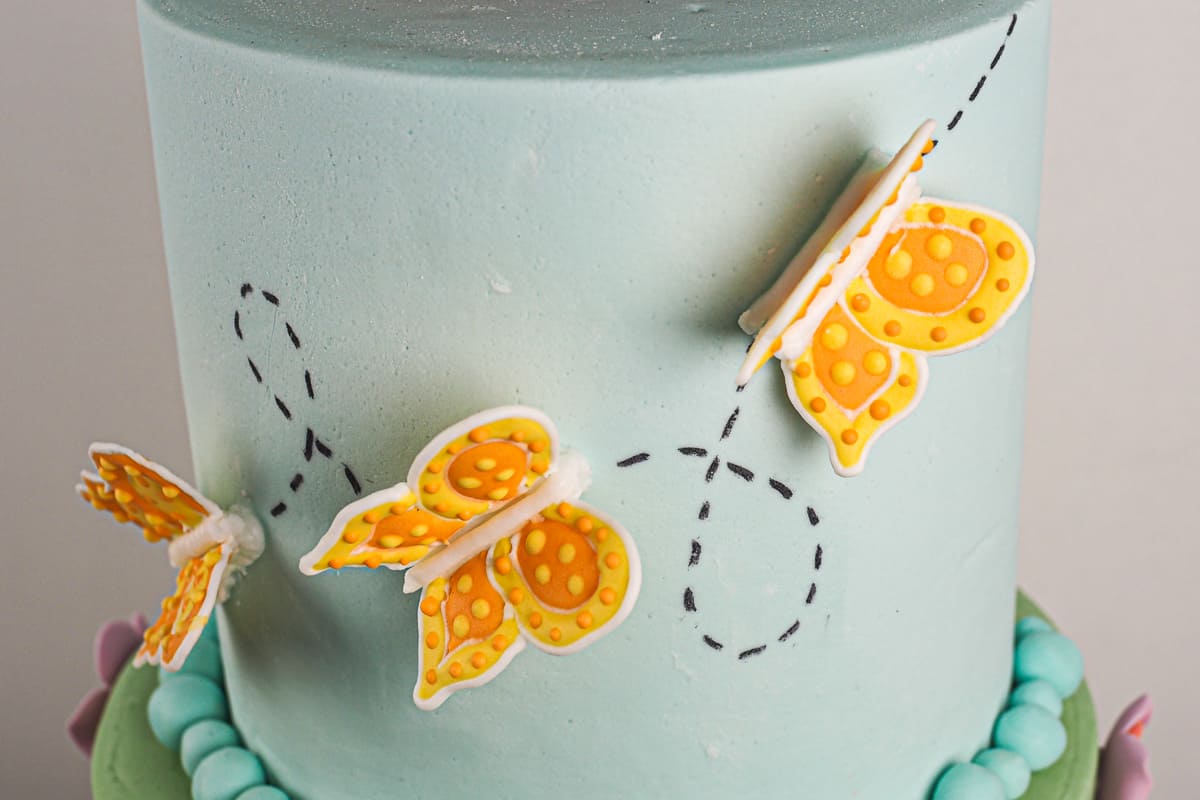
I made these royal icing butterflies for a flower birthday cake. The theme of the cake was butterflies and flowers and it was for an eight year old girl, so I decided to go with a slightly animated design (with polka dots) for the butterflies.
The cake also had a large 3D number cake topper, and pretty fondant flowers with stems and leaves.
The butterflies were made entirely of royal icing and to give them a 3D effect, I made the wings separately and then attached them together once the wings were set and dry.
Jump to:
❤️Why you will love this tutorial
- You get to learn how to make 3D butterflies.
- The butterflies are completely edible.
- You do not need any specials molds or cutters. They are piped with royal icing.
- You can make these cute decorations in advance and use them when you need.
- You can use this technique to create butterflies in any design or color.
🎥Video Tutorial
Check out my full video on how to make these pretty royal icing butterflies:
🧾Supplies required
- Butterfly template - I drew mine freehand and traced a few copies on parchment paper. You can do the same or trace any designs you like from a book or download from the internet.
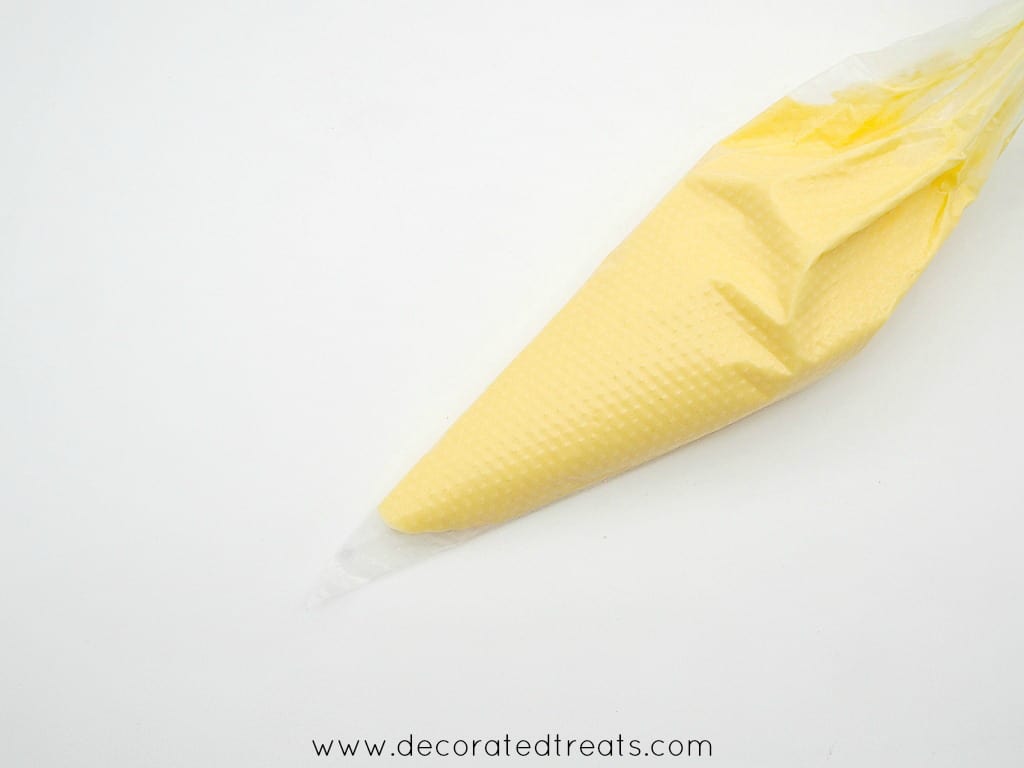
- Royal icing - I used royal icing in 2 consistencies - stiff and runny. The stiff consistency was for the outlines and to attach the wings together while the runny consistency was to fill the wings.
- Food color - I used Wilton gel paste in orange and golden yellow.
- Piping nozzles/tips - I used Wilton tips #3 and #5. Number 3 was for the outlines and number 5 was for the butterflies' body.
- Piping bags - I used 3 piping bags for this project, one for the white royal icing and the other 2 for the orange and yellow icing each.
- Parchment paper and cardboard - parchment paper was used to pipe the butterflies on as well as to cover the cardboard when they are being assembled into 3D butterflies. The cardboard, on the other hand, is used to hold the wings in place while they dry, to form 3D butterflies.
👩🍳How to Make
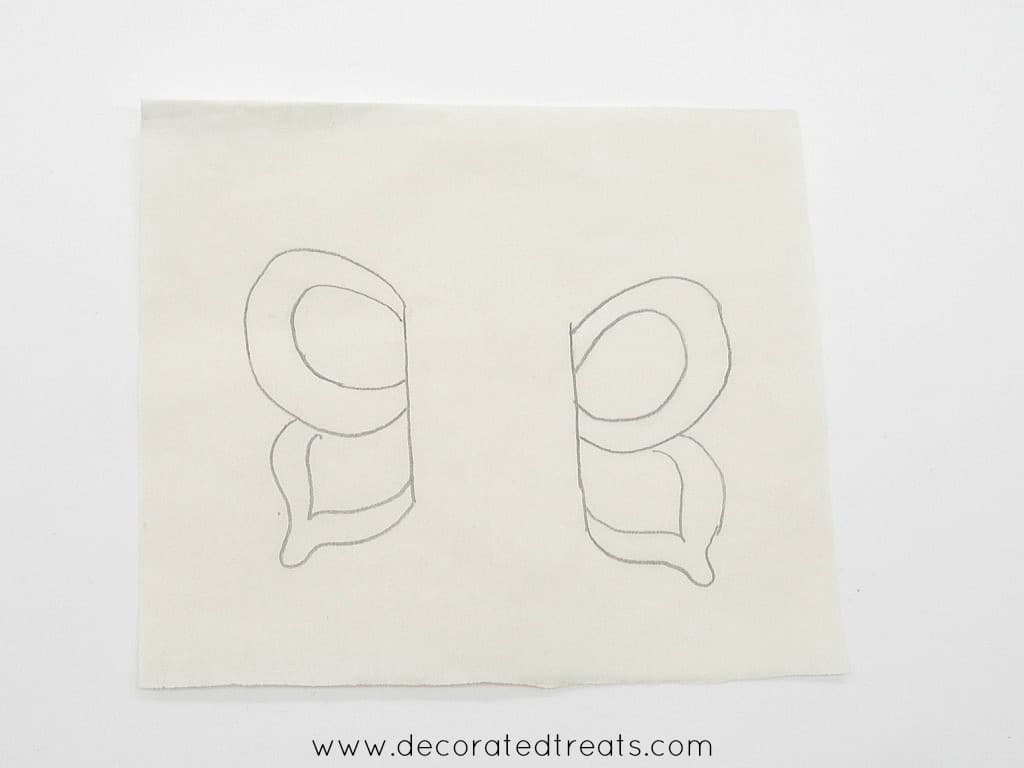
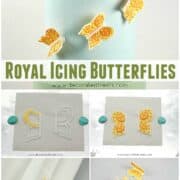
Step 1: Prepare the butterfly templates
First and foremost, before you even make the royal icing, prepare the butterfly template, or butterfly wings template to be precise.
You can draw this freehand, or trace from the internet or a favorite book. I made a number of these templates so that I could pipe all the butterflies at once.
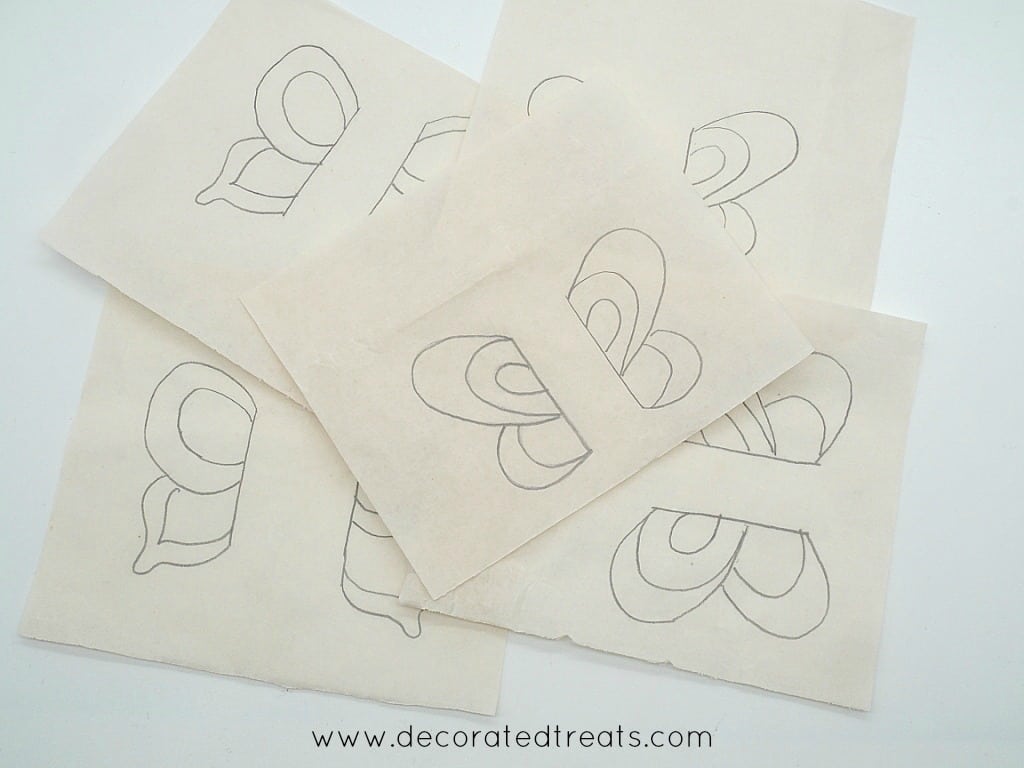
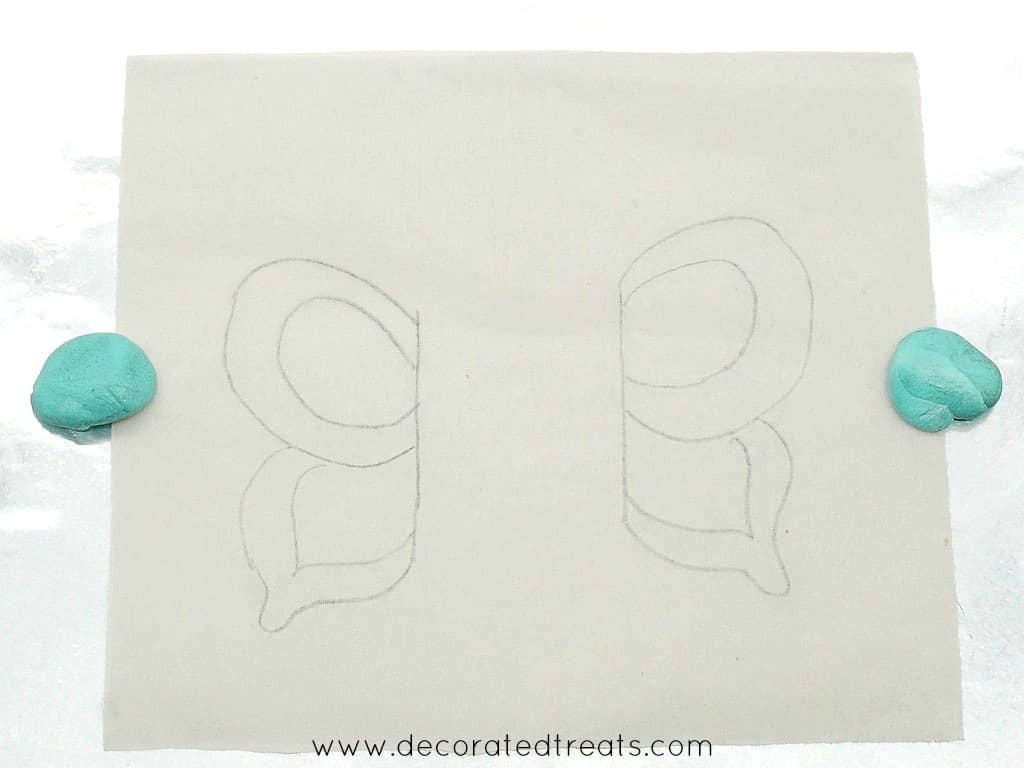
Once you have the templates ready, turn them over so that the pencil mark does not get transferred to the icing.

Using blue tack, stick the templates onto flat cake boards so that the templates do not move while you pipe the icing.
Step 2: Prepare royal icing
Make the royal icing and divide it into 3. Tint one part with orange food coloring and the other with yellow food coloring. Leave the third part white.
Transfer the white royal icing into a piping bag fitted with round tip #3. Keep the orange and yellow icing covered in a damp cloth to prevent crusting.
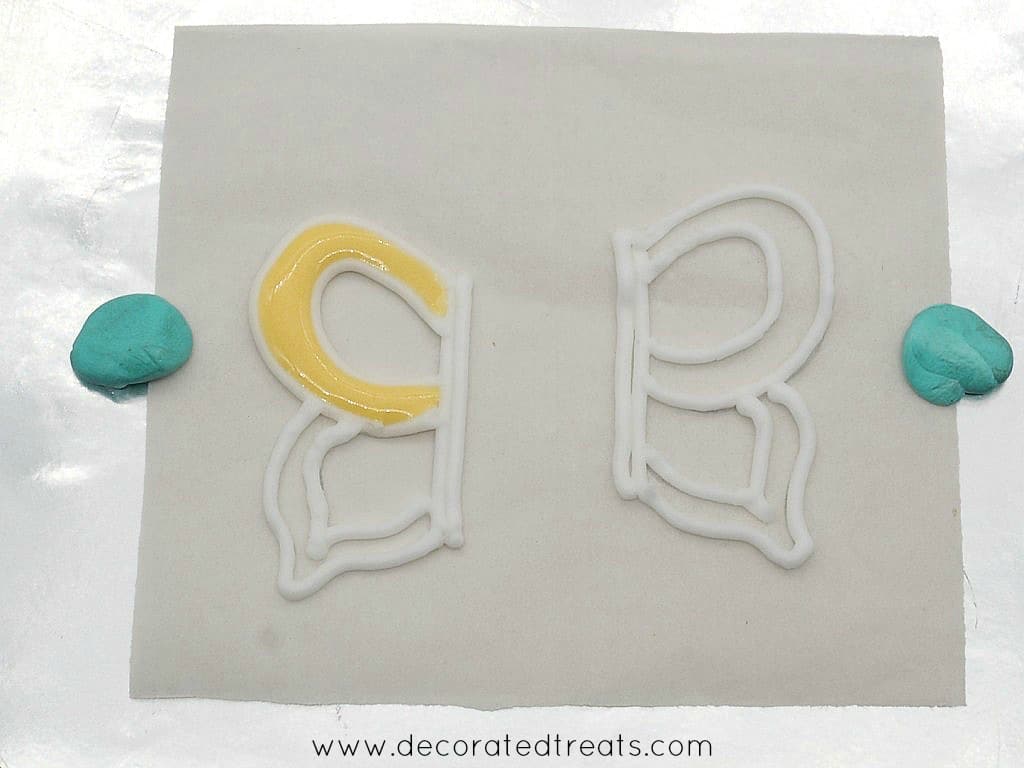
Step 3: Pipe the butterfly outlines
Use the white icing to pipe the outlines. Start with the centerline. And then proceed with the inner outlines of the wing.
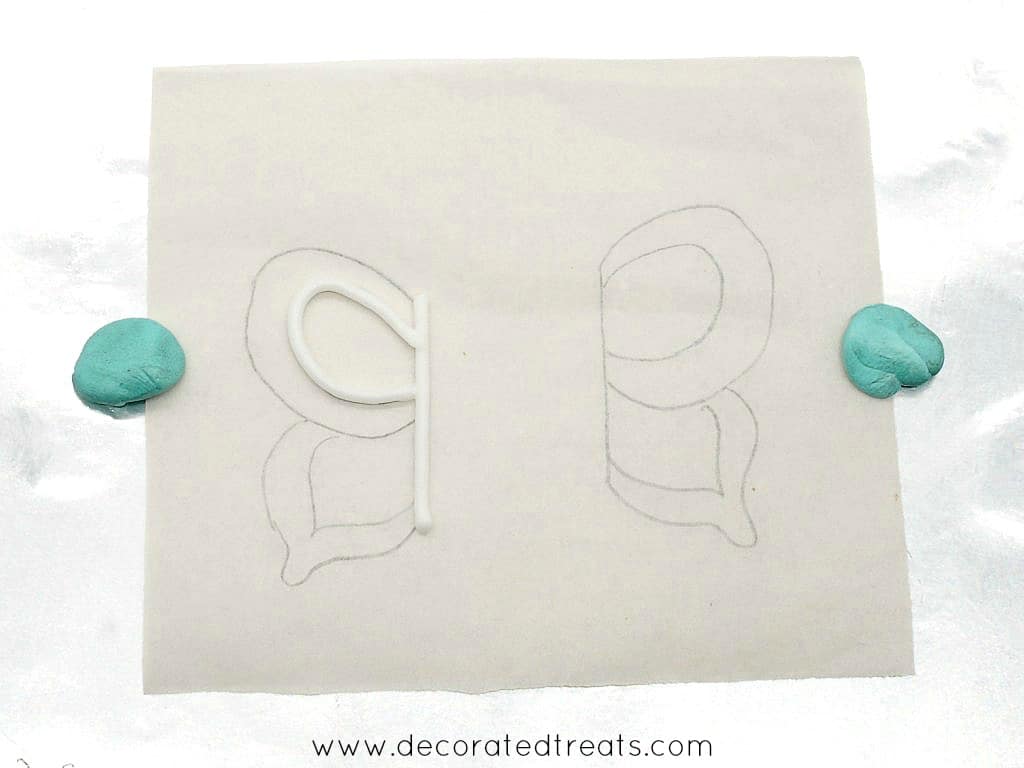

Finish off the outline with one more line at the center. Repeat the same on the other side of the wing.
Repeat for the rest of the templates.

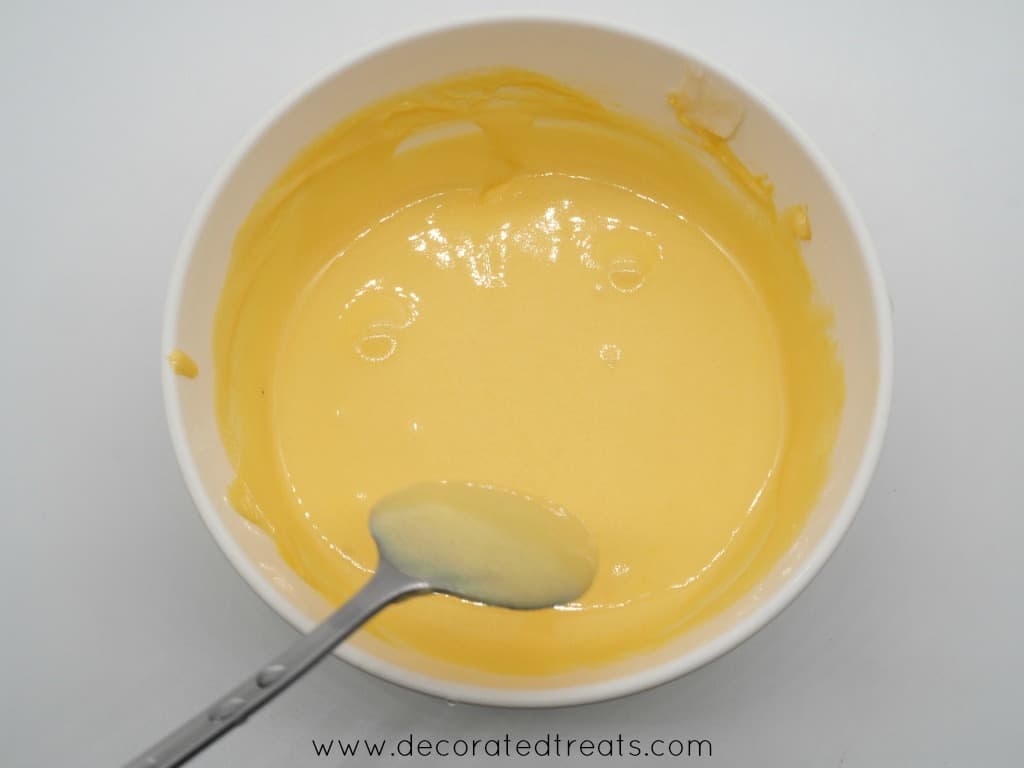
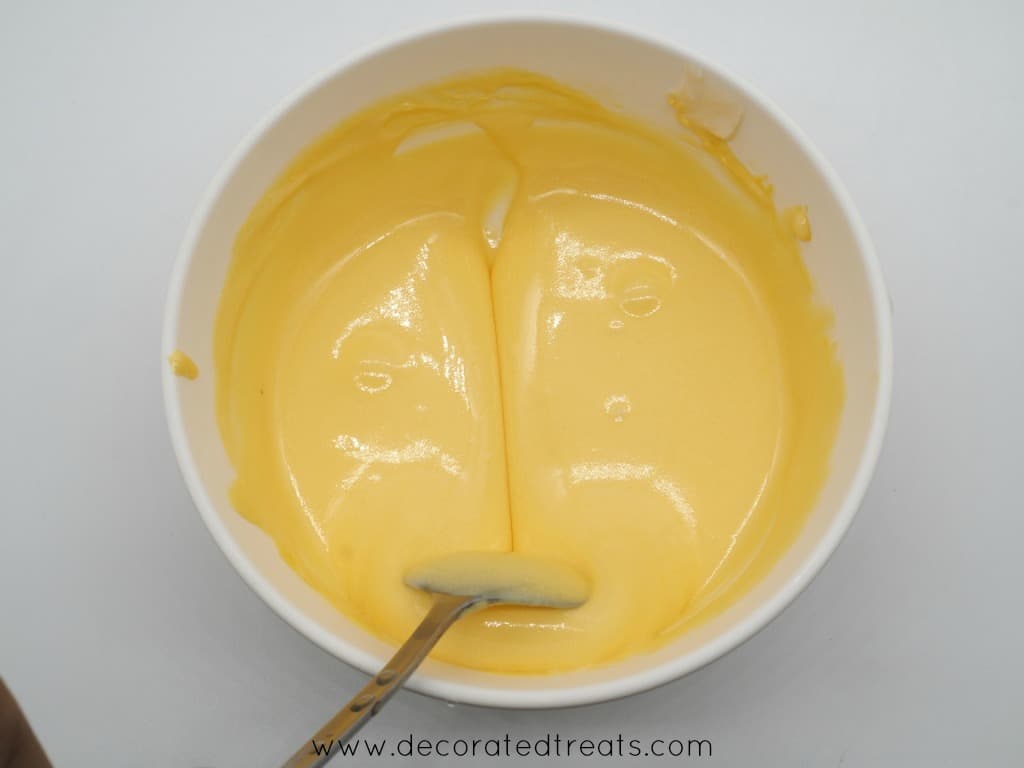
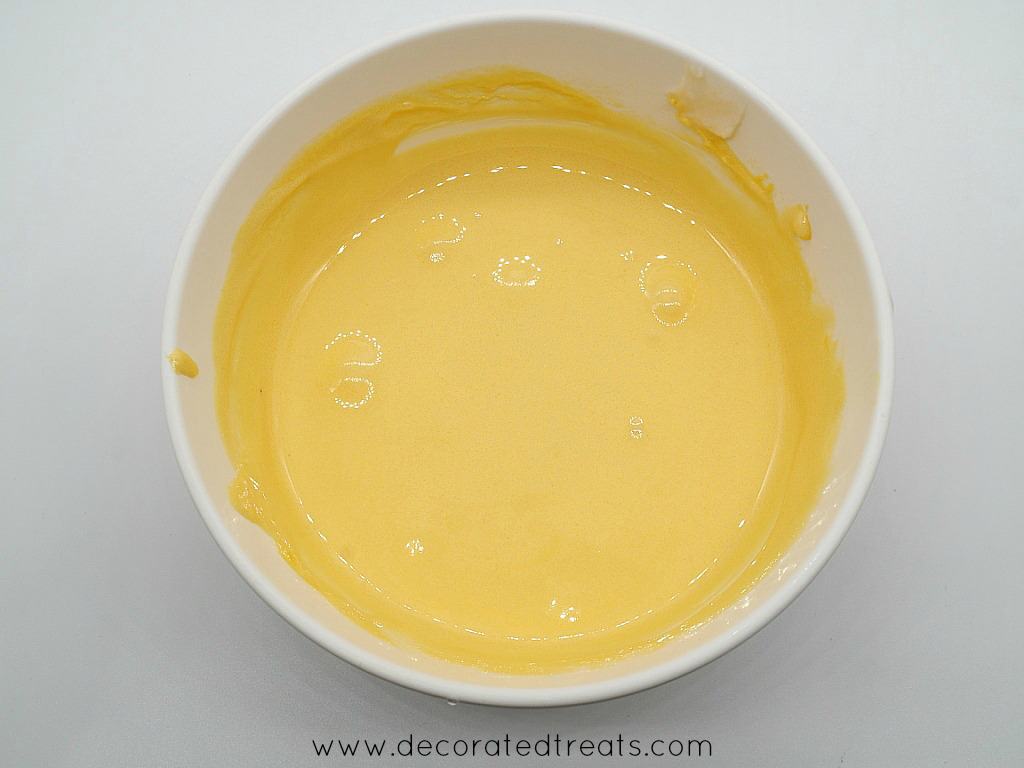
Step 4: Thin the orange and yellow icing
Once the outlines are done, you can start to fill the wings with color. For the filling, you need to thin the orange and yellow icing by adding warm water to it, a little at a time until you have the right consistency.
I normally check the consistency by cutting through the icing with a spoon. If the icing is in the right consistency, the cut through line should disappear in 10 seconds.
Fill the icing into piping bags (no need to fit any tips into the bag), one for yellow and one for orange.
And then snip a tiny hole at the end of the piping bag. Since the icing is in a runny consistency, it is important that the hole is very tiny (mine was the size of Wilton tip #3) or else it will be difficult to control the flow of the icing when filling the butterfly wings.
Step 5: Fill up the wings
Start by filling the outer section of the wings with yellow icing.
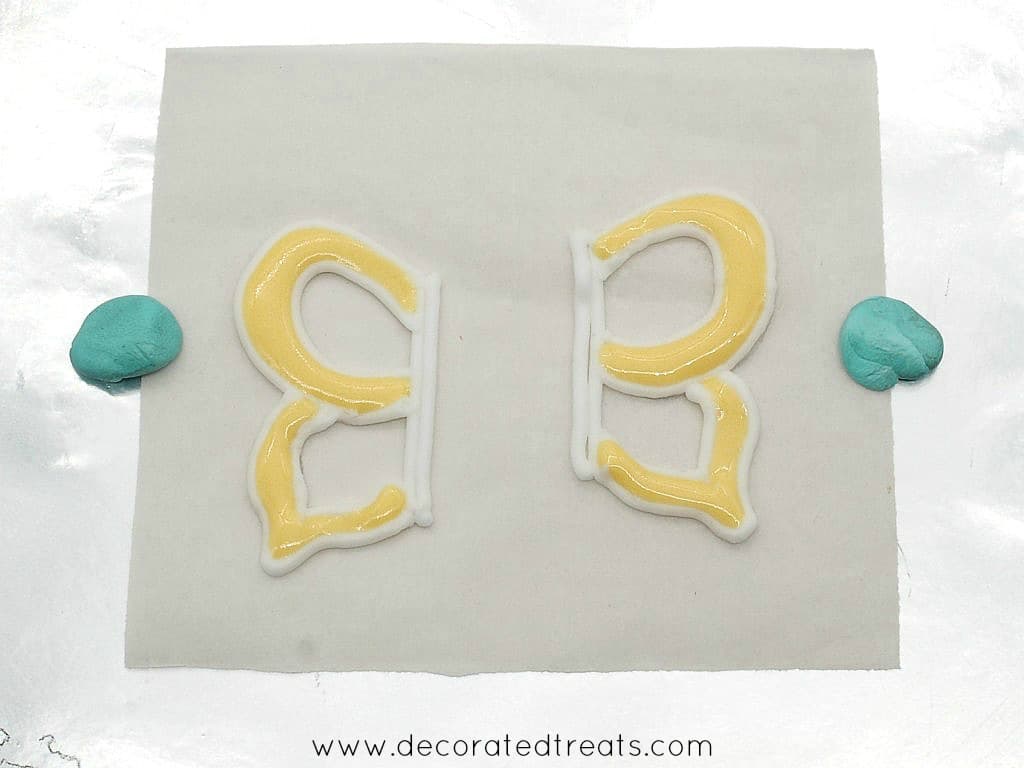
And then the insides with orange.

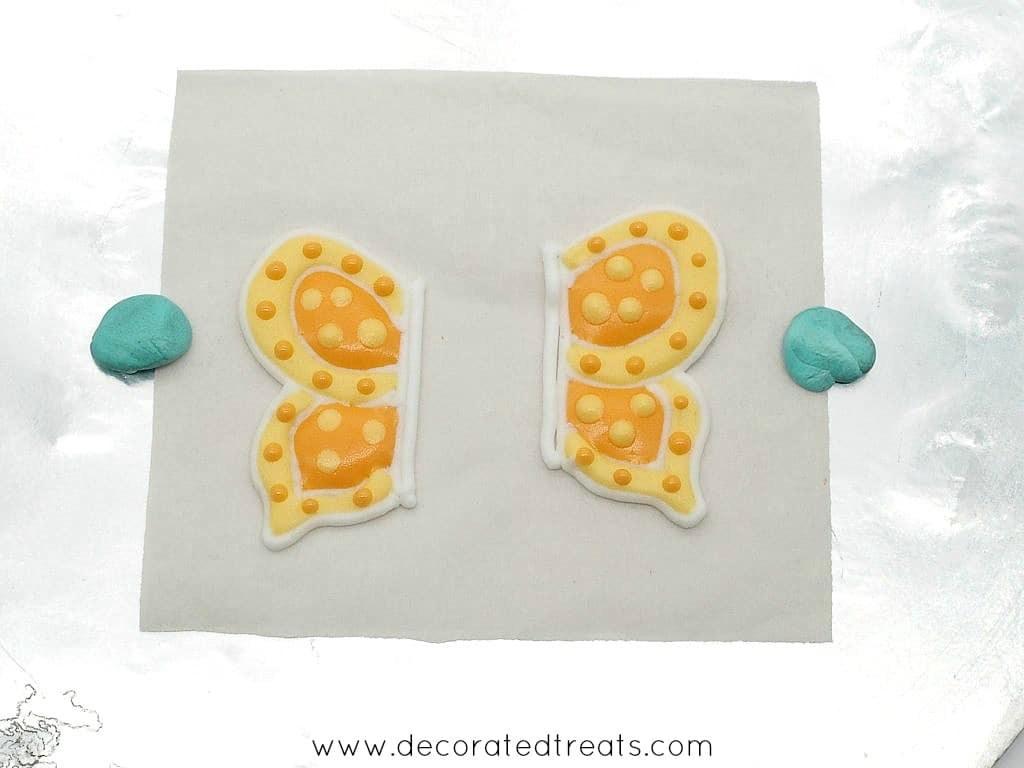
Next, pipe tiny dots of icing to make the polka dots.
Once all the wings are completed, leave them aside (overnight) for the icing to really set and dry. The icing has to dry completely or the wings will break as you peel them off the parchment paper.
Step 6: Peel off the parchment paper
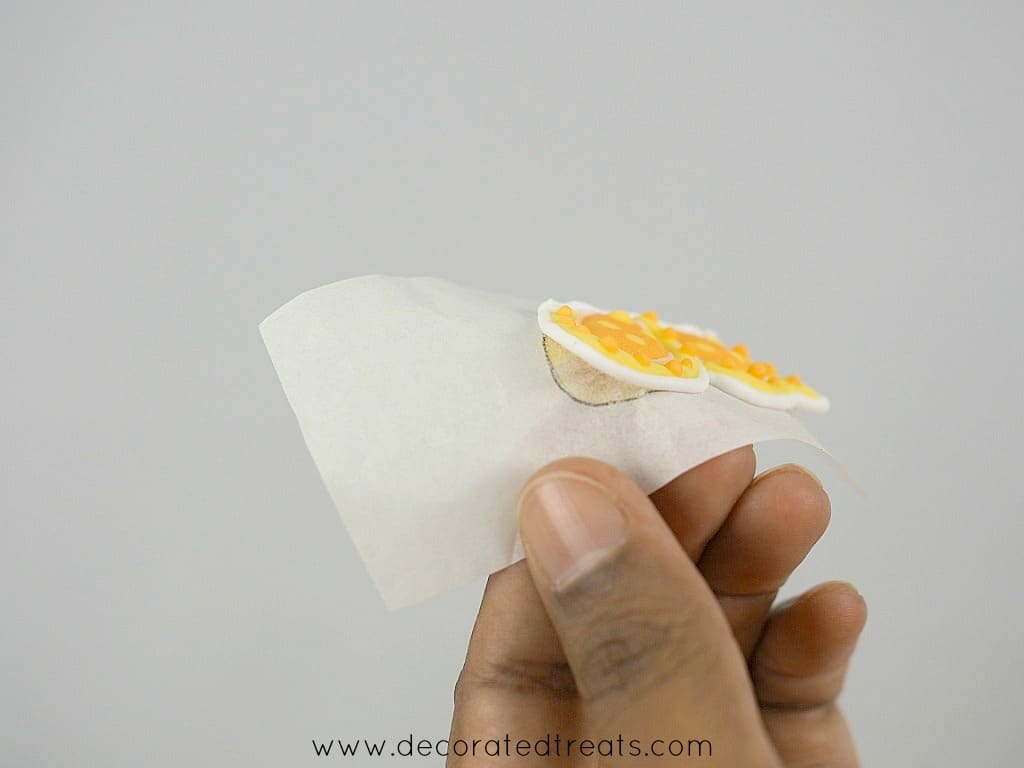
Once the wings are completely dry, remove them from the cake boards and cut the templates into half such that you have one wing on one piece of parchment paper. It is easier to peel the wings that way.
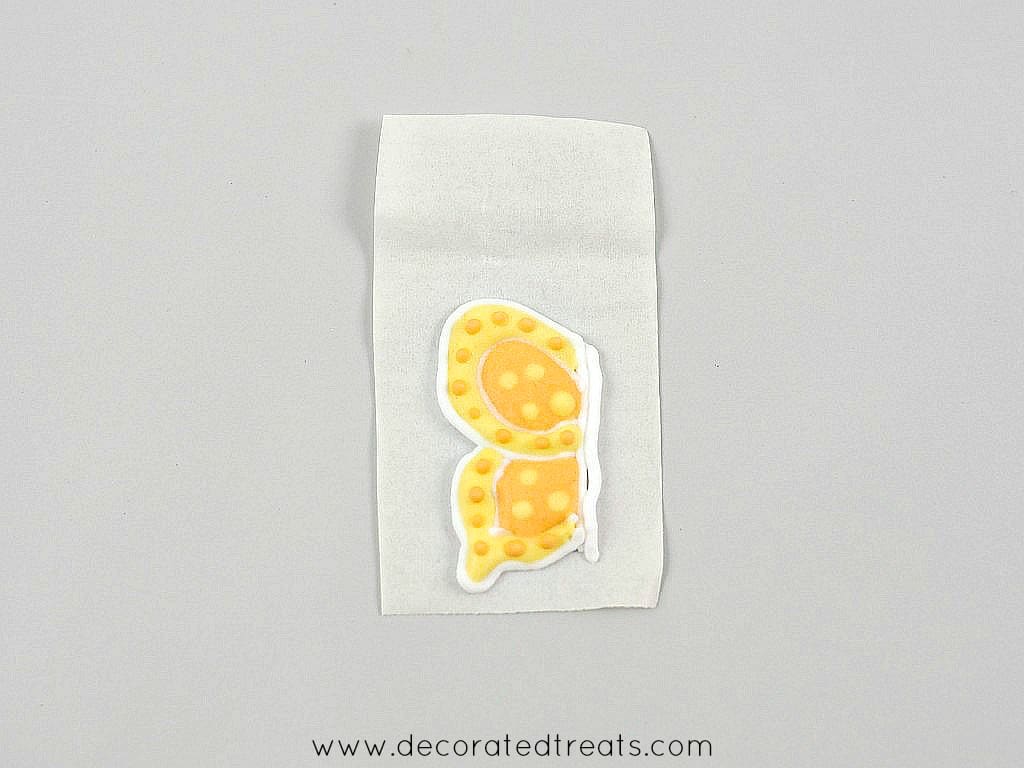
Peel the paper of carefully, making sure the wings do not crack or break.
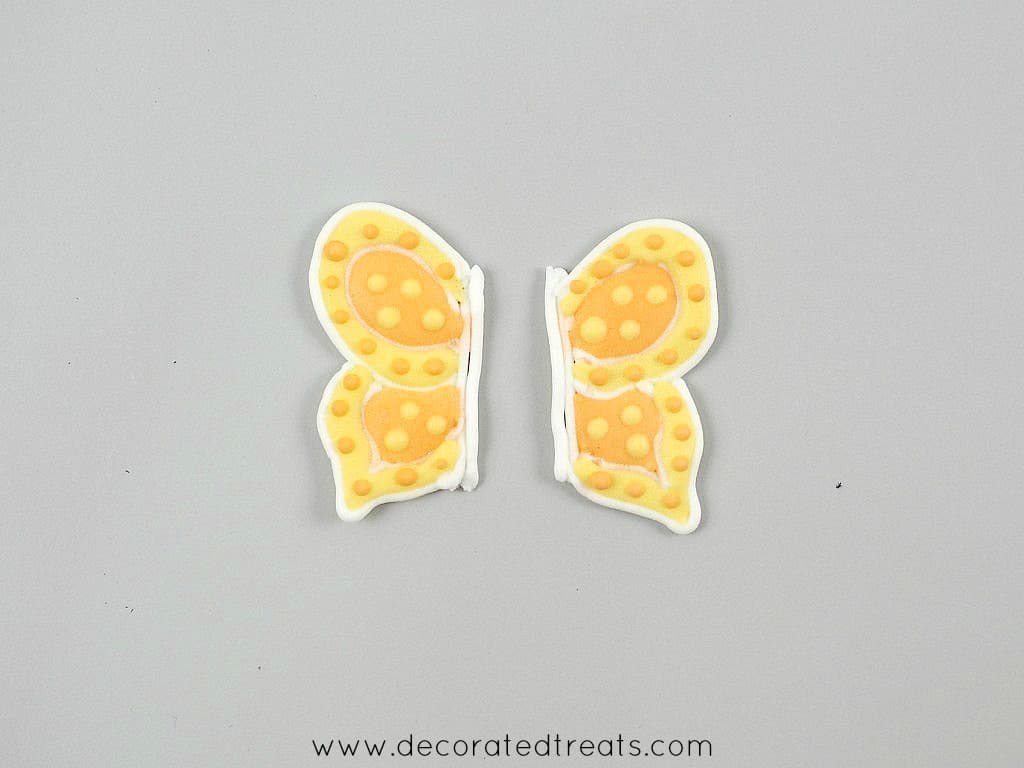
And this is how the wings looked like for my butterflies:
Step 7: Assemble the butterflies
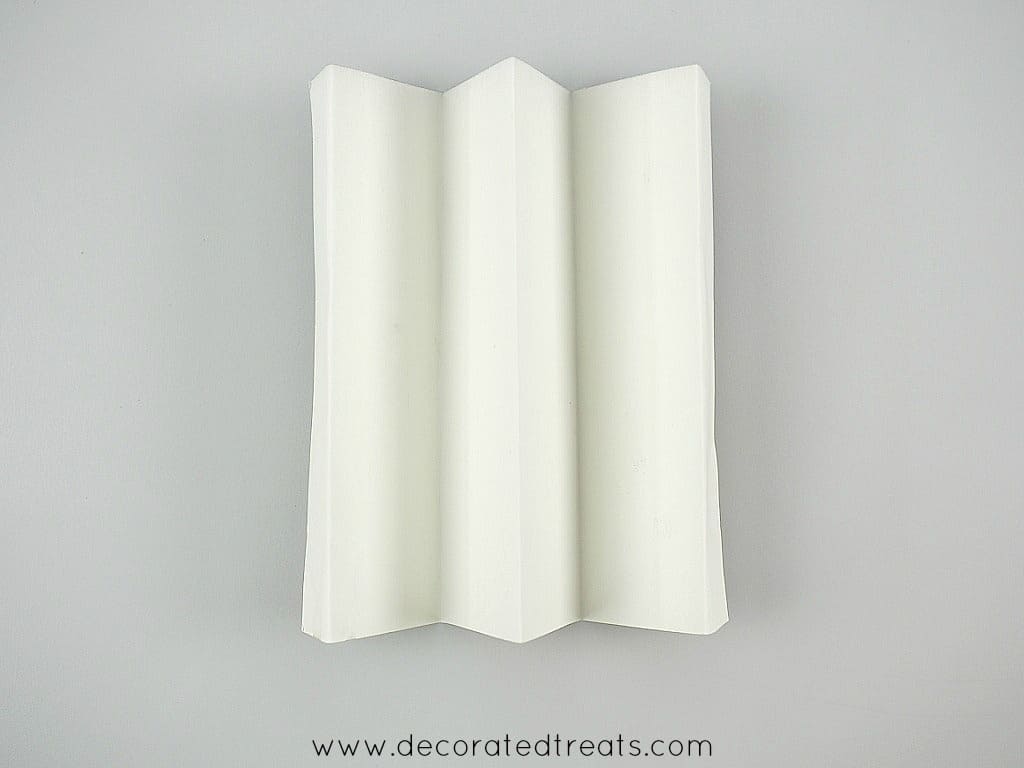
To assemble the butterflies, you have to use parchment paper and cardboard. Cut square pieces of parchment, similar to the size you used for piping the butterflies and fold them into 2, each.
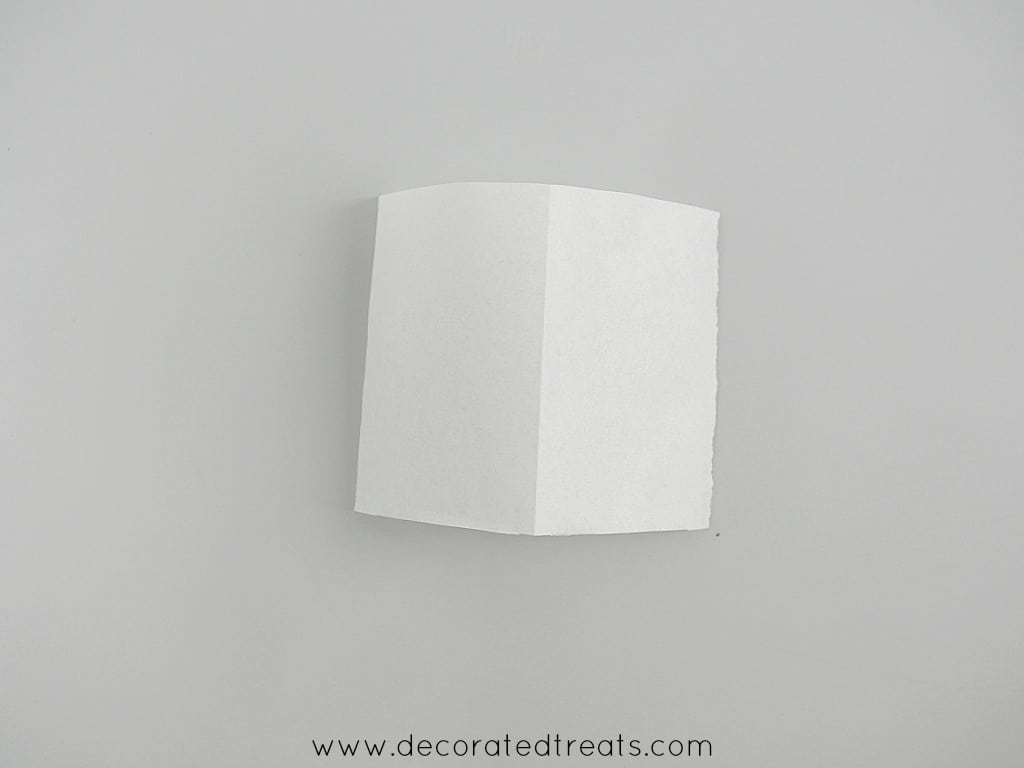
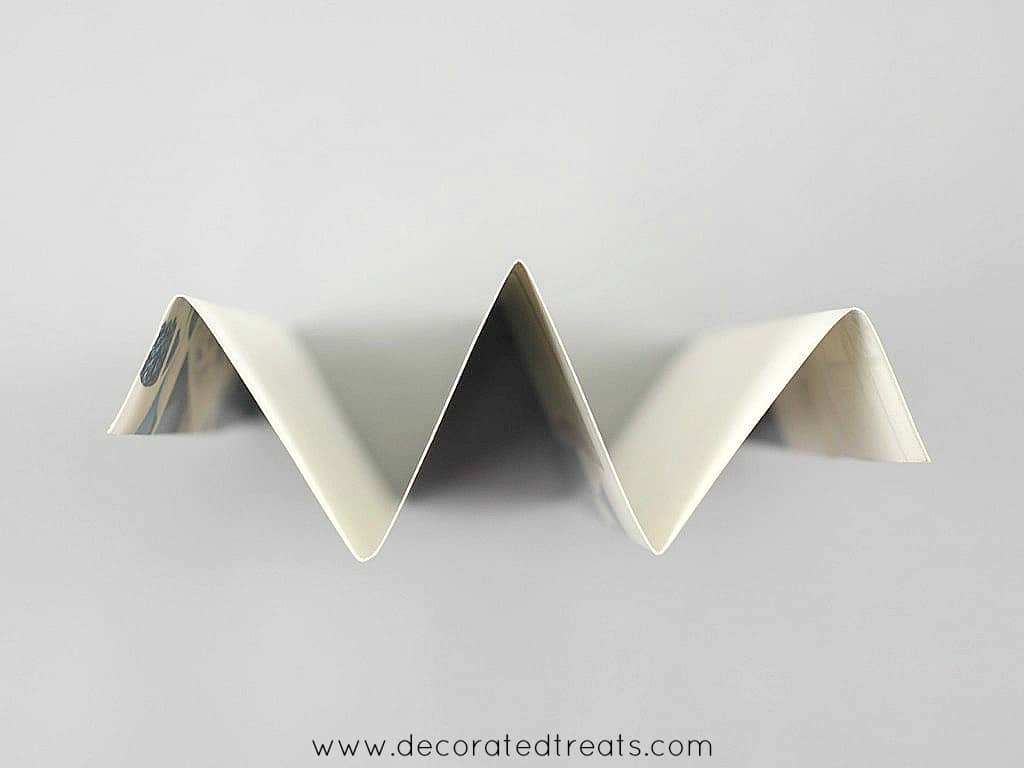
As for the cardboard, you can use a large rectangle piece (slightly smaller than an A4 paper).

Fold the cardboard into a "w" shape as shown.
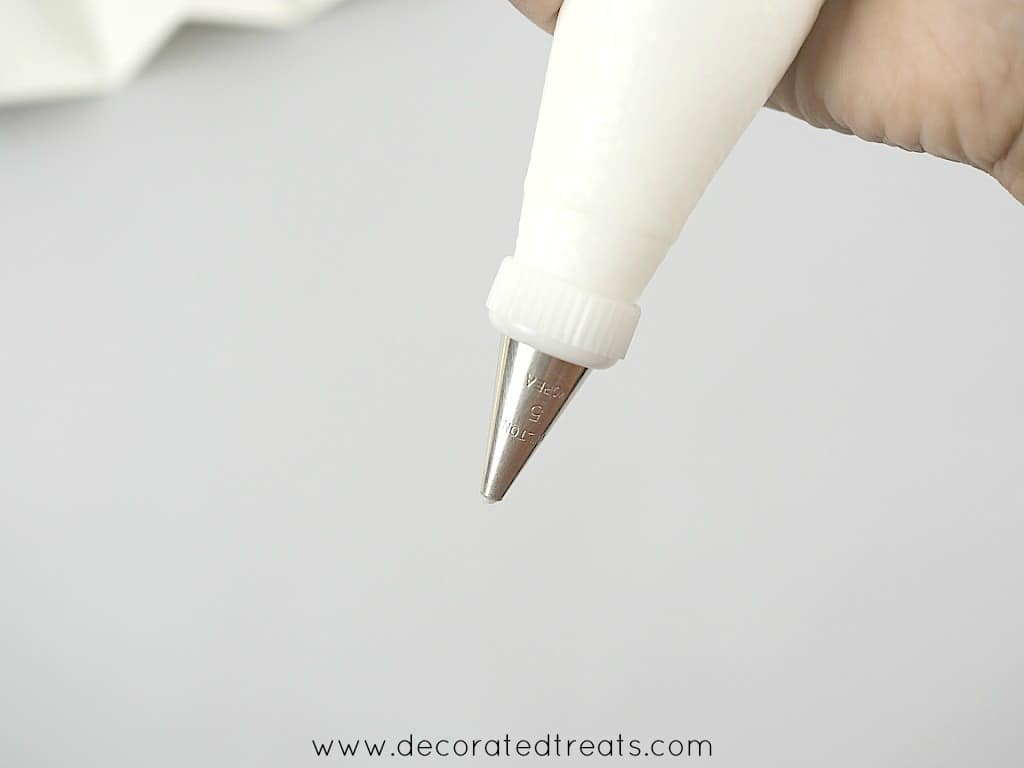
Next, fit round piping tip #5 to a piping bag filled with white royal icing in stiff consistency (same consistency used to pipe the outline of the wings).
Place the folded parchment paper onto the folded cardboard as shown. Using one side of the butterfly wing as a guide, pipe one line of icing, in the length of the butterfly.
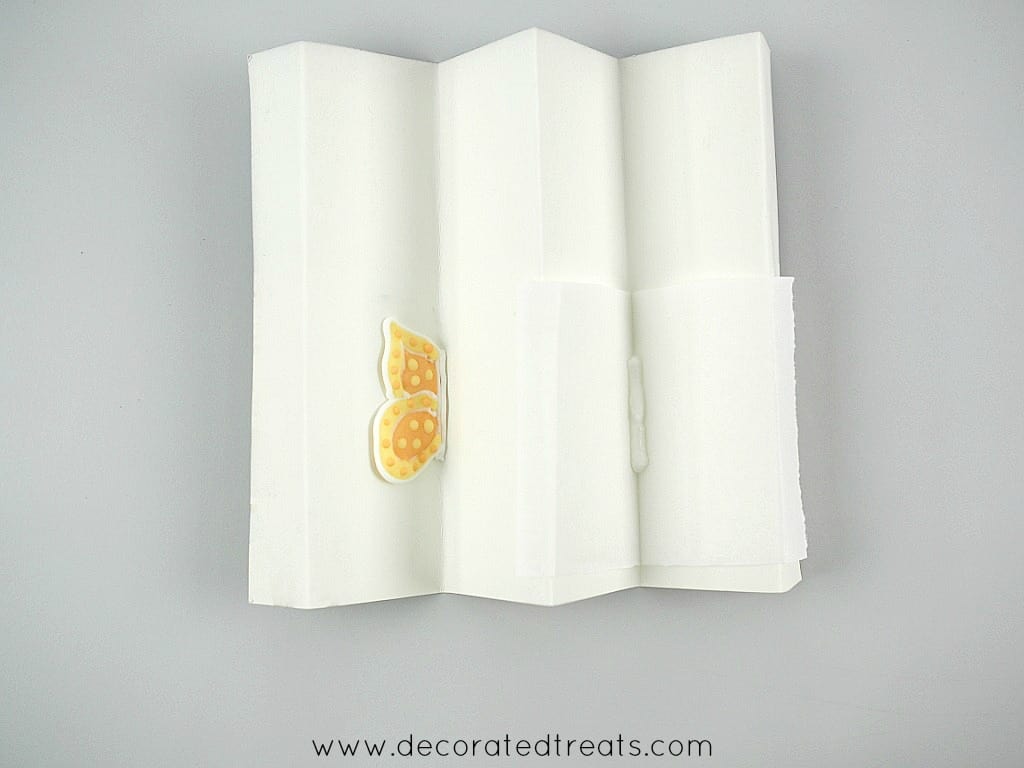
And then attach the wing by pressing it into the piped icing line.
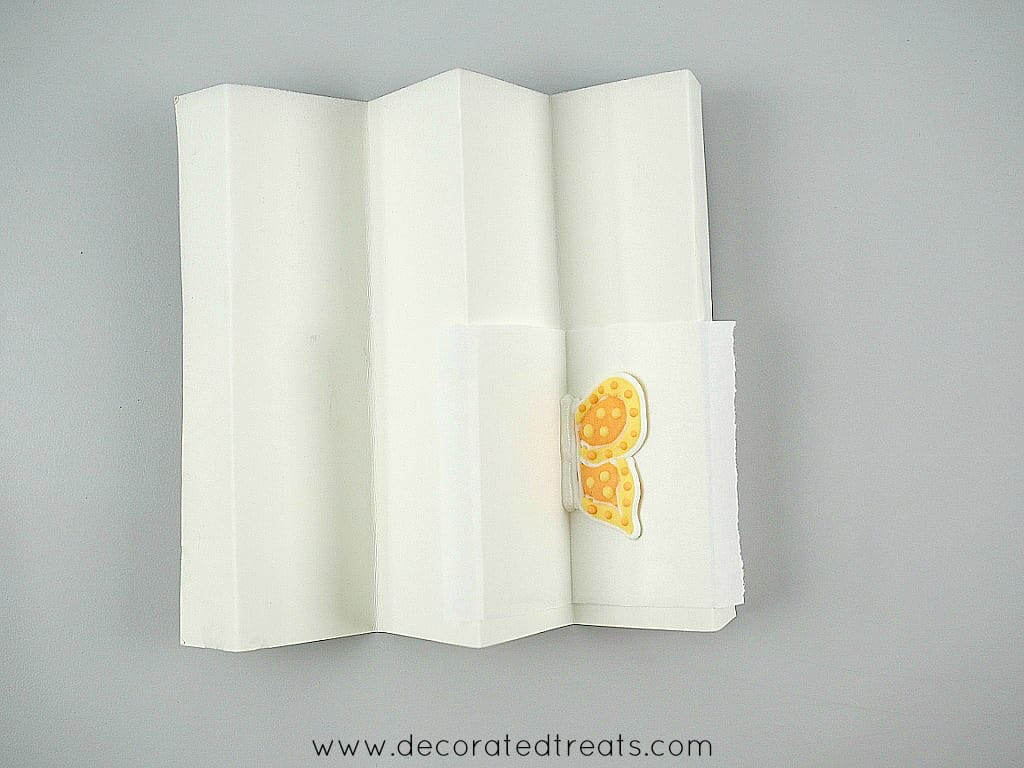
Take the other wing and attach on the other side of the piped line to make a complete butterfly.
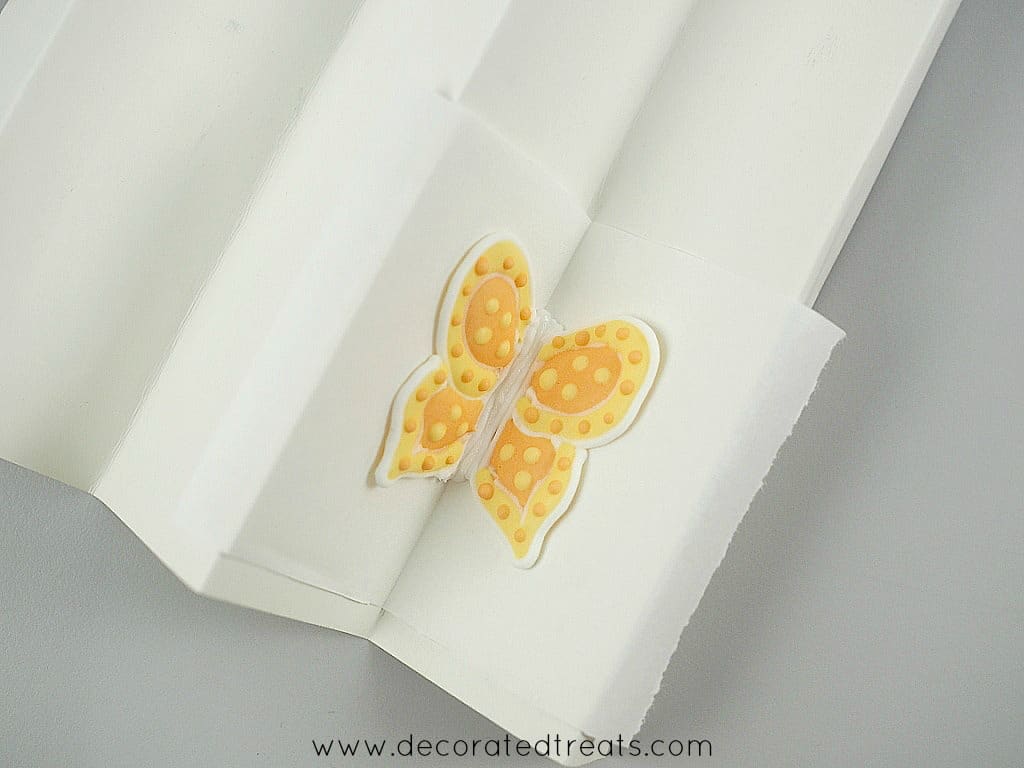
For the final step, pipe another line of icing using tip #5 to secure the wings in place.
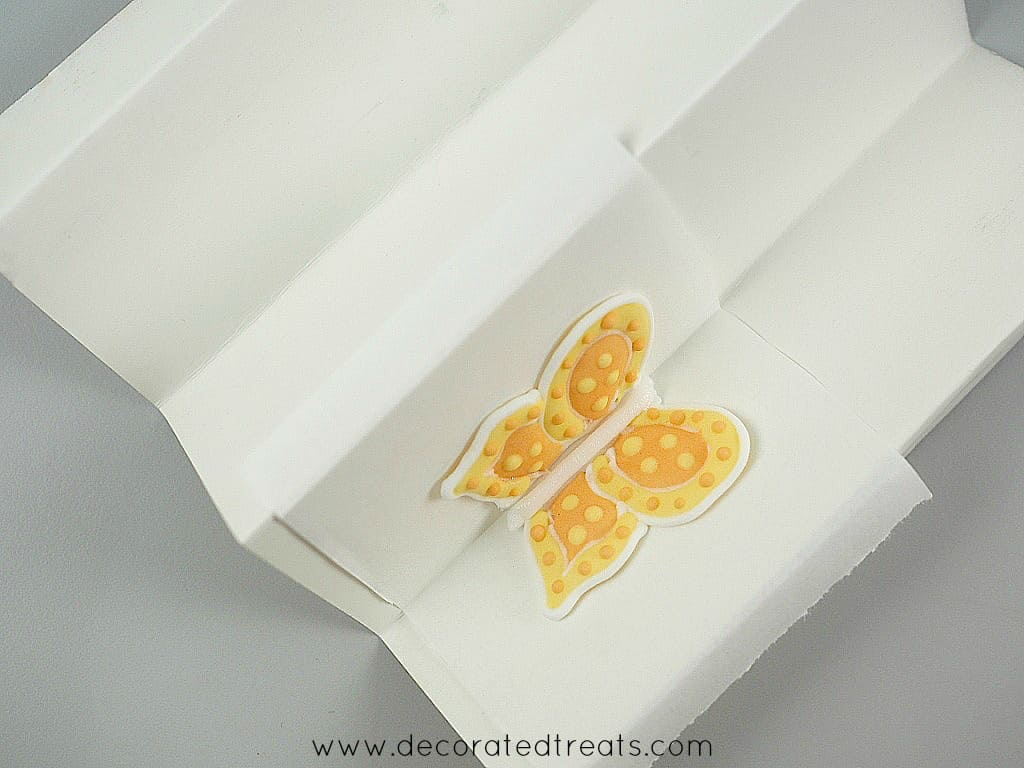
Leave the butterflies to dry completely ( I left mine overnight again). And when they are completely set, peel them off the parchment squares, carefully. And this was how my butterflies looked like:

How to attach the butterflies to cake
As for attaching them onto a cake, use the same white royal icing. Pipe 2 lines of icing underneath the center of the butterflies and attach them to the cake.
You would need to hold them in place for a while for the icing to set to prevent them from sliding off.
And that was how I made my royal icing butterflies. See how I made the rest of my flower cake here:

💡Expert tips
- Royal icing crusts very quickly. Always keep it covered in a damp cloth when not using.
- To keep the icing overnight, store it in an airtight container and keep it refrigerated. Mix thoroughly before using.
- You can also keep the royal icing in the piping bags overnight. Wrap them in damp cloth to prevent the icing at the piping tips from crusting.
- You can make these edible butterflies ahead of time and keep them covered in an airtight container. Store is a cool dry place.


Leave a Reply