• Skip to primary navigation
  • Skip to main content
  • Skip to primary sidebar

Decorated Treats

  • Home
  • Recipes
    • Cake Recipes
    • Cookies Recipes
    • Brownies & Bars
    • Bread & Pastry Recipes
    • Sweets & Candies Recipes
    • Jellies, Mousses and Puddings
    • Frosting and Icing Recipes
  • Designs & Tutorials
  • Tips & Techniques
    • Preparing Cakes for Decoration
    • Fondant Decorating
    • Piping Techniques for Cake Decorating
    • Gum Paste Flowers - How to Make
    • Decorating with Chocolate
    • Other Techniques
menu icon
go to homepage
  • Recipes
  • Tutorials
  • Techniques
  • About Me
    • Facebook
    • Instagram
    • Pinterest
    • YouTube
  • search icon
    Homepage link
    • Recipes
    • Tutorials
    • Techniques
    • About Me
    • Facebook
    • Instagram
    • Pinterest
    • YouTube
  • ×
    Decorated Treats » Tips & Techniques

    How to Make Number Cake Topper

    Published: Aug 19, 2020 · Modified: Mar 3, 2024 by Priya Maha

    Learn how to make number cake topper with this easy tutorial and decorate your cakes like a pro. No cutters required and you can make any numbers in 3D shapes as you like.

    Number 8 cake topper in purple glitter.

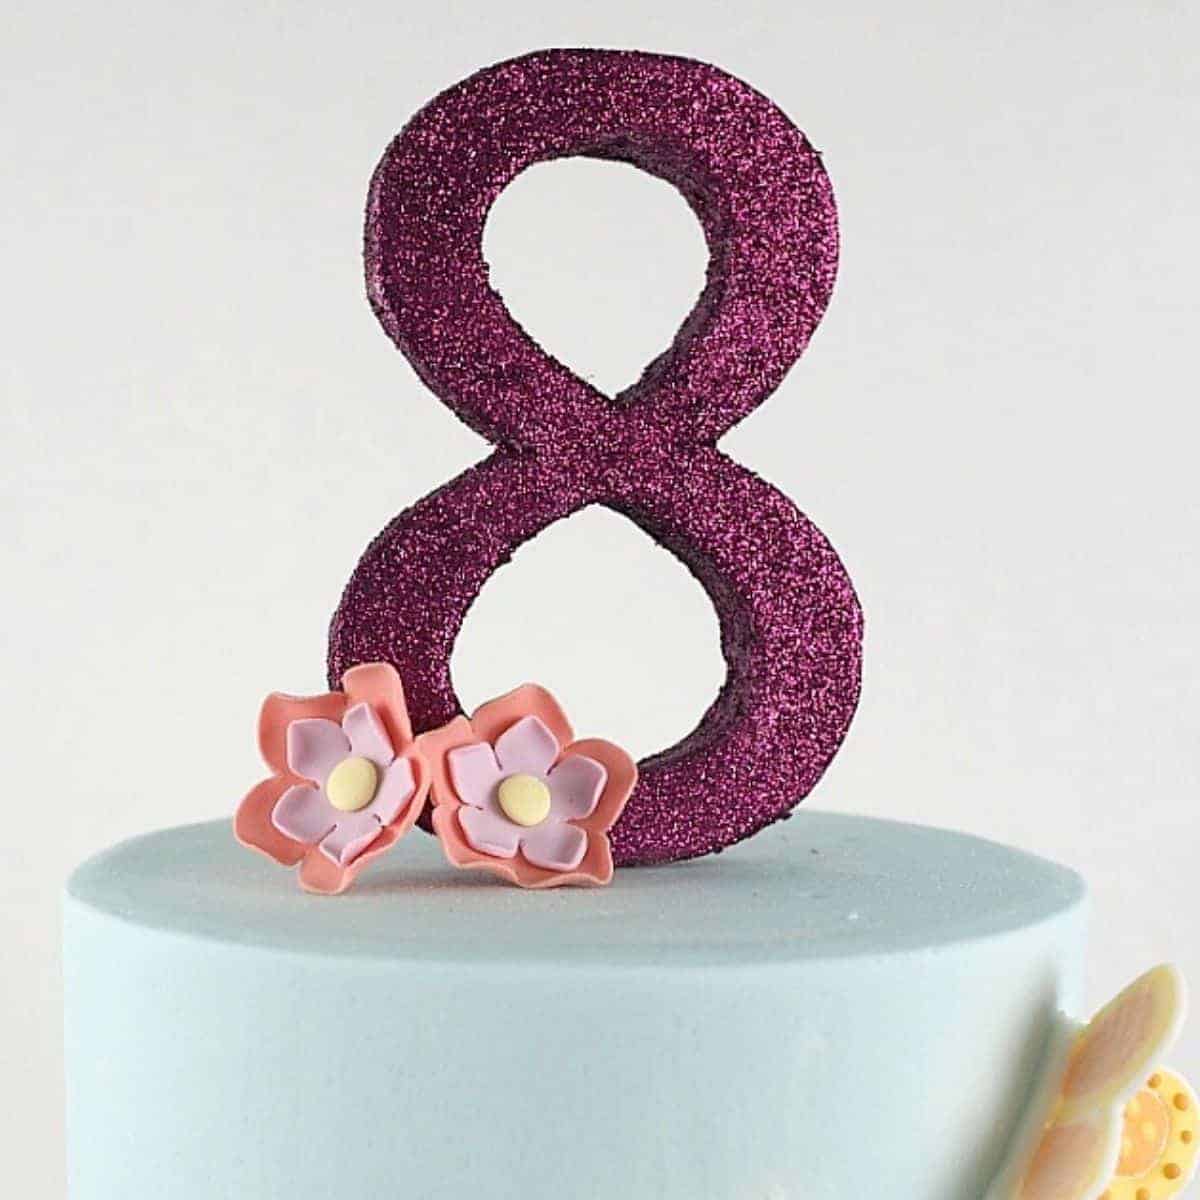
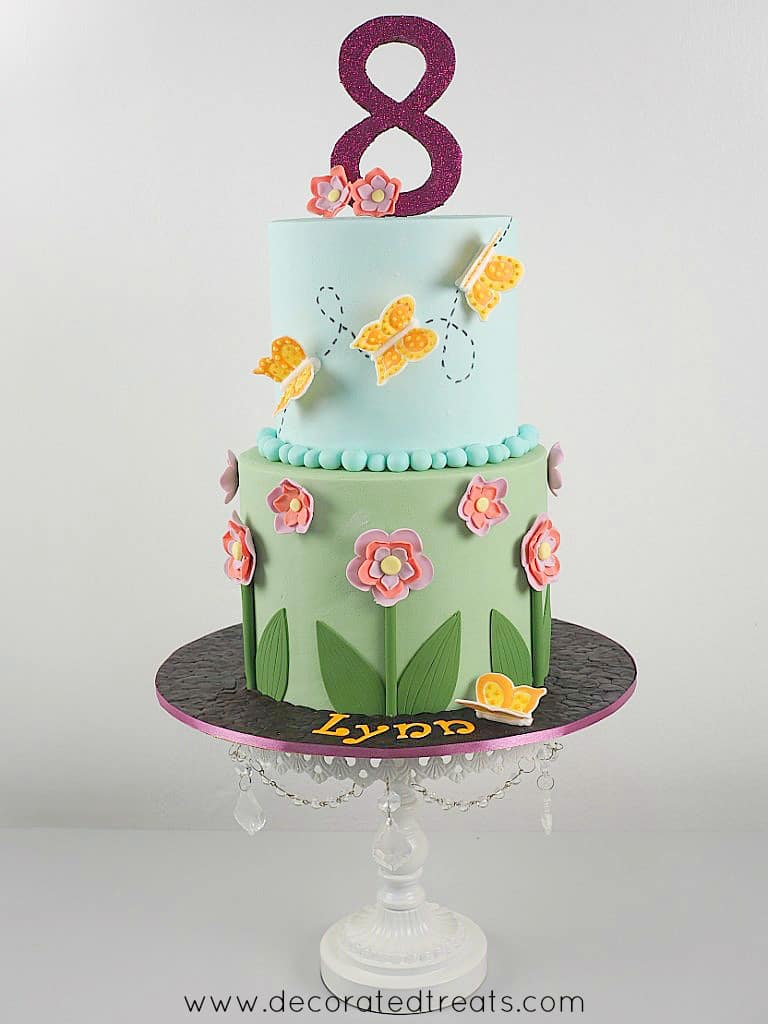
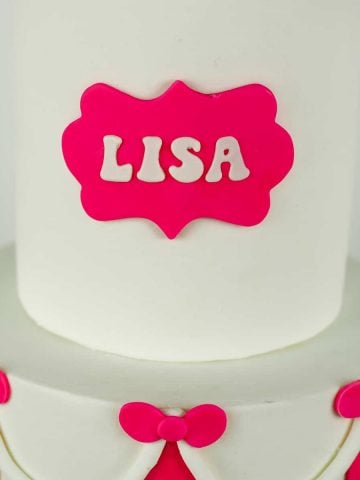
    I made this number cake topper for a flower birthday cake. It was an eighth birthday for a girl and the cake theme was butterflies and flowers. It was a 2 tier cake and the 3D number topper covered in glitter dust added a very strikingly pretty finishing to the cake along with the 3D royal icing butterflies and easy fondant flowers on the cake.

    Jump to:
    • ❤️Why you will love this tutorial
    • 🧾Supplies required
    • 👩‍🍳How to make
    • ❤️More tutorials you will love

    ❤️Why you will love this tutorial

    • The tutorial is easy to follow.
    • You get to make 3D number toppers in fondant without any special cutters.
    • You can use this technique to make any number or even alphabet toppers and in any size you like.

    If you like this tutorial, you should also check out my other tutorials on how to make 3D fondant letters with cutters, how to make rainbow fondant letters and how to align letters on cakes for perfectly centered cake lettering.

    🧾Supplies required

    • Fondant - I used Satin Ice white fondant to form the number "8". You can also make your own fondant with this homemade fondant recipe or this marshmallow fondant recipe.
    • CMC powder (Tylose powder) - This powder is added to fondant to help it dry harder. I used approximately ¼ teaspoon for this number topper project.
    • Number template - You need this template to guide you in cutting the fondant to make the number topper. You can draw the number by hand, trace it from a book, download from the internet or simply print it out with Microsoft Word font like I did.
    • Sugar craft knife - You need the knife to cut the fondant number.
    • Wooden picks - These are attached to the bottom of the number topper. They help hold the number topper on the cake.
    • Gel paste color - I used Americolor gel color in Electric Purple. The paint was diluted in water before being applied on the topper.
    • Cake decorating brush - This is used to paint the number topper.
    • Fondant glue - to attach the skewers to the number topper.
    • Spatula - to assist in coating the number topper with the glitter dust.
    • Glitter dust - I used purple glitter for this project. Use non toxic glitter.

    👩‍🍳How to make

    Step 1: Prepare the number template

    I printed mine from the Microsoft Word application. To do this, open a black document in the application.

    Type number '8'. Use outline mode so that you do not use up too much printer ink. Enlarge the number to the size you want the topper to be on your cake.

    Follow this tutorial on how to resize cake templates to learn how to resize your template.

    A white paper with number 8 printed on it.

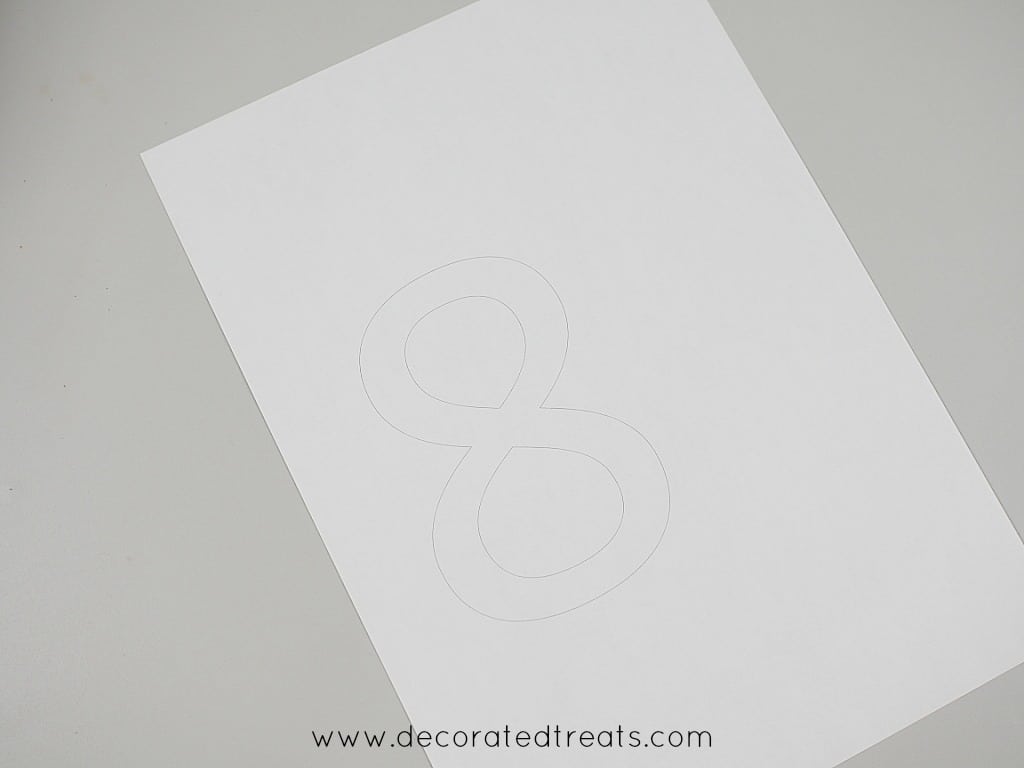
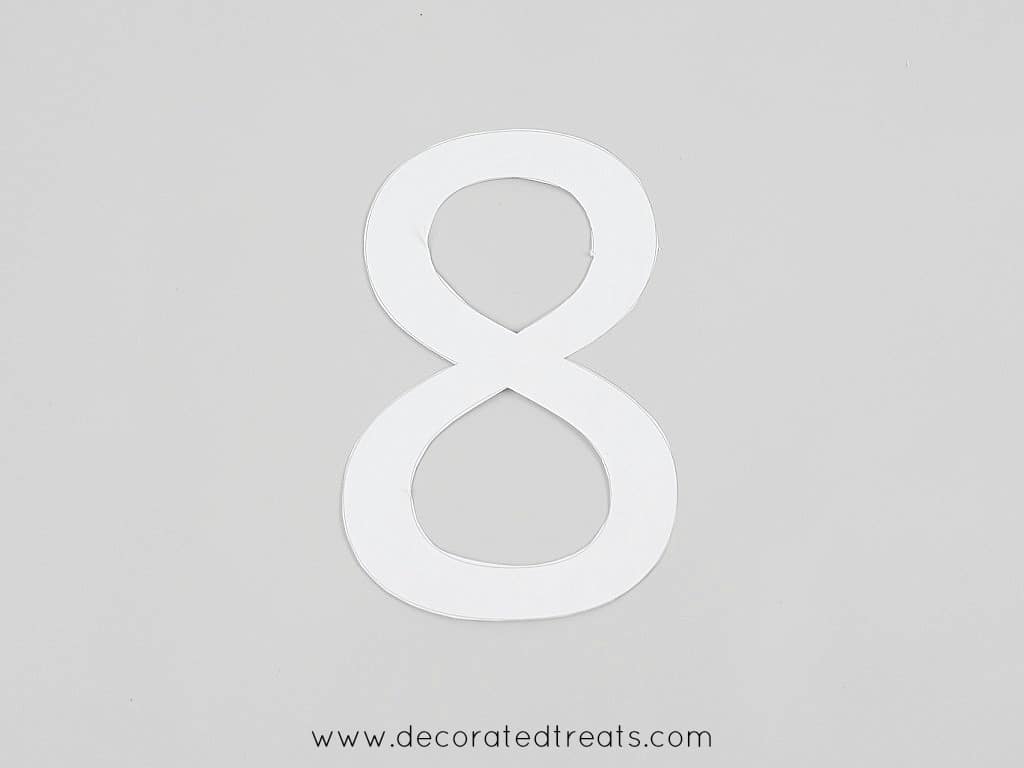
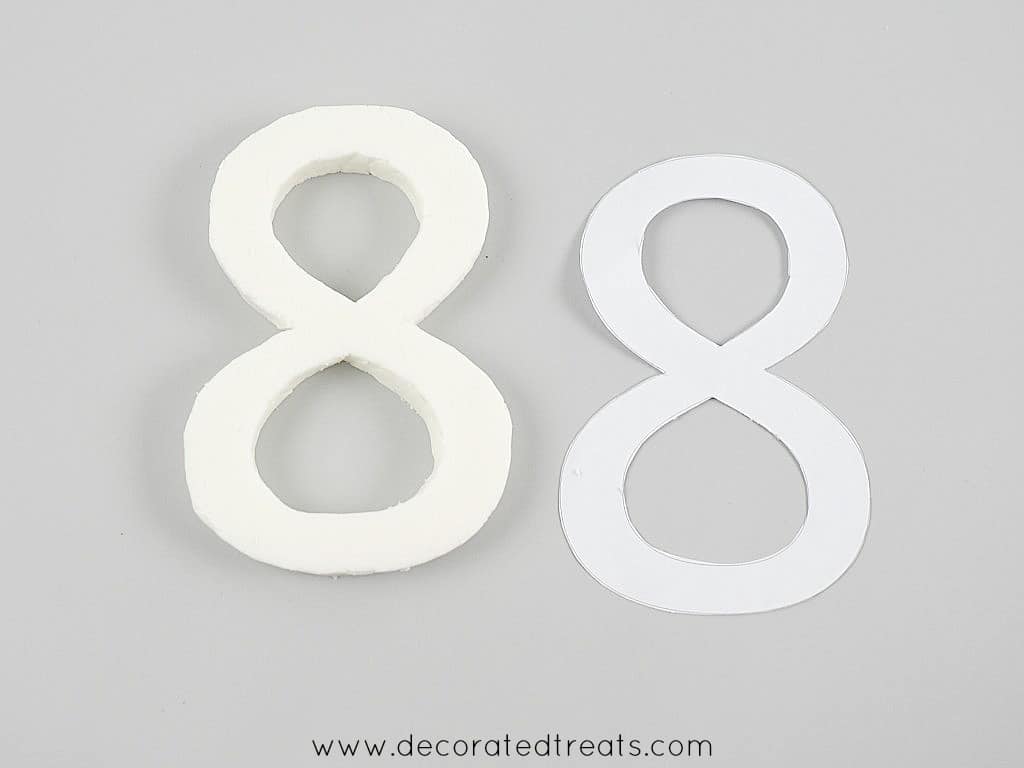
    Once printed, cut the number out.

    A number 8 paper template cut out.

    Step 2: Cut the number in fondant

    Prepare fondant by kneading some CMC powder into it. Knead well. Dust your workspace with powdered sugar or corn starch (see here for the options and available tools for dusting work. You can also make your own fondant dusting pouch at home).

    Roll the fondant to about 1 cm thick. Place the template on the rolled fondant.

    A number 8 paper template on a piece of white rolled fondant. Next to it is a white rolling pin.

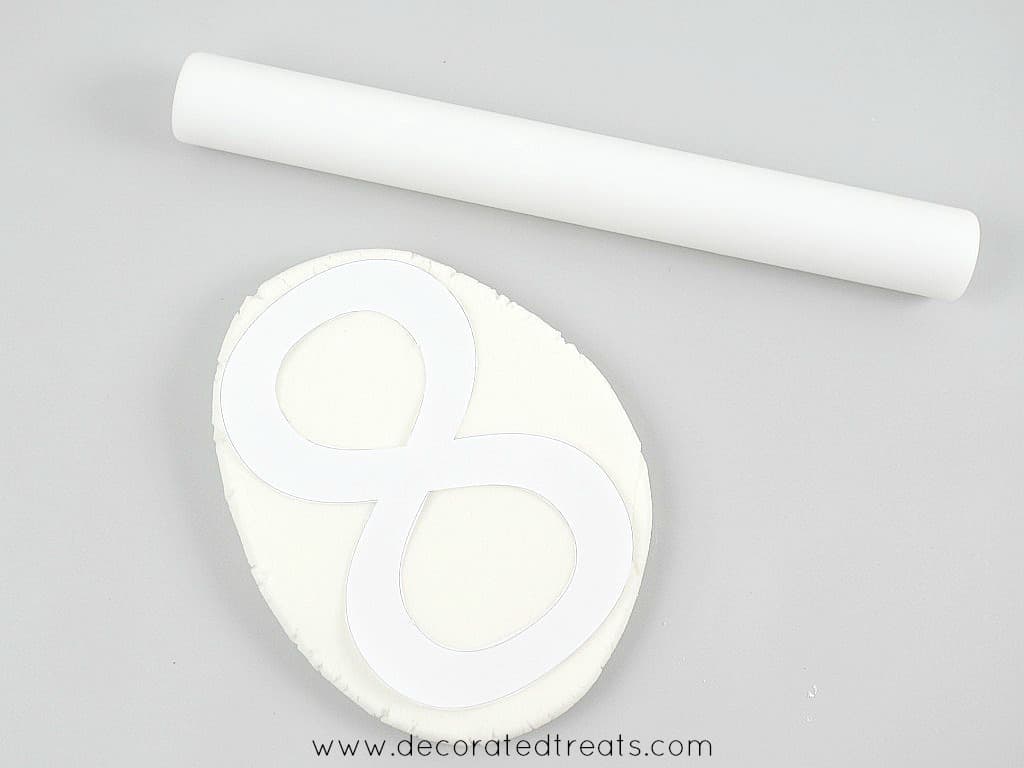
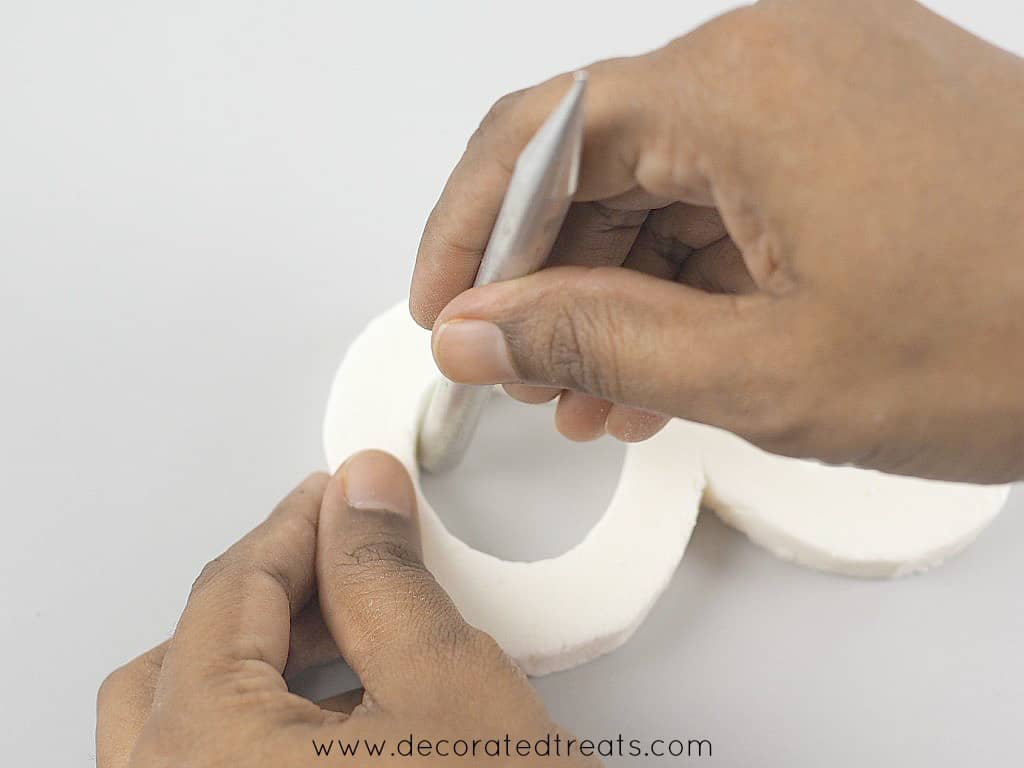
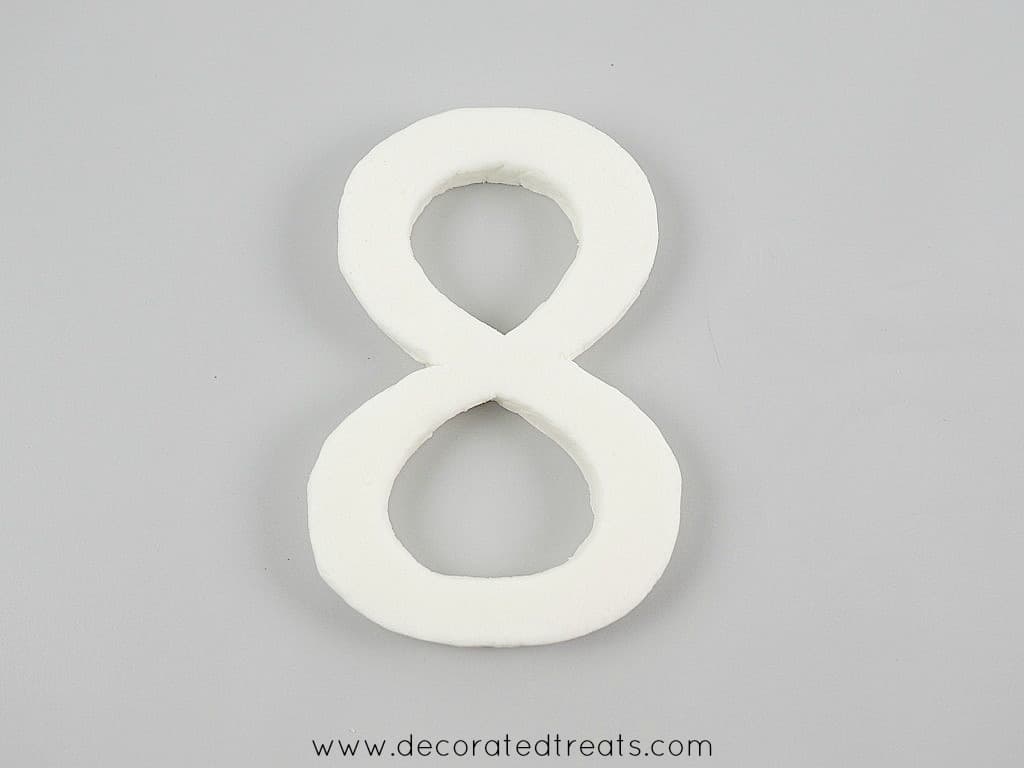
    Cut the fondant out following the shape of the number with the sugar craft knife.

    A number 8 fondant cut out and a paper template next to it.

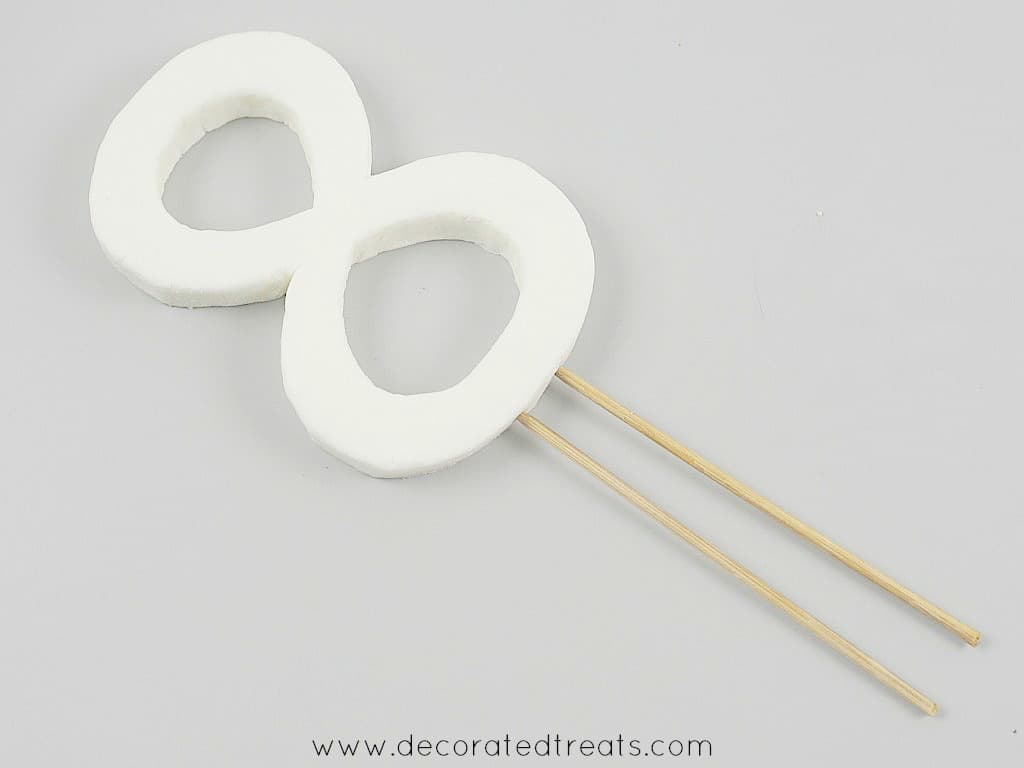
    Use modelling tools to smooth the edges all around the cutout. You can also using your fingers.

    Using a small silver rolling pin to smooth the sides of a number 8 fondant cut out.
    A number 8 shaped fondant cut out in white.

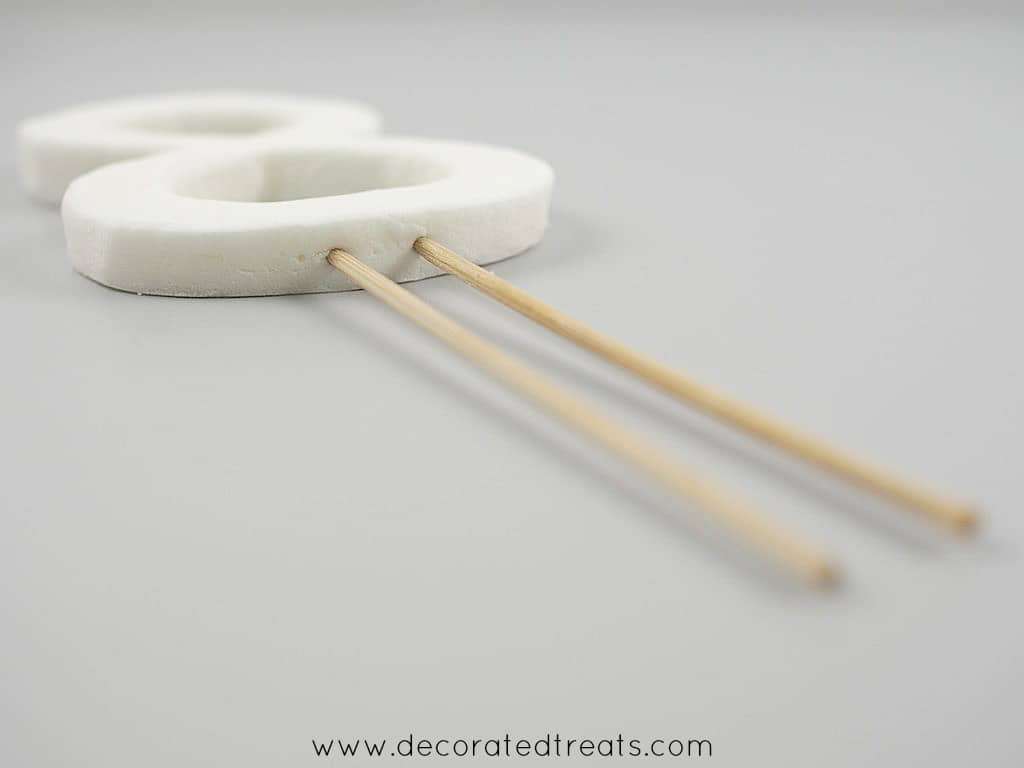
    Next, dip the wooden picks or skewers into fondant glue and insert them to the bottom of the topper as shown:

    A number 8 shaped fondant cut out in white, attached to 2 long picks.
    A number 8 shaped fondant cut out in white, attached to 2 long picks.

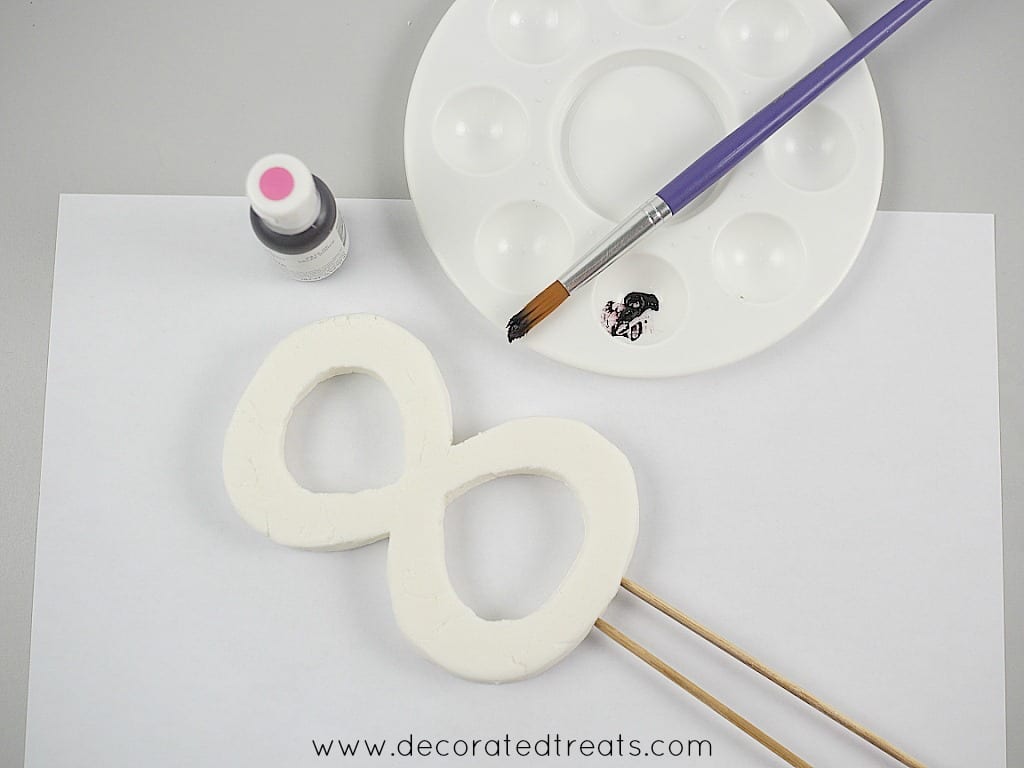
    Step 3: Paint the topper

    Next step is to paint the topper. I used Americolor "electric purple".

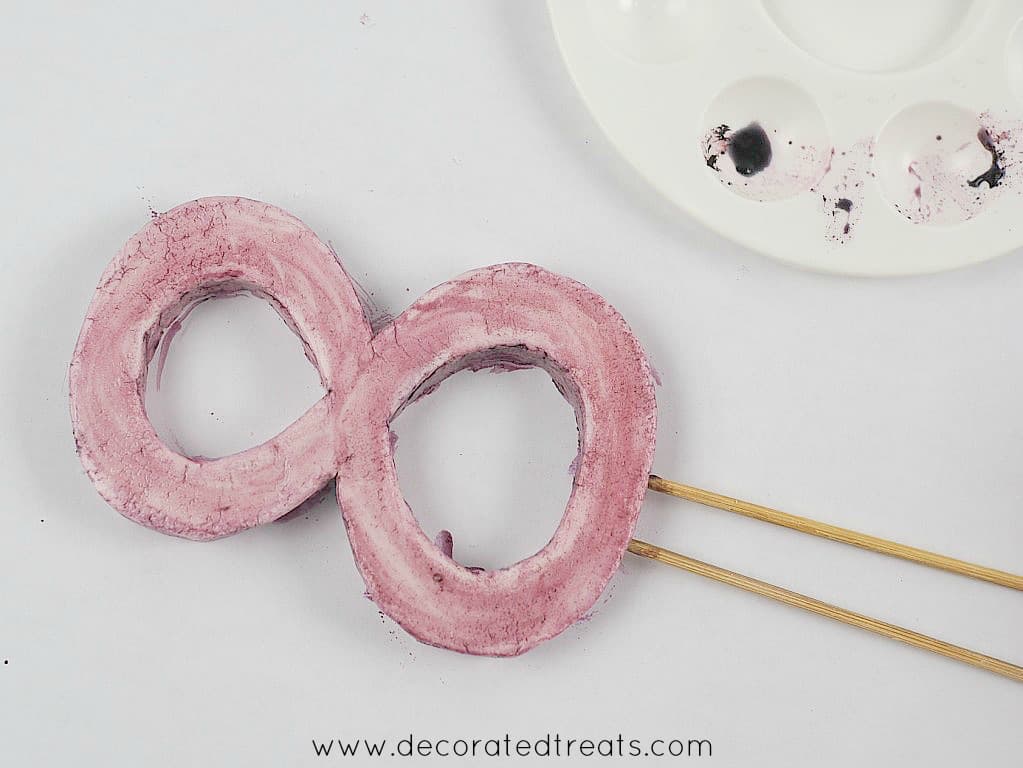
    If you are using gel based colors, dilute them slightly in water and paint all over the number. At this point, the paint need not be very even as it will be eventually covered with glitter dust. 

    A number 8 fondant cut out next to a painting palette with purple food coloring and a paint brush. Next to it is the purple food color bottle.
    A number 8 fondant cut out painted in purple.

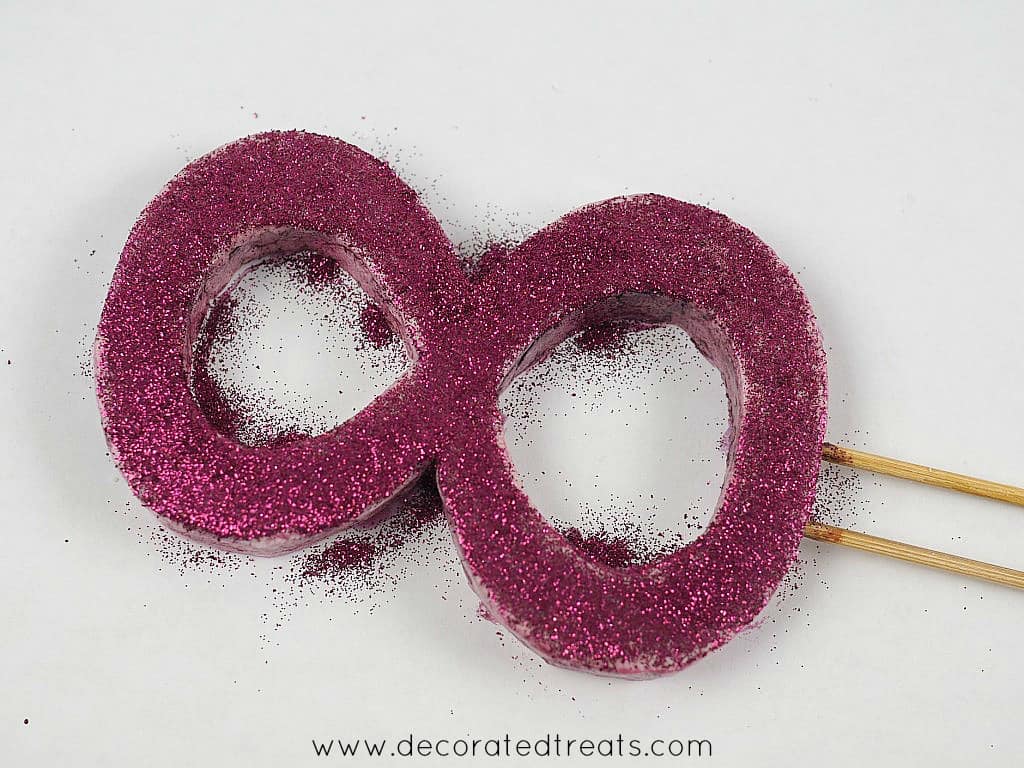
    Once the number was painted on the front, back and sides, sprinkle the glitter dust all over the top. To do this, place the number on a piece of paper and sprinkle the dust all over the topper generously. 

    Pouring out purple glitter from a small container onto a number 8 fondant cut out.

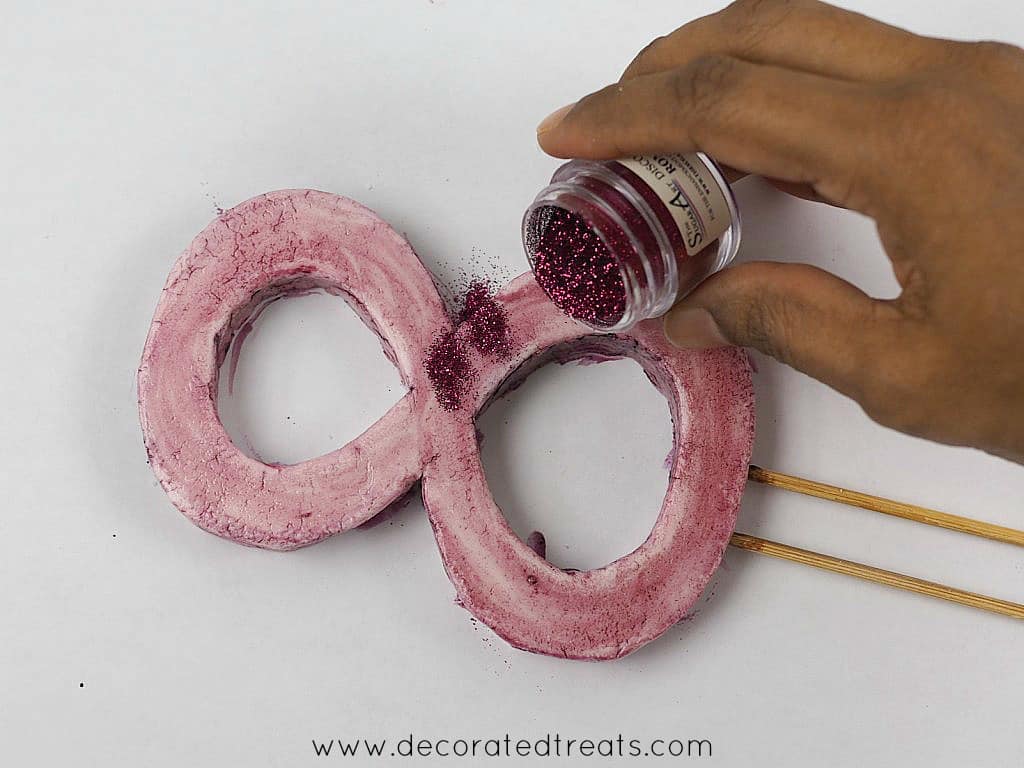
    And then use a spatula to disperse the dust to make sure the entire surface of the fondant number is covered with the dust. Repeat the process on the back on the number topper.

    Number 8 topper on a piece of white paper with purple glitter on it and the paper.

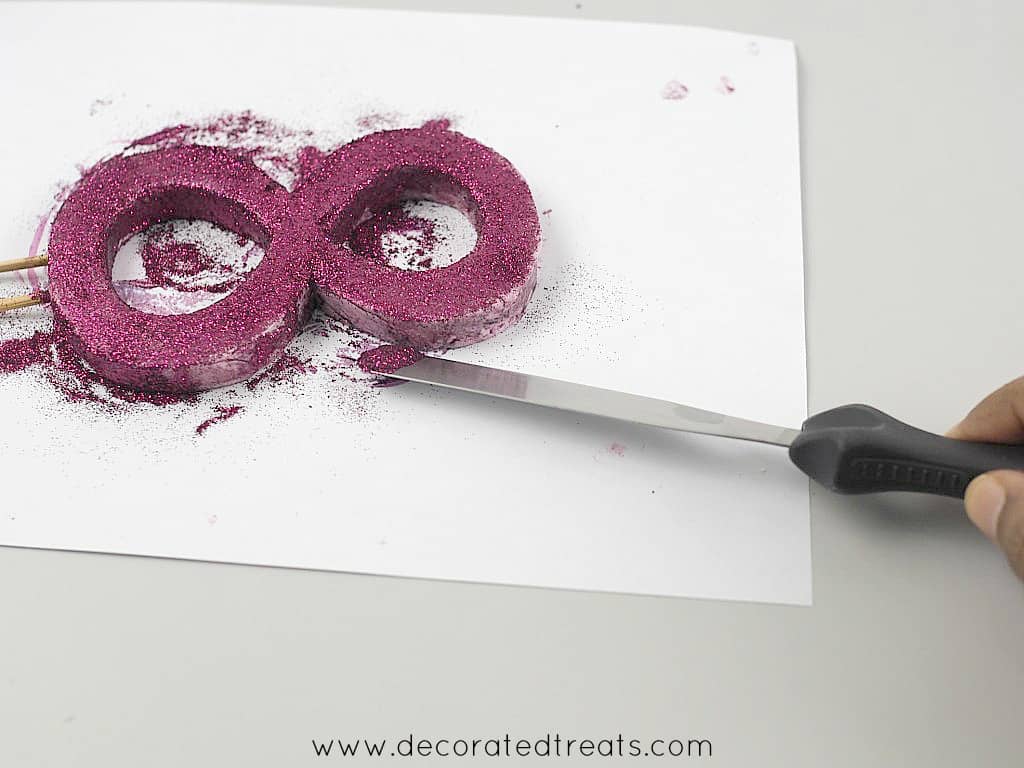
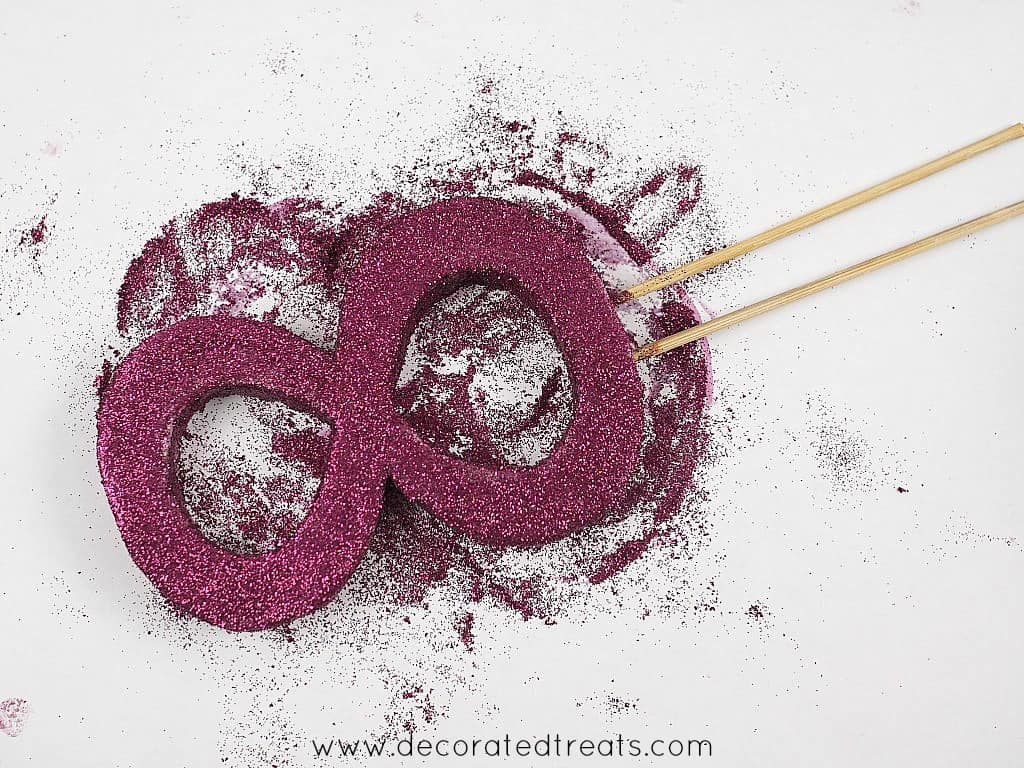
    As for the sides, use the spatula again to lift the excess dust around the topper and spread it on the sides until there is an even coating of the dust all over and no fondant spots are visible.

    Using a palette knife to attach purple glitter onto a number 8 shape.

    Let the topper dry completely overnight. It is very important for the fondant to completely set and dry or else the topper will not hold shape once it is put upright on the cake. 

    Number 8 topper on a piece of white paper with purple glitter all over it and the paper.

    Once it is completely dry, tap it lightly on the paper to remove any loose and excess dust and then poke the topper onto your cake.

    A 2 tier flowers and butterfly cake with a number 8 topper.

    And that was how I made my 3D standing number cake topper. Hope you enjoyed this tutorial.

    ❤️More tutorials you will love

    • Name 'LISA' on a pink plaque on a white fondant cake.
      Cake Lettering (How to Align Letters on Cakes)
    • Removing fondant lace from a silicone fondant mold.
      How to Use Silicone Fondant Molds for Cake Decorating
    • Black and white guitar cake topper.
      3D Fondant Guitar Cake Topper (How to Make)
    • A heart shaped cookie decorated in pink heart and powdered sugar.
      How to Make Fondant Hearts (without Cutters and Molds)

    Reader Interactions

    Leave a Reply Cancel reply

    Your email address will not be published. Required fields are marked *

    Recipe Rating


    This site uses Akismet to reduce spam. Learn how your comment data is processed.

    Primary Sidebar

    Hi there!

    I'm Priya, and I'm so excited that you dropped by 🙂 Welcome to DECORATED TREATS, a place where I share all my cake decorating ideas & true and tried recipes for all things sweet.

    More about me →


    Currently Trending:

    • Light fruit cake cut into slices on a green plate.
      Moist Light Fruit Cake (the Best Ever)!
    • 3 dessert bowls of pink jelly with gold flake decoration.
      Agar Agar Jelly Recipe (How to Make)
    • Pink bars of coconut candy stacked on a plate.
      Coconut Candy Recipe (How to Make)
    • A stack of 4 green tea bars.
      Matcha Blondies (Perfectly Fudgy Green Tea Blondies)
    • A round cake on a cake board.
      Why is My Cake Wet In the Middle (and How to Avoid It)
    • A glass of milk on a brown tray with cookies on the side
      How to Make Milk with Milk Powder

    Footer

    ^ back to top

    SUBSCRIBE TO DECORATED TREATS

    Sign up for latest recipes and tutorials!


    Thank you for joining!

    Keep watch for my latest updates in your email.

    .

    About

    • Privacy Policy & Disclaimer

    Resources

    • Conversion Chart
    • Testimonials
    • Contact Me

    Decorated Treats is a participant in the Amazon Services LLC Associates Program, an affiliate advertising program designed to provide a means for sites to earn advertising fees by advertising and linking to Amazon.com. Decorated Treats also contains other affiliate links, which if you purchase from may earn me a small commission. The full disclosure policy can be found here.

    Copyright © 2024 Decorated Treats

    A poster with a purple number 8 cake topper and 2 fondant flowers.
    A poster with a purple number 8 cake topper and 2 fondant flowers.
    Number 8 cake topper in purple glitter.