

Learn how to make a 3D fondant guitar cake topper with this easy, step by step tutorial. Made entirely of fondant (except for the strings that were made of thread), this cute guitar cake topper can be placed standing upright on cakes. It makes a perfect decoration for a guitar themed cake design or a musical themed birthday cake.

Jump to:
❤️Why you will love this tutorial
- It is easy to follow, with step by step images.
- The guitar is made entirely of fondant and perfectly edible other than a few threads for the strings.
- It makes a cute cake topper with accurate details of a guitar.
- You can make your own 3D cake topper as a fraction of the cost of purchasing or custom ordering it elsewhere.
If you like this tutorial, you will also like this tutorial on how to make a fondant bow, how to make a fondant loop bow, how to make a standing number cake topper and how to make fondant surfboards.
🧾Supplies required
- Fondant - I used fondant in 2 colors, white and black . Both were Satin Ice products. You can also make your own fondant with my easy homemade fondant recipe or quick marshmallow fondant recipe.
- CMC powder - Since the guitar was meant to be standing upright, I added CMC to the fondant to help it hold its shape well and dry really firm.
- White sewing thread - I used thread for the guitar strings. You can also use dental floss if you wish.
- Lollipop stick - to attach the cake topper to cake.
- Sugar craft knife - to cut the fondant.
- Scriber Needle Tool - to mark the lines on the fondant.
- Guitar template - to cut the fondant into a guitar shape. You can draw these free hand or trace it from your favorite image off the internet or any books.
- Round plunger cutter set - to make the sound hole in the guitar.
- Pizza cutting wheel - a general cutting tool used to cut fondant.
- Fondant glue and shortening - these were the glues for this project.
👩🍳How to make
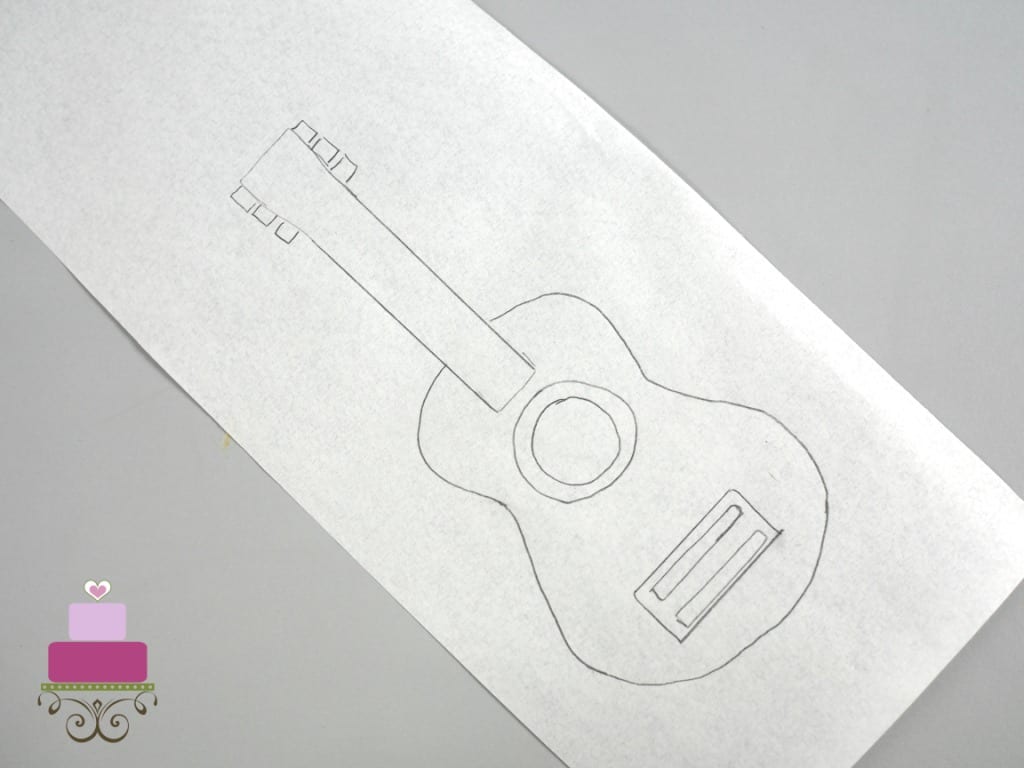
Step 1: Prepare the guitar template
Start by getting the guitar template ready. I got mine from the internet and I traced the shape onto a greaseproof paper.
Note: In drawing the template, it is important to ensure the size of the guitar is exactly how you want it to be on your cake and fits your cake. If you need help with resizing your template, here is my tutorial on how to resize templates for cake decorating.
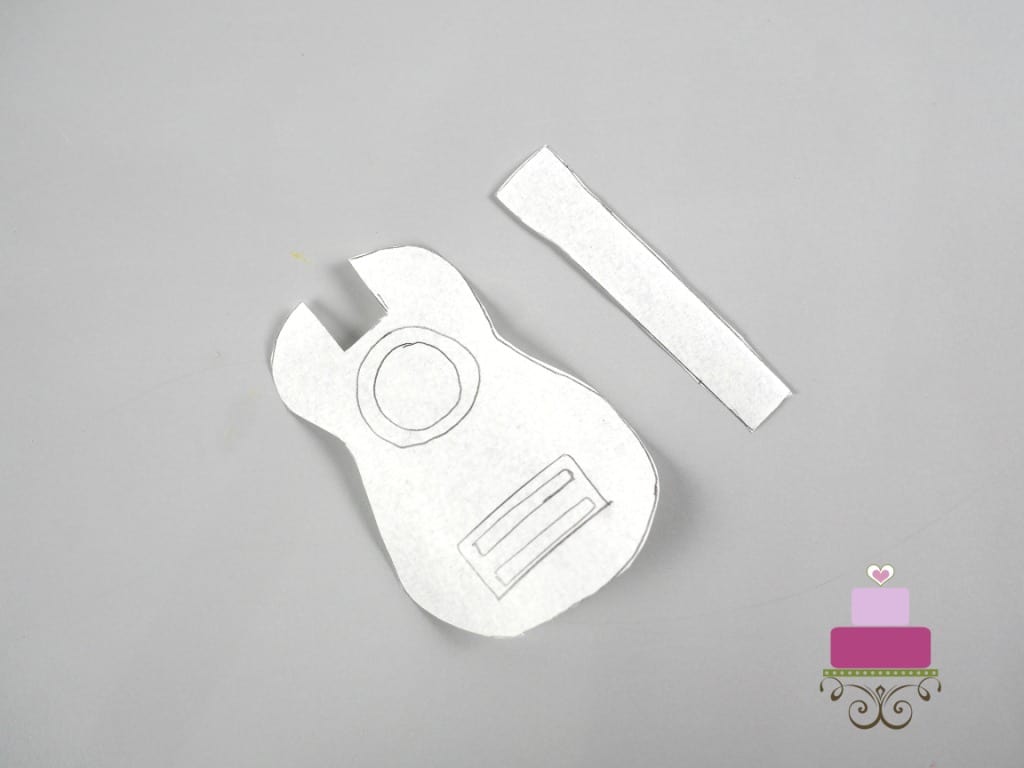
Once the template is ready, cut it along its outline and then cut the fingerboard off the body.
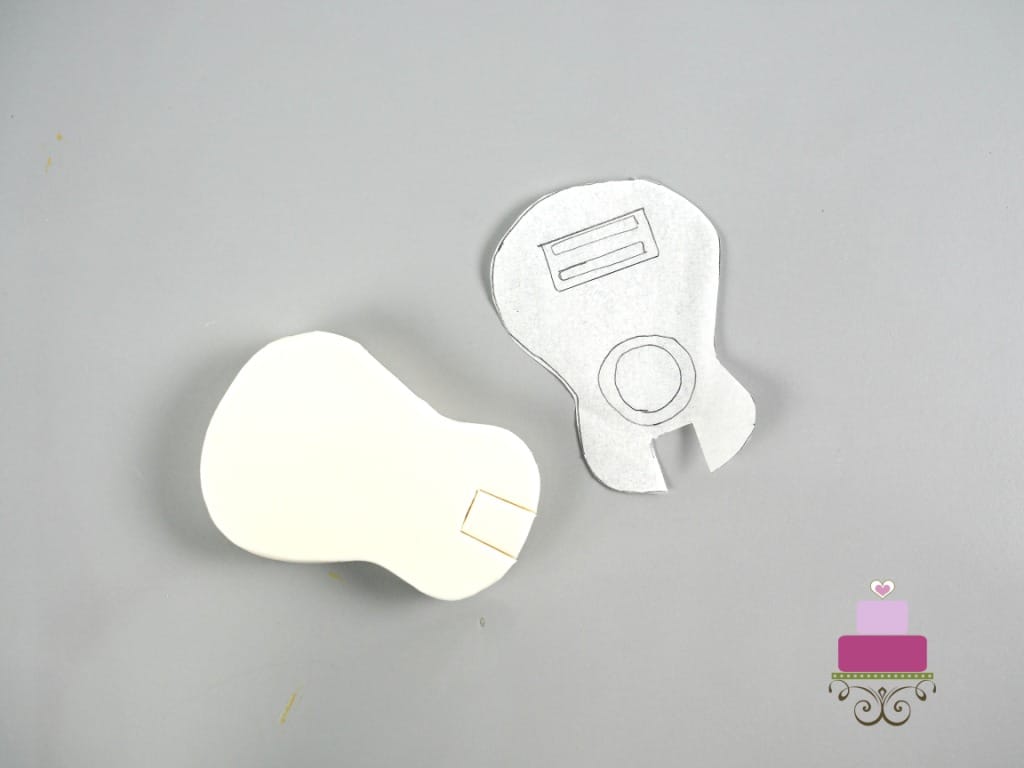
Step 2: Cut out the guitar shape
Next is cutting the guitar cake topper body in fondant. Mix some CMC into white fondant and knead well. Roll it to about 1 cm thickness. Place the paper template on the rolled fondant and used the sugarcraft knife to cut it out along the outline.
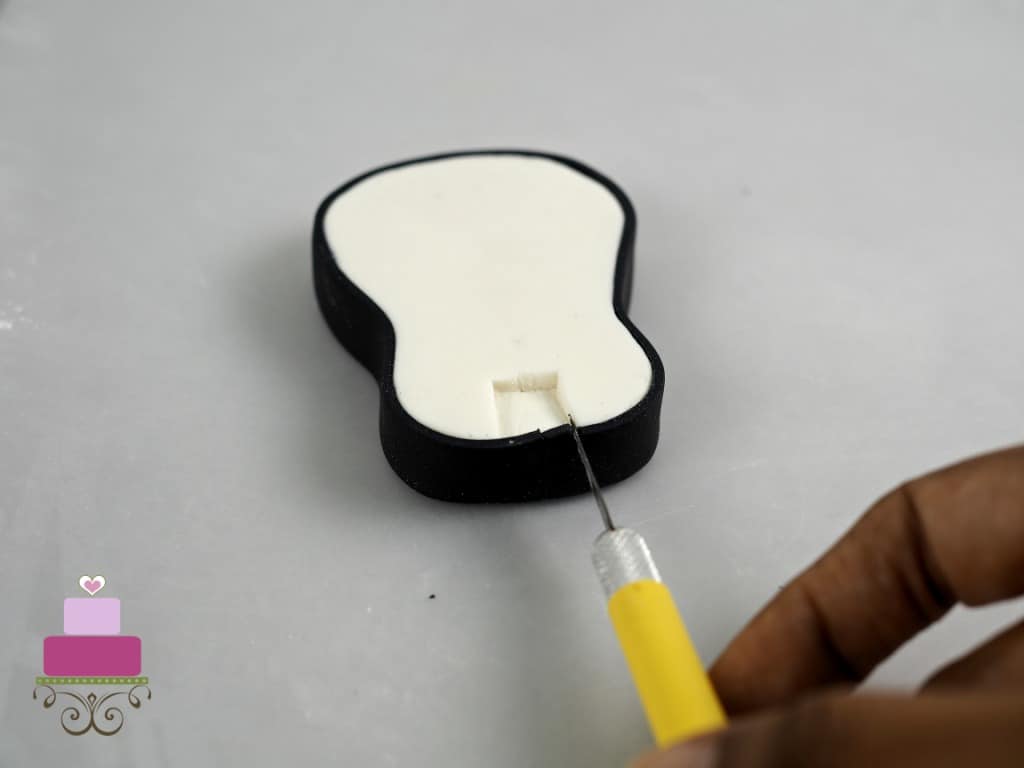
For the top part of the guitar cake topper body, do not cut the square indentation out. Instead, just mark the lines with your sugar craft knife.
And then, carefully slice off a thin layer of fondant off the square indentation. This is how the guitar body should look:
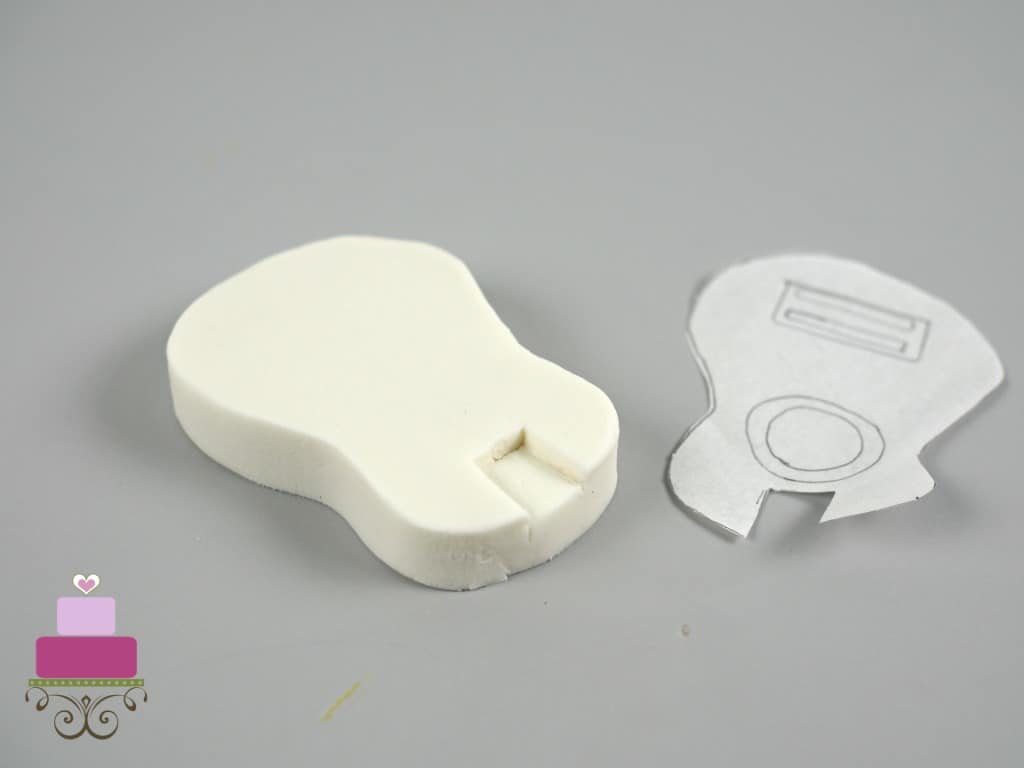
Once that is done, turn the body over and set is aside.
Step 3: Attach the guitar border
Next, roll some black fondant thin and cut it into a 1 cm wide strip.
Apply a layer of glue all around the sides of the guitar body.
And then roll the black strip loosely into a circle and carefully unrolled it as you attach it around the body of the guitar. Start at the top of the guitar body and finish at the same point.

Next, turn the cake topper body over and carefully slice off the black strip to match the thickness of the body at the top.
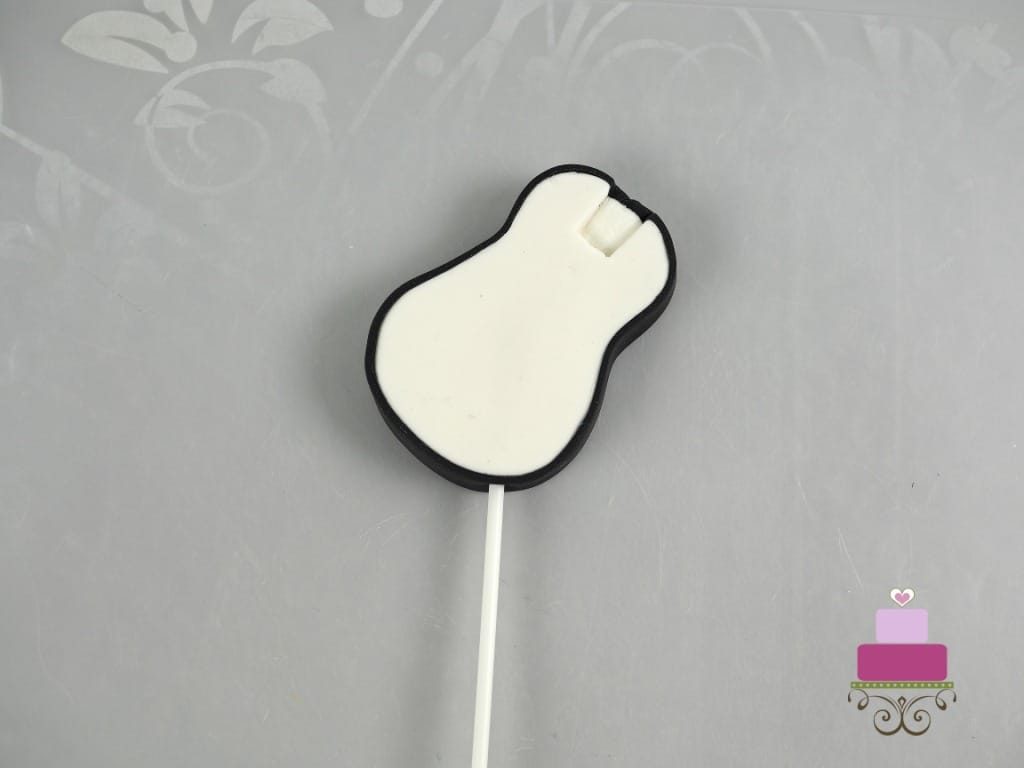
Step 4: Insert the lollipop stick
And then insert a lollipop stick (dip into some fondant glue first so that the stick would dry in place inside the guitar cake topper) into the body of the guitar at an angle you want the guitar to be poked into your cake later.
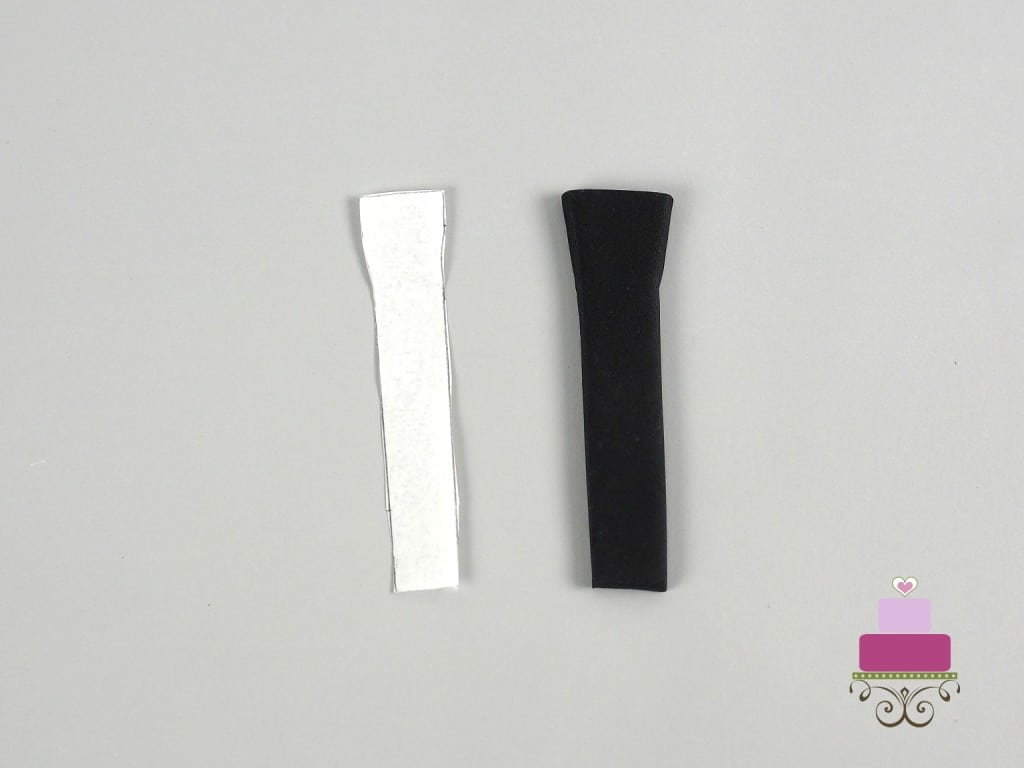
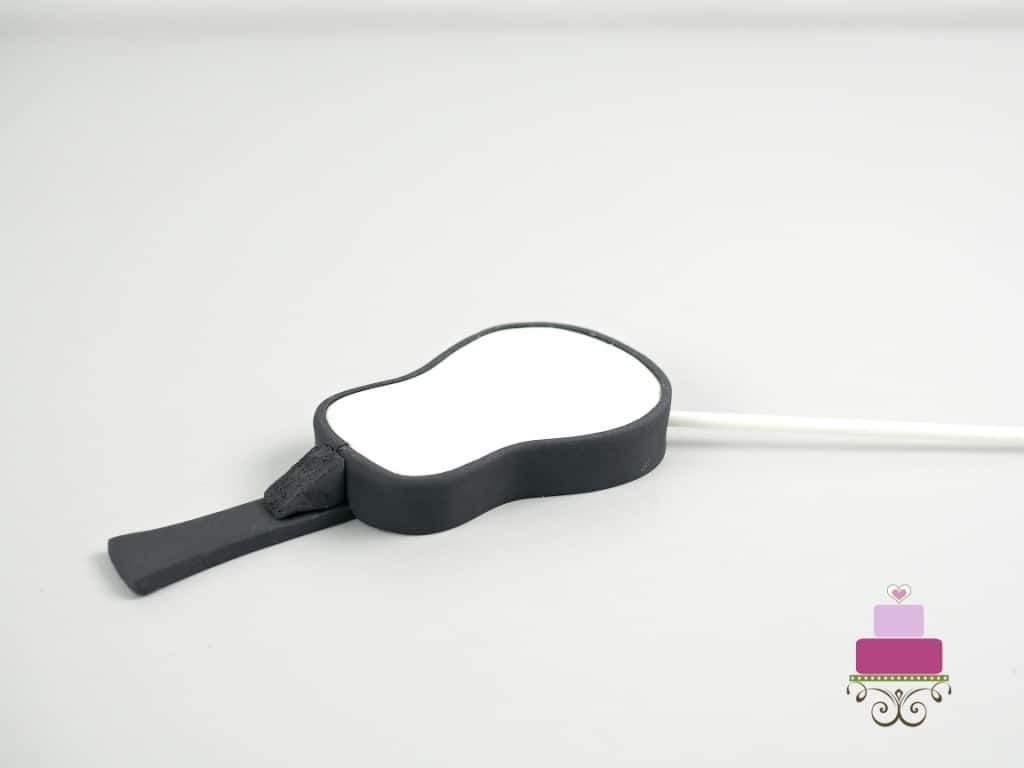
Step 5: Add the finger board
Next is the finger board. You can use the earlier paper template and cut out a black piece of fondant in the exact same size as the paper template.
Apply some glue to the guitar cake topper body and attach the finger board to it.
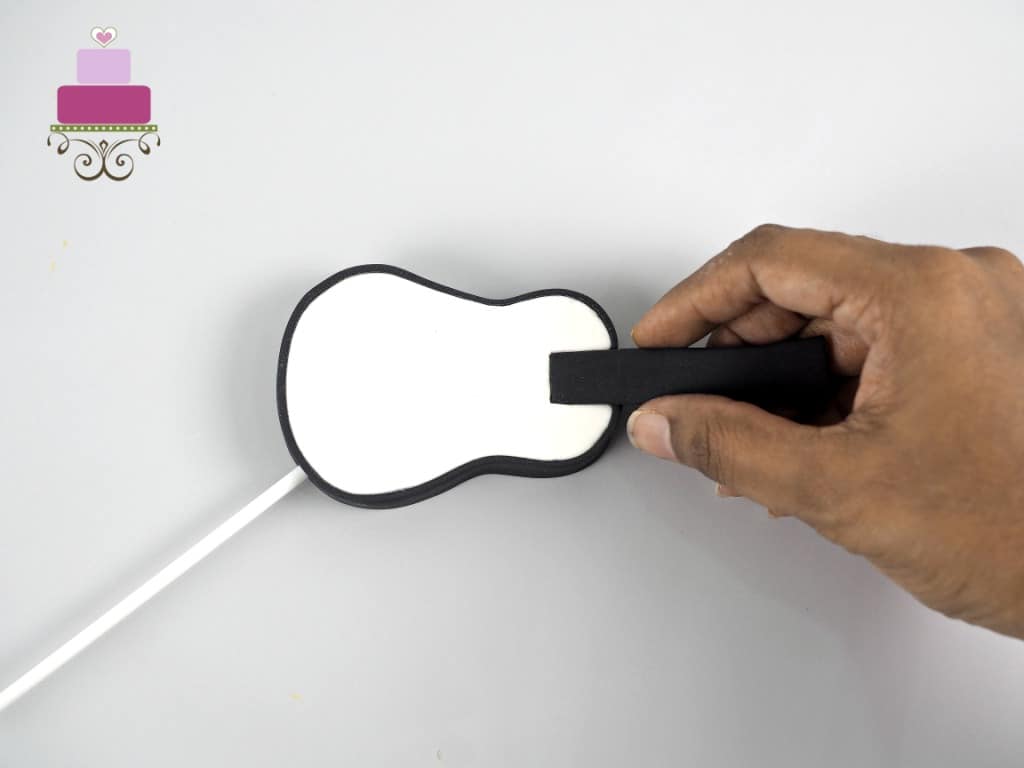
And then turn the guitar over so that the finger board could dry in a flat position.
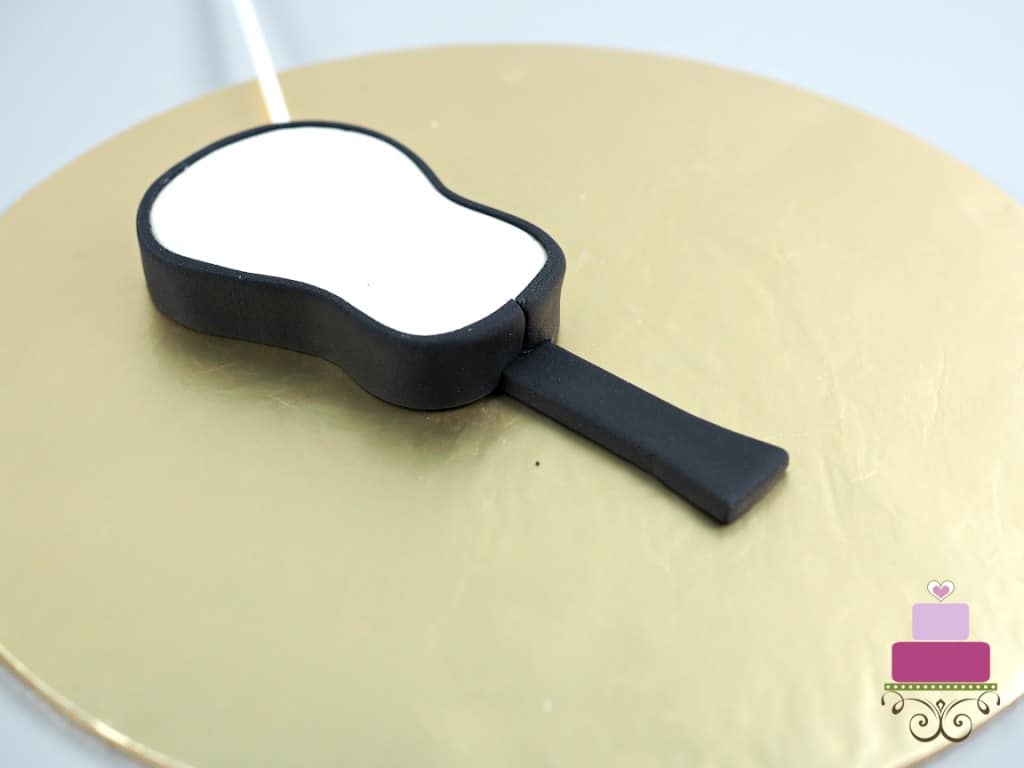
For extra support, form a triangle piece in black and attach it to the base of the fingerboard as follows:
Step 6: Make the sound hole
While waiting for the finger board to set, prepare the rest of the deco on the guitar cake topper.
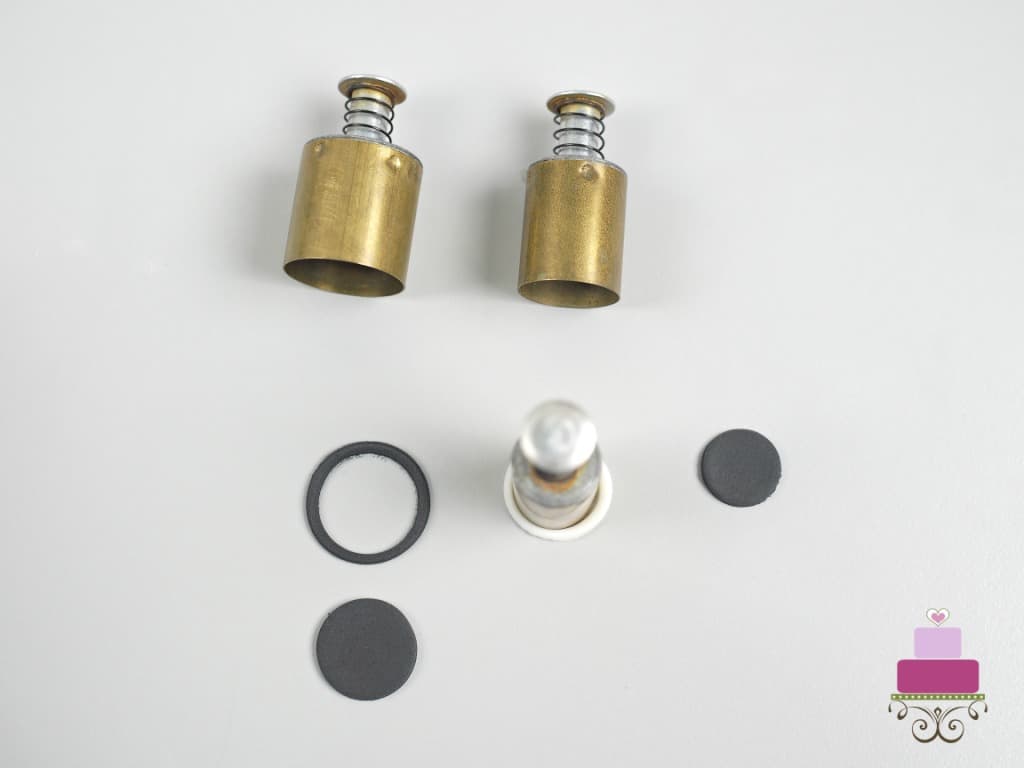
Start with the sound hole by cutting 3 round pieces using a round plunger set - 2 black circles and 1 white circle in descending sizes.
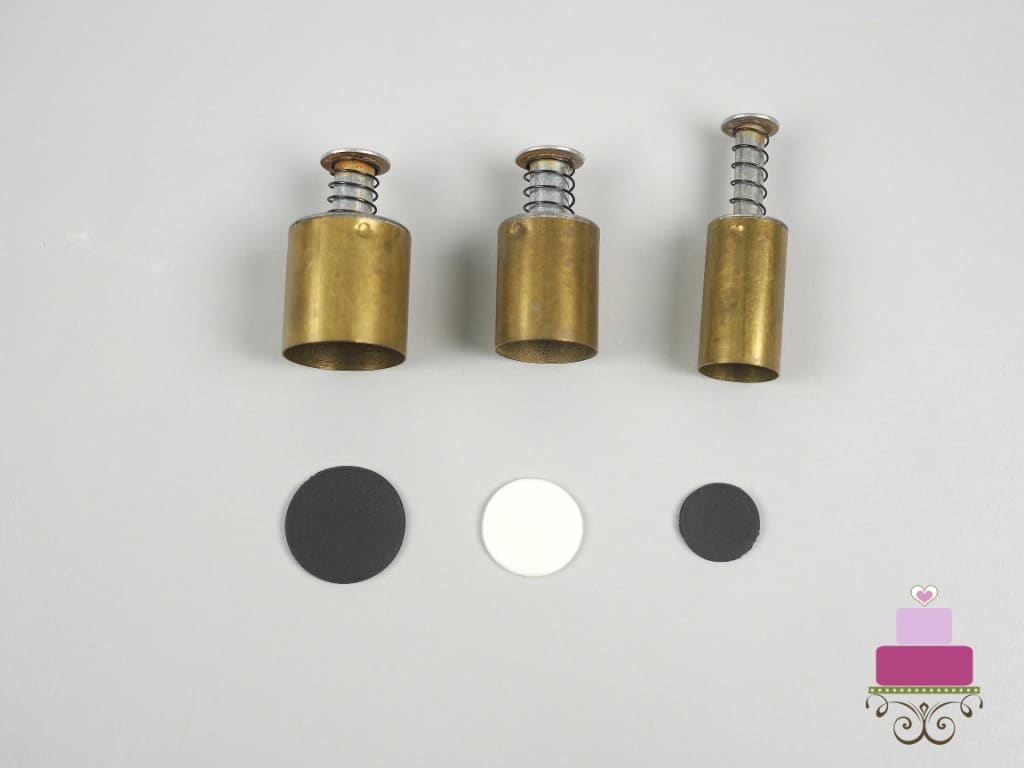
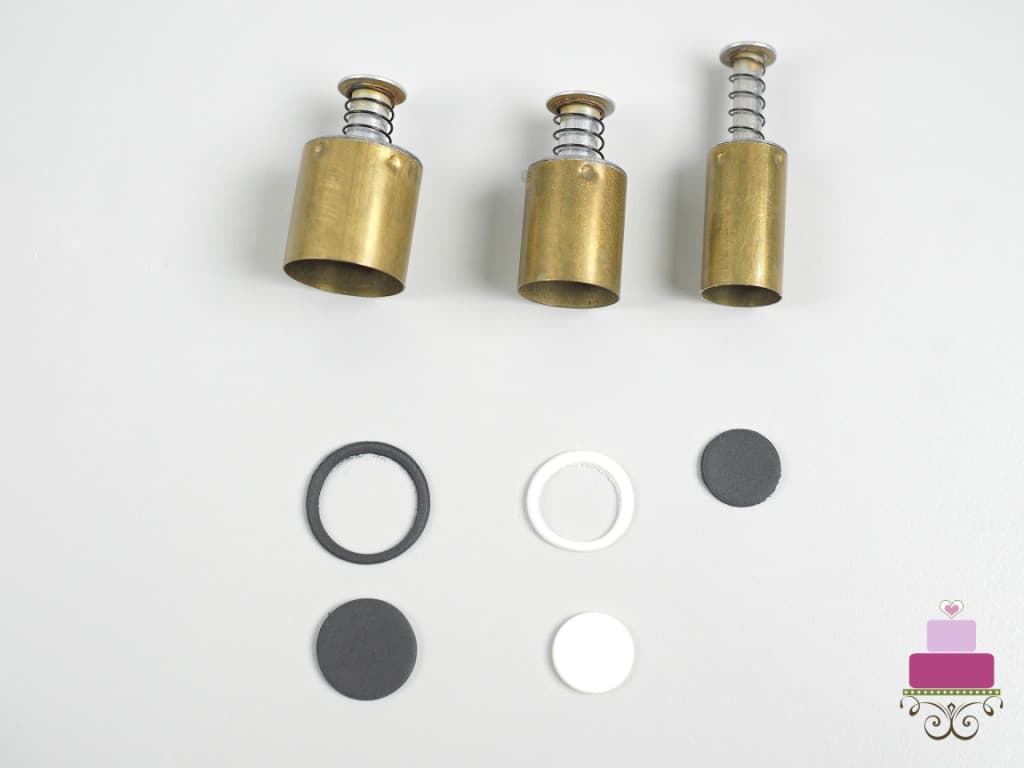
Using the medium sized cutter, cut a hole in the largest black circle.
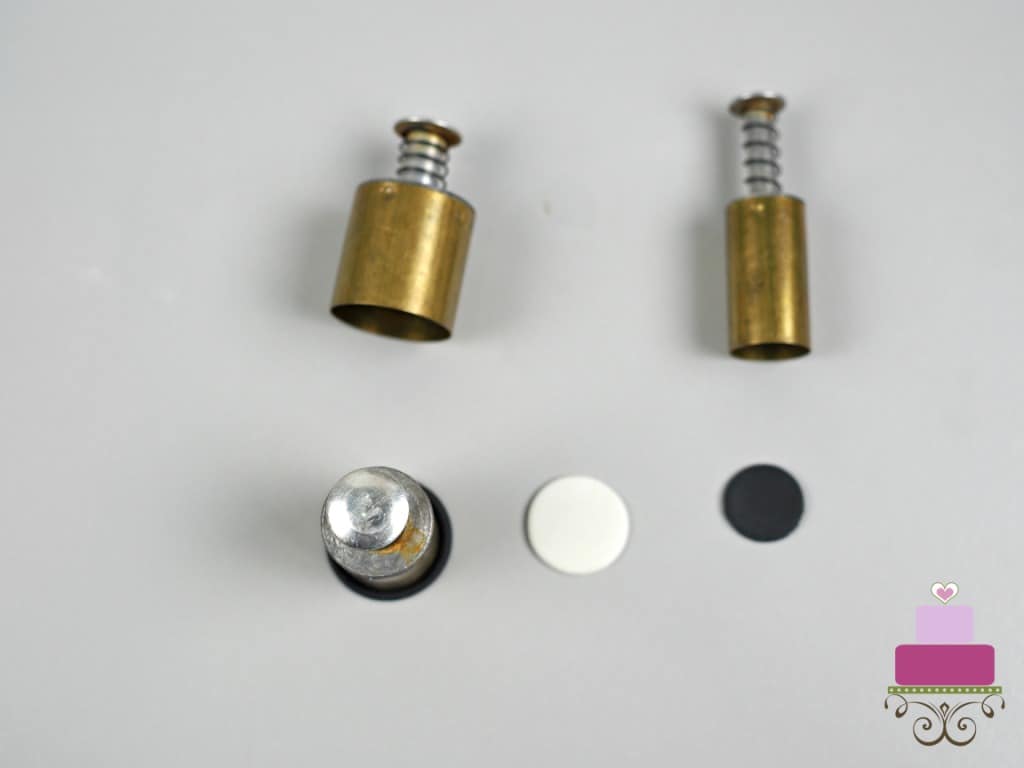
And then use the smallest round cutter to cut out a hole in the white circle.
This is what you should have after all the cutting.
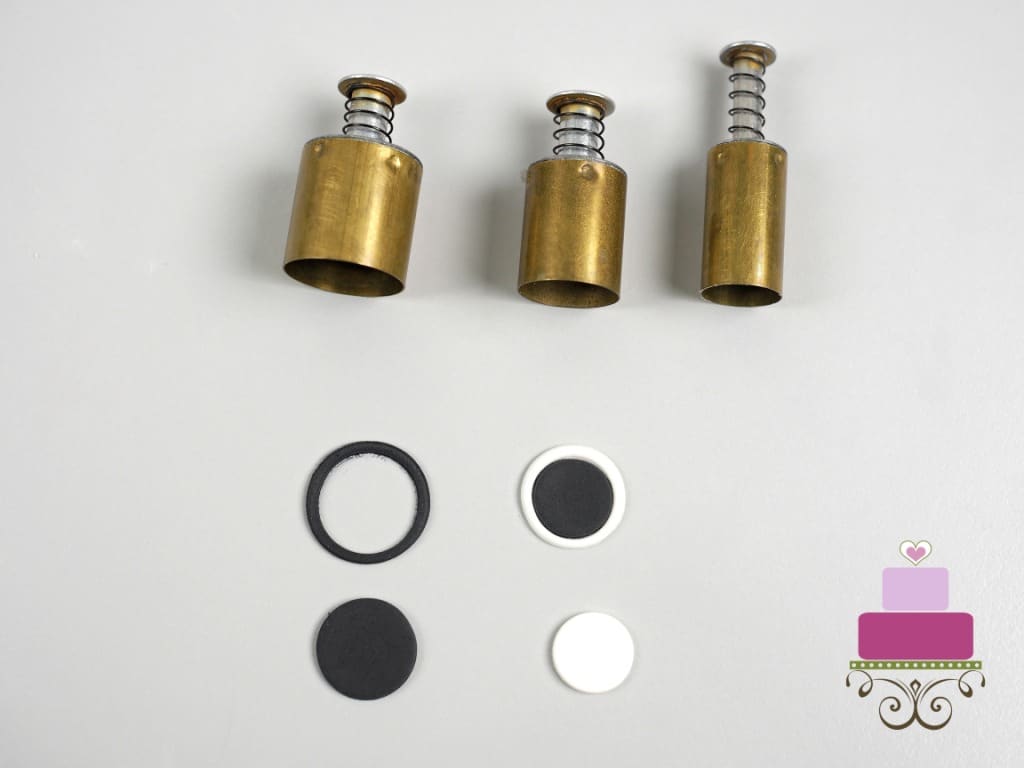
To make the sound hole, place the smallest black circle into the white one.
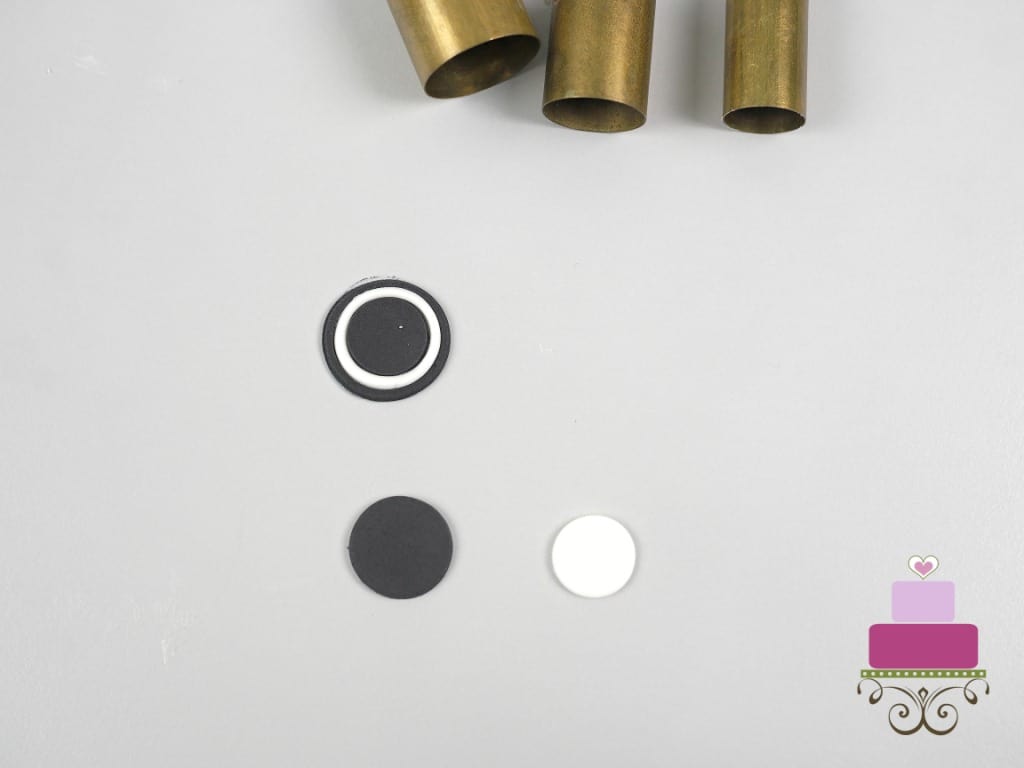
And then, insert that into the largest black circle as follows:
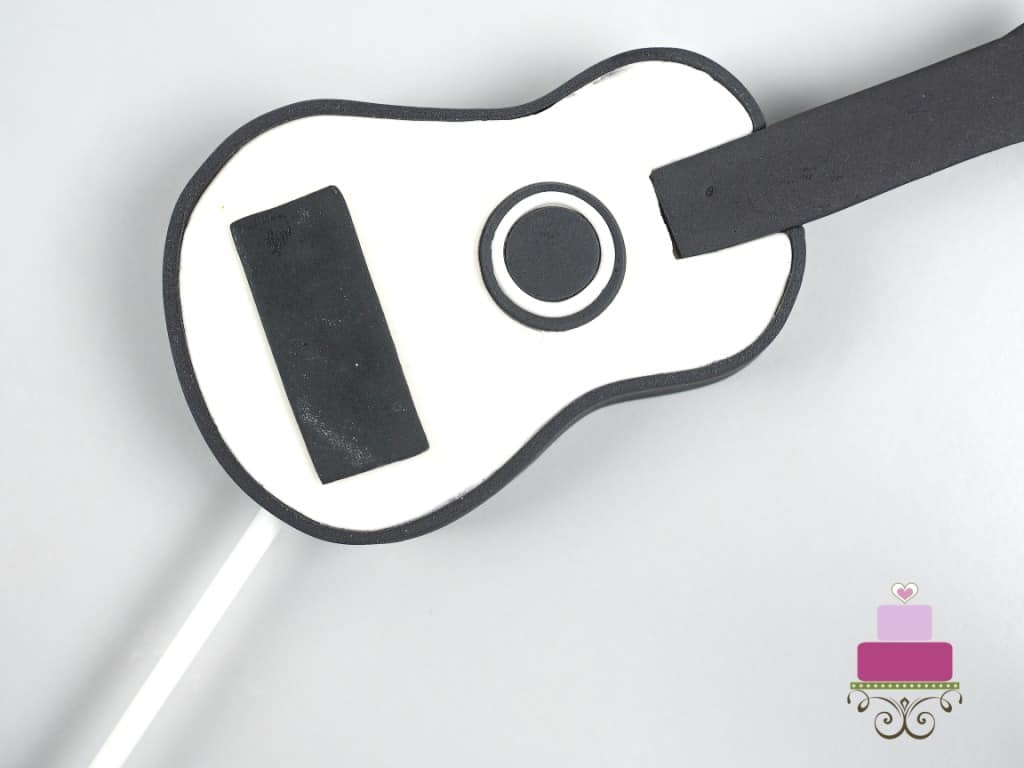
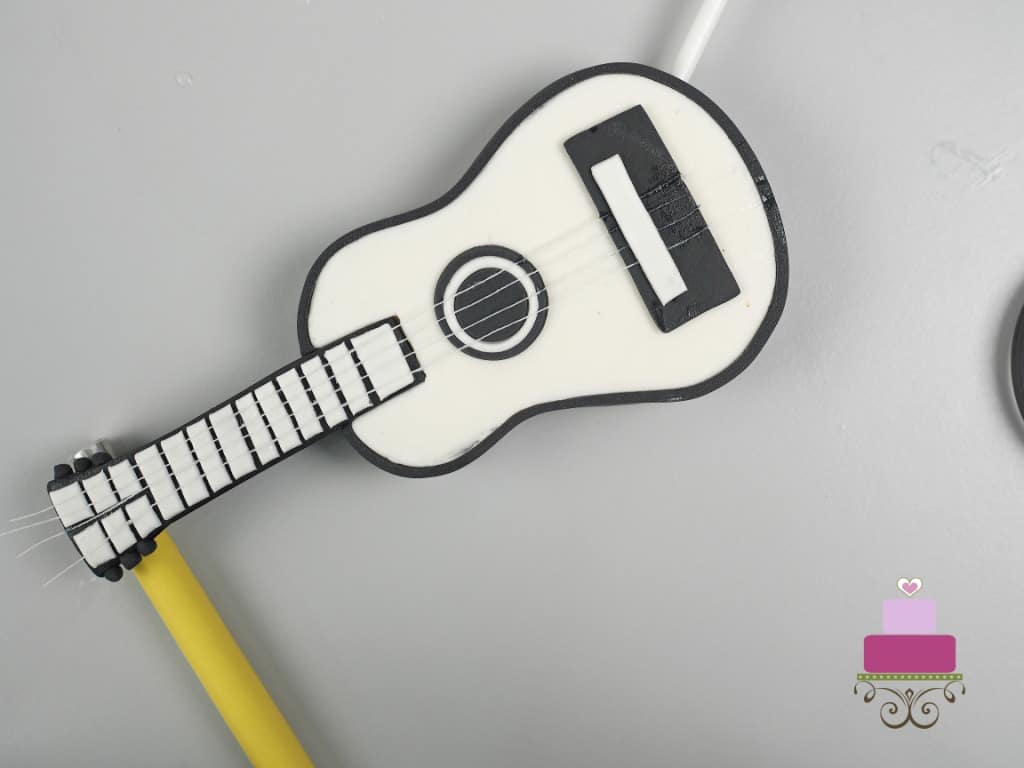
Attach the sound hole onto the guitar topper body, followed by a black rectangle piece below it. Use shortening to attach all these pieces onto the guitar.
Step 7: Decorate the finger board
Next, using the fingerboard paper template, cut out another piece of fondant, this time in white and in a slightly smaller size than the earlier black one.
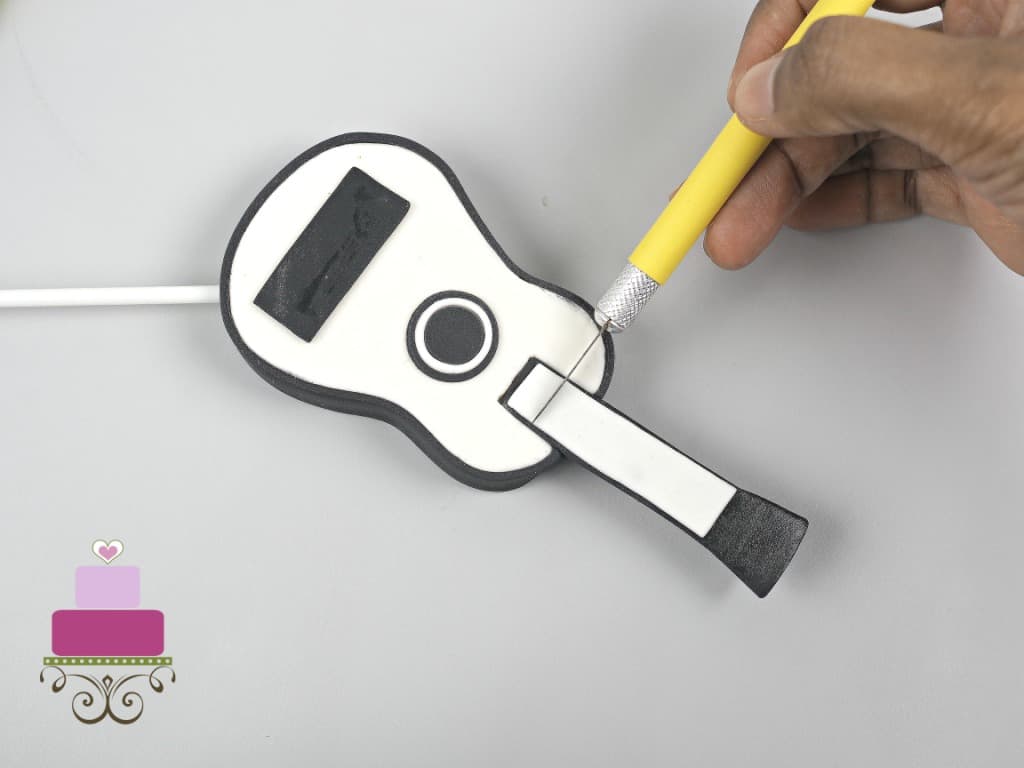
Divide that white piece into 2 pieces and attached the first piece onto the black fingerboard as shown below.
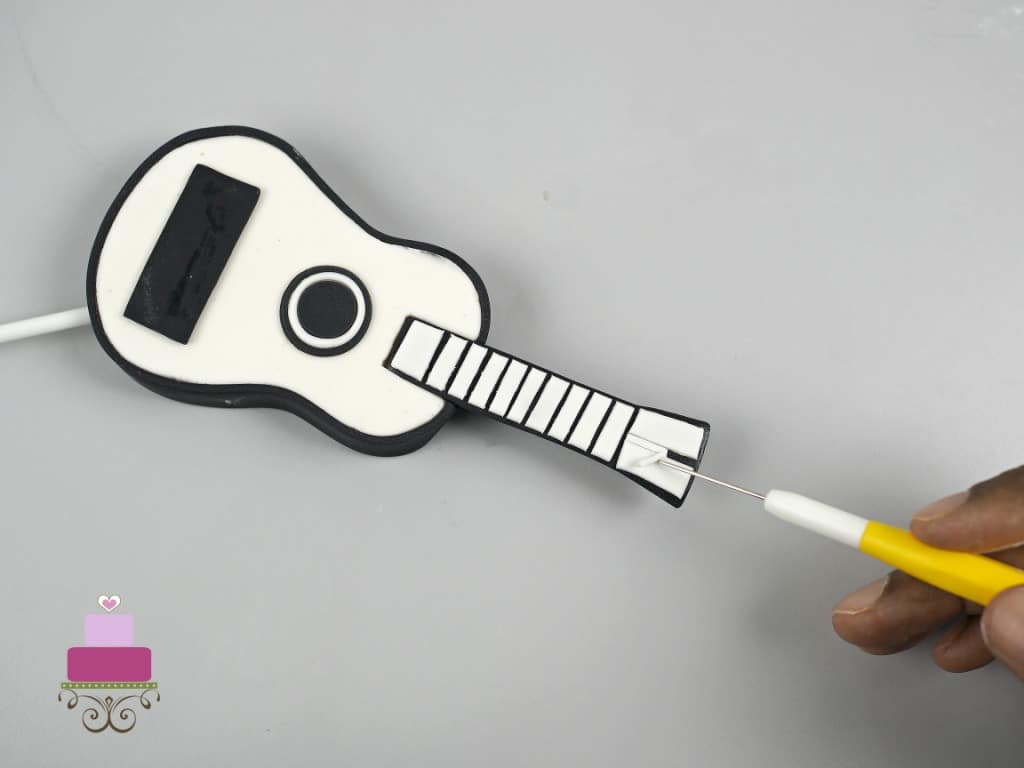
After that, using a sugar craft knife, press the blade into the white fondant (making sure it does not cut through the black underneath) to form lines on the fondant.
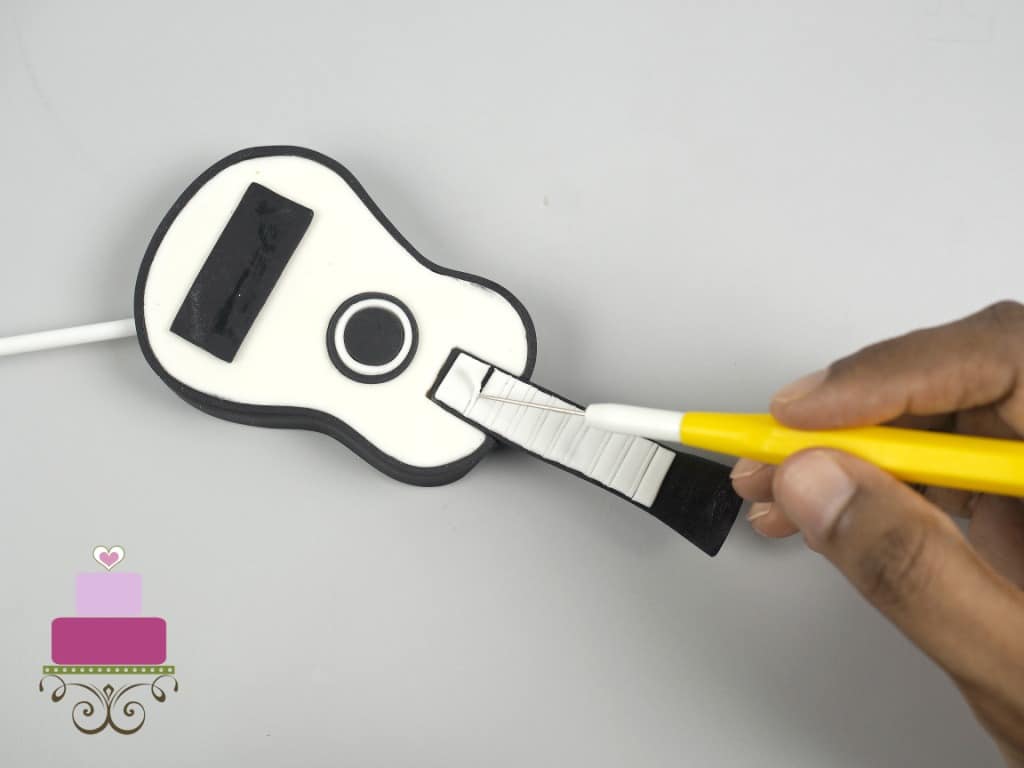
And carefully, using a needle scriber tool, remove the thinly spaced white cuts to leave evenly spaced black lines on the finger board as shown:

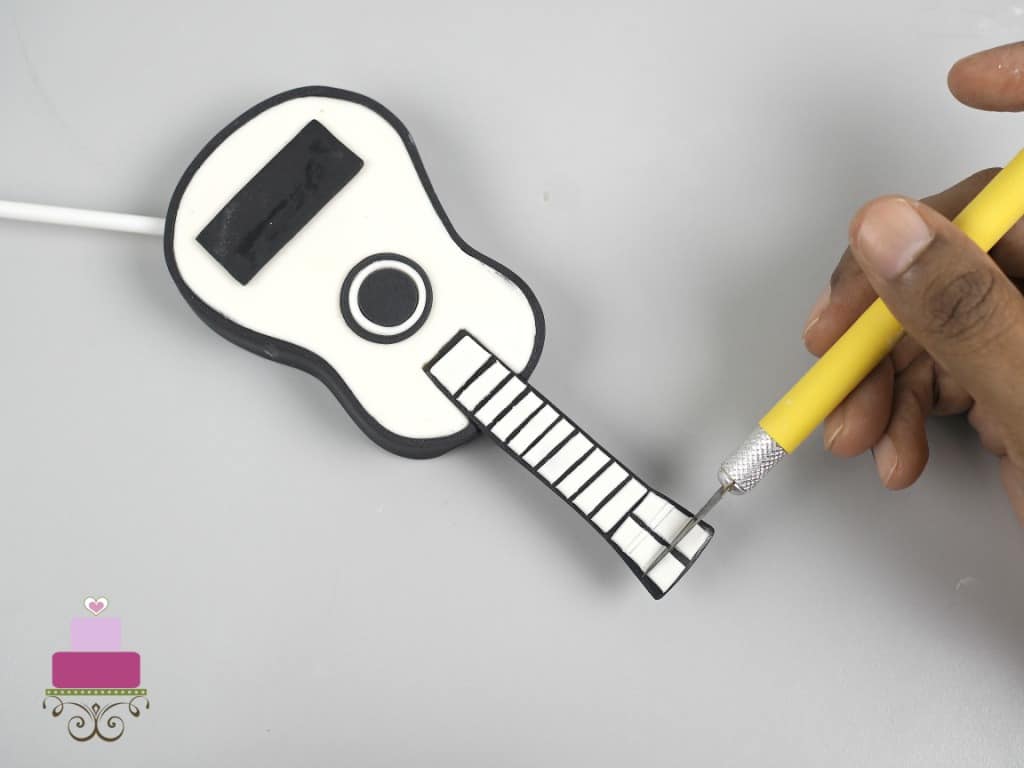
After that, attach the second part of the white fondant.
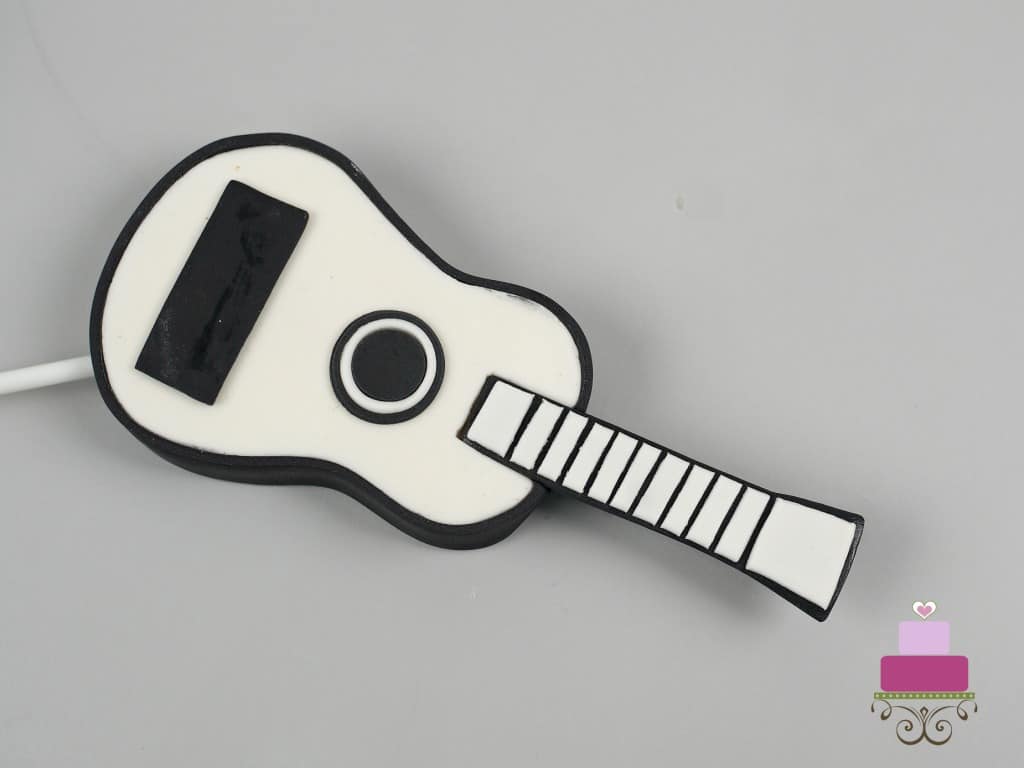
And similar to the finger board earlier, cut a thin line in the center and then make a few horizontal lines as shown:
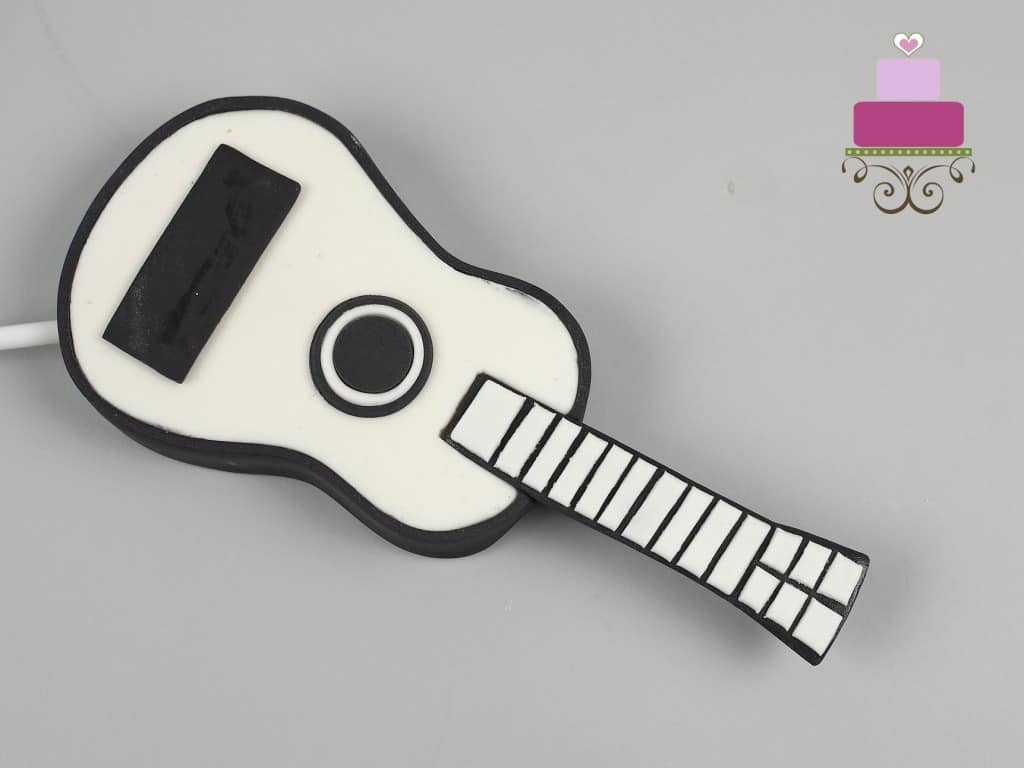
This is how the finger board should look like on the guitar cake topper after all the lines are completed.
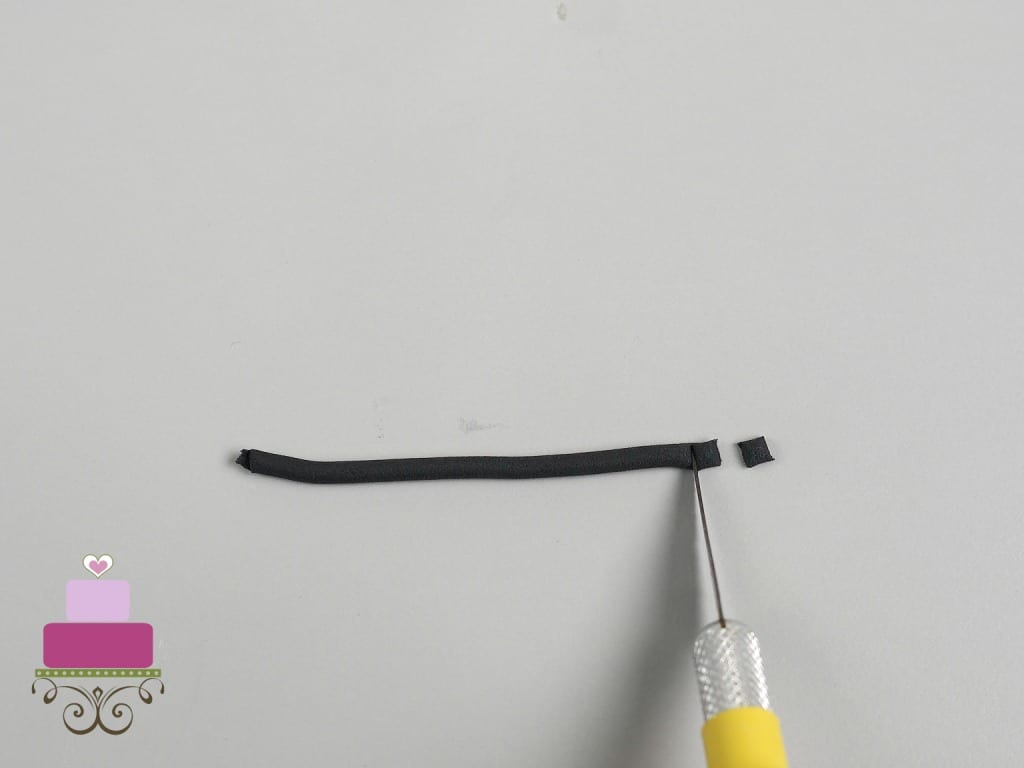
Step 8: Make the tuning keys
Next are the tuning keys. To make the keys, roll a long black piece of fondant into a thin rope and slice out tiny square bits. I made a total of 6 such bits.
Attach 3 keys on each side of the finger board. Use fondant glue for this as you want them to be totally secure on the sides of the finger board.
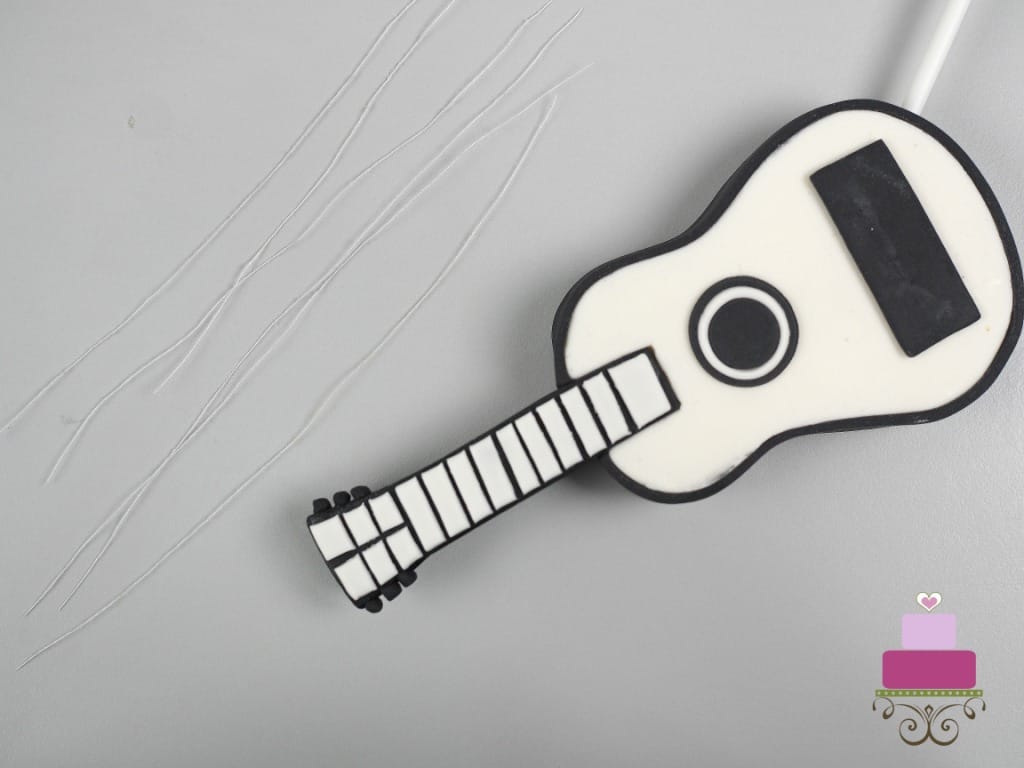
Step 9: Attach the guitar strings
For the guitar strings, you can use white sewing thread or dental floss. Cut the thread into equal lengths, long enough to run from the top to the bottom of the guitar.
You only need 4 strands for the guitar topper in the size that I have here, but its always better to have a few extras for contingency.
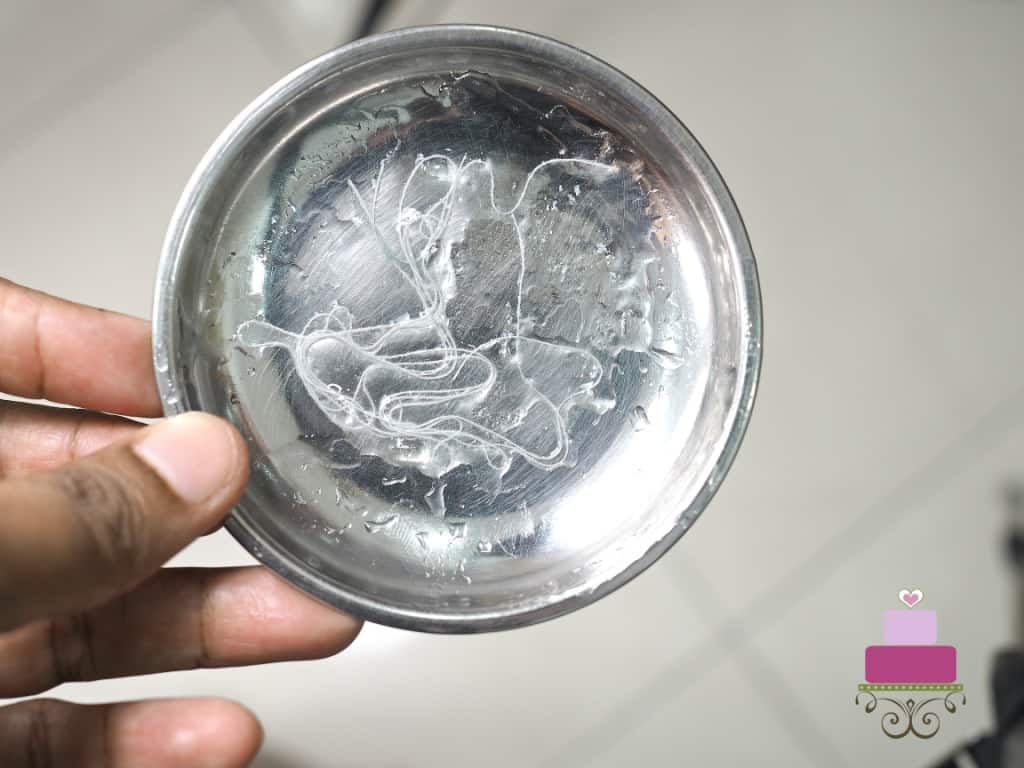
Dip the strands into fondant glue. This helps to not only stick the thread onto the guitar topper, but also helps them remain straight.
Straighten the strands of thread on the guitar cake topper and make sure they are equally spaced out.
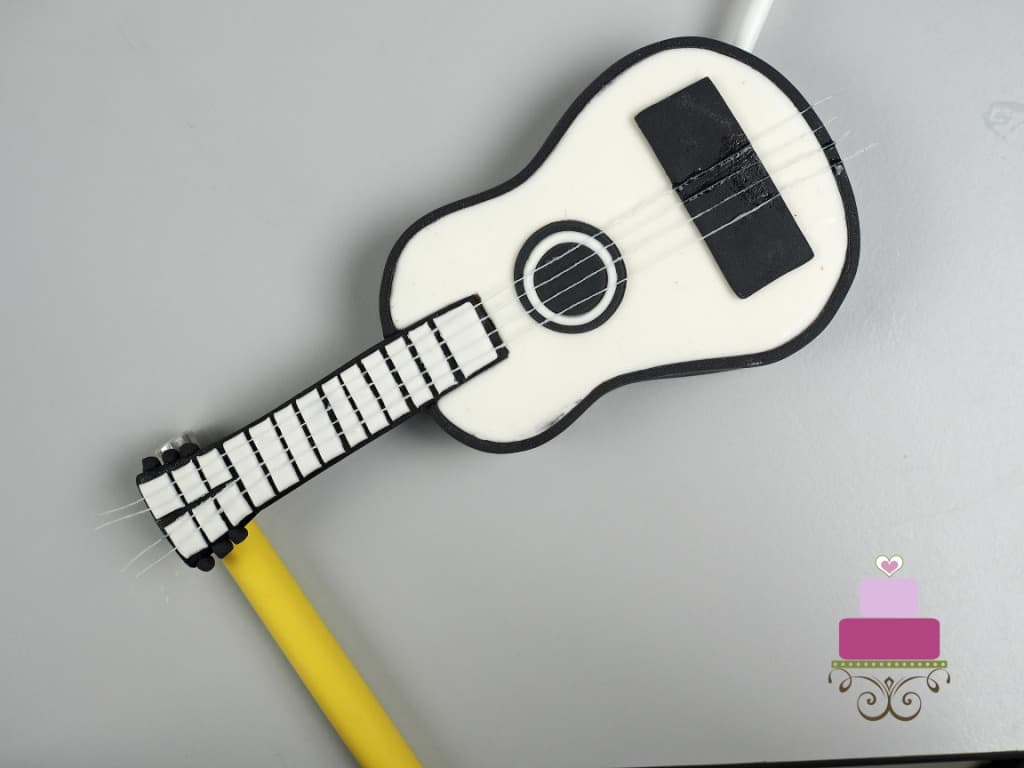
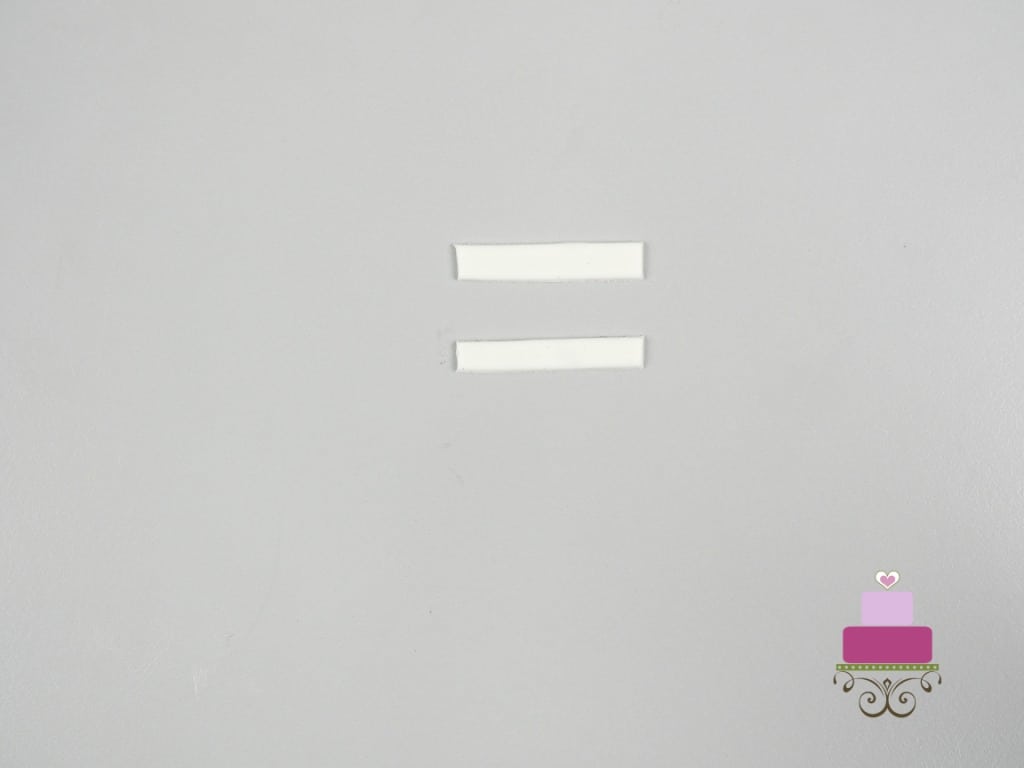
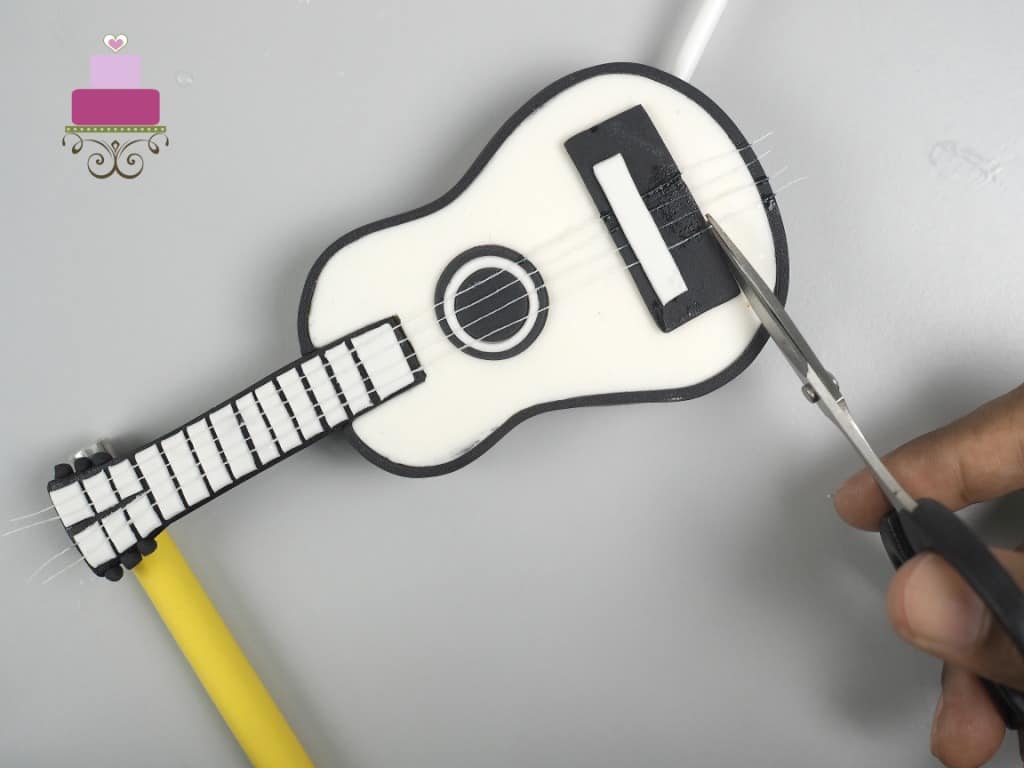
Next, cut 2 long rectangle pieces in white fondant.
Attach one of the pieces onto the black rectangle on the fondant, on top of the guitar strings. And then trim off the excess thread.
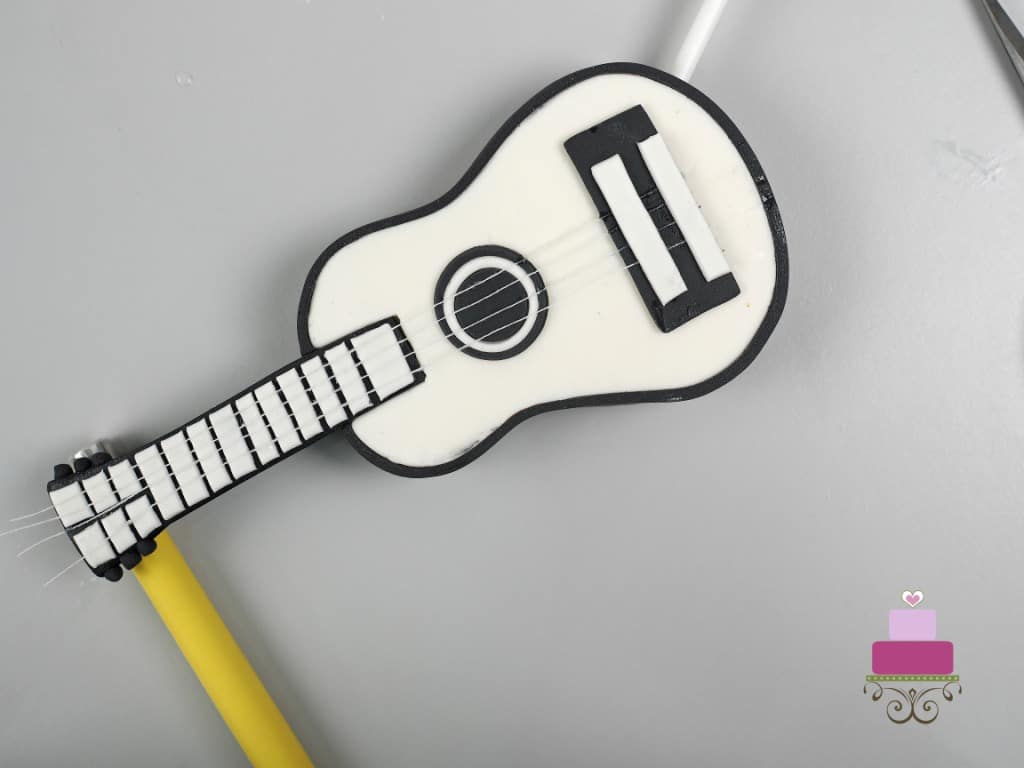
After that, add the other white rectangle piece on below it to cover the thread edges.
And for the final step, trim the excess thread on the top.
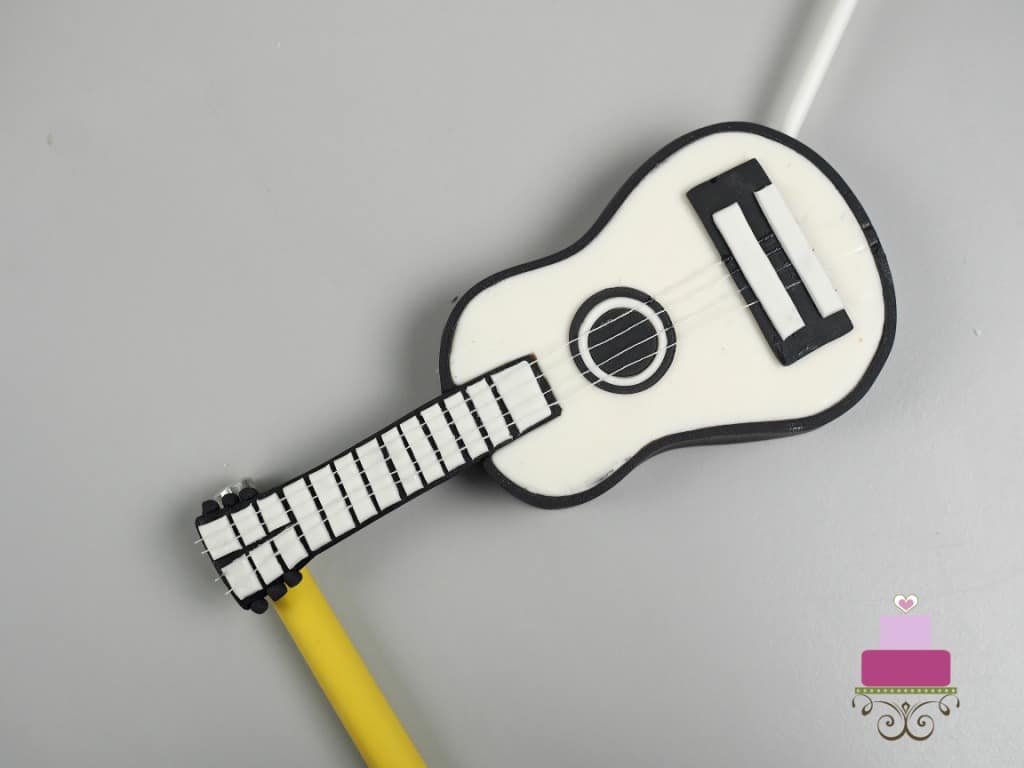
With that, the guitar cake topper is complete. Let the topper set completely in a horizontally flat position before putting it onto the cake.
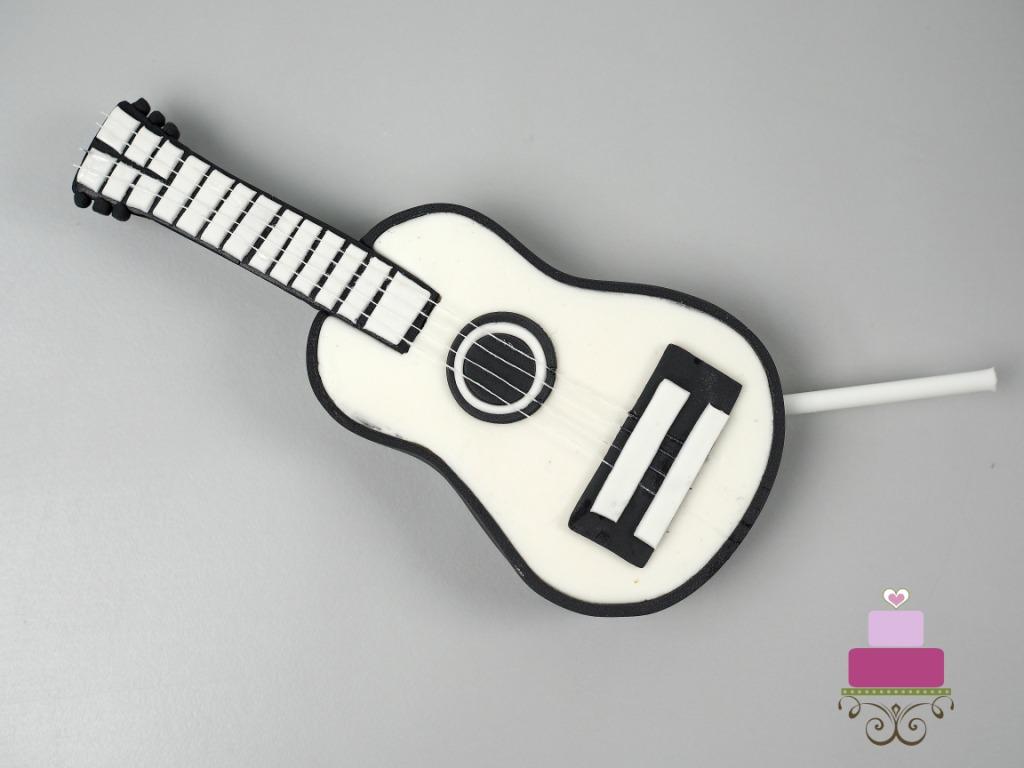
This was how the completed guitar cake topper looked like on my cake:
Hope this guitar cake topper tutorial was useful.


Keisha
My finger board will not stand up. Can you offer any advice? I tried the support on the back.
Priya Maha
Hi Keisha,
I can only think of 3 reasons why it wouldn't stand.
1. Make sure you have added enough tylose or CMC powder to the fondant (especially if you are in a humid climate). You can add a little extra to the fingerboard fondant piece to help it set better.
2. After attaching the fingerboard to the guitar, turn the guitar over so that the fingerboard could rest in a flat position. Let it remain like this until it is completely set. Again, if you are in a humid climate, this will take some time.
3. The humidity of your surrounding. I keep repeating this fact because this can be a real problem when working with fondant. Keeping the guitar in an air-conditioned room will help it set better.
If all the above do not help, you can try supporting the fingerboard by inserting toothpicks into it. And you would need to inform whoever you are presenting the cake to about the toothpicks to ensure they don't bite into the fingerboard and hurt themselves.
Hope this helps!
Tina
Love the tutorial. Thank you very much. Great job!
Priya
Thank you Tina 🙂