

Learn how to make fondant bow with this easy tutorial. It teaches you, step by step, how to create a pretty bow in fondant for your cakes. The bow is completely edible and you can make it in any size your like.
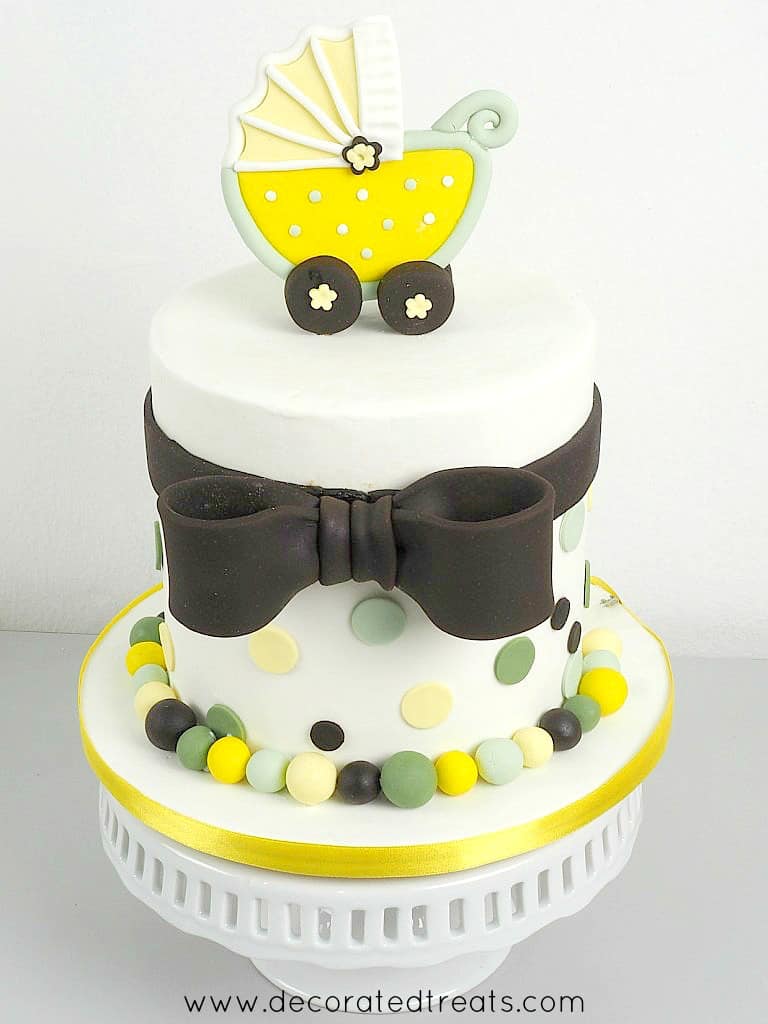
Fondant bows are quite a common cake decoration and add much elegance and beauty to any cake. I made this fondant bow for a baby shower cake.
It was made in chocolate fondant and attached to the cake on the side. Topped with a handmade fondant stroller cake topper, the bow added much elegance to the cake.
If you like this tutorial, you should also check out my tutorial on how to make fondant loop bow.
And for more fondant tutorials, check out how to make standing number cake topper, how to make 3D fondant letters for cake decorating and how to make fondant flowers for cakes.
Jump to:
❤️Why you will love this tutorial
- The tutorial is very easy to follow.
- The bow is very easy to make and looks realistic.
- It is made entirely in fondant and is completely edible.
- You can follow this tutorial and make fondant bows in any size you like.
🧾Supplies required
- Fondant - For this particular fondant bow, I used Satin Ice Chocolate fondant. You can also make your own fondant with this homemade fondant recipe or this marshmallow fondant recipe.
- CMC powder (Tylose powder) - CMC gives additional strength to the fondant and makes it dry hard. This helps the fondant bow to hold its shape. Use approximately ¼ of a teaspoon of CMC powder to 100g of fondant.
- Ribbon bow template - The template is an easy one and you can make it on your own. When drawing the template, make sure the size of the bow fits your cake. Decide on the length of your bow first, and only then draw and cut out the templates in paper.
- Kitchen towels/tissues - These are used to help the fondant loops stay in shape.
- Fondant glue - This is the best medium to stick the fondant pieces together.
- Pizza cutting wheel - To cut the fondant.
- Cake decorating brush - To apply the glue to the fondant.
👩🍳How to make
Step 1: Prepare the bow template
The first step in making the bow, is to get the template ready. It should consist of one long rectangle (for the 2 loops of the bow) and one small rectangle (for the center of the bow).
The length of the long rectangle will determine the overall length of your bow's loops.
So, if you want your finished bow to measures 12cm in length with loops measuring 3cm wide, you would need your rectangle template to measure 12cm by 3cm for each of the loops.
Once folded, each loop will be half of its original size, in this case, 6cm. So two loops of 6cm will make a bow that is 12cm in length.
For the center, there is no need for any specific measurement, just an estimate of the width and length is sufficient.
Once the templates are ready, cut them out and set them aside.
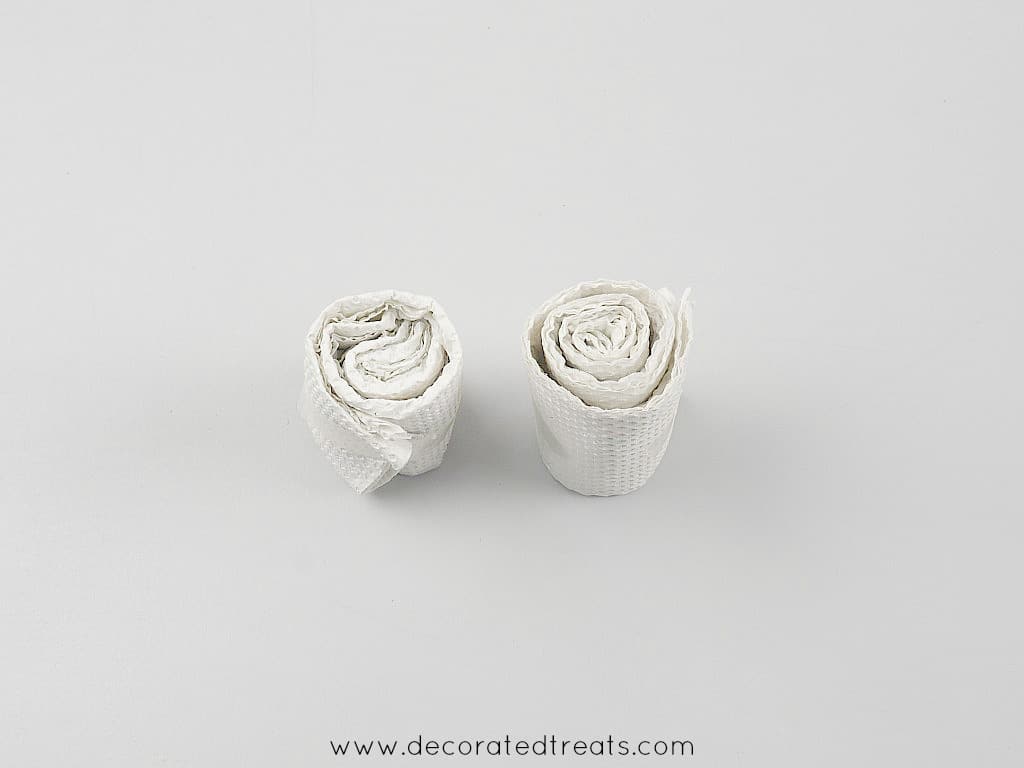
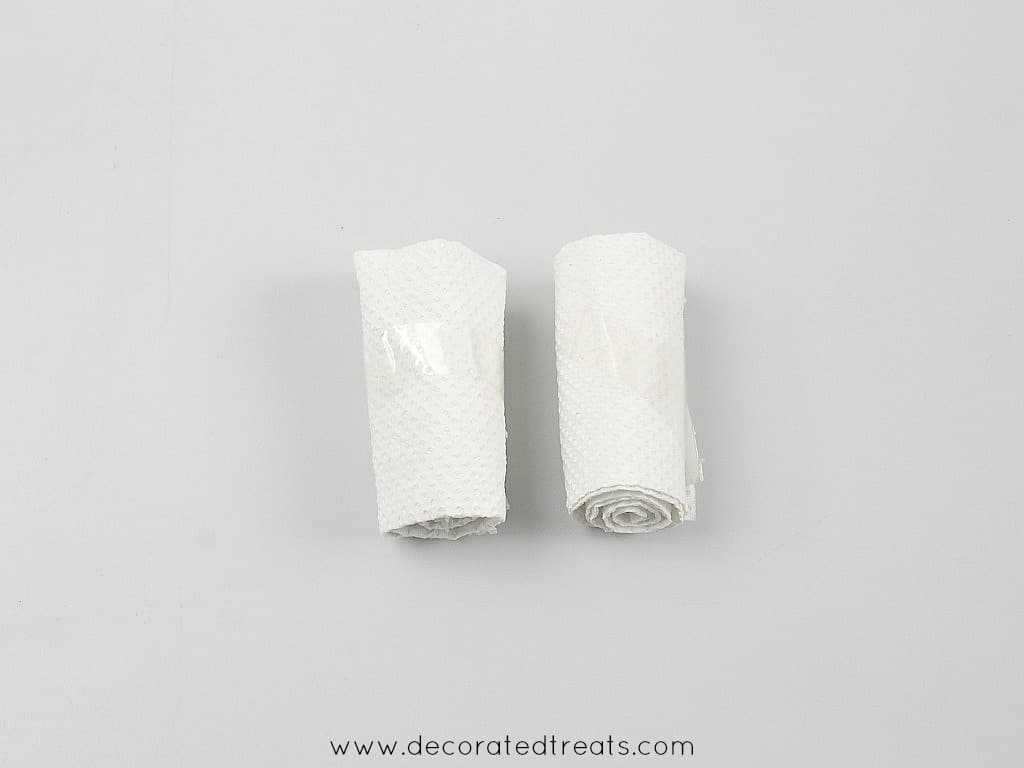
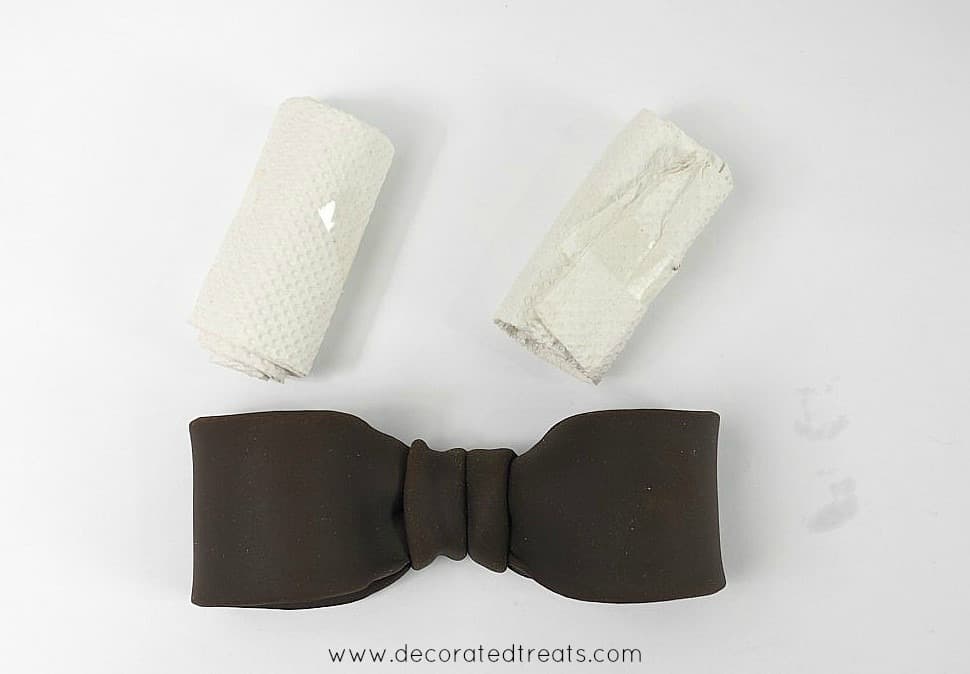
Step 2: Make the kitchen towel rolls
You need these to hold the shape of the fondant loops as they set.
Fold each piece of the paper towel into 3 and the roll them up. Secure the ends with a tape. Make 2 rolls, one for each loop.
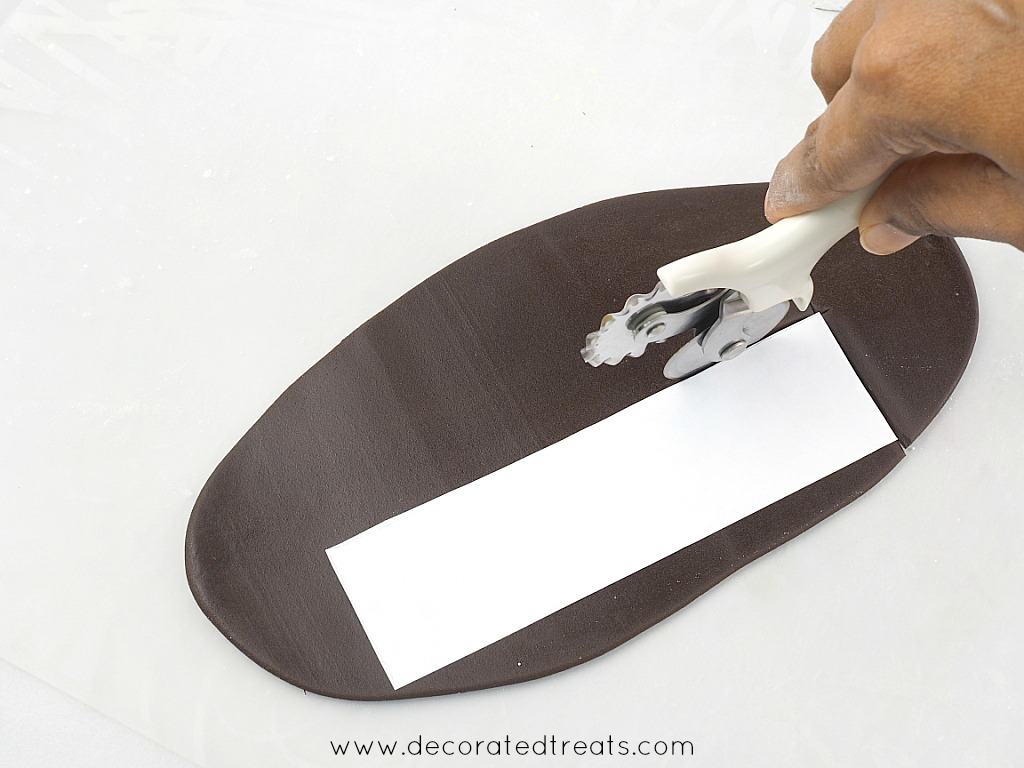
Step 3: Cut the fondant
Next is the fondant. Mix the CMC into the fondant and knead it well.
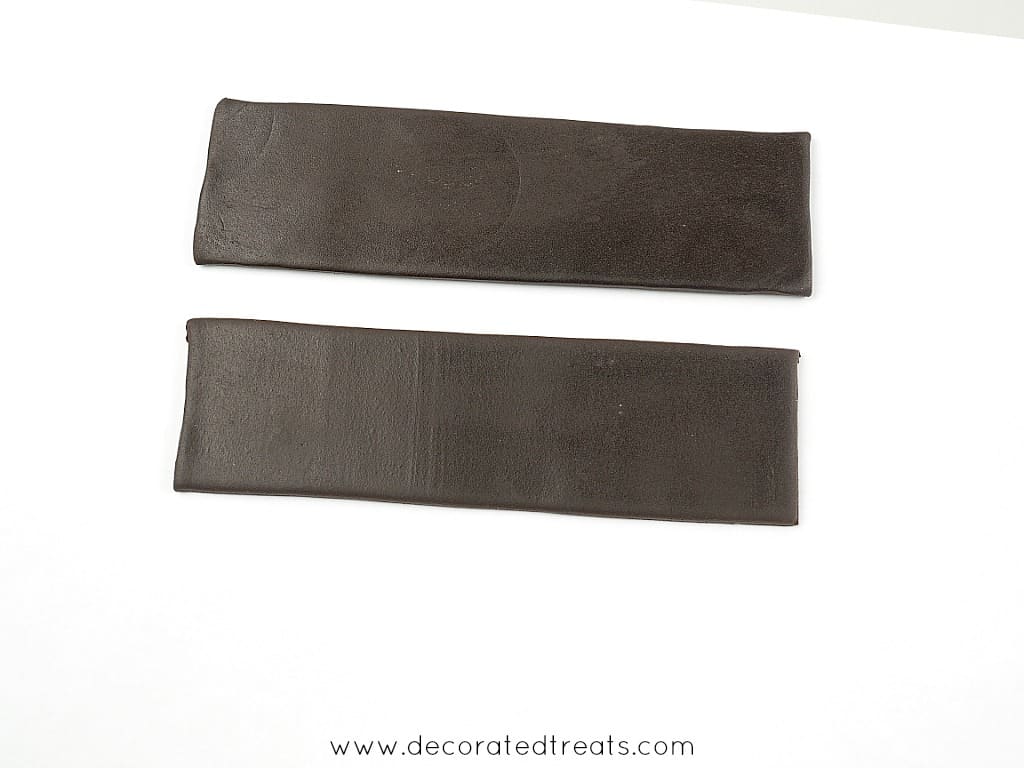
And then roll the fondant to about ⅛ inch of thick. Using the long rectangle template for the loops, cut out two pieces in fondant.
Note: Dust your workspace with powdered sugar or corn starch when rolling and cutting the fondant. You can make your own DIY fondant dusting pouch with this tutorial.
Step 4: Form the bow loops
Work on one loop at a time. Place the first piece of rectangle fondant on your workspace.
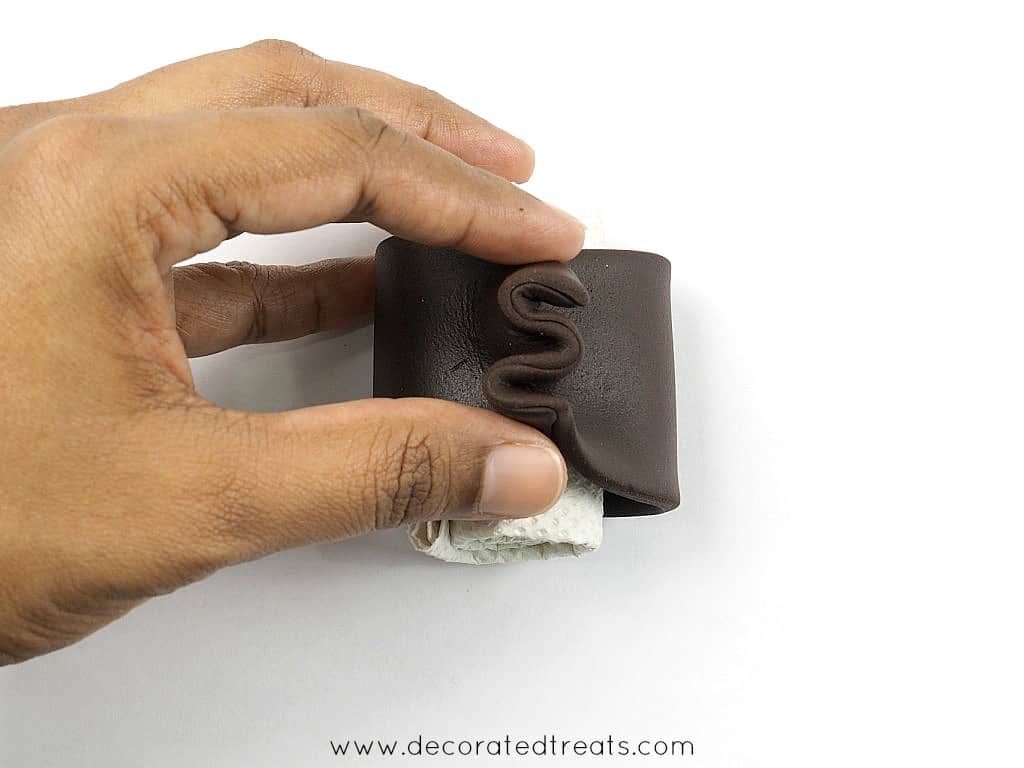
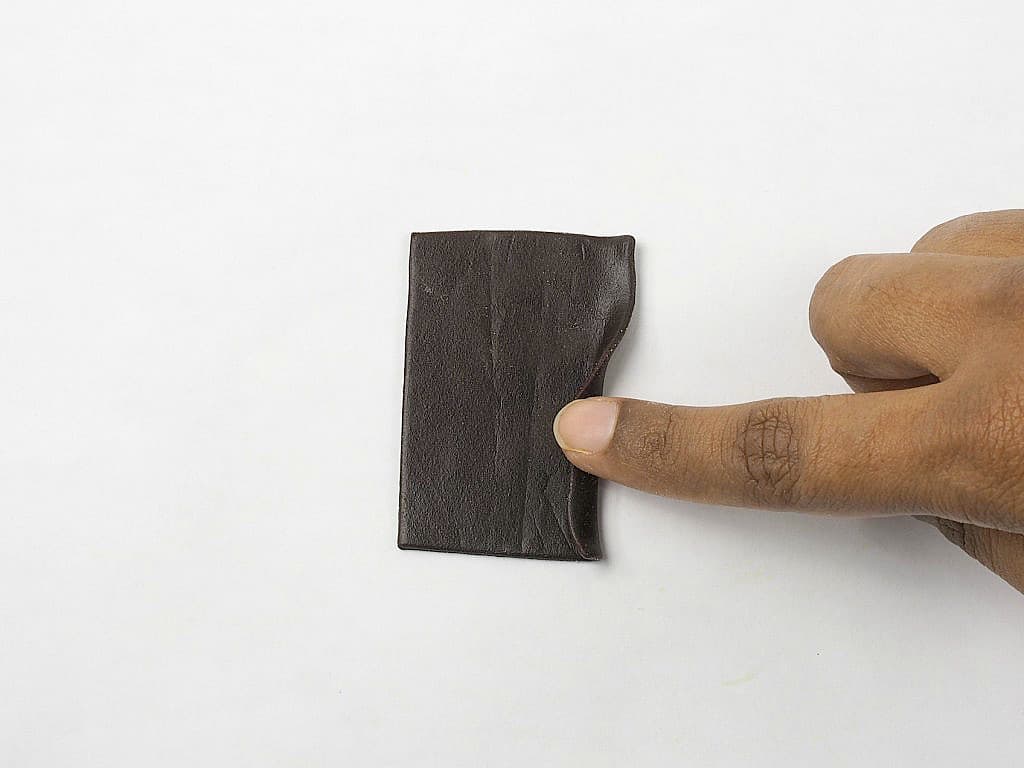
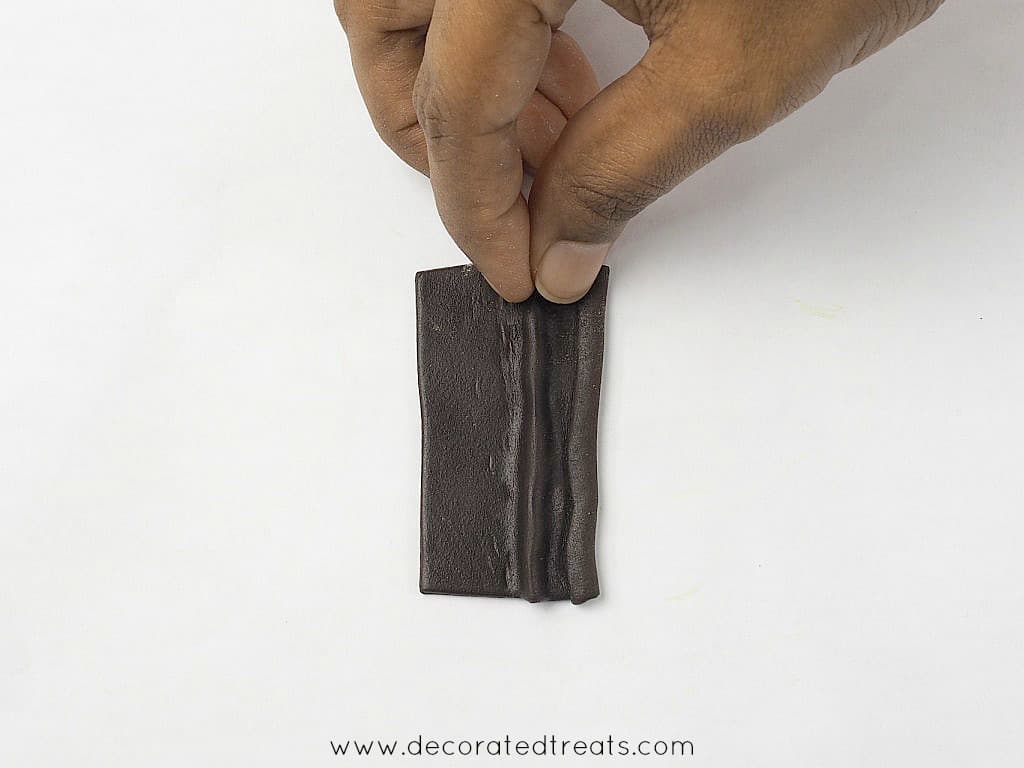
Place the rolled kitchen towel in the center. Apply fondant glue on end of the fondant strip. And then fold the other end over and stick both ends together.
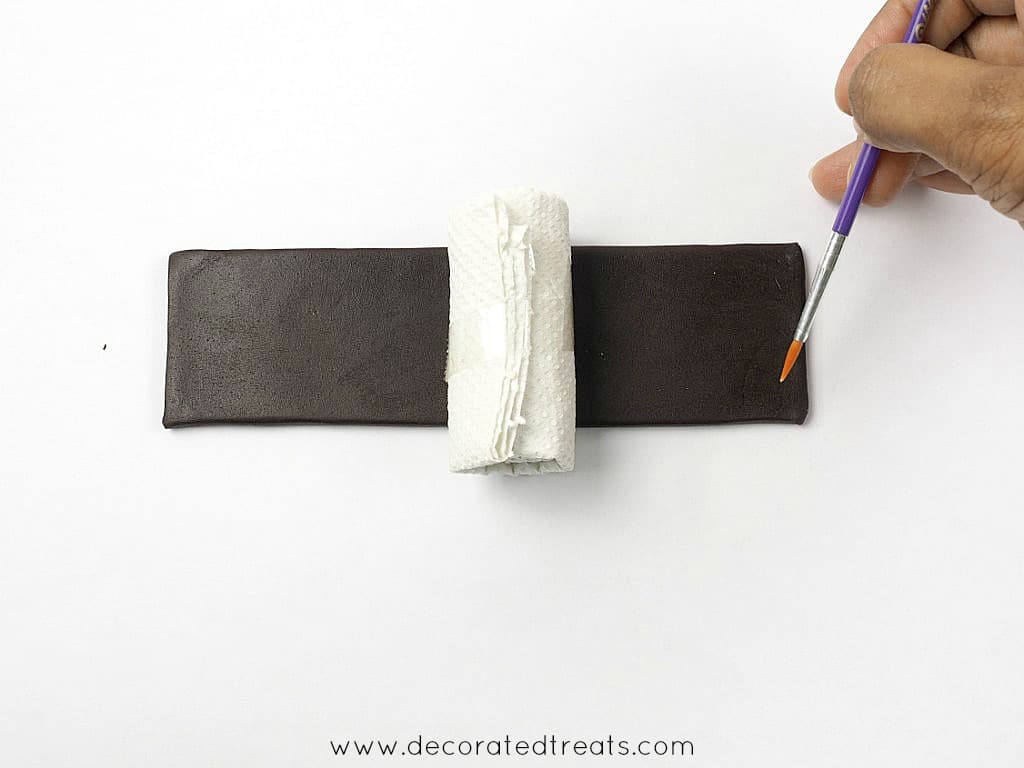
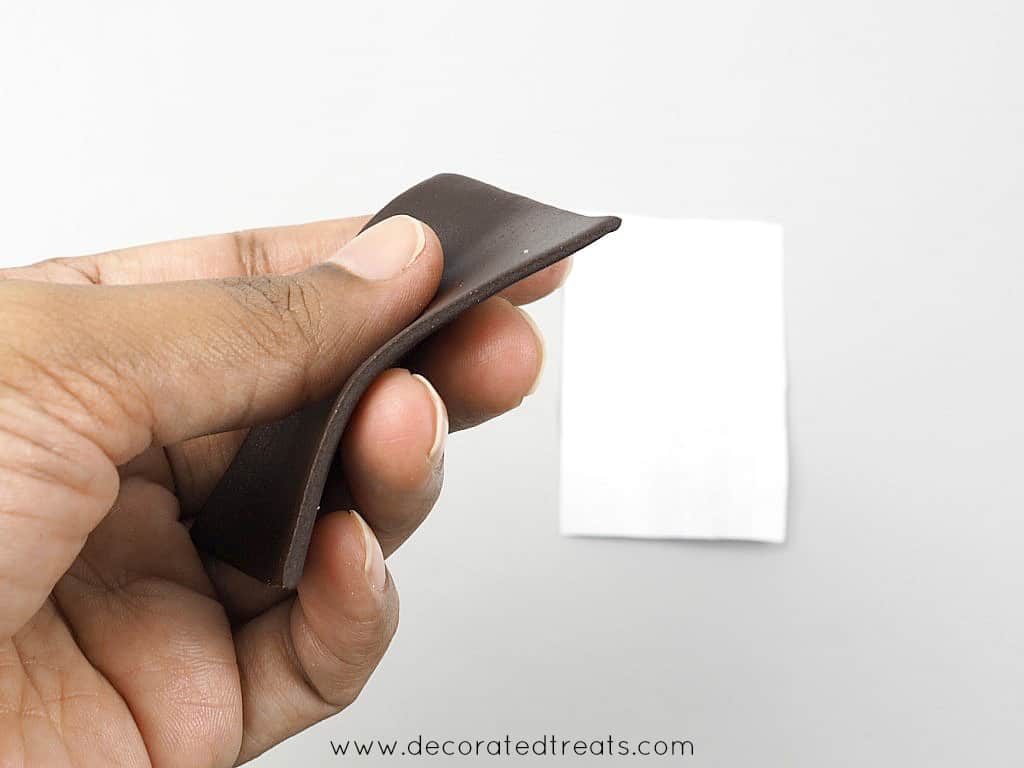
Press the ends to thin it as shown.
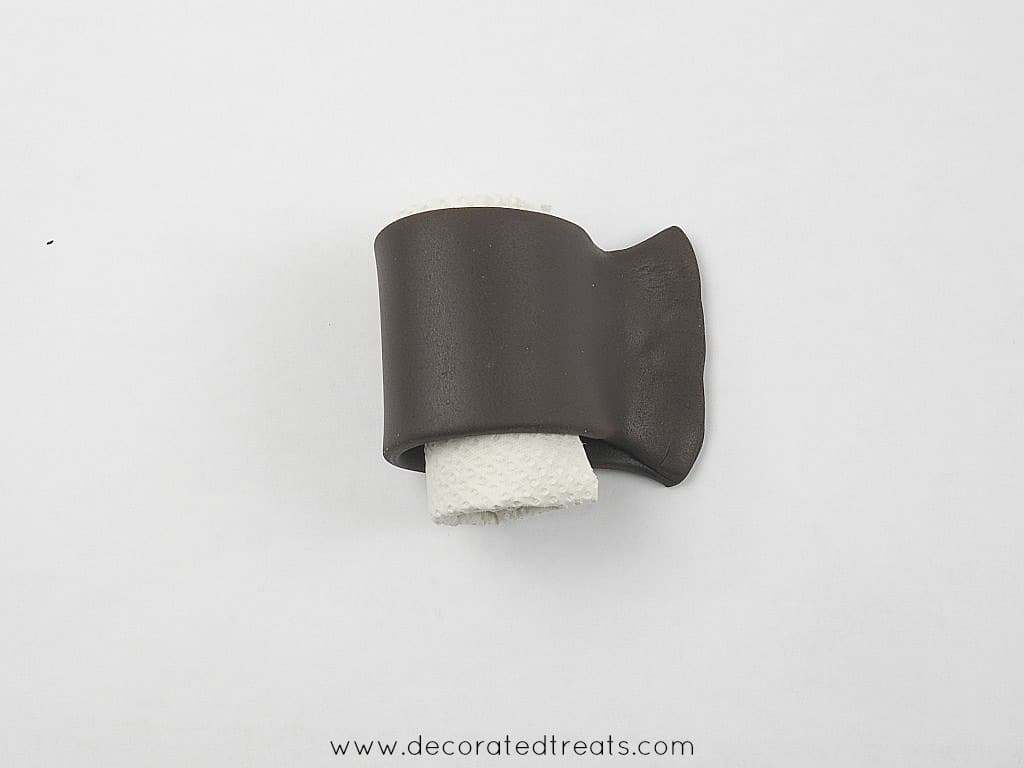
Next, form an 'm' shaped fold. It is easier to do the folds when the fondant is thin. Hence the thinning of the ends in the earlier step.
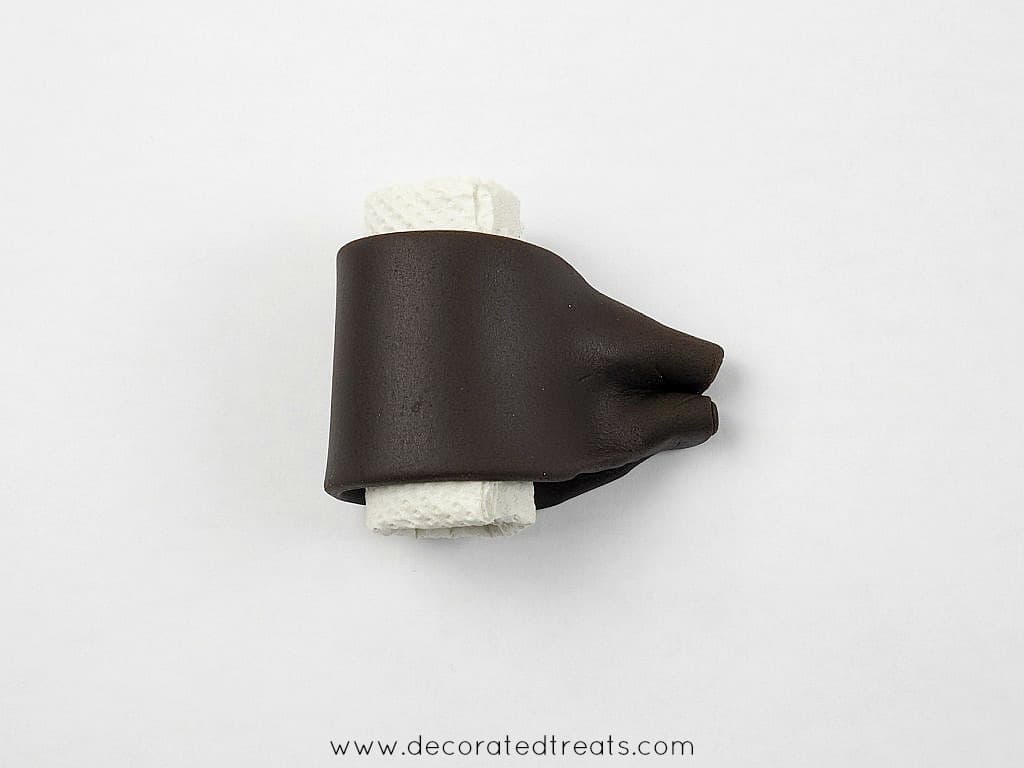
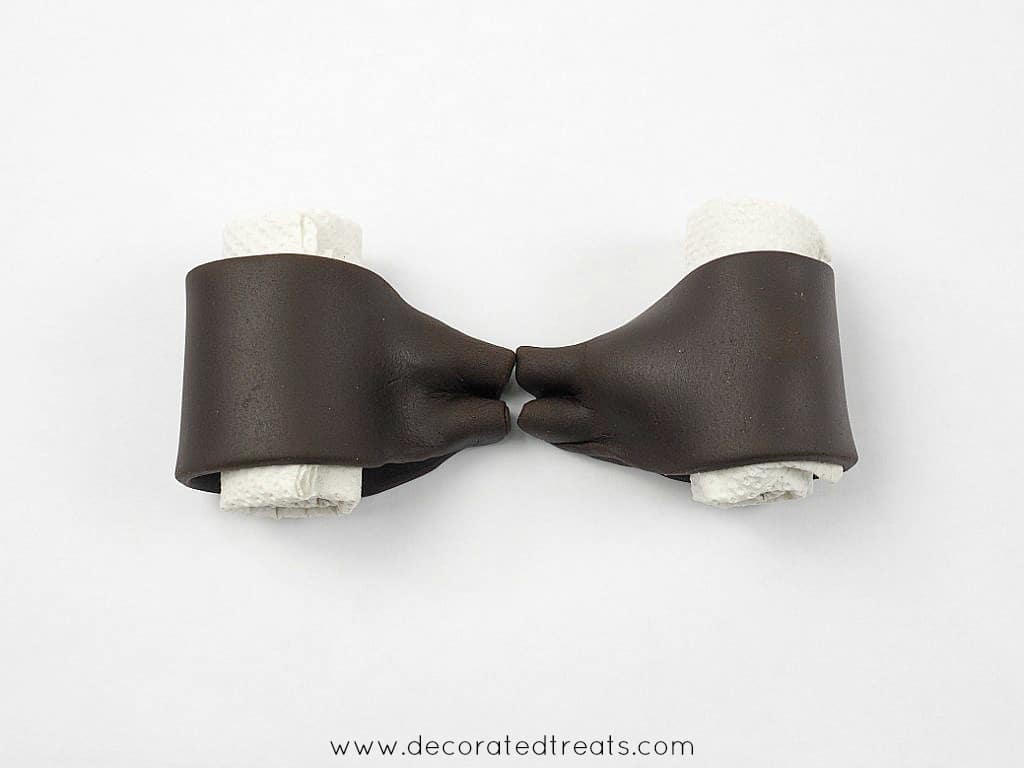
Repeat the steps above for the other fondant strip to make the other loop for the bow.
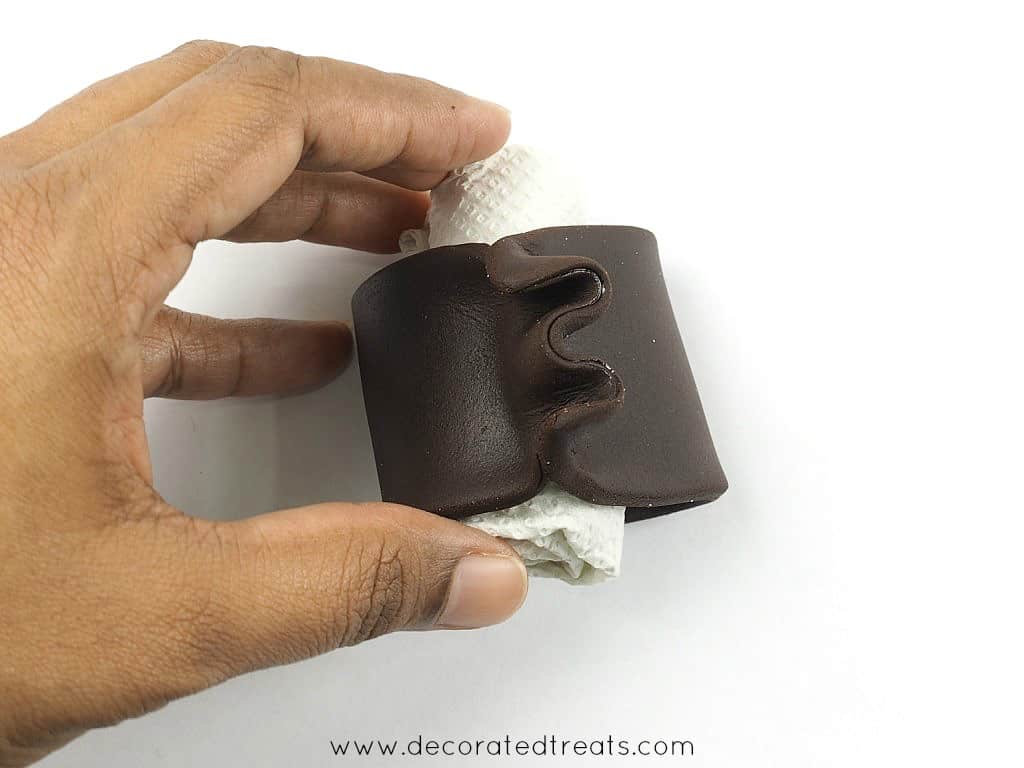
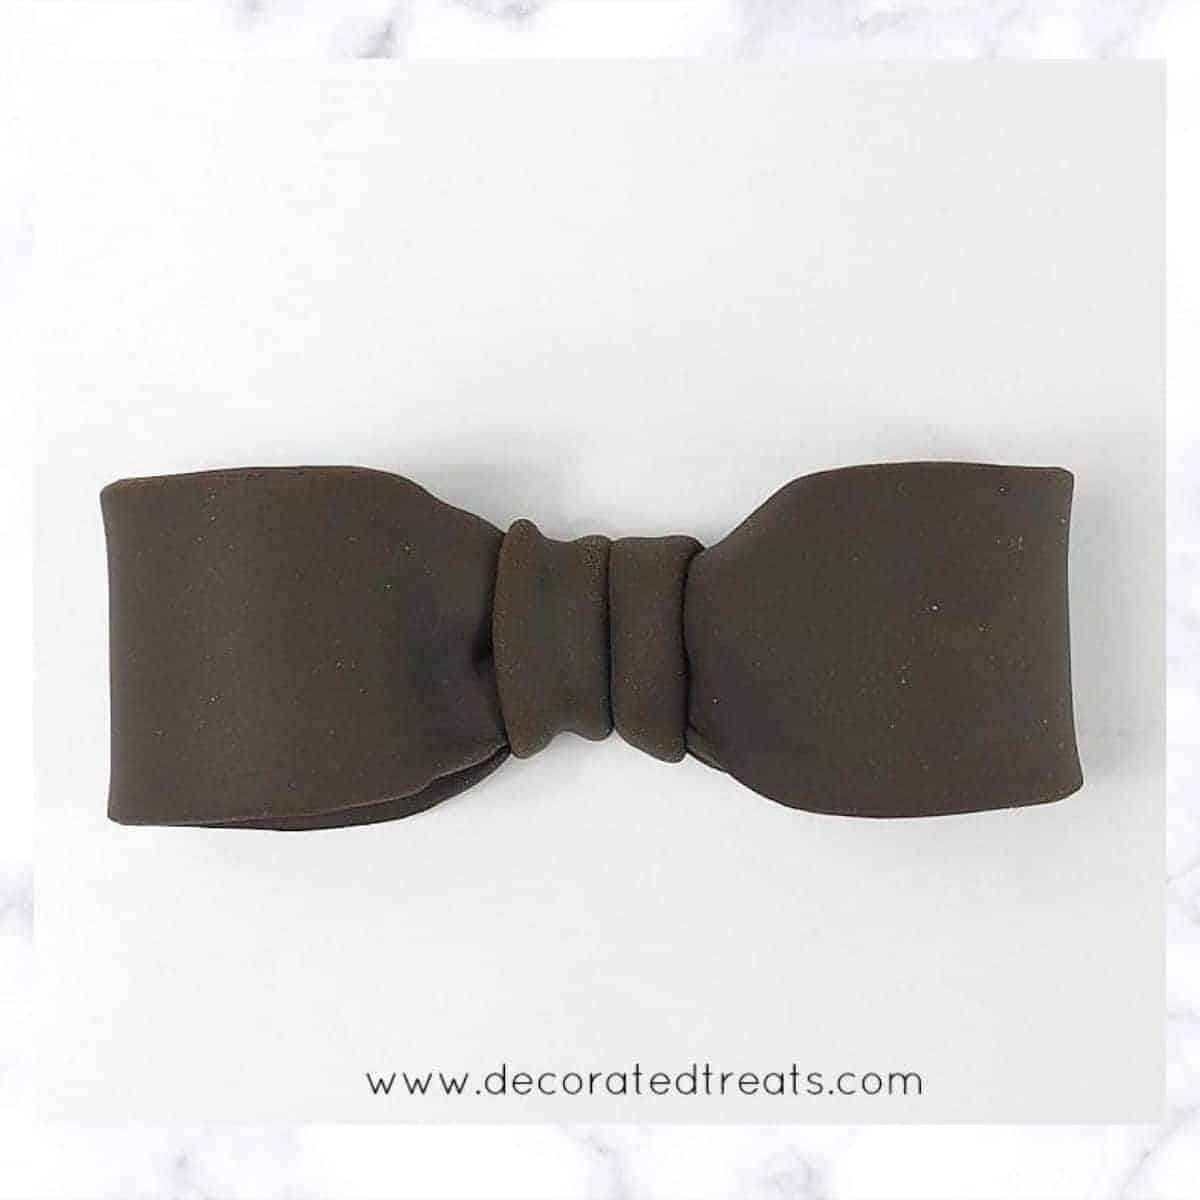
Here is how the loops should look like:
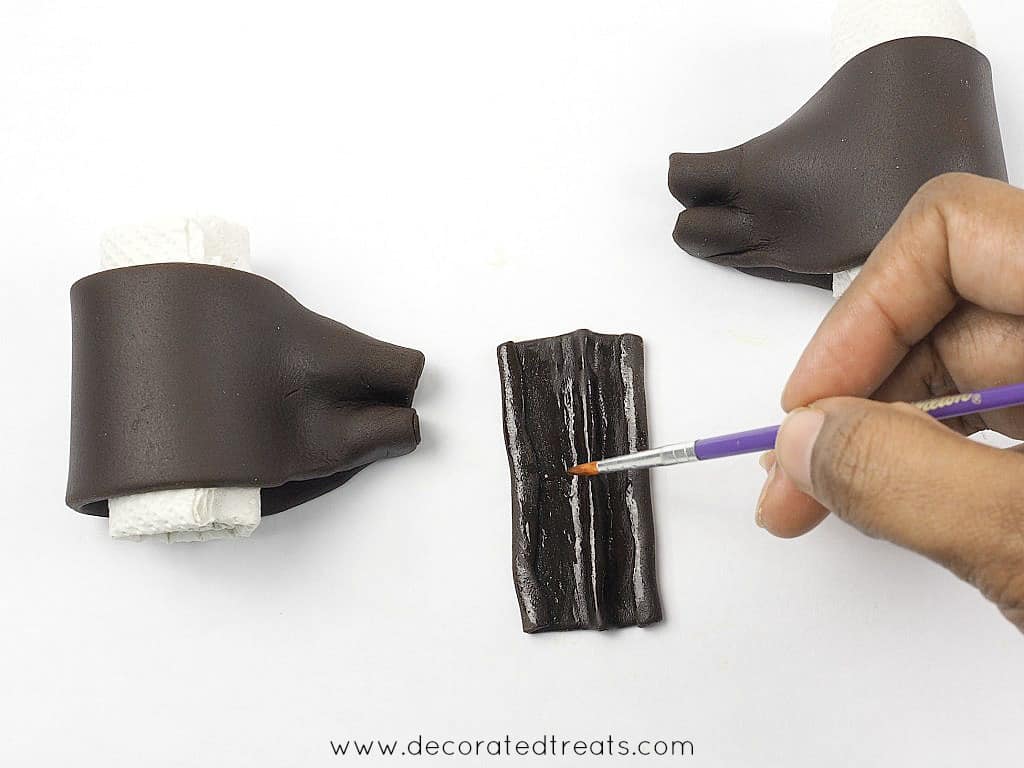
Step 5: Make the bow center
To make the bow center, roll the fondant thinner compared as the loops.
Use the smaller rectangle paper template to cut the center piece out.

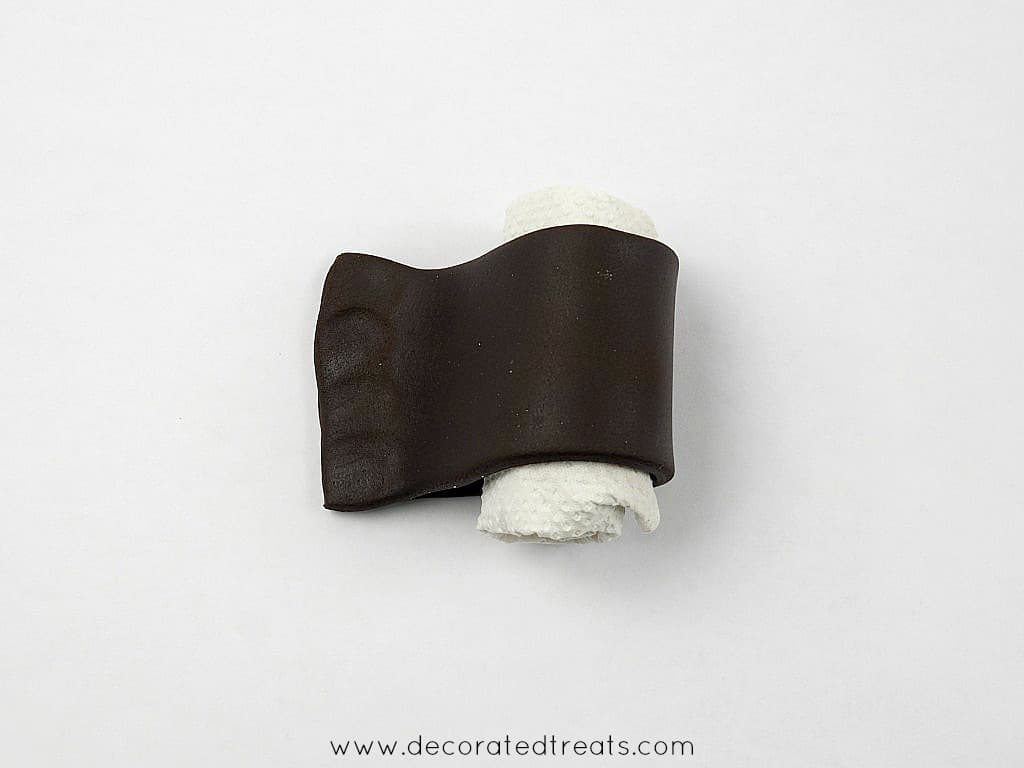
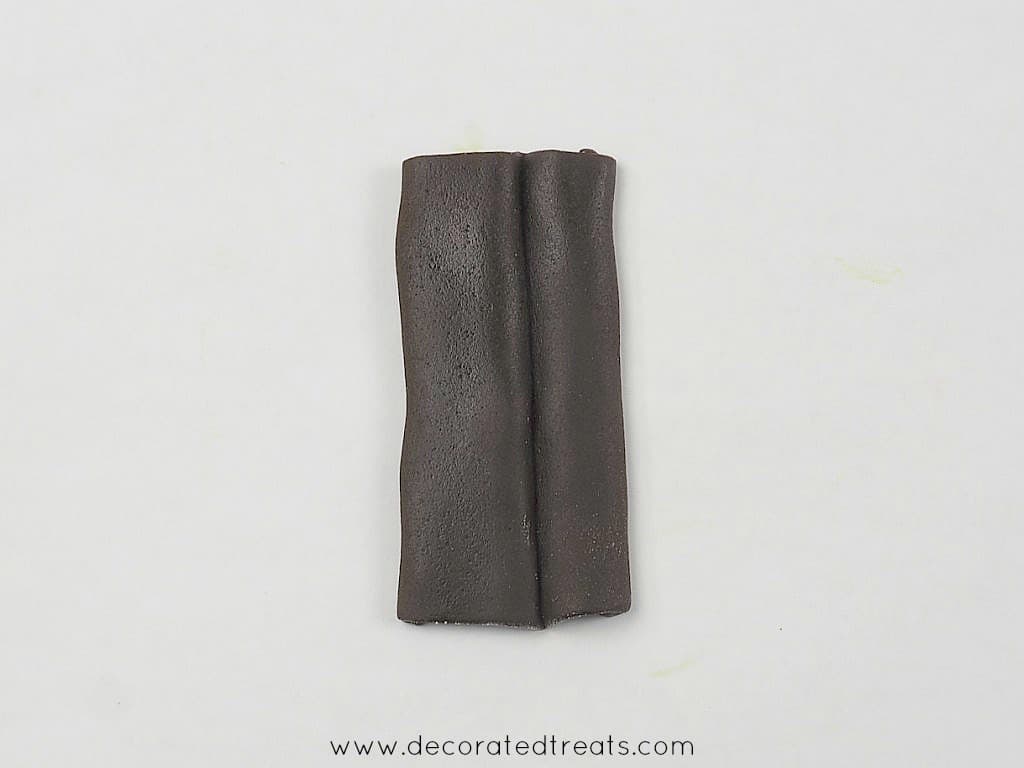
To give the center a folded ribbon look, pleat it. Start by folding one end of the strip, then form a pleat in the middle and then another fold at the other end.
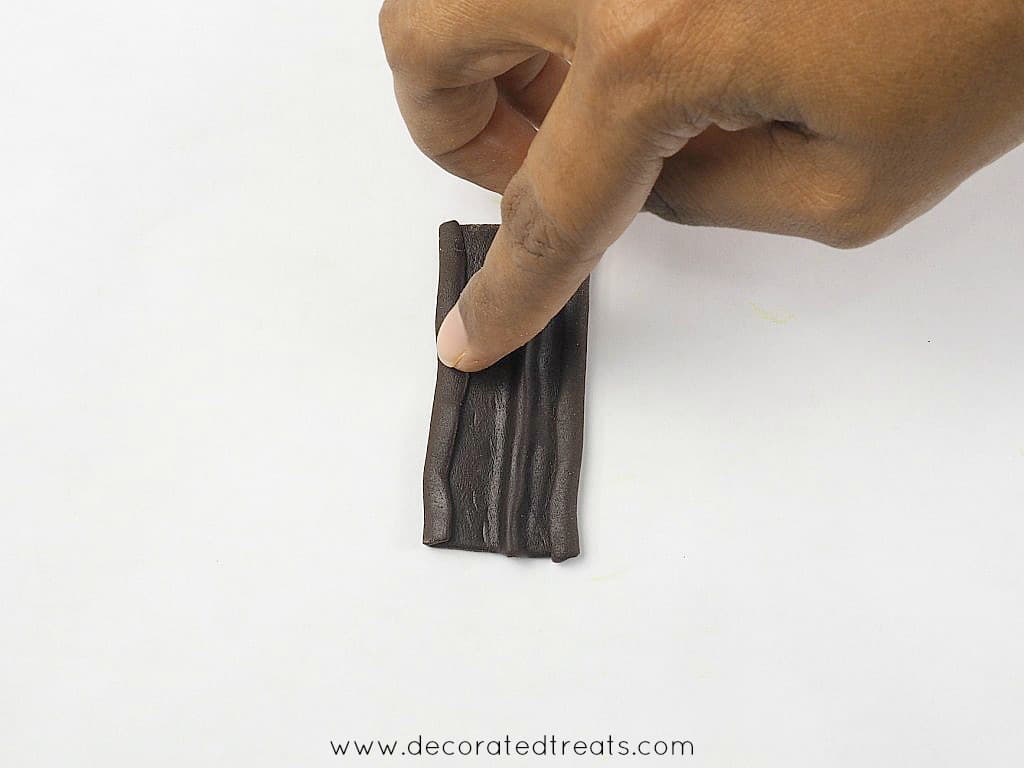
Turn it over and this is how it should look like:
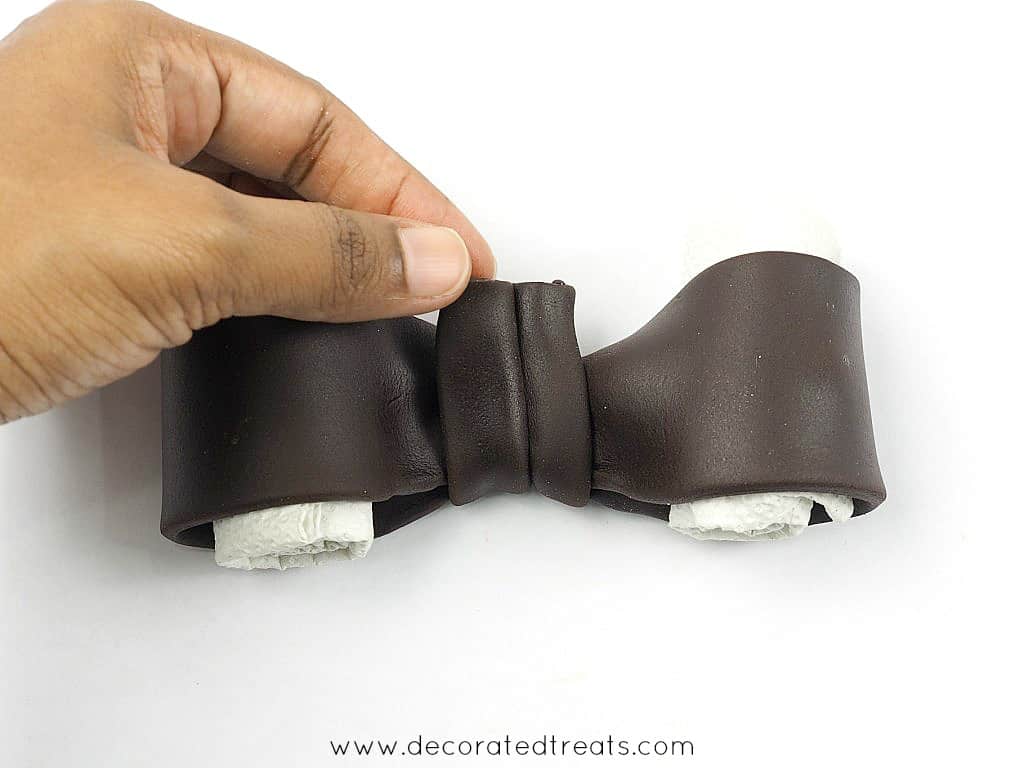
Step 6: Assemble the loops and the center
To assemble the fondant bow, turn the center piece back to its original position with the folds and pleats showing and apply fondant glue all over.
And then place one of the bow loops halfway on the center piece as shown (only half of the loop is on the strip, the other half is not). Apply glue to the end of the loop and and attach the other fondant loop.

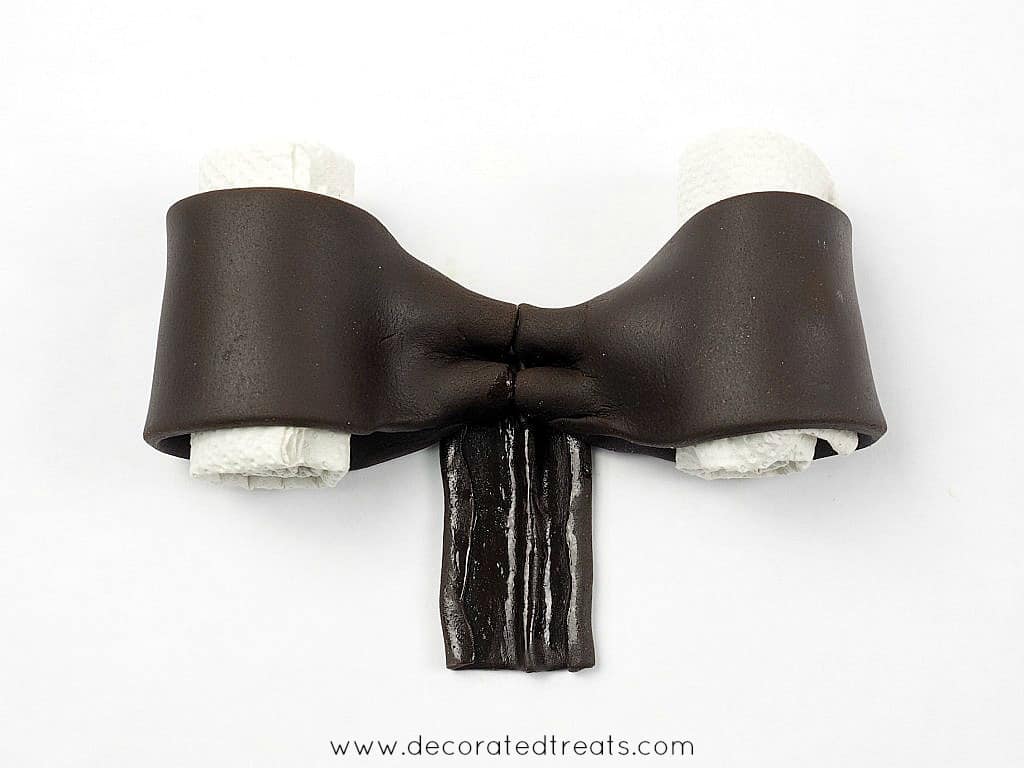
Next, lift the center piece upwards and tuck it at the back of the fondant bow loops.
Turn the bow over very carefully and trim off any excess fondant from the center piece. This is how the back of the fondant bow would look like.
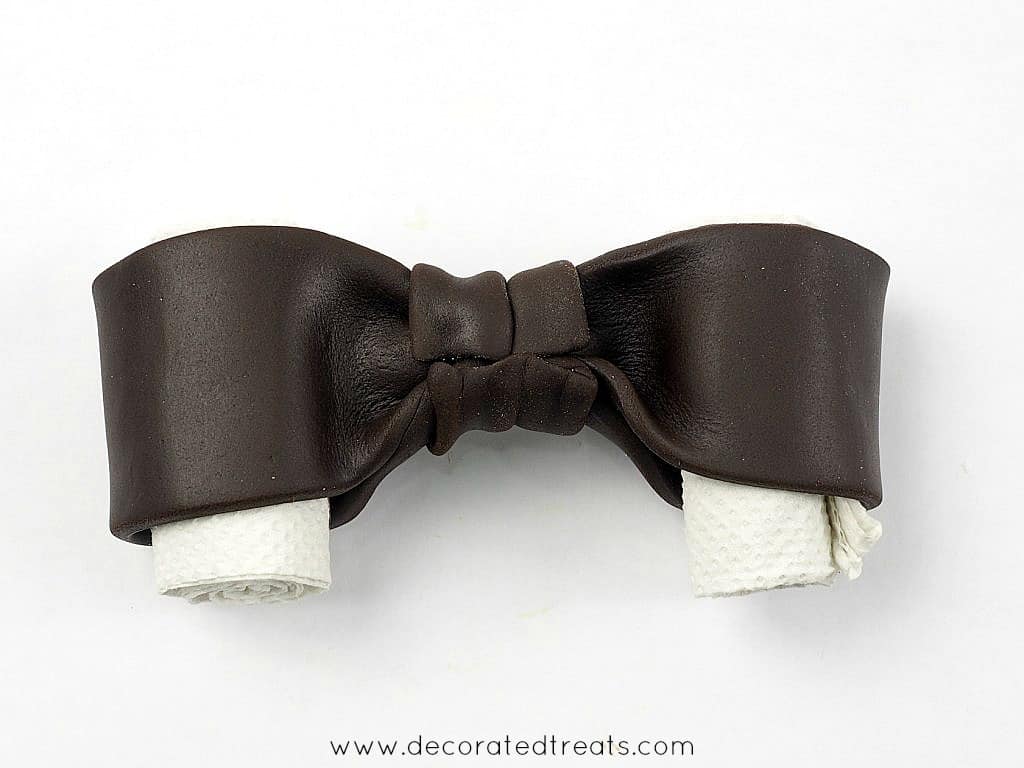
Carefully and very gently, turn the bow over again and leave it aside to dry and set hard. I normally leave mine overnight. Once the fondant bow is set, remove the paper towel rolls.
Use fondant glue to attach the bow to your cake to ensure it is securely attached.
And that is how I make fondant bows for my cakes. Hope you enjoyed this tutorial 🙂


Leave a Reply