

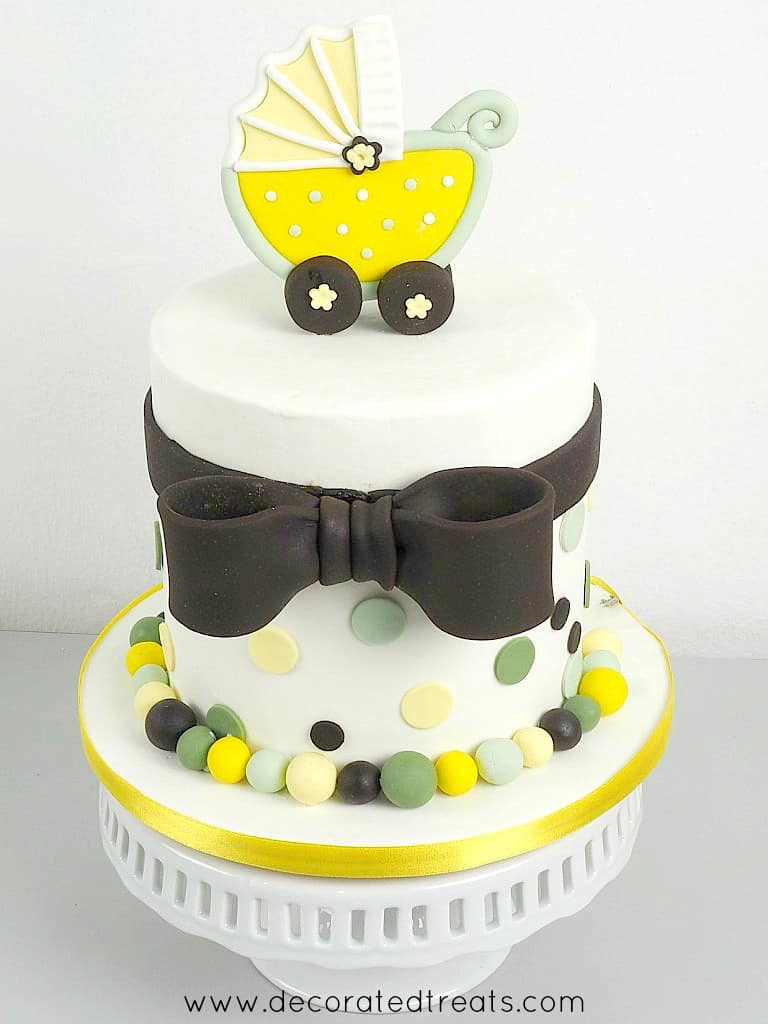
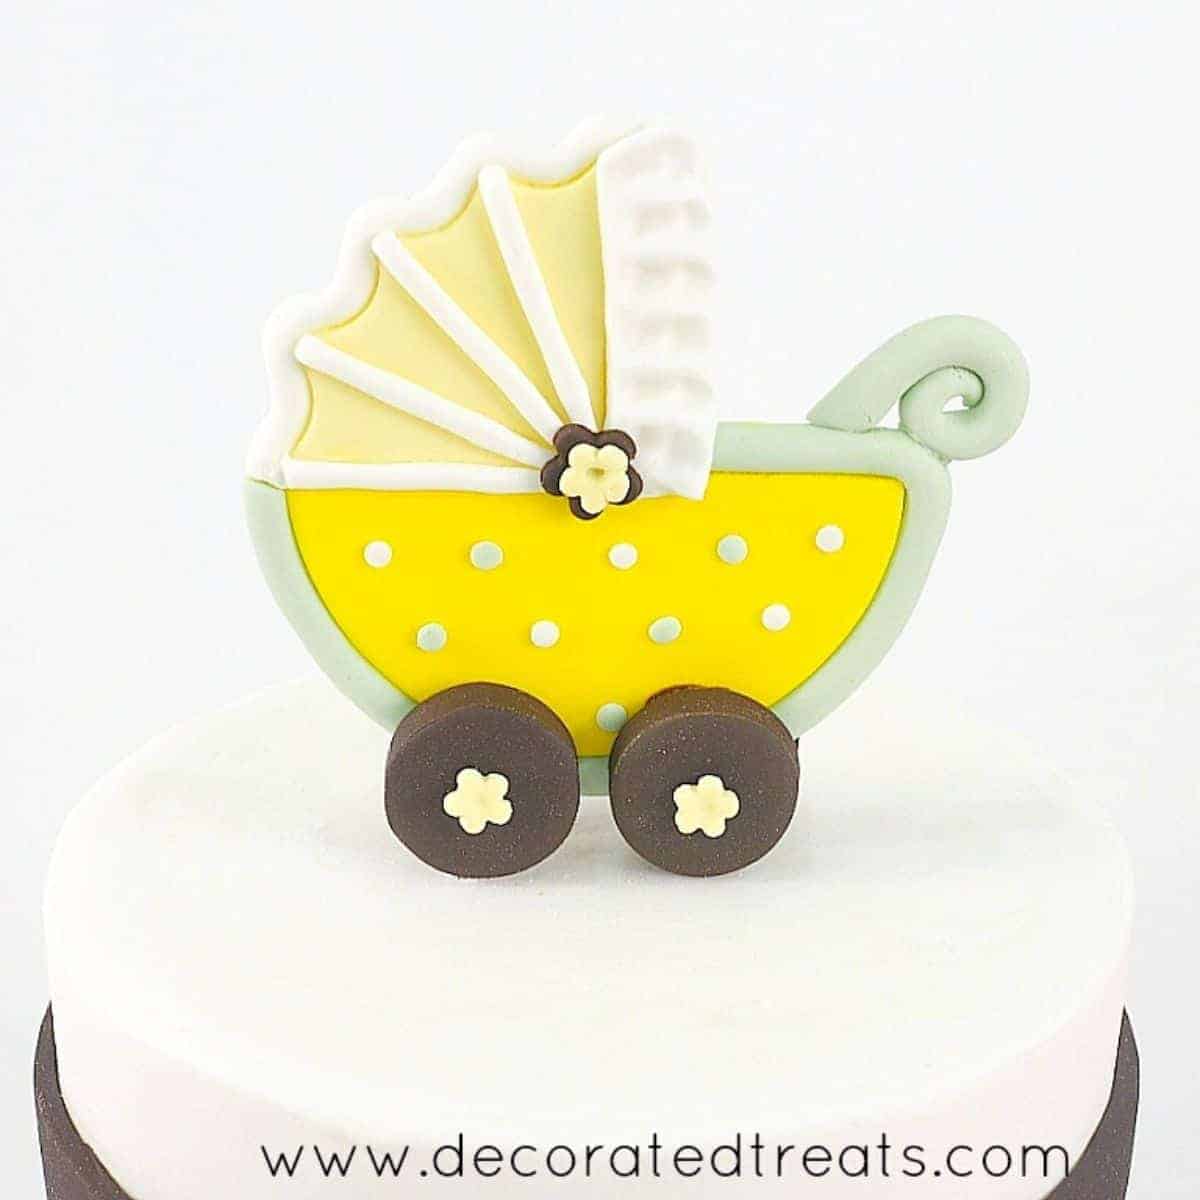
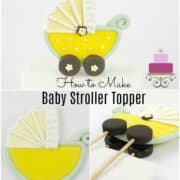
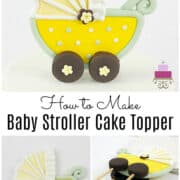
Learn how to make a baby stroller cake topper with this easy tutorial. It makes a cute baby stroller (baby carriage) made entirely in fondant and completely edible.
With sweet polka dots design and yellow, green and brown theme colors, this topper is excellent for baby shower cakes and gender reveal cakes.
Jump to:
❤️Why you will love this tutorial
- The cake topper is fairly easy to make.
- It makes a cute baby stroller, and is perfect for baby cakes.
- You can customize the colors and design to suit your cake or party theme.
- It is a lot cheaper to make your own cake topper than to custom order one.
- You can make the topper in advance and simply place it on your cake when needed, saving you time and last minute hassle of making it.
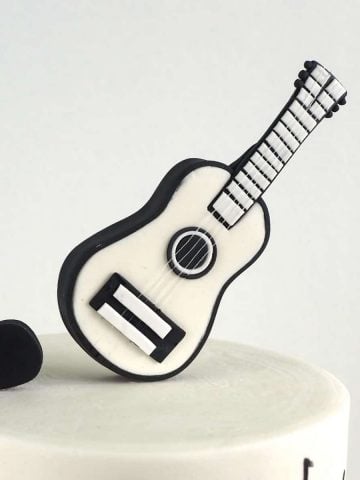
If you like this cake topper, also check out how to make fondant surfboard cake topper, standing number cake toppers, fondant guitar cake topper, gum paste butterfly cake decorations and fondant loop bow tutorial. They make great cake decorations too.
🧾Supplies required
- Fondant in white, pale yellow ( I mixed 1 part of Satin Ice yellow with 3 parts of white), bright yellow (Satin Ice yellow fondant), pale green ( I used Americolor Avocado green gel paste), dark green (a mix of Wilton Juniper green and a tiny hit of Satin Ice chocolate fondant)and dark brown (Satin Ice chocolate fondant).
- Round cutter set - to cut the body, hood and wheels of the stroller.
- Wilton round tip 5
- CMC powder - added to fondant to make it dry firmer.
- Pizza cutting wheel & sugar craft knife - these are used to cut the fondant when making the stroller topper.
- Cake decorating brush - I used the back of the brush to make the frills for the cake topper
- Fondant extruder tool - I used this tool to pipe out the white strips of fondant used to decorate the stroller.
- 5 petal flower plunger cutter set
- Long wooden skewers - These were attached to the wheels of the cake topper to help the stroller stand upright on the cake.
- Fondant glue
👩🍳How to Make
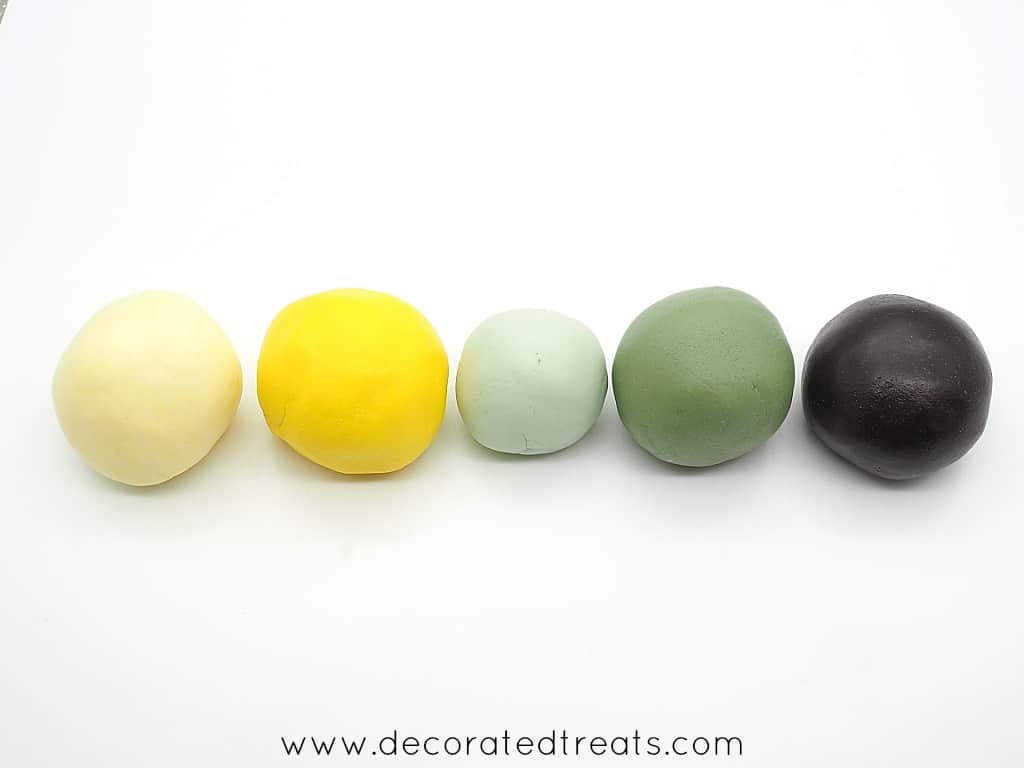
Step 1: Mix the fondant colors
Start the cake topper by preparing the fondant. Mix the required colors and then add CMC to each color portion to allow the baby shower topper to set firm and hard after shaping.
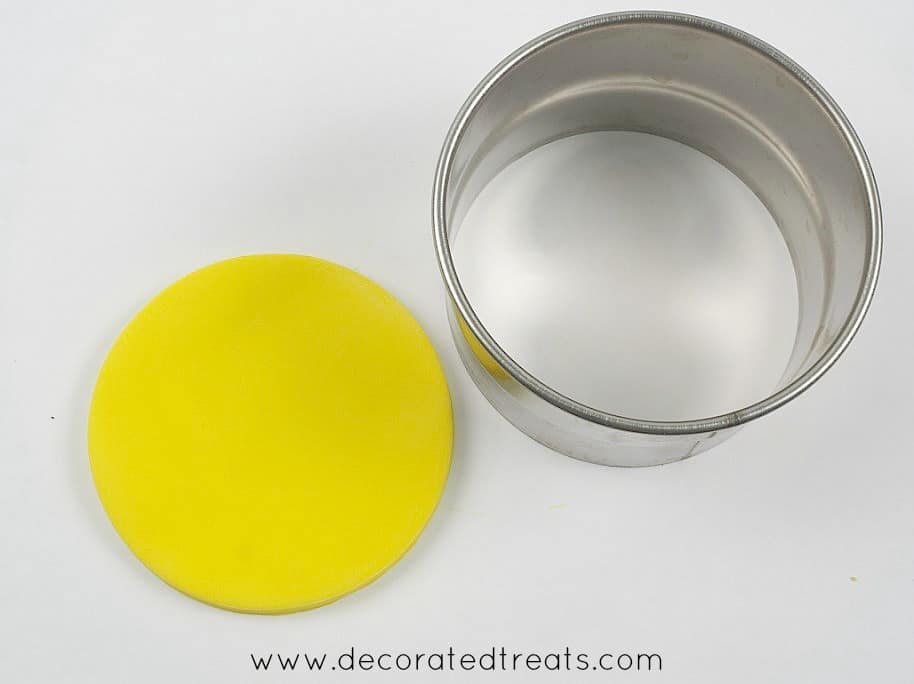
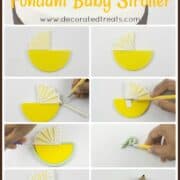
Step 2: Make the stroller body
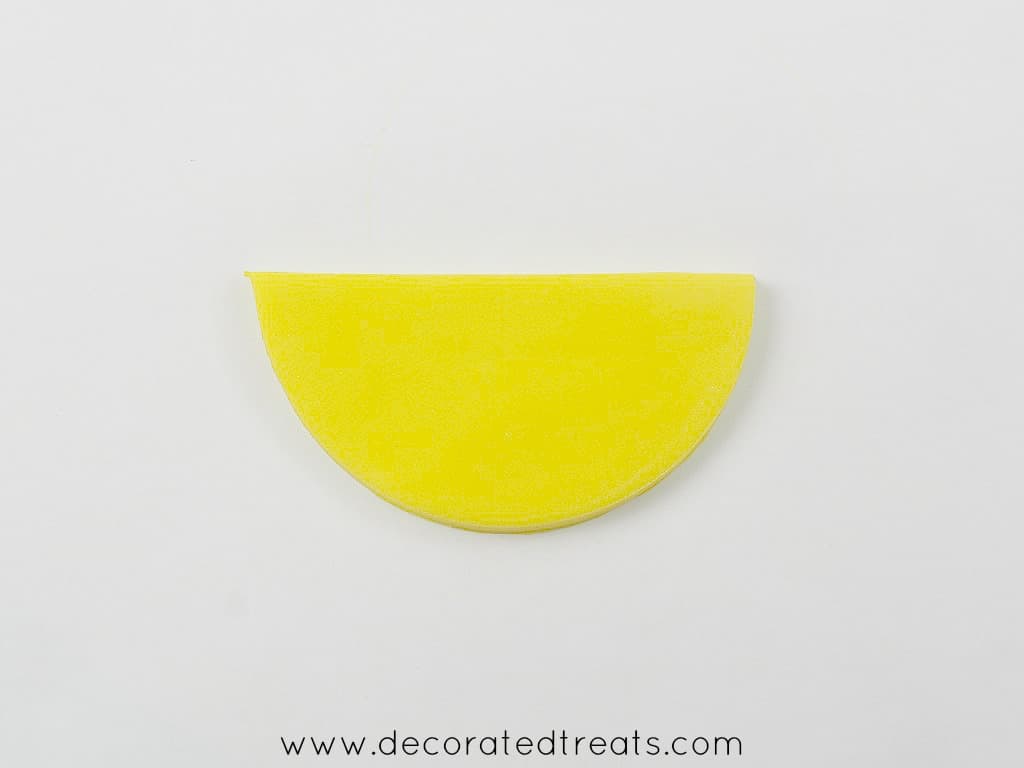
Once the colors are ready, start with the bright yellow fondant. Roll it to a thickness of about 5mm. Use a large round cutter.
Note: This will form the body of the baby shower topper and should be made slightly thick so that the finished baby shower cake topper is able to stand stable on the cake).
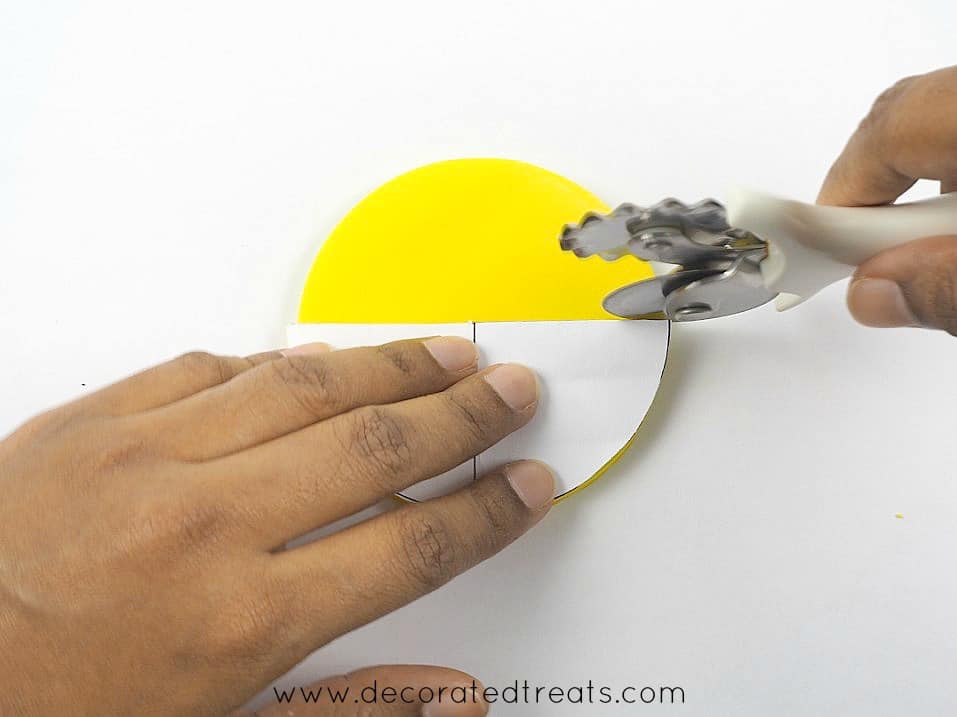
Next, cut the circle into half. To make sure you get a perfect semi-circle, trace a circle (using the same round cutter) on a piece of paper, cut it out and then fold the paper template into half.
Place the semi-circle paper template onto the yellow fondant and cut it into half.
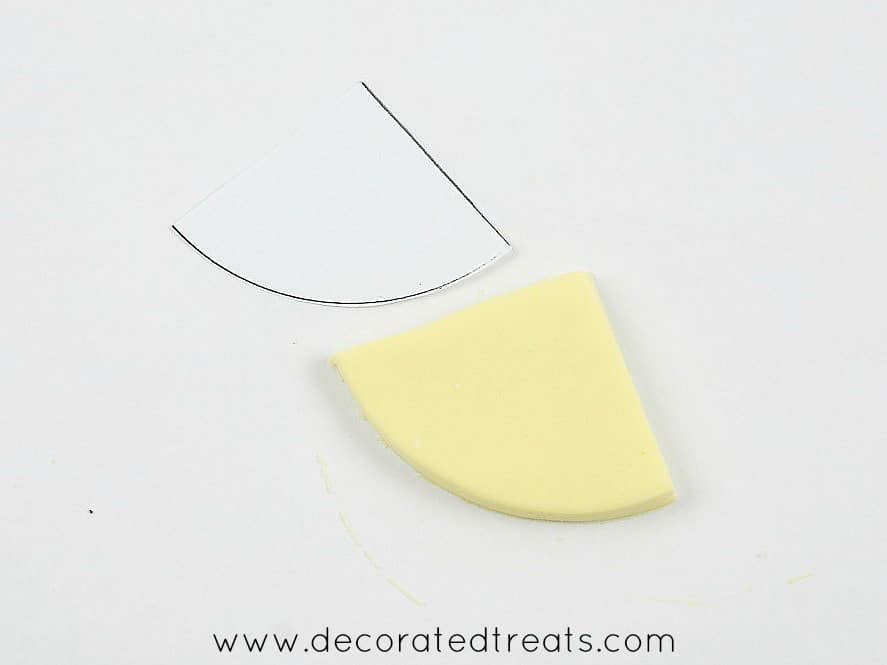
Step 3: Make the carriage hood
Use pale yellow fondant for this. Again, roll it to about 5mm thickness, and cut out using the same round cutter used to cut the yellow circle earlier.
Use the paper template (fold the semi-circle earlier into a quarter and use it to cut out the hood) and cut out a quarter of a circle.
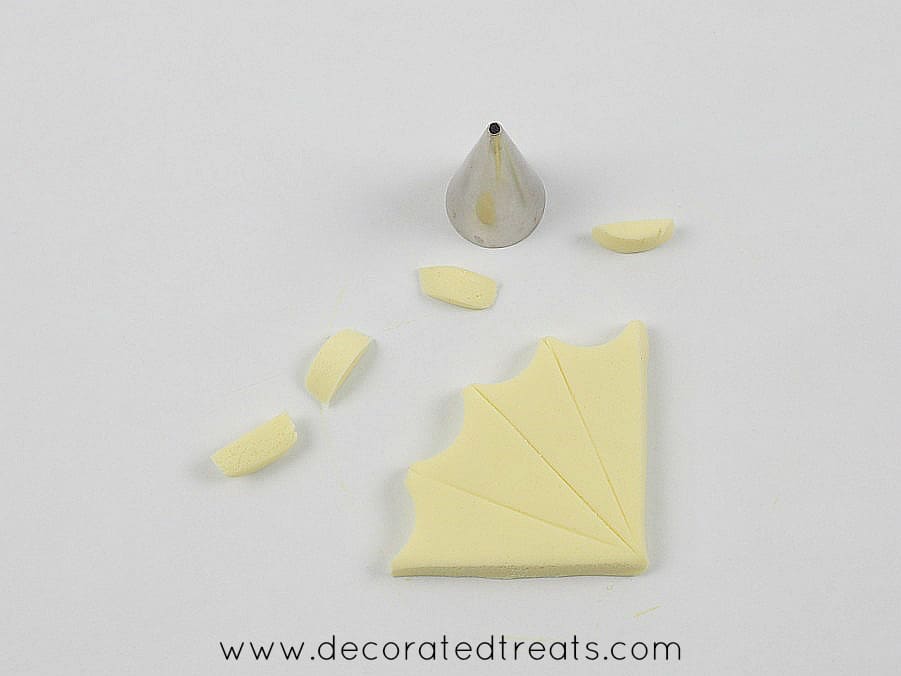
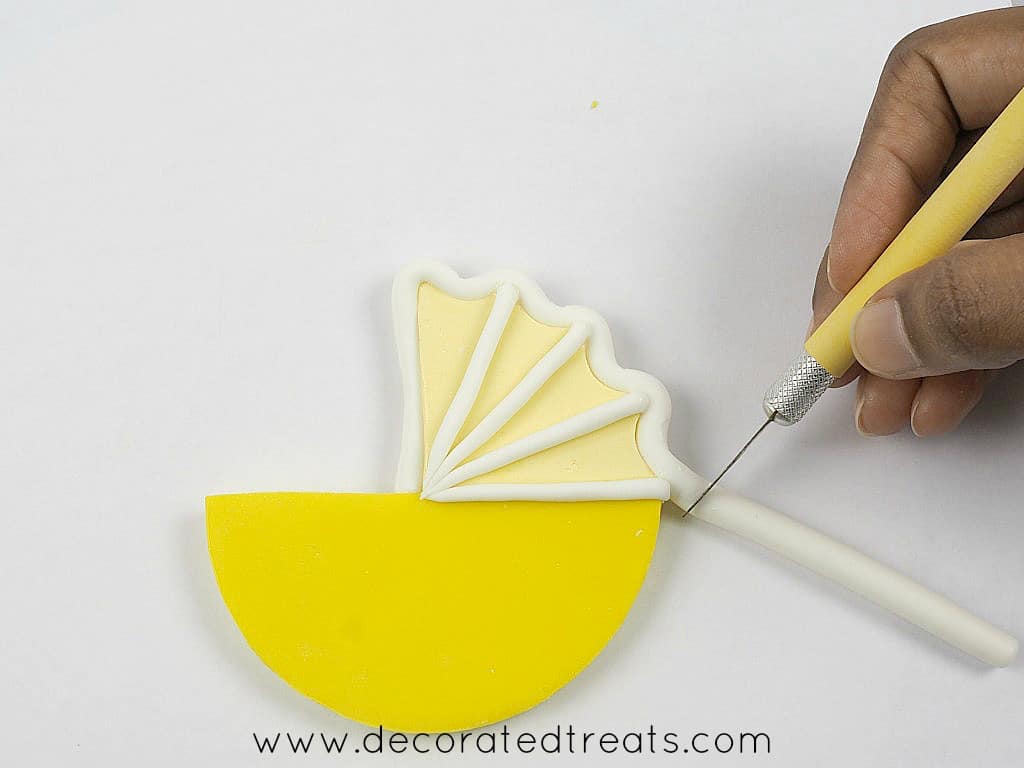
Mark three lines on the hood (on both sides ) with a needle tool, followed by small scalloped cuts around the rounded edge of the hood using the larger end of a piping tip.
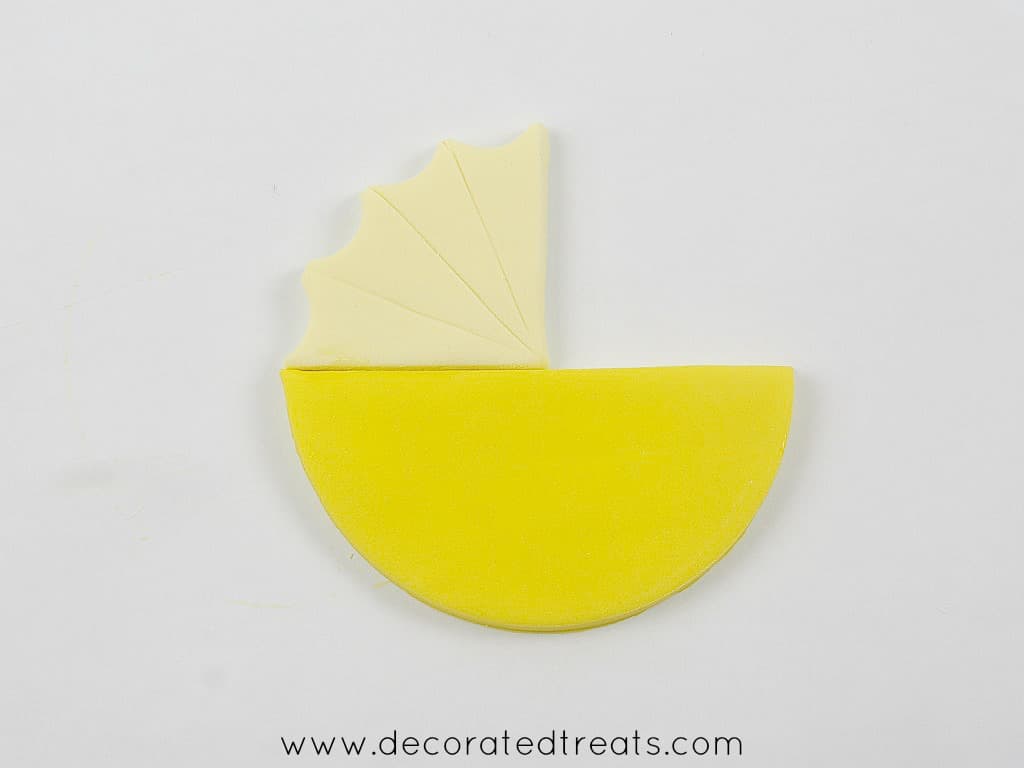
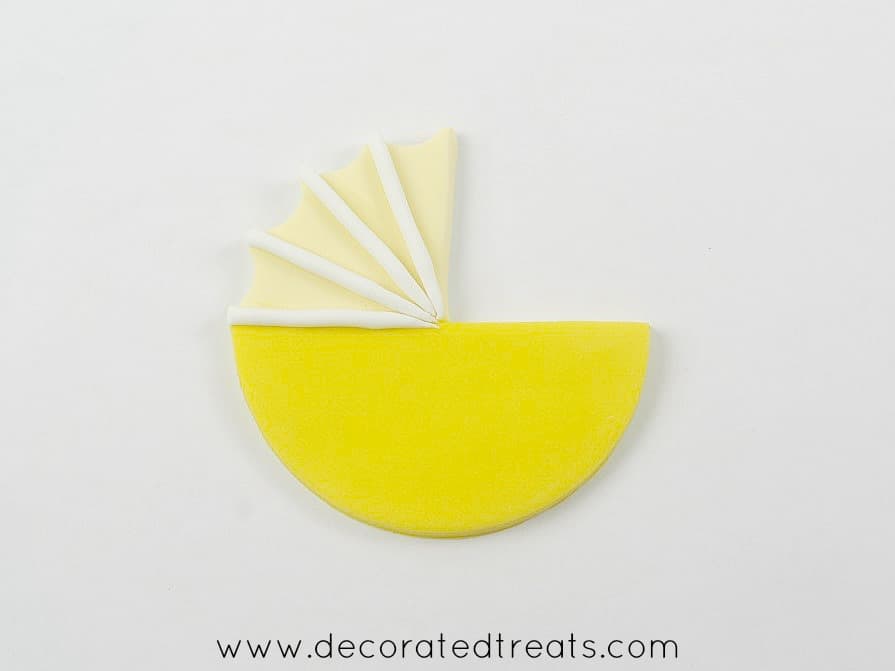
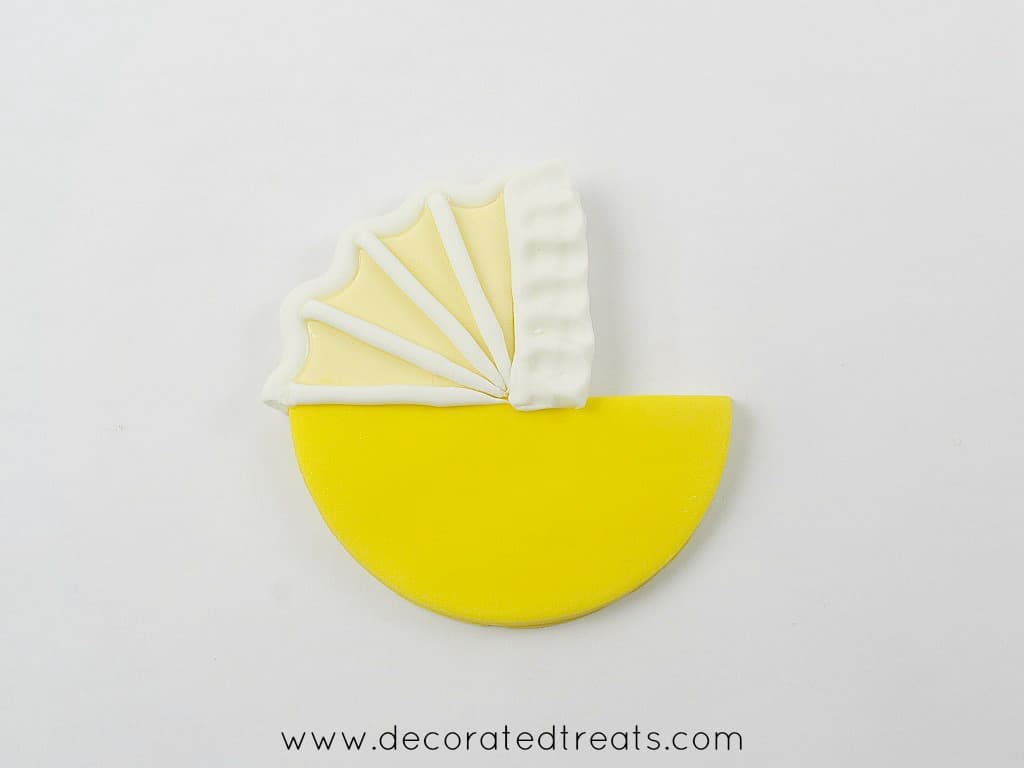
Attach both the yellow cut outs as shown below using some fondant glue.
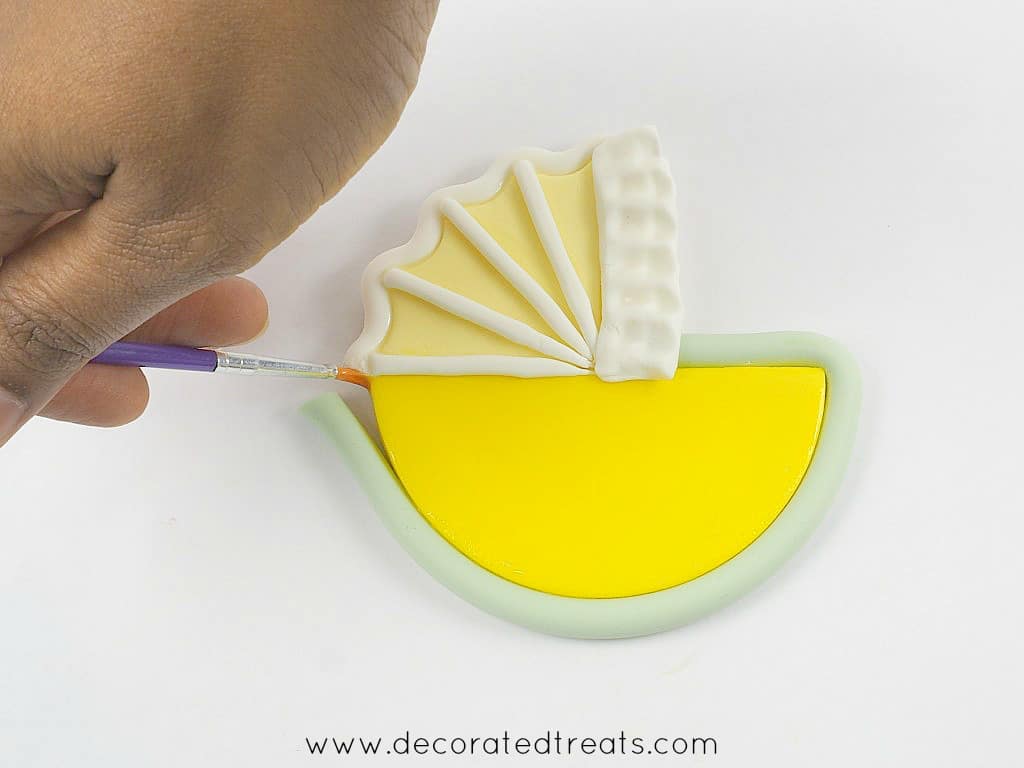
Next are the lines on the hood. Roll some white fondant into a long thin strip and cut it into 4. Attach the strips onto the hood as shown with glue. Then, turn the topper over and repeat the same steps.

After that, roll another white strip but this time thicker than the earlier one. Make it in the same thickness as the fondant used to make body of the stroller.
Apply glue around the sides of the hood and attach the strip all around. Cut off the excess at the end of the hood as shown.
Step 4: Make the frills for the hood
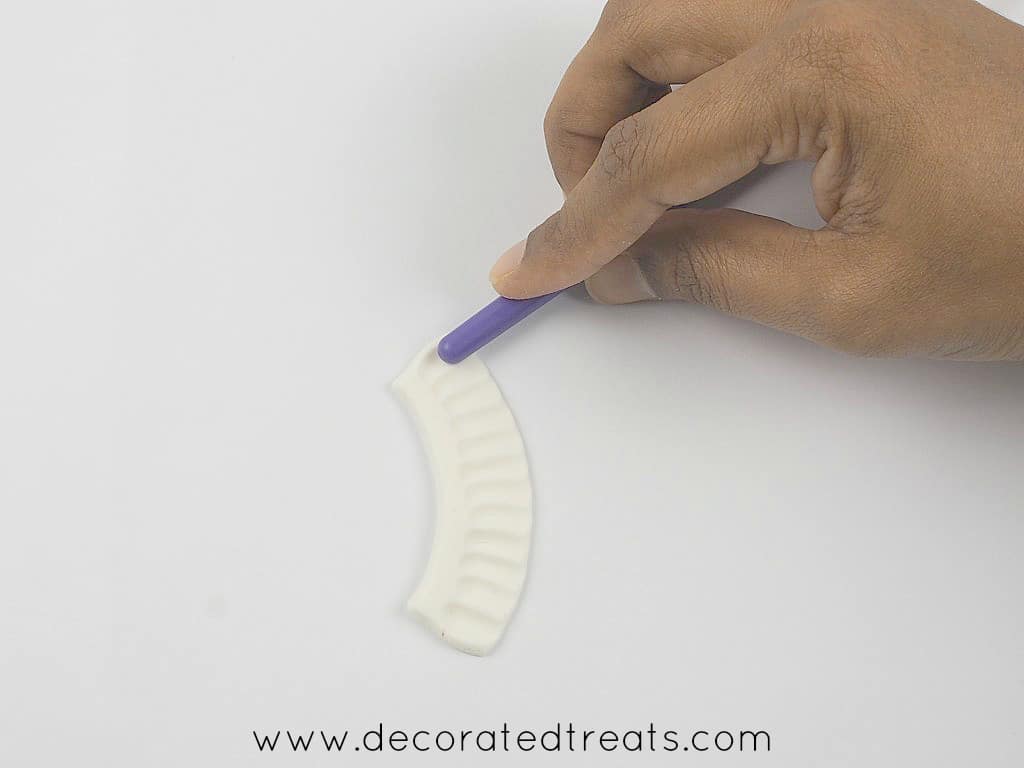
Next is the lace frill for the hood.
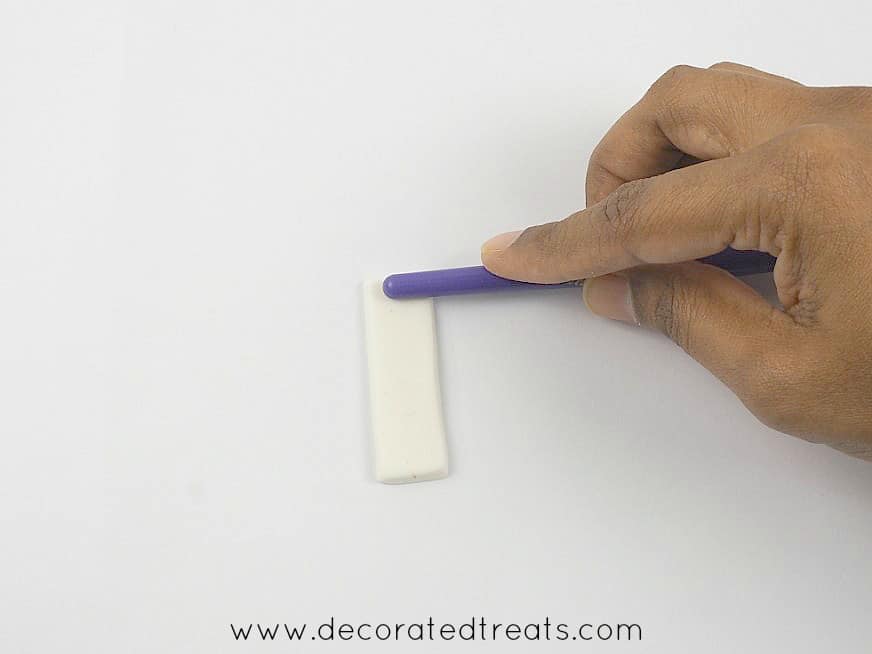
Cut a thin strip of white fondant. Use the end of the cake decorating brush or any other object that looks like above to press 'little dents' on one side of the strip.
Once completed, you will notice that the strip will automatically form a curved shape.
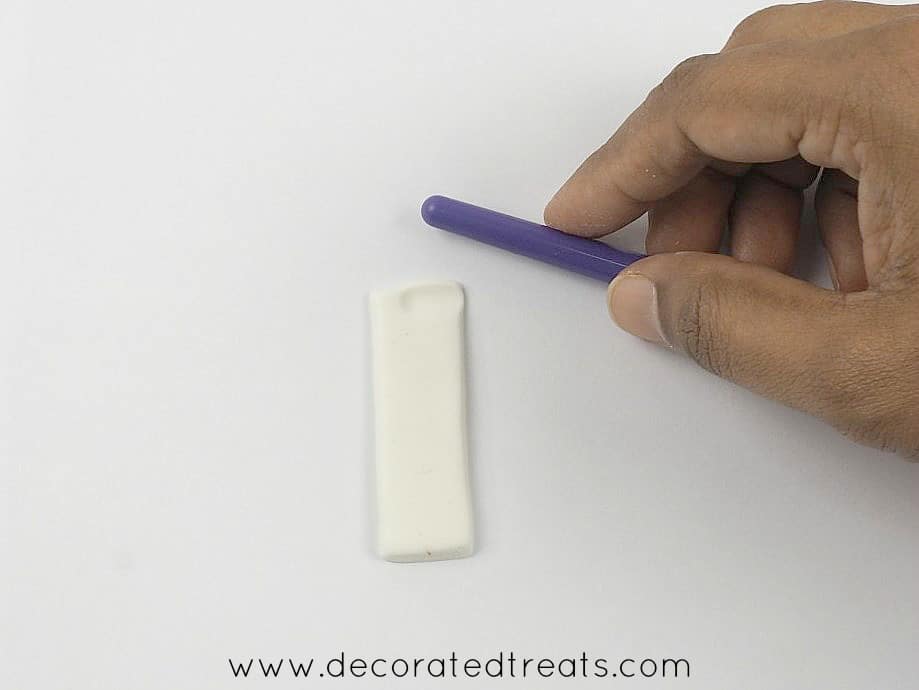
Repeat the same steps as above, but this time, place the end of the brush only halfway on the dents pressed earlier. With slight pressure, press the end of the brush to leave a second layer of dents.
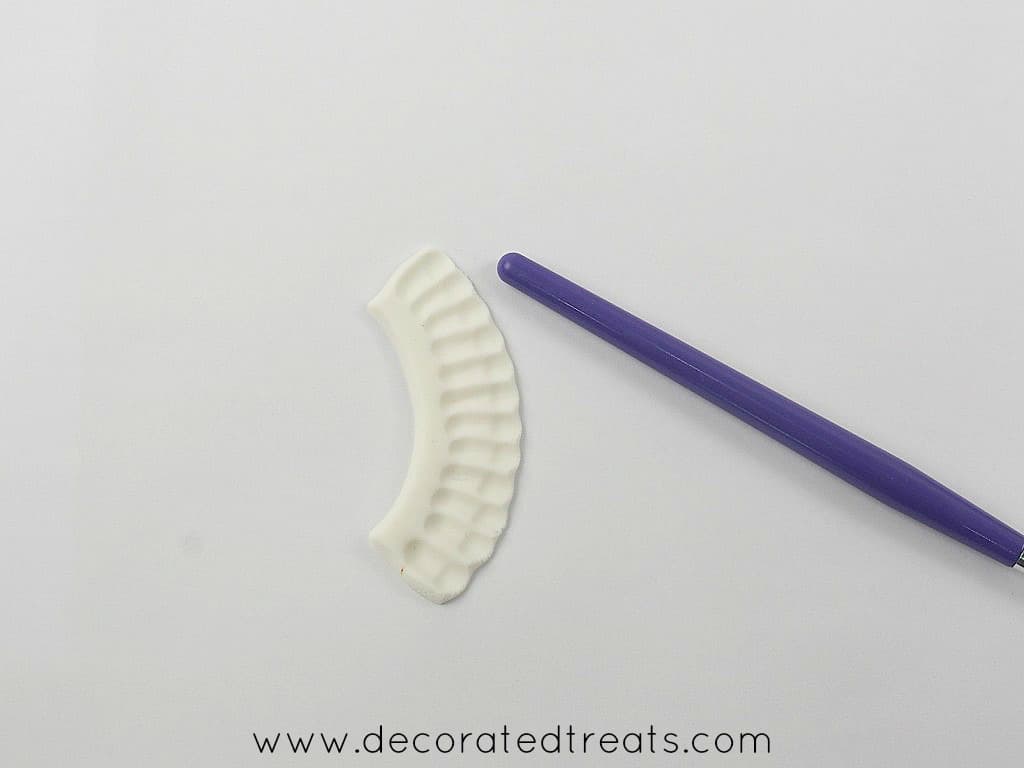
This is how the completed frills should look like. Make 2 of these, one for each side of the stroller.
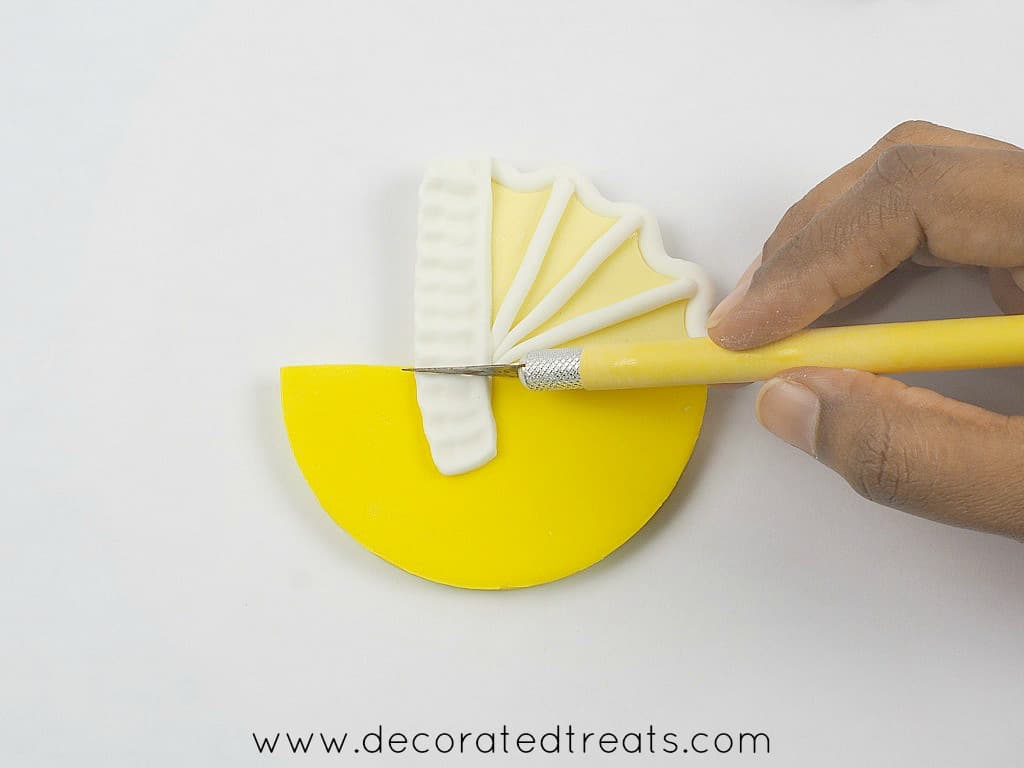
Attach the frills on both sides of the cake topper, trimming off the excess accordingly.
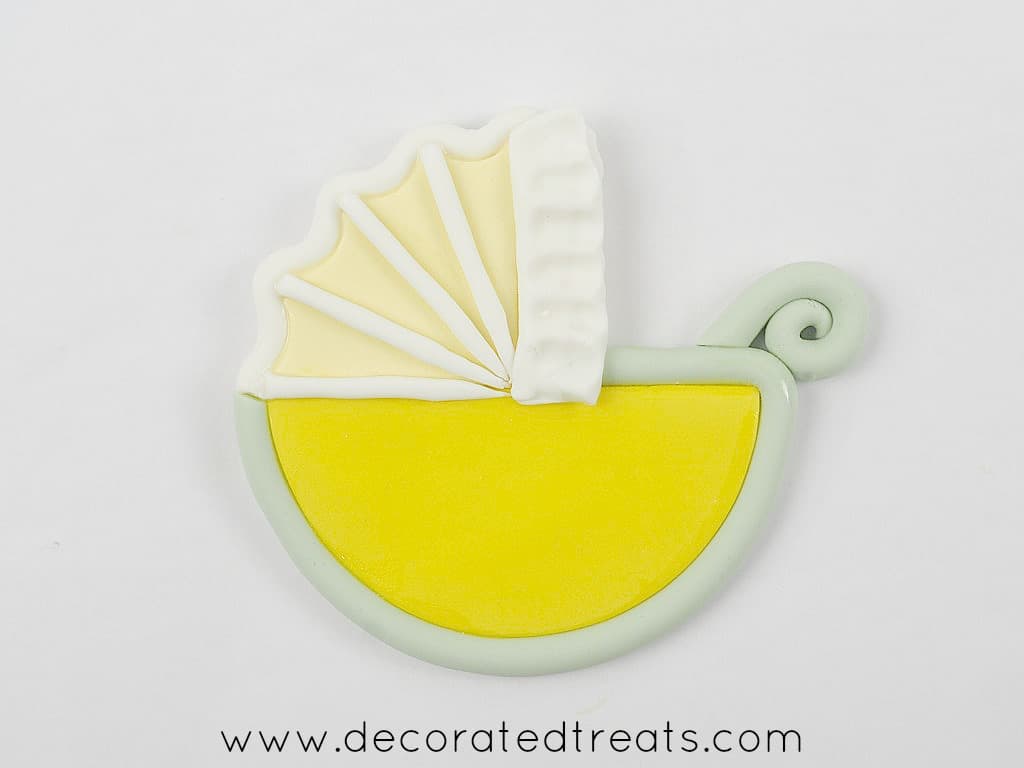
Step 5: Add a frame to the body
Next, roll a long strip of pale green to wrap the sides of the stroller body and attach it using fondant glue.
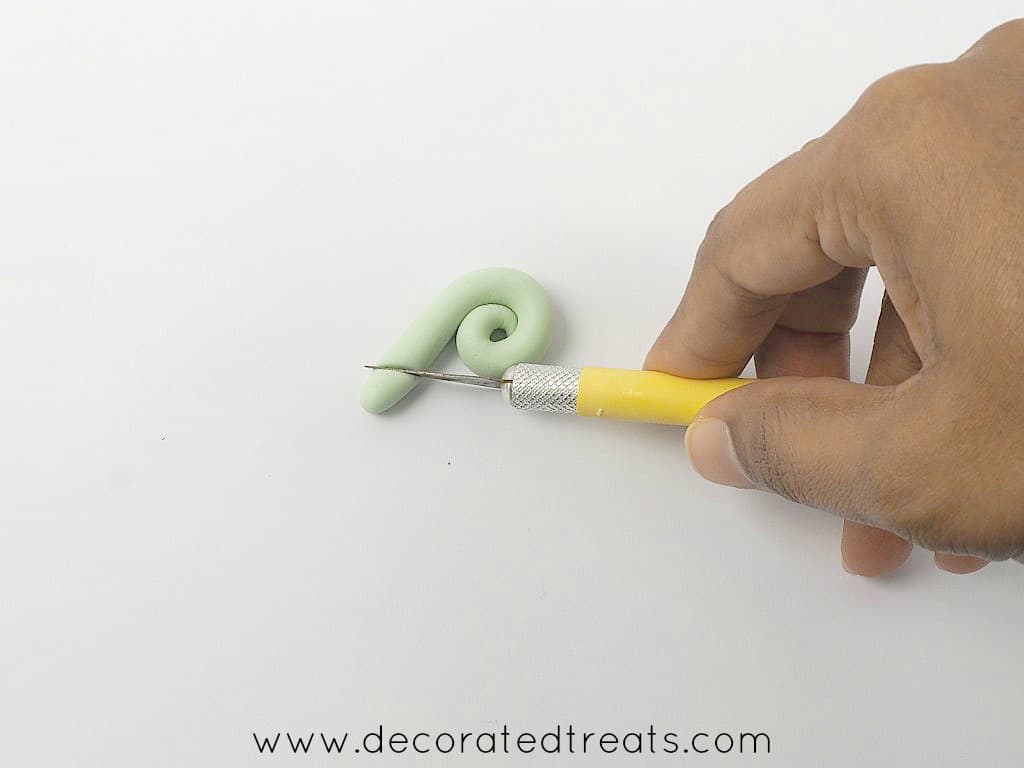
Step 6: Attach the handle
Use the excess of the same strip to make the handle and again, attach it with fondant glue. Here is how:
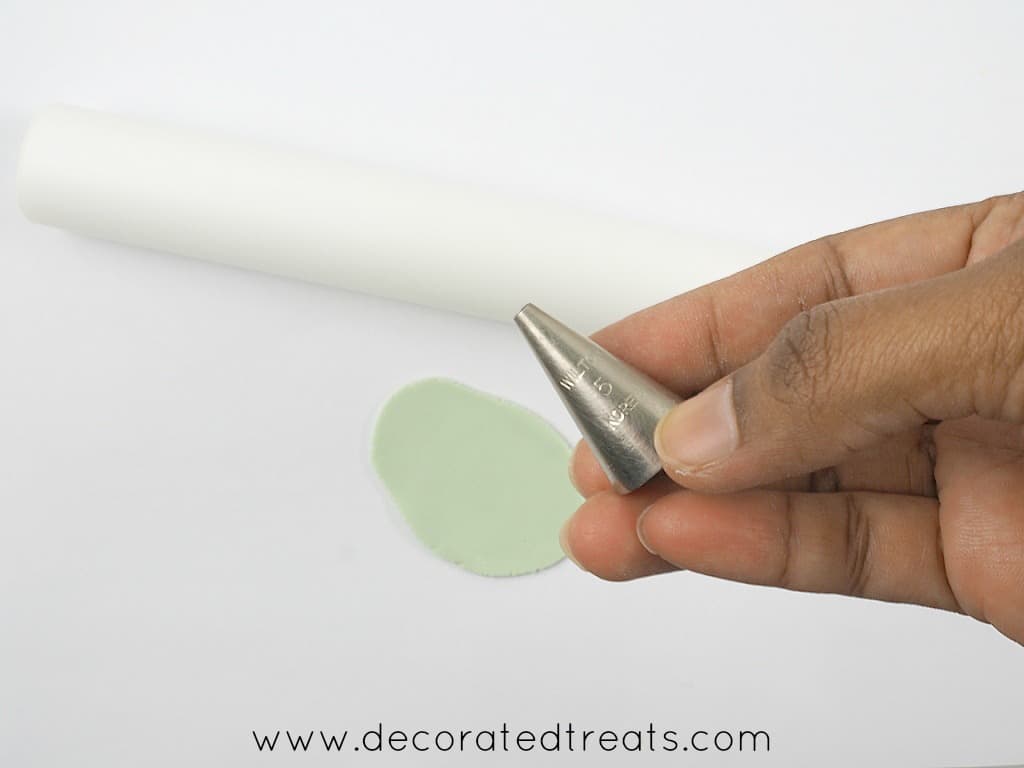
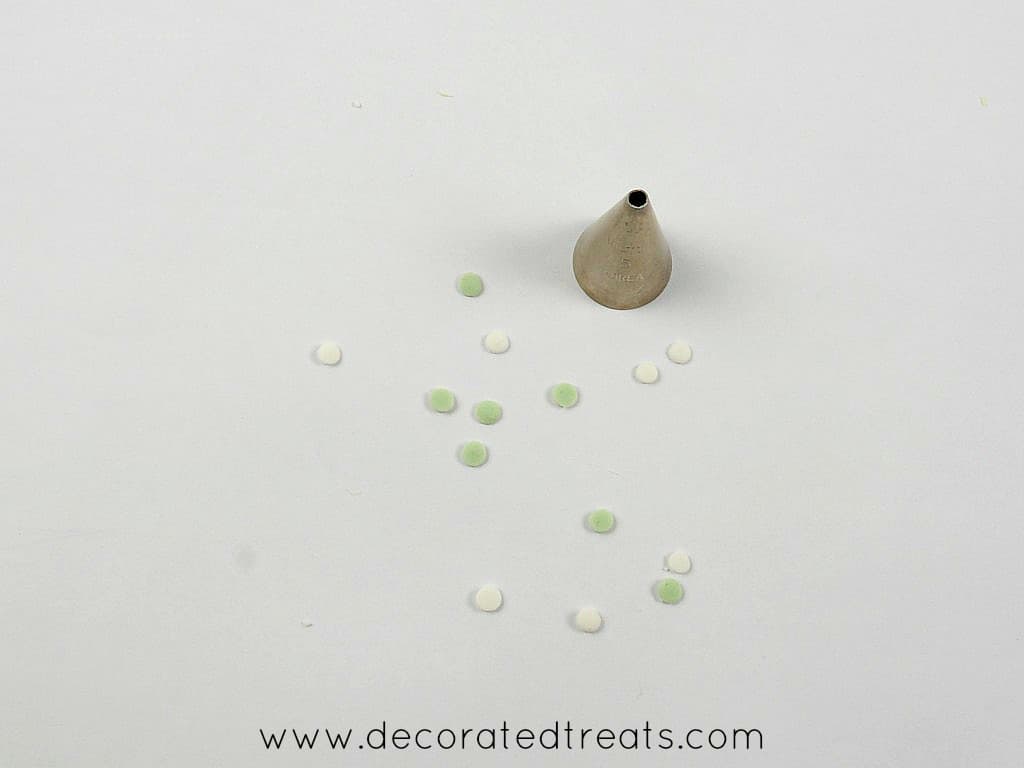
Step 7: Add the polka dots
The polka dots are a mix of white and pale green dots. Roll your fondant thin and using Wilton tip #5, cut out tiny circles. Then, lightly press each circle to flatten them and then attach them to the body, alternating the green and white dots.
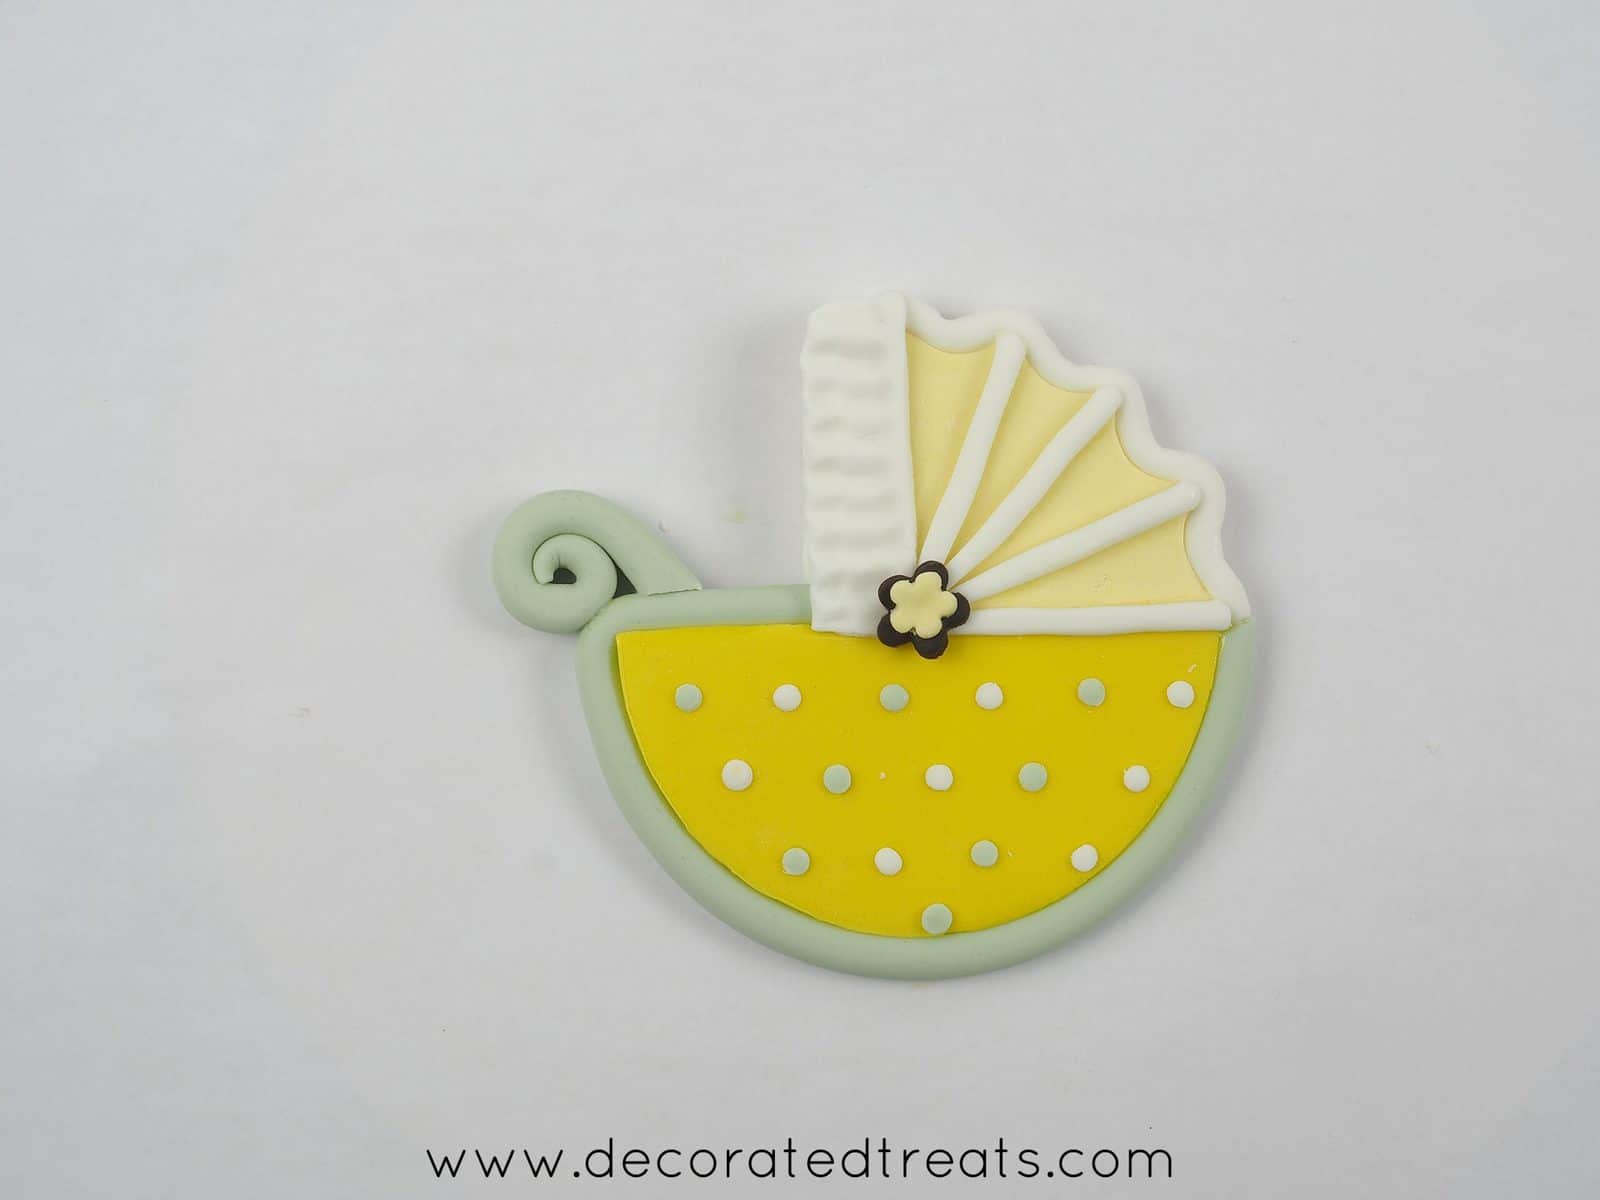
Complete the dots on both sides of the cake topper before moving on to the flowers.
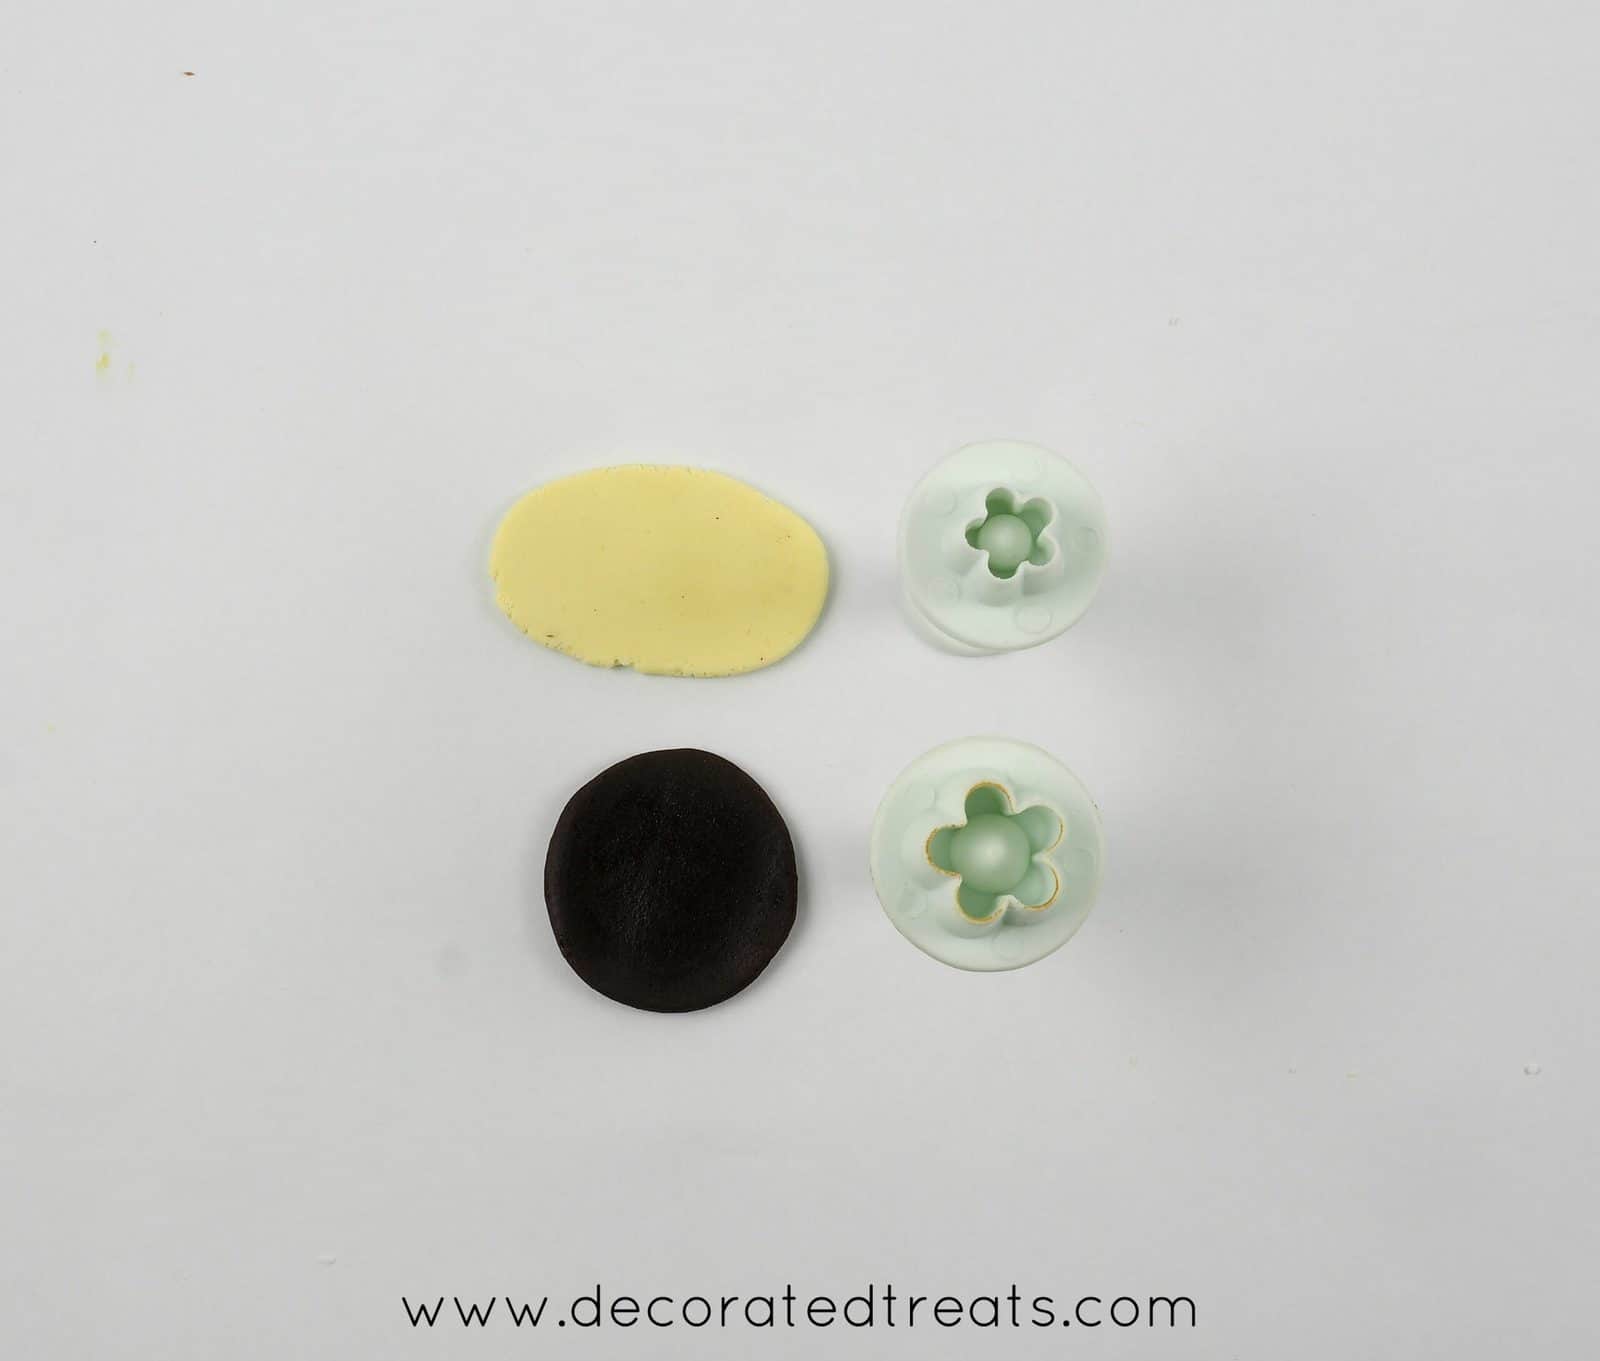
As for the flowers, I used flower plunger cutters in 2 different sizes - the larger one for the brown flower and the smaller one for the pale yellow flowers. Combine both into one flower and attach it to the baby shower cake topper with some glue.
After attaching one flower on one side, let it rest until it sets firm (I rested mine overnight just to be sure that the baby shower topper was completely firm and set) before turning over and attaching the other one.
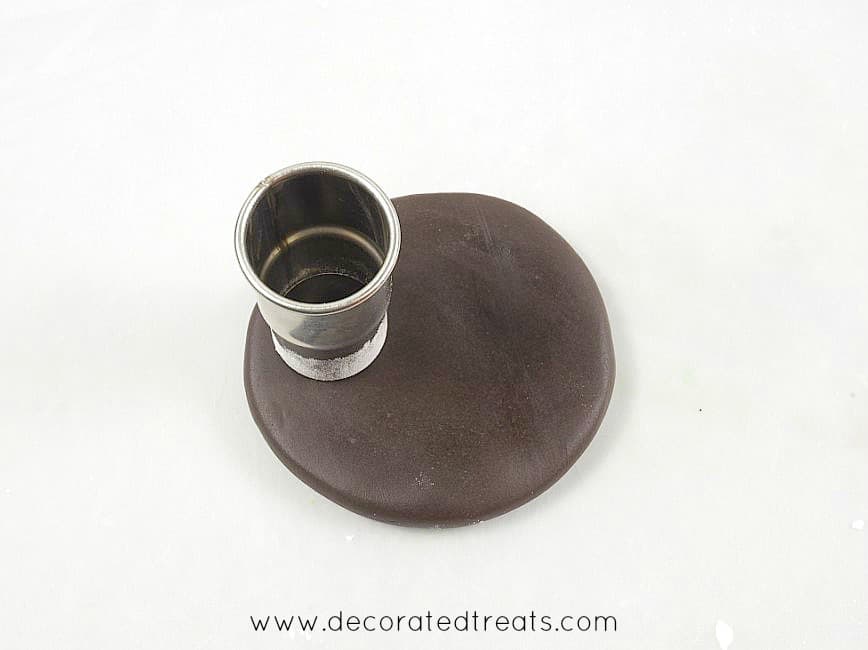
Step 8: Make the wheels
In the meantime, prepare the baby shower cake topper wheels. Use dark brown fondant and make sure it is rolled thick as the wheels need to be solid enough to hold the topper body.
Attach a long wooden skewer into each wheel as shown. In total, you need to make 4 wheels, 2 for each side of the baby shower cake topper.
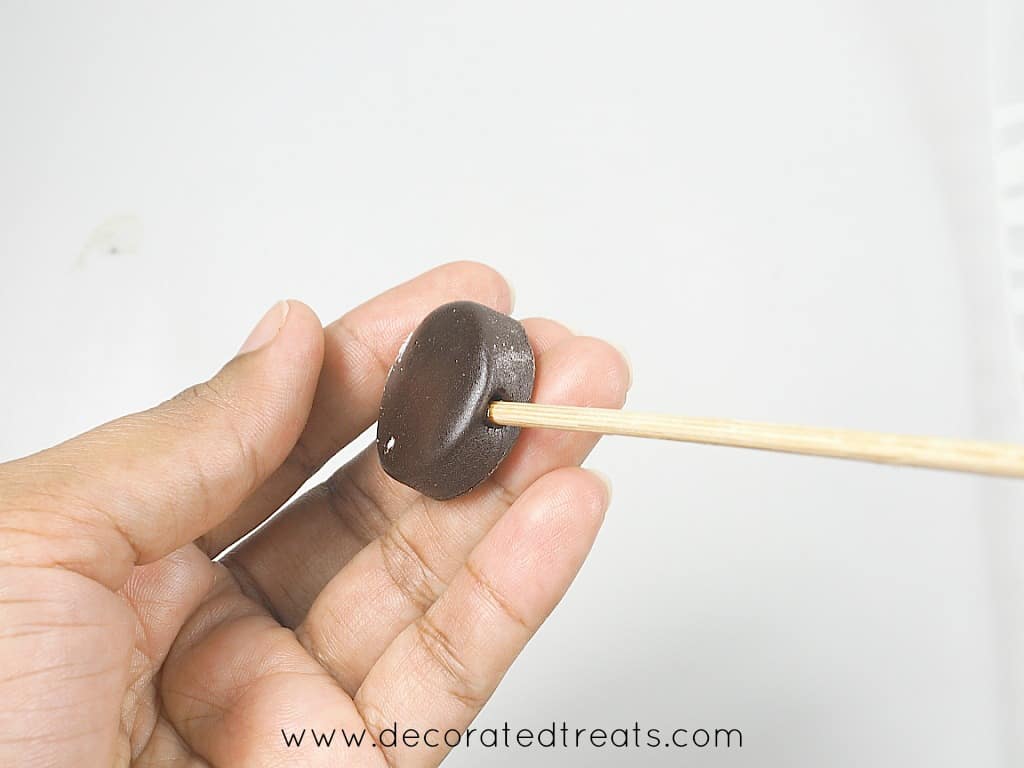
Let the wheels rest until they are completely firm and hard (I left mine overnight) as they will be supporting the weight of the baby shower cake topper once assembled.
Once completely set, turn the topper over and attach the other flower. Let it rest until the flower is completely dry.
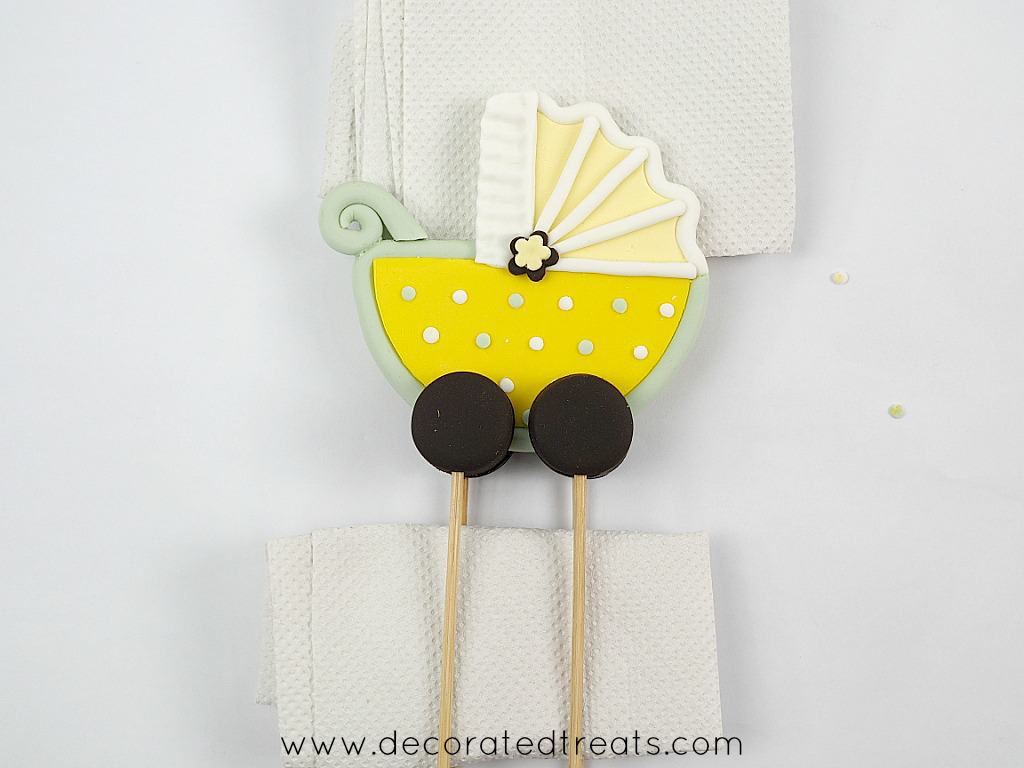
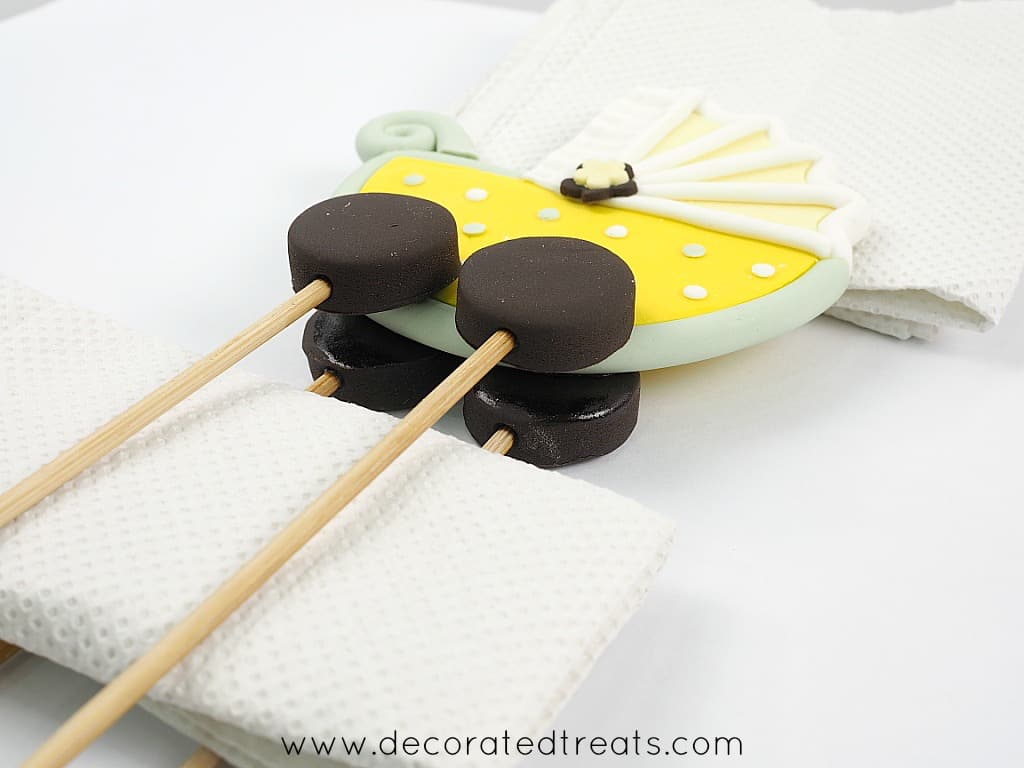
After that, attach the wheels. Start with the first set and attach them to the baby shower cake topper with glue. As can be seen in the image below, I used kitchen paper towels to support the wheels while waiting for the glue to firm up (for a couple of hours).

Then, turn the baby shower cake topper over carefully, and attach the remaining two wheels. Make sure you position them exactly opposite of the previous two wheels.
And that pretty much, is how you make the stroller baby shower cake topper.
Let it rest in a flat lying position, to give the wheels enough time to completely stick to the stroller and also for the entire topper to be firm and set.
Step 9: Attach the topper to the cake
To attach the baby shower cake topper to the cake, hold the body, and gently poke it into the cake. Keep the wooden skewers long as that would give more stability for the stroller to remain in place on the cake.
Finally, attach yellow cut out flowers on each wheel to complete the baby stroller cake topper.
Hope you enjoyed this stroller baby shower cake topper tutorial as much as I enjoyed putting it together.
Click here to see how I decorated the rest of the baby shower cake below:

Leave a Reply