

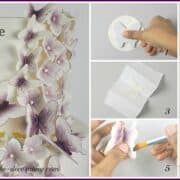
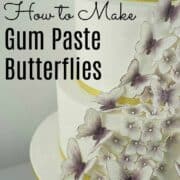
Learn how to make 3D gum paste butterflies with this step by step tutorial. These pretty butterflies are quick and easy and make very elegant cake decoration.

Jump to:
❤️Why you will love this tutorial
- It provides step by step images and instructions and is very easy to follow.
- The gum paste butterflies are very pretty.
- The butterflies can be made in advance and they will be ready for use when required.
- You can customize these gum paste butterflies into any color you like by making them in white and simply by dusting or painting them with colors of your choice.
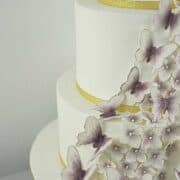
See how I used these gum paste butterflies to decorate a butterflies wedding cake. And for more gum paste tutorials, check out my other tutorials on how to make gum paste roses, gum paste hydrangeas, gum paste poppies, gum paste hibiscus flowers and gum paste plumeria flowers.
🧾Supplies required
- Gum paste - I used Satin Ice gum paste in white. It can be rolled thin and dries well, making it easy to work with.
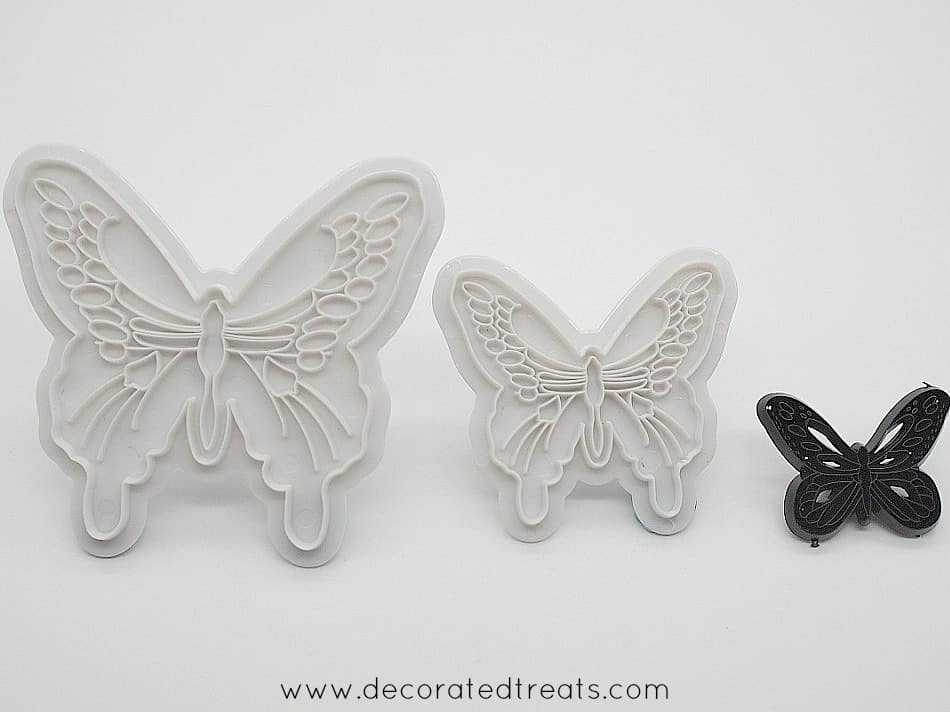
- Butterfly cutters - I used 3 butterfly cutters in 3 different sizes.
- Cardboard - I am listing this as one of the supplies for making gum paste butterflies because indeed it is a crucial one. I used the cardboard to hold the butterflies' wings in a natural folded position until they are completely set and dry.
- Food coloring dust (cake decorating petal dust) - This dust is used to color the butterflies. I used Squires Kitchen Violet to color the butterflies.
- Cake decorating brush - to dust the butterflies.
👩🍳How to make
Step 1: Prepare the cardboard
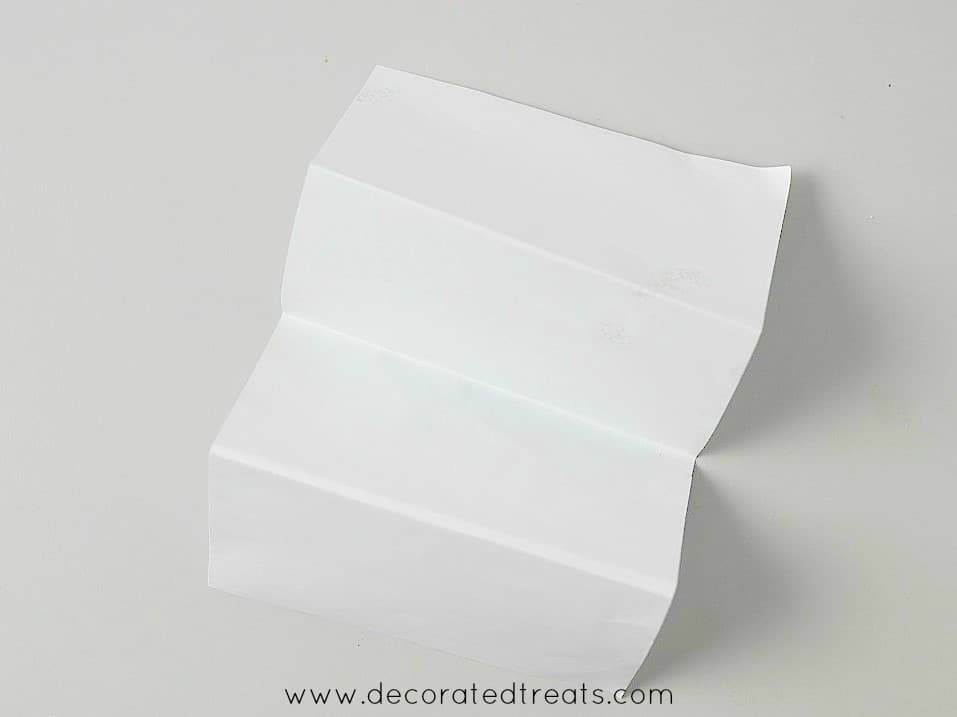
Before starting to work on the gum paste, prepare the cardboards for drying the butterflies.
To do this, take a piece of rectangle cardboard and fold it into a "W" shape. Start by folding it into half in the center and then fold both edges in the opposite direction to towards the center line to form the "W".
Note: If you are making a lot of these gum paste butterflies, you will need more of these "W" folded cardboards.
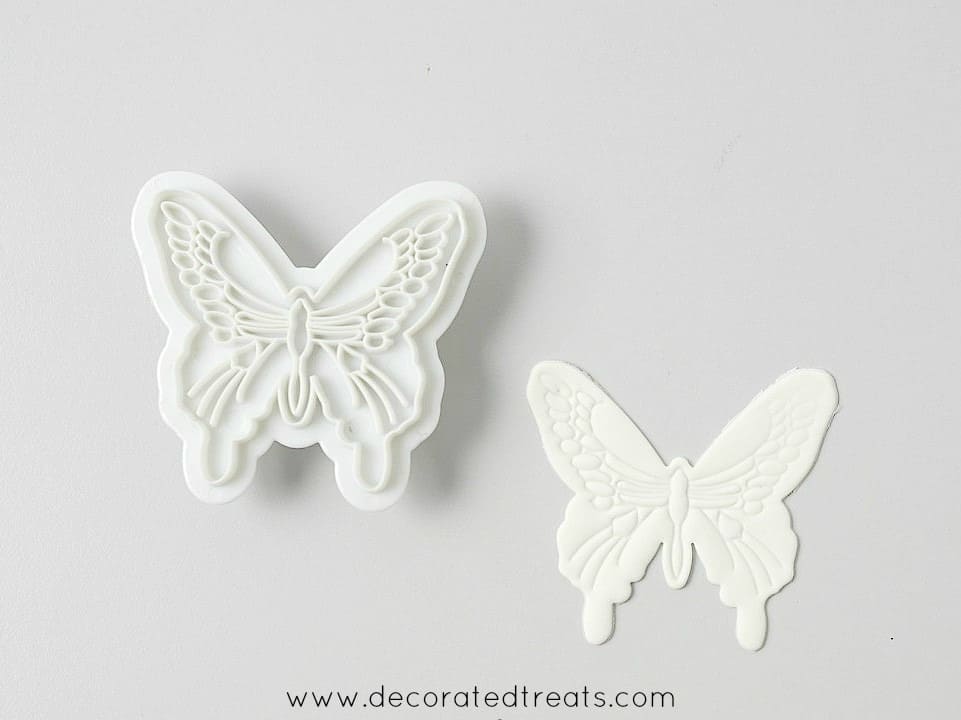
Step 2: Roll and cut the gum paste
Roll the gum paste thin. When working with gum paste, it is always advisable to do it in batches and keep the rest well covered. This will avoid the gum paste from drying out while working on it.

Dust a little corn starch on the gum paste and place your butterfly cutter on it. You can make your own dusting pouch with this easy DIY tutorial.
Press the cutter firmly onto the rolled gum paste, and without lifting it, push it back and forth a couple of times on your work table along with the gum paste underneath. This is to make sure the gum paste is cut neatly into the shape of the butterfly with smooth edges.
Note: Letting the rolled gum paste rest for 2 or 3 minutes before cutting will make it easier to cut. It will also be able to hold its shape better and avoid any distortions as you remove it from the molds after cutting.

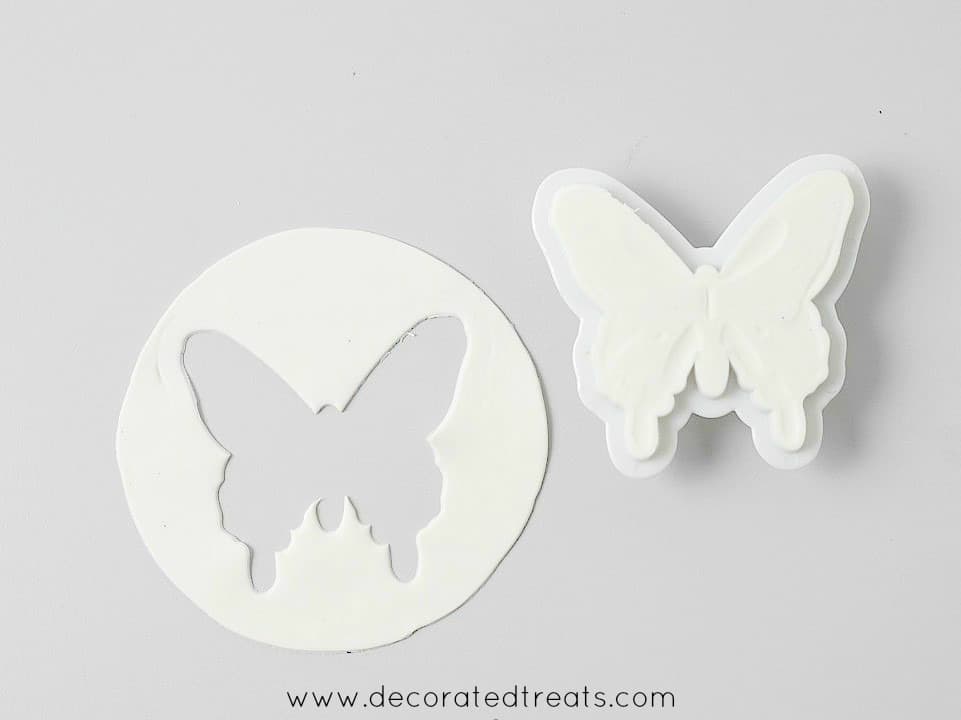
At this point, the cutout butterfly would detach automatically from the cutter (since there is corn starch).
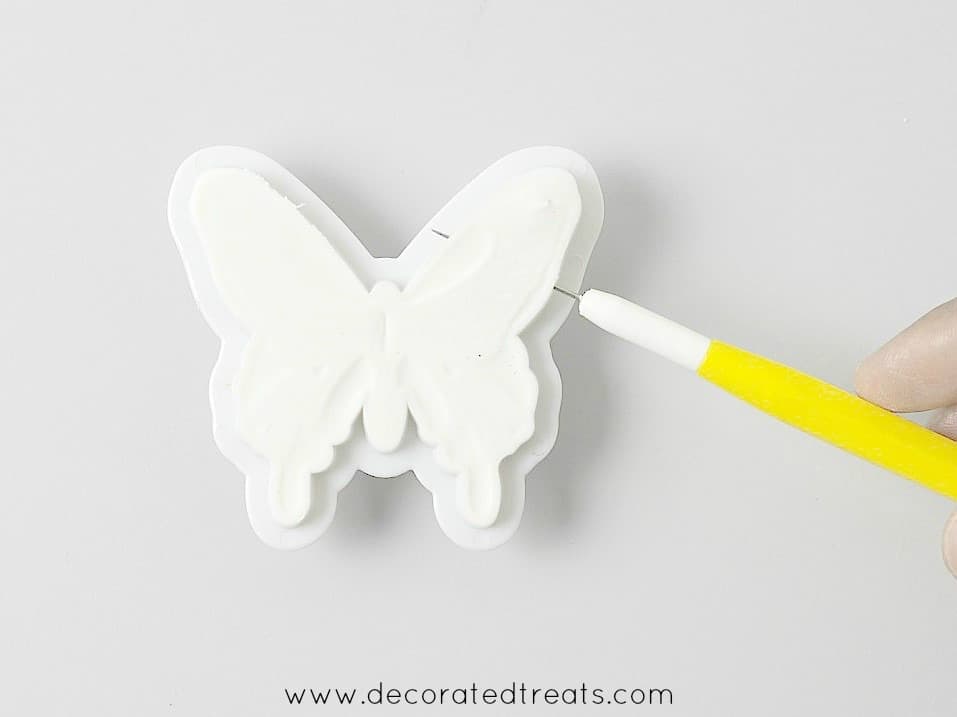
If it does not, use a needle tool to gently remove the butterfly from the cutter. To do this, poke the side of the cutout and pull it out gently until a small corner of the butterfly wing is detached from the cutter.

Slide the needle tool as shown and gently remove the rest of the butterfly from the cutter.
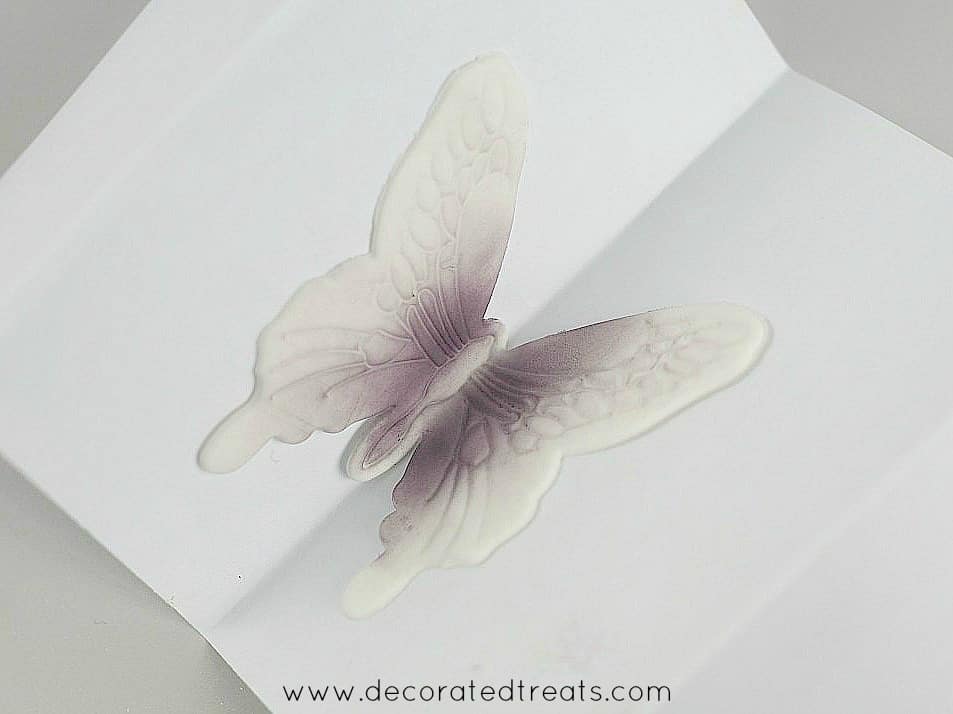
Step 3: Shape and set the butterflies
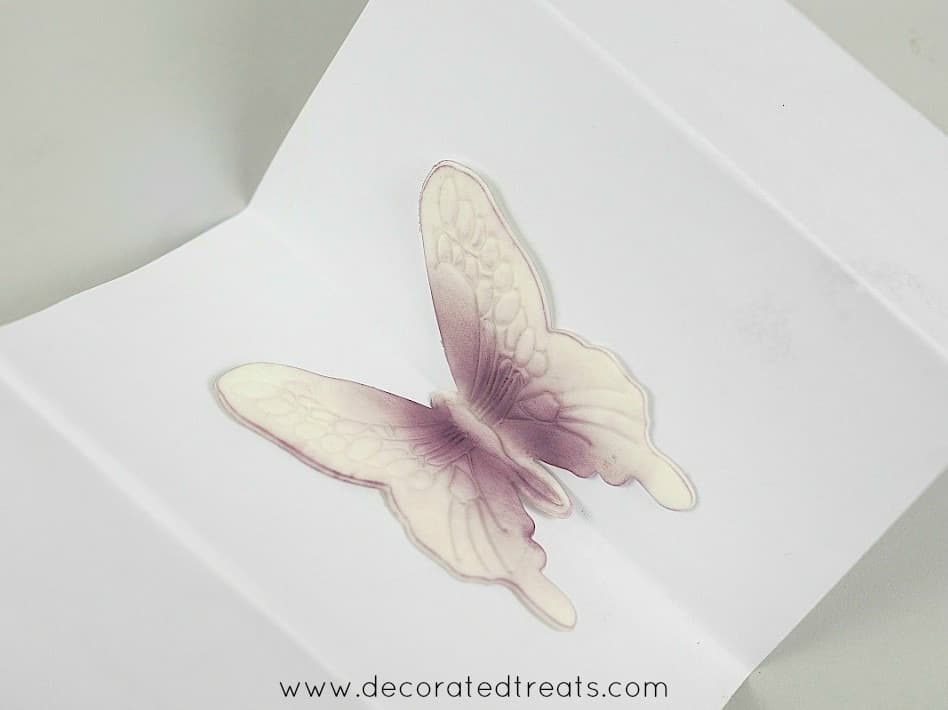
Once the gum paste butterfly is completely detached, gently lift it and position it on the folded cardboard. In doing this, make sure the body is positioned right in the center of the fold.
Leave the butterfly aside (overnight) for it to dry completely.

Once the gum paste butterflies are all set and firm, remove them from the cardboard for dusting.

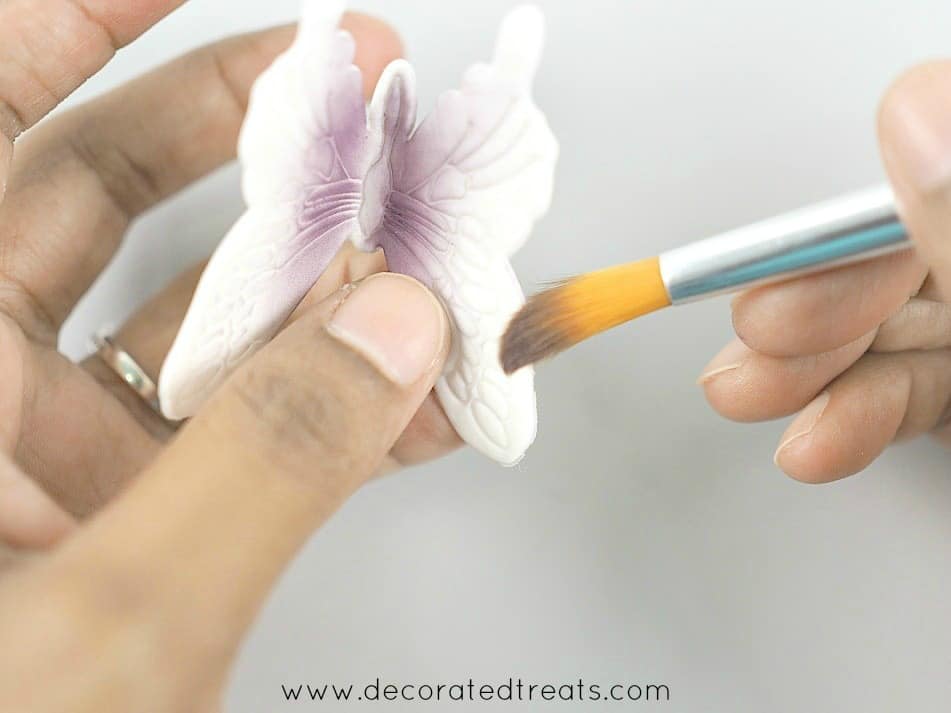
Step 4: Color the butterflies
I used a medium sized brush and violet food powder. The brush should be dry.

Since I wanted the color to be prominent in the middle and fade off as it moves towards the end of the wings, I dipped the brush into the color and started by dusting the butterflies' bodies. I then gradually moved towards the end of the wings.

This was how one of the butterflies looked like with the center colored.
Next is the butterflies' outline. To do this. you can use the same brush, dip it in the dust very lightly, and gently apply the dust on the sides of the wings, as shown.
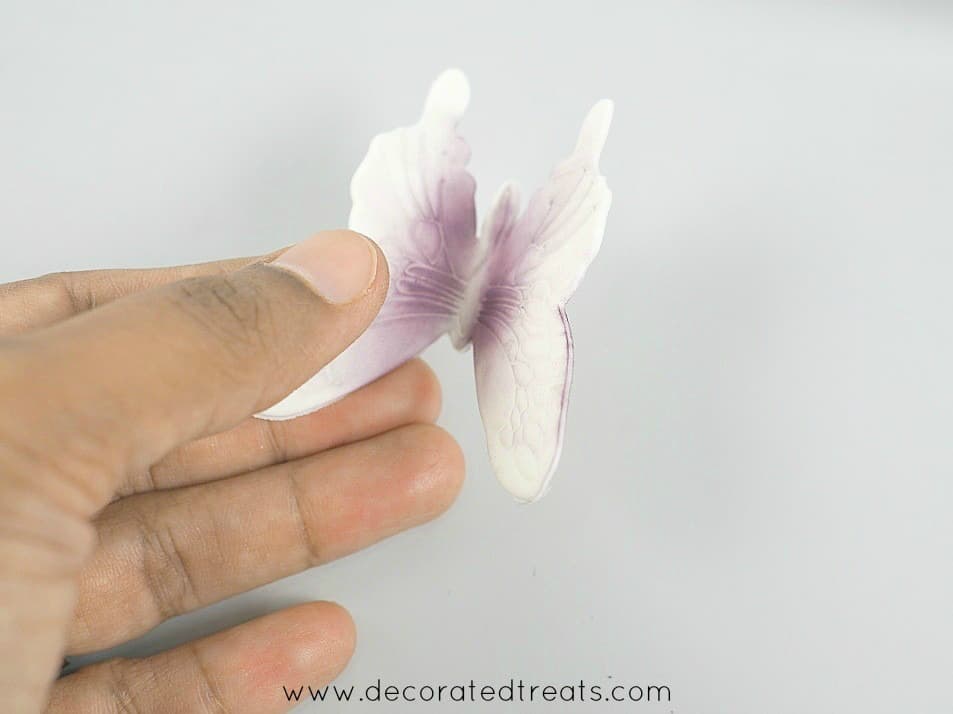
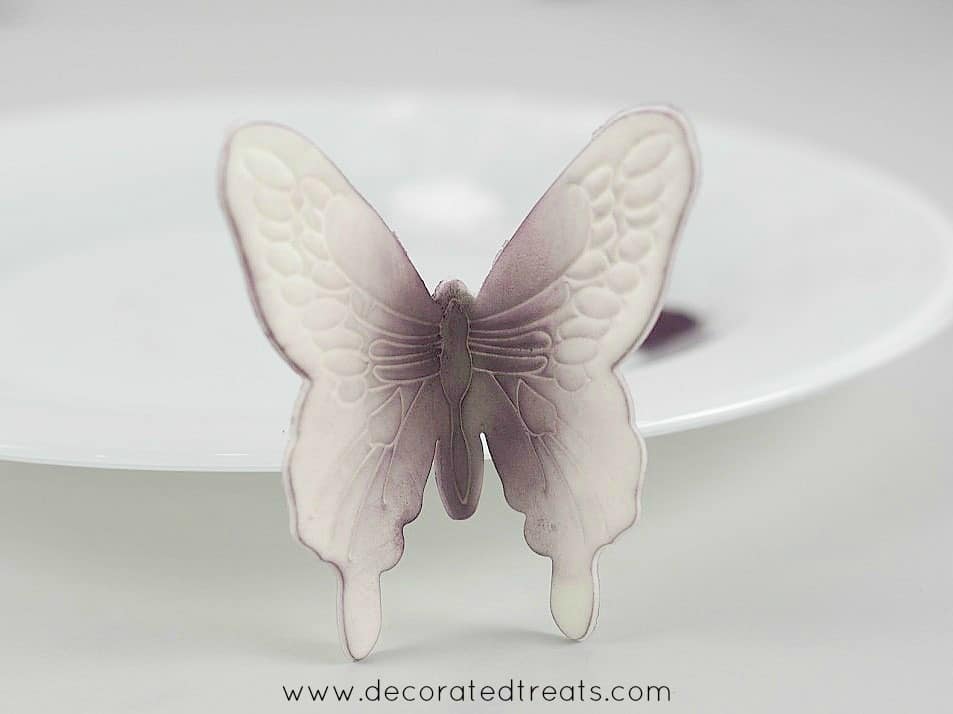
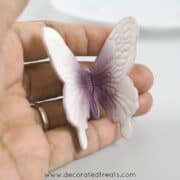
And this was how one of the butterflies looked like upon completion of the coloring process.
And here are a few close up views of one of my larger butterflies:

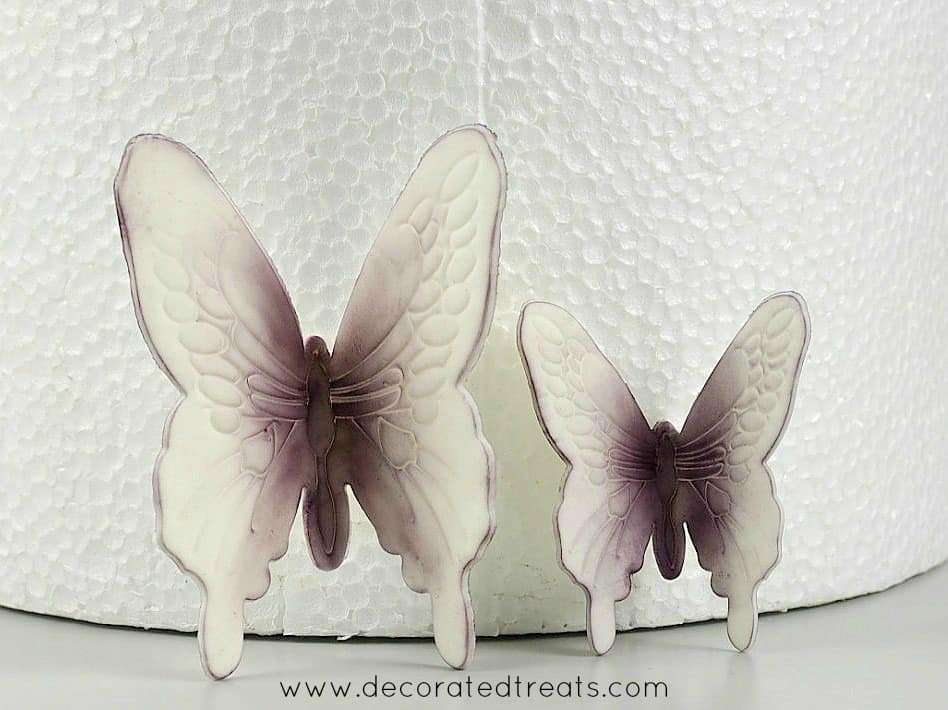
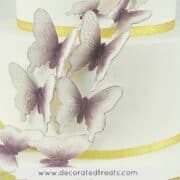
Here is how the large and medium butterflies looked like after dusting:
How to attach the butterflies to a cake
Since the butterflies were not wired, I attached them to the cake with some fondant glue.
You can also use royal icing like in this royal icing butterflies. Fill the icing into a piping bag and pipe a strip of icing (as long as the body of the butterfly) and attach the butterfly to it. Let the royal icing dry completely before moving the cake to prevent the butterflies from falling off.

💡Expert tips
- Always make extra butterflies than required for contingency.
- Handle the butterflies with care as they can break easily once set.
- When working with gum paste, always keep the extras covered tightly to prevent it from drying out.

Deb
These are beautiful and I'm looking forward to trying this. Can I attach these to a buttercreamed cake once they are dried?
Thanks so much.
Deb
Priya Maha
Hi Deb, These are not suitable for buttercream cakes. They might turn soft after some time.
Cheryl
Thankyou so much!! I’ve been looking for the best way to make these, now I can do it with your descriptive tutorial.