

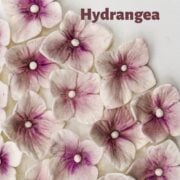
Learn how to make gum paste hydrangea flowers with these easy tutorial. Made without wires, these flowers can be attached directly to cakes and cupcakes for absolutely gorgeous cake and cupcake decoration.

There are 2 ways in which you can make these flowers. Firstly, without any wires. And secondly with wires. It would be good to attach these flowers to wires when intending to use them as filler flowers. Or when the flowers are arranged in clusters, either on their own or in a combination with other flowers.
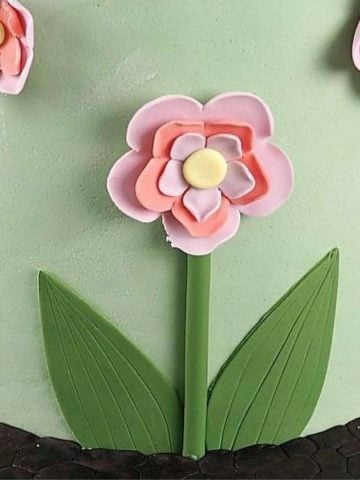
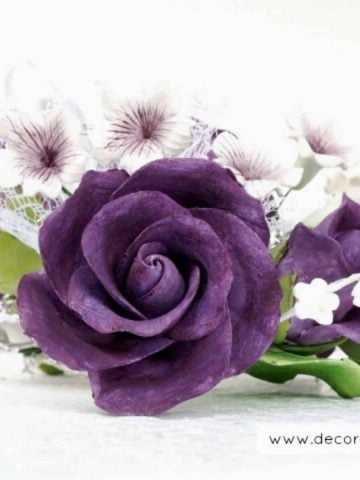
But if you are planning on using them individually on your cakes like in the cake below, wires are not necessary. You can always use fondant glue or shortening to hold them in place.
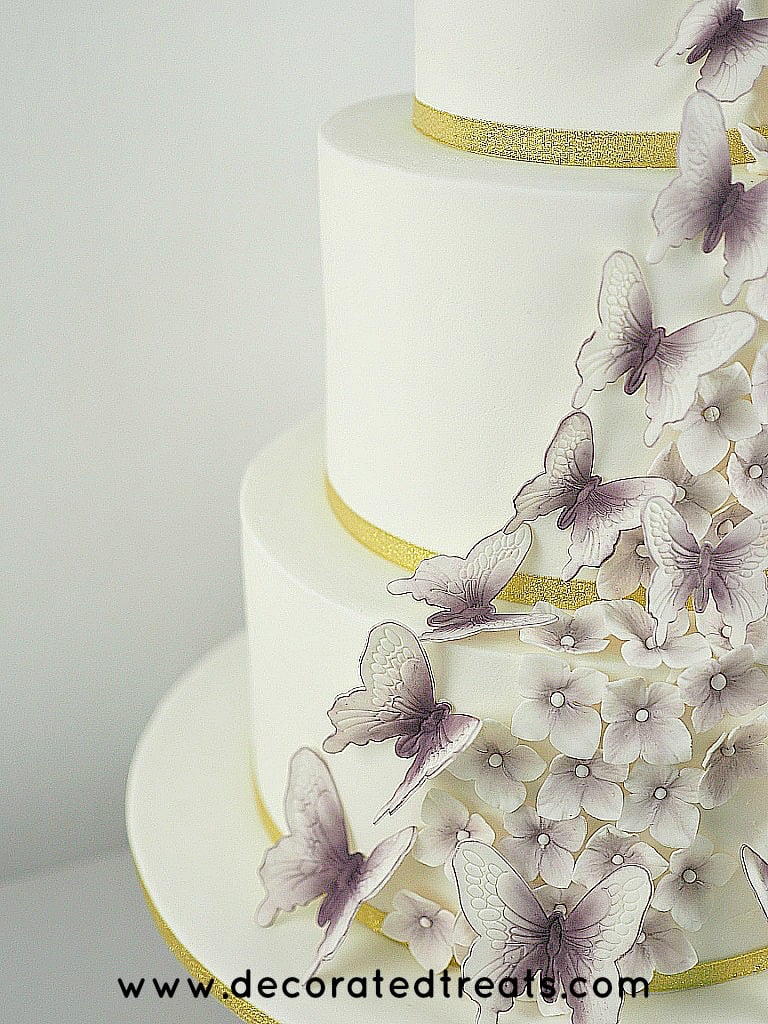
I am sharing on this page, the tutorial on how to make non-wired gum paste hydrangea flowers including how to color them. I used these flowers for my butterflies wedding cake project. Read on to see how I made the flowers, step by step.
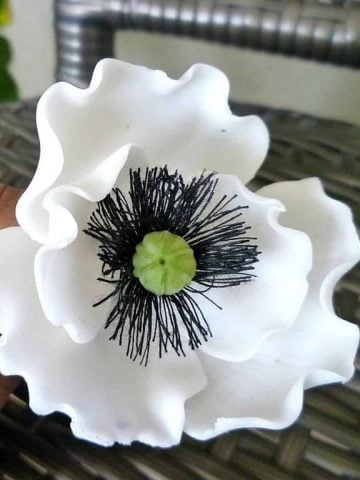
For more gum paste flower tutorials, check out how to make gum paste roses, gum paste hibiscus, gum paste plumeria and gum paste poppies. Also check out how to make easy sugar flowers with fondant and how to attach flowers to cakes. You might also be interesting in learning more about how to color gum paste flowers.
Jump to:
❤️Why you will love this tutorial
- It is easy and quick.
- The flowers make very pretty cake decoration.
- You get to save money by making them on your own at a fraction of the cost of buying these.
- You can make them in white and in advance and simply dust with the color of your choice when you need to use them.
🧾Supplies required
- Gum paste - I used Satin Ice white gum paste. Love this gum paste, it rolls really thin and is easy to work with.
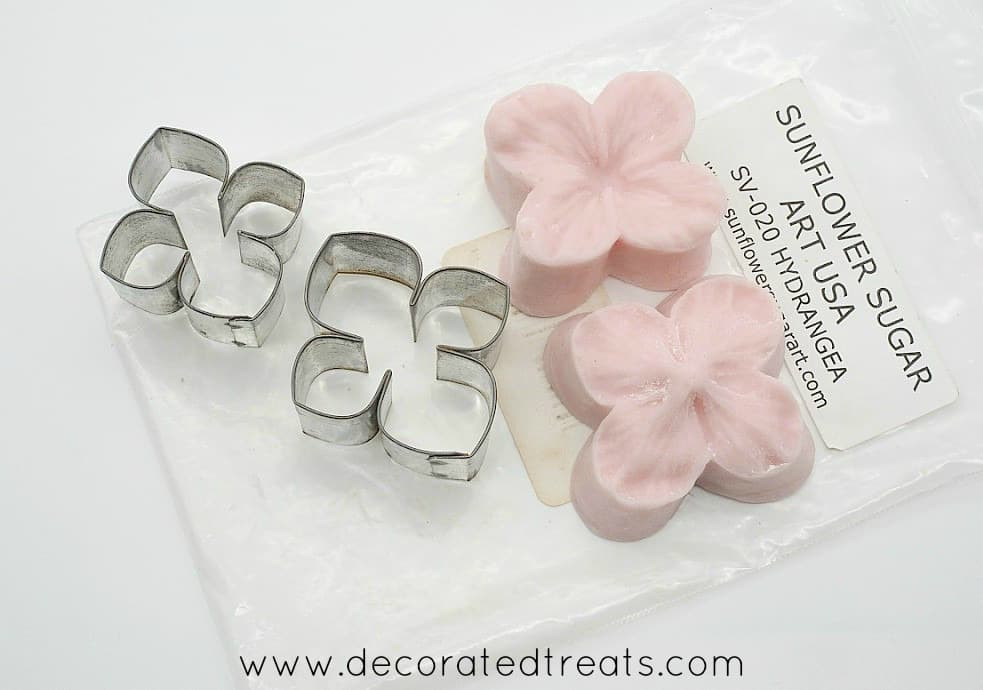
- Gum paste flower petal cutter and veiner - I used Sunflower Sugar Art hydrangea flowers cutter and veiner set. The set comes with 2 cutters of different sizes and one set of petal veiner.
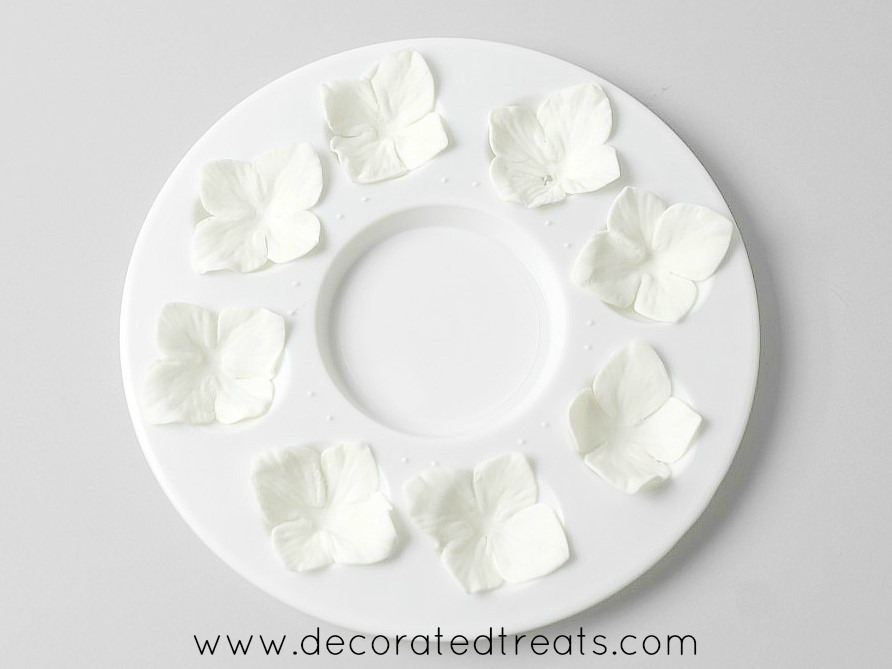
- Flower formers - These are essential for hydrangeas as they help the flowers set is a curved position. I bought mine from a craft shop, they are actually painting palettes. Since I was making a lot of flowers, these were the best choice as they are quite inexpensive.
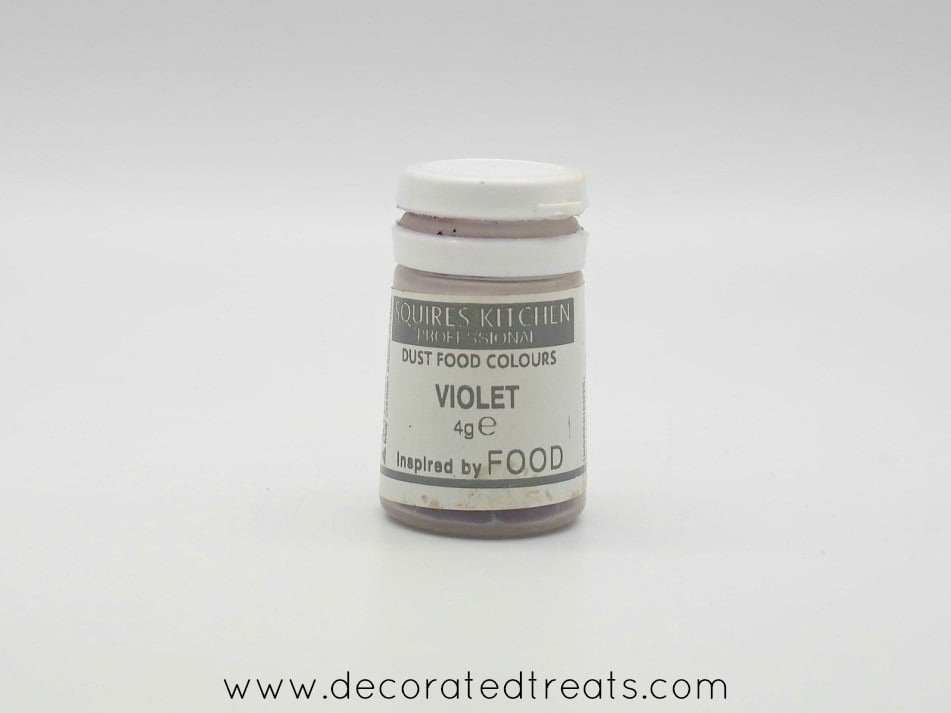
- Flower dust - I used Squires Kitchen Violet food dust. It has a dark purple shade and matched my cake theme.
- Cake decorating brush - these are food safe brushes.
- Fondant glue - Fondant glue is used to attach the hydrangea flower centers. It is also used to attach the flowers to the cake. Click here to learn how to make your own fondant glue.
✂️How to Make
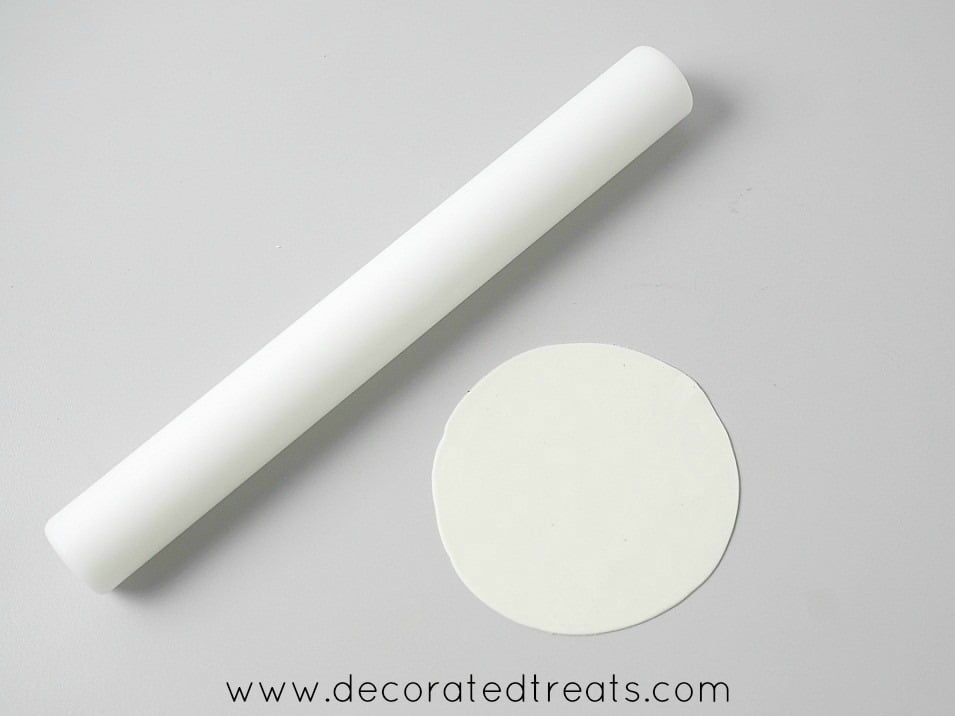
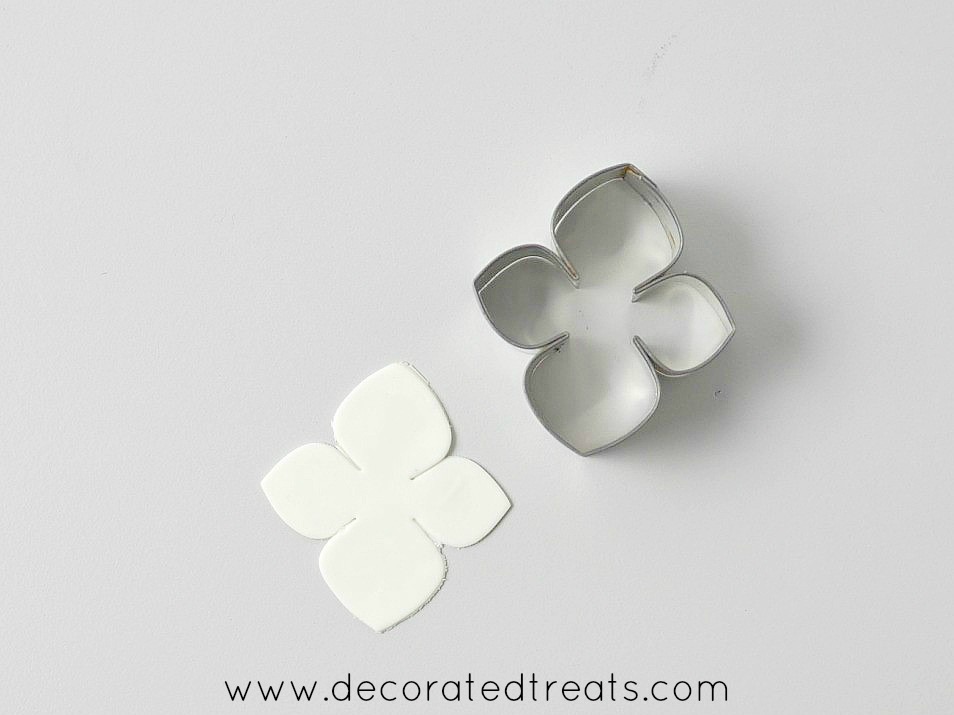
Step 1: Cut the hydrangea petals
First off course, is the gum paste. Rolled some white gum paste thin. Dust your workspace lightly with cornstarch to prevent the gum paste from sticking. Use a dusting pouch for a light dusting.
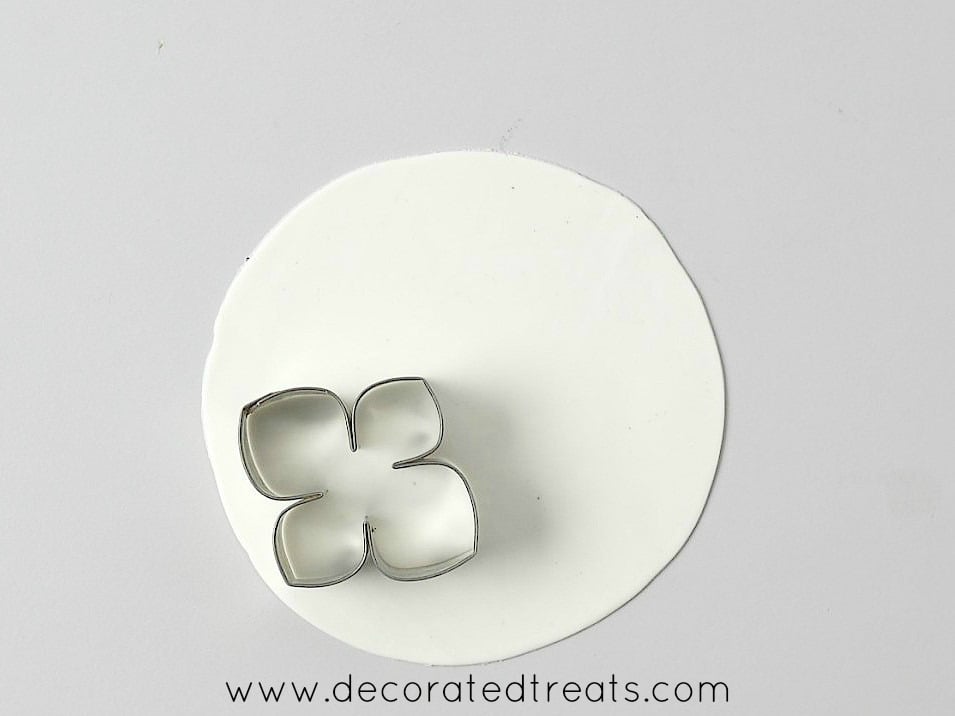
Using the hydrangea flower petal cutter, cut out a few petals.
Note: It is better to work with a few petals at a time to prevent them from drying out before veining.
Step 2: Vein the petals
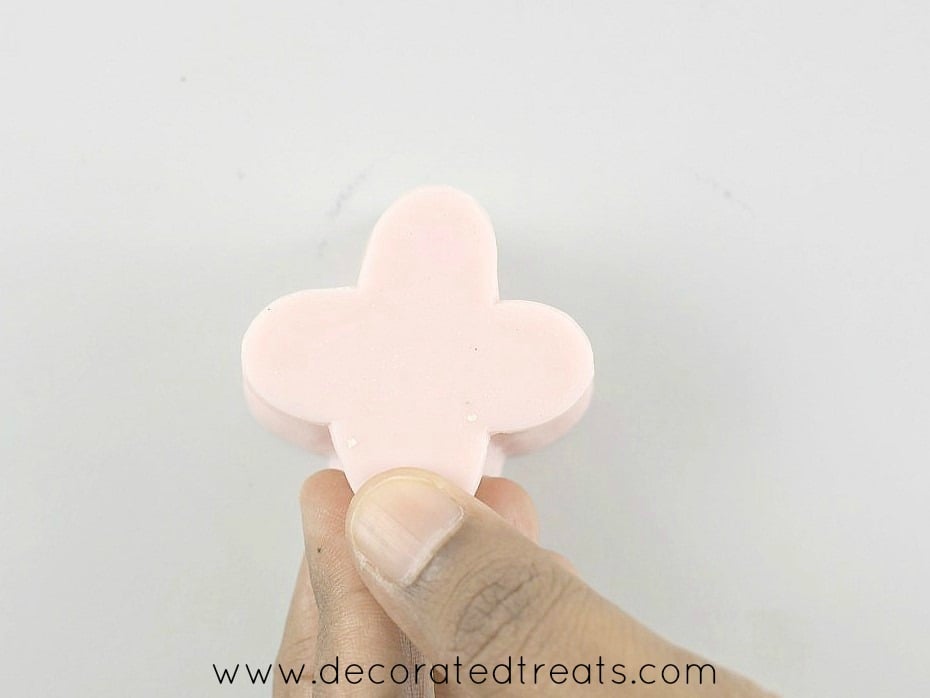
For veining, use the hydrangea veining tool. Dust each side of the petal with some corn starch. Then, place each petal on the veiner, on the mold which has the pointed center.
When placing the petals on the mold, press them very lightly with your fingers to make sure the petal centers follow the pointed shape and are not placed too flat on the tool. This is to prevent the gum paste from stretching too much as the top of the veiner is pressed on. If too stretched, your hydrangea petals will end up with tears in the centers.
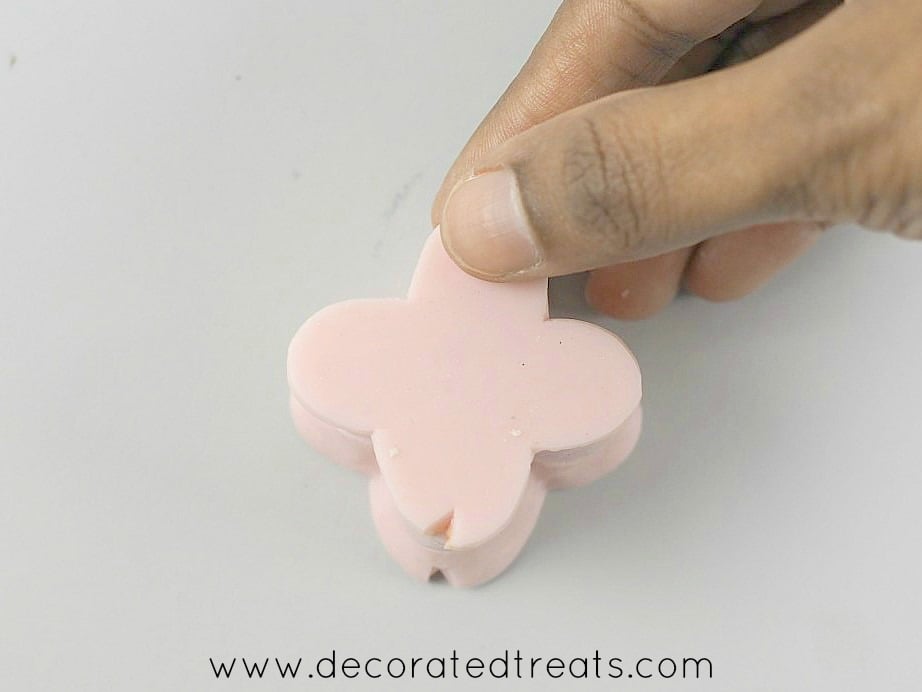
The veining tool in this tutorial has a slight cut on both ends. Position the veiners by making sure the cut is aligned on both sides of the tool.
And when pressing it for the veins pattern, only press the sides, not the center. This is to avoid the petal from tearing in the center. Notice how I only press the sides in the images below.
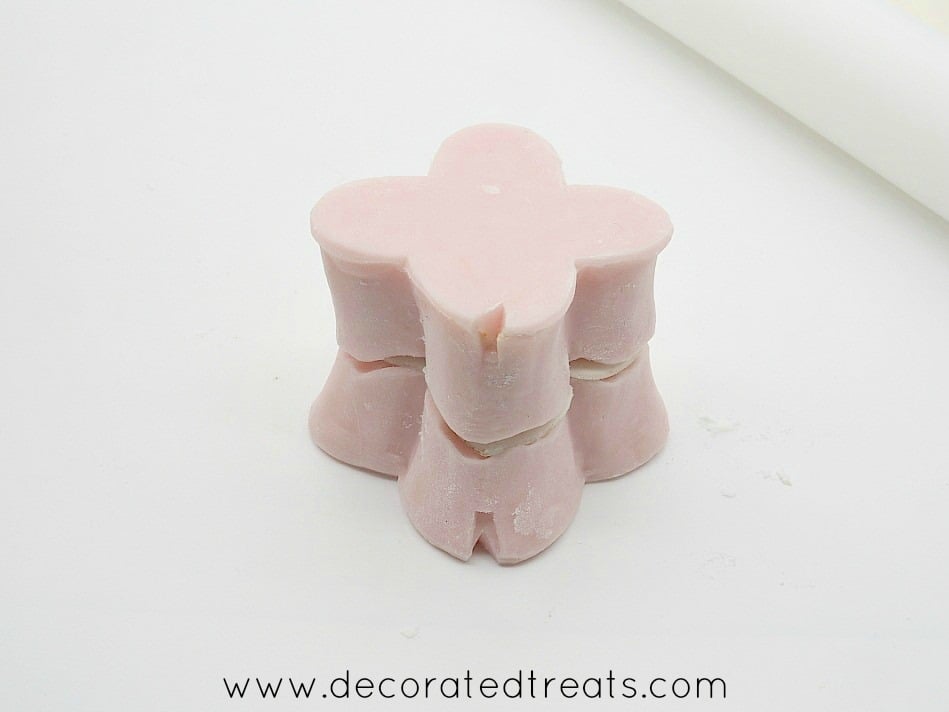
This is how the petals should look like after veining.
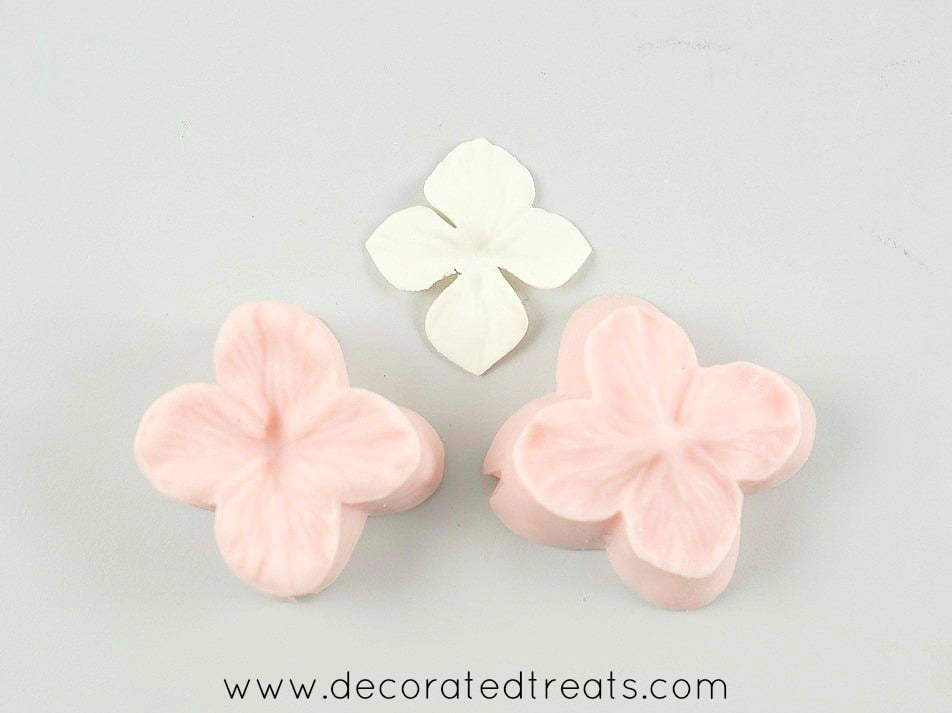
Dry the petals in a painting palette or flower formers in slightly curved position.
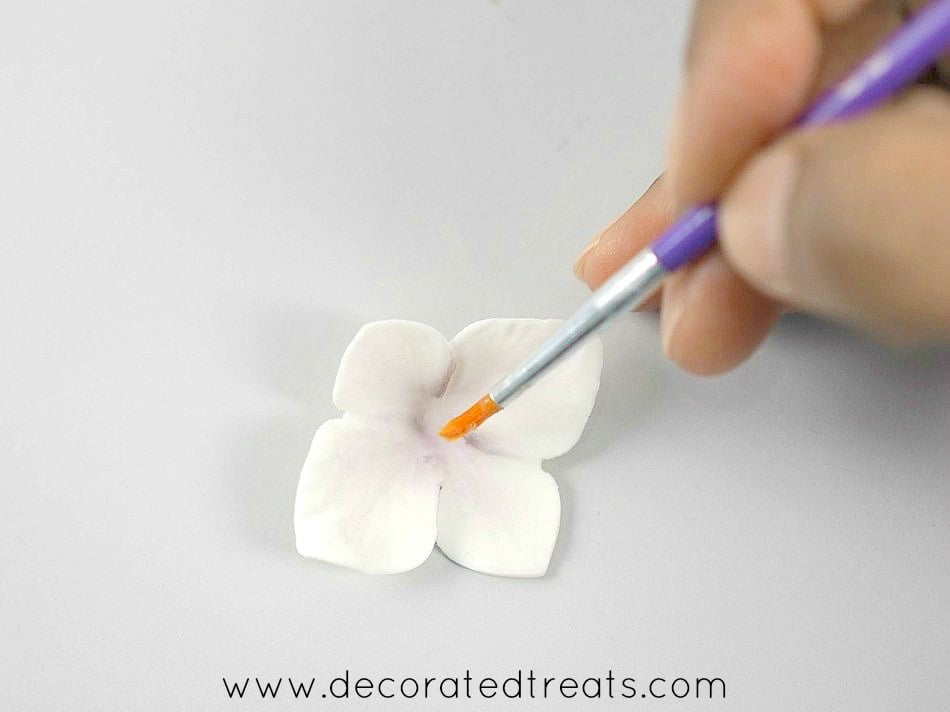
Step 4: Dust or color the hydrangea petals
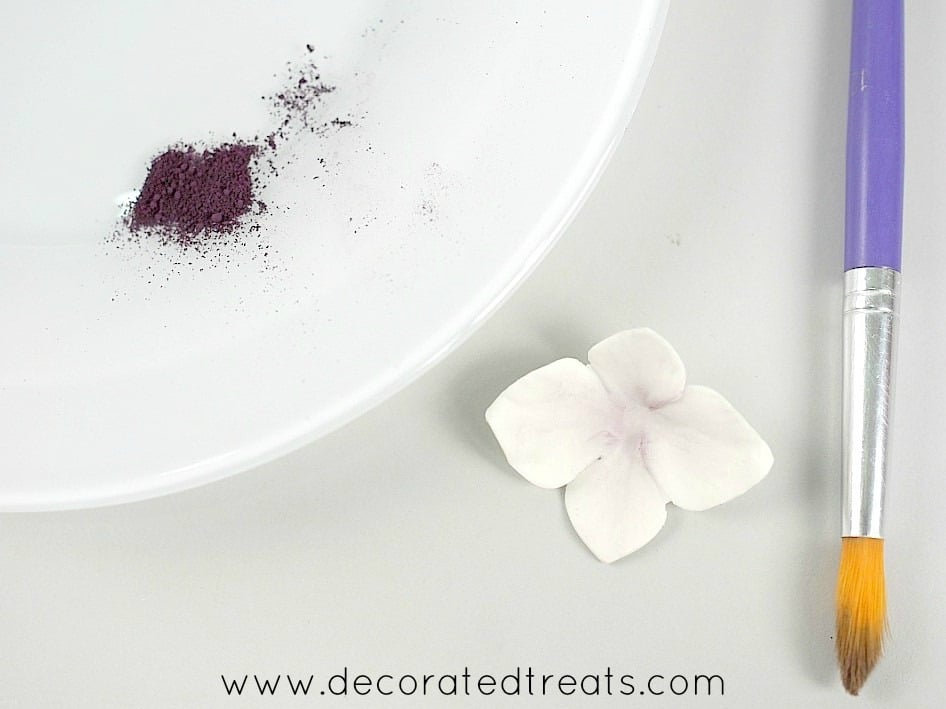
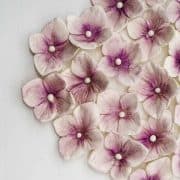
Let the petals dry completely before dusting. For this project, I dusted the centers with violet food dust. If you too wish to do the same, dip a medium-sized brush into the food dust and start the dusting from the center.
Finish the dusting by gradually working towards the ends of the petals, making sure the color fades as you work towards the end of the petals.
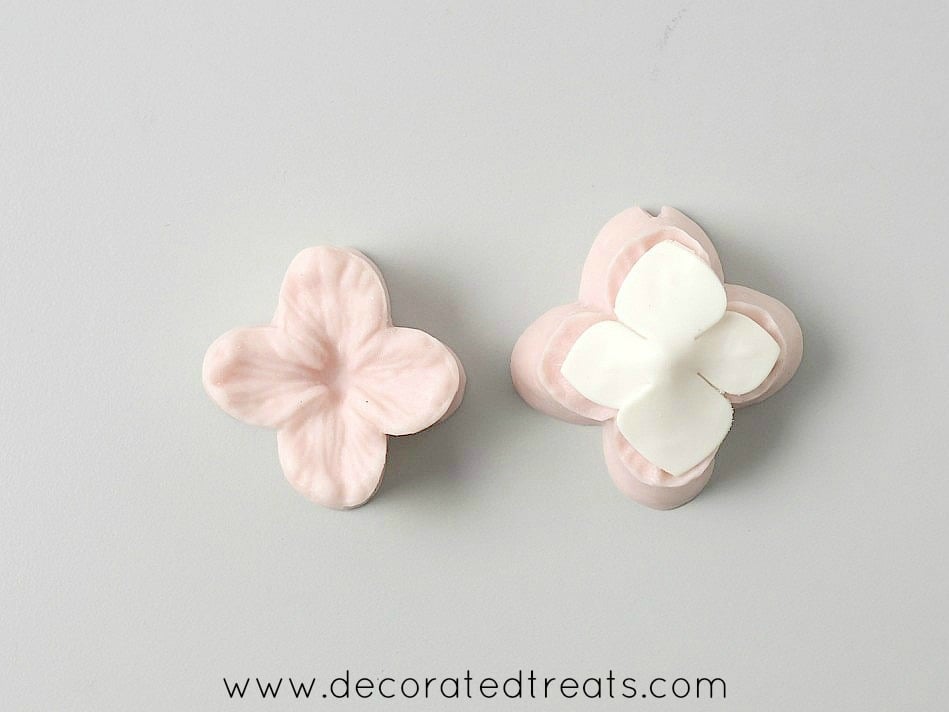
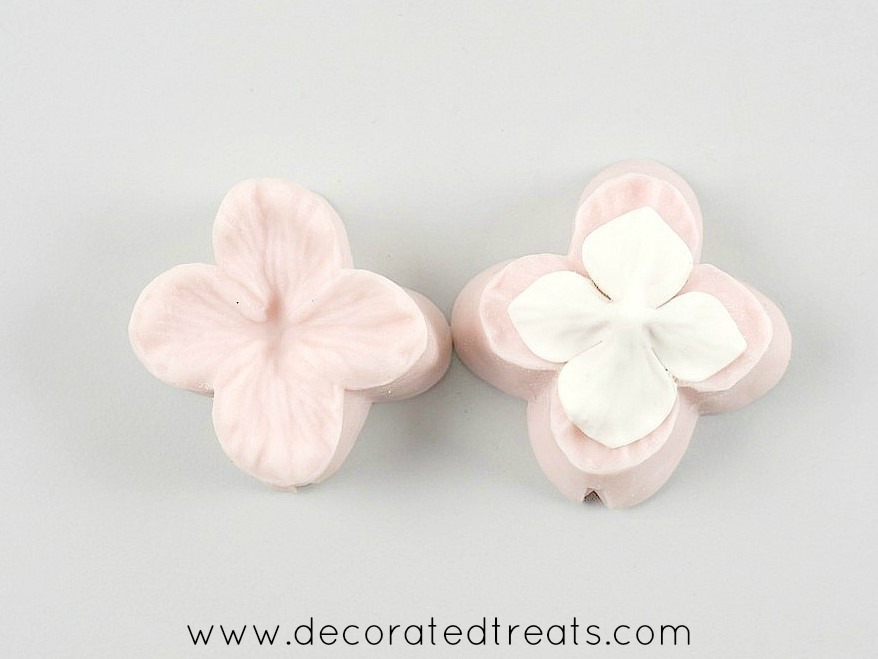
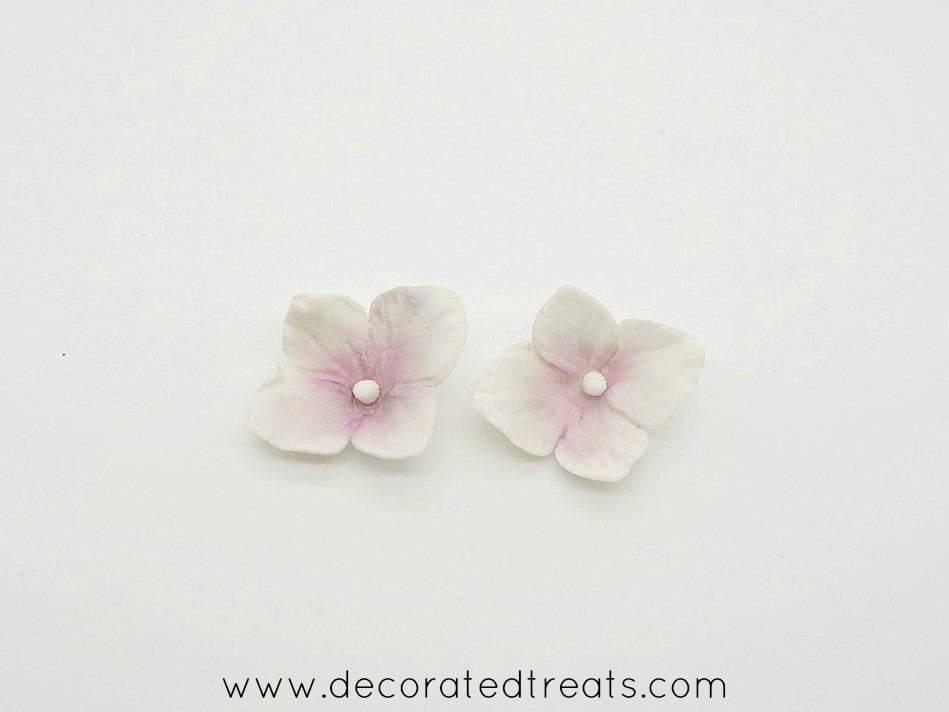
Step 5: Attach the flower centers
Once the dusting is complete, you can attach the flower centers. I made my flower centers white. You can use other colors if you wish. Roll tiny pieces of gum paste into round balls.

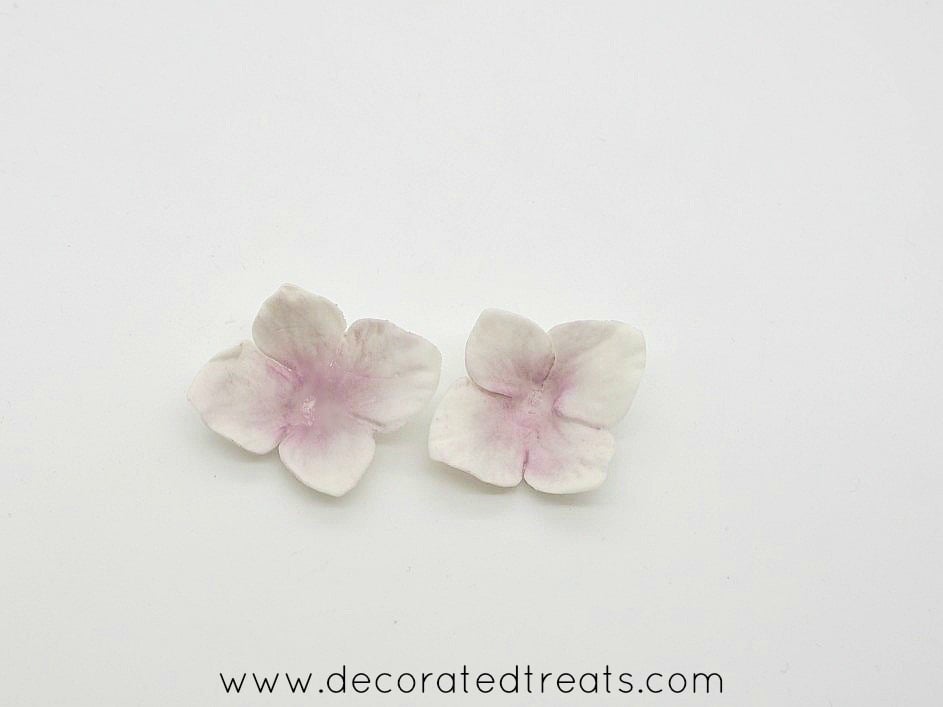
Attach the centers to the gum paste hydrangea flowers with a tiny dot of fondant glue.
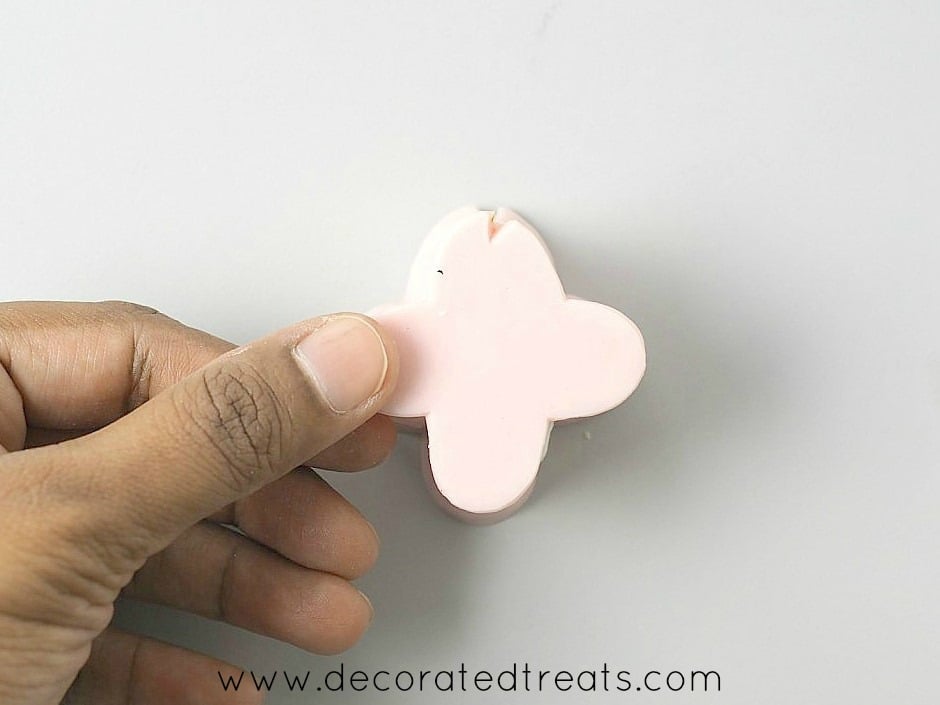
How to attach the flowers to cake
When attaching these flowers to the cake, you can use fondant glue. Apply a tiny dab of glue at the back of each flower and attach them to your cake.
You can also use shortening. However, it will not hold your flowers as securely as fondant glue.

Options
- To make wired hydrangeas, you will need to start making these flowers with the centers first. Shape them into tiny balls and attach them to the ends of a loop wire with fondant glue. You will need to use one wire for each flower. And then cut and vein the petals and insert them into the wires from the bottom of the wire. Secure them in place with some fondant glue at the base of the centers and let them dry upside down by hanging them on the wires.
- You can also make these flowers with fondant. However, you will not be able to roll the fondant as thin as you can with gum paste. And if you live in a humid environment, add some CMC powder (Tylose powder) to fondant so that your flowers can set well.
And that's it. Hope you enjoyed this tutorial!
Leave a Reply