

Learn how to make gum paste hibiscus with this easy tutorial. Each petal is individually cut, wired and veined for a truly pretty, natural looking flower. It makes a perfect decoration for tropical themed cakes.
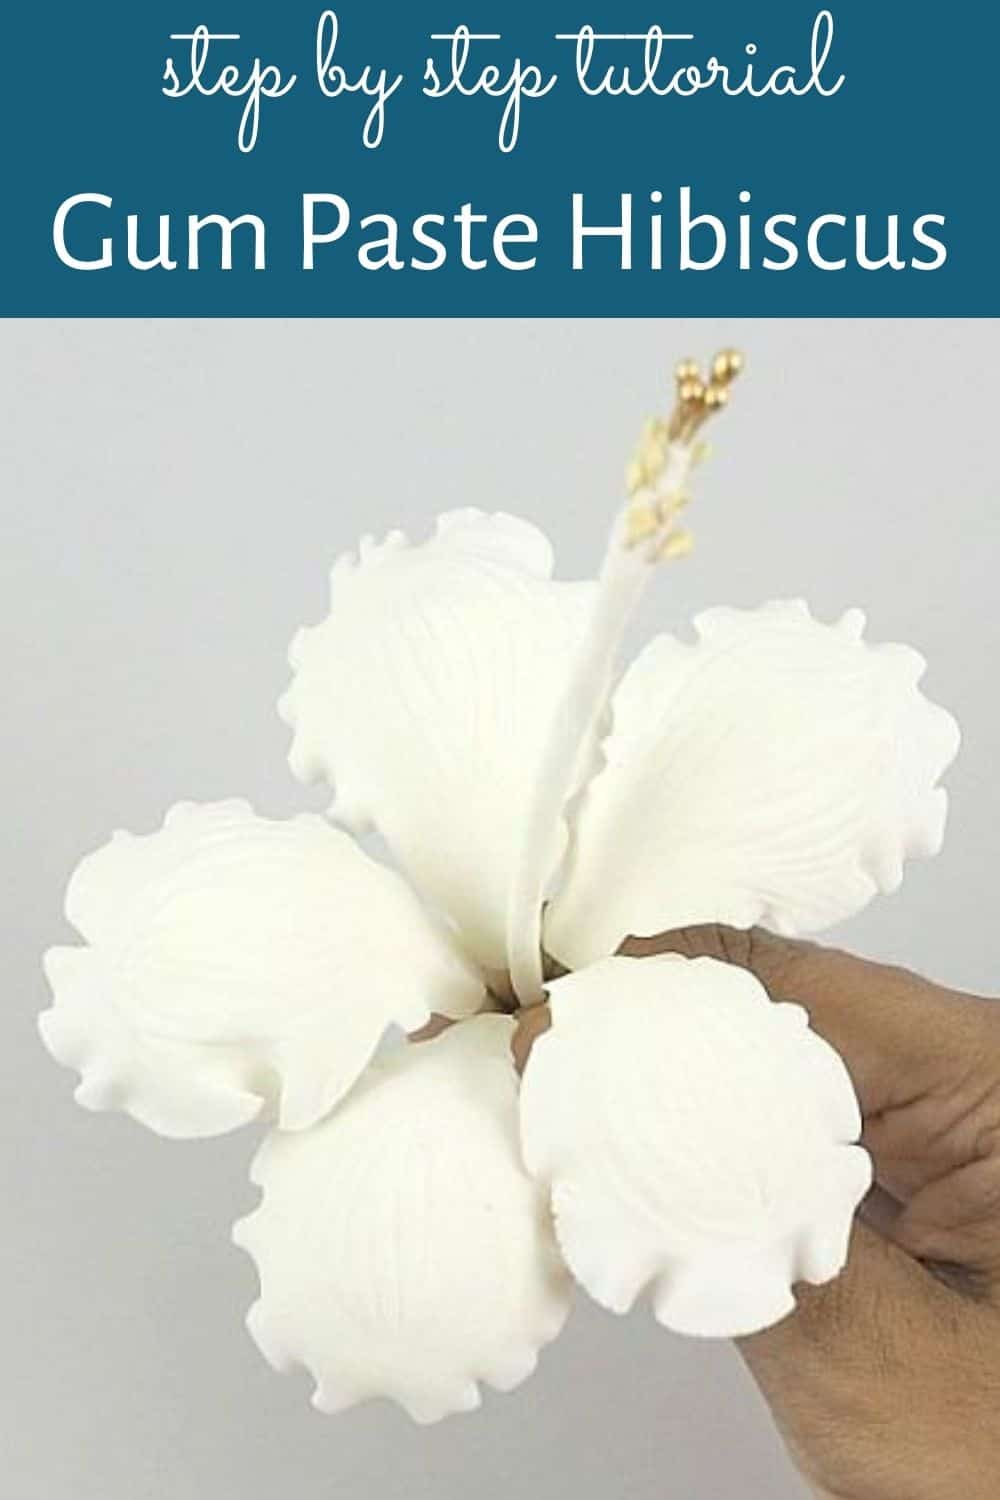
Made using gum paste, you can make this flower in any color you like. See how I used these pretty tropical flowers on a beach birthday cake and sea themed wedding cake.
And for more gum paste flowers, check out my tutorial on how to make gum paste roses, gum paste hydrangeas, gum paste plumeria and gum paste poppies. You might also want to check out how to make easy flowers using fondant with this fondant flowers tutorial. And for a comprehensive guide on coloring gum paste flowers and attaching them to cakes, check out my post on how to color gum paste flowers and guide for attaching wired and fresh flowers on cakes.
Jump to:
❤️Why you will love this tutorial
- It comes with step by step images and steps, and is easy to follow.
- It makes very pretty, life like hibiscus flowers.
- You can make these flowers in advance.
- They are much cheaper to make on your own and to purchase elsewhere.
🧾Supplies required
- Gum paste - I used Satin Ice gum paste in white.
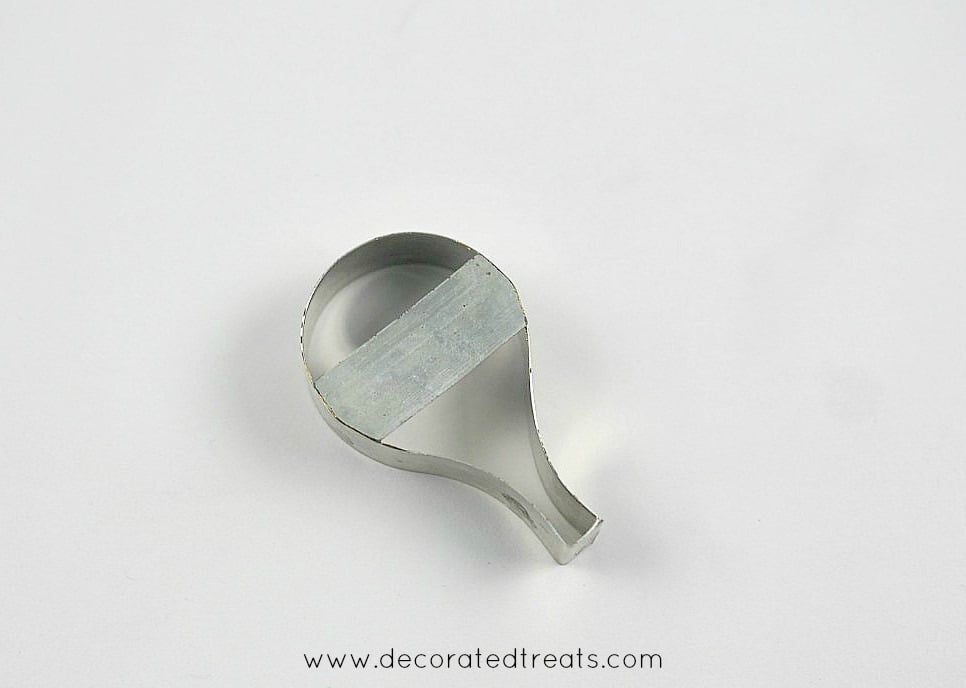
- Hibiscus petal cutter
- Sepal/Calyx cutter - I did not have one for hibiscus flower so used a rose calyx cutter instead.
- Petal veiner - Again, I did not have a specific veiner for the hibiscus petals. Instead, I used my hydrangea petal veiner.
- Floral wire - I used 22 gauge wire for each petal as well as the pistil.
- Artificial floral sigma and stamen - I used 2 types of stamen, gold-colored ones for the sigma and beige ones for the flower stamen.
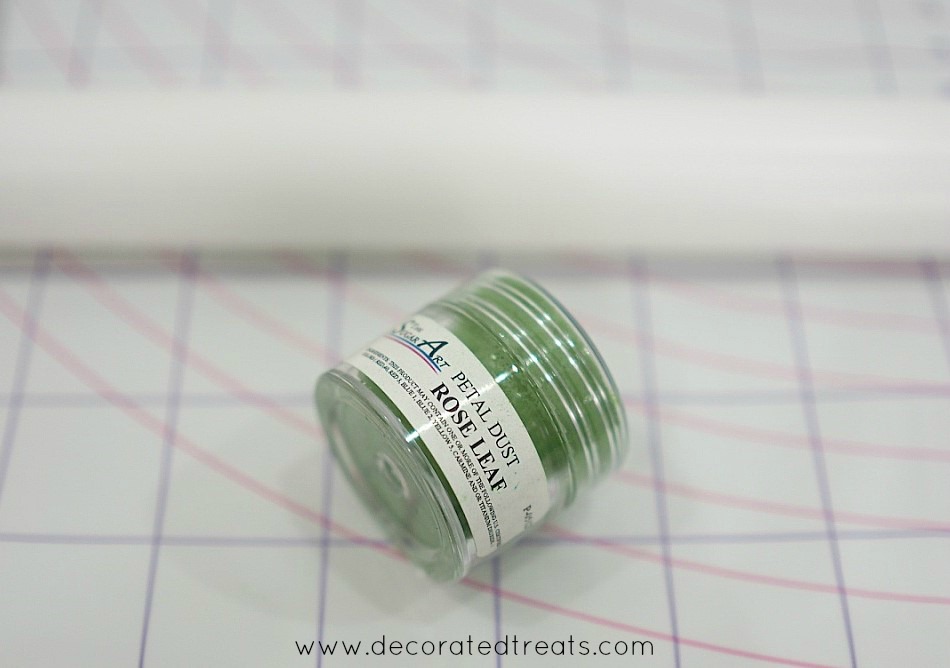
- Green petal dust - I used Rose Leaf petal dust for the sepal.
- Cake decorating brushes - to dust the sepal.
- Pizza cutter or sugar craft knife - to cut the sepal.
- Floral tape - I used green floral tape to tape all the petals and the pistil in place and a bit of white tape for the pistil.
- Fondant glue
✂️How to make
Step 1: Cut the petals
Knead the gum paste until soft and pliable. Dust your workspace with cornstarch (you can make your own dusting pouch with this easy tutorial). Roll the gum paste to about 4mm. Use the hibiscus petal cutter to cut the petals. You will need 5 petals for each flower.
Note: It is always advisable to make extra petals as contingency in case any of the petals break while assembling the flowers.
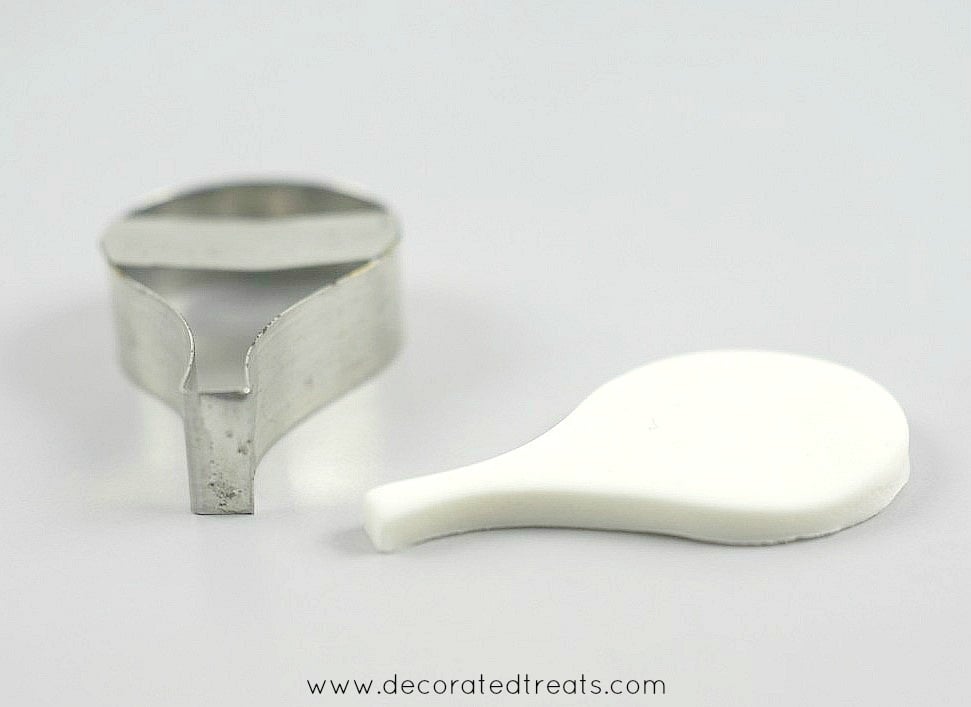
With a small rolling pin, roll each side of the petal thin. Do not flatten the bottom of the petal.
And then, use the same petal cutter to re-cut the petals.
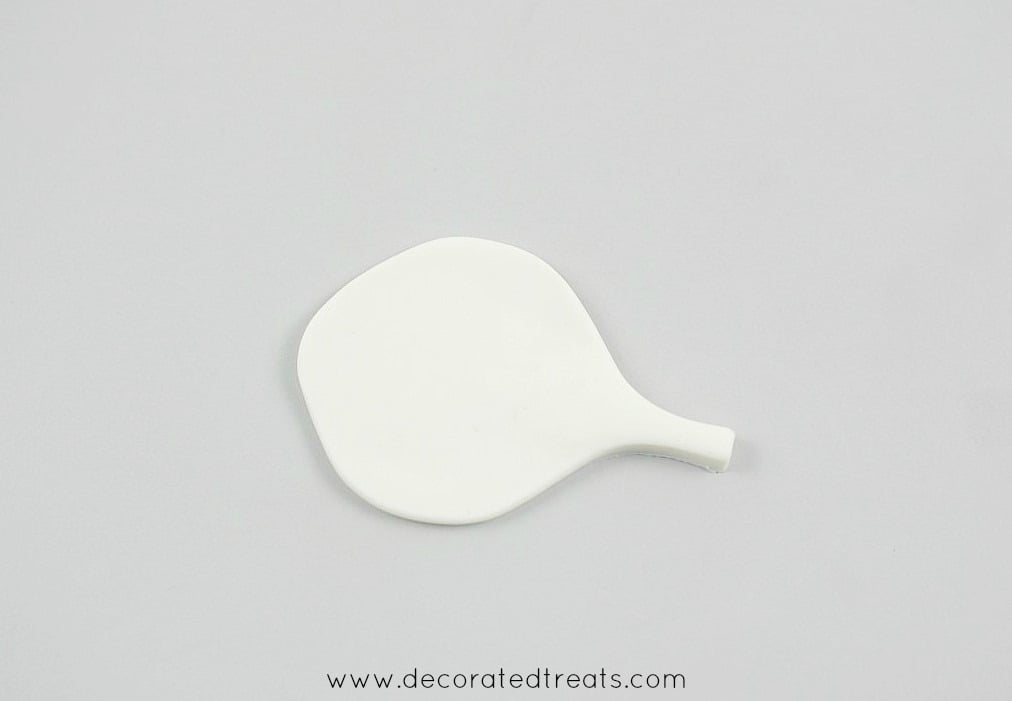
By now, the rounded large end of the petal is thin but the long narrow end remains thick. The thickness is necessary as the petals need to be wired individually.
Step 2: Frill the petals
Next is to frill the petals. Place the petal on a piece of sponge or soft foam. Use a ball tool and start with the center. Gently press the tool onto the petal and thin it by moving the tool in a circular motion.
Note: It helps to frill the petal on a soft surface like a foam or sponge to prevent the gum paste from tearing when working with the ball tool.

Make the petals thinner as you move towards the edges to give them natural looking frills.

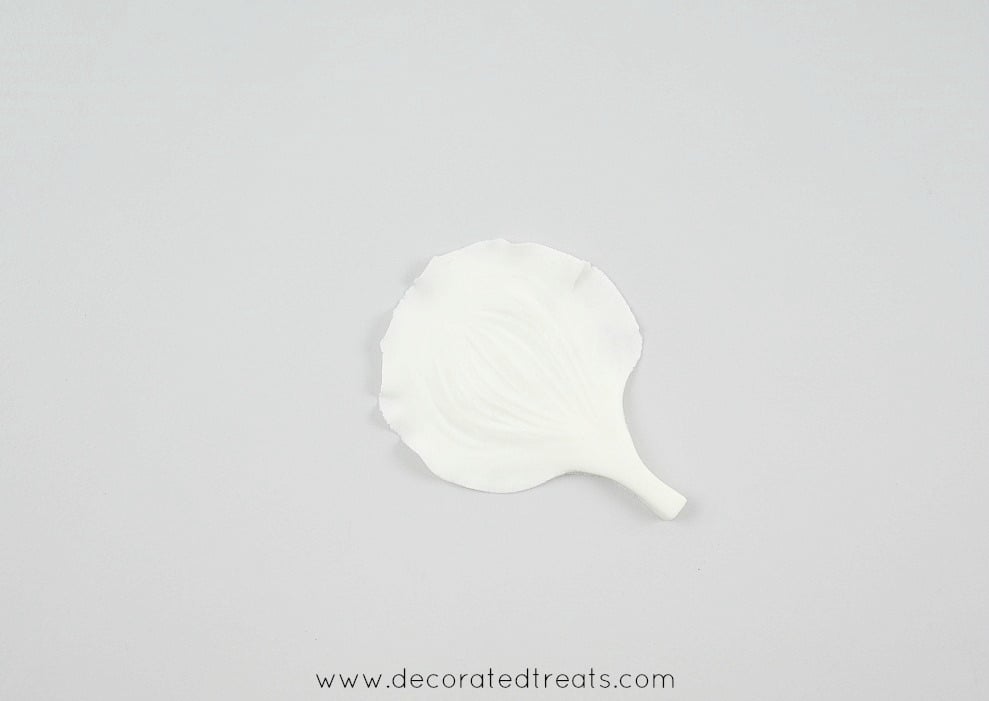
Step 3: Vein the petals
To vein the petals, I used my hydrangea petal veiner. It was large enough for my gum paste hibiscus petals and so was perfect to create the veins.
You can use any other similar veiners you like.

And when imprinting the veins, press only the wider end of the petals and make sure the narrow end is not flattened. You need it to be thick to insert the wire.
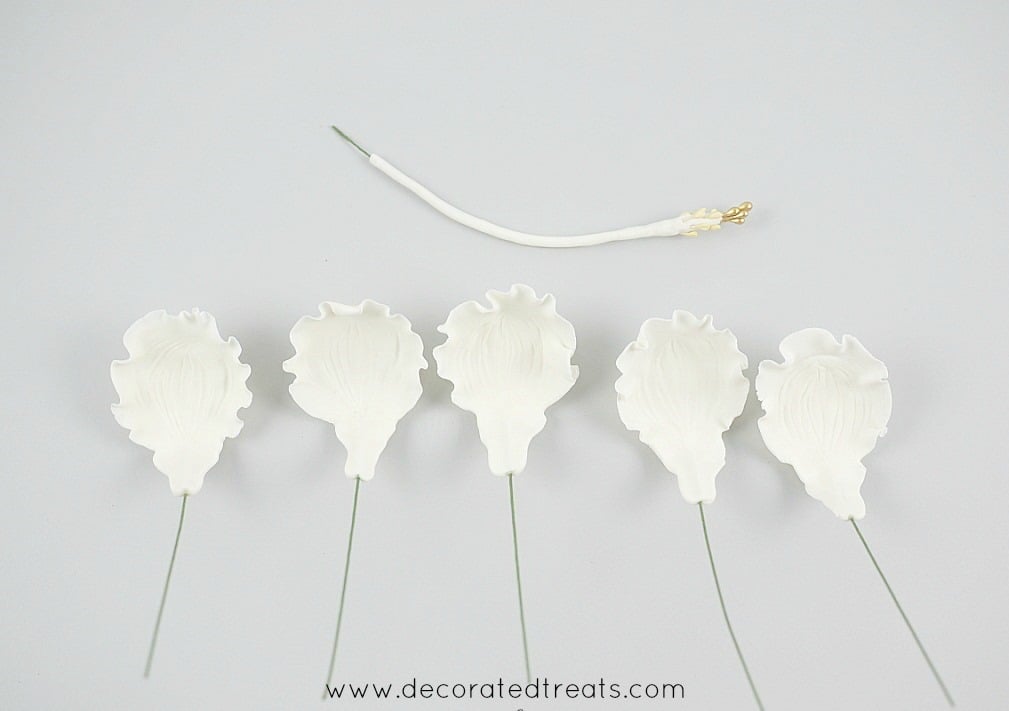
This was how the gum paste hibiscus petal should look like after veining.
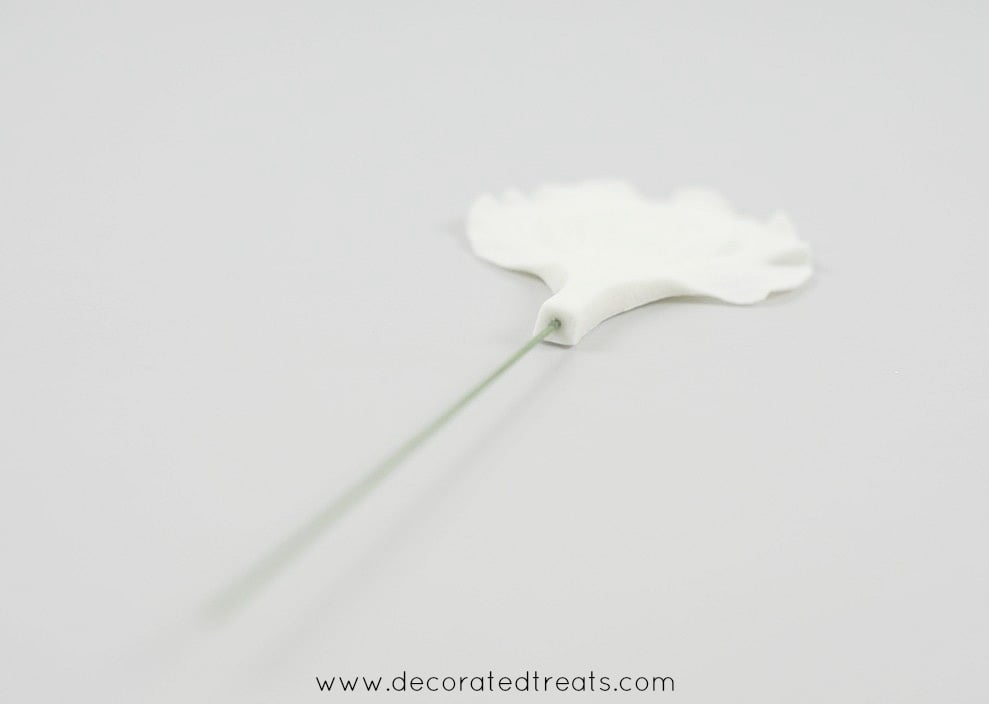
Step 4: Wire the petals
Next step is to add wire to the petals. I used gauge 22 wire. Apply some fondant glue to the wire and insert about 1.5cm of it into the thick narrow end of the petal as shown.
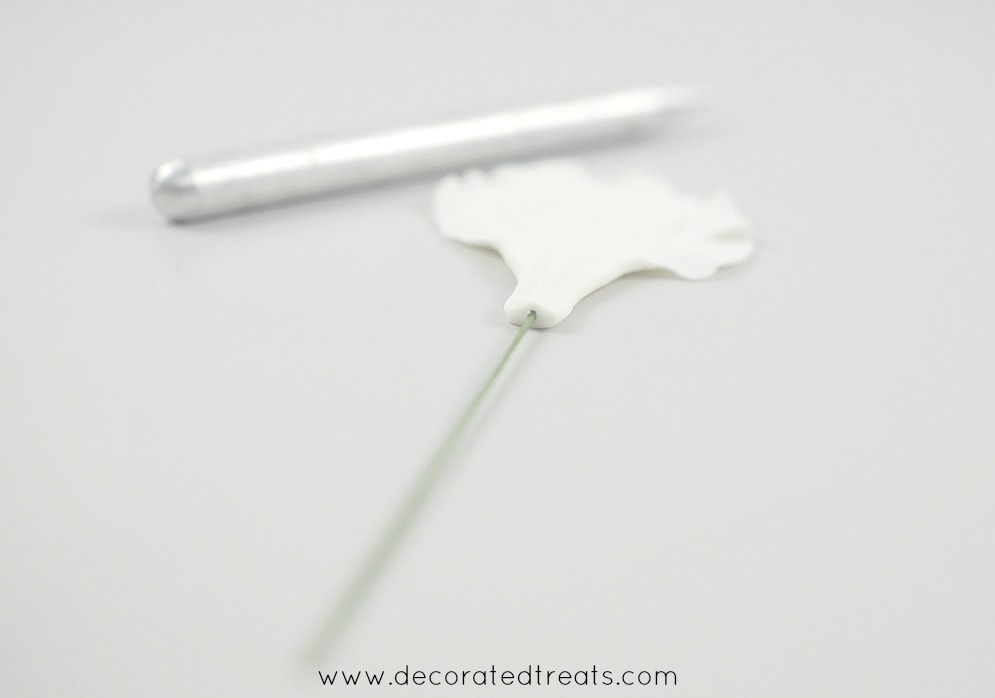
And then, using a small rolling pin, thin the sides of the of the petal where the wire was inserted.
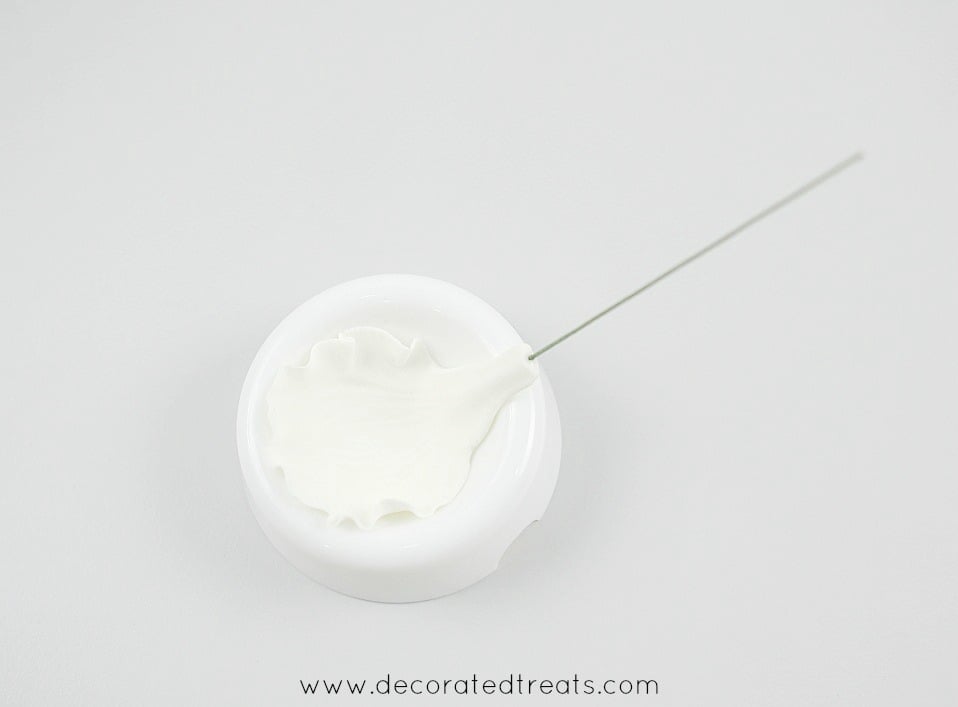
Leave the wired petals to set and dry in a flower former until they are completely dry.
Step 5: Make the pistil
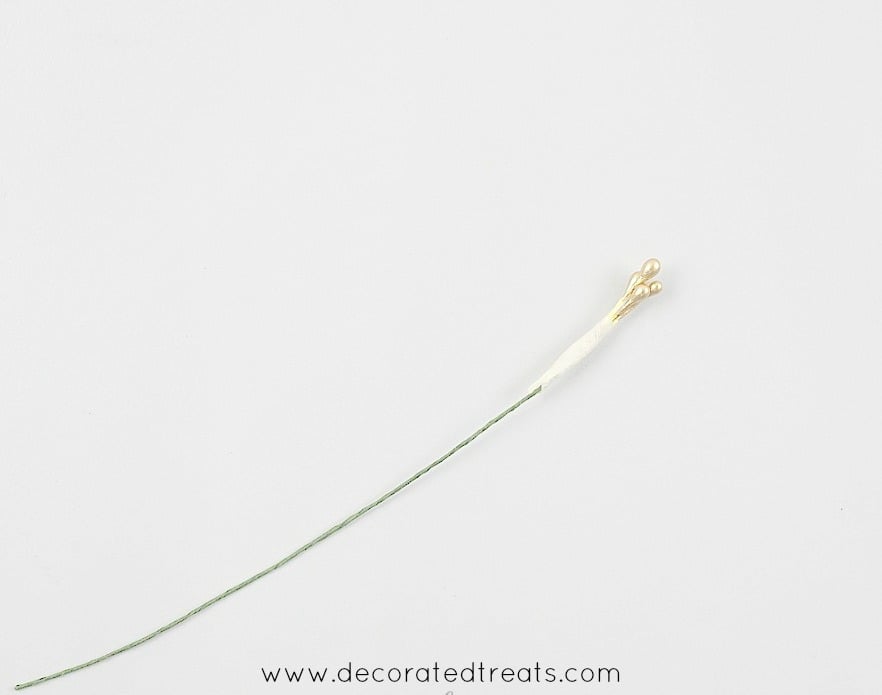
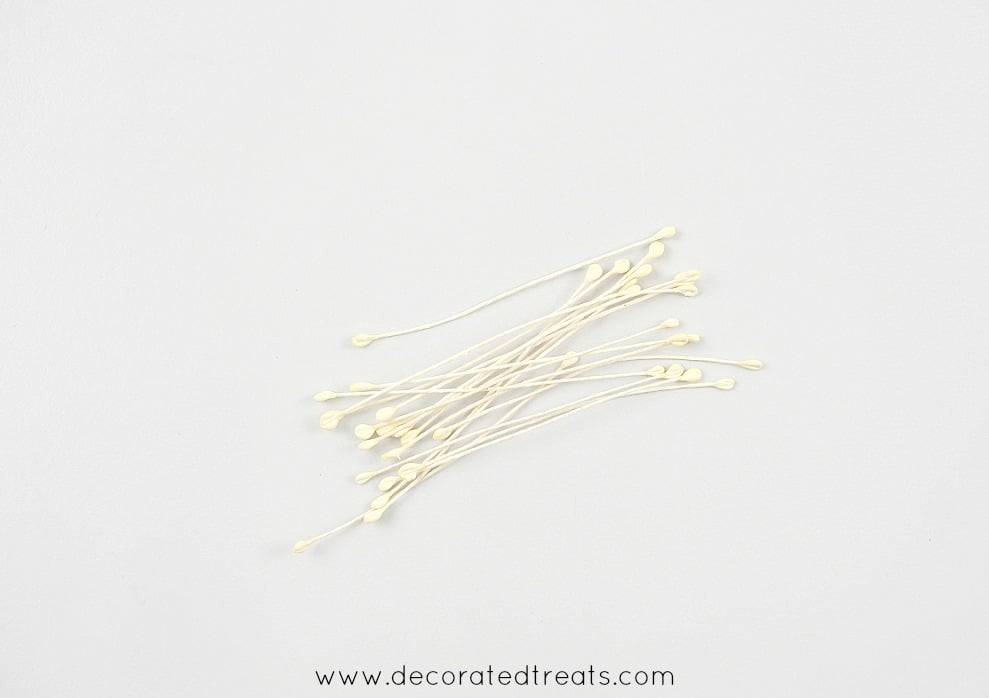
Once the petals are done, make the center of the gum paste hibiscus. The center is known as pistil and the upper part of the pistil has sigma and stamen. For the pistil, use gauge 22 wire, and for the stamen and sigma, use gold and white artificial stamens.
The gold ones shown below formed the sigma.
Fold them into 2 and group these together and attach them to the wire using a white floral tape.
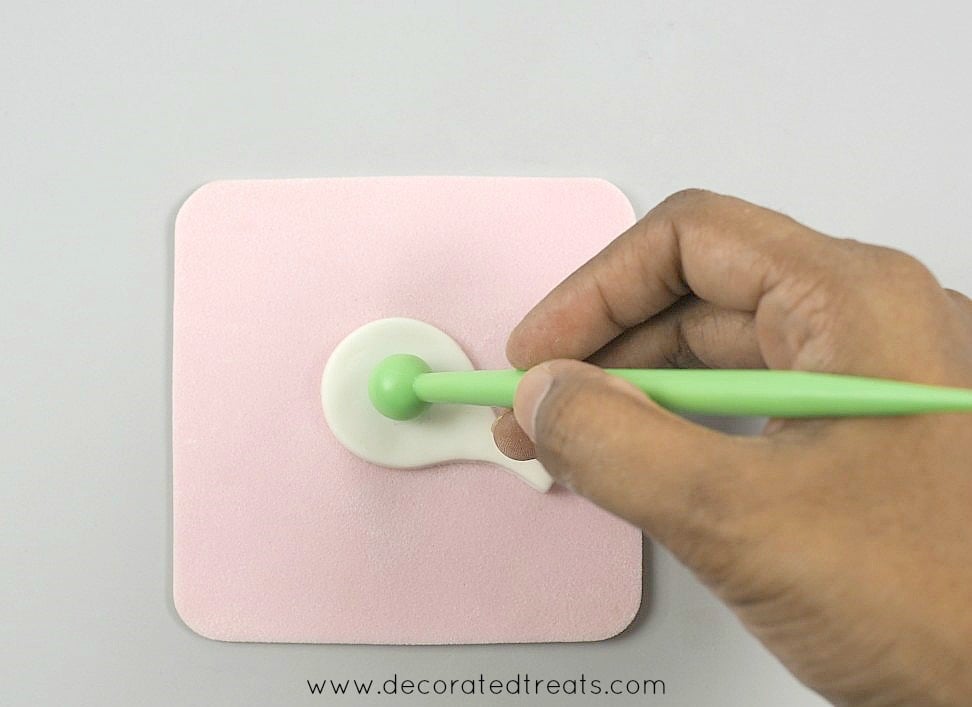
Next, roll a thin strip of gum paste, apply fondant glue to the wire, place it right in the center of the strip and roll it up.
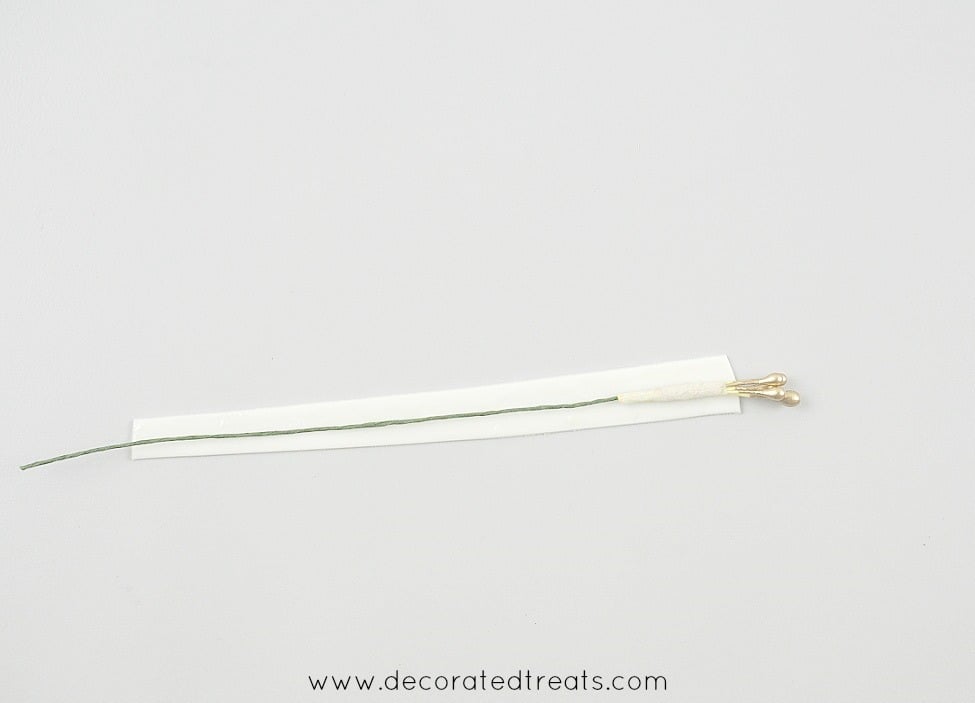
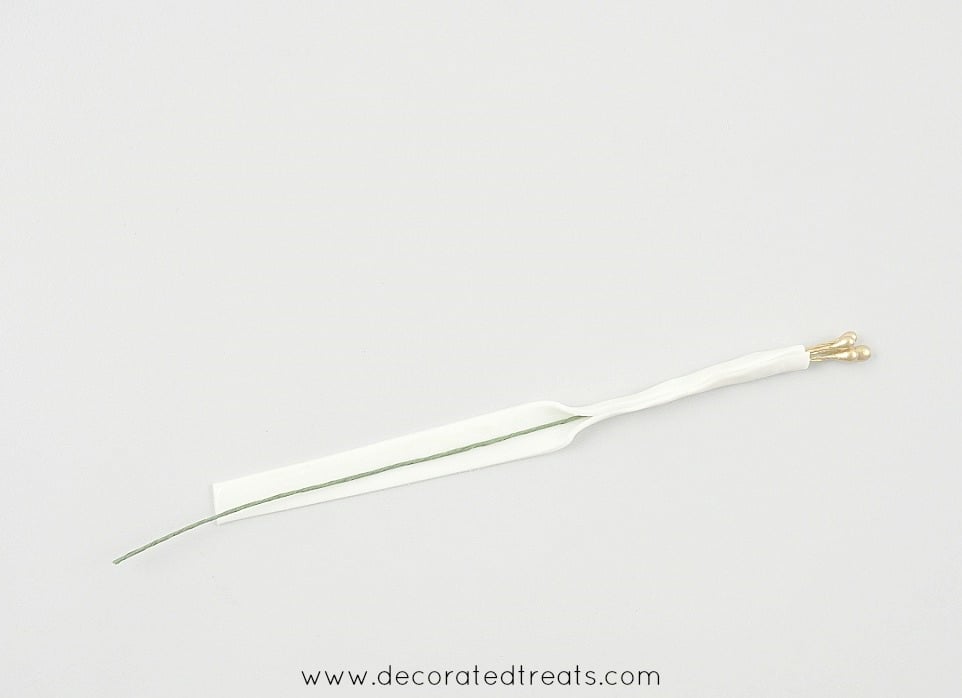
Roll the pistil until the gum paste is smooth and the pistil thin.

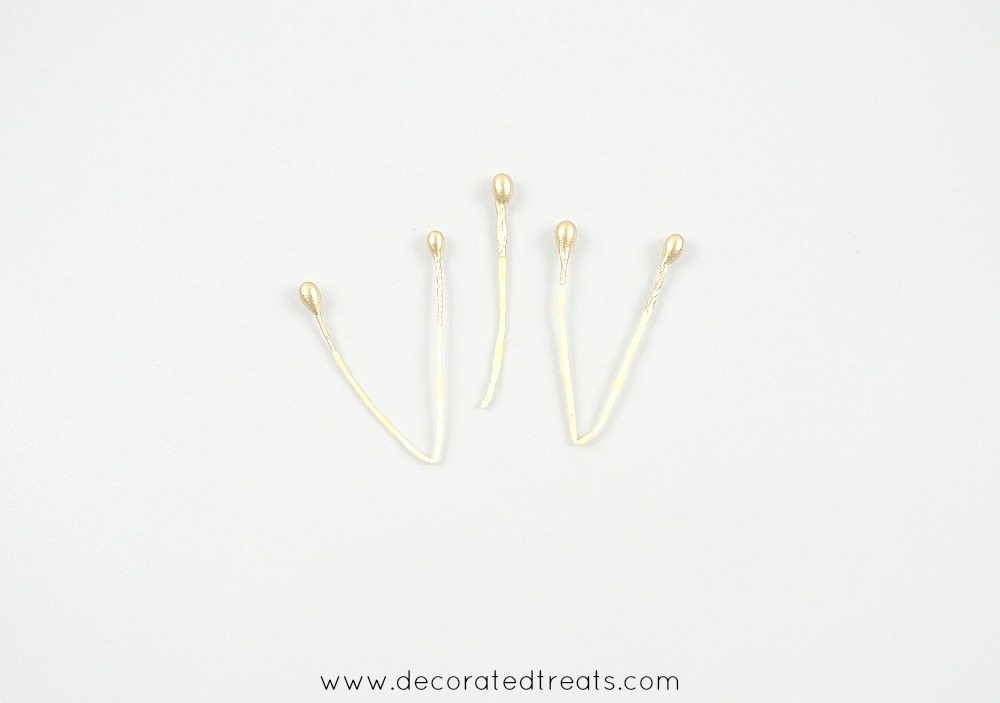
For the stamen, use beige colored artificial stamens. Cut them short into individual pieces as shown.
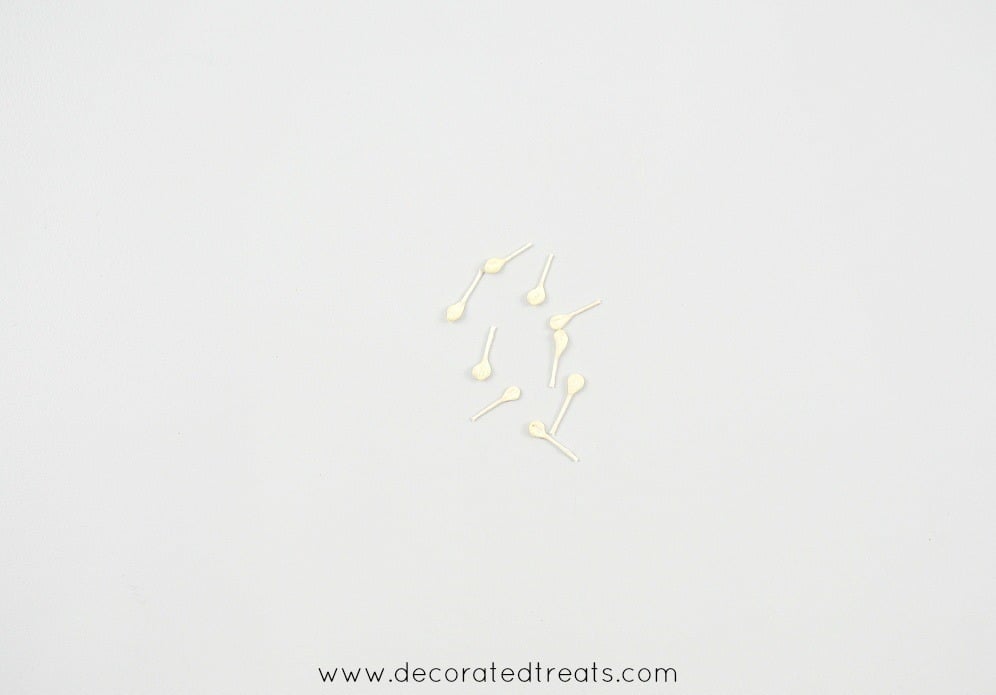
And then, dip each stamen lightly into fondant glue and poke them into the top part of the gum paste covered pistil to form stamens.
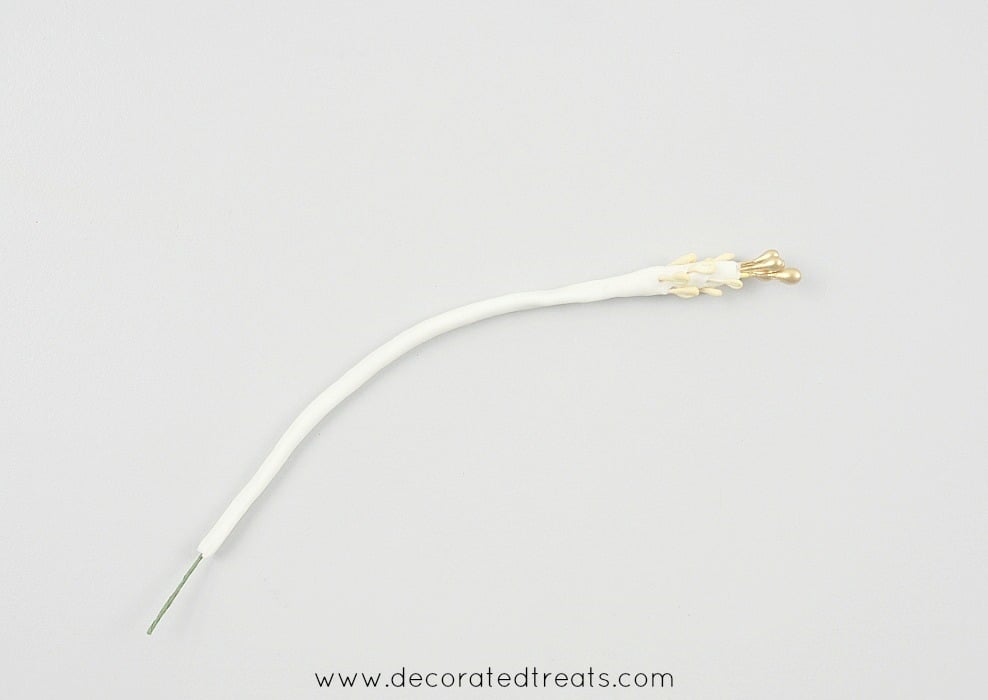
Once done, bend the wire slightly let all the components of the flower set and dry completely before assembling them into a flower.
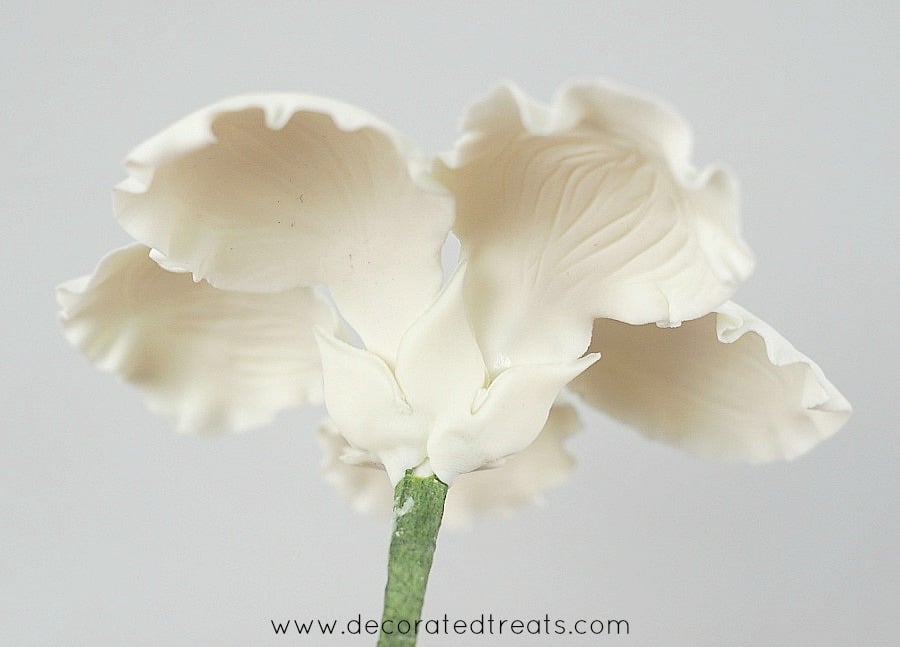
Step 6: Assemble the petals and the pistil
To assemble the gum paste hibiscus flower, arrange the petals around the pistil and secured them in place with green floral tape.
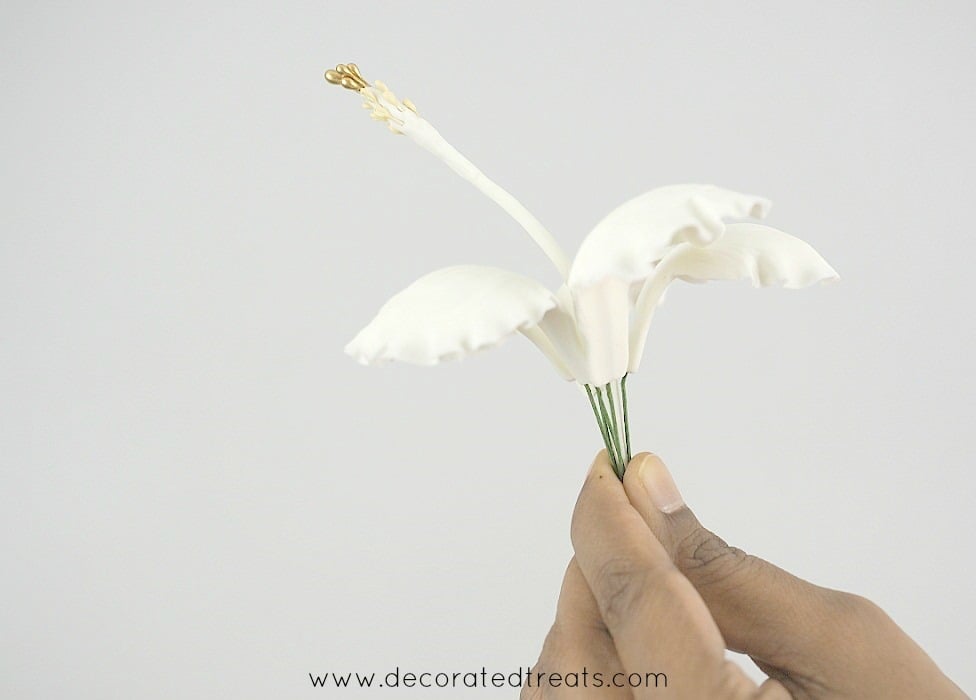
Make sure the petals are well distributed before taping.
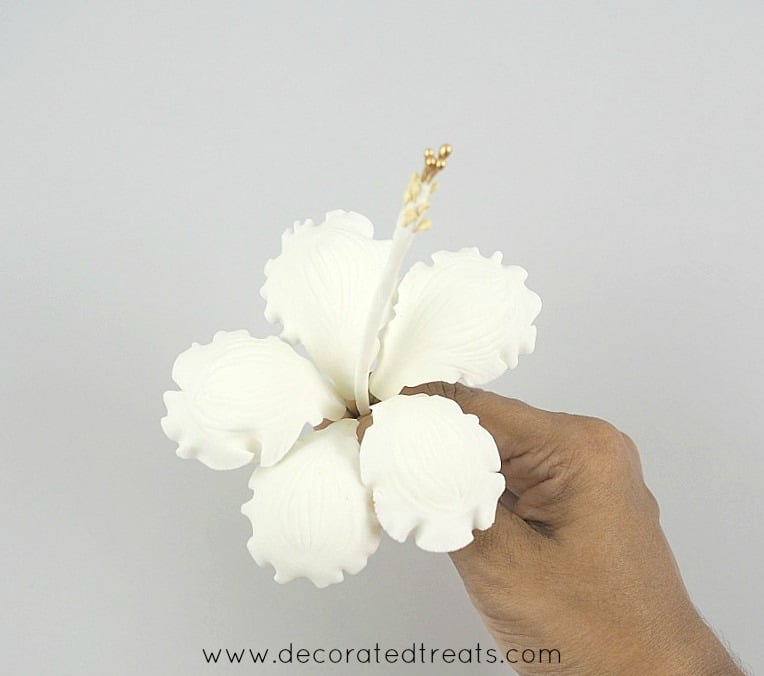
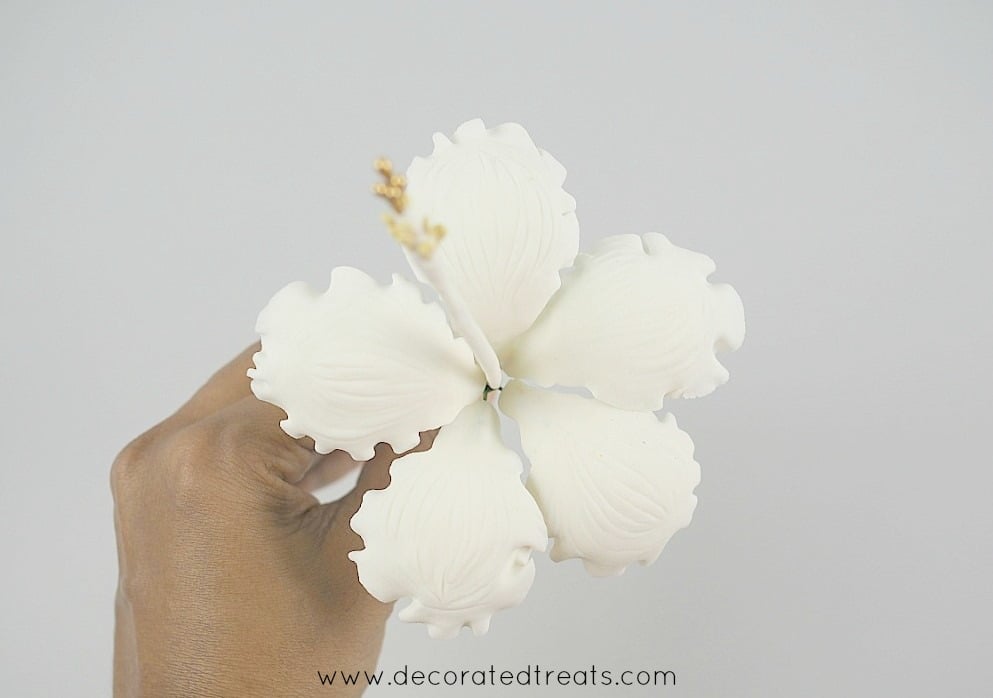
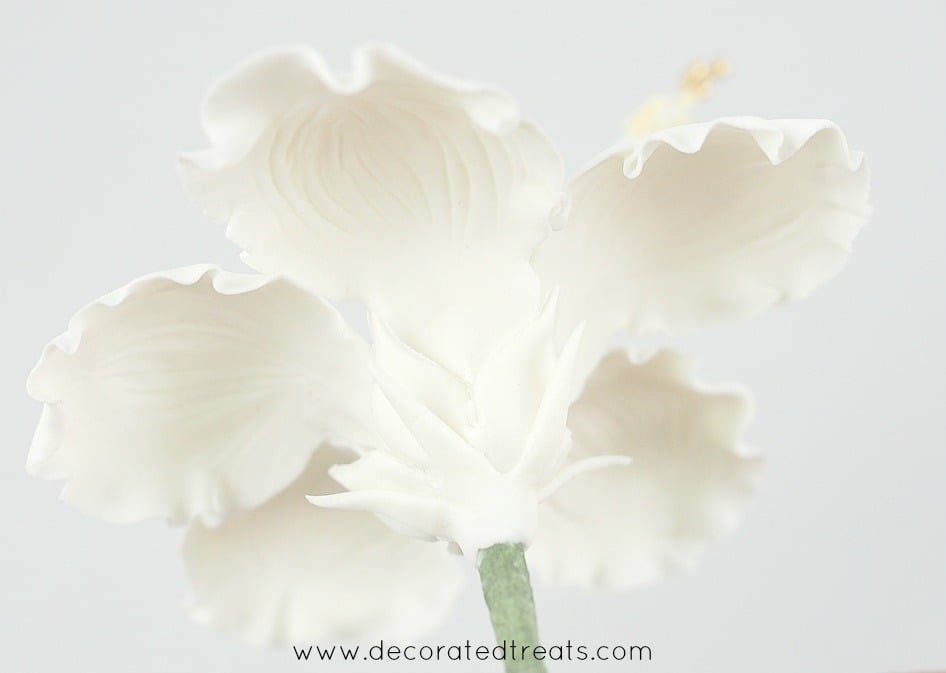
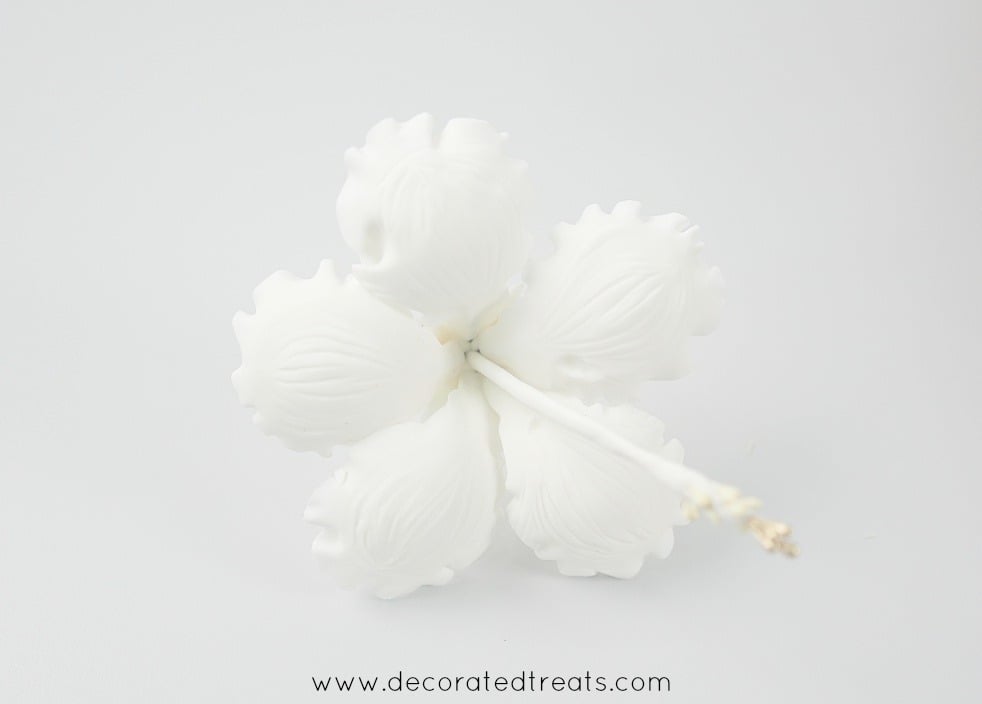
This was how the flower should look like after taping.
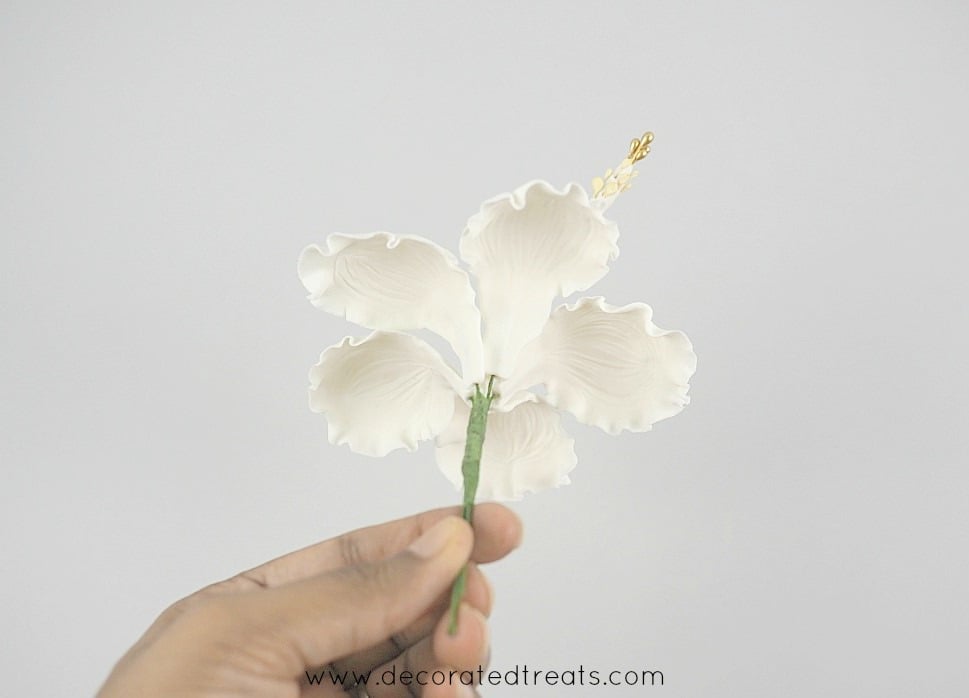
And this is the top of the flower.
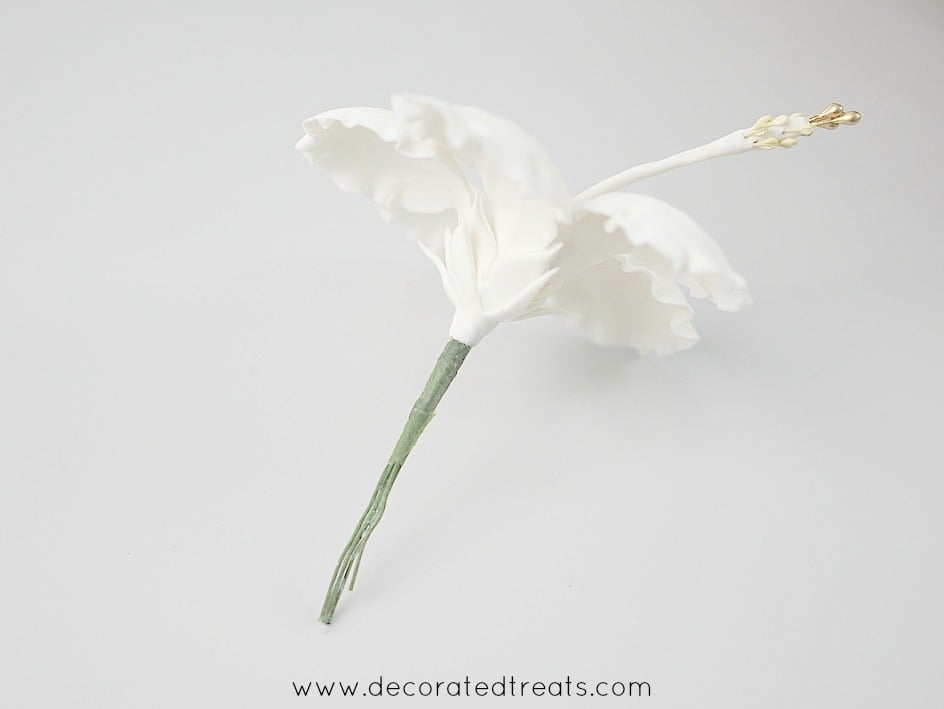
Step 7: Make the sepal
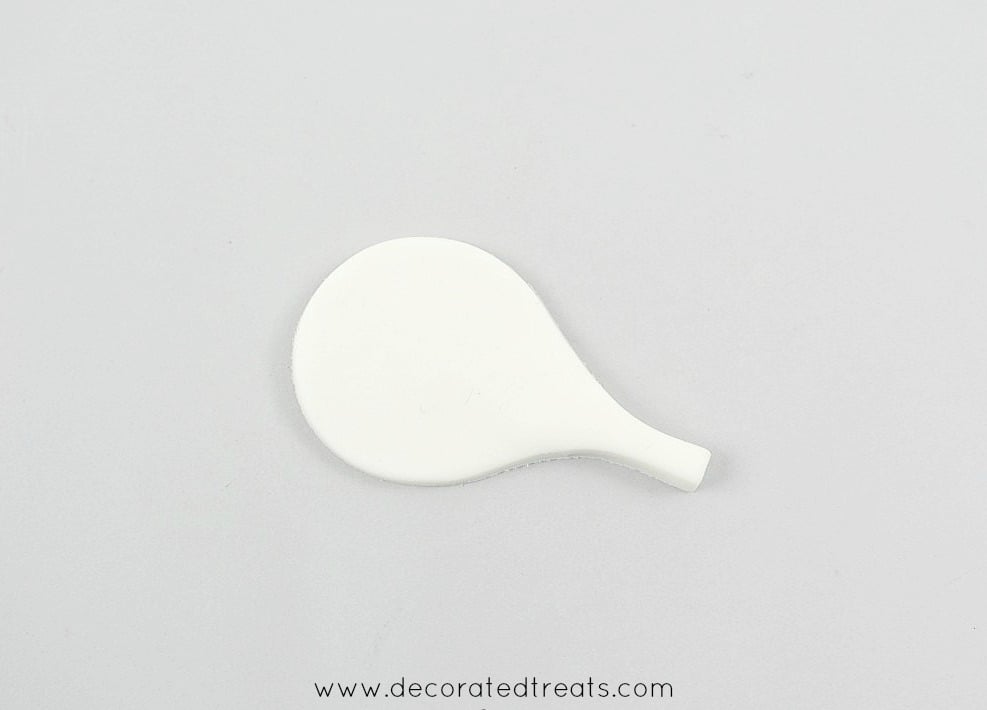
The next process is to attach the sepal for the flower. For this, I used a rose calyx cutter. Roll a piece of white gum paste thin, cut out the sepal.
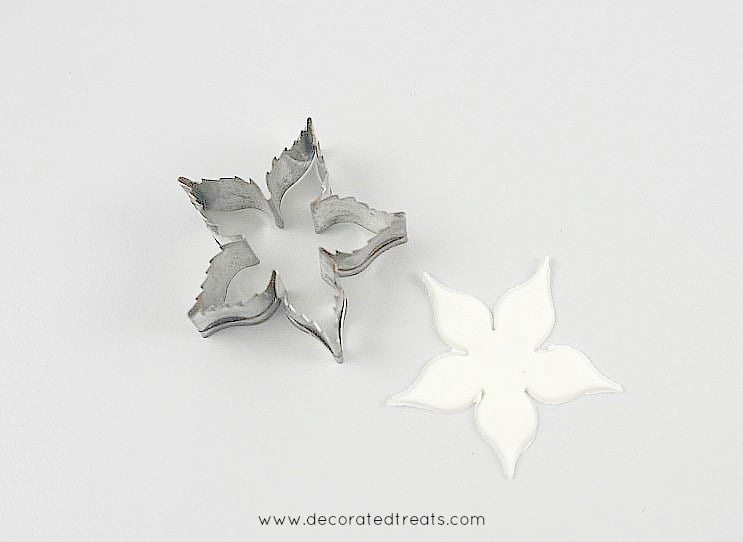
Make a small cut on one side of it.
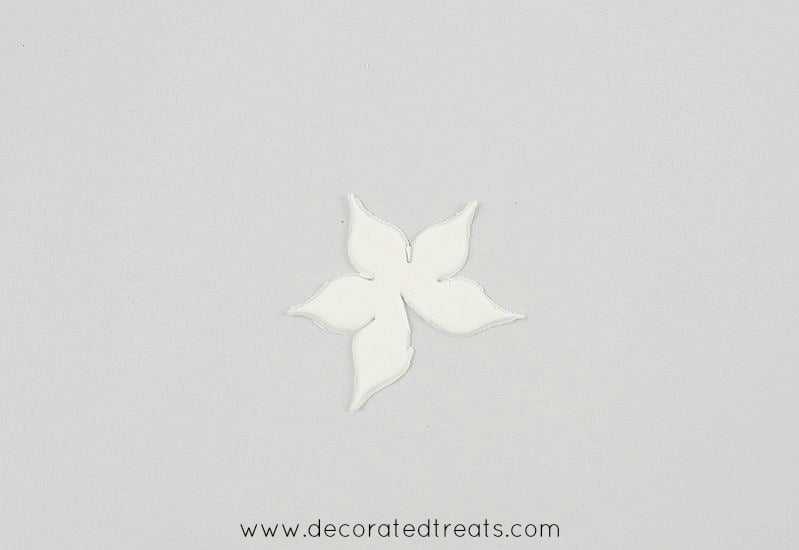
Attach it to the flower with some fondant glue.
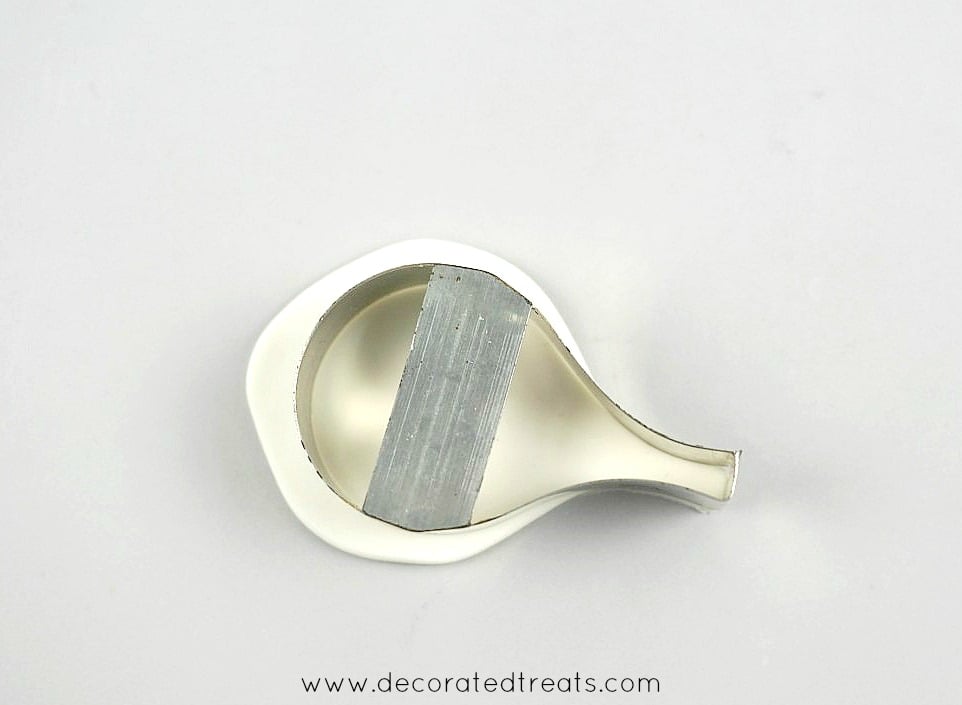
And then, roll another piece of gum paste and cut out the following shape with a pizza cutter or a sugar craft knife.
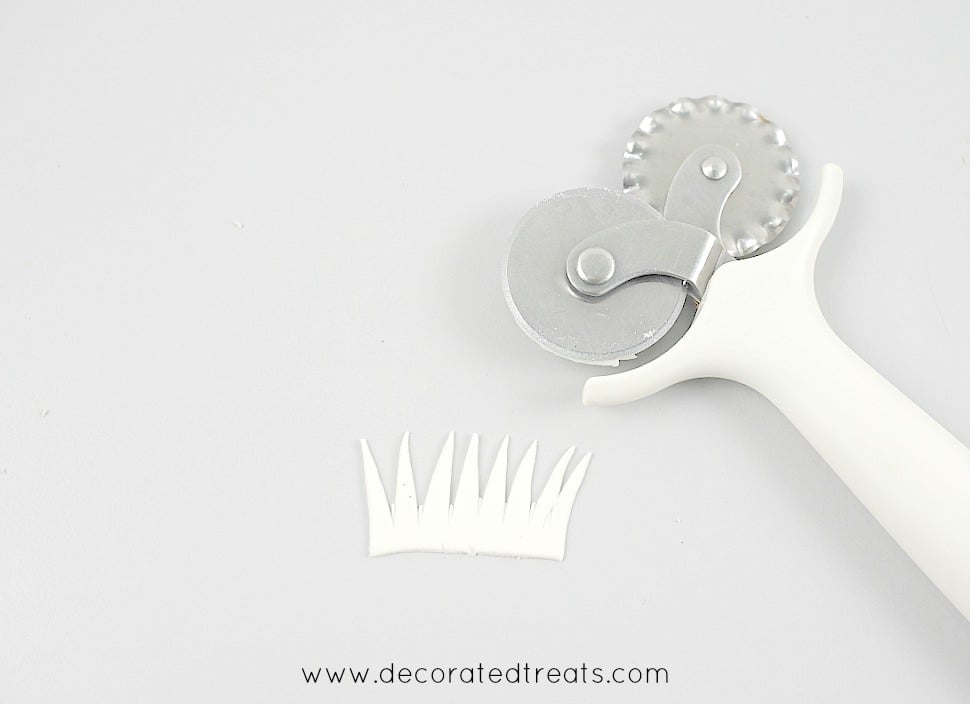
Attach it to the bottom of the gum paste hibiscus to complete the hibiscus sepal.
And this is how the flower should like once the sepal is attached.
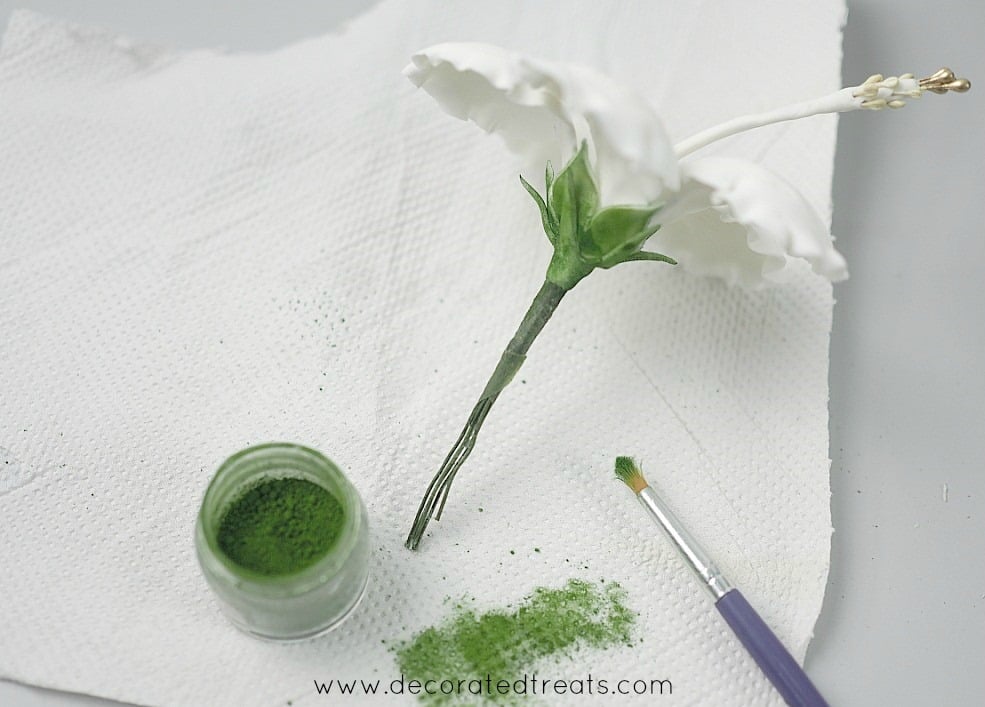
The final step in making this flower is dusting the sepal. If you also wish to dust the flower petals, do it before attaching the sepal.
For the sepal, use rose-leaf green petal dust.
When dusting, take care to not spill or smudge it over on the petals.
And that completes the gum paste hibiscus.
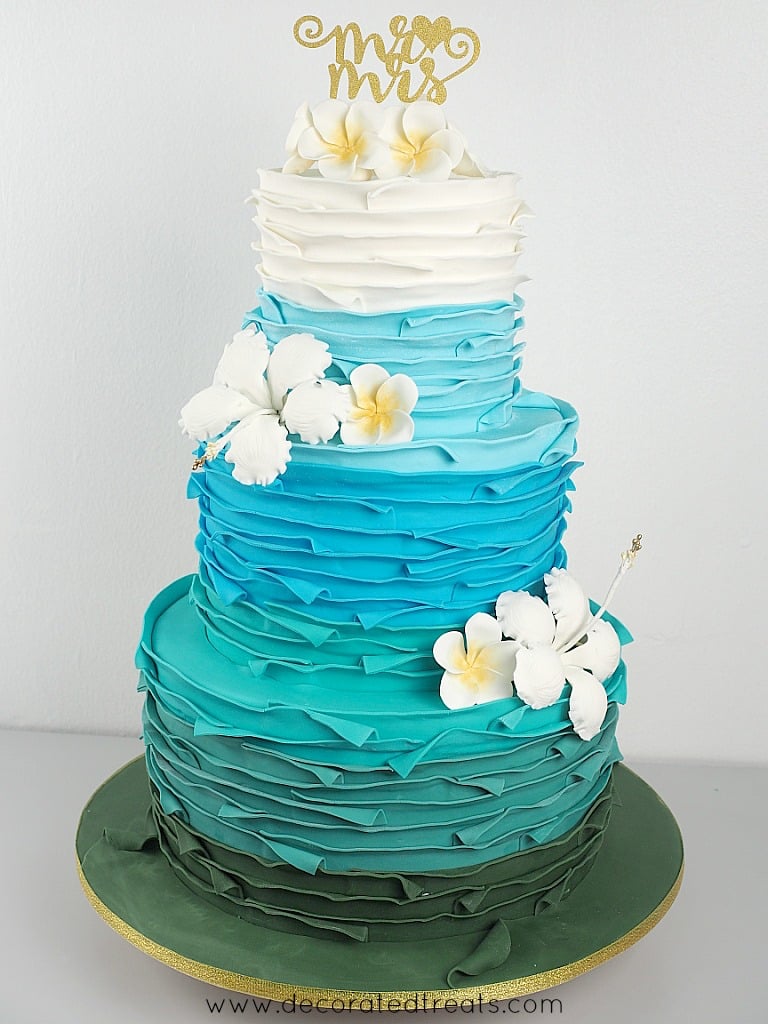
Here was how the flower looked like on my sea themed wedding cake (Click here to see how I made the rest of the sea cake).
Hope you enjoyed this tutorial.

Leave a Reply