

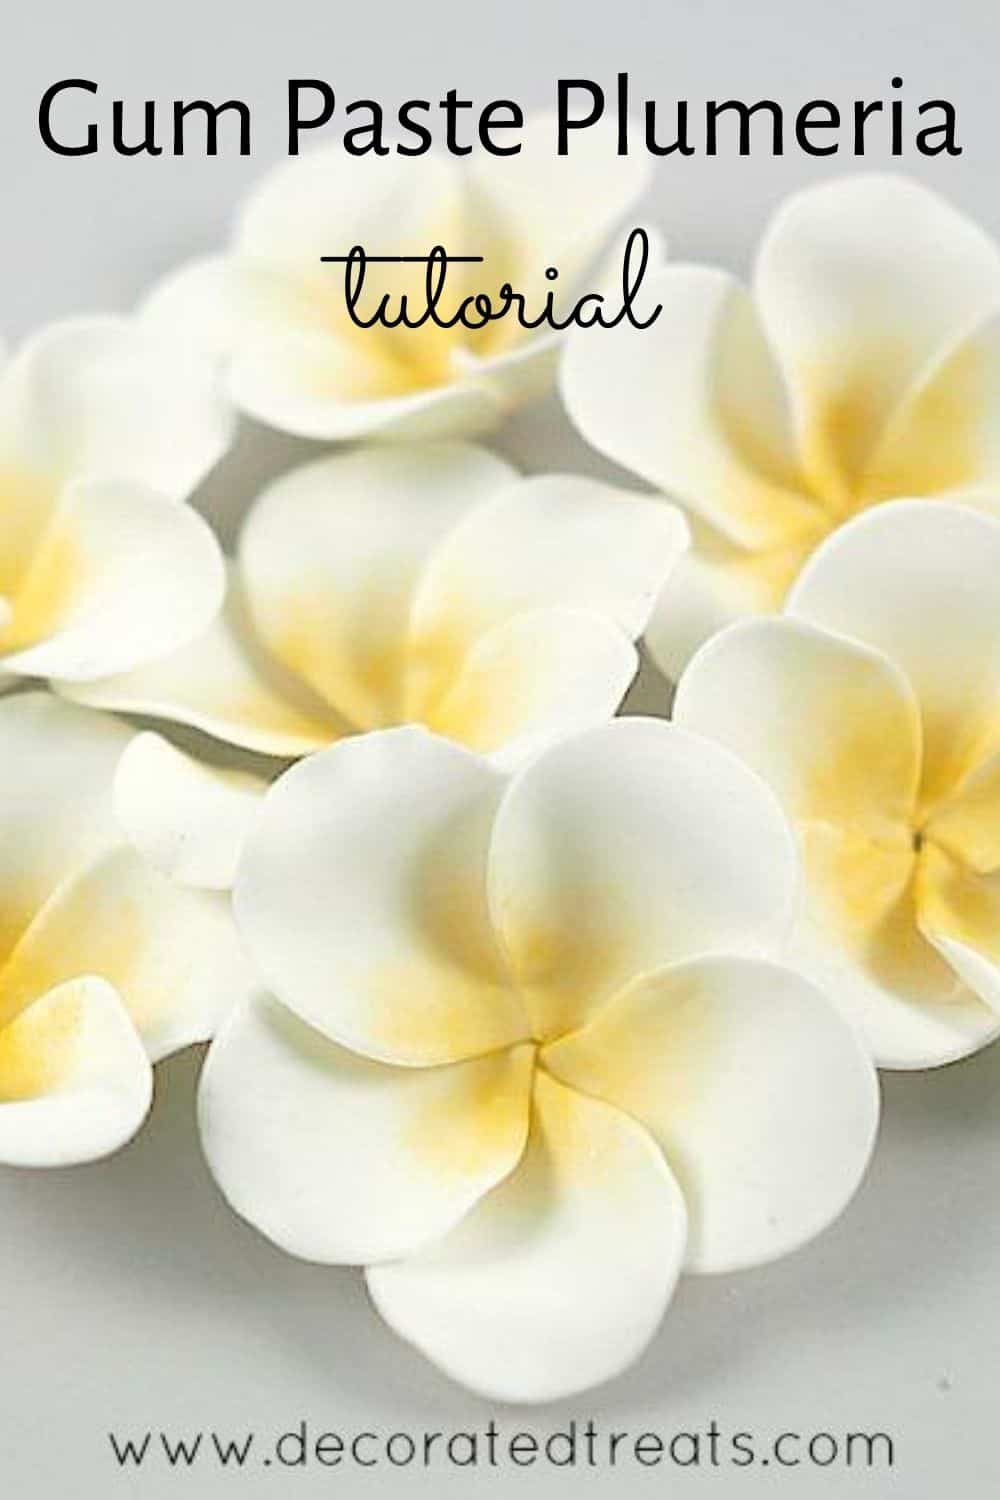
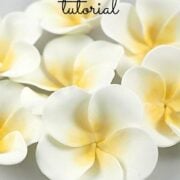
Learn how to make gum paste plumeria with this easy, step by step tutorial. Also known as frangipani, these flowers are often found in tropical countries and make really elegant cake decoration especially for tropical and beach themed cakes.
The first plumeria flower took me a bit of time at the petals arranging step but once I got the technique right, the rest of the plumerias were quite fast to make. And off course, the flowers need to be completely dry before dusting, so it is best that these pretty plumerias are made at least a few days before putting them on the cake.
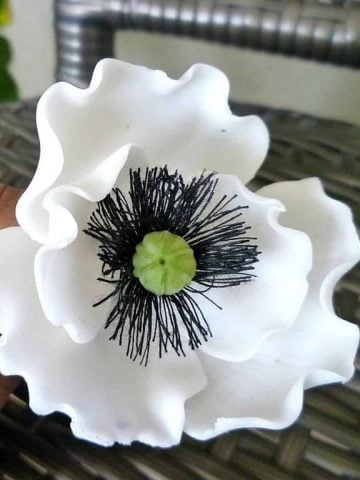
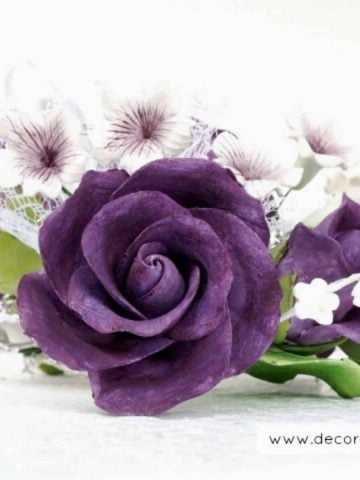
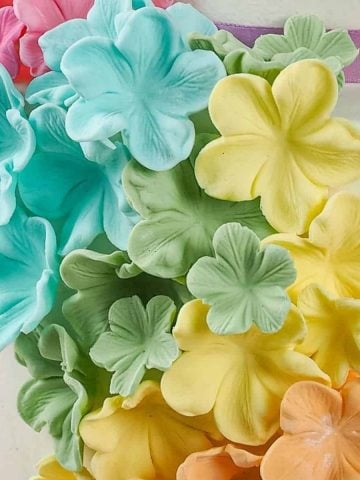
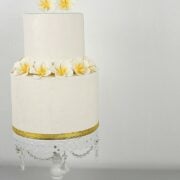
If you like gum paste flowers, also check out my other tutorials on how to make gum paste roses, gum paste hydrangeas, gum paste hibiscus and gum paste poppies. Also check out how to make easy fondant flowers with this fondant flower tutorial. And for a comprehensive guide on attaching flowers to cakes, check out my guide to using flowers for cake decoration.
Jump to:
❤️Why you will love this tutorial
- The flowers are unwired and easy to make.
- You can make them in advance and use them when you need them.
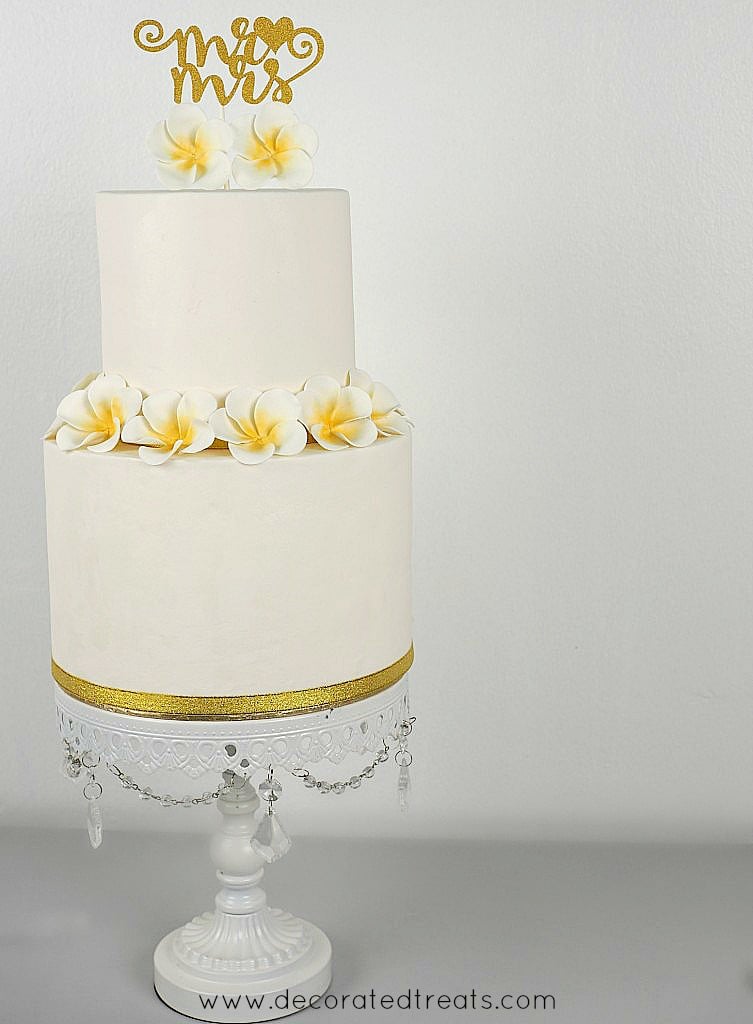
- They make very pretty flower decoration for tropical themed cakes.
- You can make the flowers in bulk and customize the colors with simple petal dusting.
🧾Supplies required
- Gum paste - As in any other sugar flowers, gum paste is the main supply. And my choice of gum paste is Satin Ice in white.
- Petal cutters - I do not have any specific petal cutters for plumeria flowers and used my rose petal cutters in a teardrop shape.
- Ball tool & flower sponge - these are gum paste flowers making tools and are used to thin the petals. The sponge helps to prevent tears in the gum paste as they pressed with the ball tool.
- Flower formers - these are essential for making plumerias. The formers make it easier to arrange and keep the plumeria petals curved and in shape while drying.
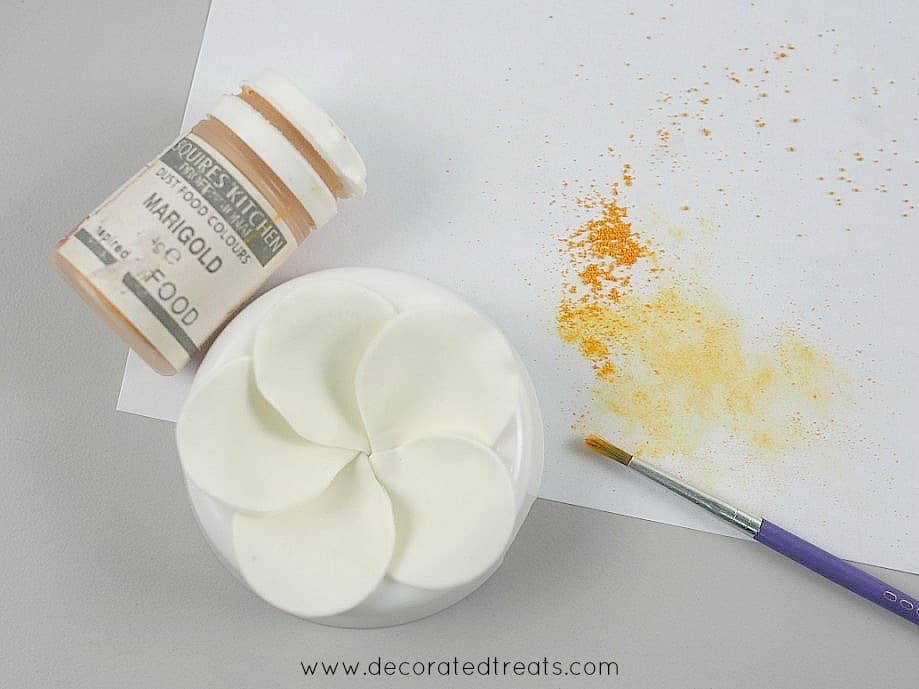
- Petal dust - Plumeria flowers come in a number of different colors. For this project, I made yellow centered ones and used Squires Kitchen Marigold food dust color.
- Fondant glue - I used this glue to stick the plumeria petals. This glue can be easily made with just some CMC and water. Click here to learn how to make fondant glue.
- Toothpicks - toothpicks are quite important for these plumerias. I found them to be the perfect 'tools' to shape the plumeria petals.
- Cake decorating brush - to color the flowers.
✂️How to make
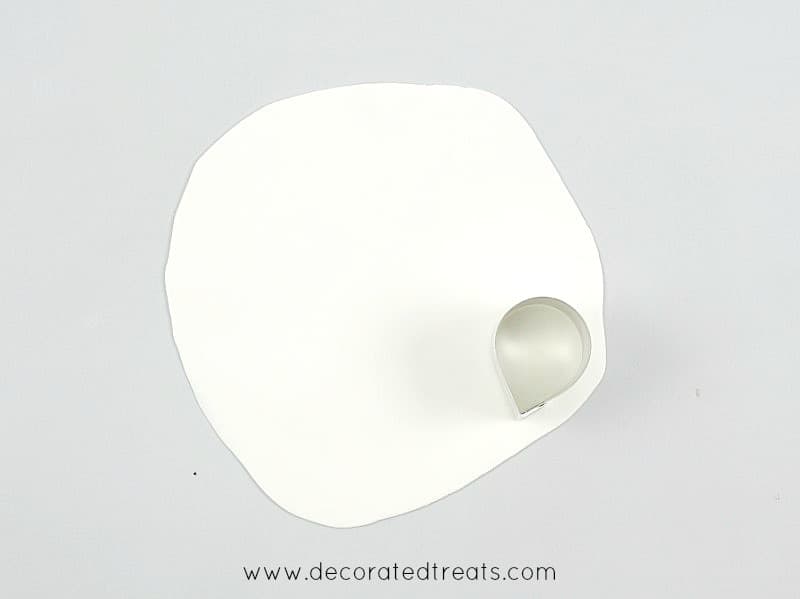
Step 1: Cut the petals
Start by rolling the gum paste thin. Make sure to dust your workspace with cornstarch to prevent the gum paste from sticking (you can make your own dusting pouch with this easy DIY tutorial).
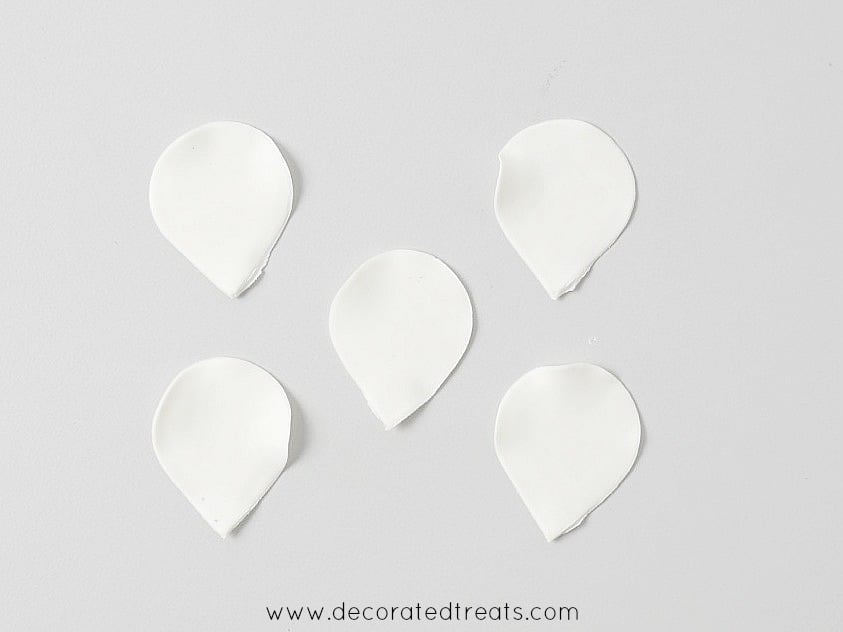
Using a teardrop shaped cutter (in my case, I used a rose petal cutter), cut out 5 petals for each plumeria you wish to make.
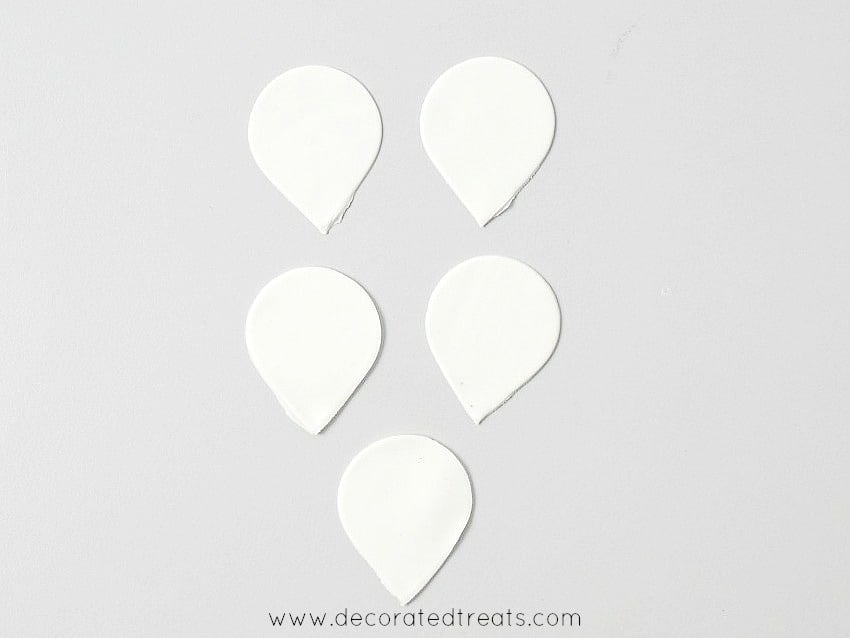
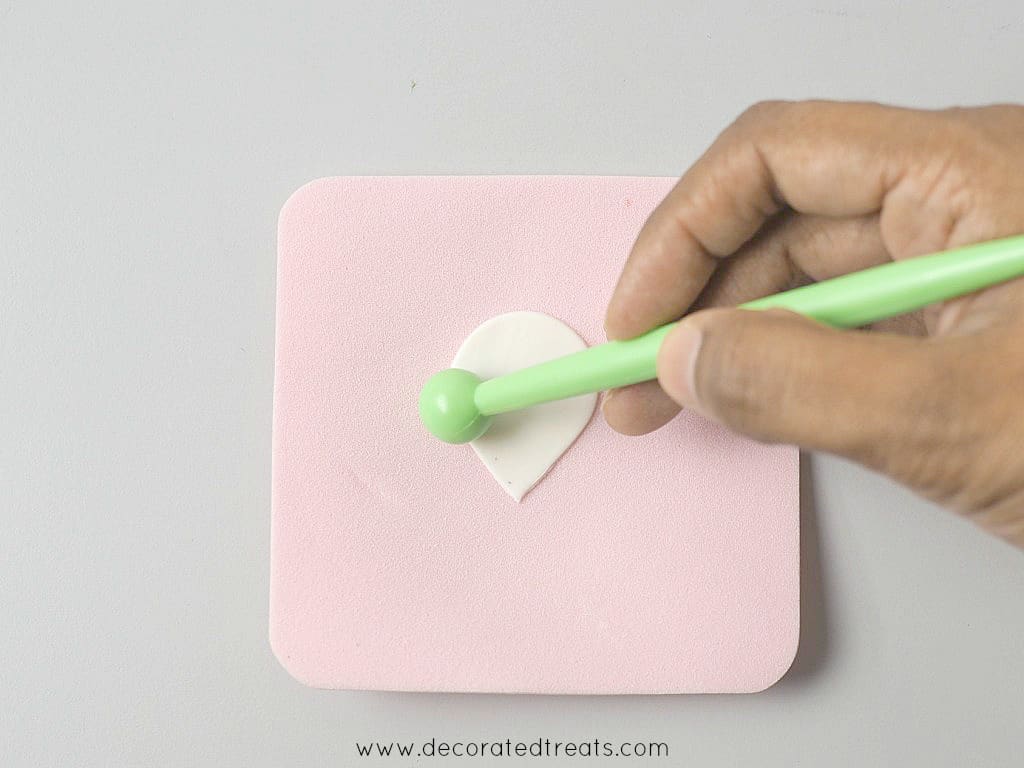
Next, thin the edges of each plumeria petal. To do this, use a ball tool and a flower sponge.
Note: To make sure the gum paste plumeria petals do not dry out, make the petals in batches. One batch of 5 petals at one time - from the cutting until the flower is assembled.
Step 2: Arrange the petals to form a flower
The next step is to assemble the plumeria petals to form the flower. This is a bit tricky and it is important to get it right or it can be quite frustrating.
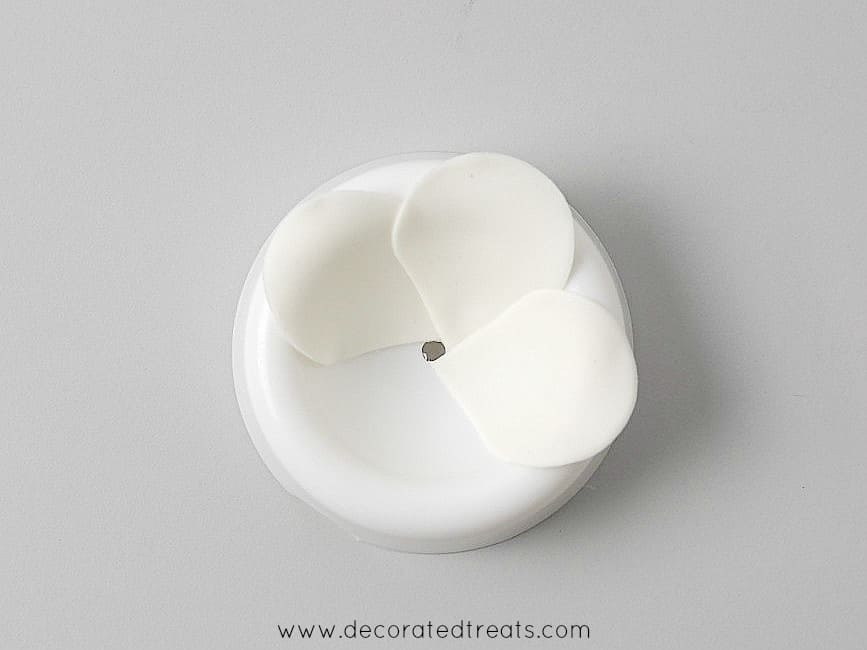
Start by placing the first plumeria petal onto a flower former. The correct technique is all about the position of the petal on the flower former.
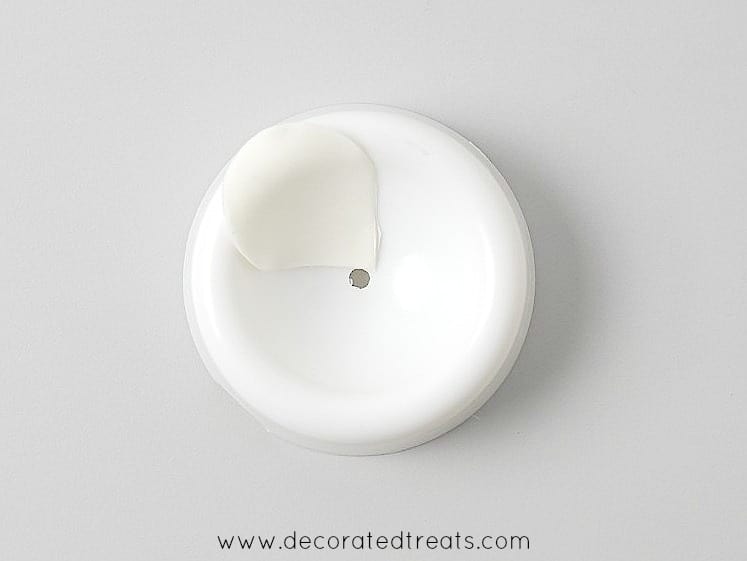
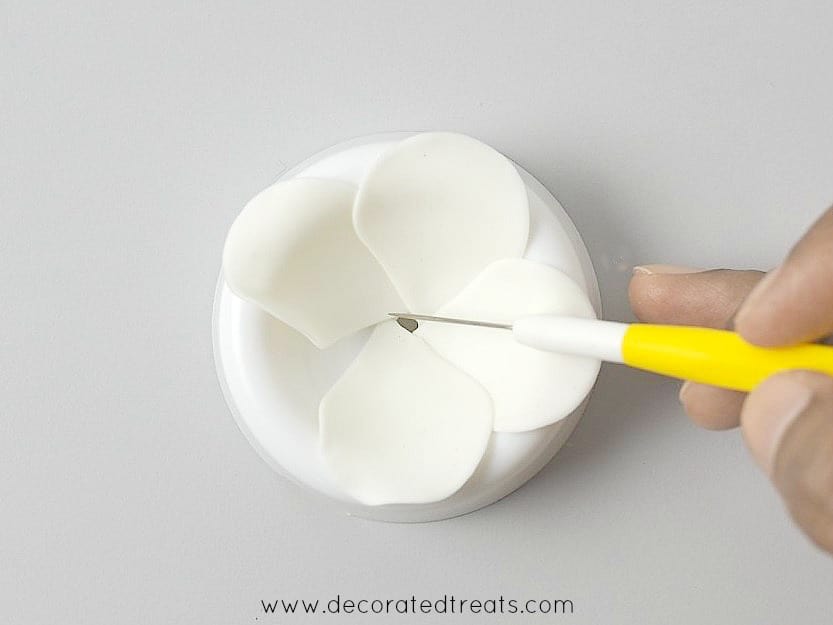
As can be seen in the image below (where I am pointing with my needle tool), the pointed end of the gum paste plumeria petal is not pointing directly to the hole in the center flower former, rather, it was placed next to it.

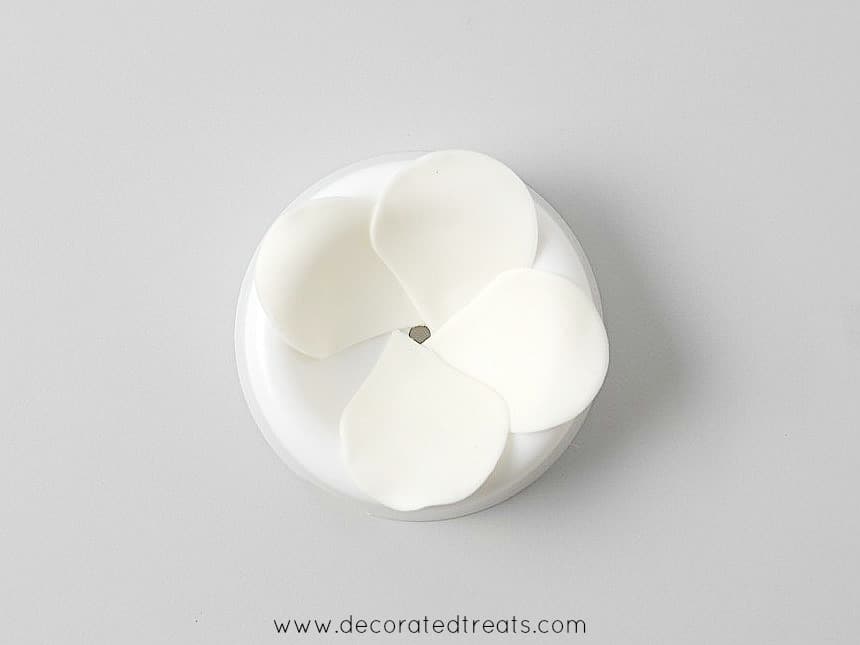
Place the second gum paste plumeria petal in the same way. Again, the pointed end should be placed pointing to the side of the hole instead of the center of the hole.
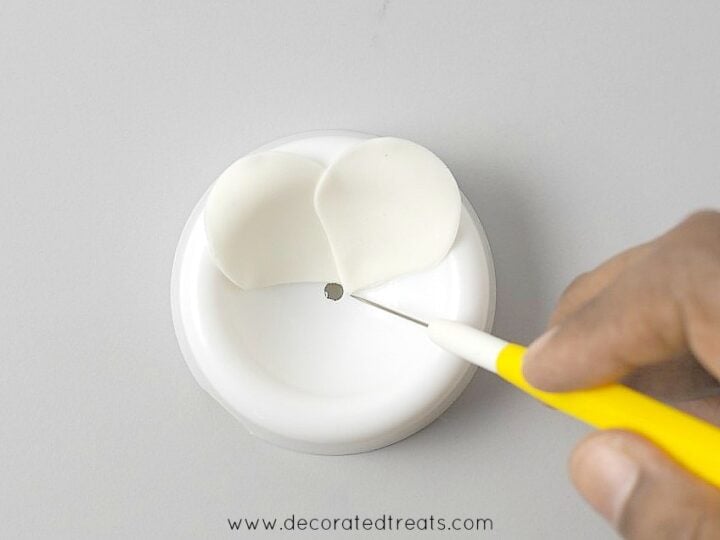
Repeat the process with the third petal.
The same for the forth plumeria petal, but by this time, the petal should be overlapping the first petal already.
Gently push the pointed end of the fourth petal underneath the first plumeria petal as shown, and in doing that, make sure the rest of the gum paste plumeria petals are not displaced.
And then for the final petal, the pointed end of it should be positioned beneath the first plumeria petal.
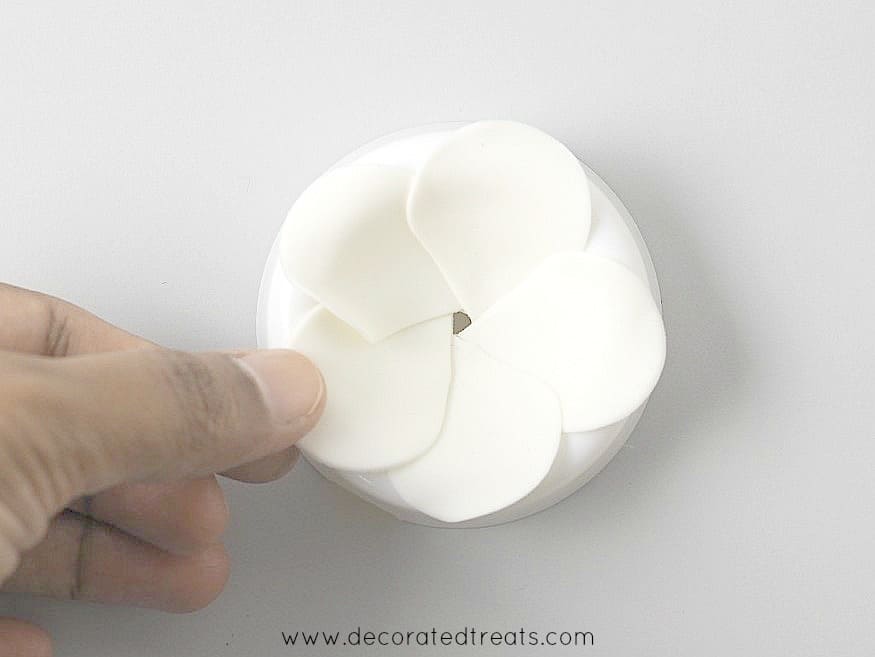
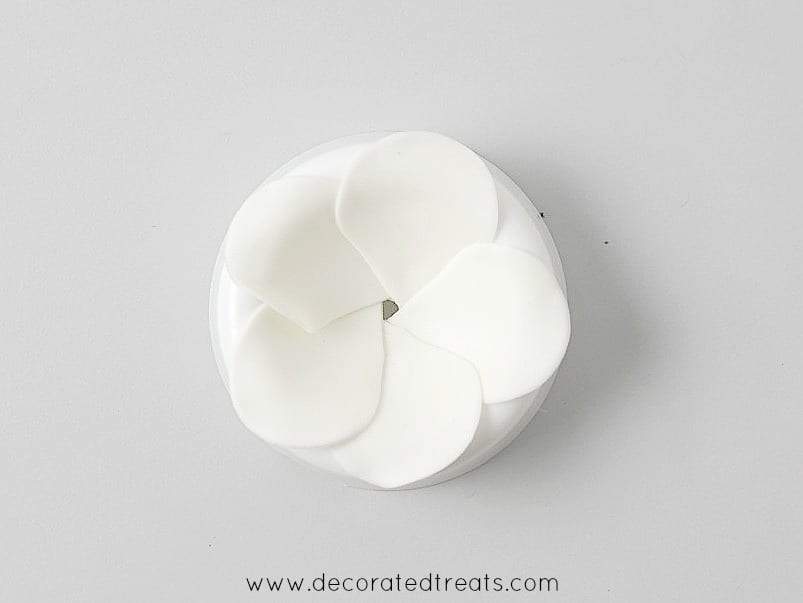
Once all the gum paste plumeria petals are arranged, push them closer so that the petals are all well positioned.
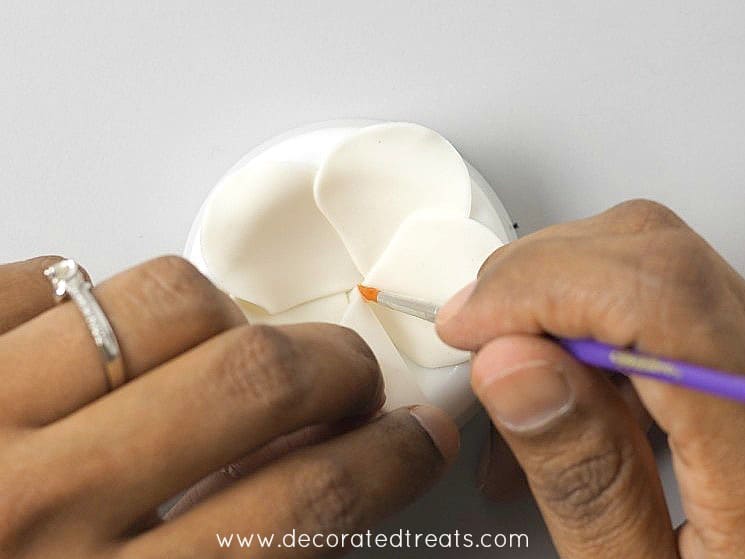
Step 3: Glue the petals
Secure the plumeria petals in place with fondant glue. Place only a very small touch of glue in the center of the flower, lifting each petal and using just enough glue to stick them all together.
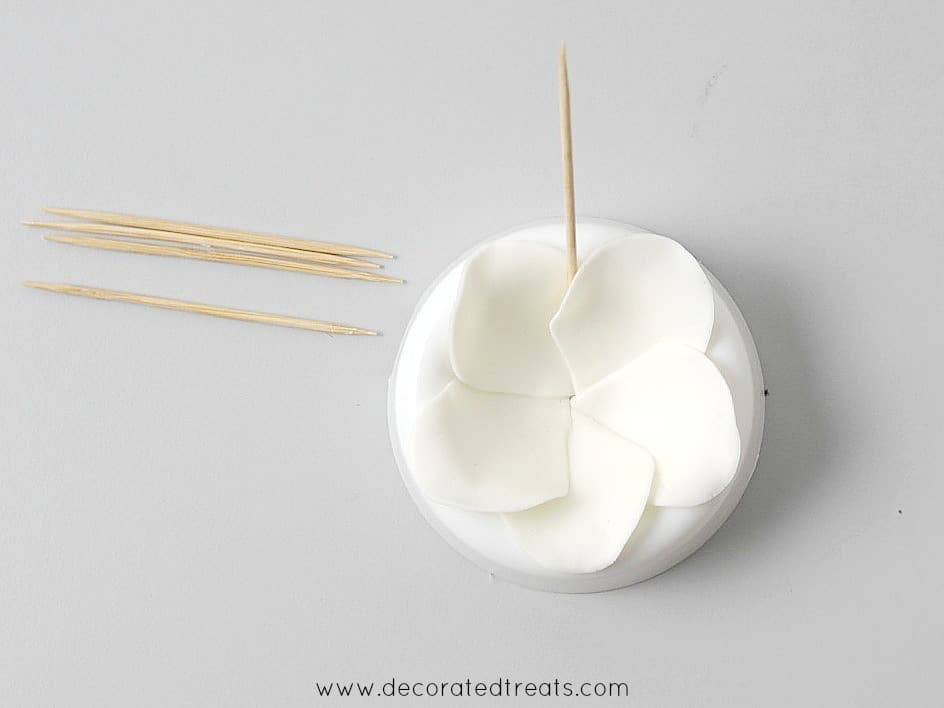
Step 4: Shape the plumeria petals for natural curves
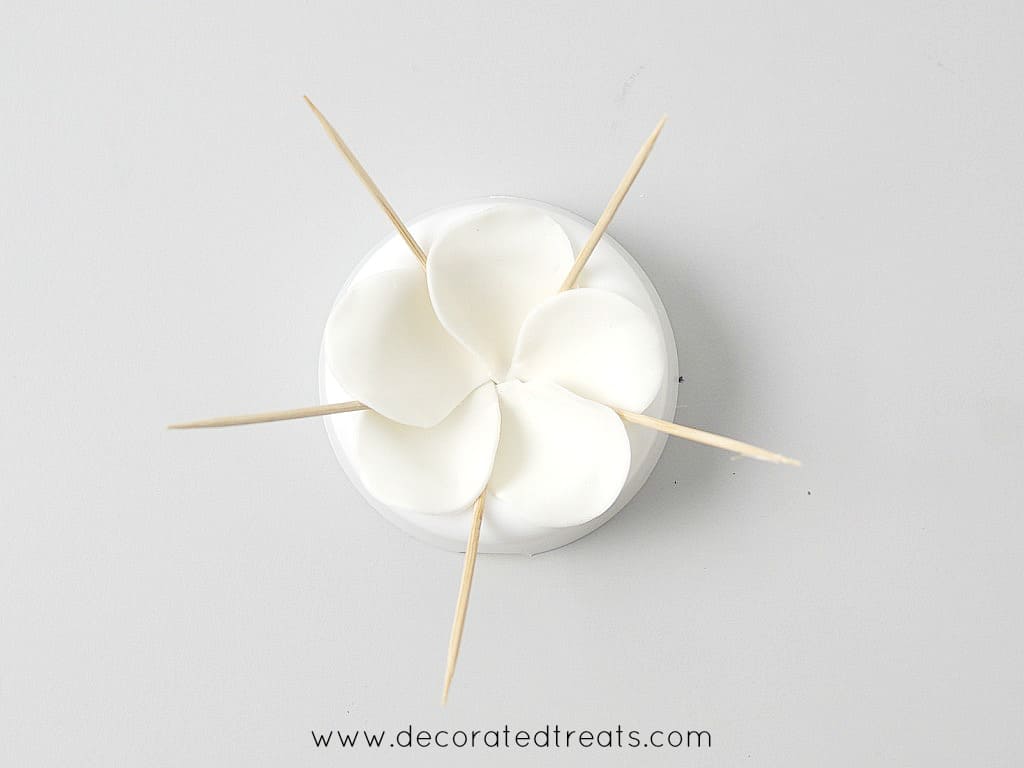
The next step after that is to form the curves on each petal. To do this, I used toothpicks. You would need to use 5 toothpicks for each flower, one for each of the plumeria petals.
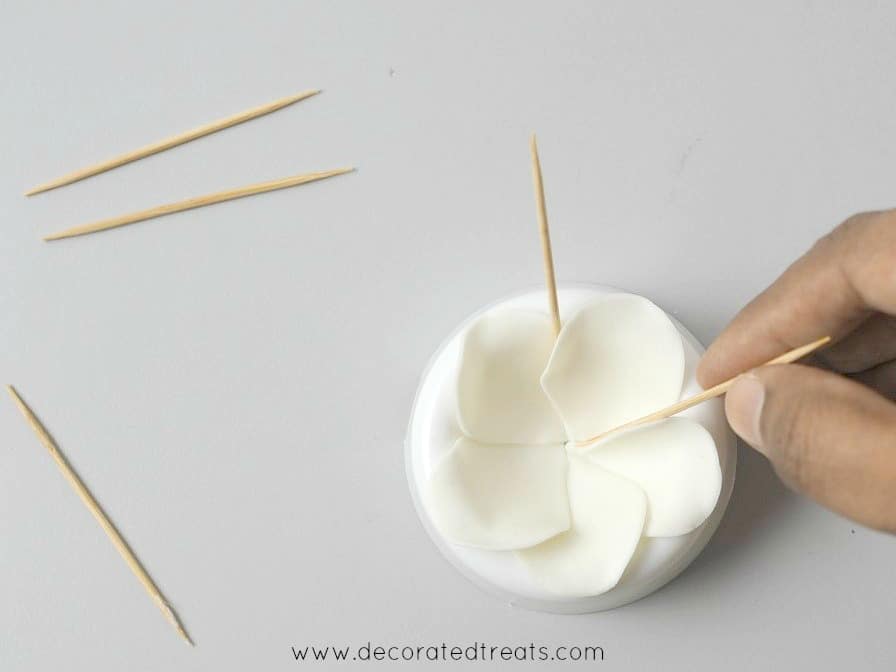
Place one toothpick underneath the side edge of each gum paste plumeria petal so that the petal forms into a slight curve.
Repeat the process for all the 5 petals of the plumeria.
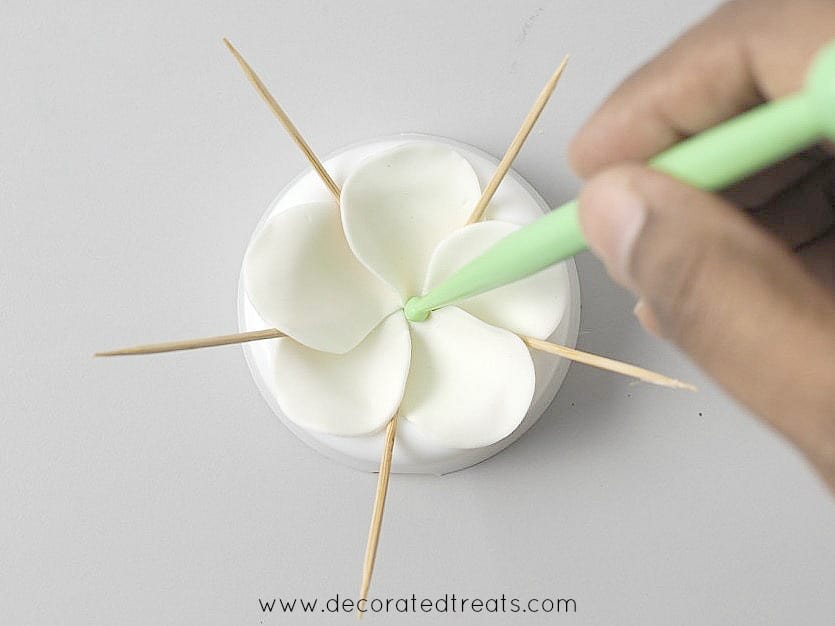
And the final step before setting the flowers to dry is to lightly press in the center of the flower with a ball tool, to make sure the gum paste plumeria petals are all well attached to one another.
Once the petals were set, remove the toothpicks.
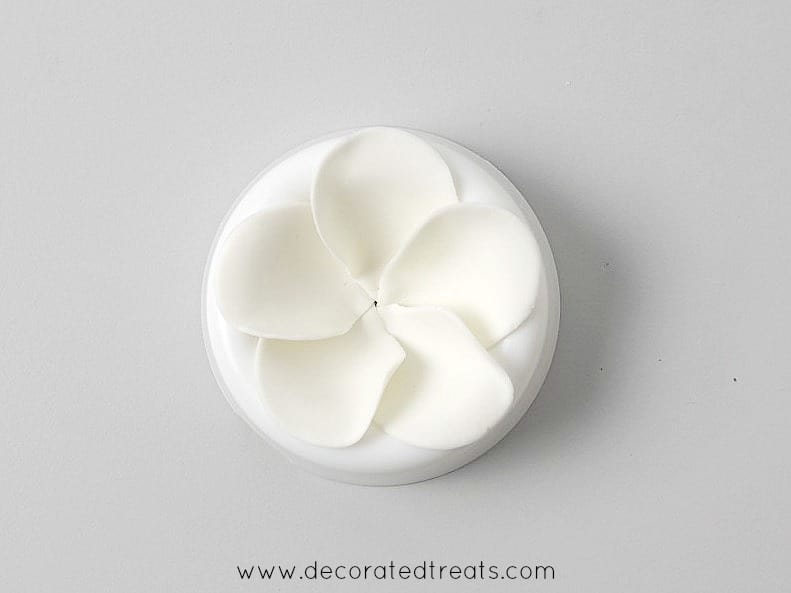
Leave the gum paste plumeria to dry completely (at least overnight) before removing them off the flower formers.
Step 5: Dust the petals
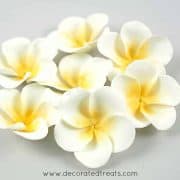
Once the plumerias are all dry and set, you can go ahead with the dusting. Since I was making the yellow centered plumeria flowers, I used Squires Kitchen Marigold dust food color.
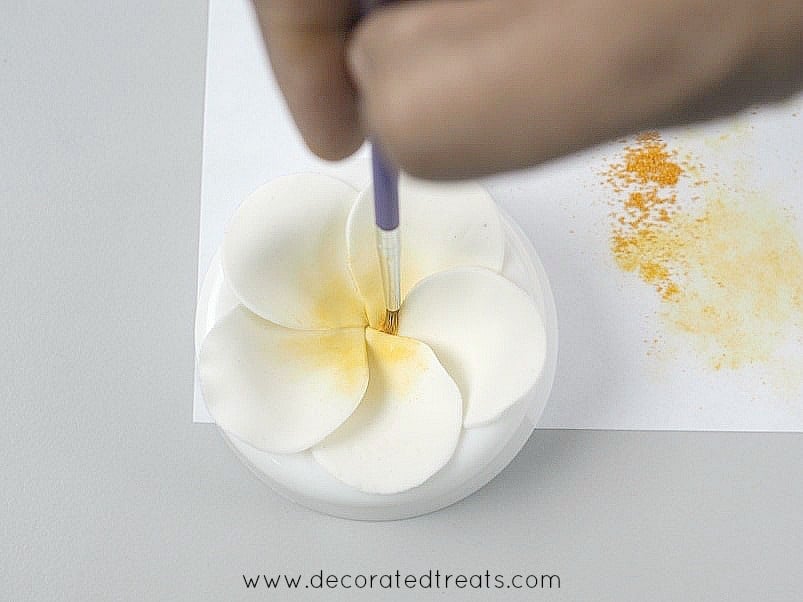
Note: Dusting the flowers while the gum paste is still soft will leave the brush marks on your flower petals.
Using a small dry brush, start the dusting from the center of each flower, fading the dust as you move up the plumeria petals.
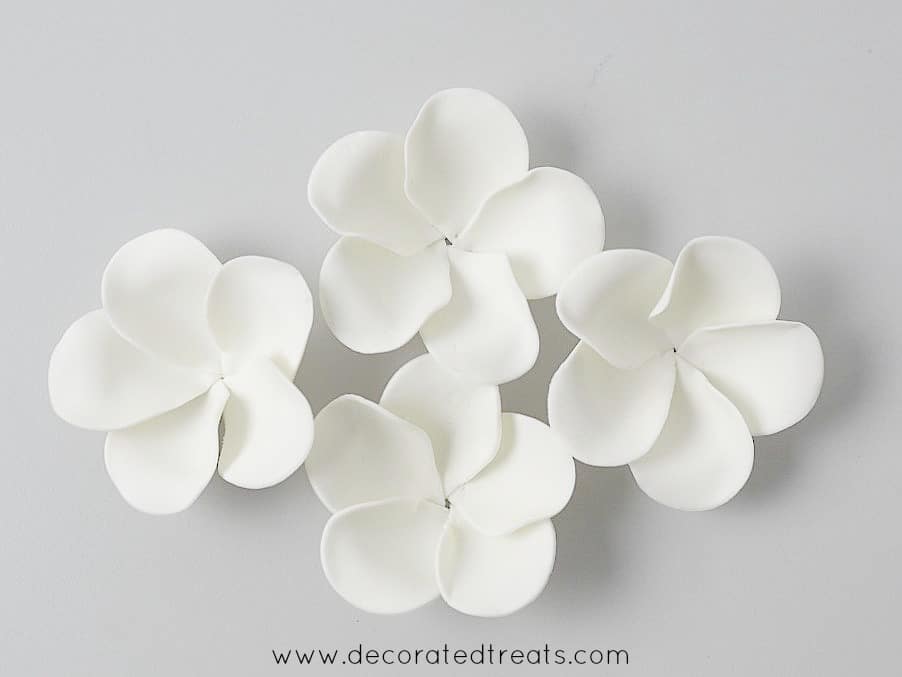
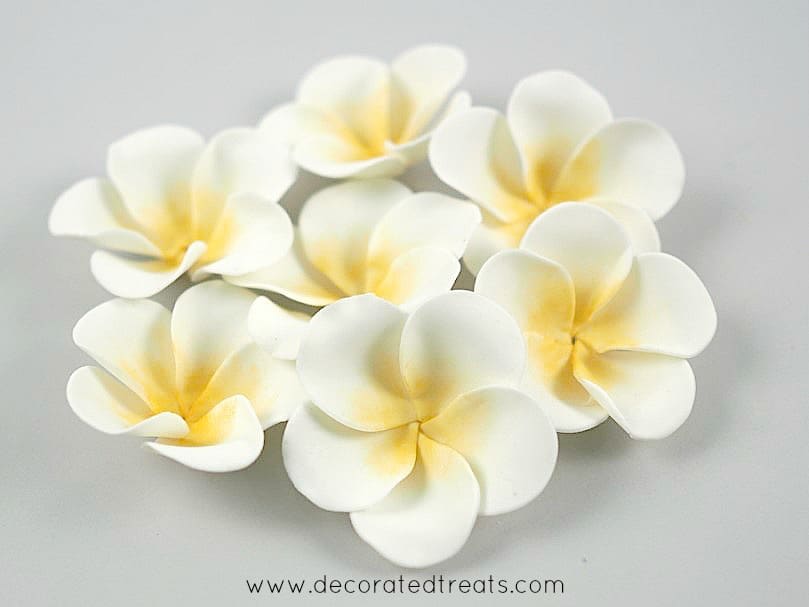
And this is how your completed my gum paste plumeria flowers should look like.
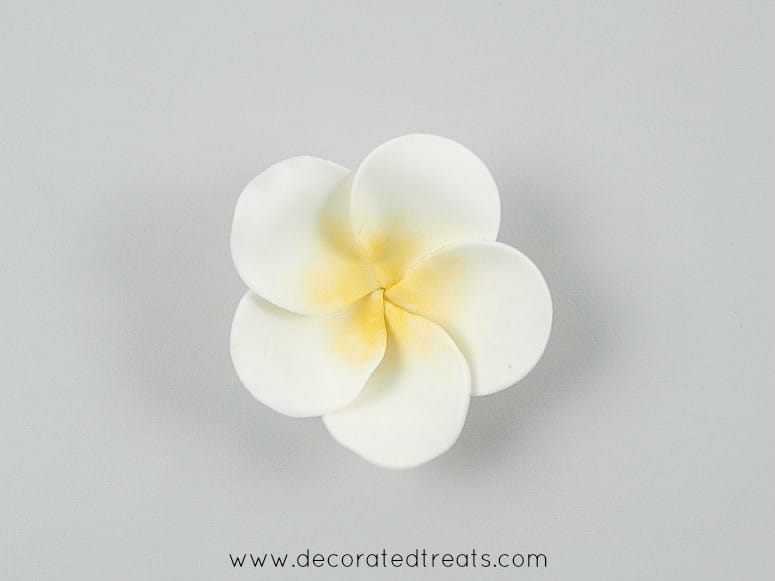
Pretty right? Hope you find this gum paste plumeria tutorial useful 🙂
Joelle Levy
You can tell what is sprayed on the flowers to make them shine