

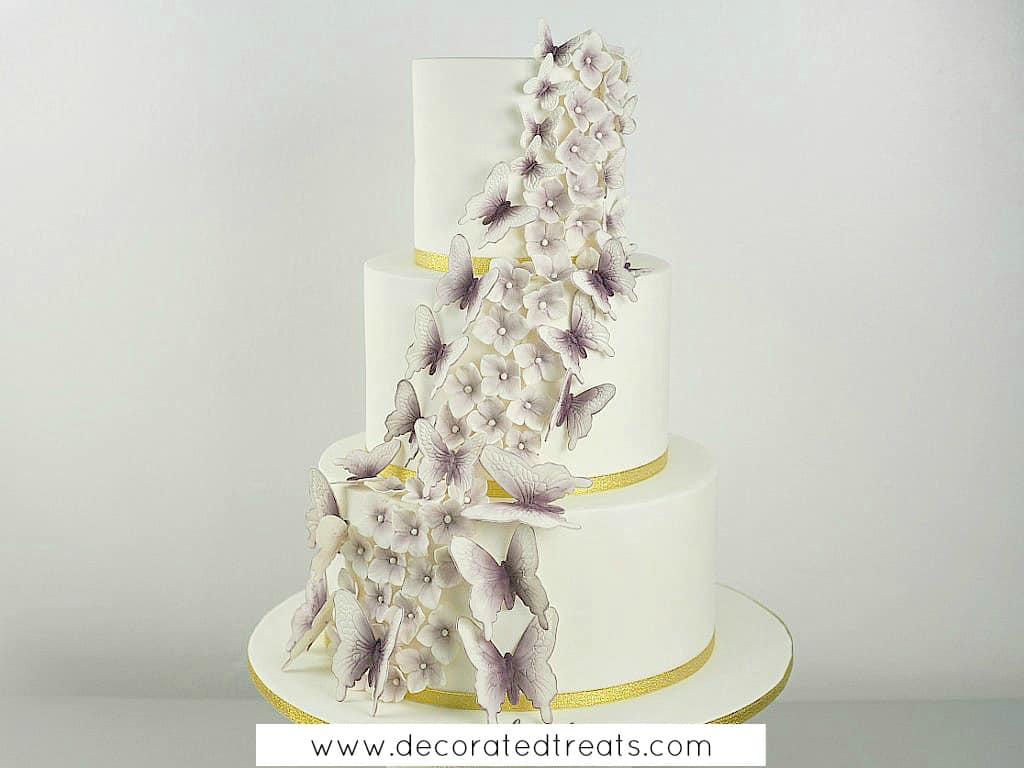
Learn how to make a cascading butterflies wedding cake with this easy tutorial. This is a 3 tier cake covered in white fondant and decorated with handmade gum paste hydrangea flowers and pretty gum paste butterflies.
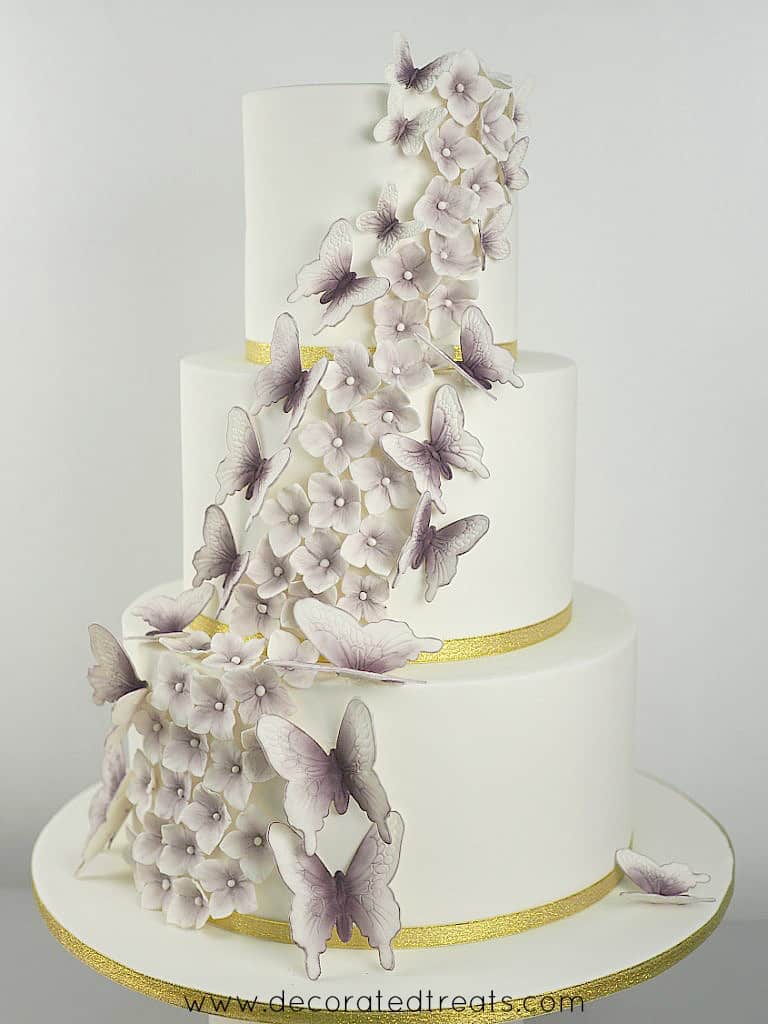
With the flowers and butterflies made in advance, this a fairly quick and easy wedding cake to make.
🧾Supplies Required
- Cake - This was a 3 tier cake, measuring 12 inches, 9 inches, and 6 inches in diameter. Each tier was approximately 6 inches high. The cake itself was made using my butter pound cake recipe and since the height was 6 inches instead of my normal 4 inches, I multiplied my recipe for each tier by 1.5 times.
- Buttercream - Each cake was layered and sandwiched with buttercream. I also used buttercream to crumb coat the cake.
- Fondant
- the entire covered was in white fondant. I also covered the cake board with fondant. I used Satin Ice white fondant.
- Gold ribbon
- Gum paste hydrangea - I made these a few days in advance with white Satin Ice gum paste
- Gum paste butterflies - I made these butterflies in advance and in 3 sizes - large, medium, and small. They were made using white gum paste
- Fondant glue - I used fondant glue to adhere the flowers and butterflies to the cake. This is so that the butterflies and flowers were totally secured to the cake.
👩🍳How to Make
Step 1: Make the Gum Paste Butterflies
I made these a few days in advance to give the butterflies sufficient time to set.
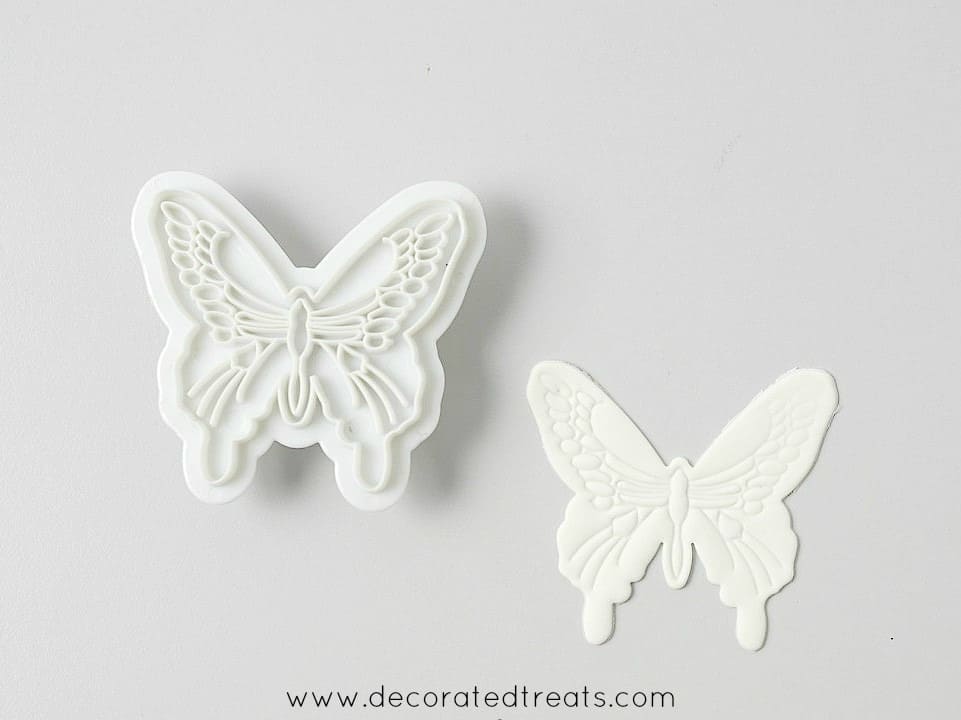
I rolled my gum paste thin and cut out the butterflies with butterfly cutters.

And then I placed the butterflies in a 'w' folded paper and let them set in that position.
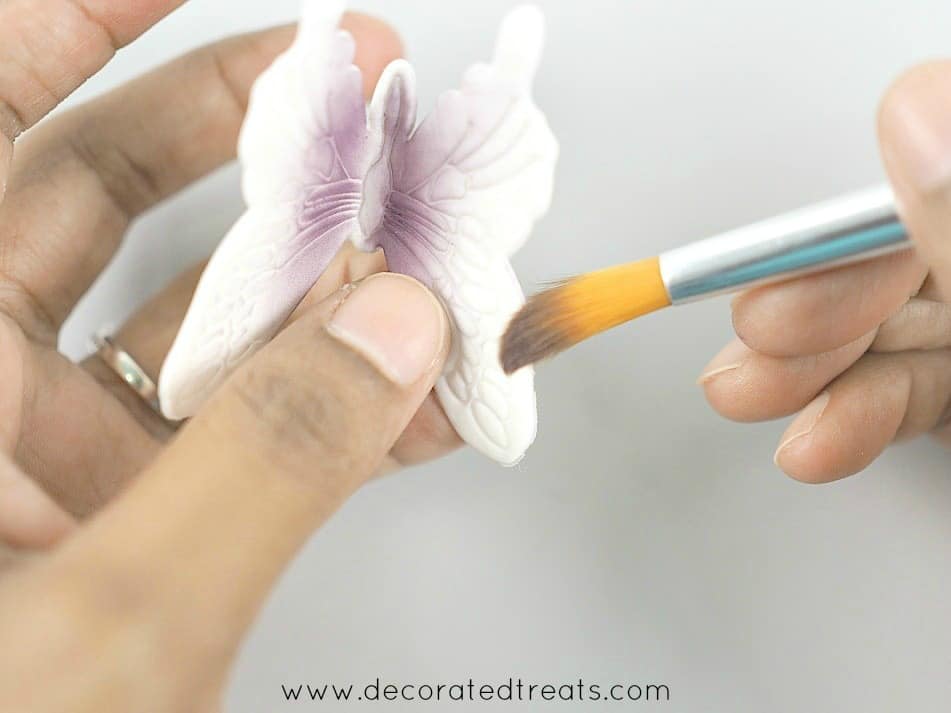
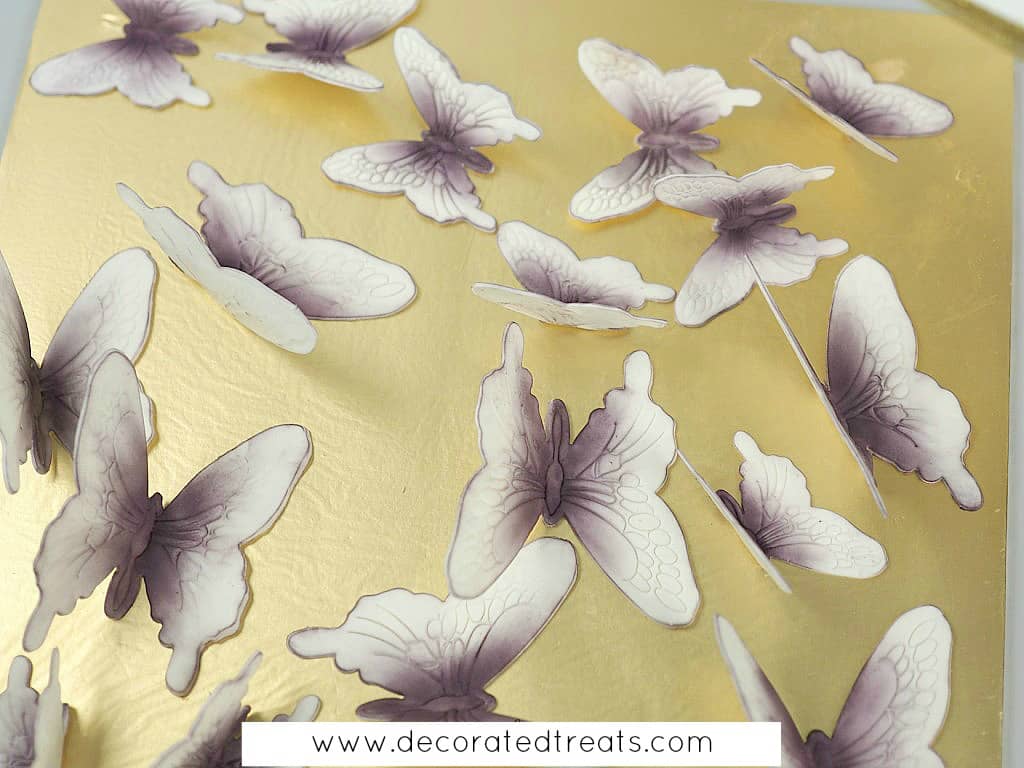
Once set, I dusted the butterflies with violet petal dust.
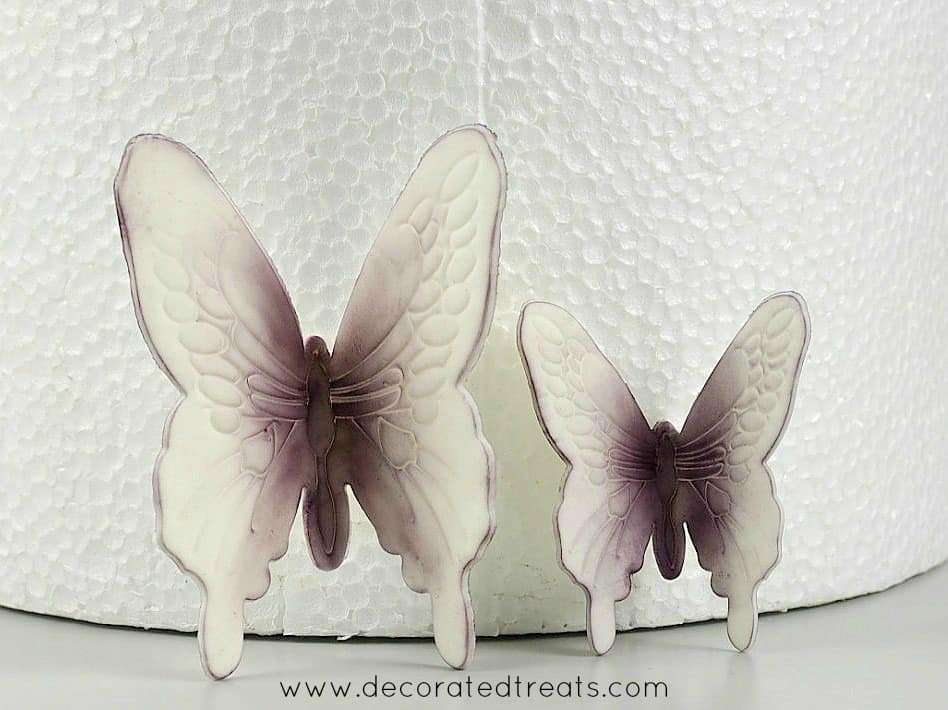
I made the butterflies in 2 different sizes and also made some extras to allow for breakages.
Step 2: Make the Gum Paste Hydrangea
Similar to the butterflies, I made these flowers in advance so that they free up my time to assemble the cake.
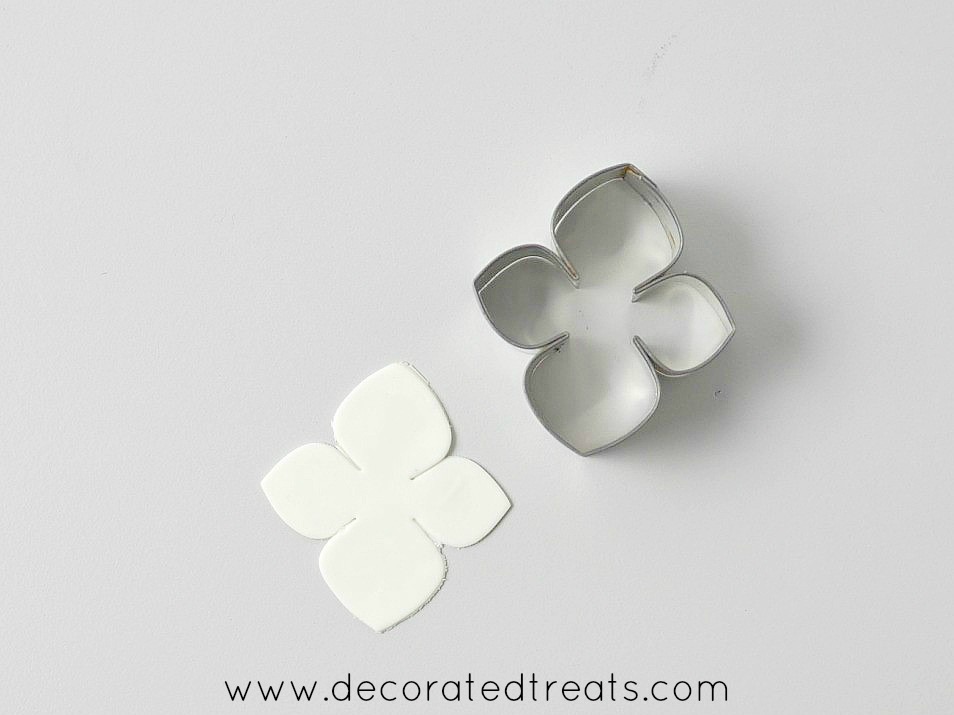
I cut the flower petals in thinly rolled gum paste.
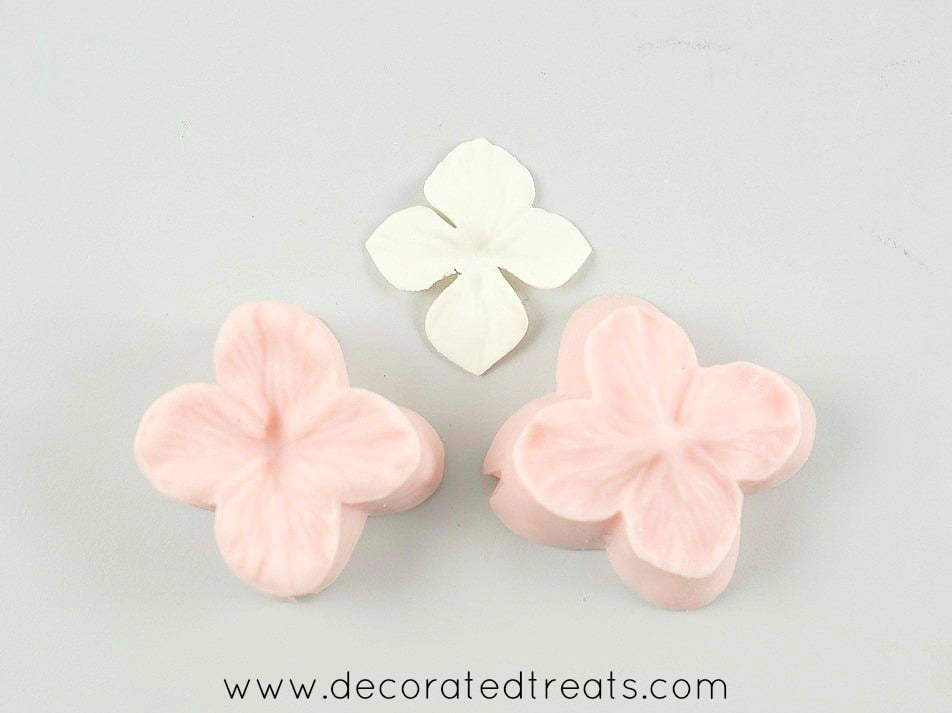
And then I veined the petals with a hydrangea flower veiner.
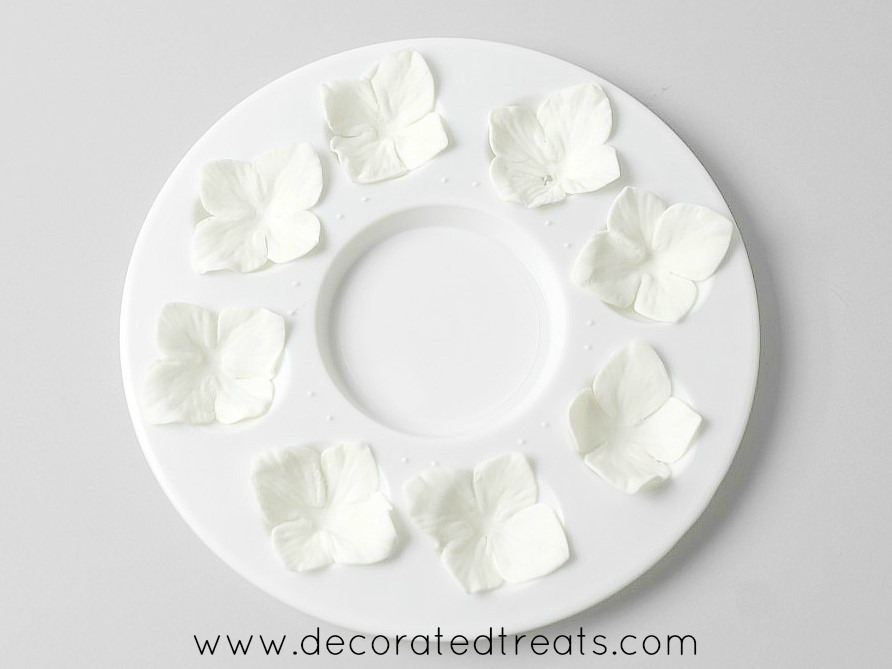
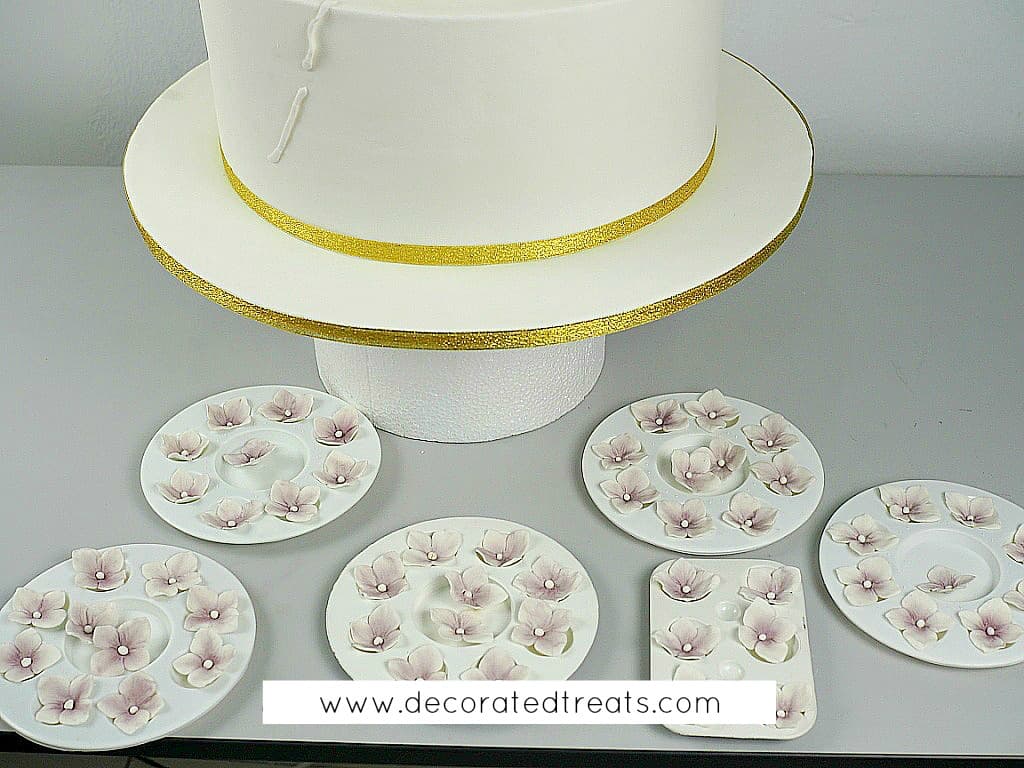
I placed the flowers in a painting palette to allow them to set in a naturally rounded shapes.
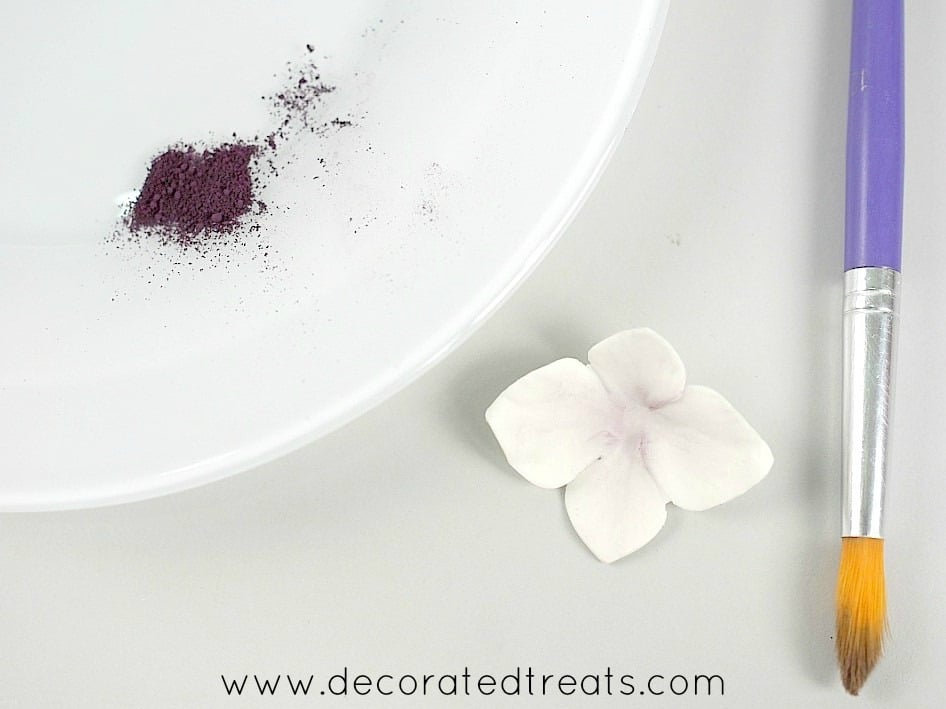
Once completely set, I dusted the centers with the same violet petal dust used for the butterflies.
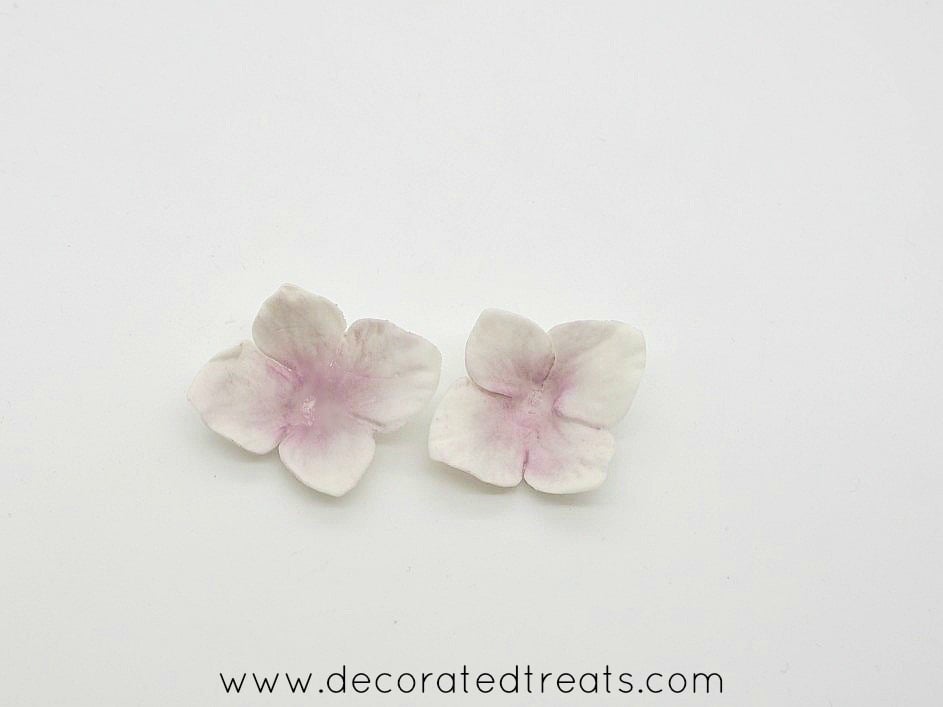
I only dusted the centers.
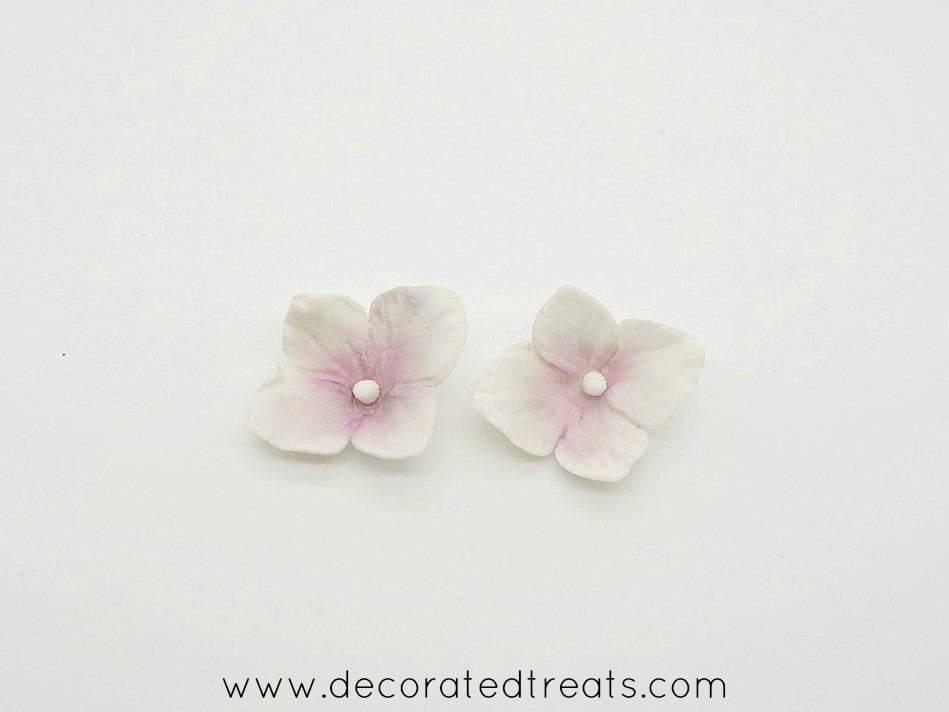
And then I formed tiny white gum paste balls and attached them to the flower centers with fondant glue.
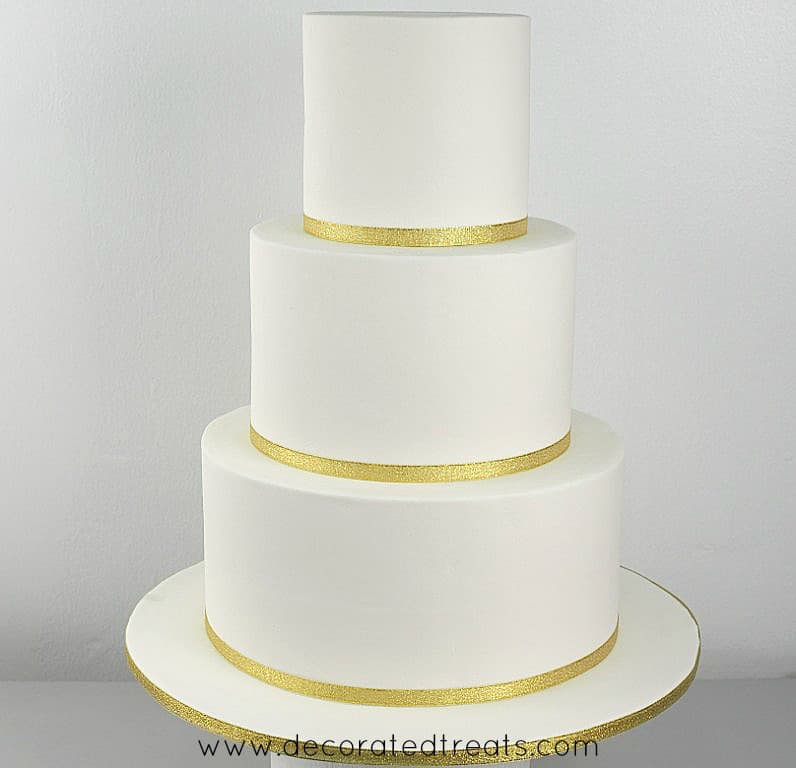
Step 3: Bake and Stack the Cakes
Once the cakes were baked and completely cooled, each tier was leveled, sandwiched, crumb coated, and covered in fondant separately. I then stacked them and used bubble straws as support (here's my guide on how to make tiered cakes).
I also covered the cake board with fondant and then attached a gold ribbon around the base and the cake board. The ribbon was attached around the cakes with fondant glue and on the cake board with hot glue.
Step 4: Attach the Flowers
Once that was done, I used white fondant, rolled it into thin strips and attached it to the stacked wedding cake with some shortening. The strips were not meant to be seen after all the flowers and butterflies have been attached to the wedding cake.
They were purely a guide for me to position the flowers and butterflies so that I get them all in a consistent curve around the cake.
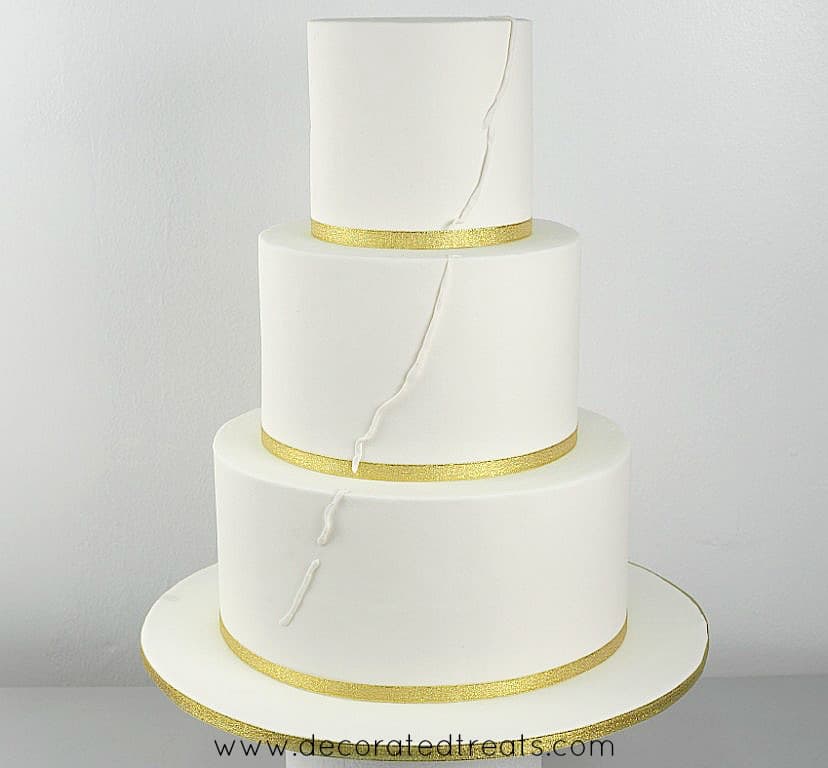
Once I was happy with the guide line, I started with the flowers.
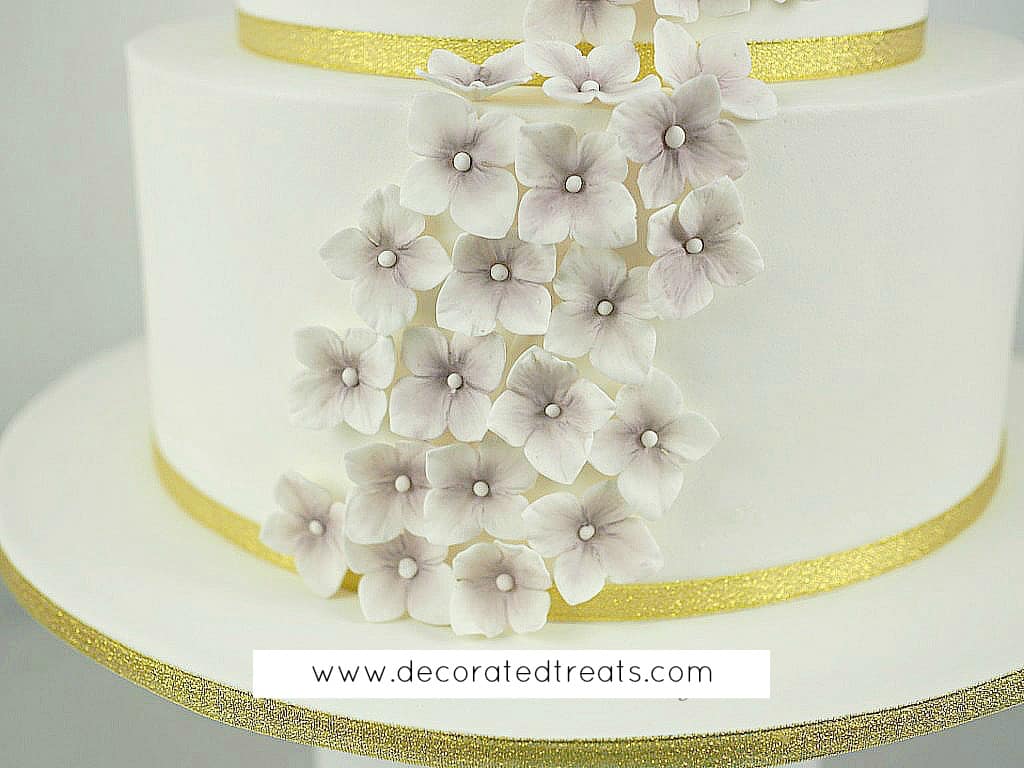
I attached the flowers with fondant glue close to the fondant strips earlier, and in doing that trying as much as possible to cover the strips so that they are not visible once the flowers were all attached.
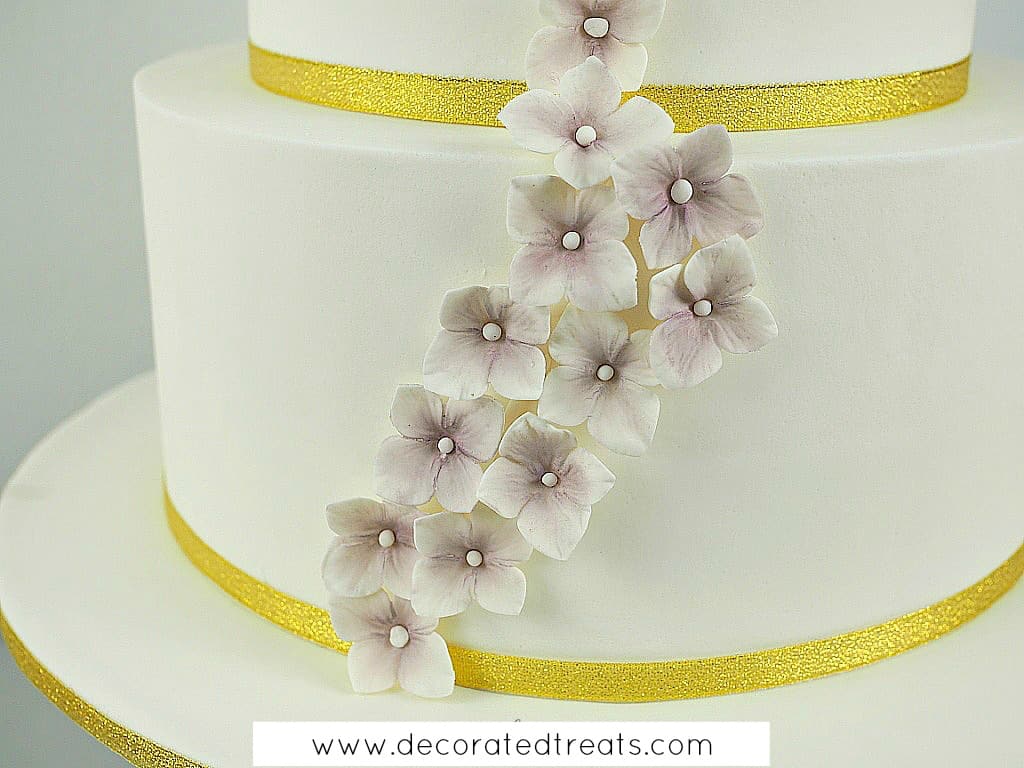
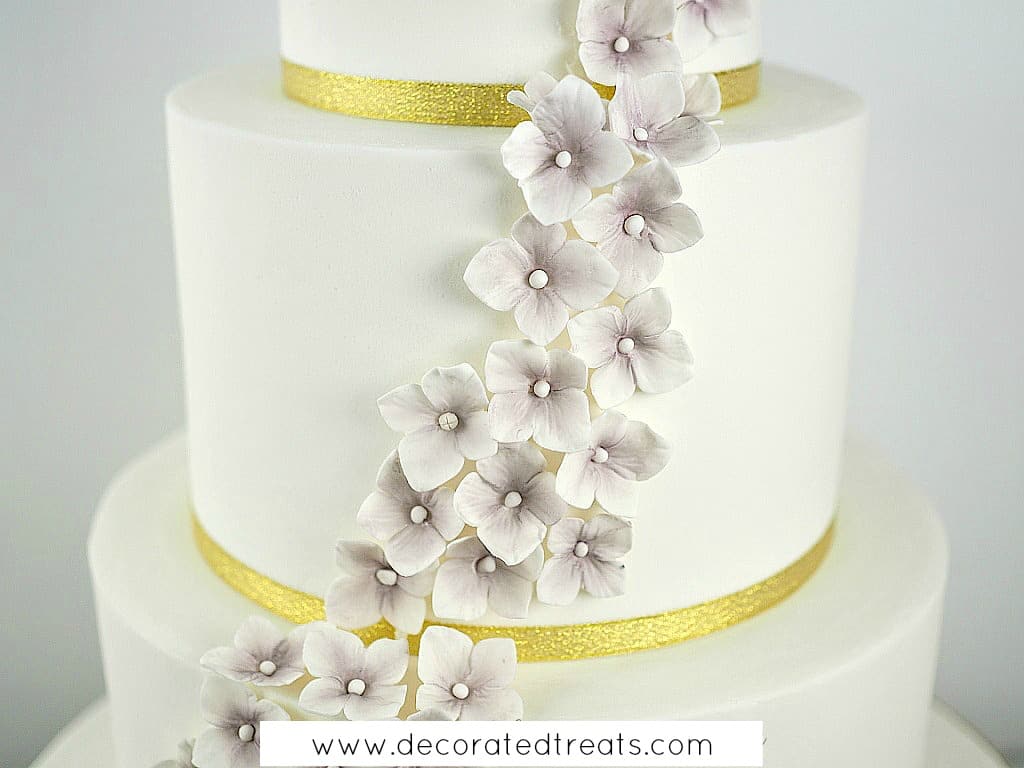
I then added more flowers on the sides such that I get a wider arrangement at the bottom of the cake and a gradually narrower arrangement as it reaches the topmost cake layer.
This was the arrangement on the second layer:
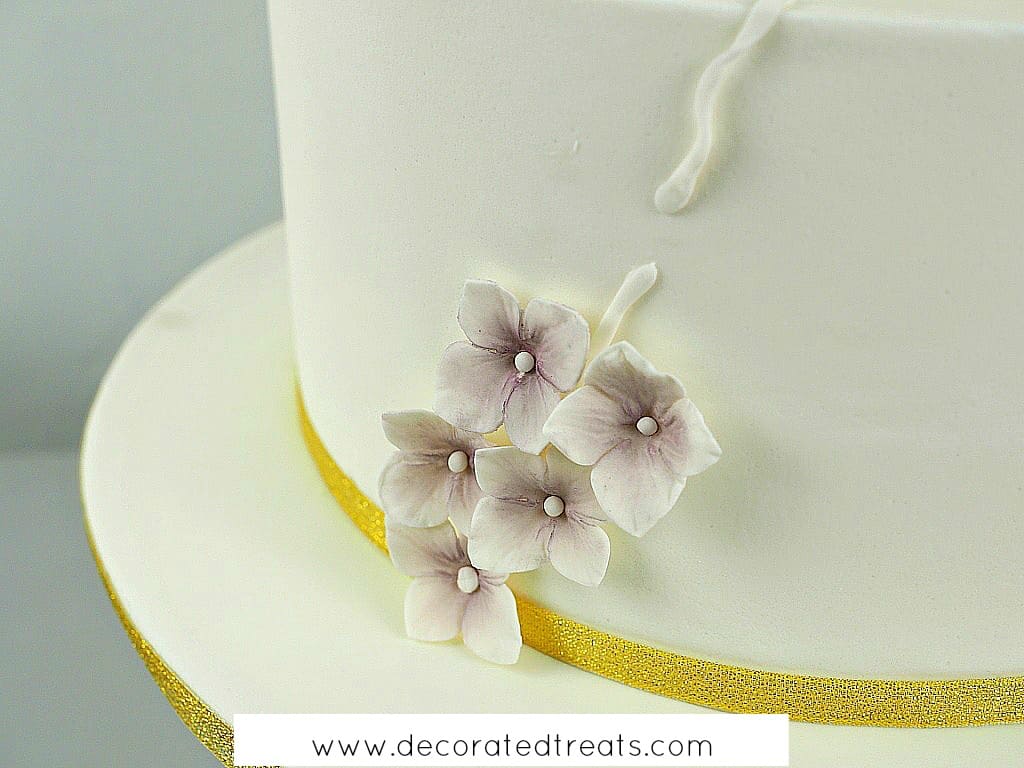
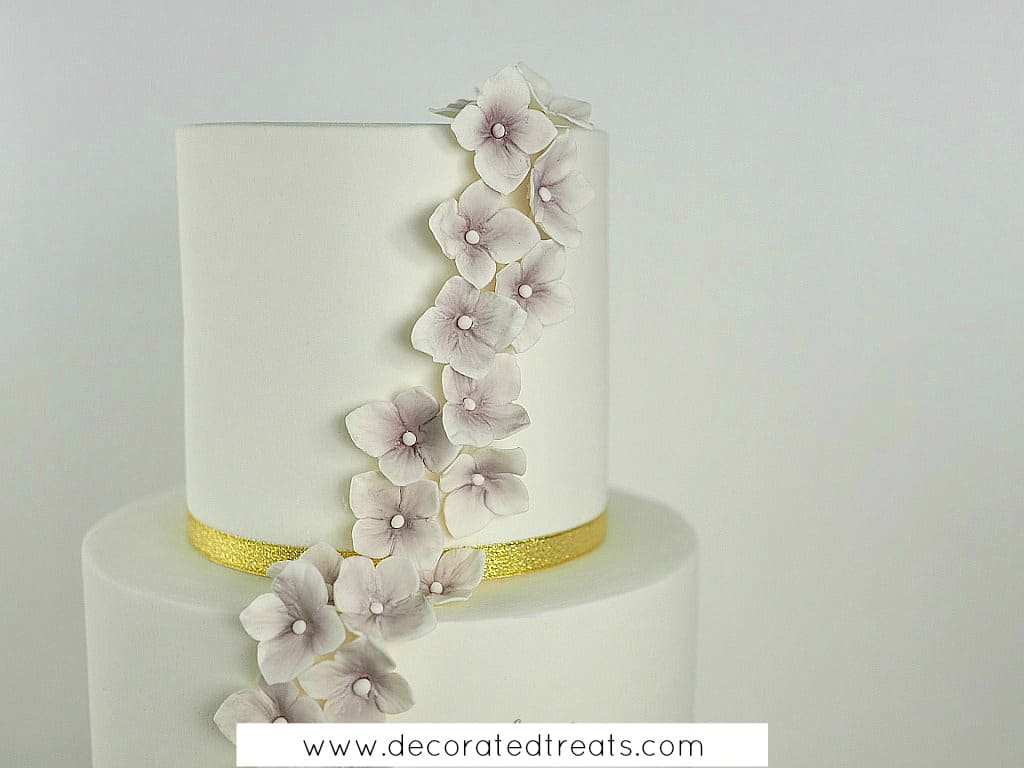
And this was the arrangement on the top cake. I ended the flowers right on top of the cake.
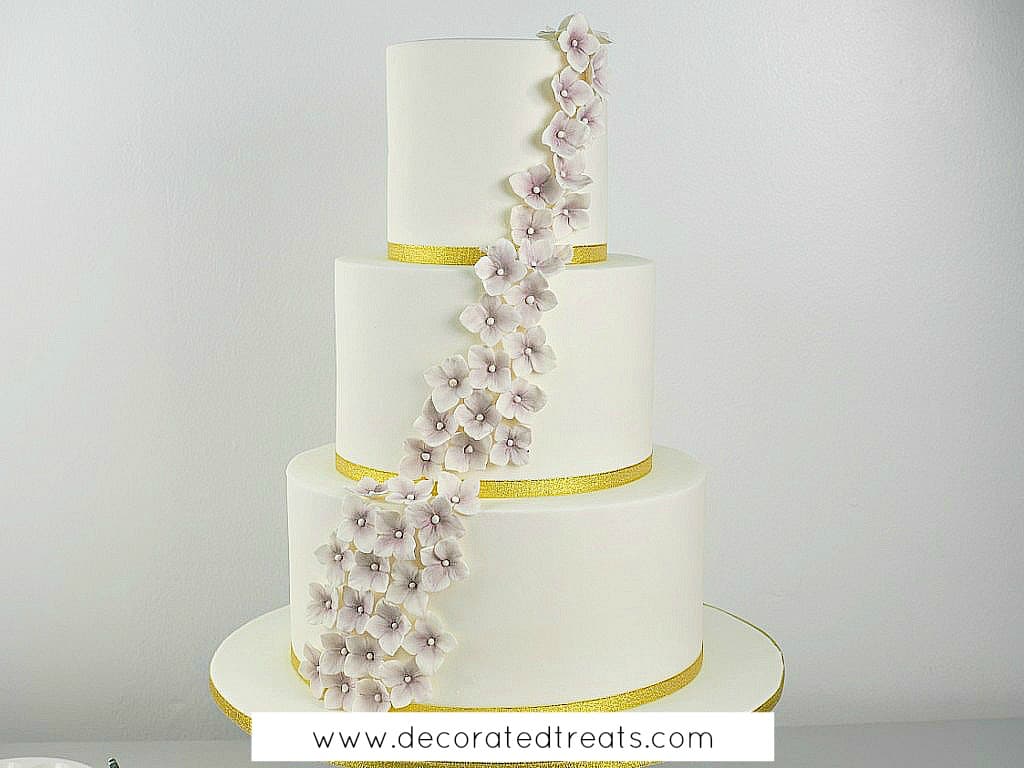
And here was how the completed hydrangea flowers arrangement on the wedding cake looked like:
Step 5: Attach the Gum Paste Butterflies
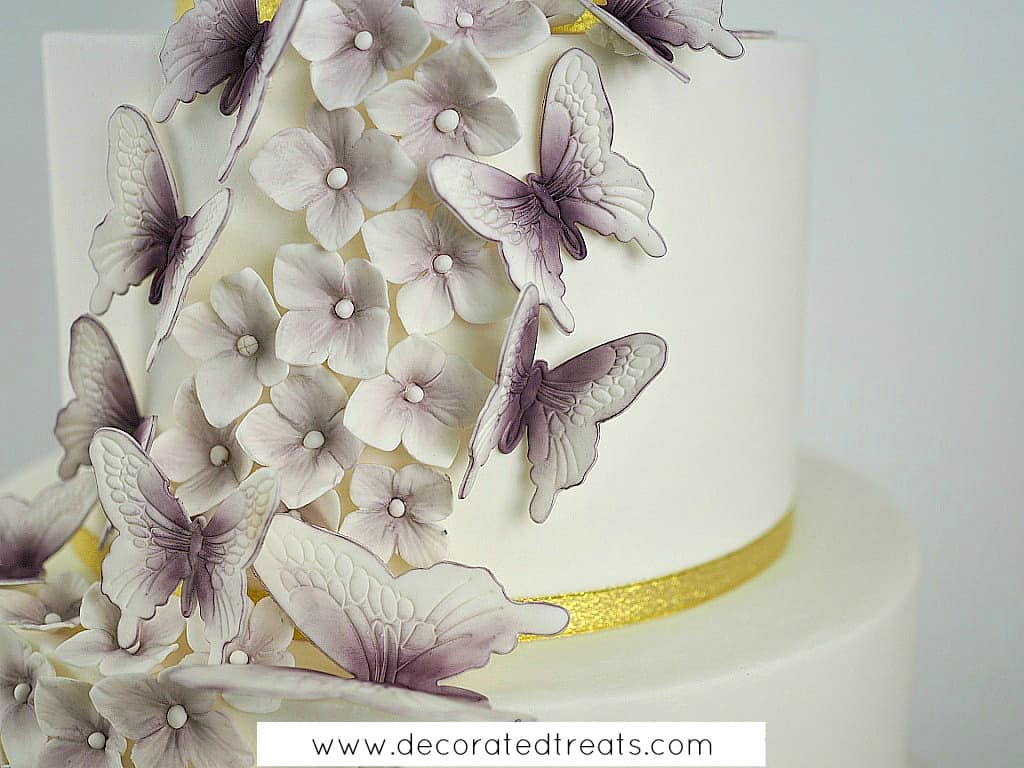
Once the flowers were all put on the cake, the next step was to attach the butterflies. As I have mentioned above, I had the butterflies in 3 sizes. I used the largest ones for the bottom layer, the medium-sized ones for the middle layer, and the smallest for the top layer.
I started with the bottom layer and attached each butterfly to the cake with fondant glue.
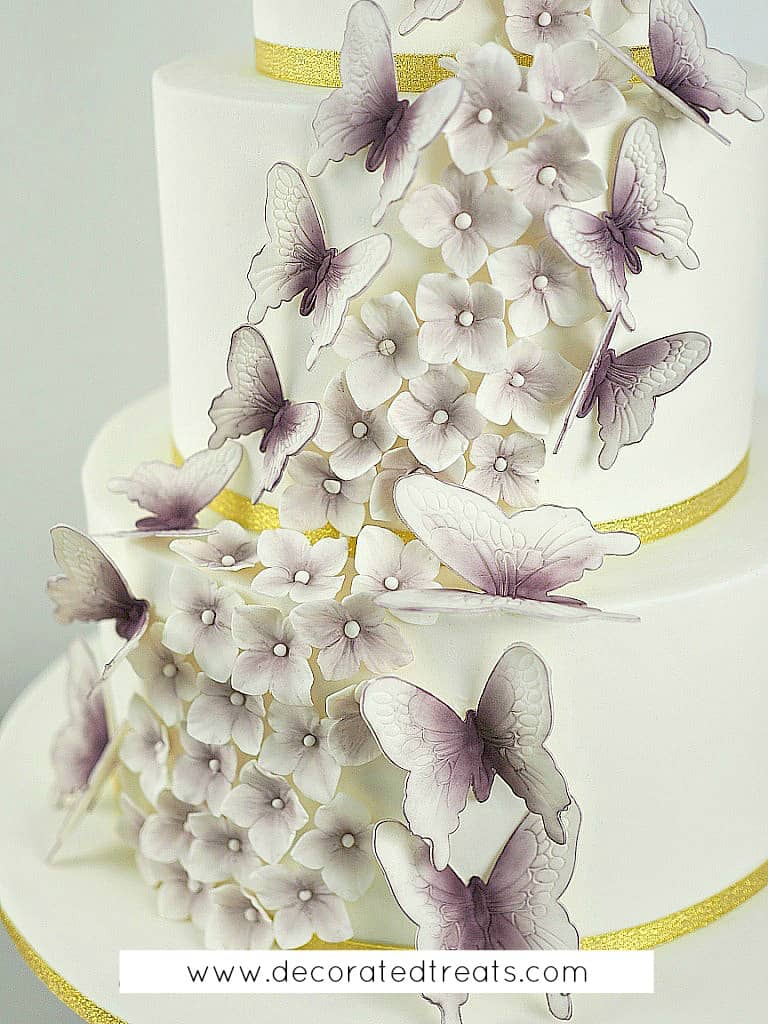
Here was how the bottom 2 tiers looked like with butterflies attached:
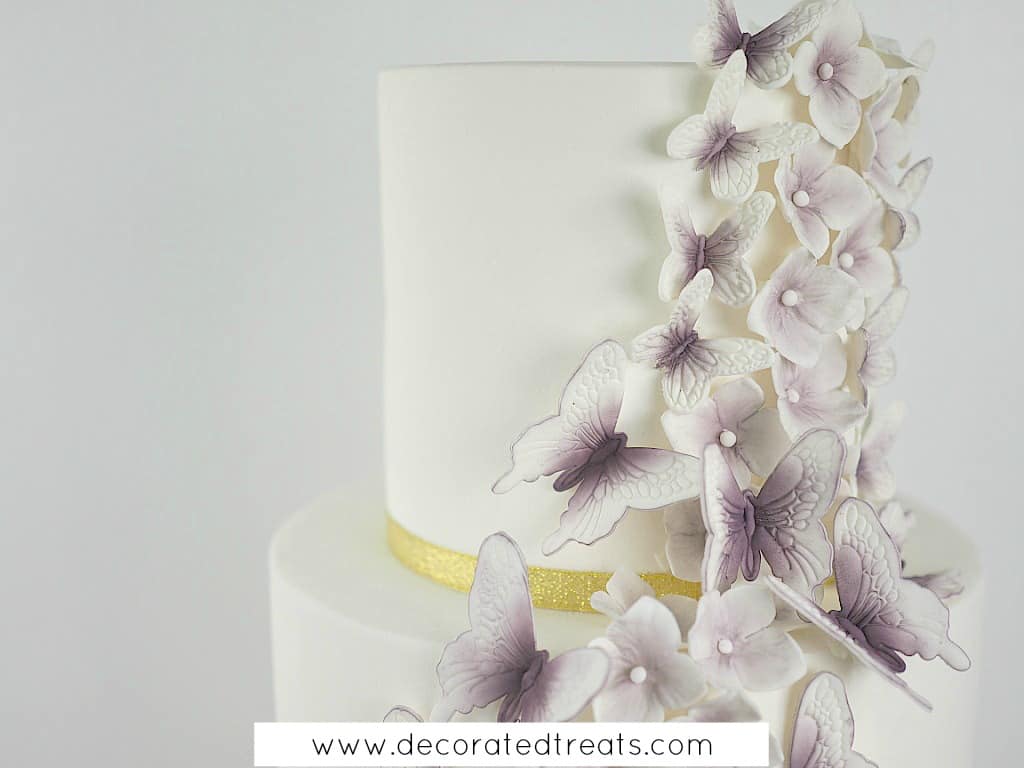
And I used the smallest sized butterflies for the top most tier.
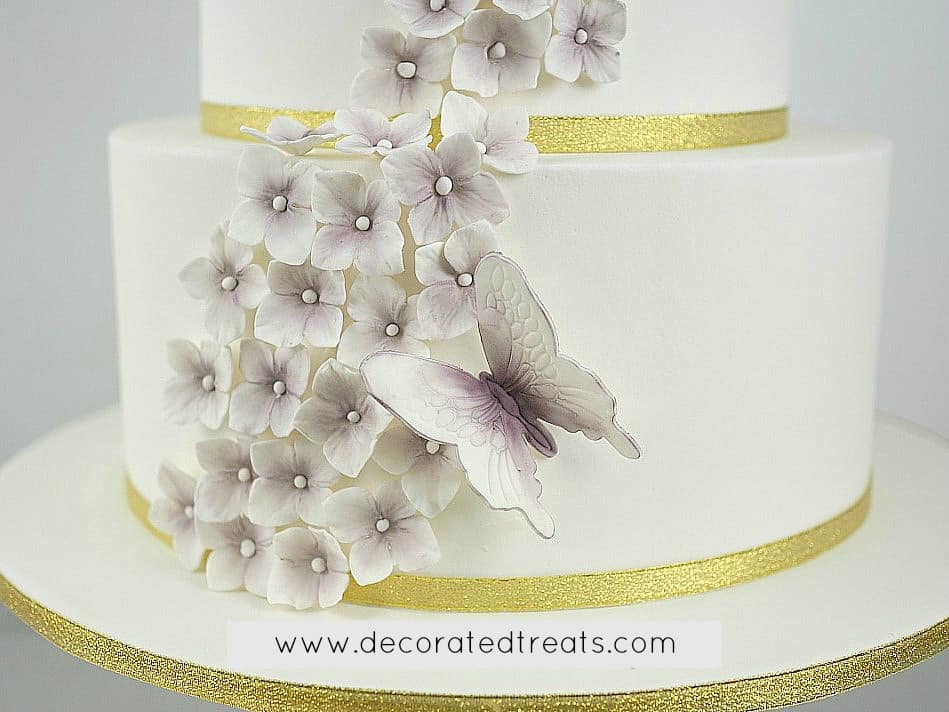
Finally, I attached one large butterfly on the cake board, on the right side of the cake.
And that was how I made my butterflies wedding cake.

Leave a Reply