

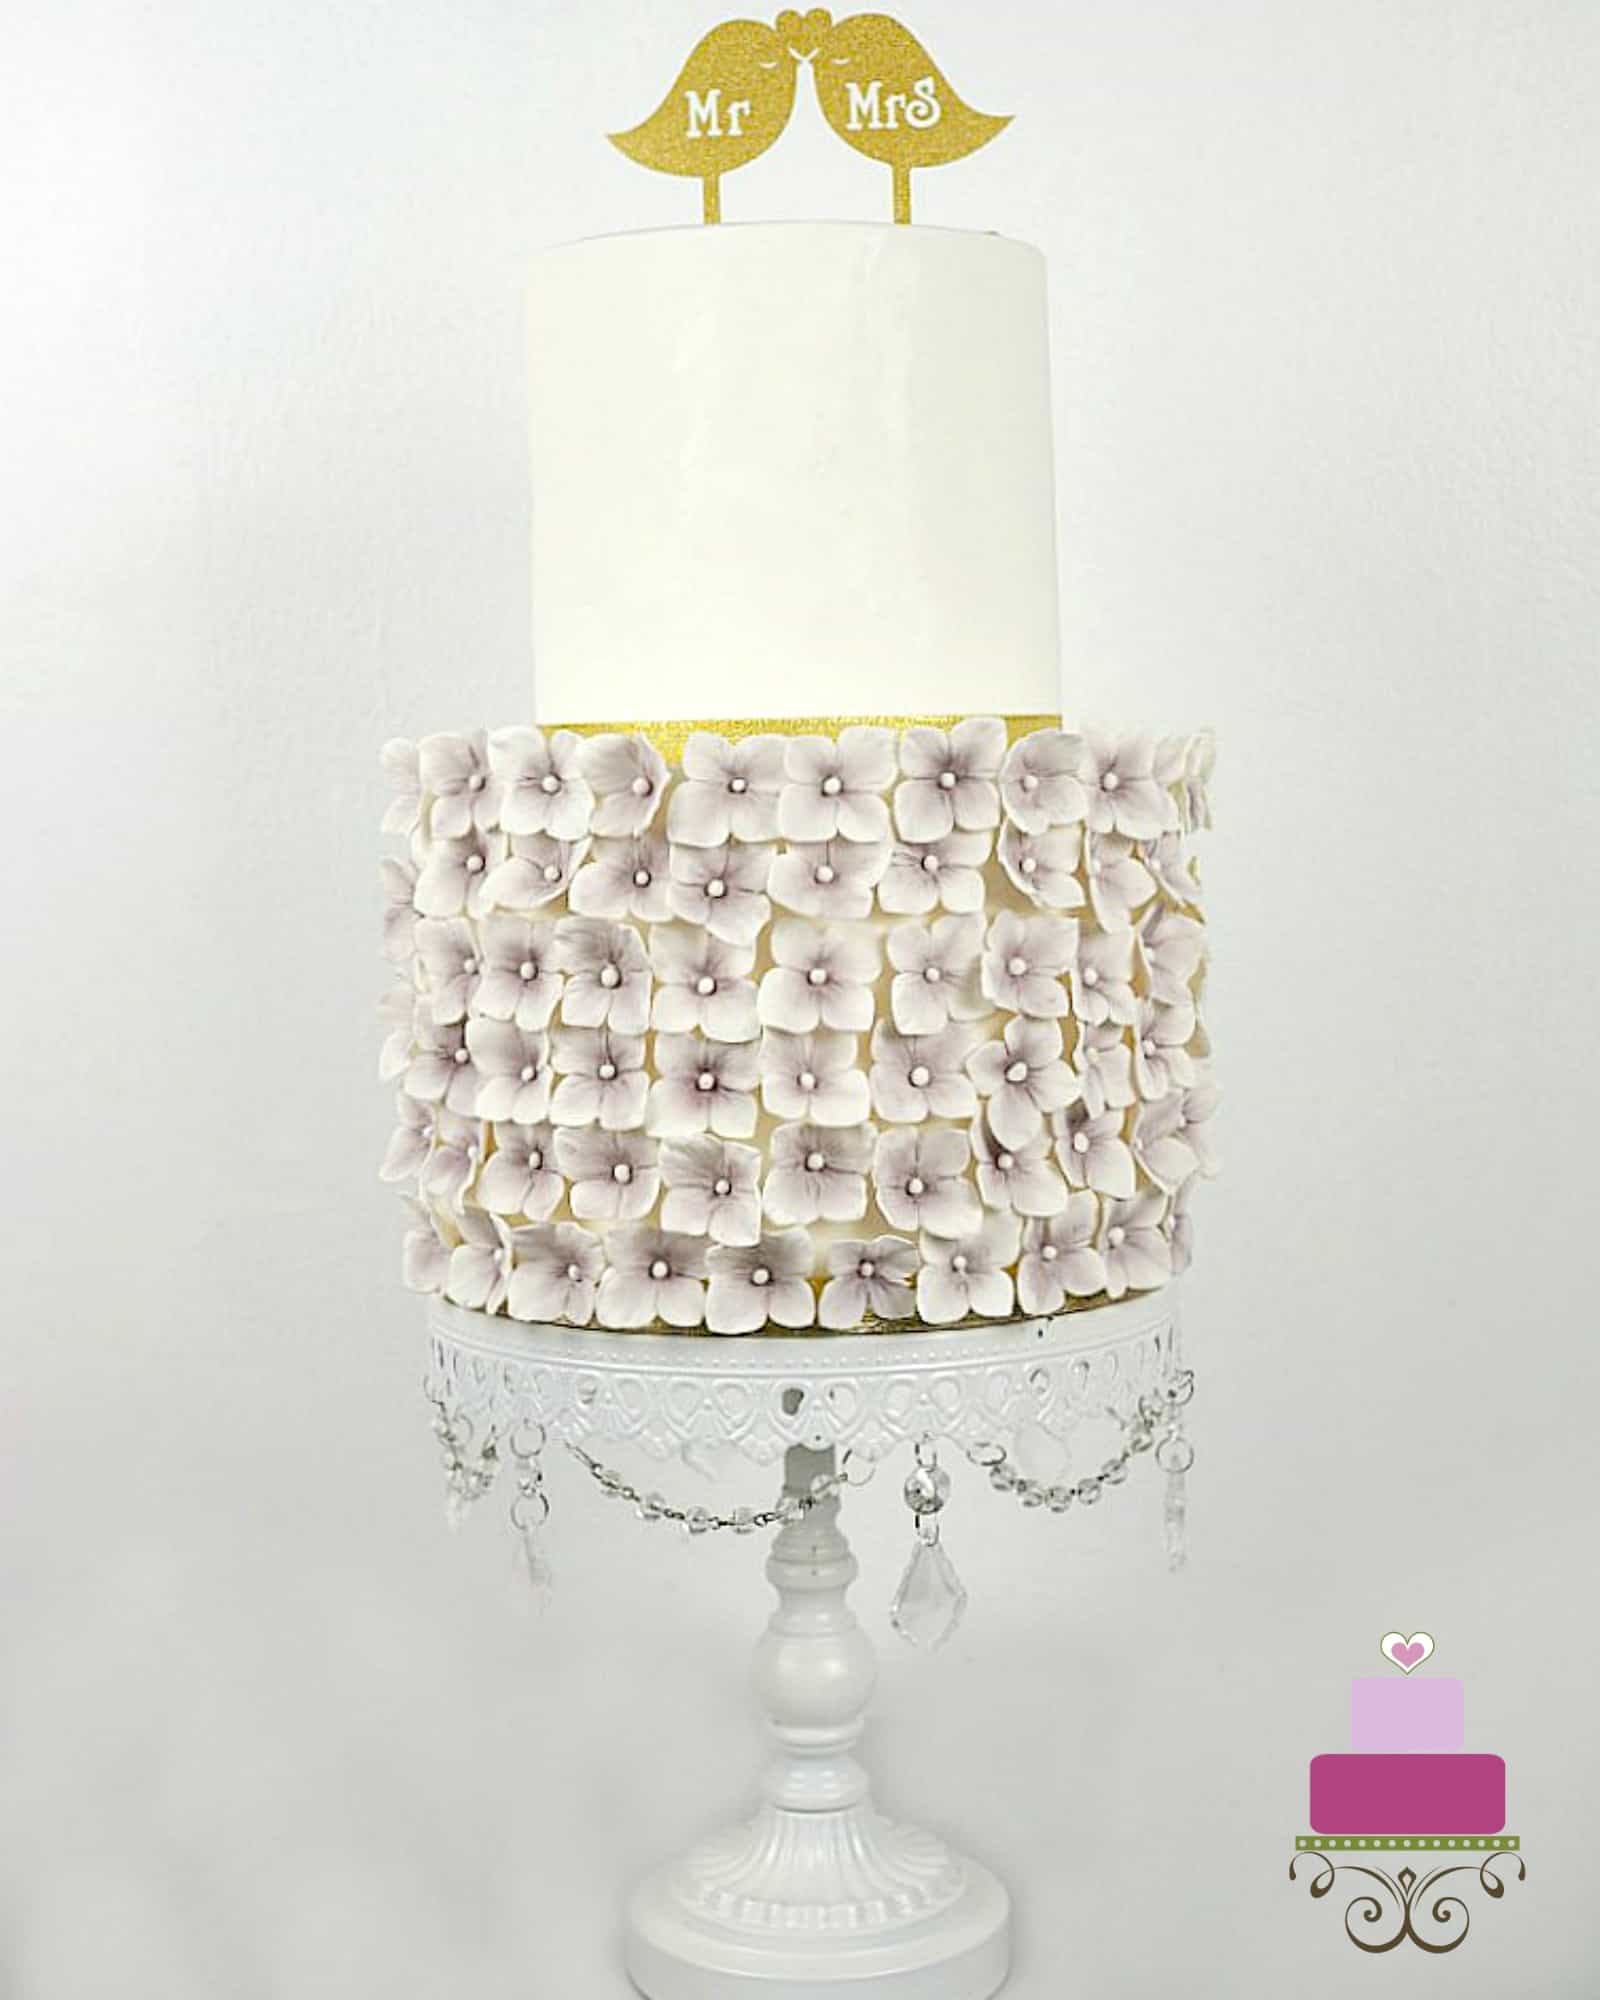
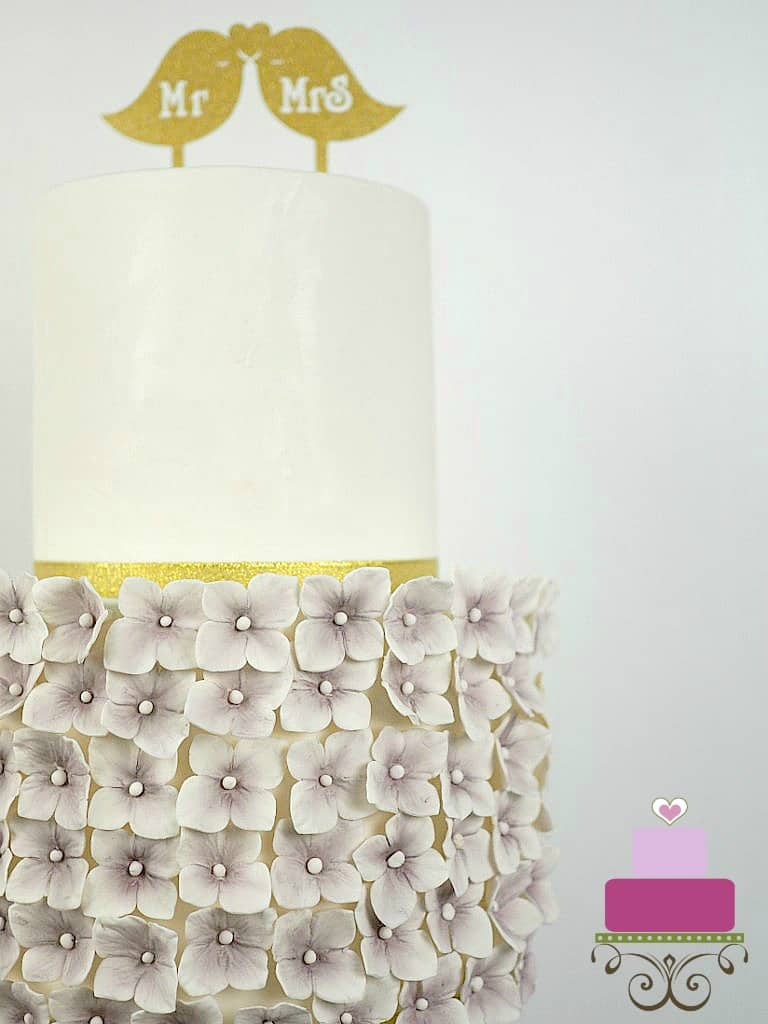
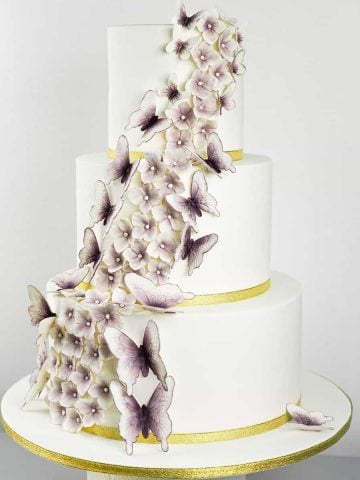
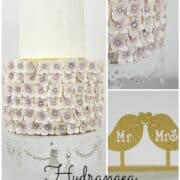
Here is a cute hydrangea wedding cake I made for a sweet couple not too long ago. This is a two-tier wedding cake with the bottom tier covered fully in rows of handmade gum paste hydrangeas and the top of the cake decorated with a cute lovebirds topper made of glittering gold paper.
This was a reasonably simple wedding cake and was pretty easy to assemble. The only time-consuming bit was making the hydrangea flowers, but since those could be made ahead of time, assembling the wedding cake really was quite fast.
The entire cake was covered in fondant and the hydrangeas were made using gum paste. I made them white and then dusted them with violet dust color. The topper was store-bought, and it came ready with a lollipop stick as its pick, so all I had to do was poke it into the wedding cake.
🧾Supplies Required
- Cake - This was a 2 tier round cake, with the top tier measuring 6 inches in diameter and the bottom tier measuring 9 inches in diameter. Each tier was approximately 6 inches high so that made the height of the wedding cake (without the topper) to be 12 inches high. I used my butter pound cake recipe for the cake.
- Buttercream - Each tier consisted of 3 layers of cake and I used buttercream to sandwich these tiers. I also used buttercream to crumb coat the cake before covering them with fondant.
- Fondant - The entire wedding cake was covered in fondant. I used white Satin Ice fondant.
- Gum paste - I used Satin Ice white gum paste for the hydrangeas.
- Fondant glue - I used this to stick the hydrangea flower centers to the flowers as well as to stick them to the cake.
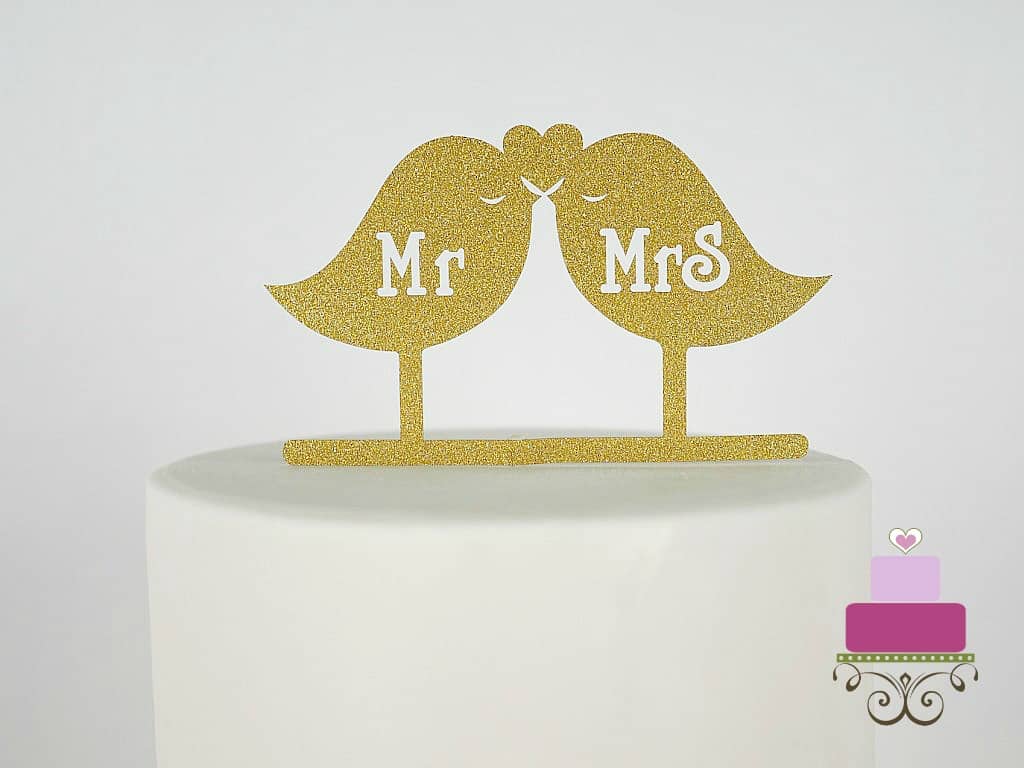
- Lovebirds topper - This is a paper topper. It's made with glittering gold paper. I purchased this from a local cake decorating supplies shop.
- Gold ribbon - I used this gold ribbon as the border for the top tier of the hydrangea wedding cake.
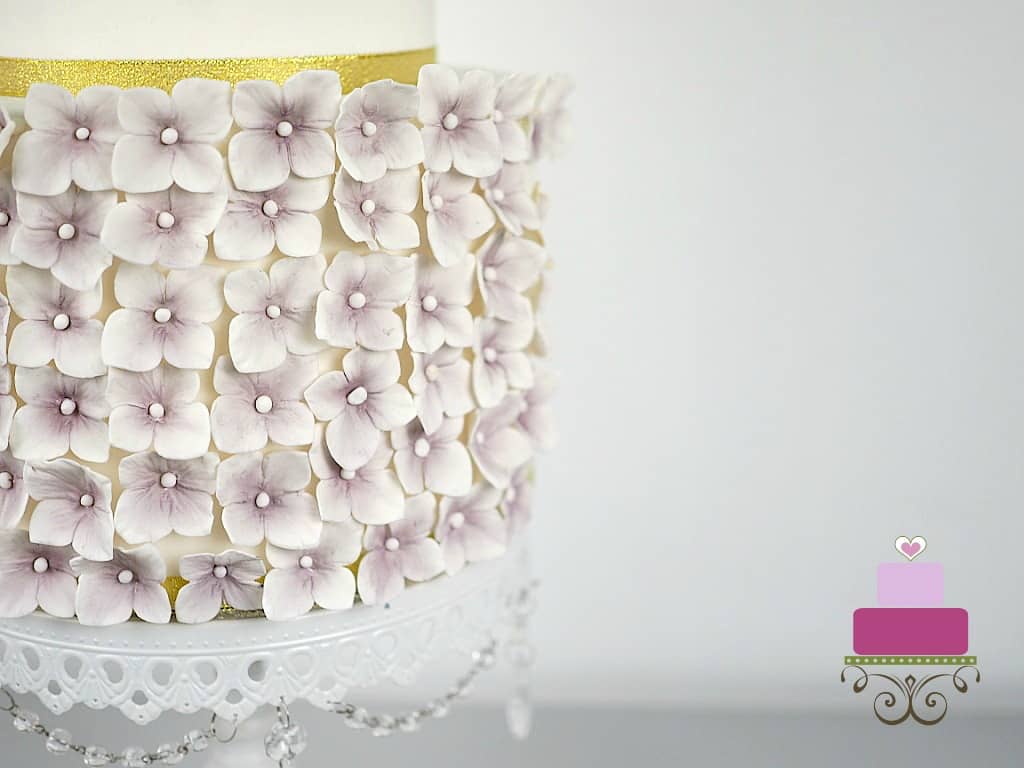
- Hydrangeas petal cutter - I used a medium-sized hydrangea petals cutter to make the flowers. These are pretty easy to make. I made them all in white and once they have set, dusted them with violet petal dust to give them just a light hue to violet.
- Violet petal dust - This was for dusting the hydrangea flowers.
- Flowers formers - These are simple painting pallets I purchased from a local craft shop. They work great as flower formers, giving just the right natural curve to my hydrangea as they set.
👩🍳How to Make
Step 1: Make the Gum Paste Hydrangea Flowers
The gum paste hydrangea flowers were prepared in advance. In fact, for this cake, the flowers I used were from the same batch I made for my butterflies wedding cake. Since I had to make lots of these hydrangea flowers for both the cakes, I started making them one week in advance. I have written a separate step by step tutorial on how to make these pretty gum paste flowers. Click here to learn more.
Step 2: Bake the Cake
The next step was the cake itself. Once baked and cooled down, I leveled the layers, filled them with buttercream and crumb coated them with a thin layer of buttercream. And then I covered them with white fondant and stacked the tiers.
Step 3: Add the Gold Ribbon Border
And then I attached the gold ribbon for the borders of both wedding cake tiers. I used fondant glue to hold the ribbon in place. This can take a while so I normally poke a clean pin through the ribbon into the cake to hold the ribbon in place while the glue dries and then remove it once everything has set.
Step 4: Attach the Hydrangea Flowers
Next to go onto the wedding cake were the hydrangea flowers. I started attaching them to the cake from the base in horizontal lines. And I used fondant glue to hold these in place.
I arranged them as close as possible to close the gaps in between these hydrangeas as much as possible so that the wedding cake underneath is covered up.
Step 5: Add the Wedding Cake Topper
And finally, I added the wedding cake topper. Since it came ready with a lollipop stick attached to it, all I had to do is figure out the exact point to poke the lollipop stick, and then poke it right into the cake.
And that was how I completed my 2 tier hydrangea wedding cake.
Leave a Reply