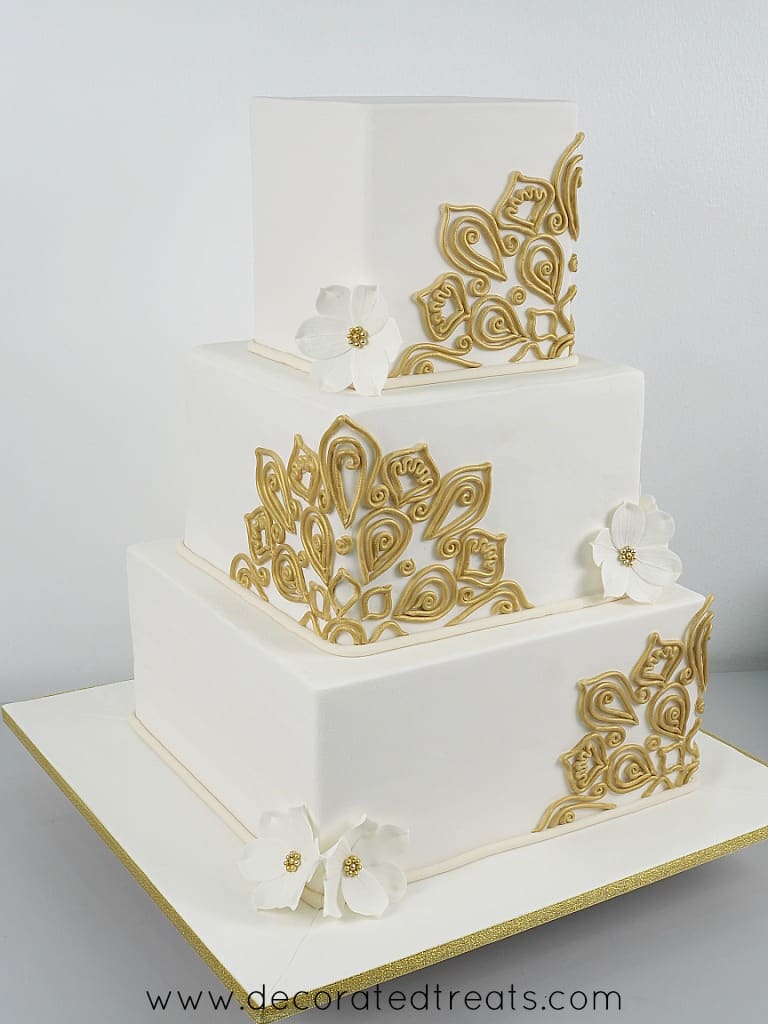
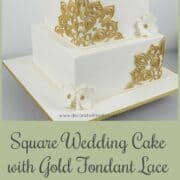
Here is a gold lace square wedding cake I designed and made for a sweet couple not too long ago. This is a 3 tier cake covered in fondant and decorated in handmade gold fondant lace (without any molds) and simple sugar flowers.
🧾Supplies Required
- Cake - The cake consisted of 3 square cakes measuring 6 inches, 9 inches, and 12 inches. The height of each tier was 6 inches. I used my butter pound cake recipe for the first 2 tiers while the 3rd tier was made using my chocolate cake recipe. Since my recipes were calculated to yield cakes with a height of approximately 4 inches, I multiplied each recipe by 1.5 times.
- Buttercream - Each cake tier consisted of 3 layers of cakes, sandwiched with buttercream. I also used buttercream to crumb coat the cake.
- Fondant
- I used Satin Ice white to cover the cake. I also used the same to cover the cake board. For the gold lace and cake borders, I used ivory colored fondant.
- Gum paste
- I used Satin Ice gum paste in white to make the sugar flowers.
- Gold sugar dragees - These dragees were tinted in gold and I used them as the flower centers.
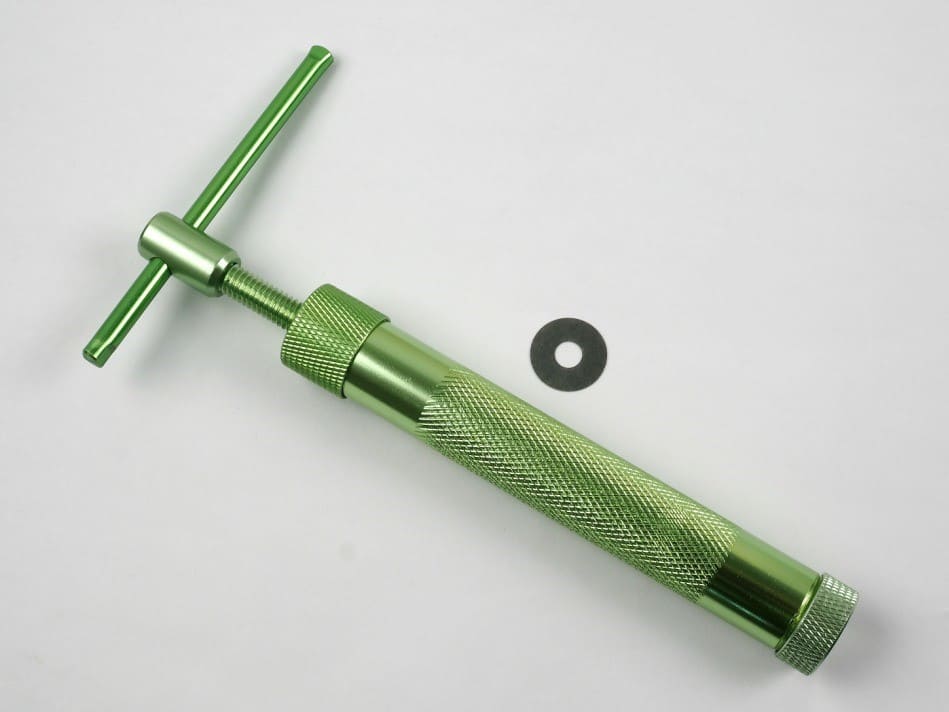
- Extruder tool
- The extruder was used to extrude even fondant strips for the lace as well as for the border of the cake.
- Gold ribbon
- I used gold ribbon for the sides of the cake board. The ribbon was purchased from a local craft shop and is non-edible.
- Shortening - shortening was used to stick the lace onto the cake.
- Fondant glue - I used this to stick the sugar flowers onto the cake. I used this instead of shortening to avoid the flowers from sliding off the cake due to their weight when transporting the cake.
👩🍳How to Make
Step 1: Make the gold lace
I made the lace a few days in advance to allow it to set. I have put together a separate tutorial with detailed step by step guidance on making the gold lace. Here is a summary:
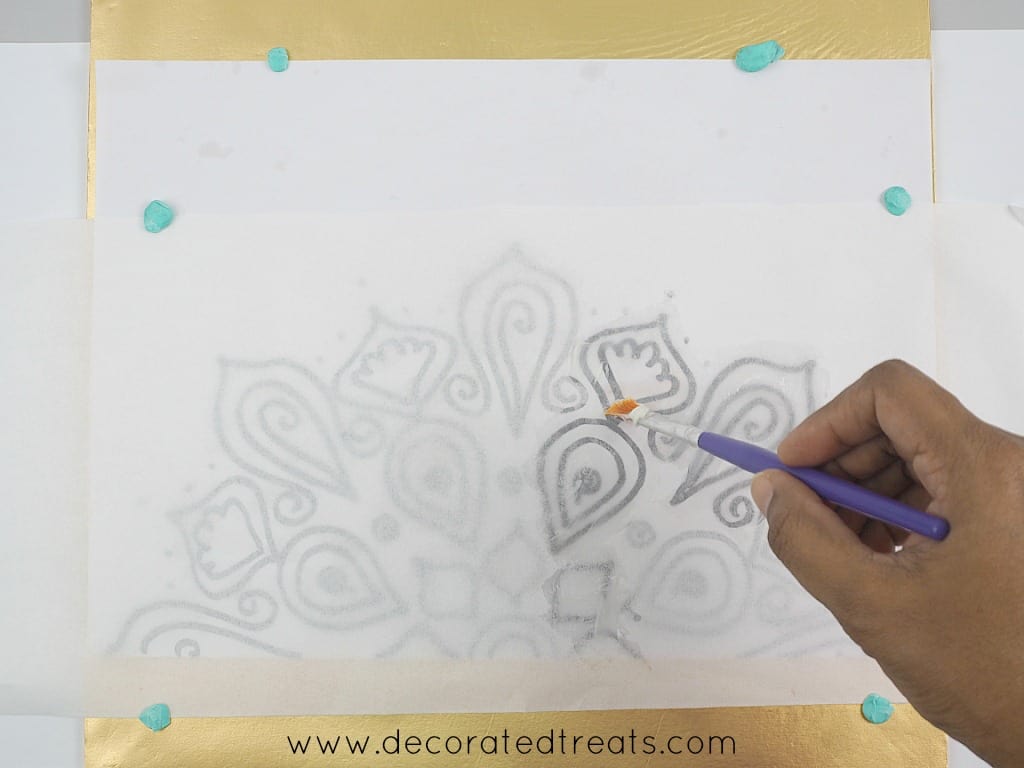
I drew the lace pattern on a paper. I attached the paper to a cake board and placed a parchment paper on it. And then I brushed shortening on it to hold the lace in place.
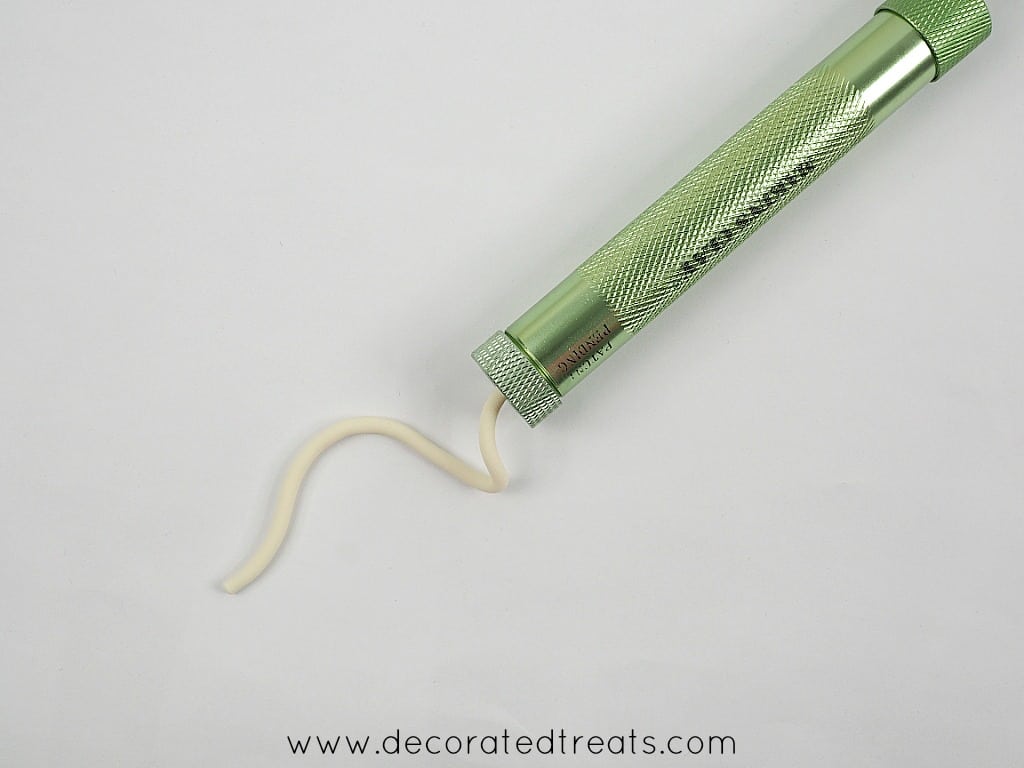
To make the lace, I piped out long stripes of fondant with an extruder tool.
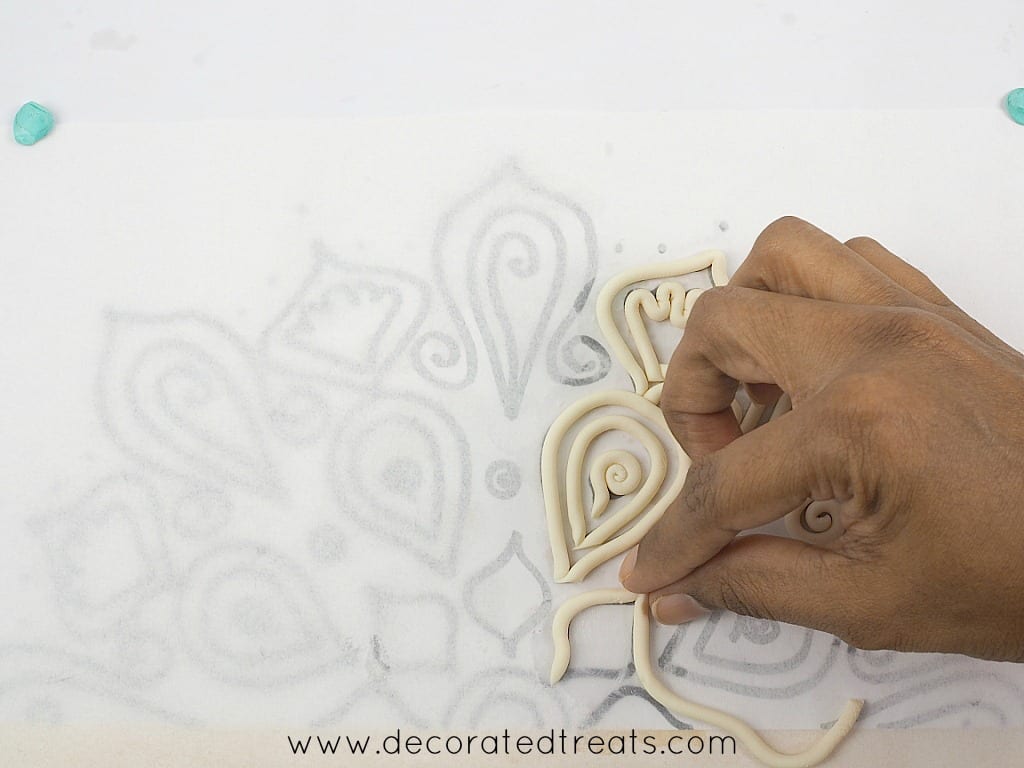
I arranged the fondant to follow the lace pattern on the cake board.
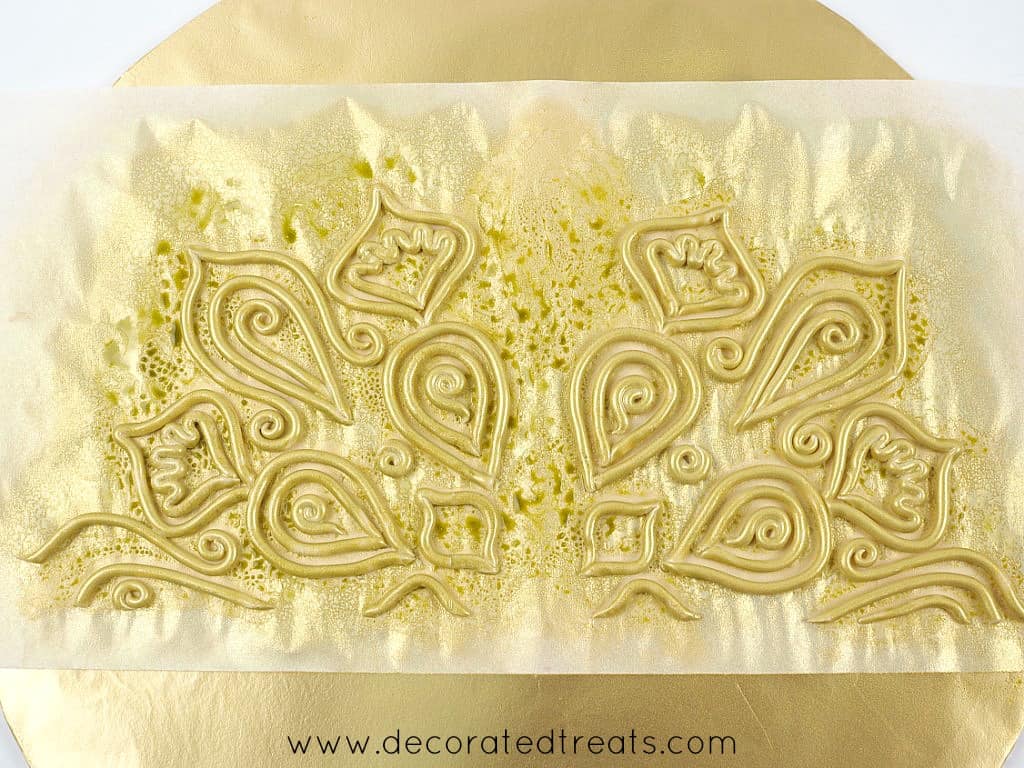
Once completed, I spray painted the lace and set it aside to dry.
Step 2: Make the Gum Paste Flowers
These were also made in advance to allow them to set.
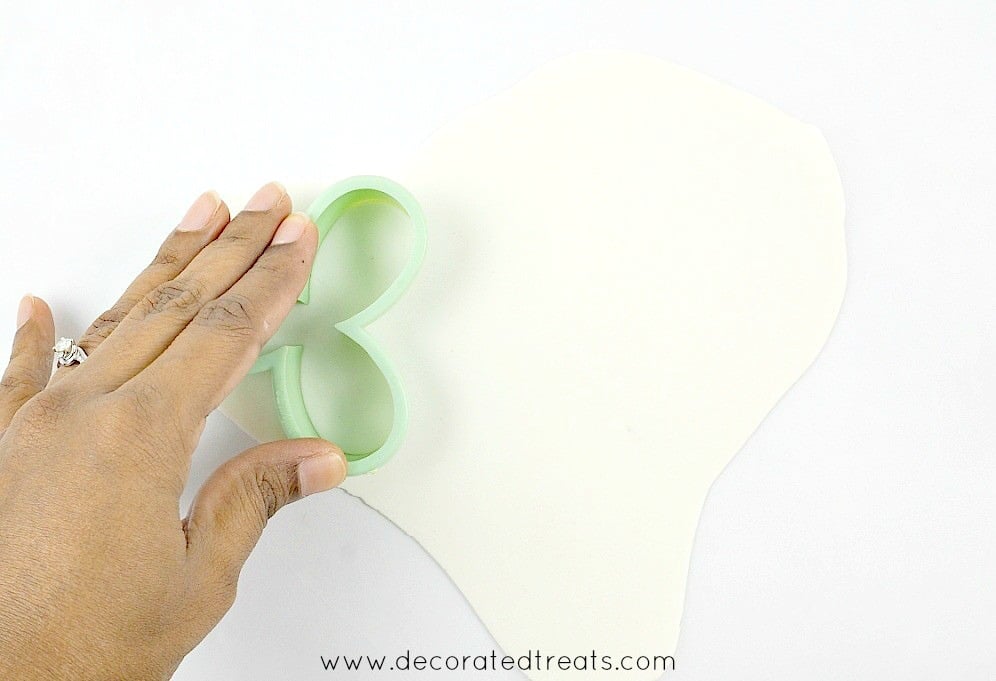
I used a flower cutter to cut out 2 sets of petals in gum paste for each flower.
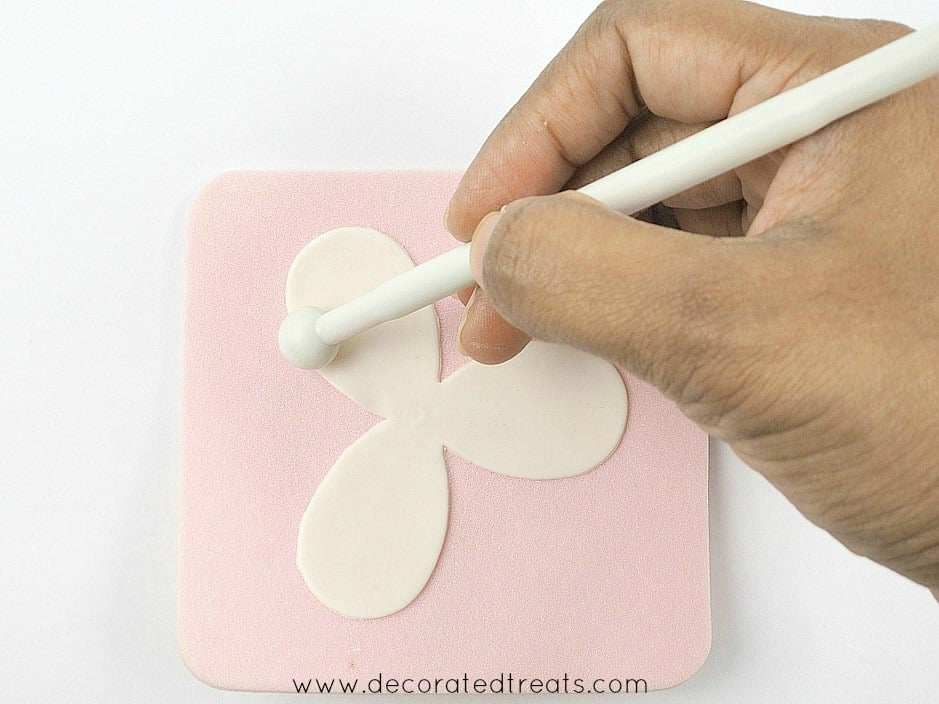
And then I thinned the petals.
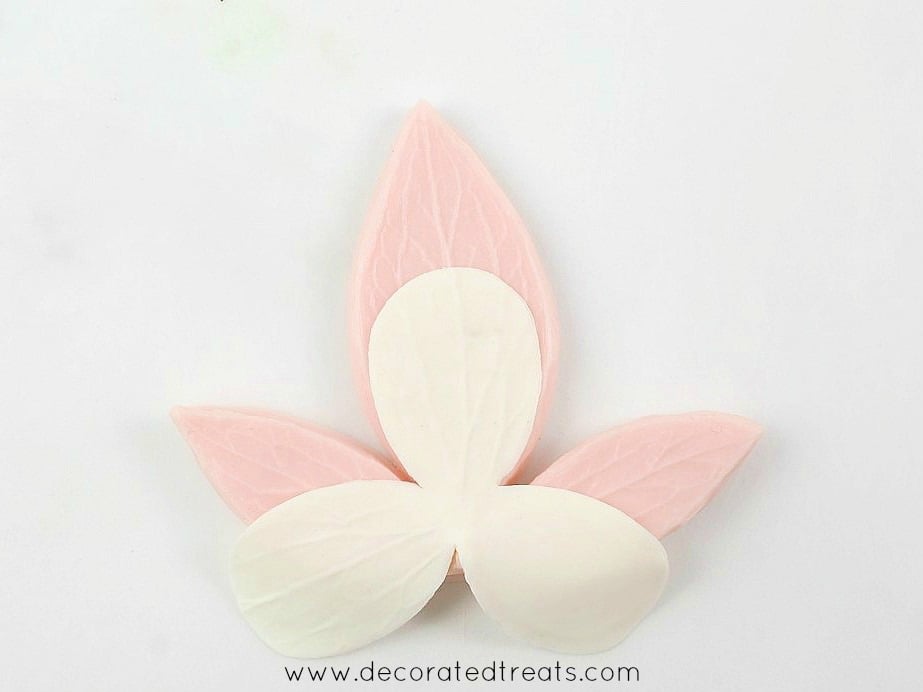
I used a veining mold to vein the petals.
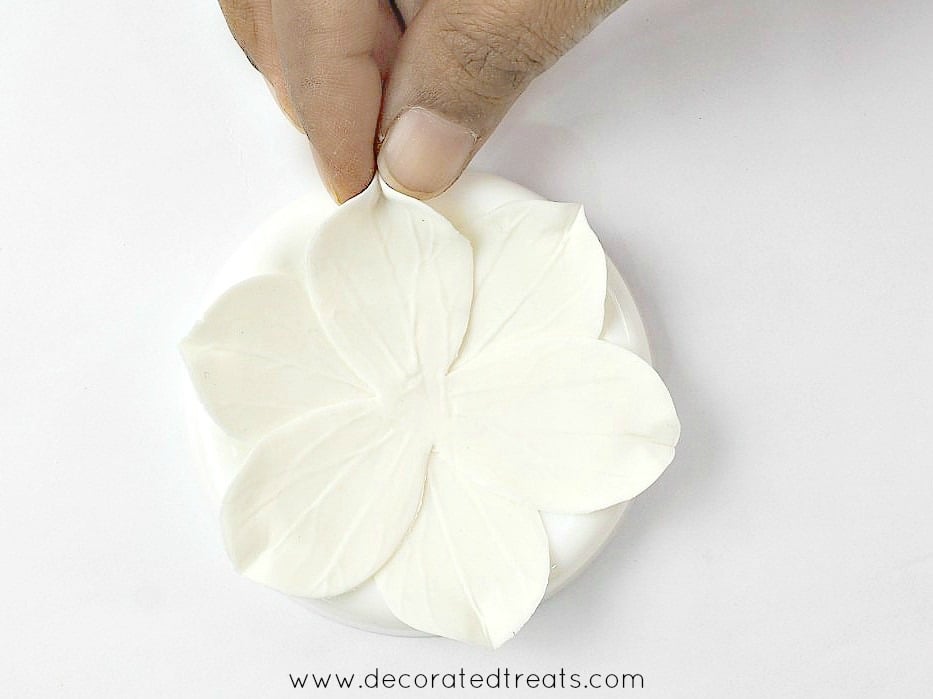
I glued both set of petals and pinched the tip of the petals.
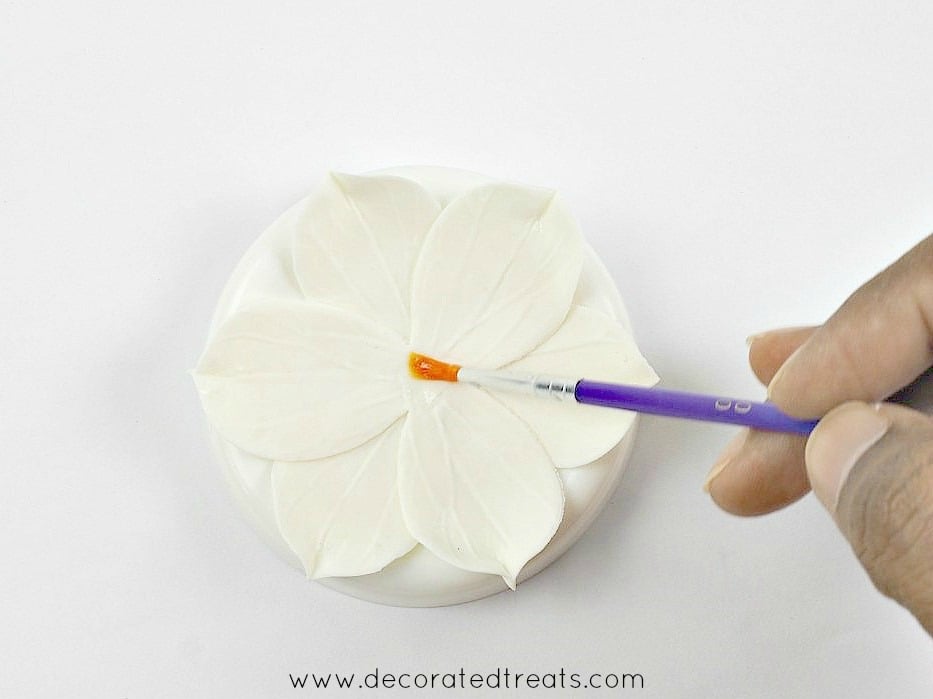
And then I applied glue to the center of the flowers.
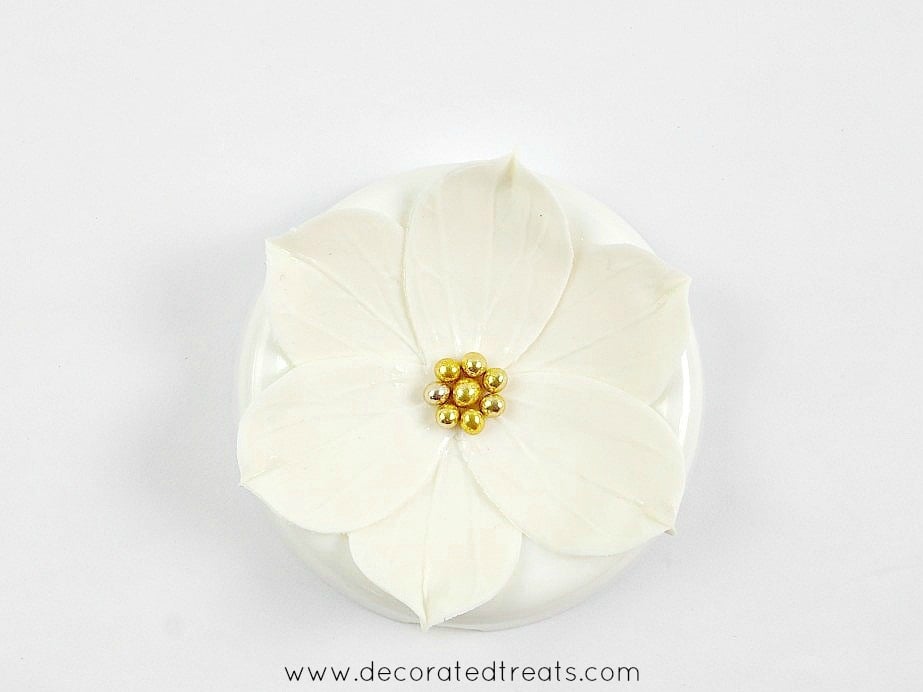
And attached gold dragees as the flower centers.
Step 3: Bake the Cakes and Cover in Fondant
Once all the cakes were baked, I leveled, layered, and filled each cake layer with buttercream. I then crumb coated the cakes and covered them with fondant individually.
Once covered, I stacked them using bubble straws as support (see here for my guide on how to make tiered cakes). Next, I completed the borders. For this, I used my extruder tool and a large circle disc.
And this is how I normally loosely roll my strip so that it does not lose shape when I lift it to put on the cake.
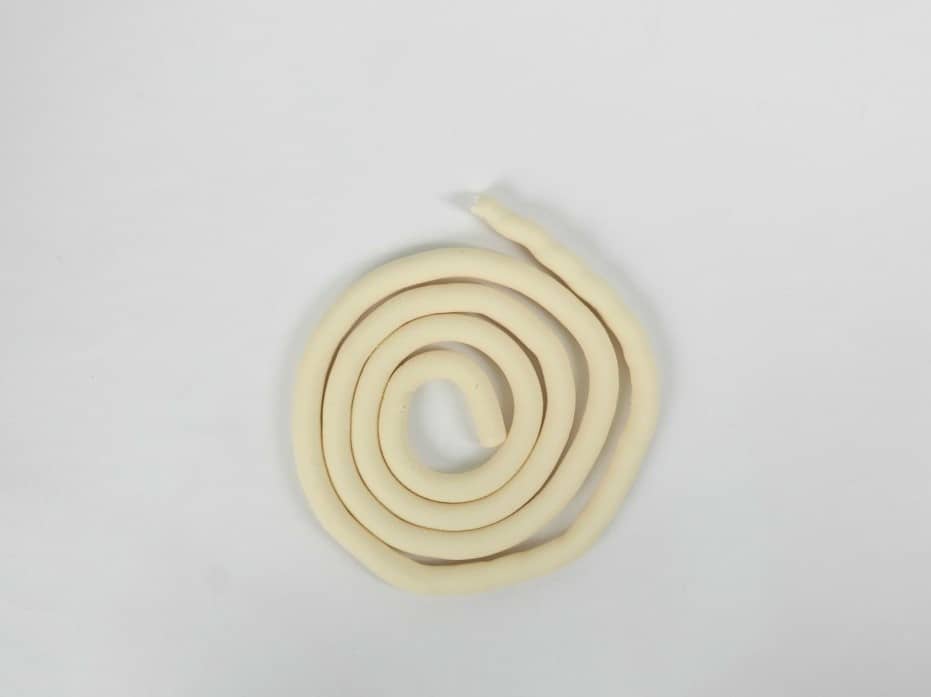
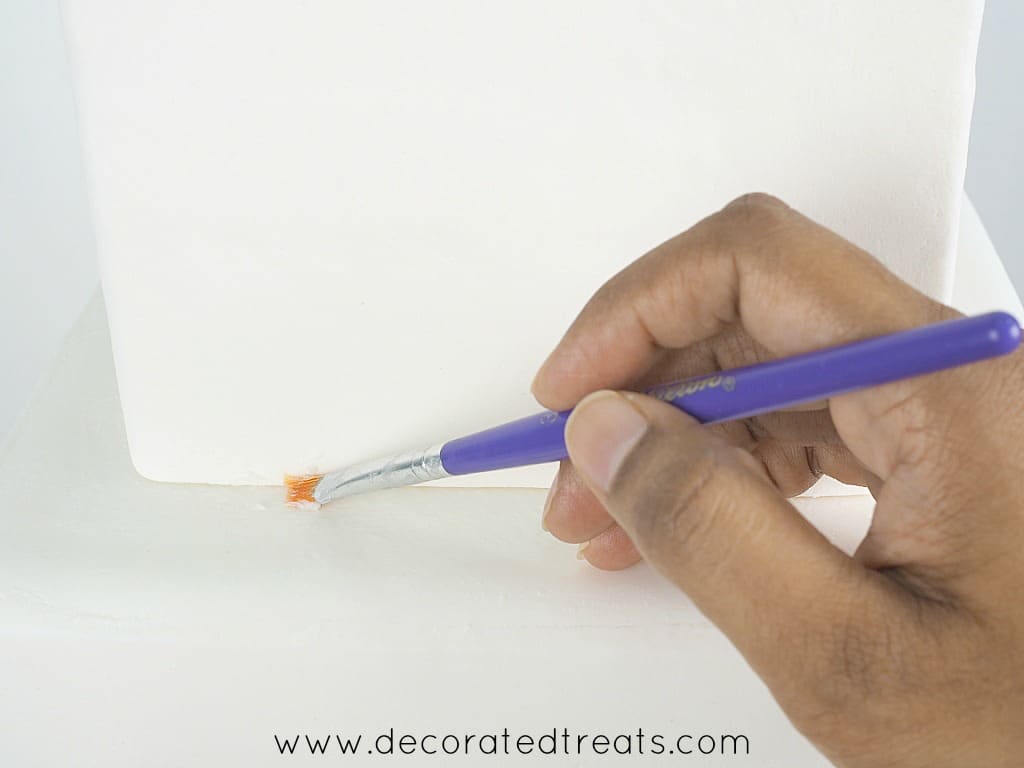
I attached the fondant strip to the wedding cake with shortening.
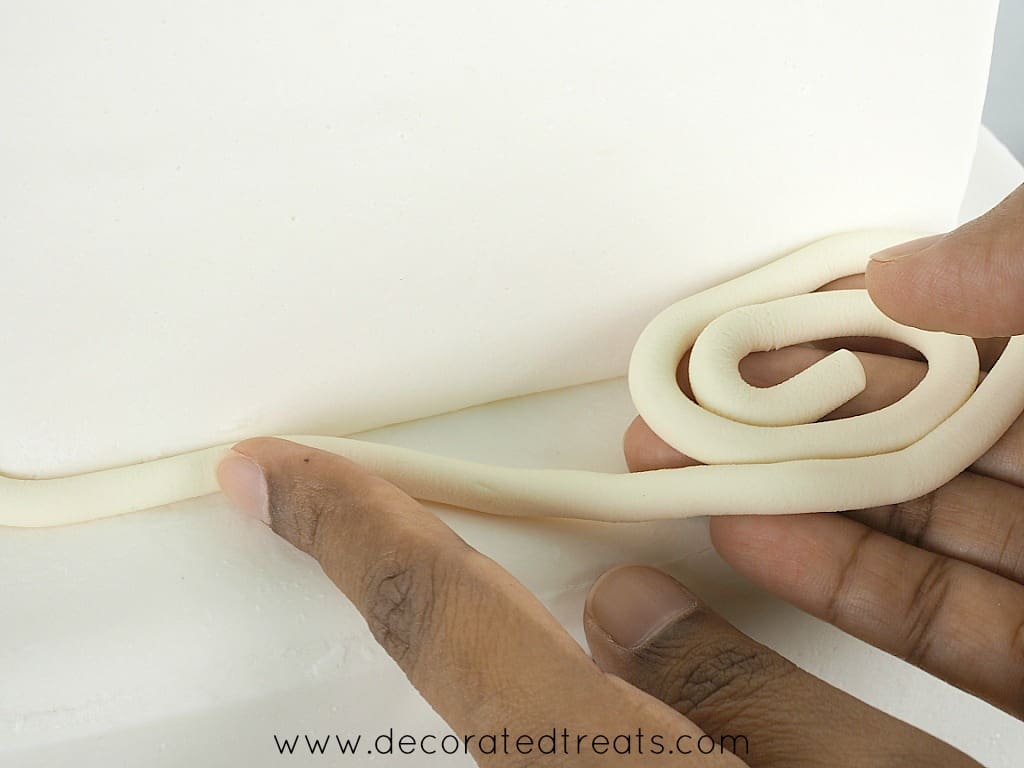
And this is how I slowly unroll the strip as I stick it around the square cake.
To stick the ends of the strip together, I cut off the excess, apply some shortening to the end, and then stick them together. I use a thin spatula to smooth the joining so that the joint is not too obvious.
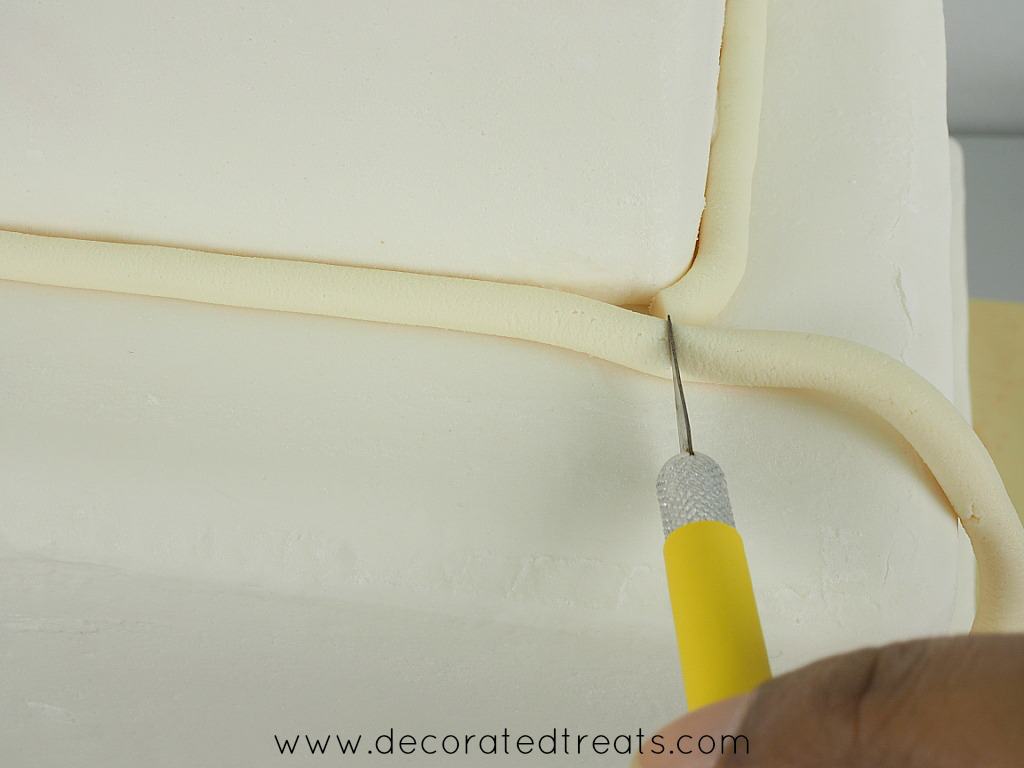
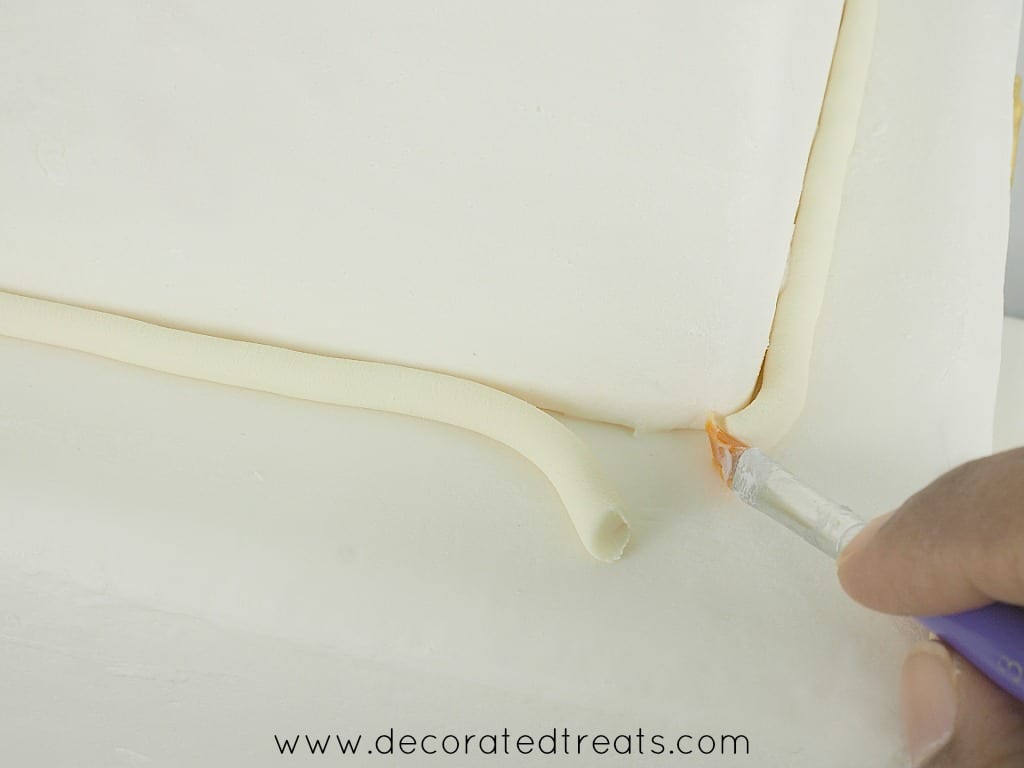
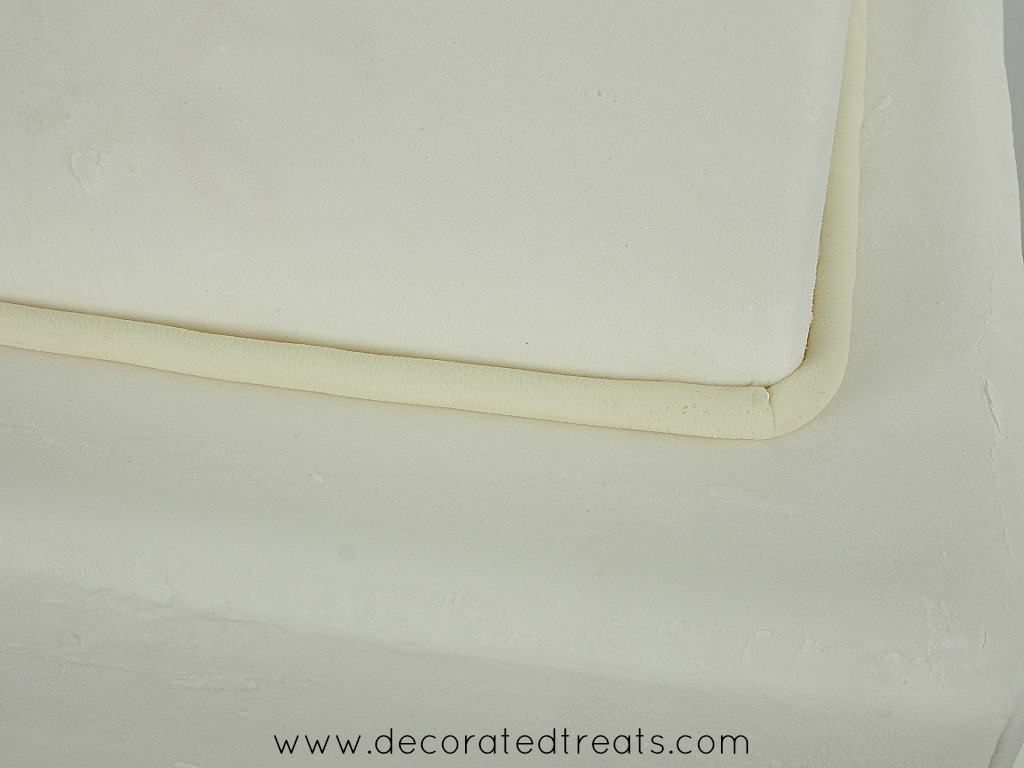
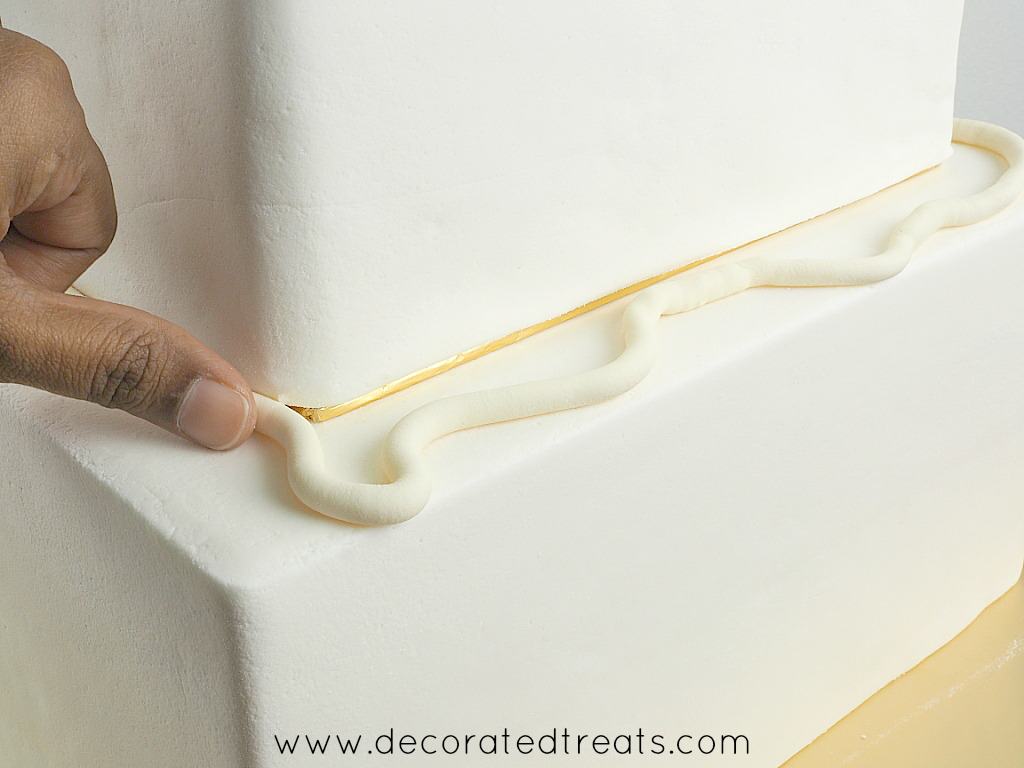
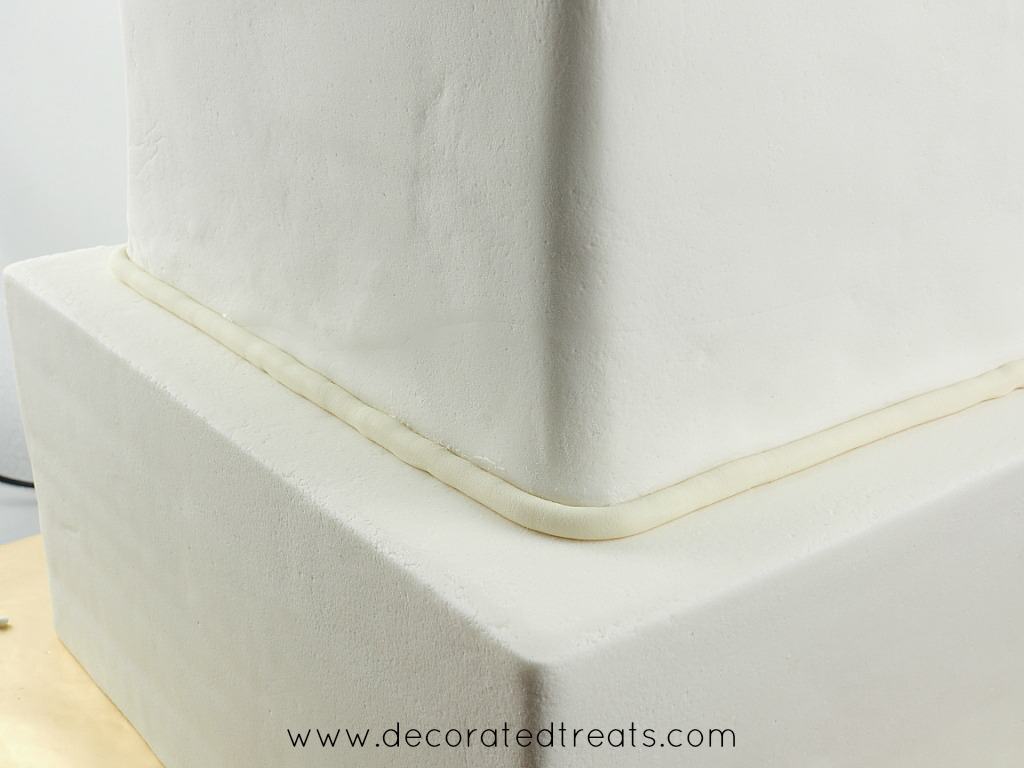
Here is another method that I use when I need to work with long strips of fondant for borders. I use the extruder tool, extrude the strip around the cake borders. This helps me to estimate the length required for the strip. Once I have the required length, I cut off the strip from the extruder and then gently attach it around the wedding cake, as shown.
Step 4: Cover the Cake Board
Once the wedding cake borders were done for the first and second tiers, before I put on the border for the third tier, I covered the square cake board with fondant.
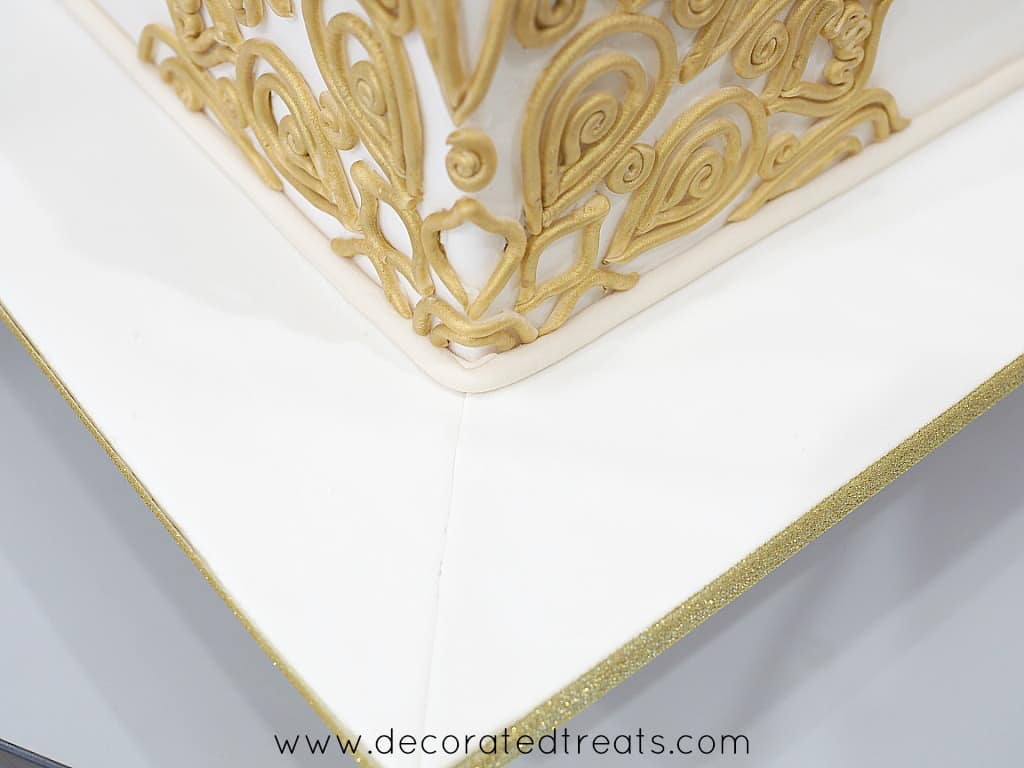
I used a total of 4 separate strips and joined each the corner angle as shown below. I then attached the gold ribbon around the cake board.
Step 5: Attach the Lace
Next was the lace. I attached it to the sides of the wedding cake. I have a separate post that explains in detail (with step by step photos) on how I made and attached the lace to the cake. Here is the summary:
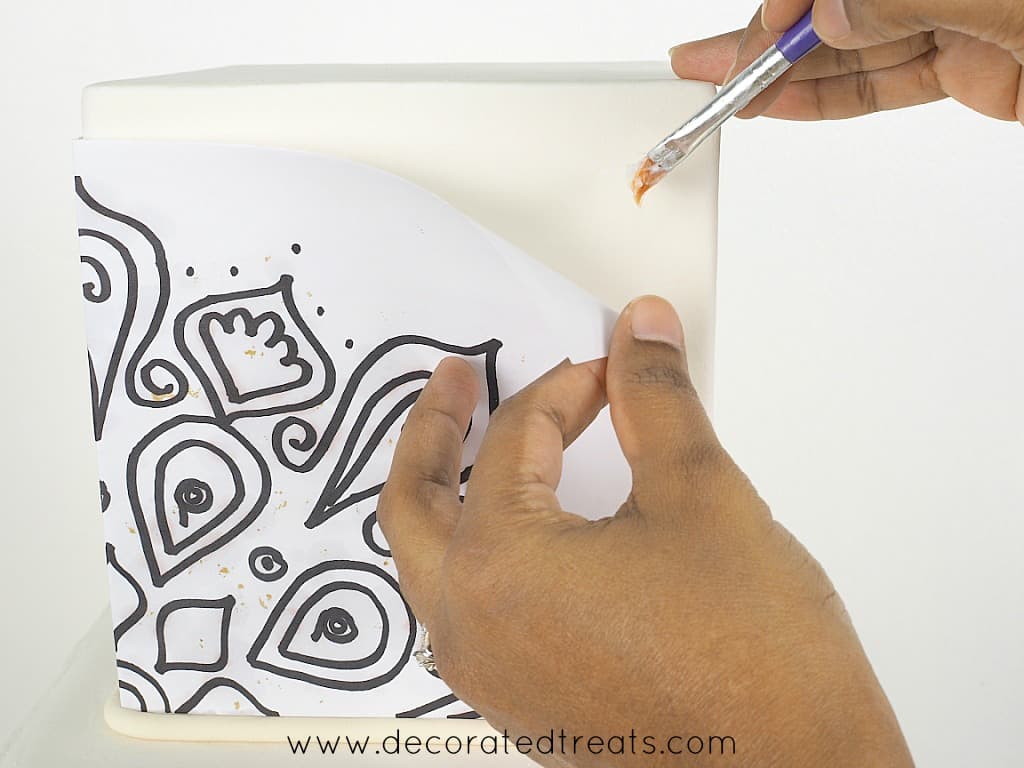
I used the paper template to mark the position of the lace pieces. I used shortening to hold the template in place on the cake.
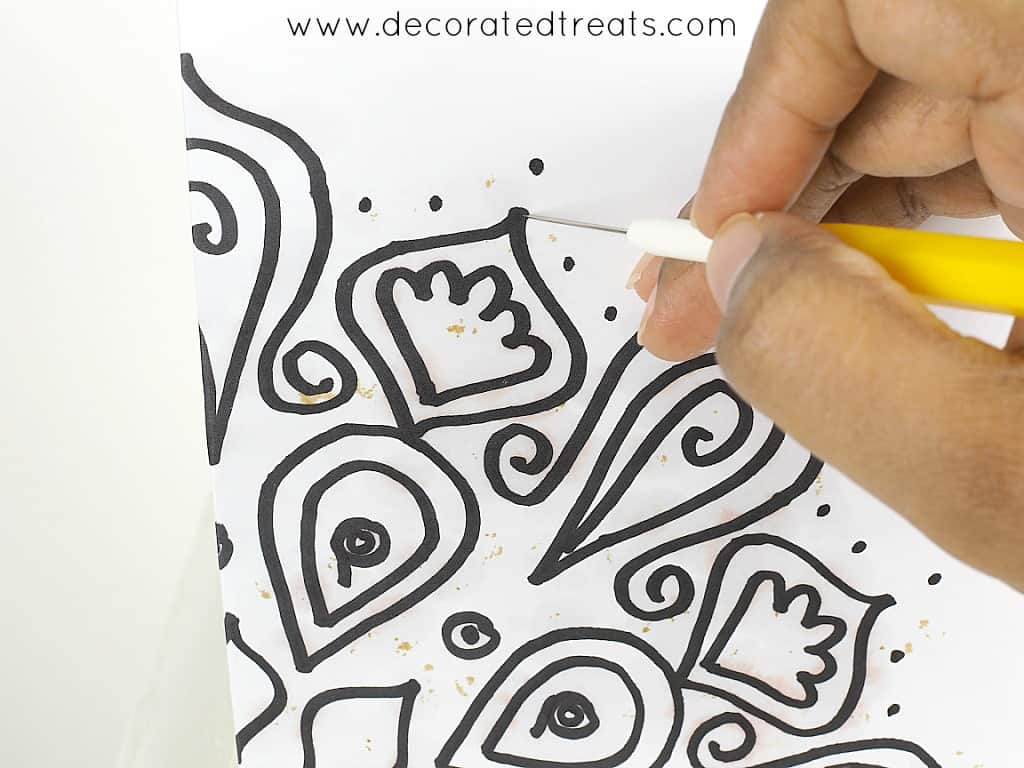
I used a needle to tool to poke holes on the fondant to indicate the position of the lace pieces.
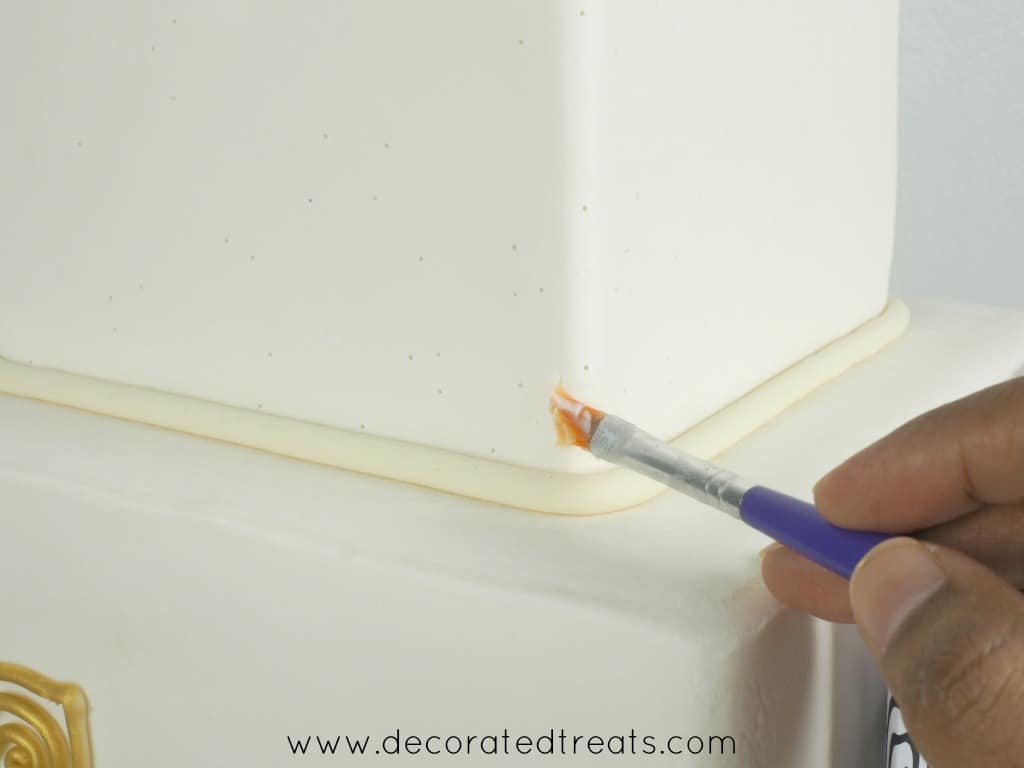
And then I brush the cake with fondant before attaching the lace pieces.
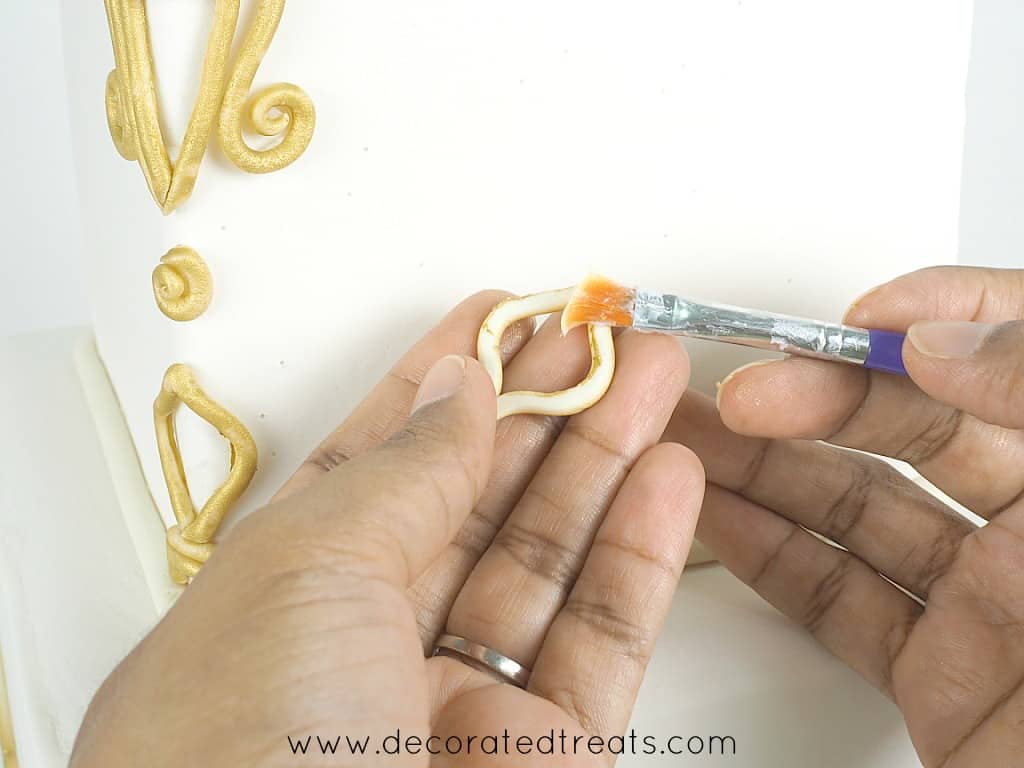
For those that do not stick well to the cake, I added extra shortening to the back before attaching to the cake.
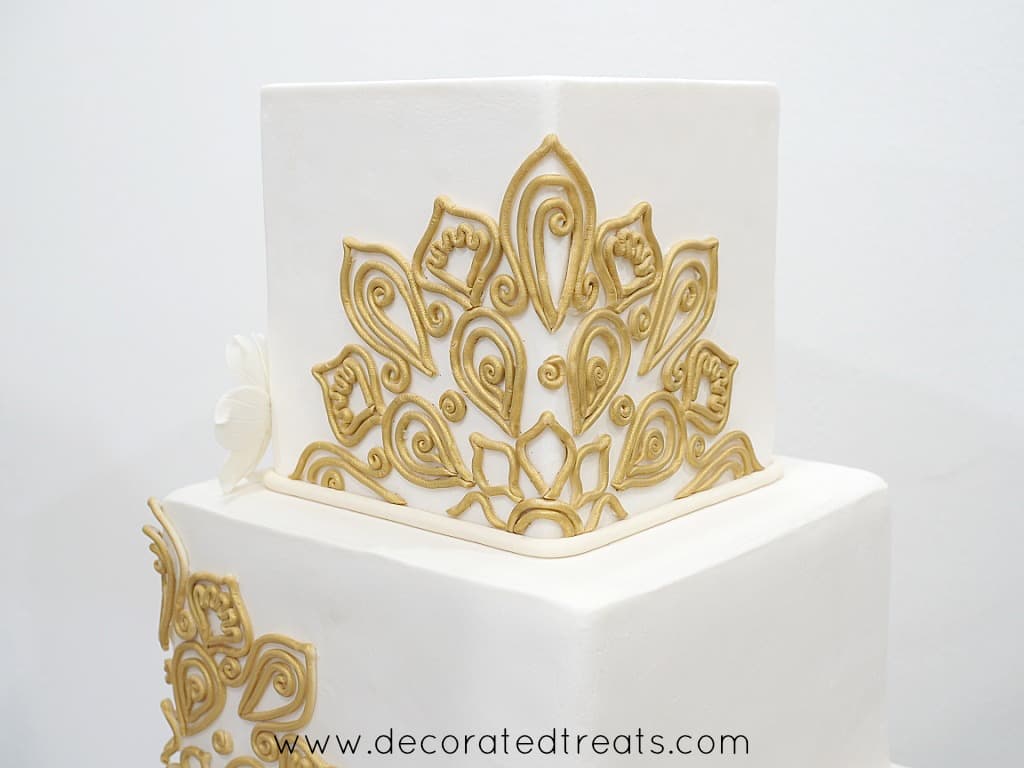
Once that was done, I then attached the sugar flowers. I attached these to the wedding cake with fondant glue. I used a total of 5 flowers on the cake - 1 for the top tier, and 2 each for the second and third-tier.
And here is how the completed square wedding cake looked like:
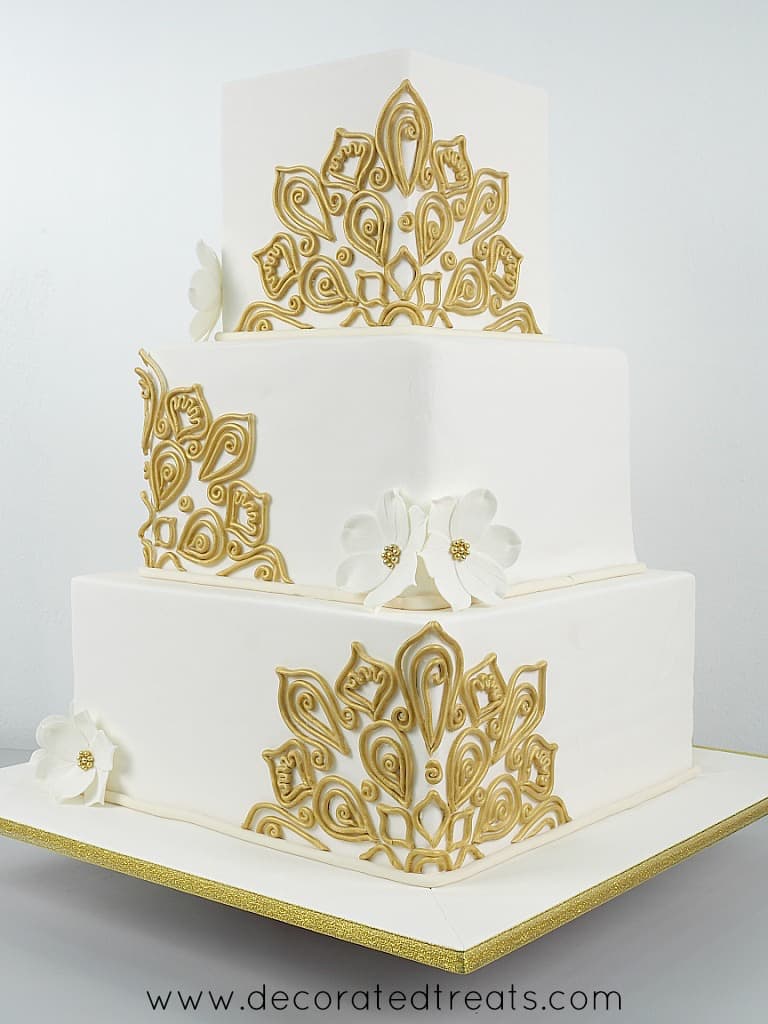
And is how I decorated this square wedding cake in gold fondant lace and simple sugar flowers.


Leave a Reply