

Learn how to make elegant fondant lace with this easy tutorial. You do not need any special lace mats for this lace and everything is shaped by hand and painted in gold.
It is completely edible and you get to make lace in any design and color you like with this simple technique.

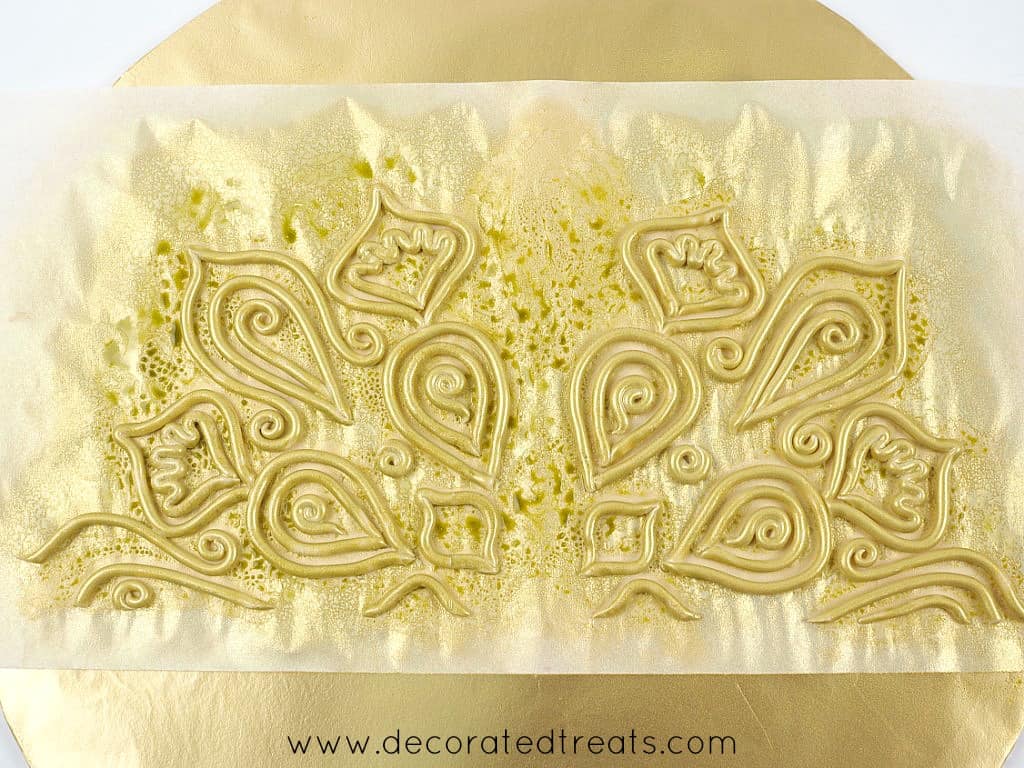
I made this gold fondant lace for a square wedding cake. It's all hand made, meaning I formed the lace by hand, using fondant. After that, I airbrushed it gold and then attached each individual component onto the cake.
It took me more than a day to get this lace done and put on the cake. And that was not because it was difficult to make. It was simply because the fondant needed time to set before I could transfer it onto the cake. The lace itself did take a few hours to form but the end result, once it was put on the cake, made every minute spent on making the lace worth it!
The trick in getting this right is to make sure that fondant lace pieces are all set and completely dry before being attached to the cake.
If you like this tutorial, you should also check out my other tutorials on how to make gum paste butterflies, how to make fondant hearts without cutters, how to make fondant flowers, how to use silicone fondant molds and how to use crimping technique for cake decorating. These make very pretty decorations for your cakes too!
Jump to:
❤️Why you will love this tutorial
- It is very easy to follow.
- You do not need any special molds or special ingredients to make the lace.
- The lace is very pretty and elegant and is completely edible.
- You can use this technique to create any lace pattern and in any color you like.
🧾Supplies required
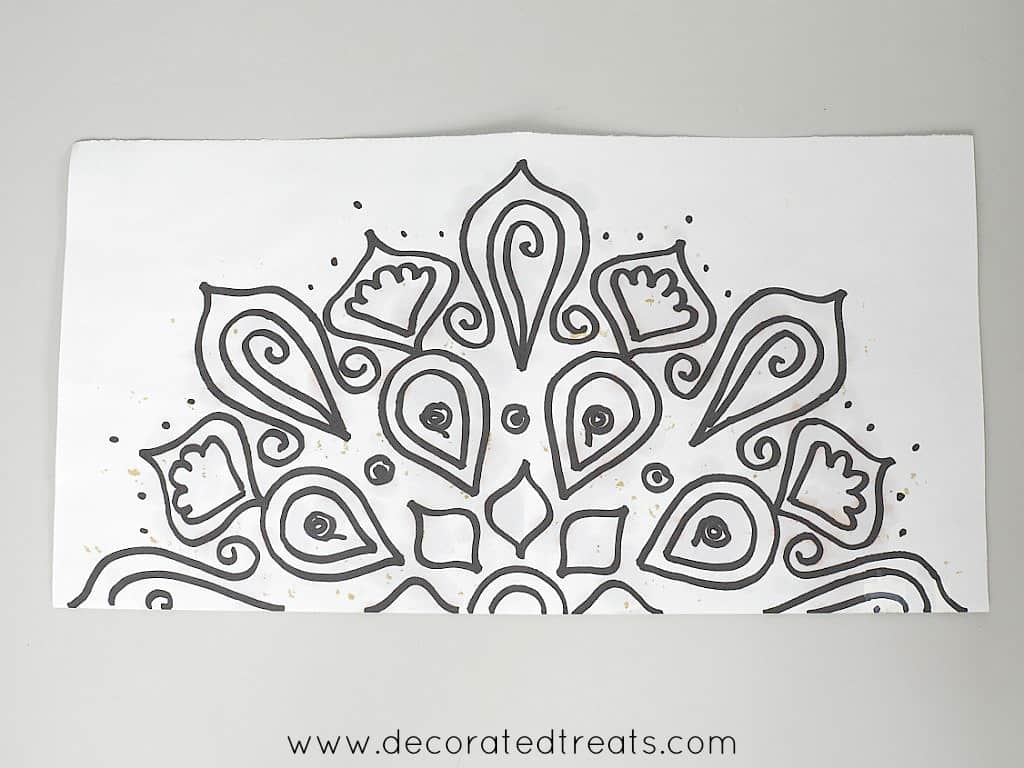
- Lace template - I drew the template by hand. When drawing the template, make sure the height and the length fit the size of your cake.
- Parchment paper - My template was drawn with a marker pen, hence I placed the parchment over the design when forming the lace so that the fondant does not touch the marker pen ink on the paper.
- Fondant - I used Satin Ice "ivory" fondant. Ivory highlights the gold tone better than the white fondant.
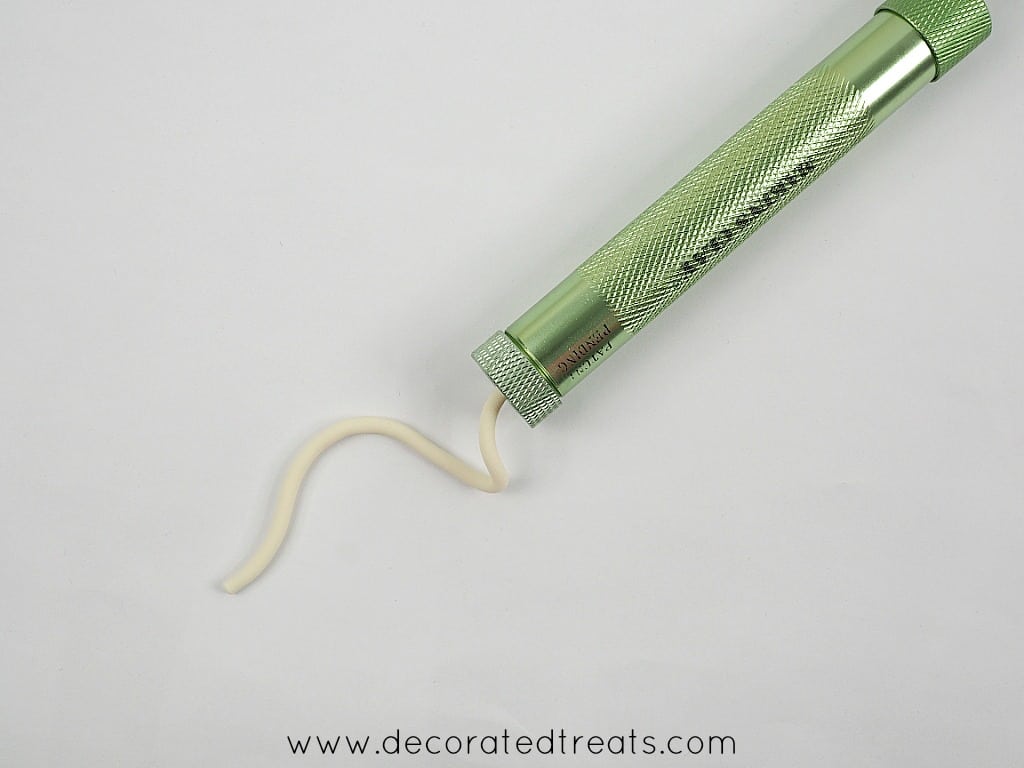
- Clay extruder - I used this tool to make the fondant strips for the lace. It not only helps in saving time from having to roll the fondant strips by hand, it also helps to produce consistent-sized strips.
- Shortening - This was the 'glue' for the fondant lace. I used it to attach the lace pieces on the cake. I also used shortening when forming the lace on the parchment paper. A thin coat of shortening helps the fondant lace detach easily from the parchment paper once they were set and dry.
- Cake decorating brush - to apply shortening to the template and the fondant when attaching the lace.
- Airbrush - To paint the lace. It is quick to use an airbrush than to hand paint. Also, airbrushing helped in providing a smooth finishing for the gold color on the lace.
- Gold sheen airbrush color - I used Americolor Gold Sheen color and love the way the color turned out on the lace.
📃Substitutes
Clay extruder - If you do not have a clay extruder, you can roll the fondant into long thin strips by hand. However, this can be a slightly time consuming process especially if you need to make a lot of lace.
Airbrush - if you do not have an airbrush machine, you can use food safe spray paint that is sold in cans. You can find these in cake decorating stores. And if you are not making much lace, you can also hand paint it. Mix some edible gold paint with lemon extract to form a thick paint and paint it on the fondant lace.
👩🍳How to make
Step 1: Prepare the lace template
First and foremost is the lace template. I drew mine by hand. Since my lace pattern was repetitive on each tier, I made a few copies of it so that I could work on all the lace pieces on the same day.
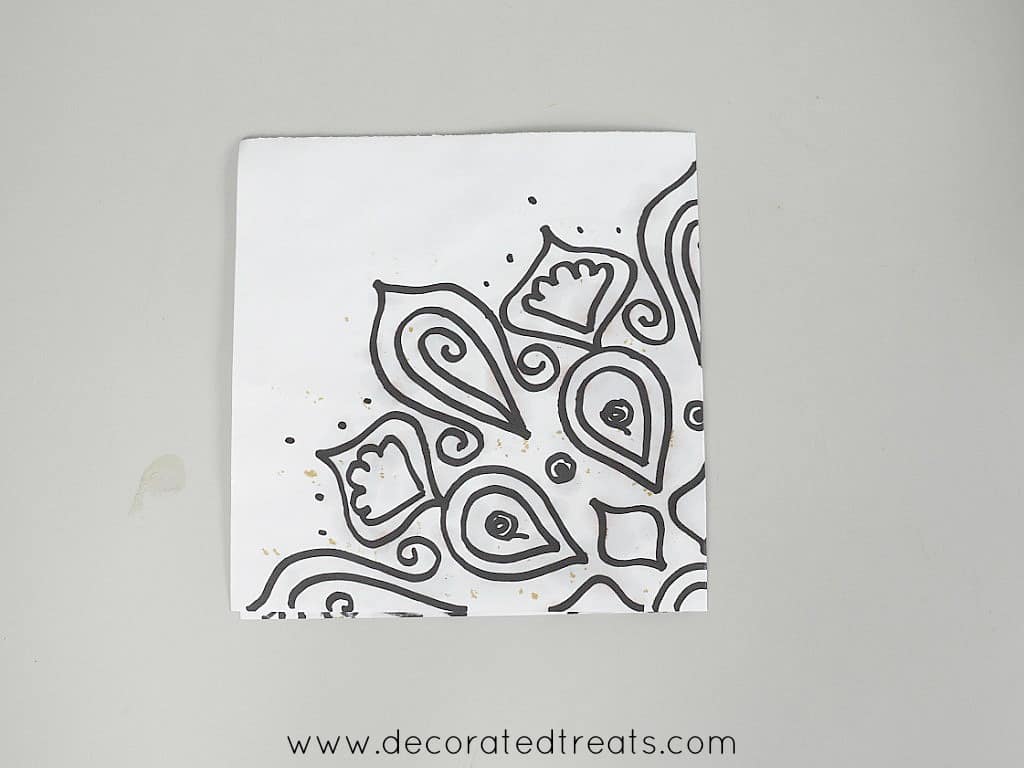
Once you have the template ready, tape each template to a cake board. And then place a sheet of parchment paper over the designs. These papers can be secured in place with blue tack or clips.
Note: Laying the template on a flat and solid board is important to make sure you lace pieces turn out flat.

The lace template attached to a cake board.
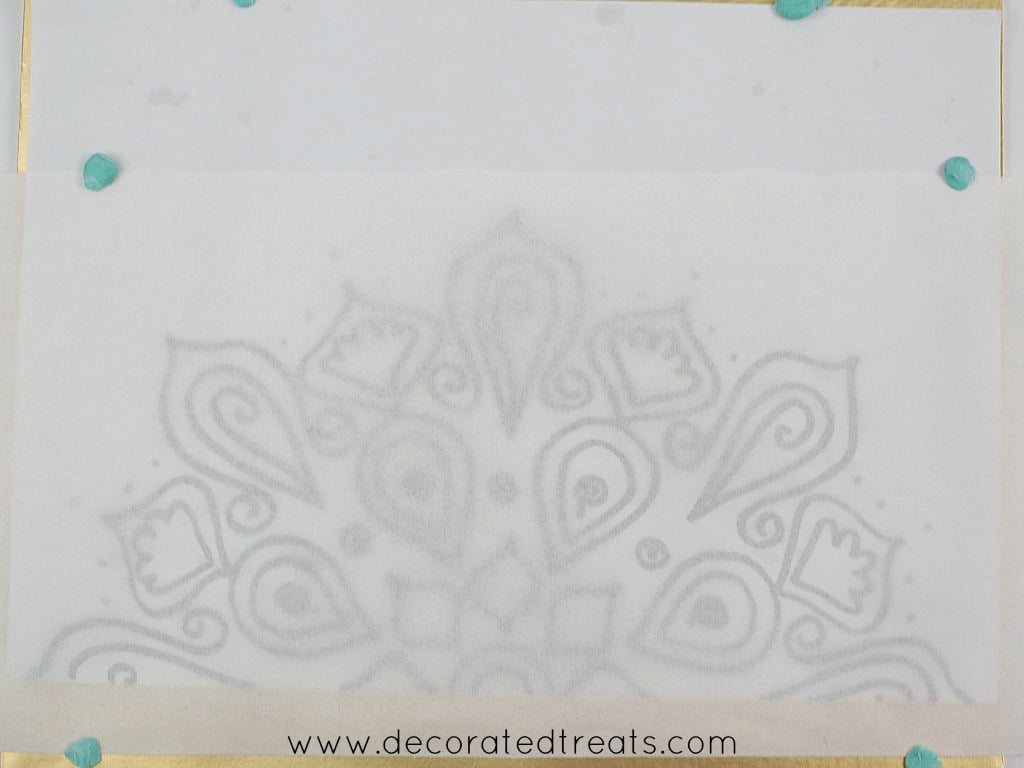
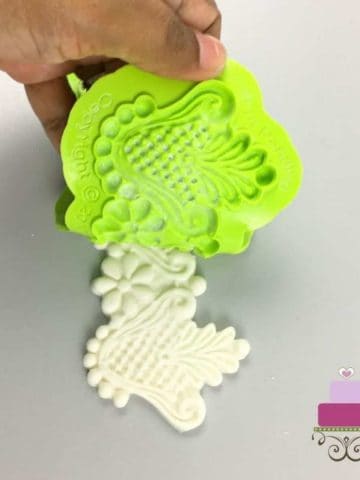
A piece of parchment paper placed on the lace template.
After that, brush the parchment paper with a thin coating of shortening.
Note: Shortening helps to hold the fondant lace pieces in place as you place them on the template.

Step 2: Form the flat pieces of the lace design
Knead the fondant until soft and pliable and place it into the extruder tool. Use a small circle disc for the clay extruder.
Make all the lace pieces that will lay flat on the cake first. For my lace, the center of the lace pattern rests on the corners of each tier. For these, I will have to fold the template into a 90 degrees angle before making them so that they would fit on the cake in the same angle.
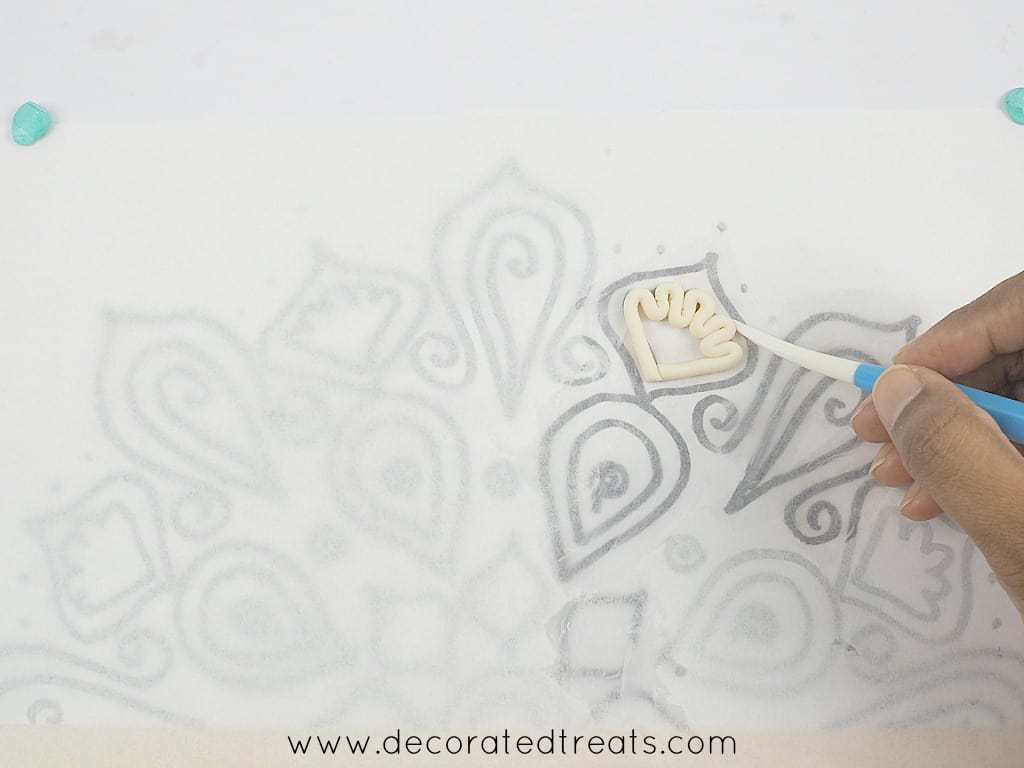
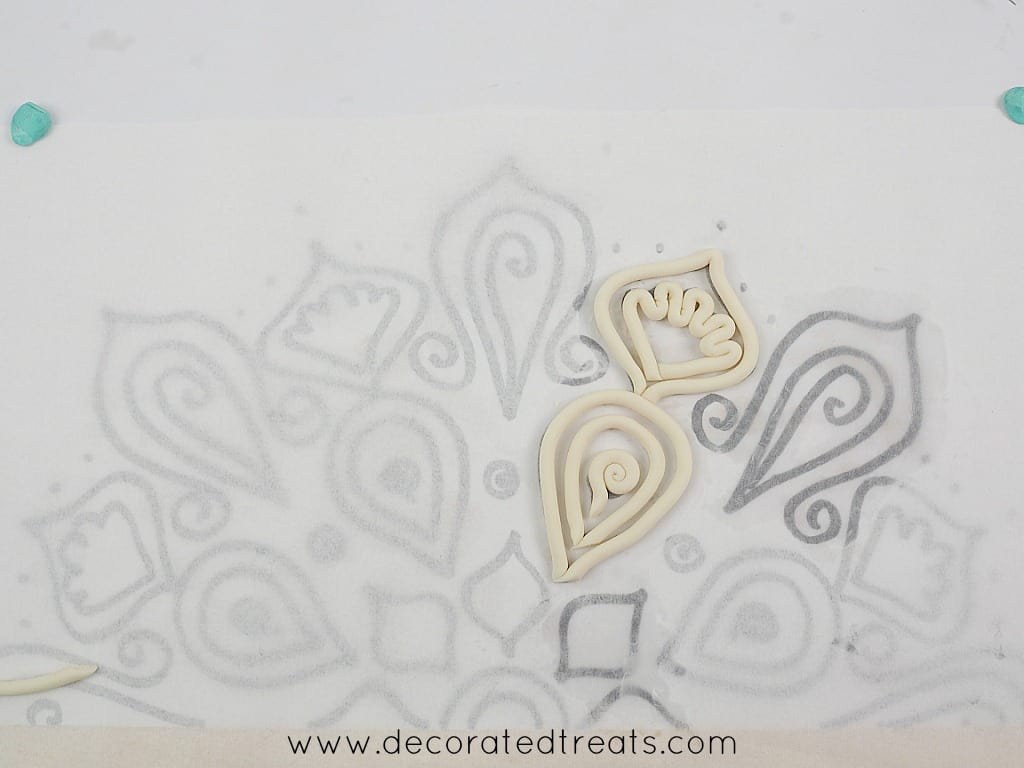
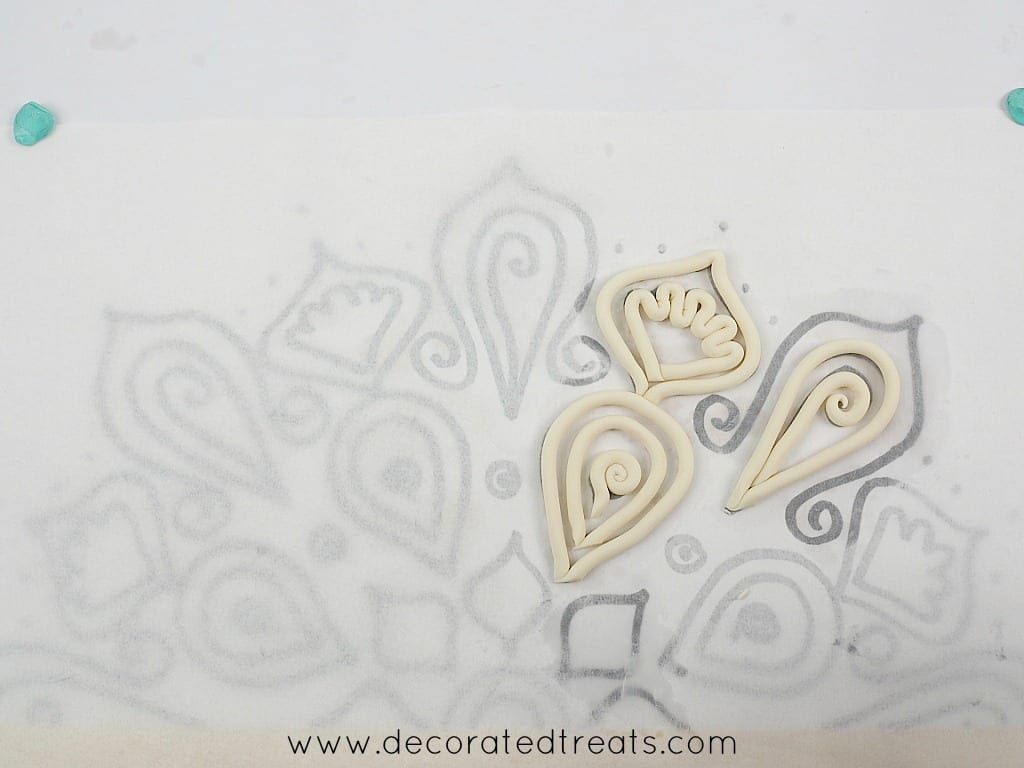
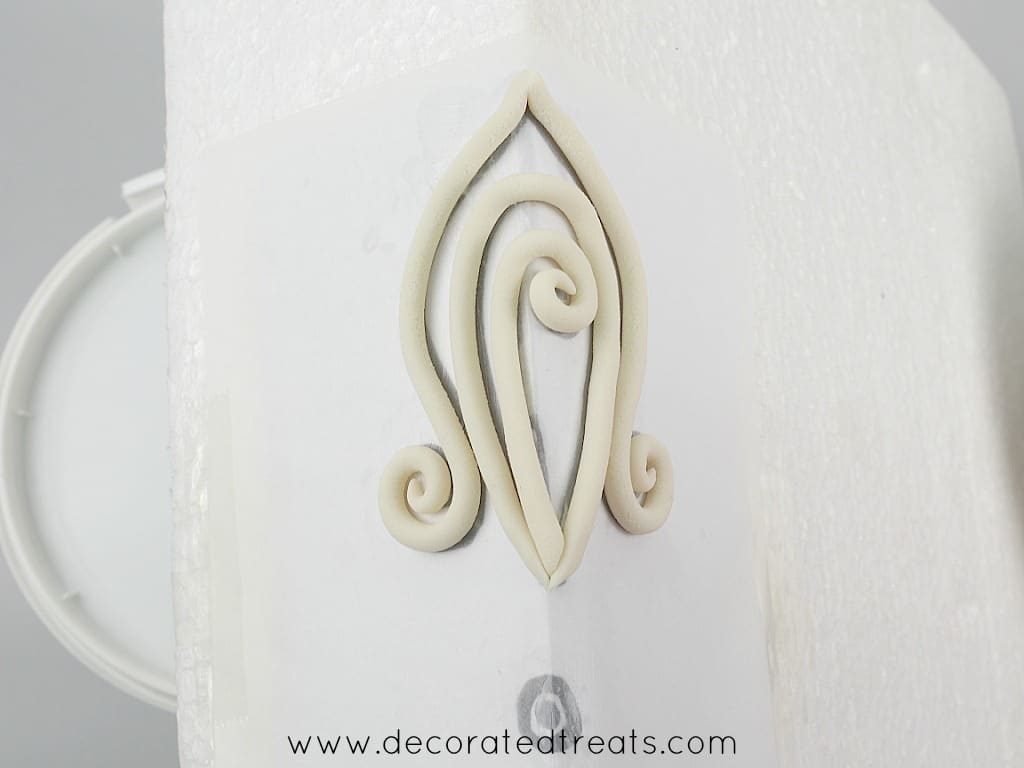
In forming flat lace, start with designs on the inside of each lace piece. It is easier to make these first rather than trying to add them into the shapes later.
These pictures below show how I did the flat pieces, step by step:
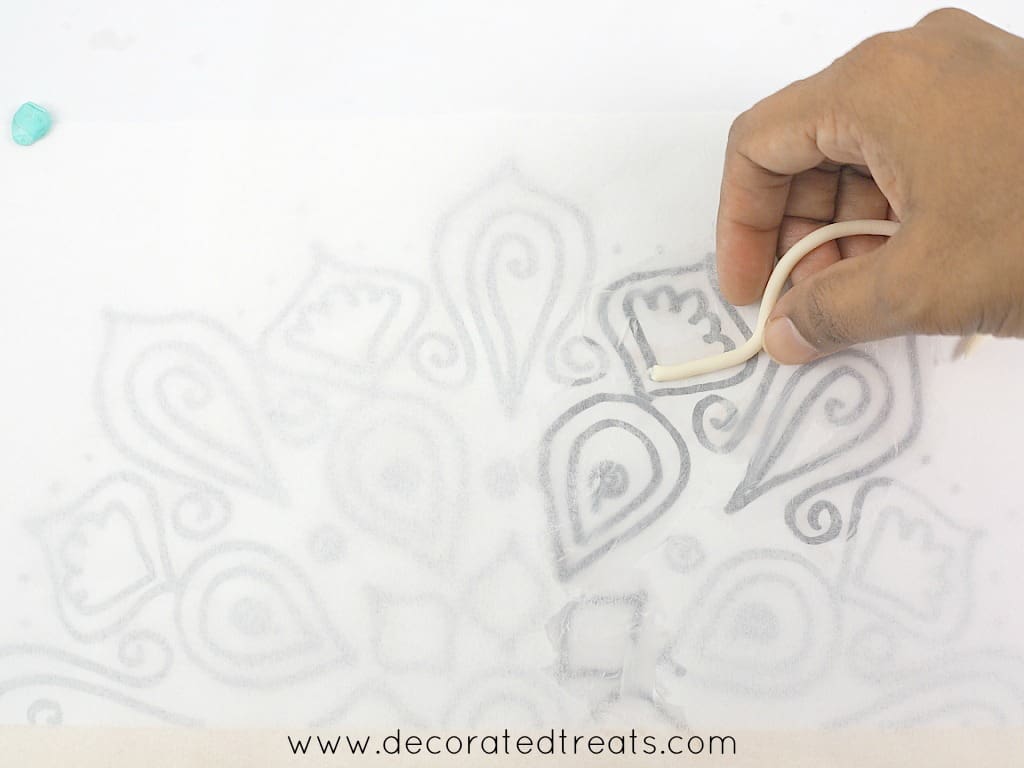
Start with the lace designs that are on the inside of larger pieces of lace.
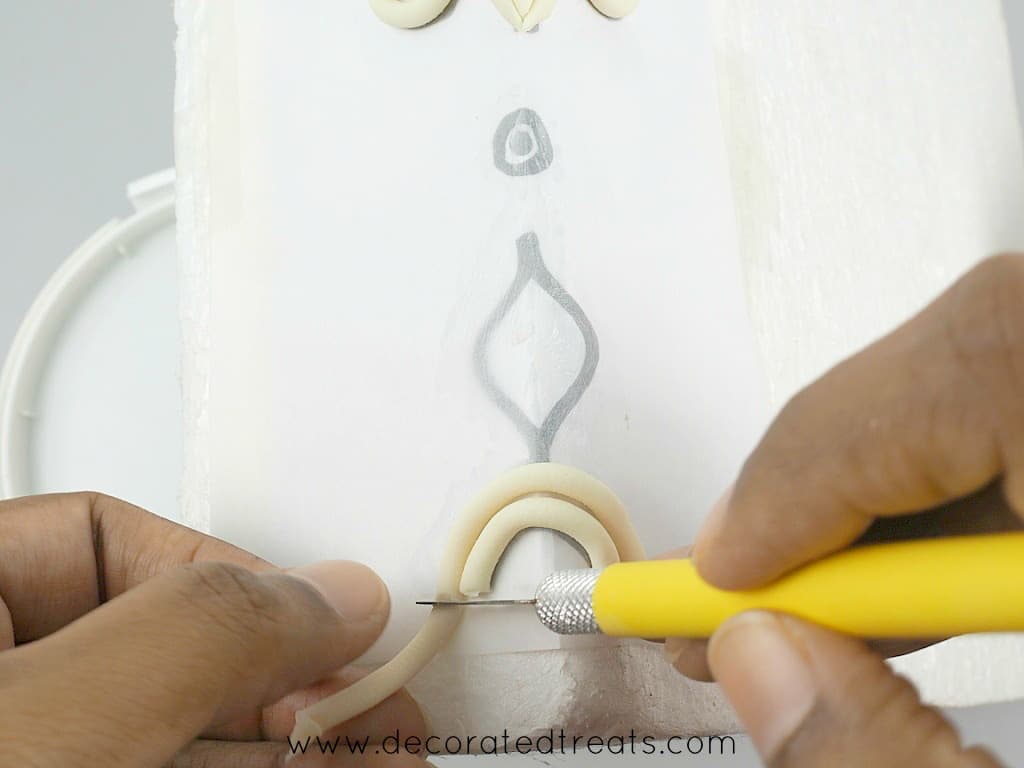
Use the sugar craft knife to cut off excess fondant.
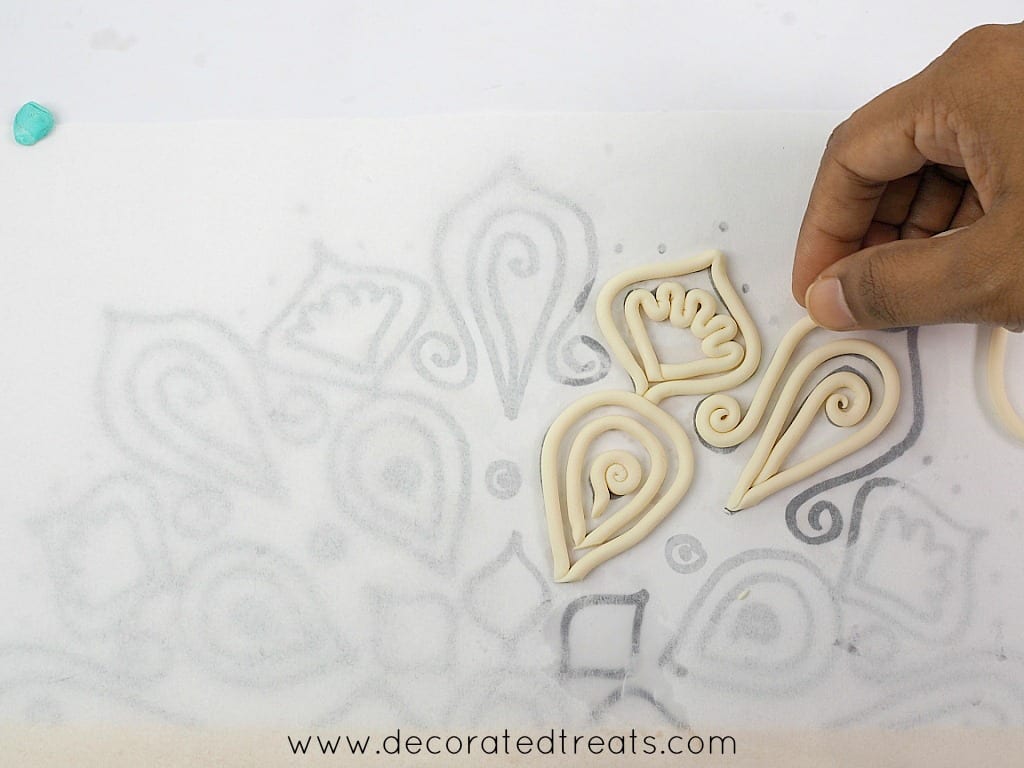
Adjust the position of the lace to match the lines on the template.
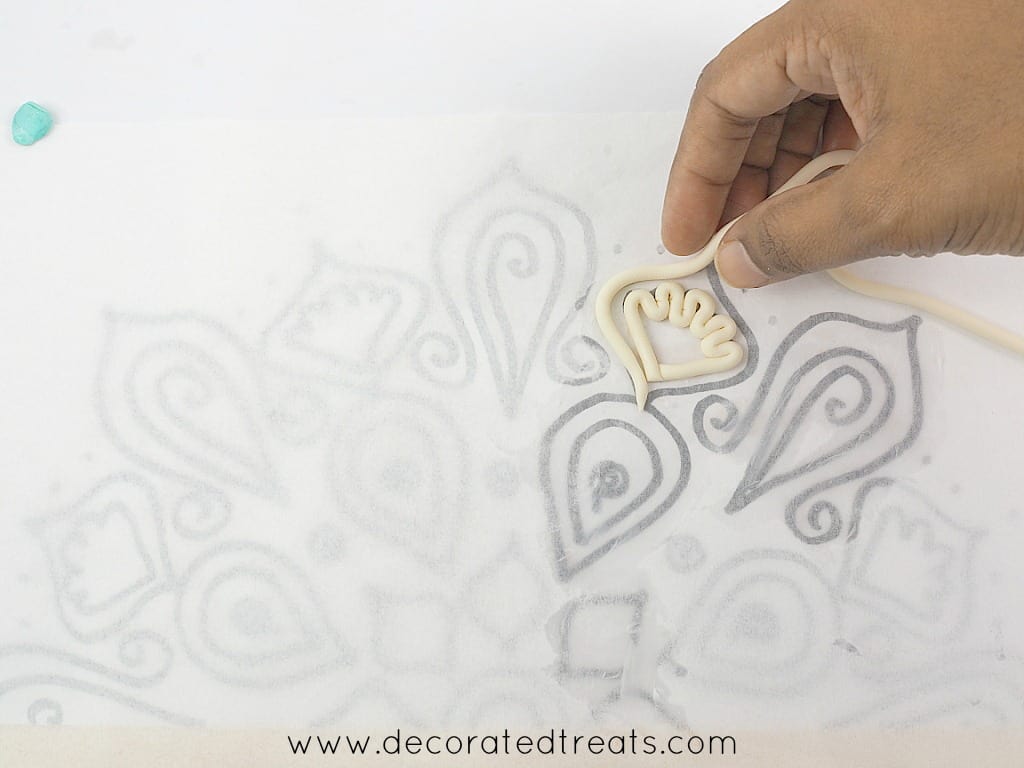
See how it is easier to work on adding the lace from inside to outwards.

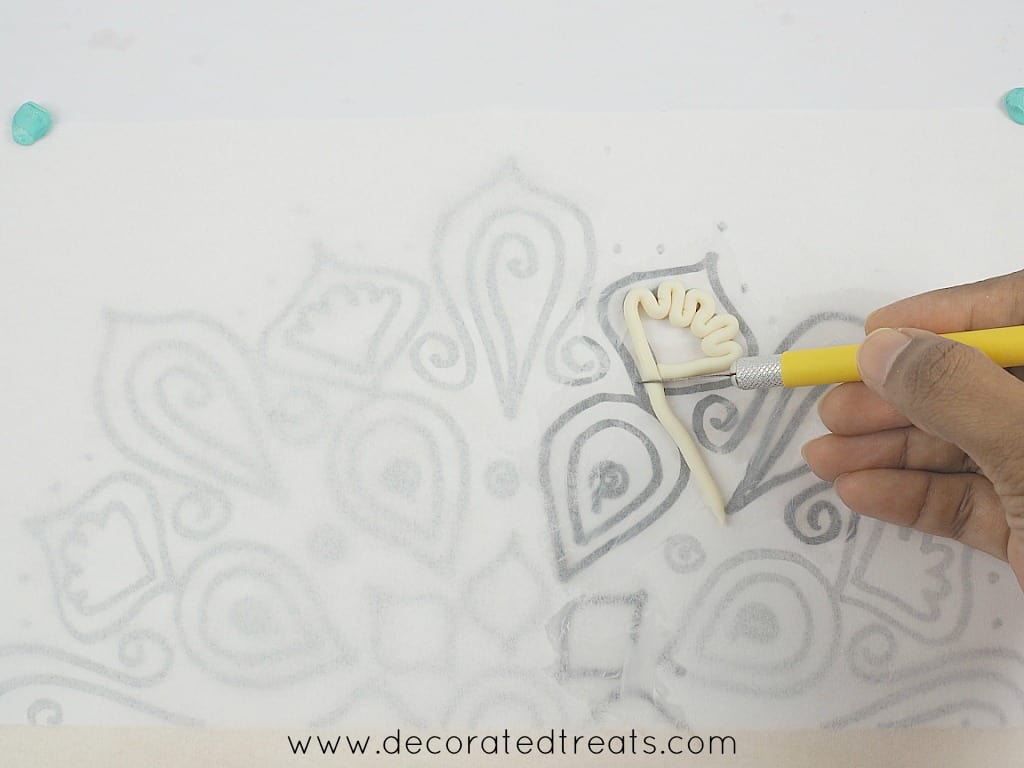
For pointy ends on the lace design, pinch the fondant lightly with your fingers.
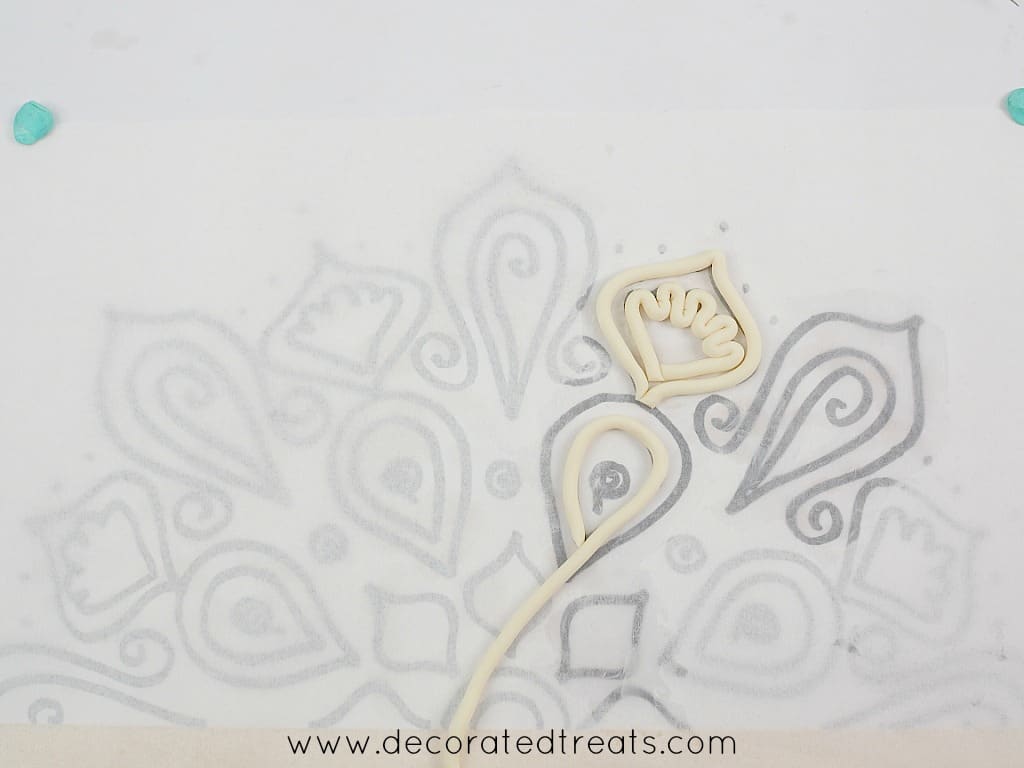
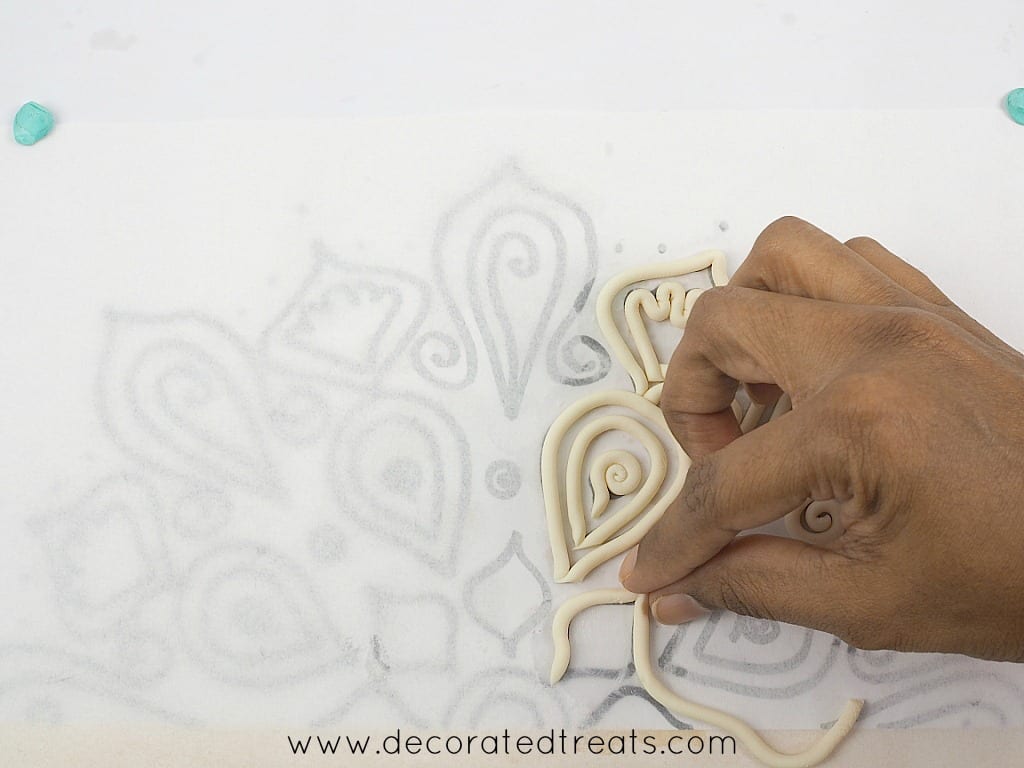
Again, work on the inside lace before working to the borders.
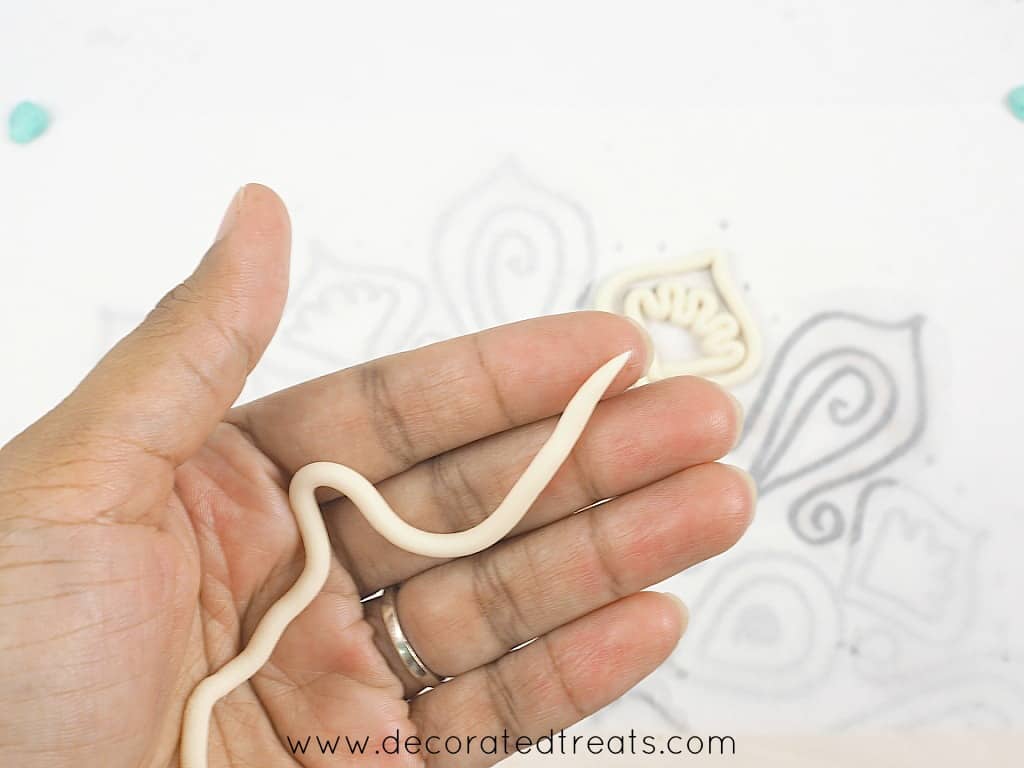
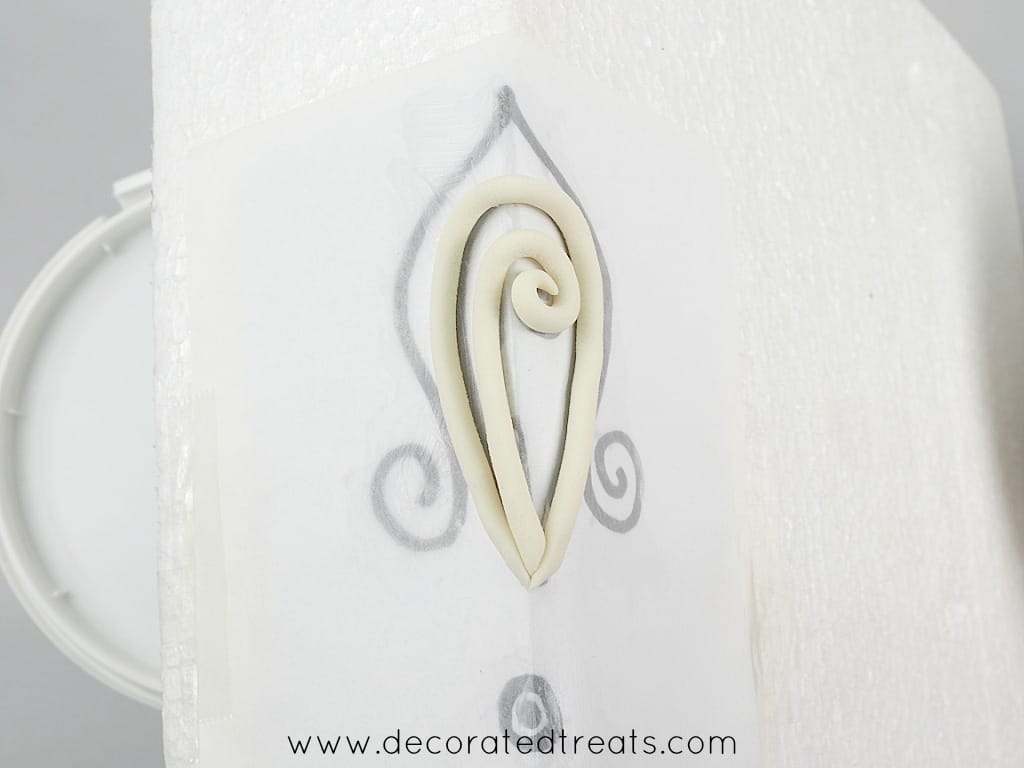
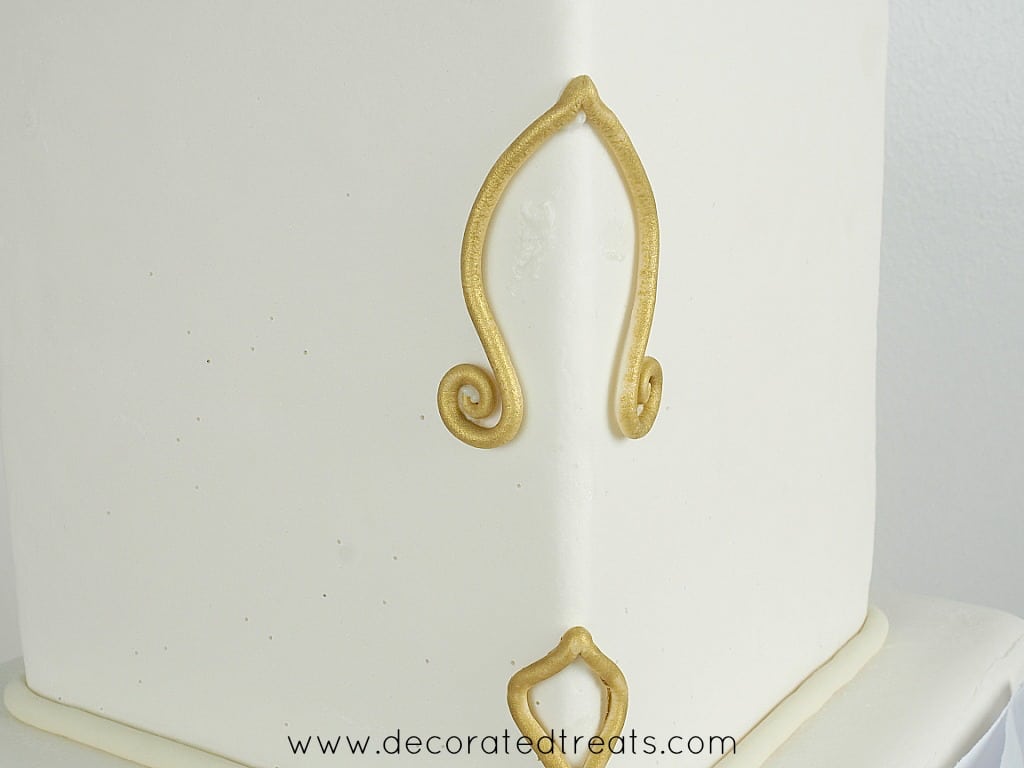
To make swirls, shape the lace tips into point ends.
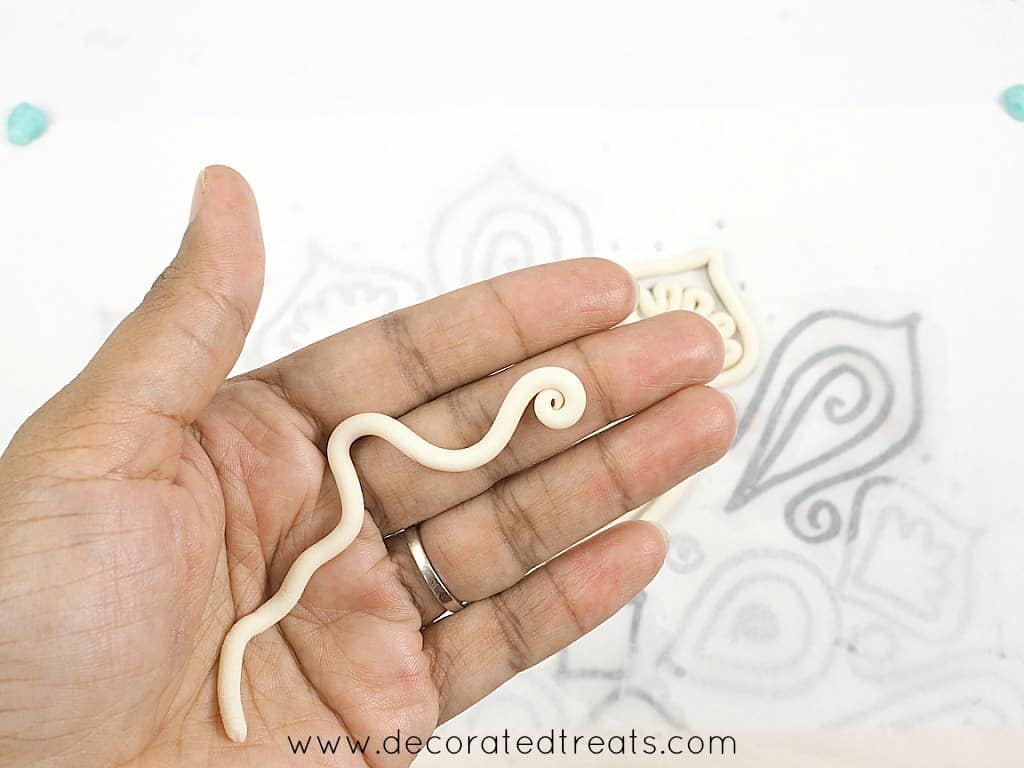
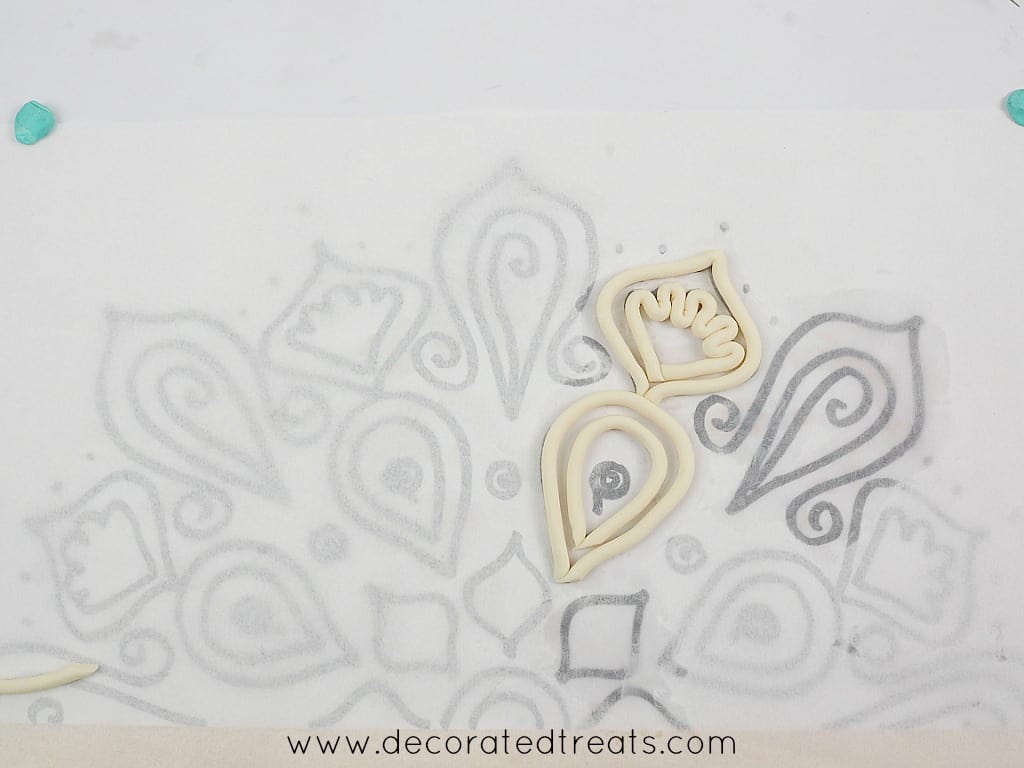
Shape the swirls by hand before attaching to the template.
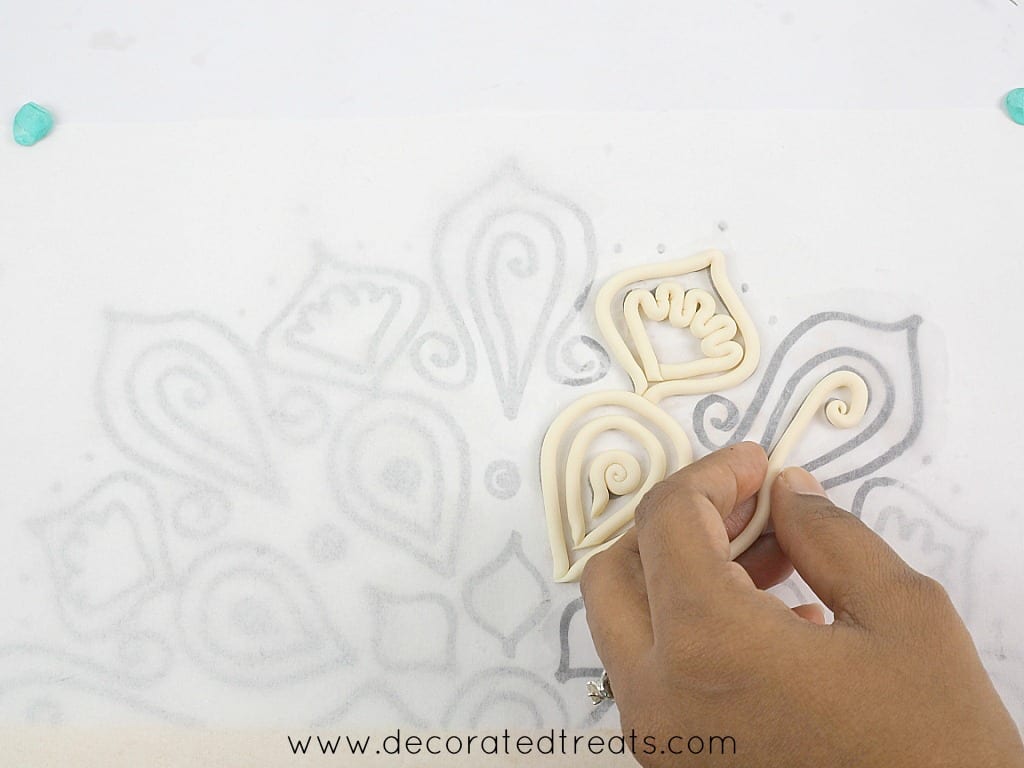

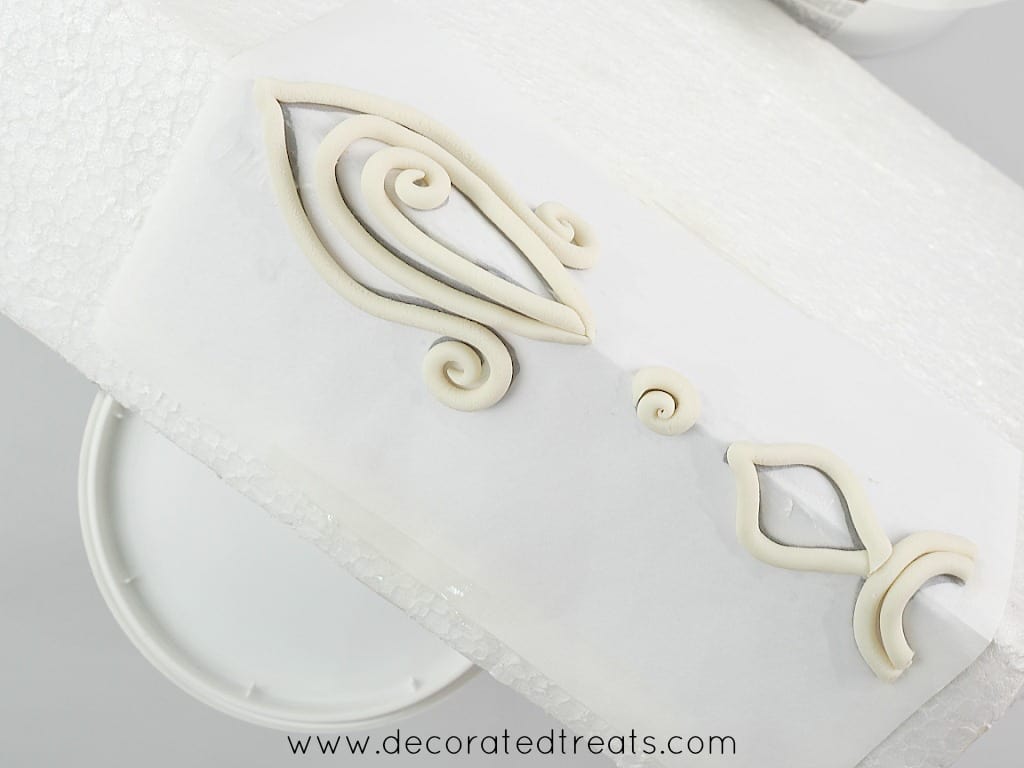
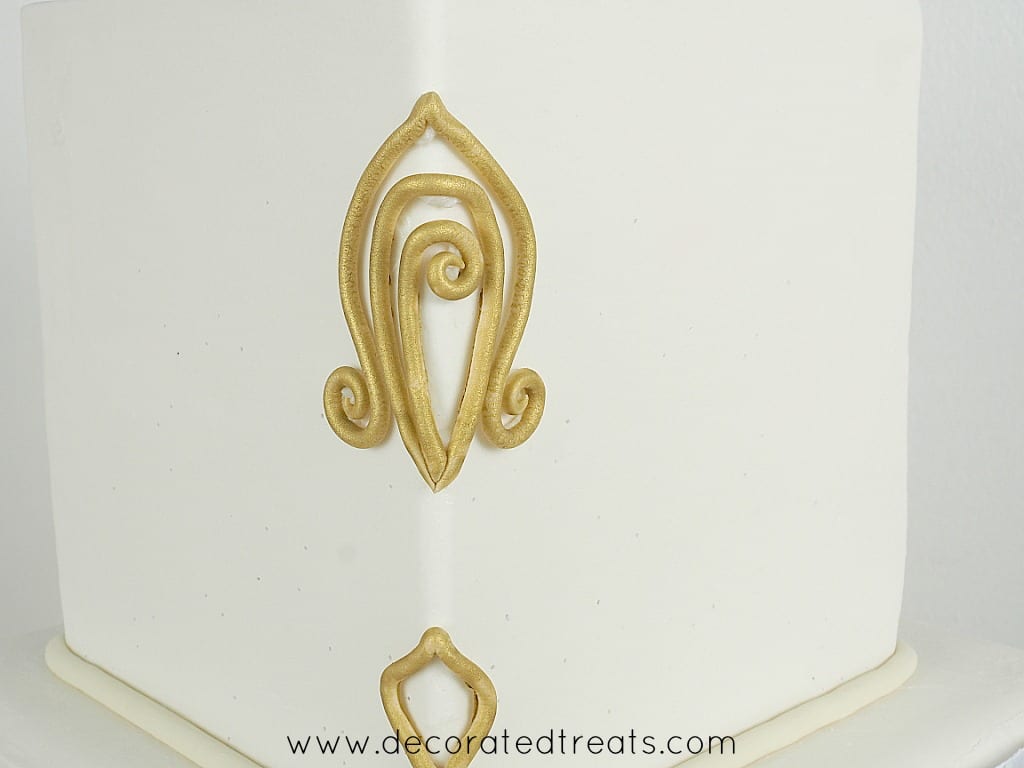
Continue adding all the lace pieces.
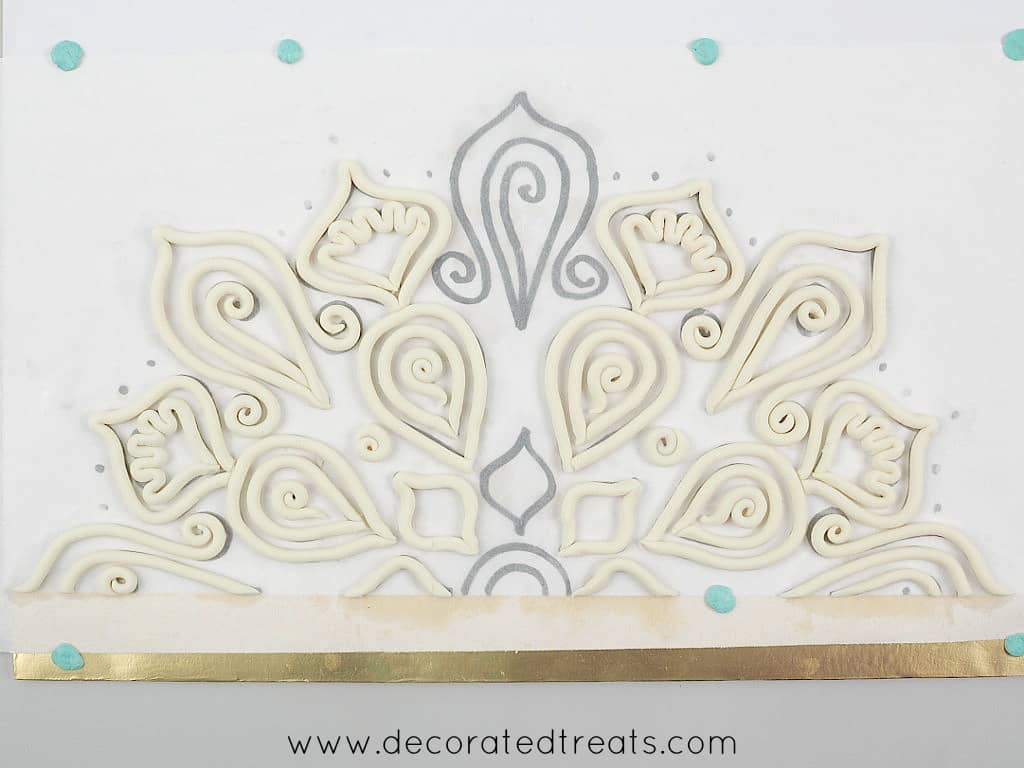
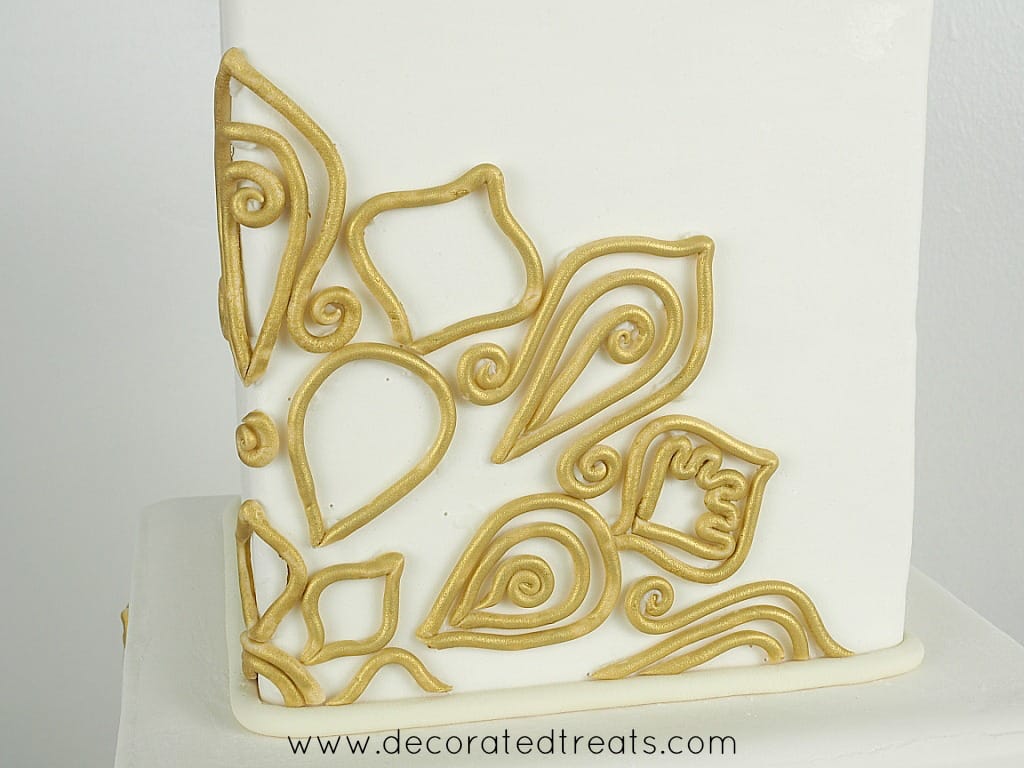
See how I purposely did not add any fondant to the center of the lace design. The center will be covered in step 4 below.
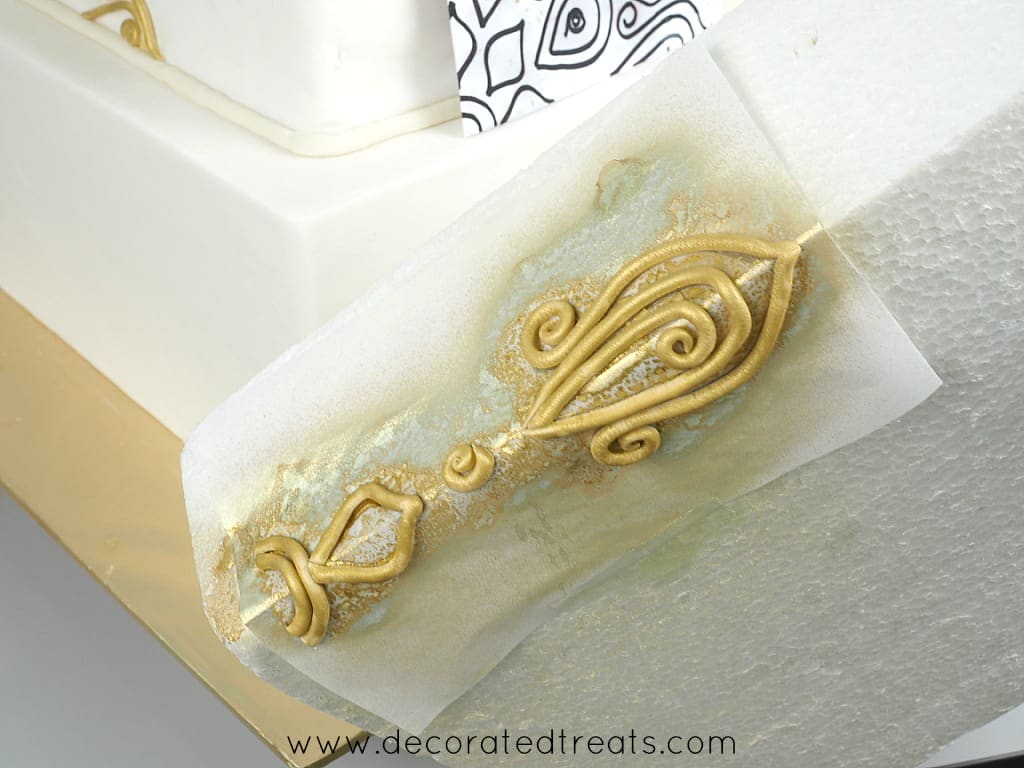
Step 3: Paint the lace
Once all the lace pieces are done airbrush them in gold. I used Americolor Gold Sheen paint.
If you notice, I did not complete the middle section of the lace. This was because the center of the lace should be at a 90 degrees angle as it will be placed on the side corner of the cake. As such, it must be formed curved at a 90 degrees angle.
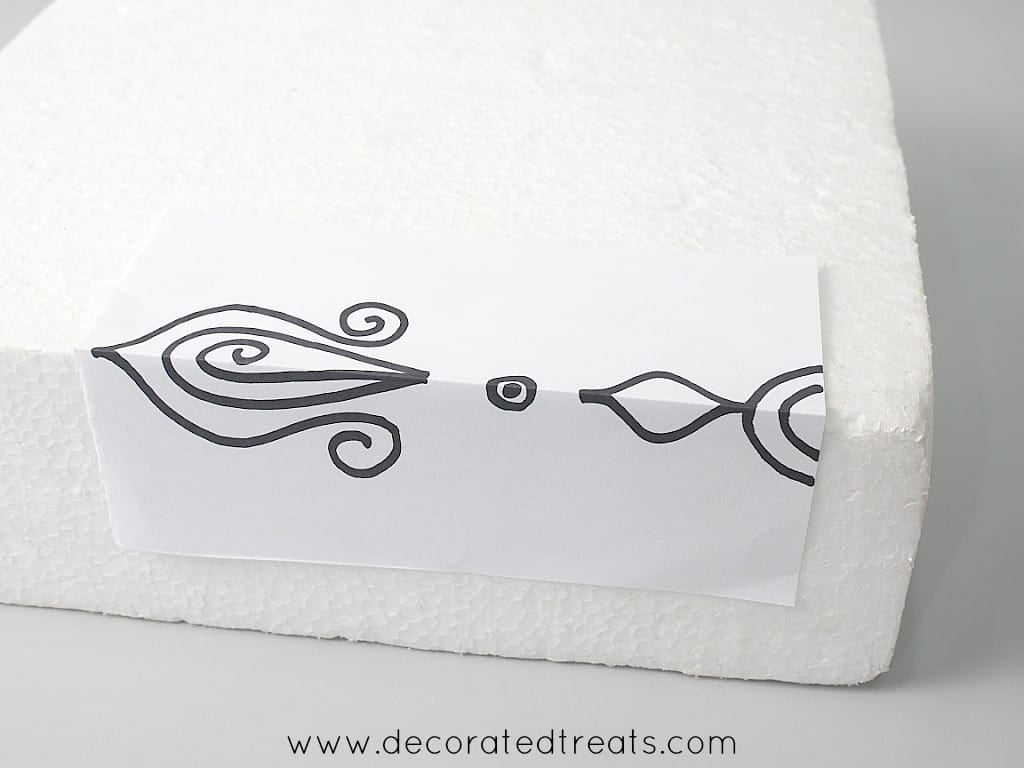
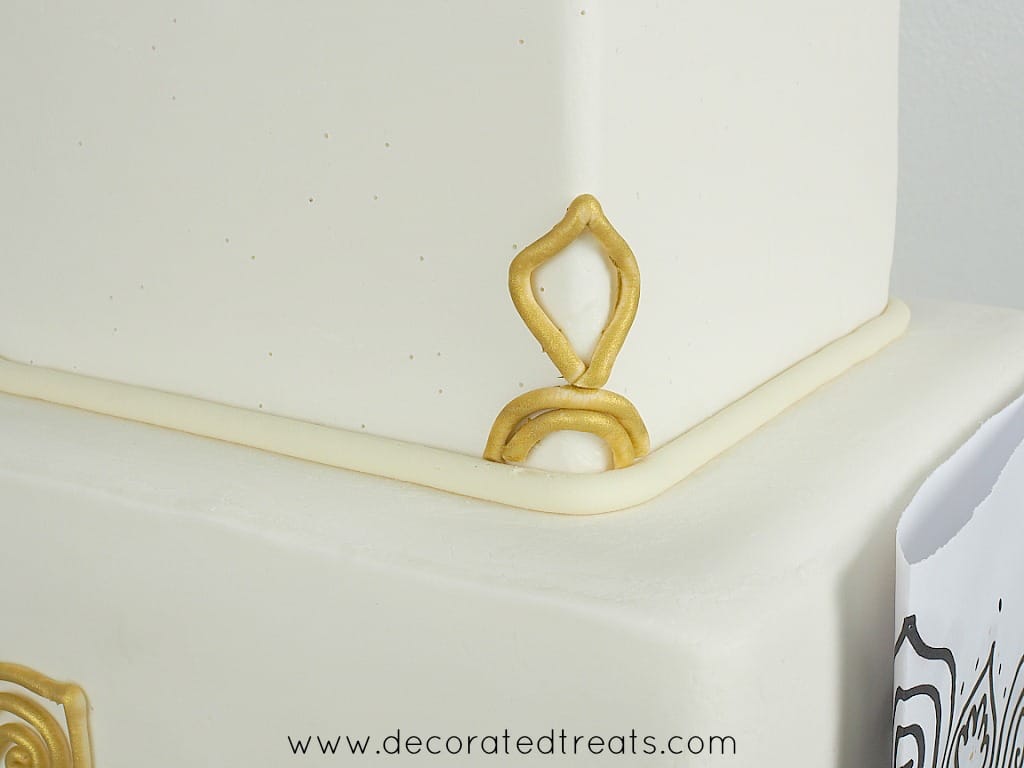
Step 4: Make the lace for the angled cake corners
To make the middle section of the lace which lays on an angled position on the cake, you will need to position the template in the same angle. In this case, it is a 90 degrees angle.
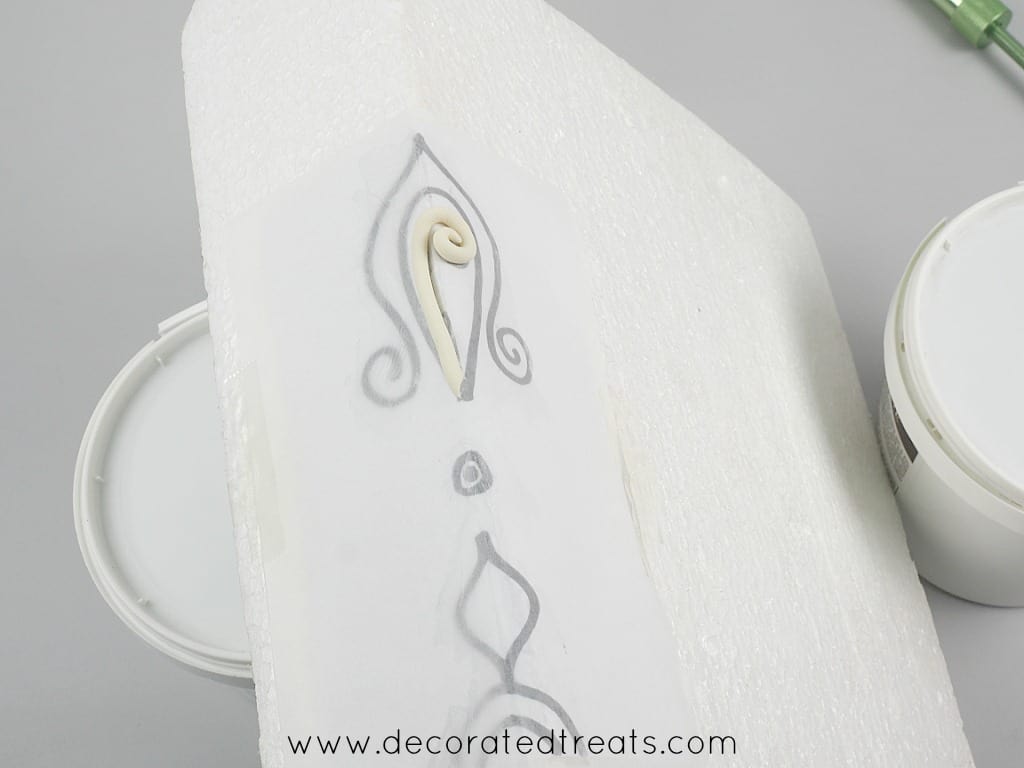
Trace the pattern for the middle section of the lace onto another paper. Fold it into half and tape it to a square Styrofoam block. Do it such that it is angled at 90 degrees.

Tape a piece of parchment paper over the design, form the lace and airbrush it like just like the flat pieces.
Step 5: Attach the lace to the cake
Leave the lace pieces aside overnight to set and for the paint to dry. The next day, you can start to assemble the lace on your cake.
For a guide, I used the same lace template. I folded it into half and placed it on the cake, exactly where I wanted the lace to be.
To make sure the template stayed in place, you can use shortening to stick it to the cake.

Next, using a needle tool, poke tiny holes on the template. Make sure it pokes the fondant underneath too, marking the main points of the lace.

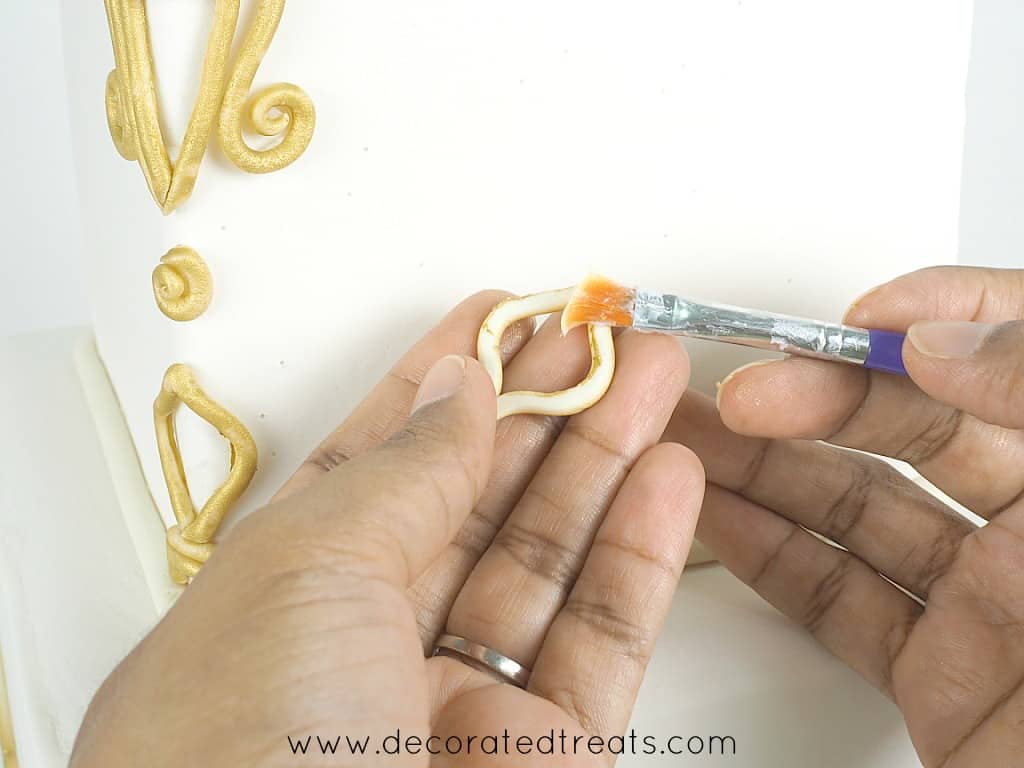
Remove the paper and apply shortening where the holes are marked.
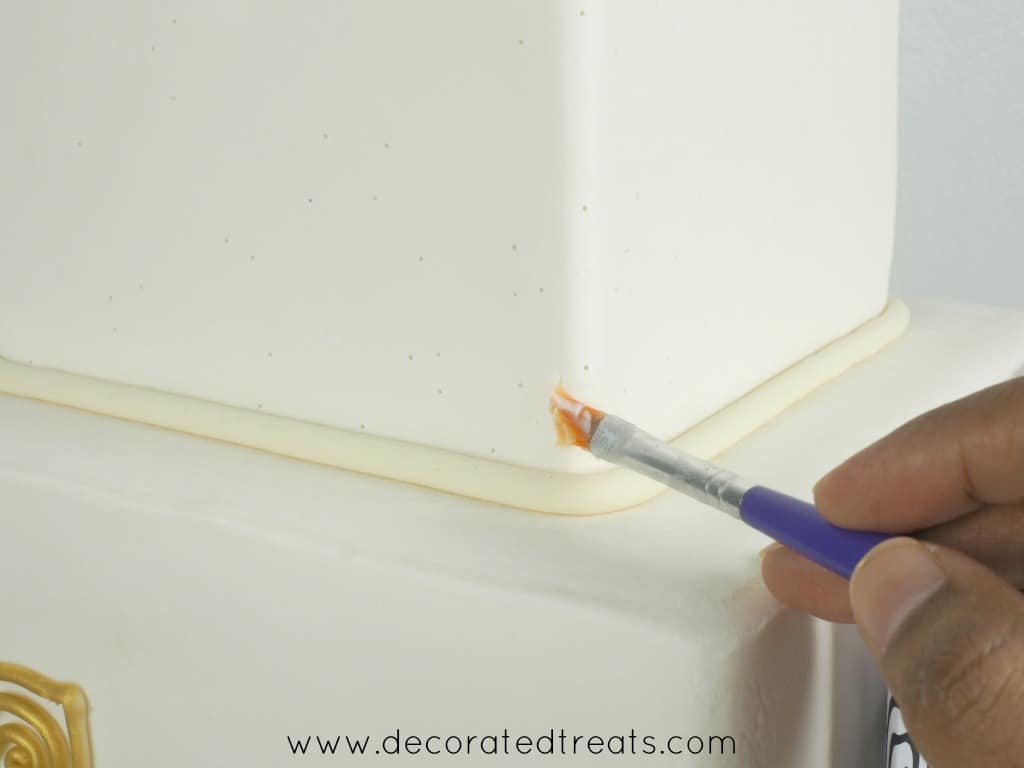
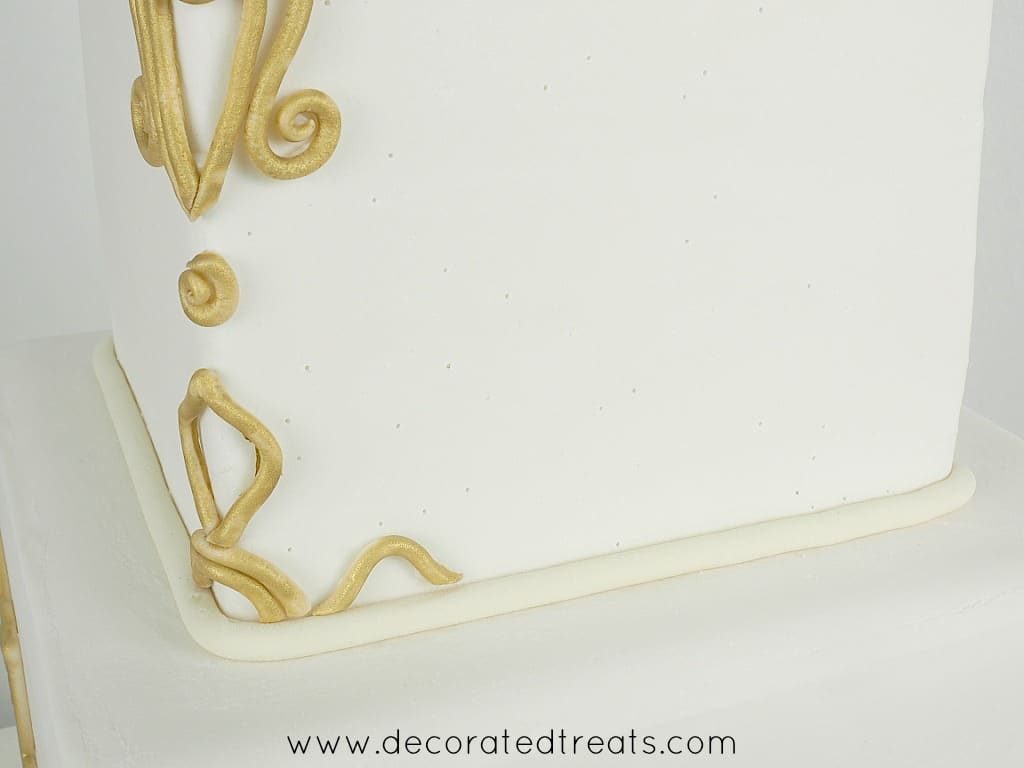
And then start attaching the lace. Start with the middle section of the lace, from the bottom.
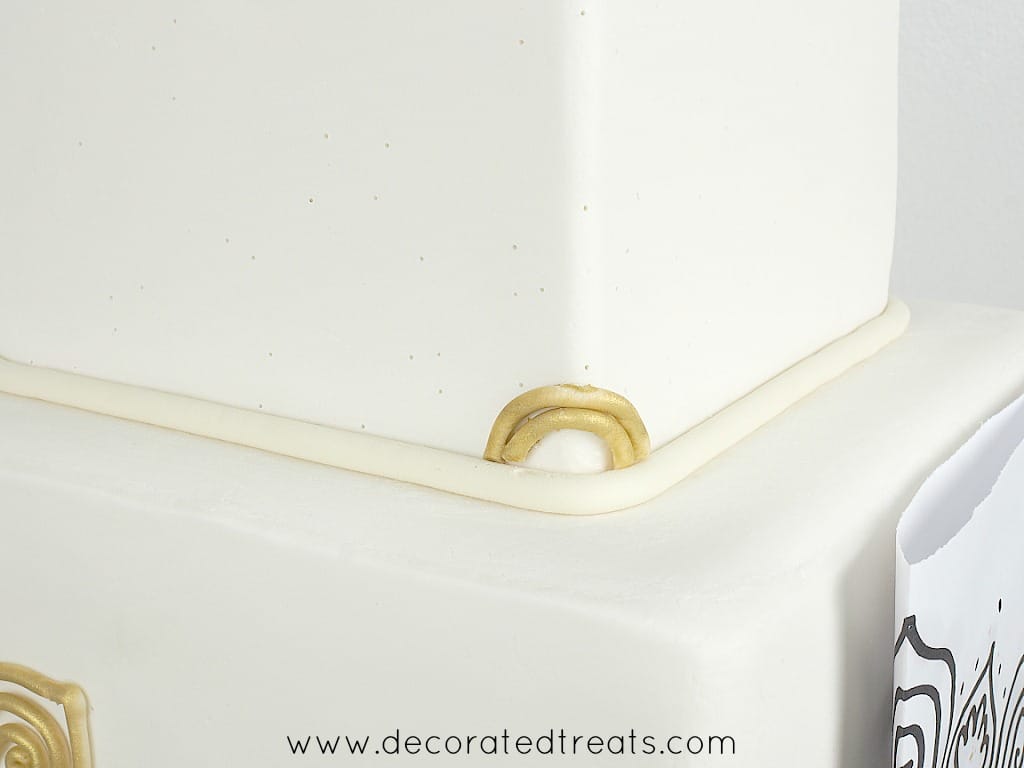
Once the center is complete, move to the sides. Where the lace pieces are not sticking well on the cake, apply some shortening directly on the lace pieces. This will help them stick securely on the cake.
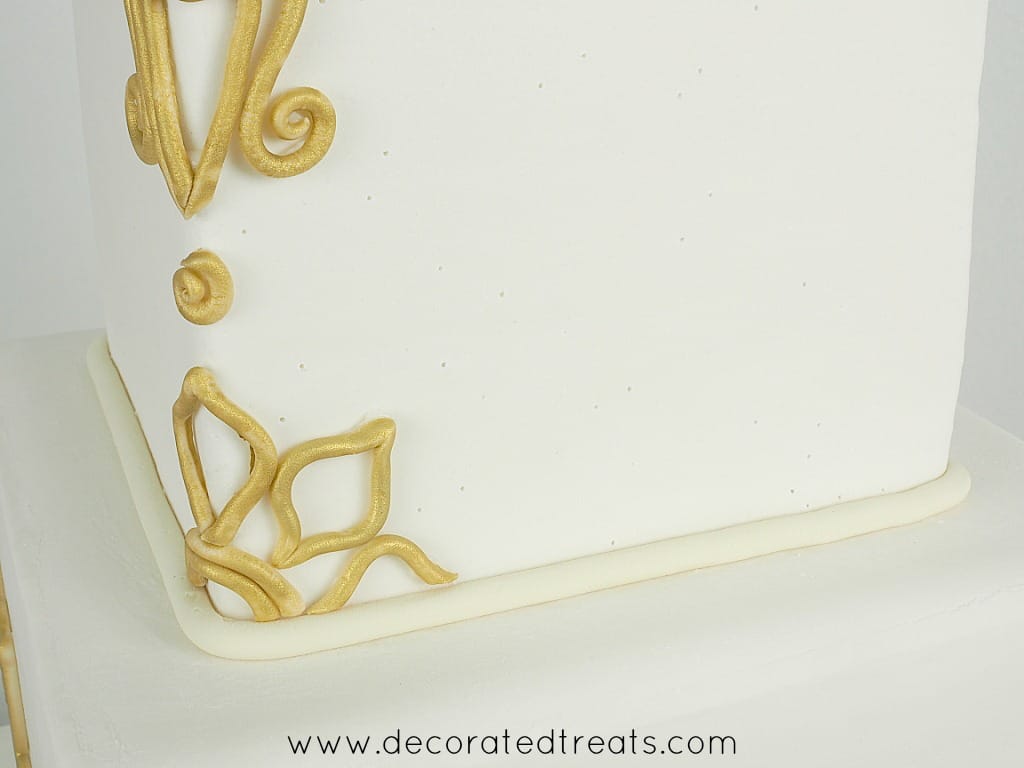
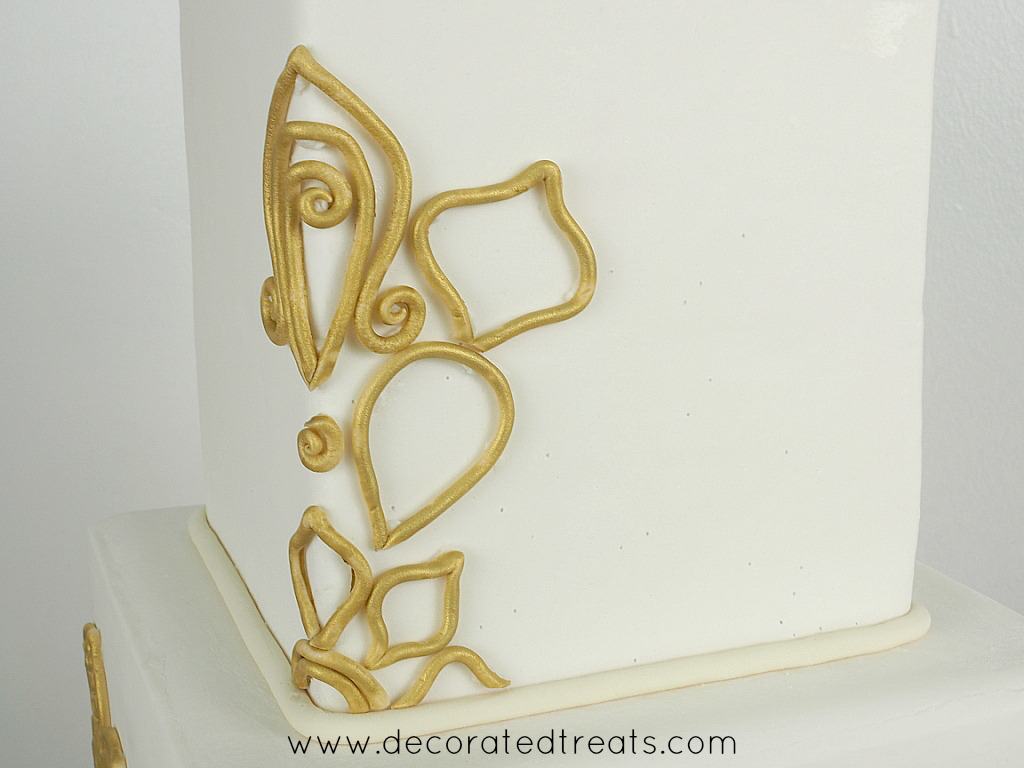
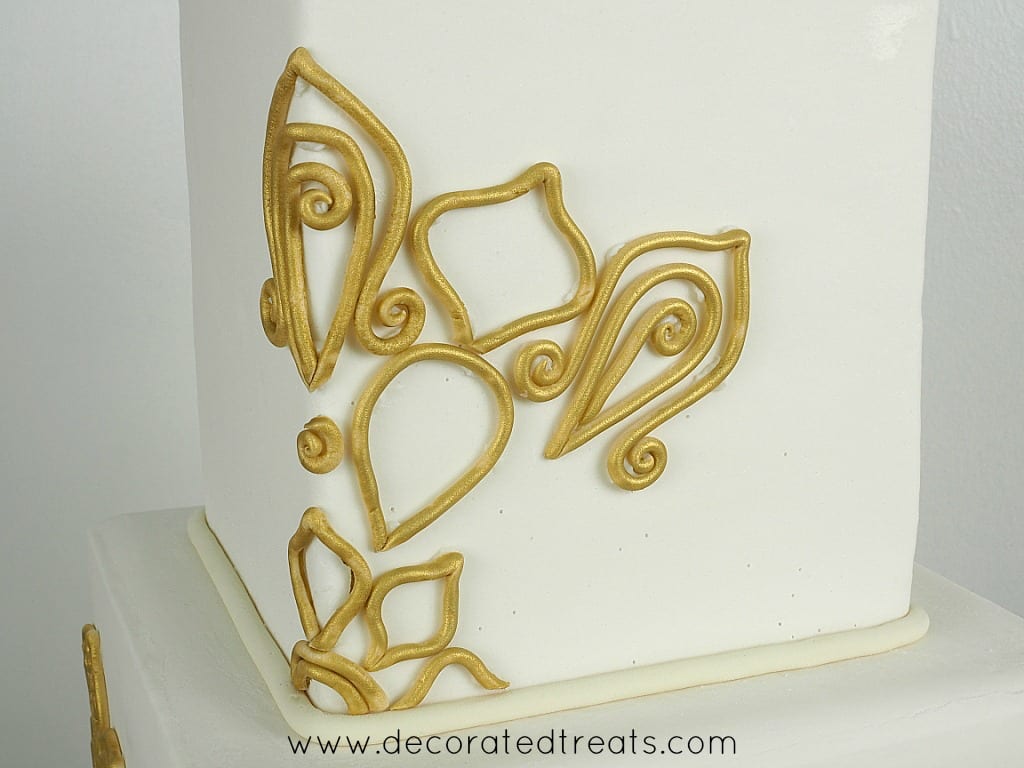
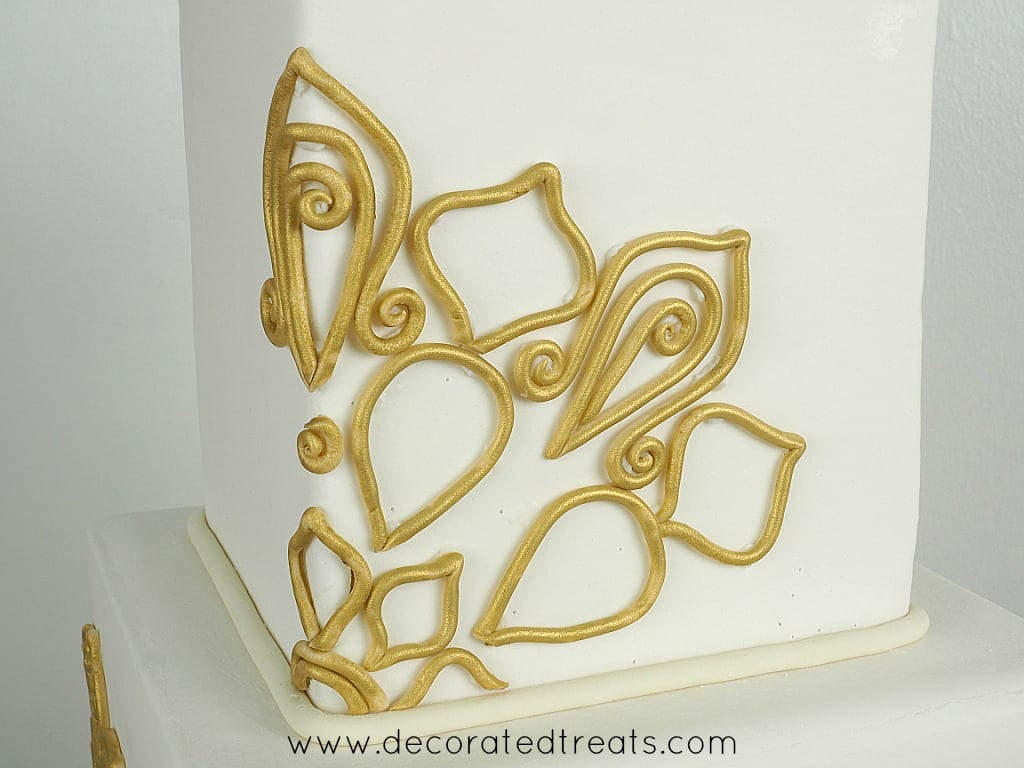
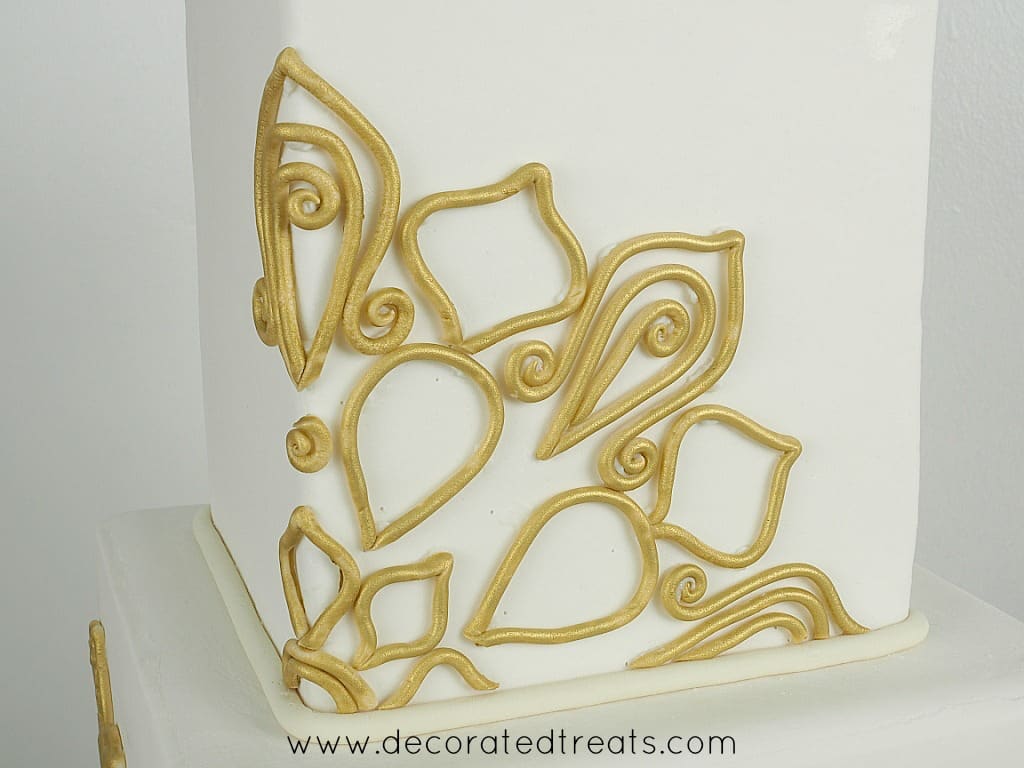
If you are making the lace for more than one tier, complete each tier before you move to the next one. Here's how the gold fondant lace looked on my cake when completed.

And that was how I made gold fondant lace. Hope you enjoyed this tutorial as much as I enjoyed making it.

Mauva Brown
This is so kind and a beautiful thought in sharing this step by step instructions it was really amazing to know how this beautiful design was created. Thanks very for Ur time and effort in making this happen.Please keep up with this excellent skill that U have been blessed with. Thanks again it is Beautiful.