

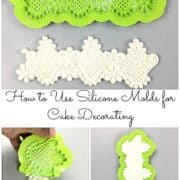
In this post on how to use silicone fondant molds, I am going to share with you some basic tips that can help you in using the cake silicone molds correctly.
When used correctly, these molds can help you achieve stunning cake decorating results. Not knowing how to use them correctly can lead to sheer frustration and stress.
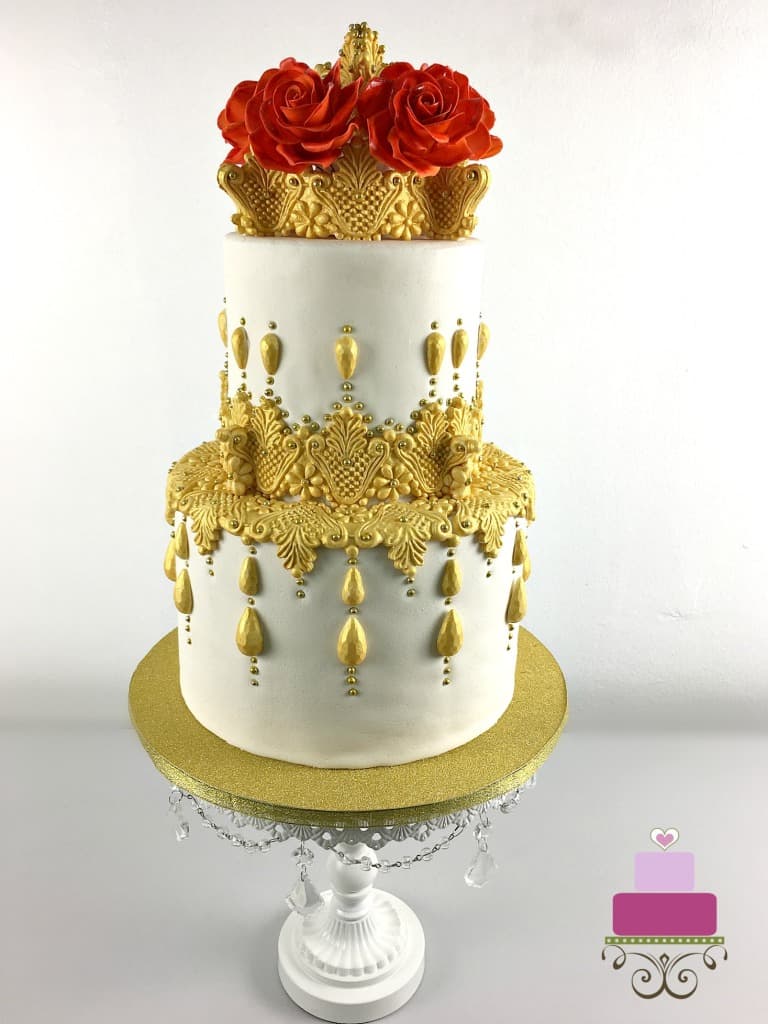
Here is a cake I designed last year for a cake collaboration project. All the gold fondant work on the cake was produced with silicone molds. How do you like it?
Silicone molds are very easy to use and this ease of use comes with equally pretty results too. So, if you are into cake decorating, investing in cake silicone molds is actually very worth it. Not only do you get professional-looking results on your cakes, you get to achieve them pretty quickly too.
Jump to:
❤️Why you will love this tutorial
- The tutorial is easy to follow.
- It teaches you, step by step, on how to use fondant molds correctly.
- You can use this technique to create a whole lot of pretty cake decorations using silicone molds.
Like this post on how to use silicone fondant molds? You might also want to check out my other fondant tutorials like this easy fondant flowers tutorial, homemade fondant recipe, fondant crimping technique for cake decorating, how to make a bow and fondant loop bow tutorial.
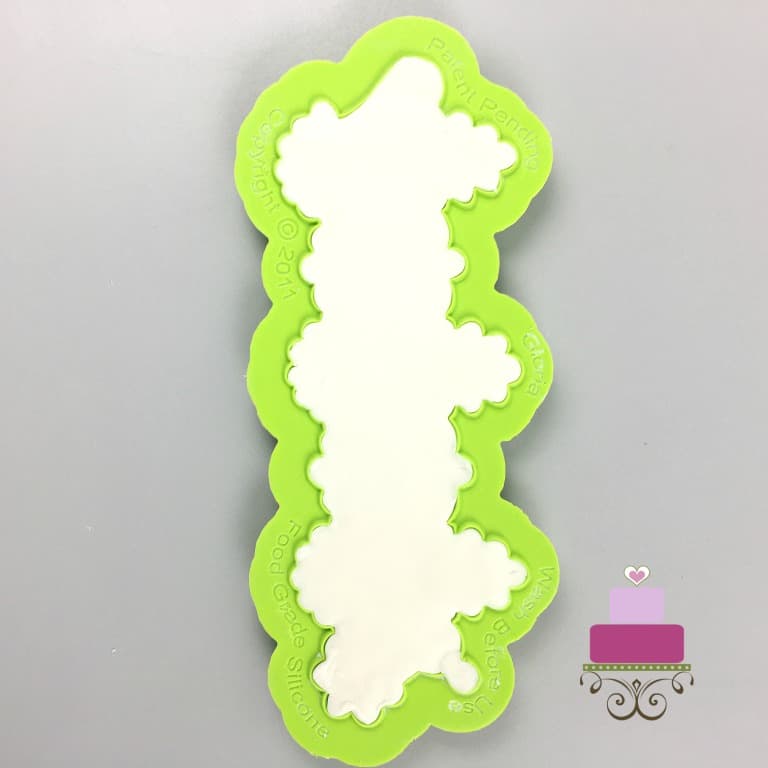
🧾Supplies required
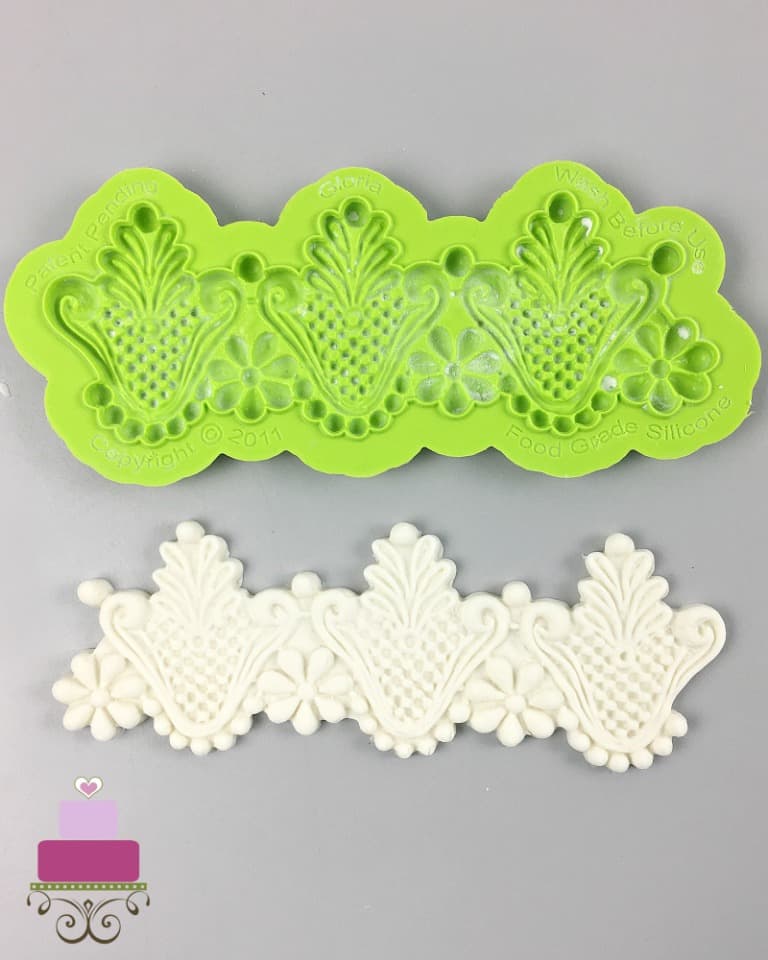
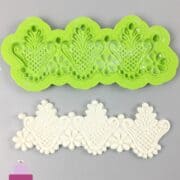
- Food grade silicone molds – the one I have on this page is a Marvelous Mold silicone mold.
- Powdered sugar or cornstarch for dusting
- Rolling pin
- Cake decorating brush - use food safe brush.
- Sieve or a dusting pouch
👩🍳How to use
Step 1: Dust the mold
Start by dusting the mold. By dusting I mean really dusting it well, making sure every nook and corner of the mold is dusted. I prefer to use cornstarch but if you don’t have cornstarch, you can always using icing sugar.
For the dusting, you can use a dusting pouch. See how you can make your own dusting pouch here. Or you can even use a sieve to sift a layer of cornstarch onto your mold. Don’t worry about excessive dusting, just focus on making sure the mold is well dusted.
Tap the mold a couple of times on your workspace. This will help distribute the cornstarch to all corners on your mold.
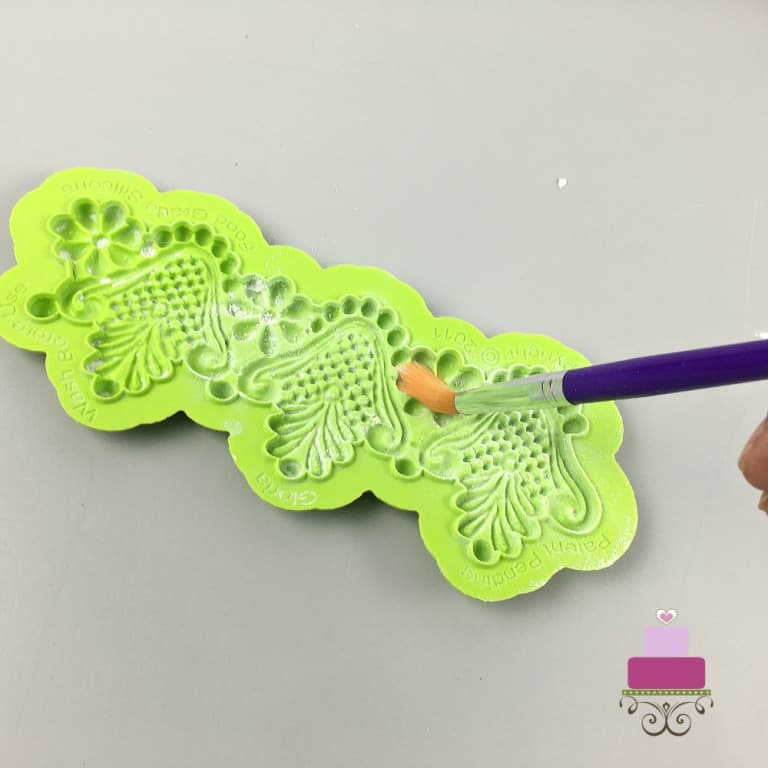
Next, turn the mold over. Tap it lightly on a plate to remove all the excess flour. This is why in the step above, I said not to worry about excessive dusting. You get to remove it in this step.
When tapping, apply only gentle pressure, we would still want to keep a good layer of dusting on the mold.
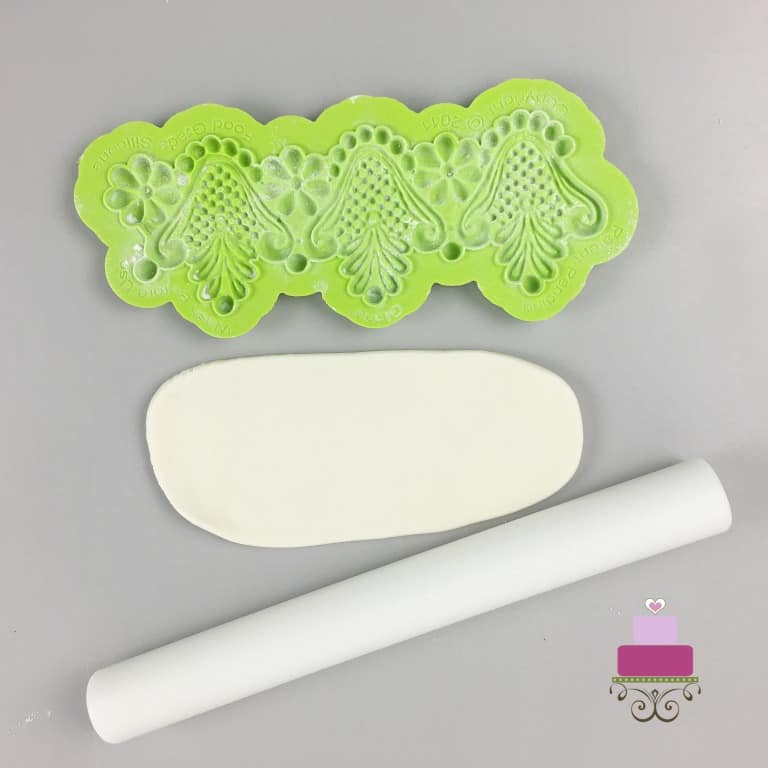
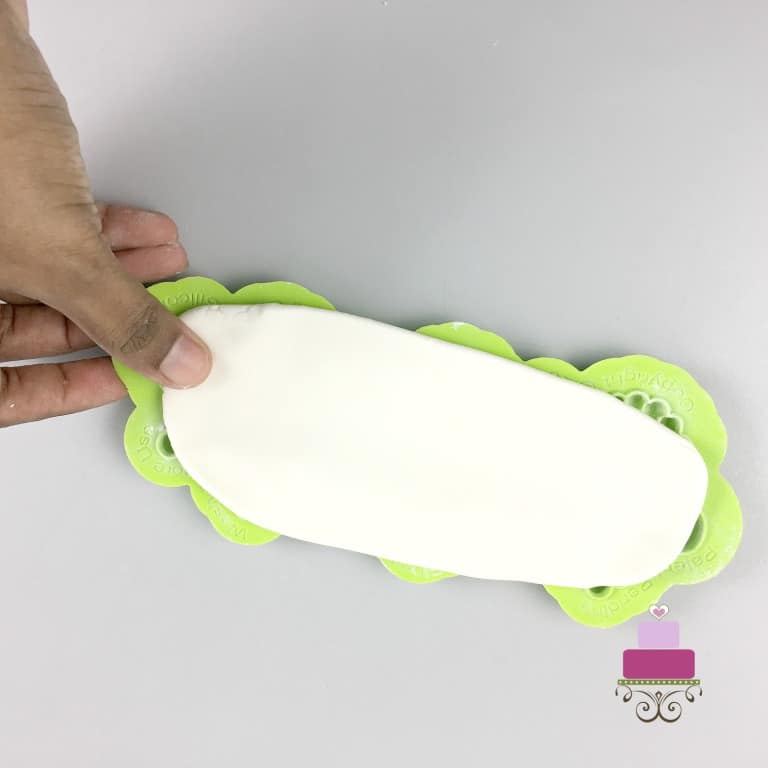
Step 2: Press fondant into the mold
Next, take some fondant and knead it well until there are no more creases.
Note: If you are making large molded fondant pieces, it would be helpful to roll your fondant flat (but not too thin) so that you get to fill the fondant into your mold faster.
After that, press the rolled fondant into your mold. You will need to apply some pressure here as we want the fondant to reach all the nooks and corners of the mold.
At this point, you might notice that the fondant surface is bulgy and not smooth. Use a rolling pin to roll on the mold. Doing this will push all the excess fondant outside the mold.
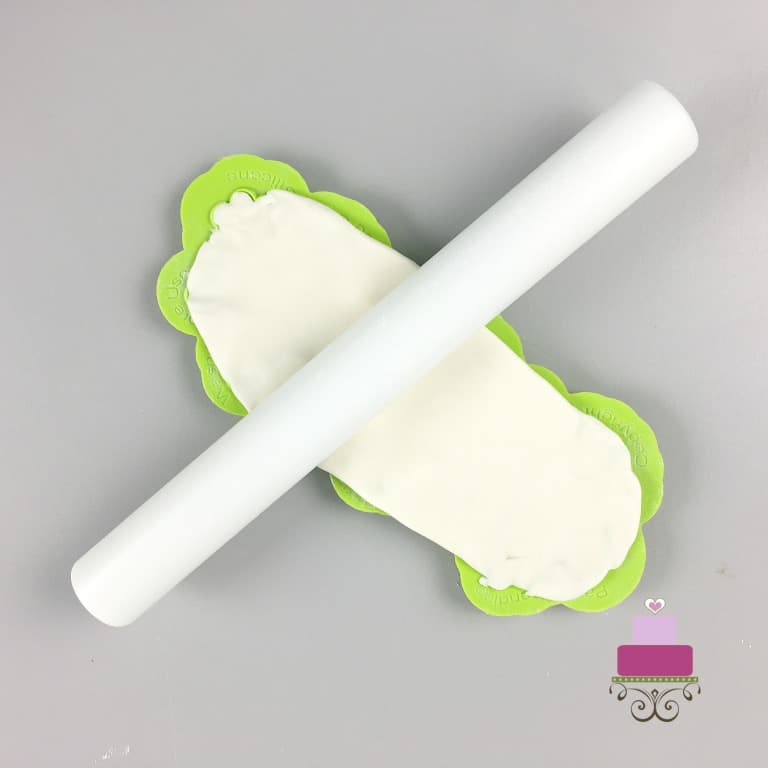
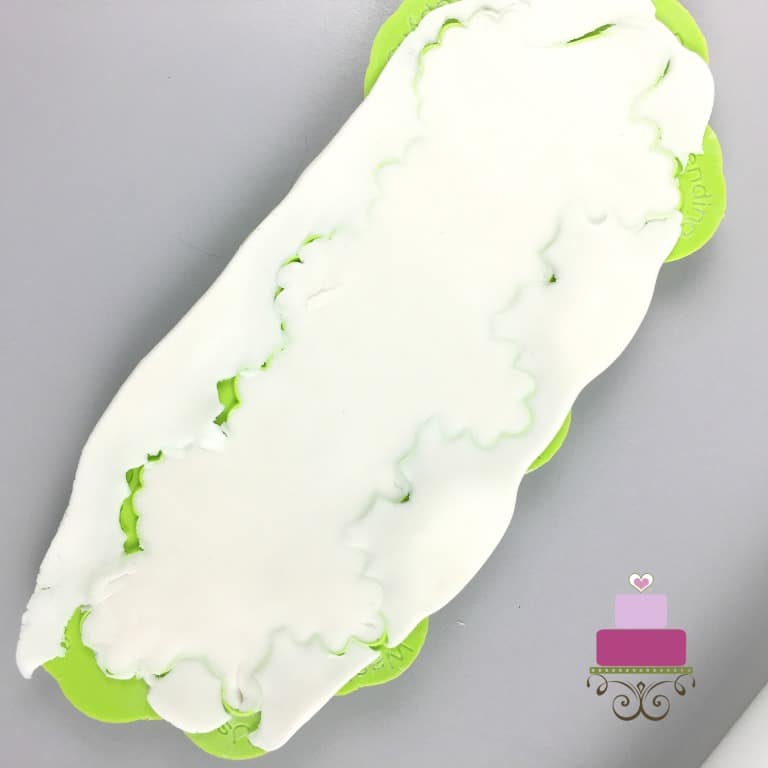
Remove the excess by hand and smooth the edges with your fingers.
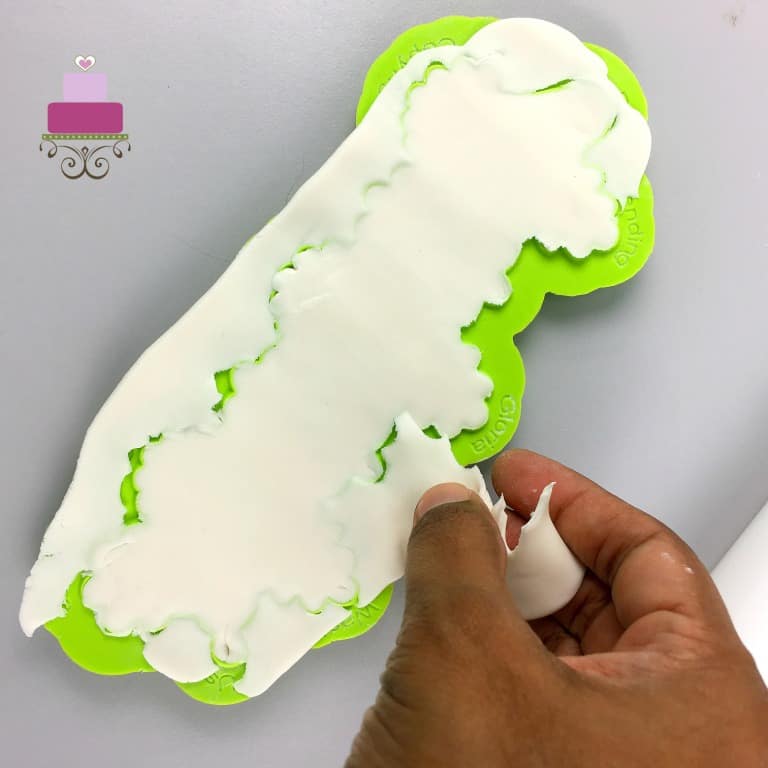
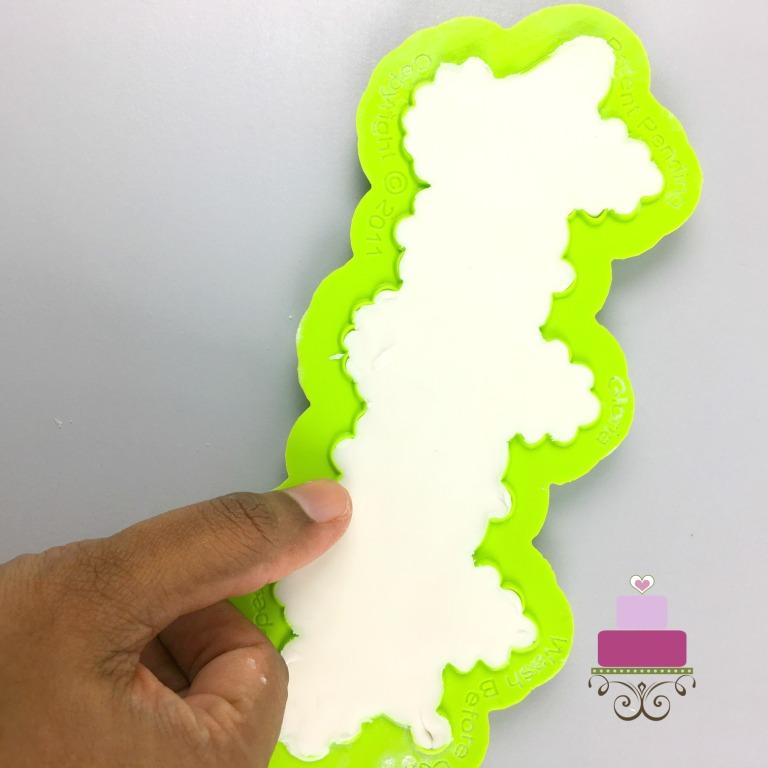
Also at this point, you will notice that your fondant surface might not be even. There could be slight gaps where you would need to fill more fondant. Simply pinch some fondant and fill up those gaps.
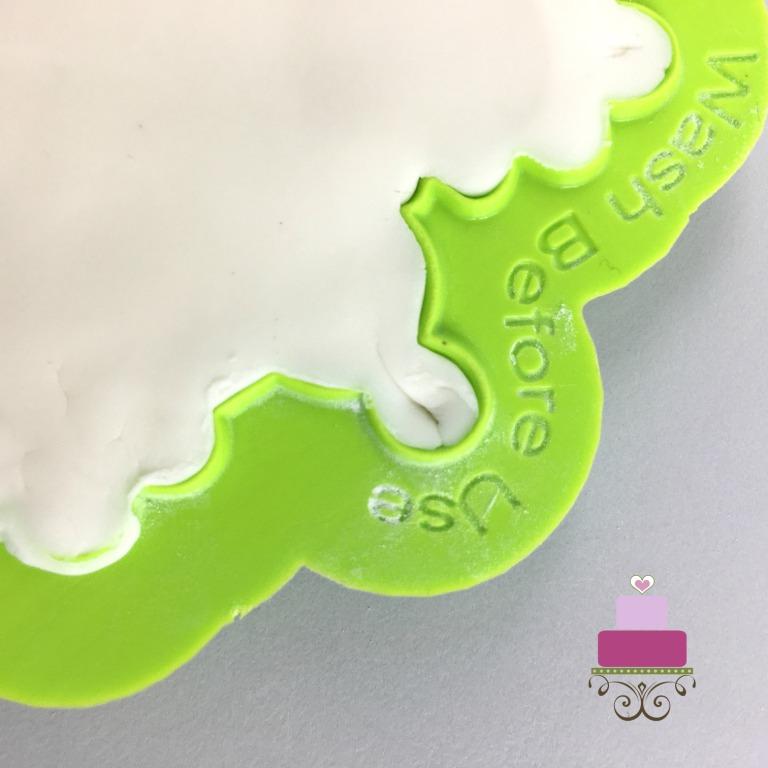
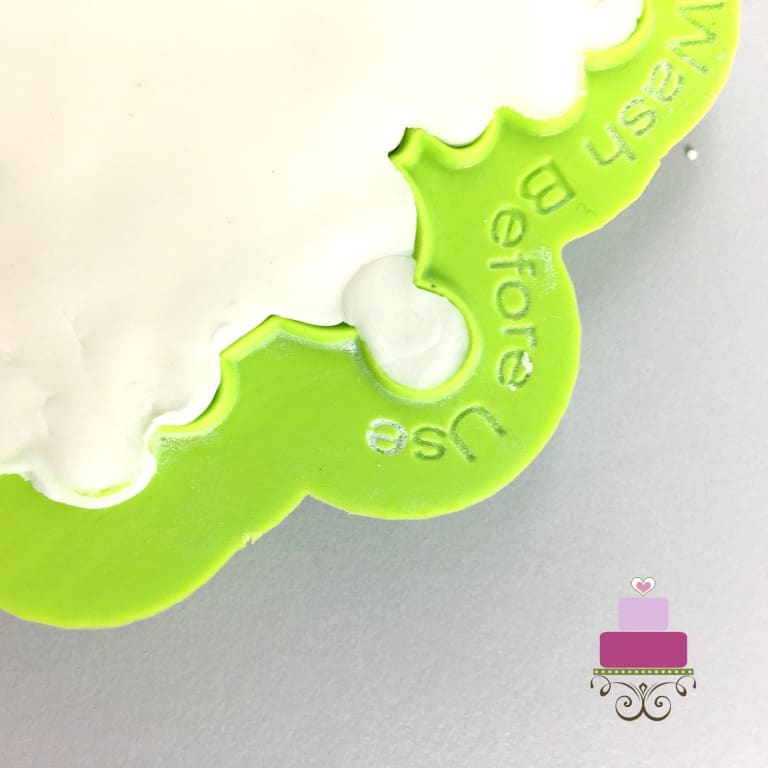
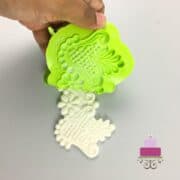
Step 3: Peel the fondant off the cake silicone mold
Once you are happy with the surface, carefully peel off the silicone mold. I say ‘peel off the mold’ because in removing the molded fondant, you fold the mold and try to push the molded fondant out instead of trying to pull the fondant out.
This will ensure your molded fondant does not get stretched and loose its shape as you remove it from the mold.
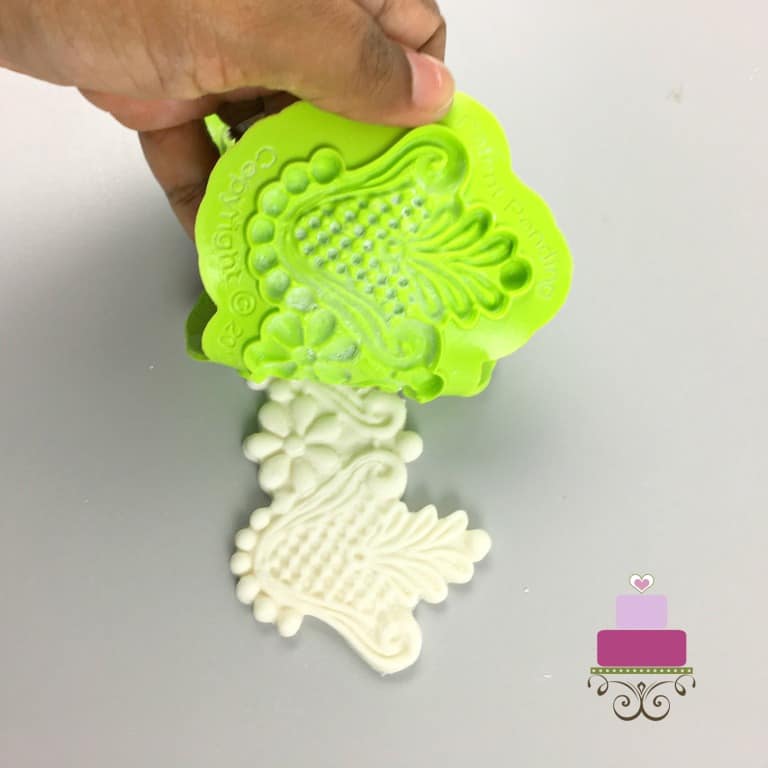
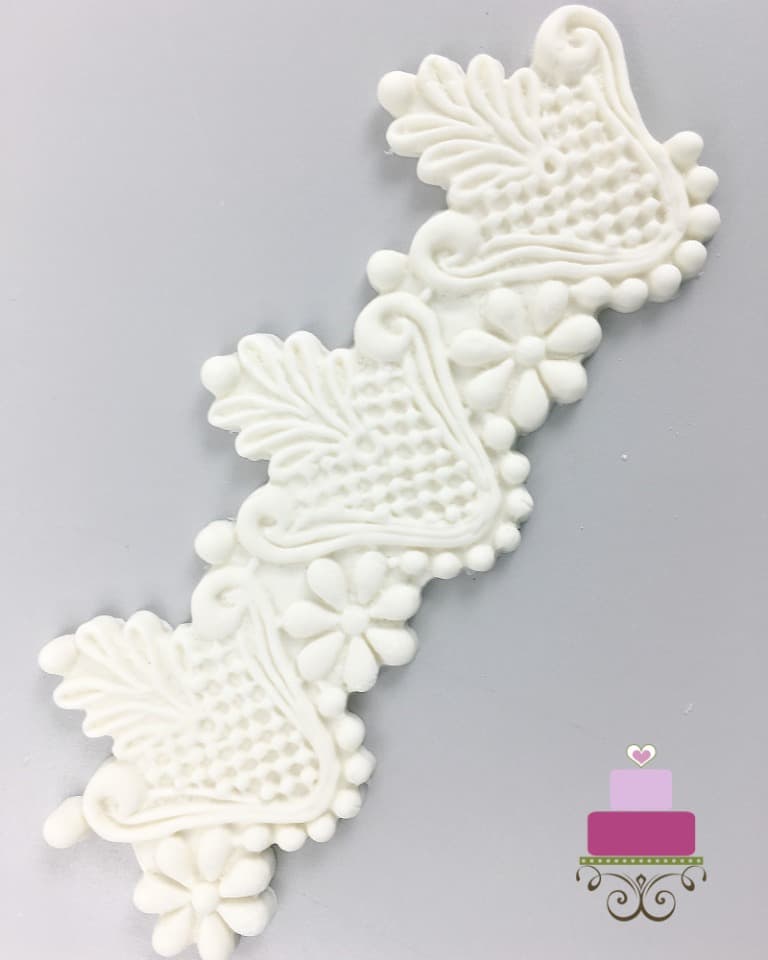
Place the pushed out molded fondant onto a tray. Let it sit for a few minutes so that the fondant has time to set a little.
If there is excess cornstarch or sugar on the fondant, brush off gently with a soft bristles brush before using the molded fondant to decorate your cakes and cookies.
Note: If you are having trouble getting the fondant out of the fondant silicone mold, place it in the fridge for a few minutes. That should help the fondant release more easily for the molds.
And that’s that. I hope this tutorial on how to use silicone fondant molds the correct way for cake decorating is useful and hope it helps in your successful use of silicone molds.
⭐Expert tips
These are some of the most important tips to remember when using fondant silicone molds. Practice these and I am sure you will be able to achieve that perfect results you are looking for all the time:
- Dust your mold well, making sure all nooks and corners are well covered. Use a sieve if needed or simply sprinkle with our fingers.
- Tap excess sugar/flour off the mold to make sure there are no blotches of sugar or flour in the. This can result in the dents and holes in your molded fondant when removed from the mold. The blotches of flour/sugar will come off leave unpleasant holes and marks on your molded fondant pieces.
- Let the molded fondant pieces to set for a while before attempting to brush off any excess sugar or flour on them. Attempting to brush them while the fondant is still very soft could lead to unsightly brush marks on the fondant.
- Use a soft brush when brushing off excess sugar/flour dust to avoid breakage or disfiguration to the molded pieces.


Cynthia Gutzwiller
Thank you. I was wondering how to do this and your step-by-step instructions along with the illustrations are a help.
Bear
Thank you, that is very helpful and the pictures are wonderful, glad you showed them . Kudos, good job.
Priya
Thank you Bear. I am glad you find the tutorial useful 🙂 🙂
Gail Llewellyn
Exclent.im going to try that.im not good in decorations but this is clever.thank you.