• Skip to primary navigation
  • Skip to main content
  • Skip to primary sidebar

Decorated Treats

  • Home
  • Recipes
    • Cake Recipes
    • Cookies Recipes
    • Brownies & Bars
    • Bread & Pastry Recipes
    • Sweets & Candies Recipes
    • Jellies, Mousses and Puddings
    • Frosting and Icing Recipes
  • Designs & Tutorials
  • Tips & Techniques
    • Preparing Cakes for Decoration
    • Fondant Decorating
    • Piping Techniques for Cake Decorating
    • Gum Paste Flowers - How to Make
    • Decorating with Chocolate
    • Other Techniques
menu icon
go to homepage
  • Recipes
  • Tutorials
  • Techniques
  • About Me
    • Facebook
    • Instagram
    • Pinterest
    • YouTube
  • search icon
    Homepage link
    • Recipes
    • Tutorials
    • Techniques
    • About Me
    • Facebook
    • Instagram
    • Pinterest
    • YouTube
  • ×
    Decorated Treats » Tips & Techniques

    Fondant Loop Bow (How to Make)

    Published: Aug 17, 2020 · Modified: Mar 3, 2024 by Priya Maha

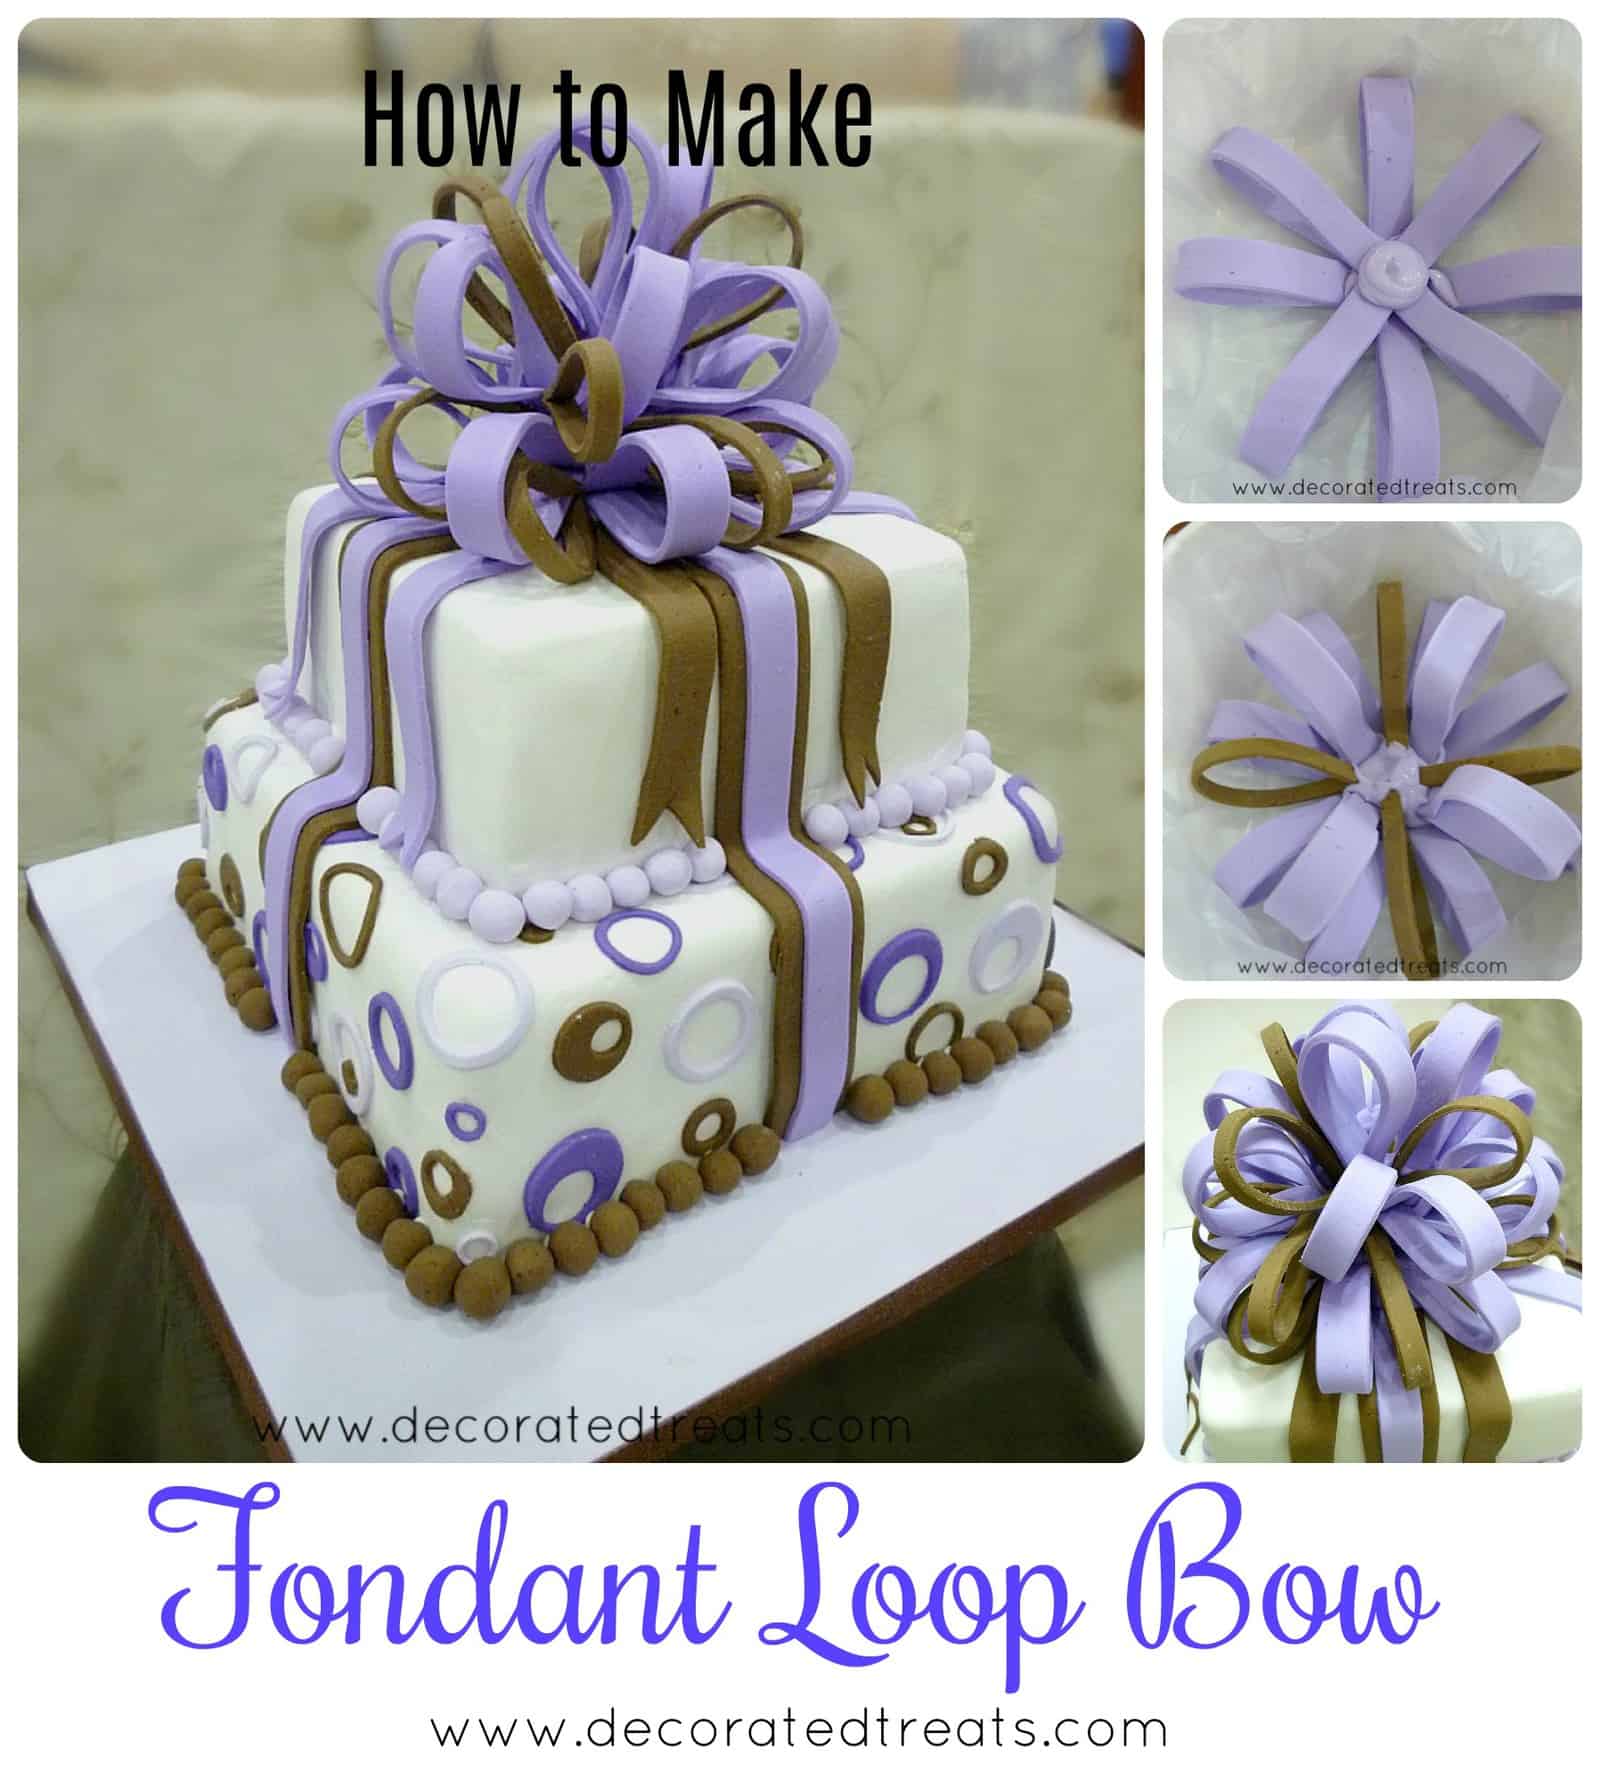
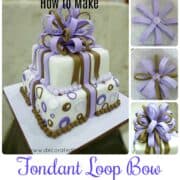
    Learn how to make fondant loop bow (also referred to as loopy bow) with this easy tutorial. It does not require as special cutters or molds and is very easy to put together with the right techniques. And it is completely edible too!

    Fondant loop bow poster.
    Jump to:
    • ❤️Why you will love this tutorial
    • 🧾Supplies required
    • 👩‍🍳How to Make
    • ❤️More tutorials you will love

    ❤️Why you will love this tutorial

    • It makes a very realistic looking loop bow and makes very pretty cake decoration.
    • The bow is completely edible.
    • You do not need any special cutters or molds to make the bow.

    I made this fondant loop bow for a gift box cake. It is made of 2 different colors, i.e. purple and brown. Fondant loop bow on a cake may look daunting to make, but really is not difficult. In fact, if you know the right techniques, this bow is quite easy to make.

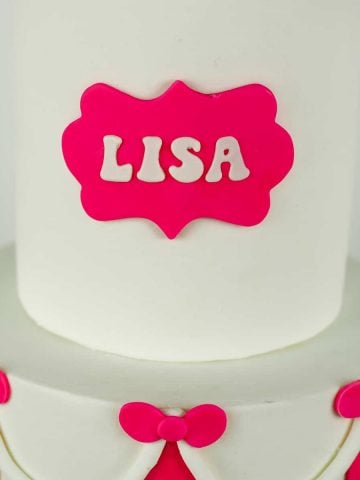
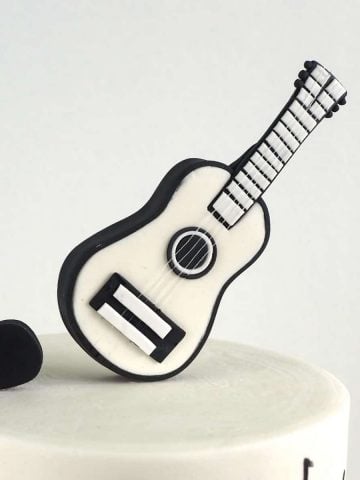
    If you like this tutorial, you should also check out my tutorial on how to make a simple fondant bow, how to make number cake toppers, how to make guitar cake topper and how to make fondant hearts without any cutters.

    🧾Supplies required

    • Fondant in your choice of colors. Here, I used my homemade fondant and tinted it purple and dark brown. My homemade fondant dries hard and stable and therefore does not require any CMC to help it harden better. If you intend to use store-bought fondant, you will need to knead some CMC powder into it. You can also mix fondant and gum paste (1:1 ratio) or use gum paste entirely.
    • Pizza cutter/fondant trimmer - to cut the fondant.
    • Ruler - to measure the width of the loops.
    • Rolling pin - to roll the fondant.
    • Royal icing in purple - this acts as the glue to hold all the fondant loops together into a bow.
    • A round container - the diameter of the container will determine the diameter of your finished fondant bow, so choose a container size that will match the size of your top tier cake. Also, choose a container that is at least three quarters the height of your fondant bow. This important because the container actually helps to keep the fondant loops in place (and not slide off) while the royal icing that holds the loops together sets and hardens
    • A plastic sheet - to line the container.
    • Fondant glue - to attach the ends of each fondant strip when making the loops.

    👩‍🍳How to Make

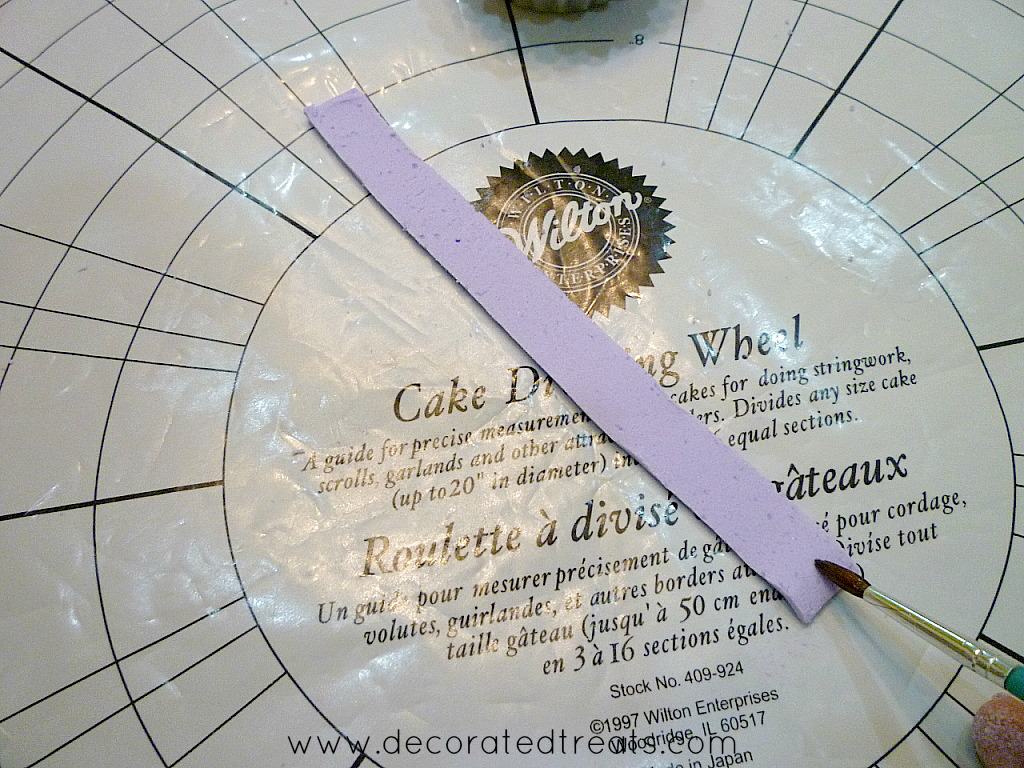
    Step 1: Tint the fondant and cut the strips

    Divide the fondant into 2 sections and tint them with purple and brown.

    Roll out the purple fondant and cut thin strips. The length of each strip to be the diameter you want your loop bow to be.

    Violet fondant cut into strips.

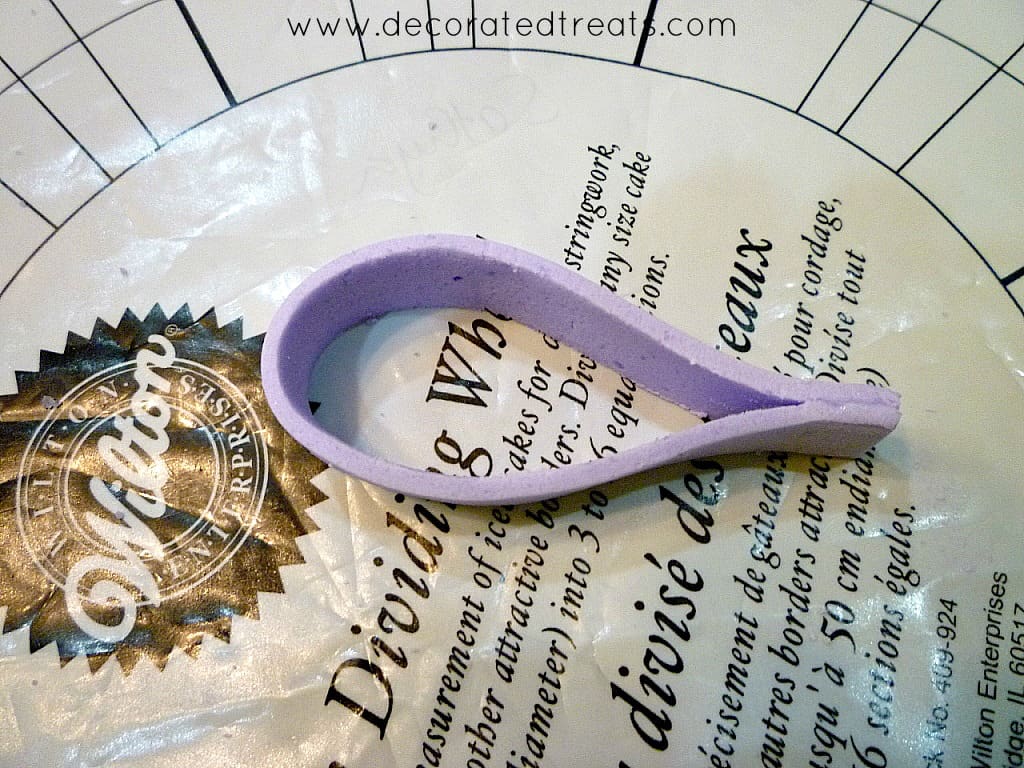
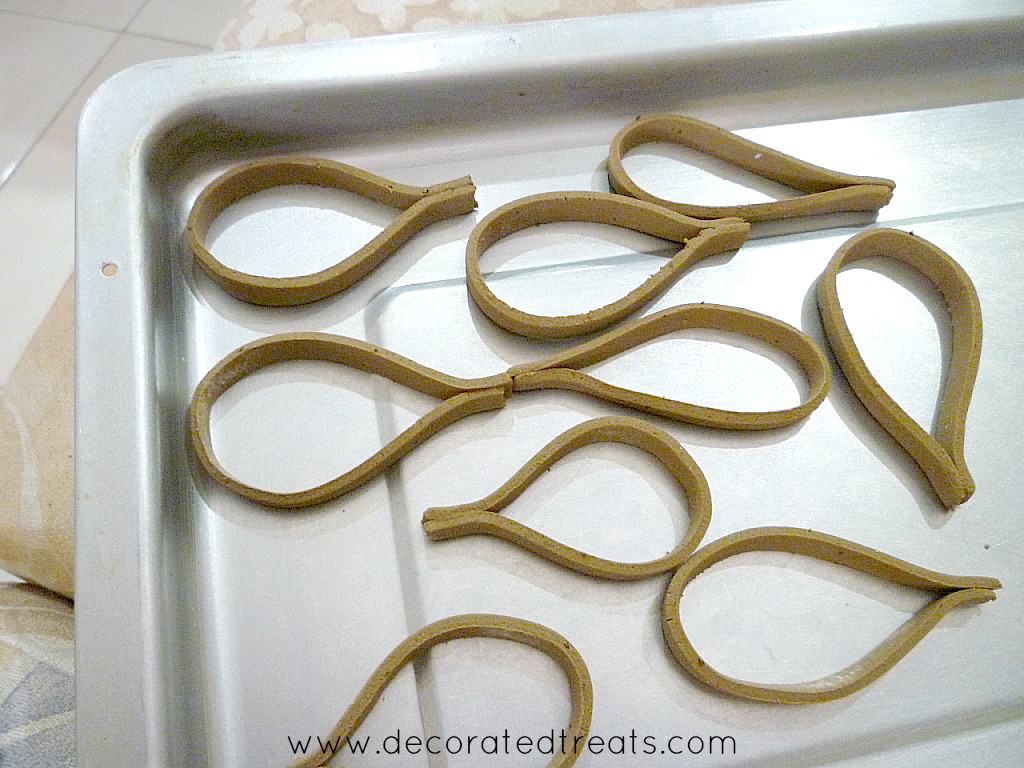
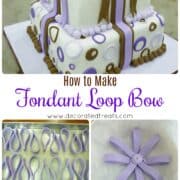
    Step 2: Form the fondant loops

    To make the loops, apply some fondant glue to the end of each strip and attach it to the other end of the strip to make a loop.

    Using a small brush at the tip of a long fondant strip in violet.

    Adjust the shape as shown below.  

    A long strip of fondant folded into a loop.

    Continue making the loops until you have quite a number of them.

    Note: It's always better to make some extras to give allowance for breakages.

    A tray of violet fondant loops.

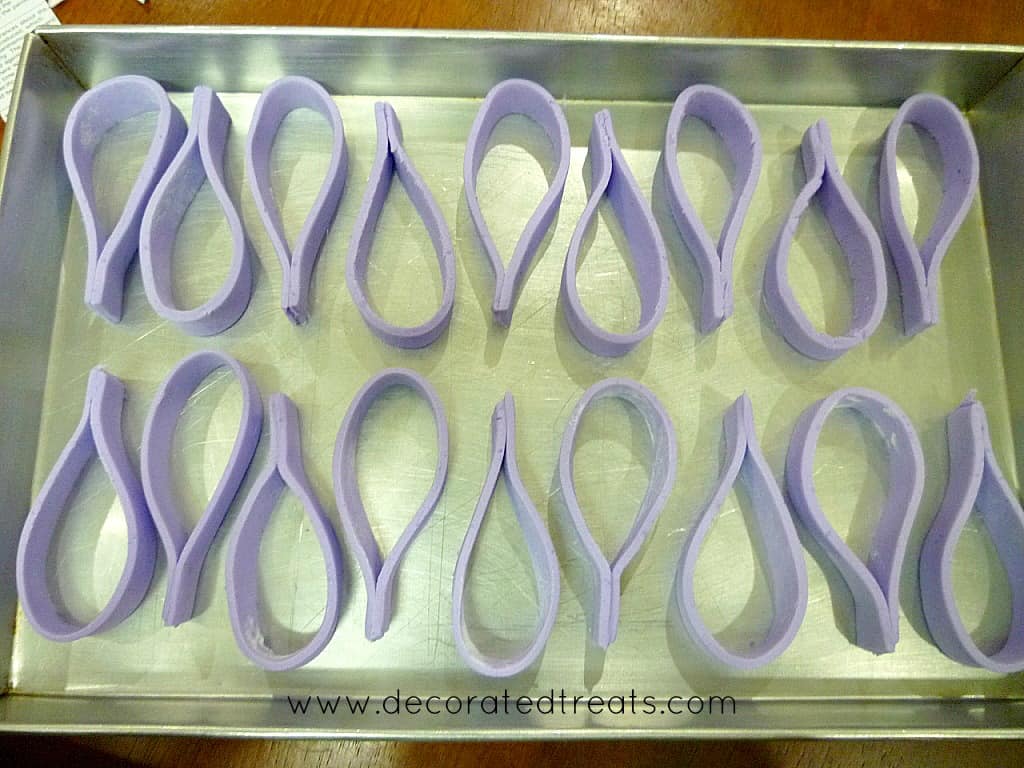
    If you are using more than one color for your bow, repeat the steps above until you have enough loops. Leave the loops overnight to set. 

    A tray of brown fondant loops.

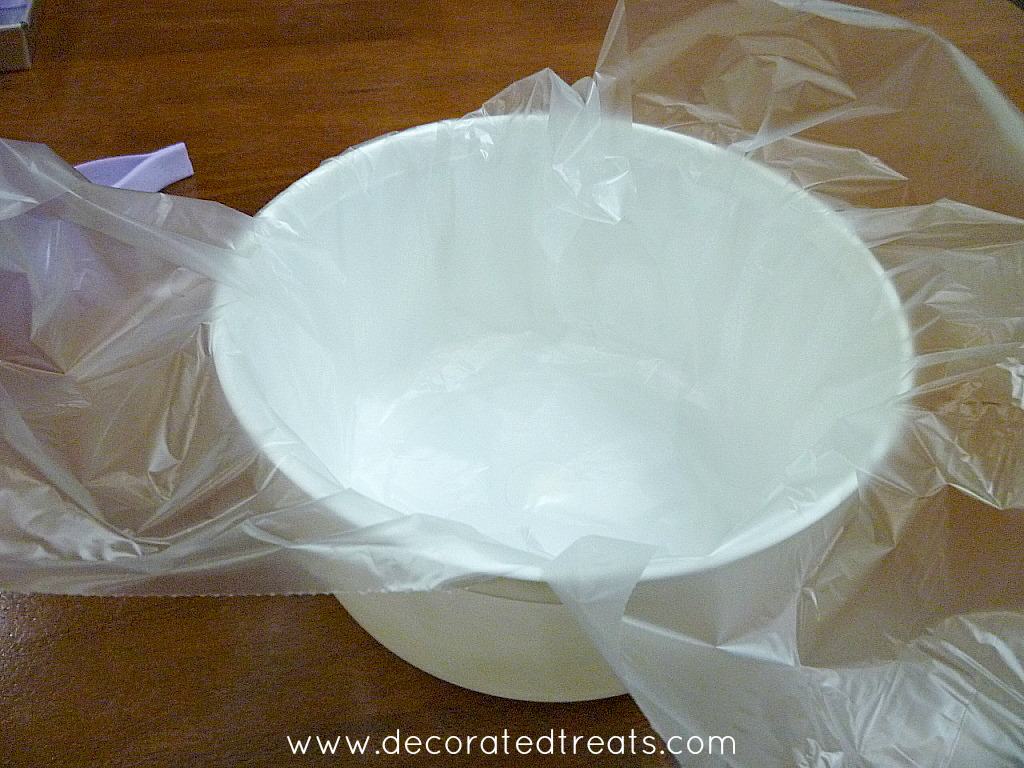
    Step 3: Assemble the loops to form a bow

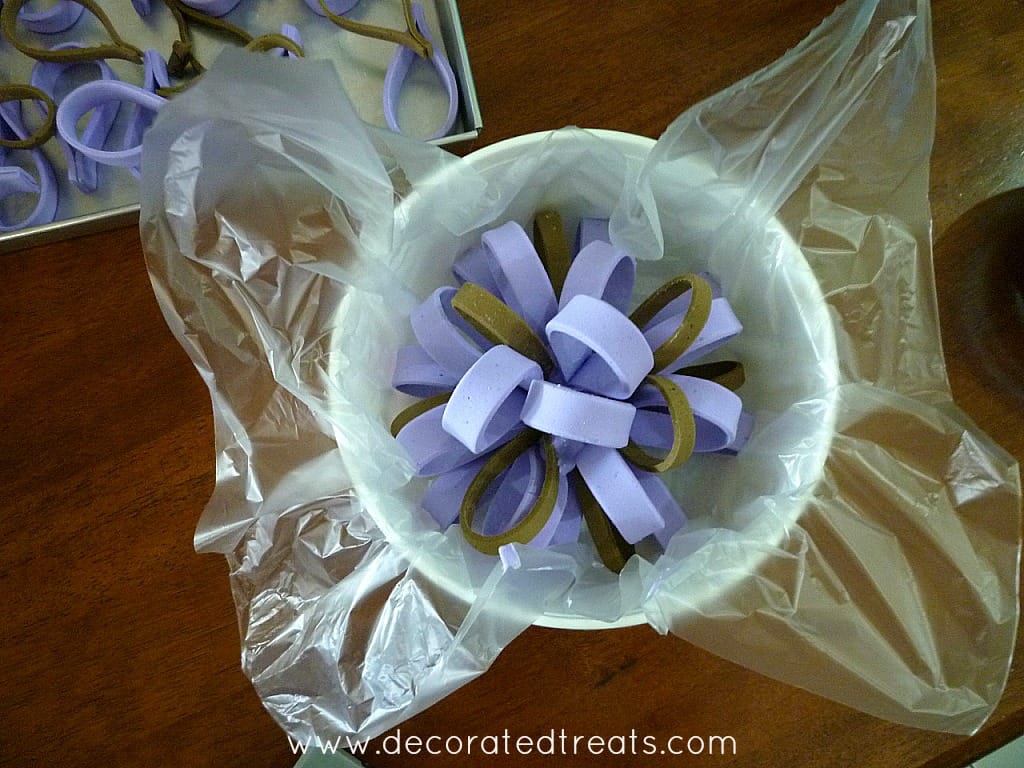
    Once all the loops are set, take your container. Line it with a plastic sheet. Make sure the plastic sheet is larger than the container. 

    A piece of plastic sheet in a round white container.

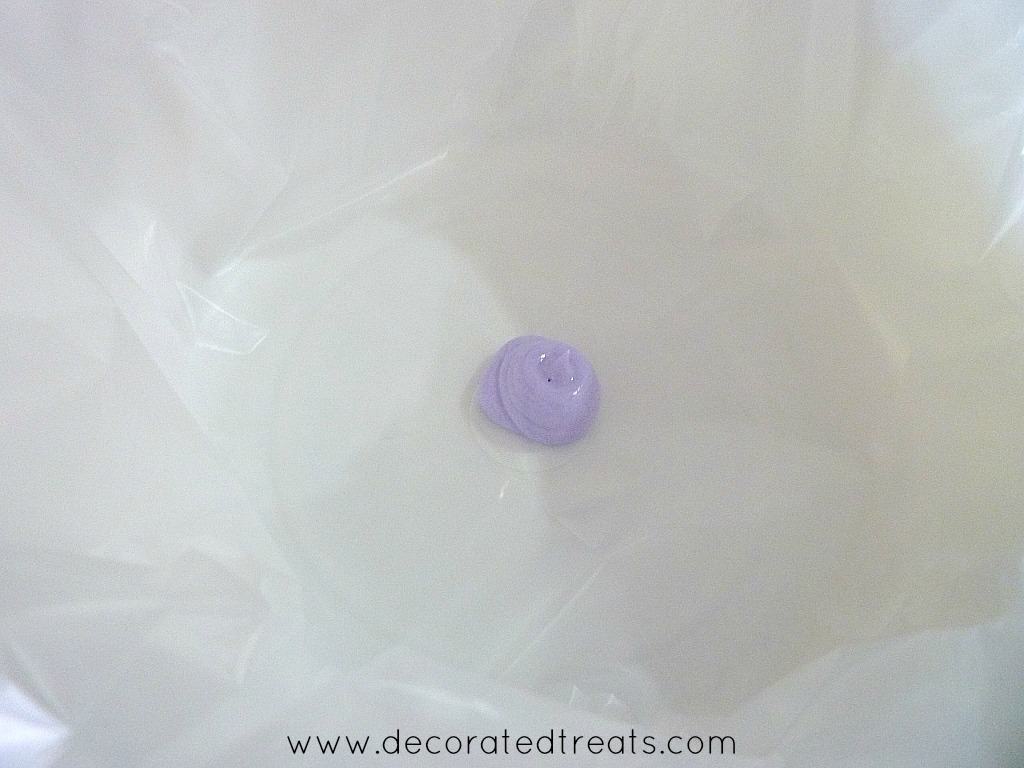
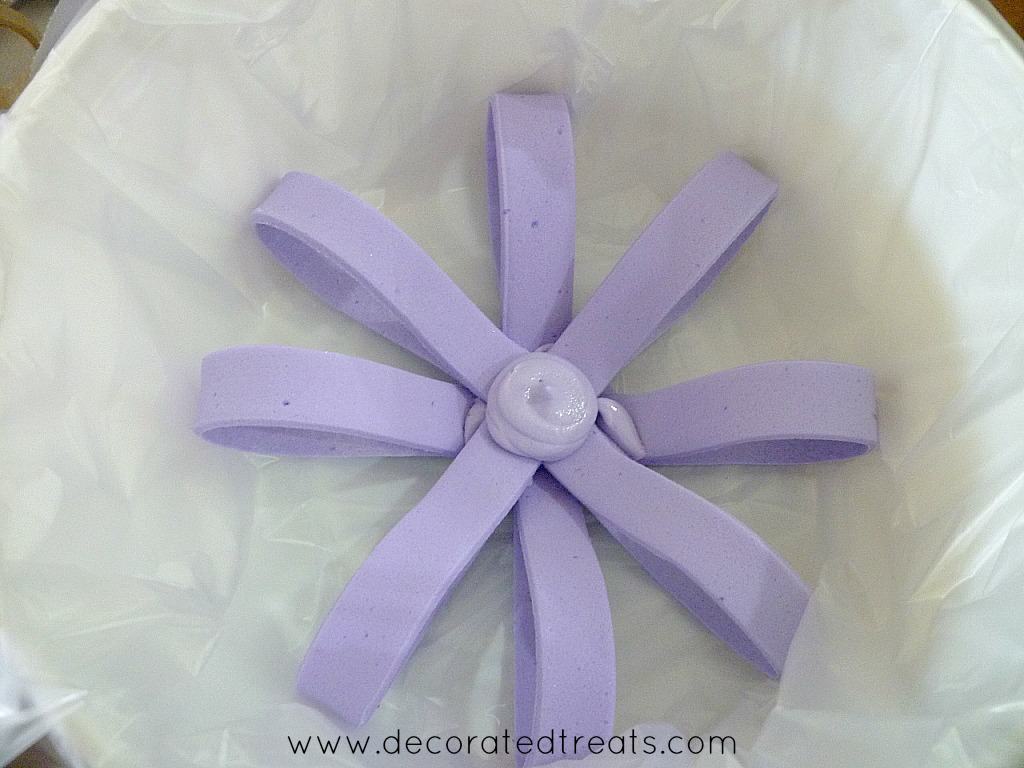
    Pipe a reasonable sized dot of royal icing in the middle of the container.

    A blob of violet icing in a white container lined with plastic sheet.

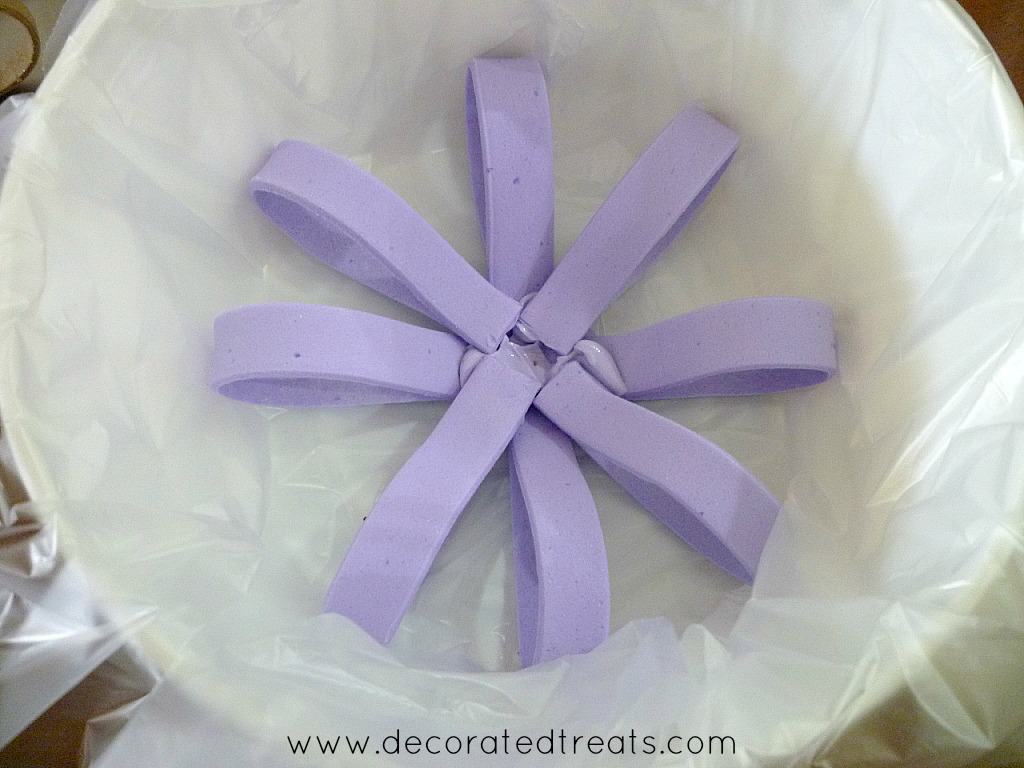
    Take four of the purple loops and arrange them in a cross pattern in the container. Make sure each strip touches the royal icing piped earlier.

    And then pipe some more royal icing in the middle and arrange another four loops in between the earlier loops.

    A round round of violet fondant loops in a plastic lined white container.

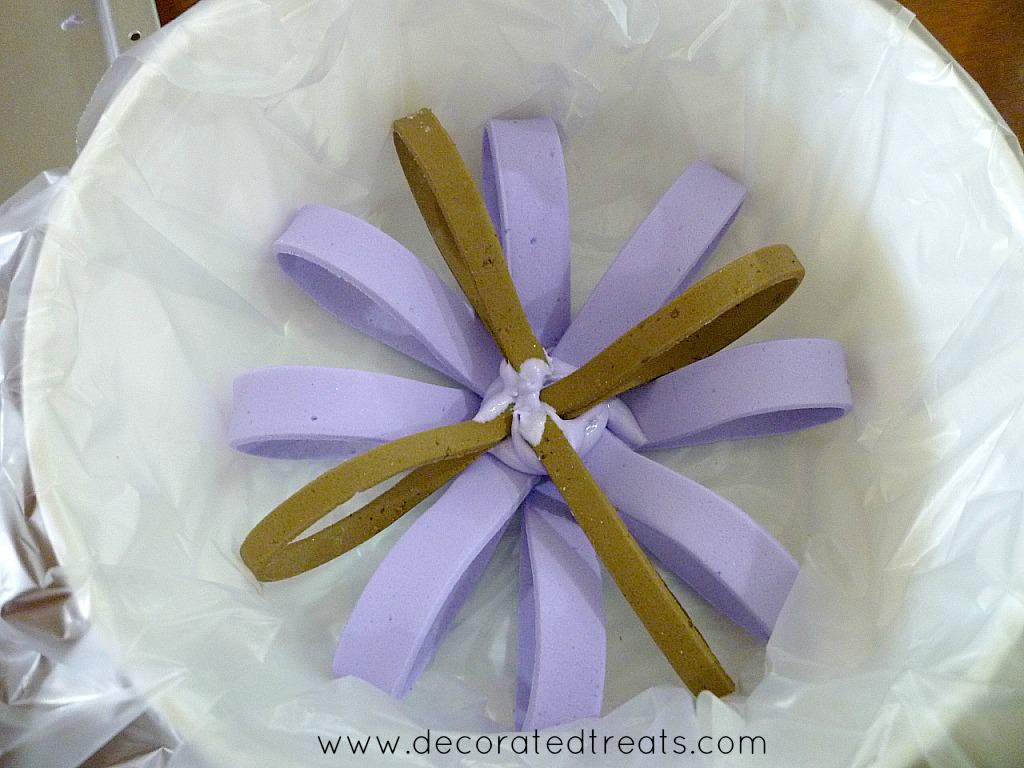
    Next, pipe another small dollop of icing in the middle. 

    A round round of violet fondant loops in a plastic lined white container.

    This time arrange four brown loops as shown below. 

    A round row of brown and violet fondant loops in a plastic lined white container.

    Follow with another round of 4 purple loops in between the brown ones. 

    A round row of brown and violet fondant loops in a plastic lined white container.

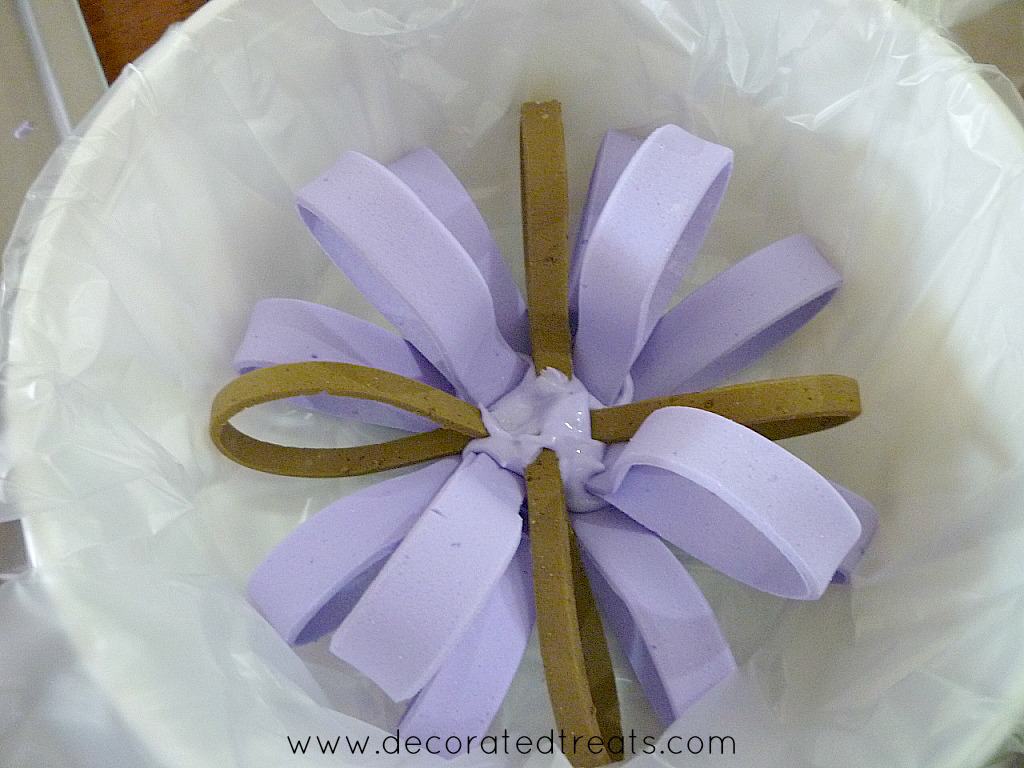
    Repeat the process until you have a nice round arrangement of the loops. Alternate the different colors loops evenly throughout the bow.

    A round row of brown and violet fondant loops in a plastic lined white container.

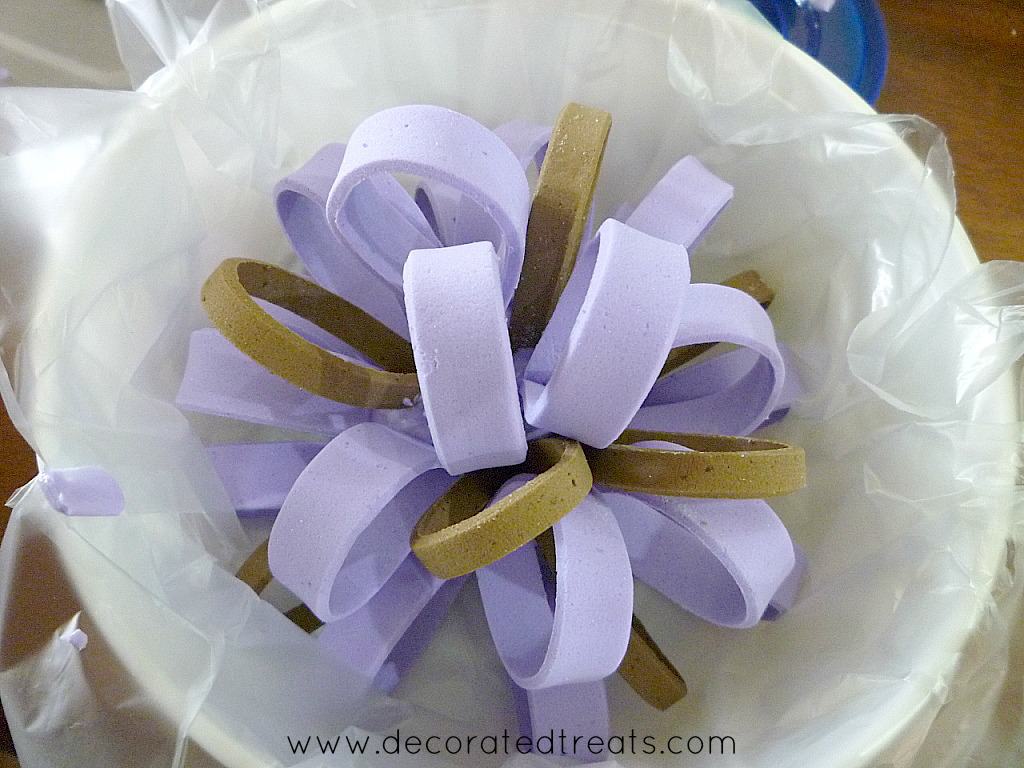
    Leave the fondant loop bow in the container for a few hours or until the royal icing sets and hardens.

    Once set, carefully lift the plastic sheet out of the container. You may want to do this step very carefully to avoid the loops from breaking. Gently peel of the plastic sheet from underneath the loop bow. 

    A round row of brown and violet fondant loops in a plastic lined white container.

    Step 4: Attach to the cake

    Before you place the bow on your cake, pipe some icing on the cake and then place the bow to secure it on the cake.

    A violet and brown fondant loop bow on top of a 2 tier square cake.

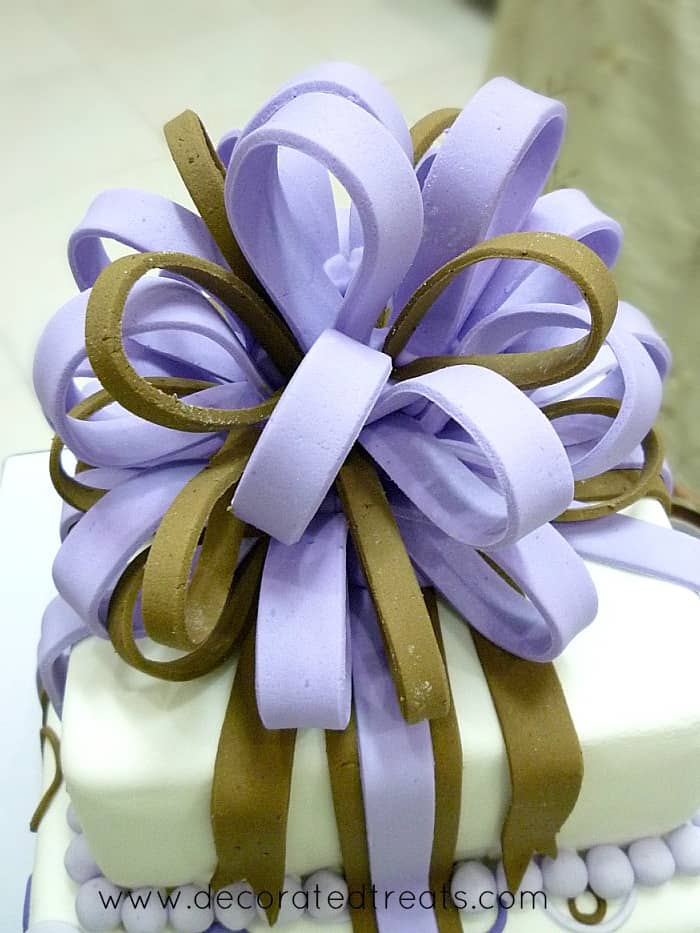
    Here is how the completed fondant loop bow looked on my cake.

    A 2 tier square cake decorated with fondant loop bow in violet and brown

    Hope you enjoyed this tutorial. 

    ❤️More tutorials you will love

    • Name 'LISA' on a pink plaque on a white fondant cake.
      Cake Lettering (How to Align Letters on Cakes)
    • Removing fondant lace from a silicone fondant mold.
      How to Use Silicone Fondant Molds for Cake Decorating
    • Black and white guitar cake topper.
      3D Fondant Guitar Cake Topper (How to Make)
    • A heart shaped cookie decorated in pink heart and powdered sugar.
      How to Make Fondant Hearts (without Cutters and Molds)

    Reader Interactions

    Leave a Reply Cancel reply

    Your email address will not be published. Required fields are marked *

    Recipe Rating


    This site uses Akismet to reduce spam. Learn how your comment data is processed.

    Primary Sidebar

    Hi there!

    I'm Priya, and I'm so excited that you dropped by 🙂 Welcome to DECORATED TREATS, a place where I share all my cake decorating ideas & true and tried recipes for all things sweet.

    More about me →


    Currently Trending:

    • Light fruit cake cut into slices on a green plate.
      Moist Light Fruit Cake (the Best Ever)!
    • 3 dessert bowls of pink jelly with gold flake decoration.
      Agar Agar Jelly Recipe (How to Make)
    • Pink bars of coconut candy stacked on a plate.
      Coconut Candy Recipe (How to Make)
    • A stack of 4 green tea bars.
      Matcha Blondies (Perfectly Fudgy Green Tea Blondies)
    • A round cake on a cake board.
      Why is My Cake Wet In the Middle (and How to Avoid It)
    • A glass of milk on a brown tray with cookies on the side
      How to Make Milk with Milk Powder

    Footer

    ^ back to top

    SUBSCRIBE TO DECORATED TREATS

    Sign up for latest recipes and tutorials!


    Thank you for joining!

    Keep watch for my latest updates in your email.

    .

    About

    • Privacy Policy & Disclaimer

    Resources

    • Conversion Chart
    • Testimonials
    • Contact Me

    Decorated Treats is a participant in the Amazon Services LLC Associates Program, an affiliate advertising program designed to provide a means for sites to earn advertising fees by advertising and linking to Amazon.com. Decorated Treats also contains other affiliate links, which if you purchase from may earn me a small commission. The full disclosure policy can be found here.

    Copyright © 2024 Decorated Treats

    Fondant loop bow poster.
    Fondant loop bow poster.
    Fondant loop bow poster.
    A violet and brown fondant loop bow on top of a 2 tier square cake.
    A 2 tier square cake decorated with fondant loop bow in violet and brown.