

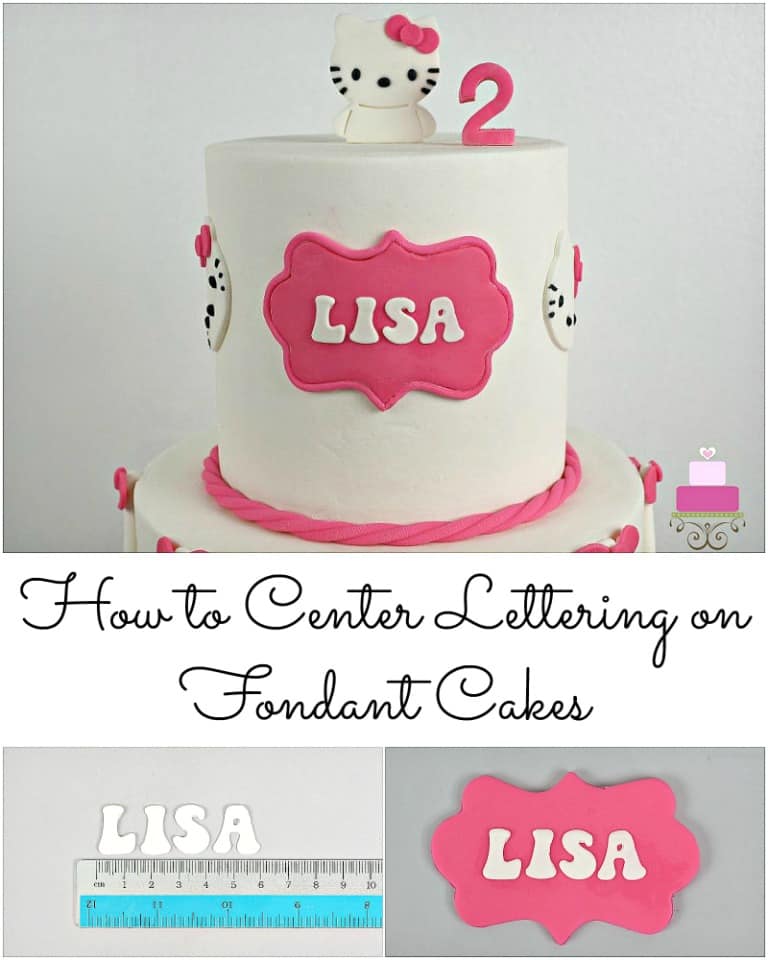
Learn cake lettering for perfectly centered and aligned writing on cakes with this tutorial. You will learn how to space and position your lettering on cakes for professional cake decorating results every single time.
I am using gum paste letters for this tutorial but you can also use this technique for piped buttercream messages, or even royal icing, ganache and melted chocolate. You can also use this technique on buttercream or ganache covered cakes too.
Jump to:
It often takes quite a bit of good estimation to ensure the writing on cakes are perfectly centered (where they are meant to be perfectly centered, off course).
From my years of experience as a cake decorator, I have had experience of having to redo my lettering just so that they are perfectly positioned on my cakes. Over time, I figured out, the best way to get these lettering work done quickly and without errors.
So here I am today, sharing with you, my easy technique in ensuring quick and perfect lettering on cakes, every single time.
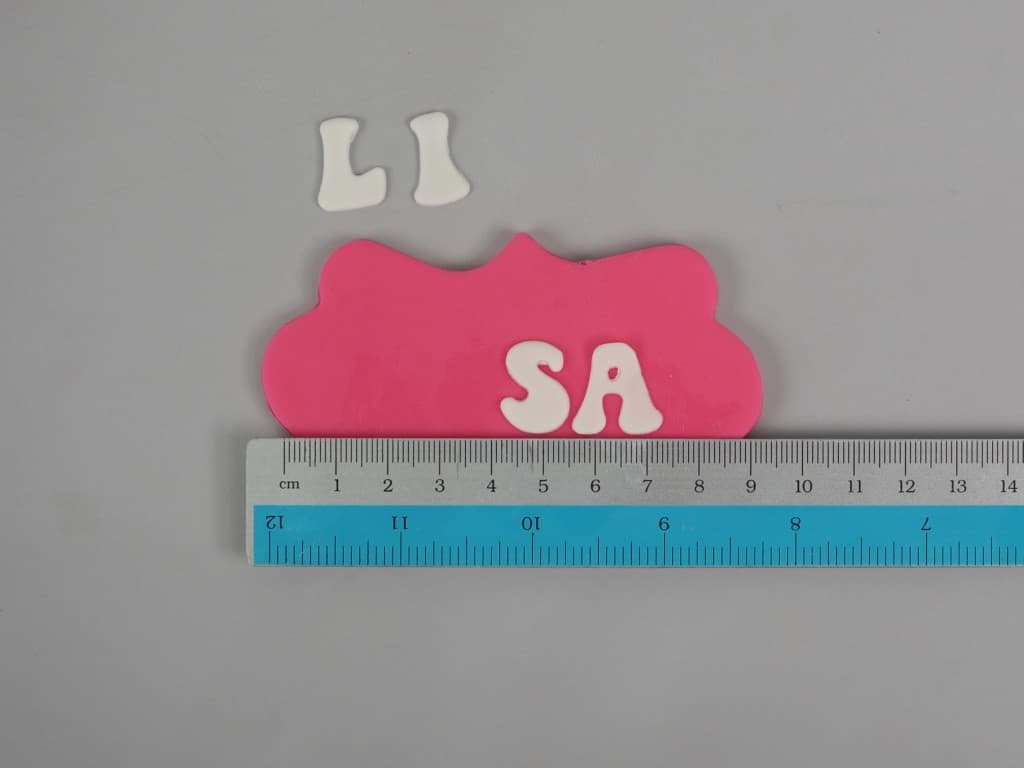
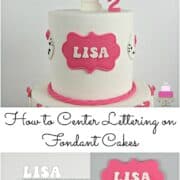
The example I am using here is my Hello Kitty birthday cake. Here, I placed the birthday girl's name on a pink fondant plaque on the side of the cake. I have a full tutorial on how to decorate the Hello Kitty birthday cake on a separate page here, so this tutorial will only be focusing on how I got the birthday girl's name perfectly centered on the pink fondant plaque and the cake.
You may be thinking that since the name 'LISA' consists of 4 letters, all I had to do was find the mid point on the plaque and then attach the letters L & I on the left of the mid point and the letters S & A on the right.
The problem with that is that the letter 'I' is so much more narrower compared to the rest of the letters and so dividing the letters by mere count is not going to give a centered positioning for the name.
❤️Why you will love this tutorial
- It teaches you how to center and align your cake lettering for straight, level and centered wordings every single time.
- It reduces the chances of errors and unbalanced lettering on cakes and saves you time and effort of having to redo the lettering many times.
- You can use this technique not only for gum paste letters, but also for piped frosting.
🧾Supplies required
- Gum paste - I am using gum paste in this tutorial.
- Alphabet letter cutters - to cut the lettering for the cake.
- Ruler - to measure the length of the words and find the mid point.
- Shortening - to attach the letters to the cake.
- Plaque cutter - if you are placing your letters on a fondant plaque. Otherwise, this is not required.
📃Variation
If you wish to pipe the lettering on your cakes with buttercream, royal icing or any other pipeable frosting, you will need a piping bag and small round tips (either a round tip #2 or #3).
You will also need a piece of parchment paper or wax paper or a practice board or a large plate to practice your piping before doing the final one on your cake.
👩🍳How to make
Step 1: Cut the gum paste letters
Start by cutting all the letters out. In this tutorial, I used the Clikstix Groovy alphabet cutters in block letters and white gum paste. You can use any other letter cutters you like.
Note: Using letter cutters is a great way to do cake lettering, especially for those with not-so-good piping skills. Clikstix cutters come with a plunger bar on the cutters. Getting the cut fondant or gum paste letters out of the cutter is a mere push of the plunger bar on top. This is unlike Tappit letter cutters which require a certain technique to get the letters out. I have a full tutorial on how to use the Tappit letter cutters correctly and you can read all about it here.

Step 2: Measure the length of the letters
Once you have all the letters cut out, arrange them (on a clean workspace) in the order you intend to place on the cake.
Note: Letting the cut out letters set for a few minutes after cutting will make it easier to move them without distorting their shapes.
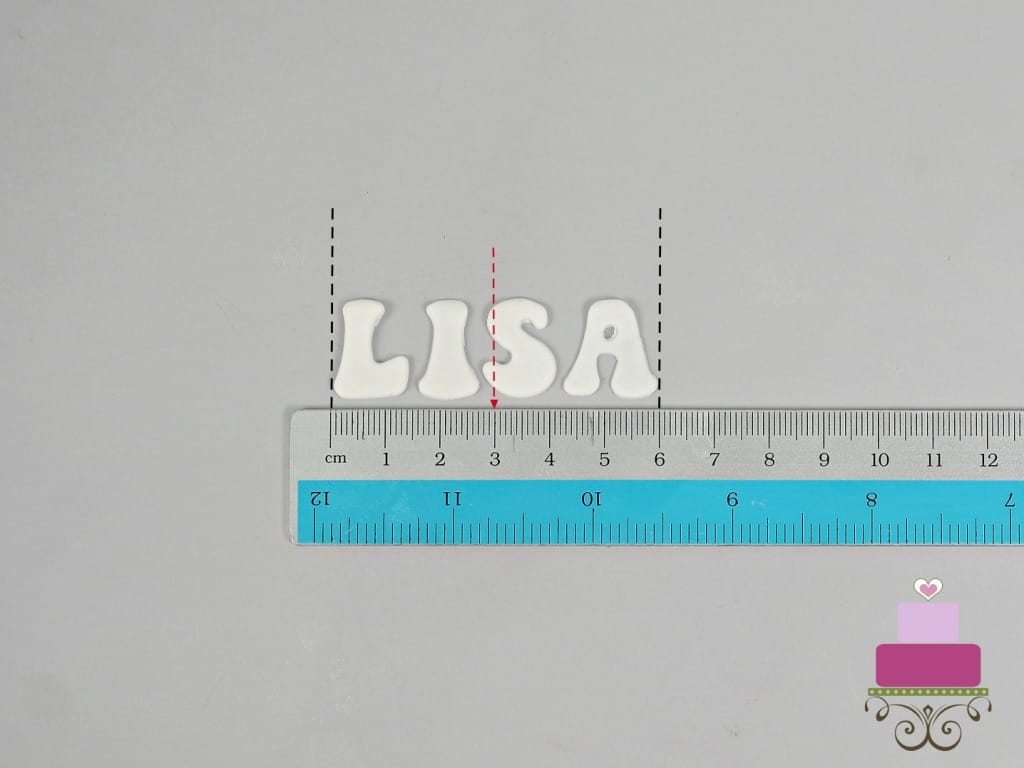
The next step is to measure the total length of the letters with a ruler. In doing that, you also determine the midpoint of the phrase. In the case of 2 word phrases like ' happy birthday ' arrange the letters with a gap between happy and birthday, exactly how you wish to place it on the cake.
In this example, the name "Lisa" measures 6 cm in total and so the midpoint is 3 cm. And the 3 cm point falls on the 3rd letter of the name and not in between the 2nd and 3rd letter as one may assume since this is a 4-letter name.
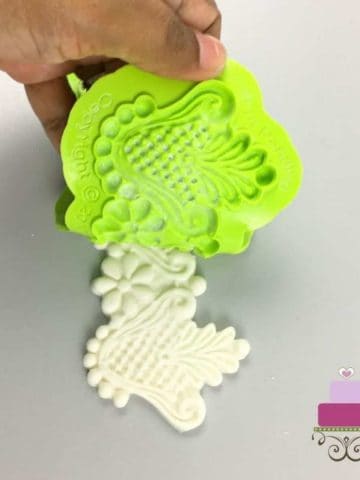
Step 3: Cut the fondant plaque (if using)
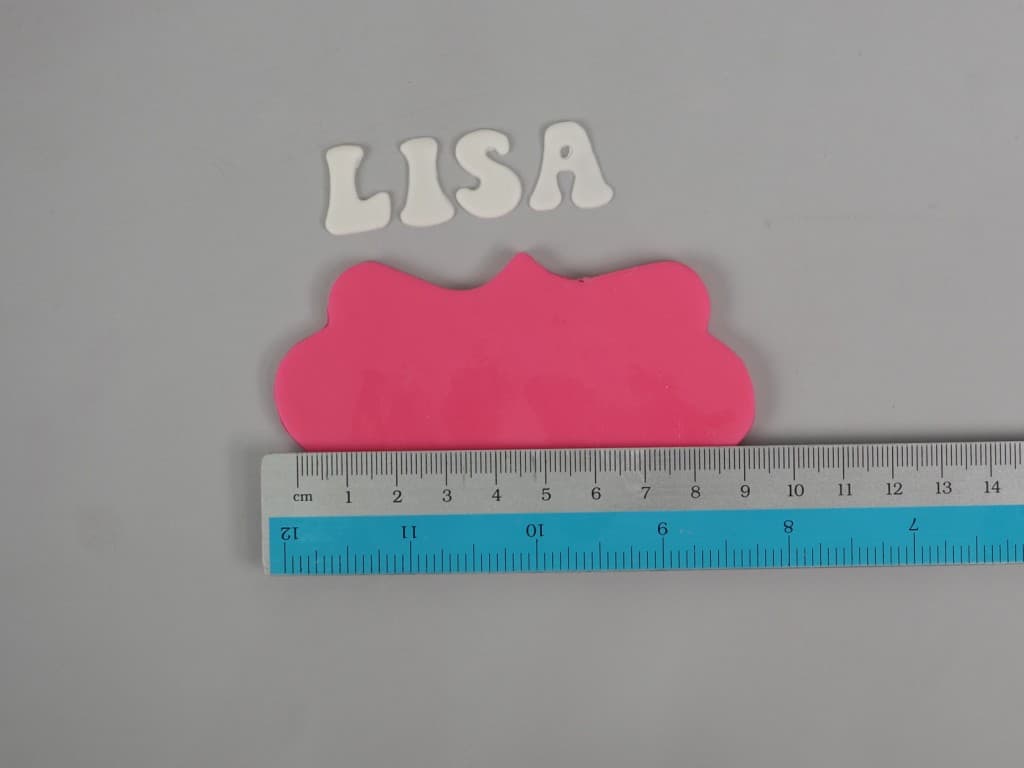
Next is the fondant plaque (if you are using one). I cut it in pink fondant using a fondant plaque cutter.
Measure the length of the plaque exactly where you want to position the name on. In this example, the length of the plaque is 9 cm and so, the mid point is at 4.5cm point.
Step 4: Align the mid point of the lettering and the mid point of the plaque
The next step is the most crucial one. It involves making sure the midpoint of the name and the midpoint of the plaque is matched and aligned. In this case, the midpoint of the name phrase is on the right side of the letter "S" (as was determined in step 2 earlier).
With the ruler still on the plaque, apply some shortening onto the plaque. And then place the center letter S onto the plaque such that the midpoint on the letter S noted earlier is at the mid point on the plaque which is at the 4.5cm mark.
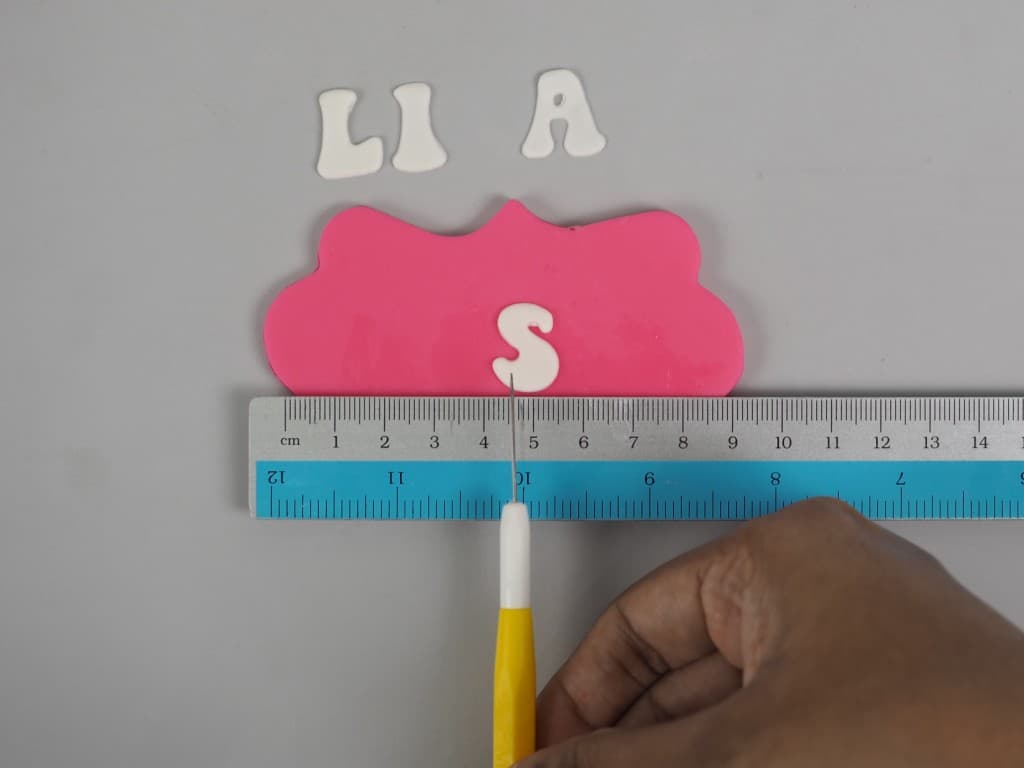
Once that is done, the rest is just a matter of arranging all the letters to complete the name.

And that should give you perfectly centered lettering on your cakes. Keeping the ruler in place while attaching the letters will ensure the letters are all in a straight line and do not go slanting upwards or downwards.
💡Tips for lettering directly onto cakes
You can also use this cake lettering technique directly on a fondant cake (on top of the cake or on the side), instead of doing it on a plaque. Here is what you need to do:
- Determine the midpoint of the lettering you intend to place on your cake. And then, determine the midpoint on your cake.
- Next, cut a long strip of paper. Stick it onto your cake at a level where you want the letters to be on your cake. You can use shortening to stick your paper strip to the fondant on your cake. The paper strip functions as a ruler. Make sure the paper strip is placed level on your cake.
- Apply shortening to the back of your letters. Attach them onto your cake, starting from the midpoint until all the letters have been attached. Remove the paper strip once the lettering is all done.
You can use this same technique when attaching gum paste letters to buttercream covered cakes too.
💡Tips for piped lettering
If you are piping your cake lettering onto cakes with pipeable frosting, you can still follow this technique by identifying the mid point of the phrases and the mid point of the surface of the cake you wish to place the lettering on. Here is what you need to do:
- Pipe out the lettering on a practice board or a large plate.
- Measure the length of the phrases to determine their mid points and starting points.
- Also identify the mid point on your cake for the lettering.
- If you are doing non-cursive piping, start by piping the mid point letter first and then add the remaining letters on the sides.
- If you are doing cursive fonts piping, measure the start of your phrase from the mid point of the phrase. Use this measurement from the mid point on your cake to identify the starting point for your piping on the cake. You might not get it perfect at first attempt. Practice once or twice on your practice board before piping on our cake to minimize errors.
And that is how I ensure my lettering on fondant cakes are always centered and level.


Eliza
Hi Pirya! Thanks so much for this tutorial. I have been searching everywhere for those upper case groovy letter cutters. I clicked on the link and it says that they are unavailable. Would you have any other suggestions on where else I might be able to find cutters for a groovy font?
Thank you so much!
Priya Maha
Hi Eliza,
I did search on the internet and found this link: https://www.sugarnspicecakes.co.uk/products/alphabet-number-cutters.html
Hope this helps.