

Learn how to make gift box cake with this easy tutorial. Decorated with completely edible 3D fondant loop bow, this 2 tier square cake is perfect for anyone looking for a gift box themed cakes.
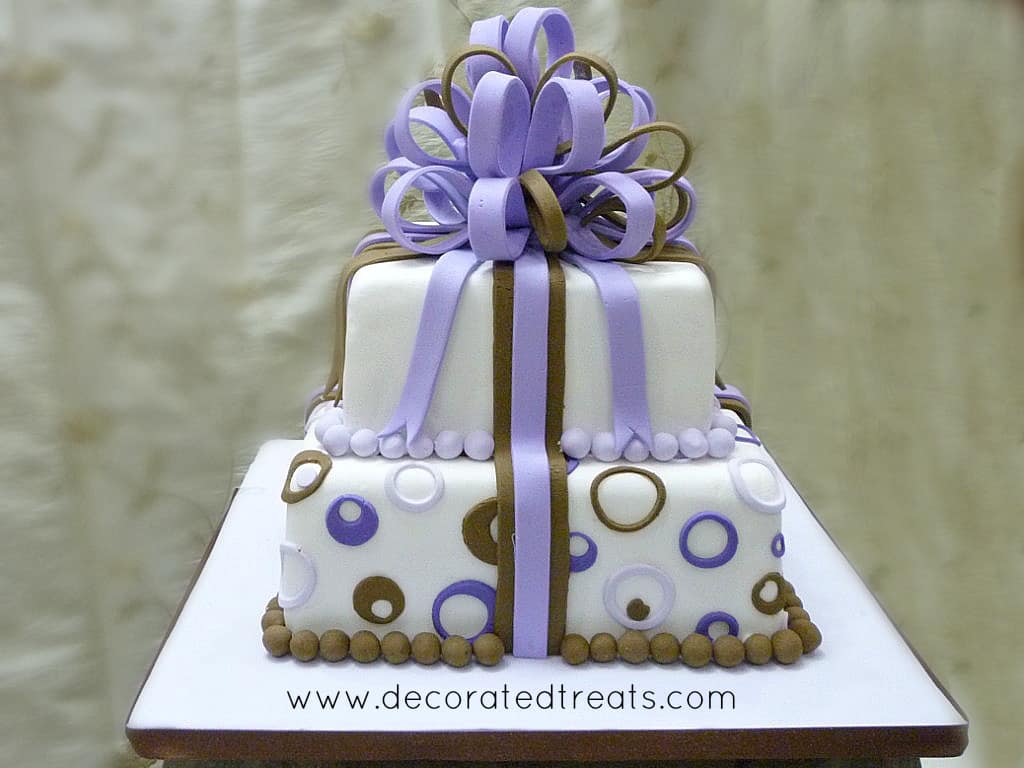
The cake consists of 2 tiers of square cakes covered and decorated in fondant. The loop bow topper on the cake is all handmade and can be made it advance.
Other than the loop bow, this cake is fairly easy to make and assemble.
If you like this cake, you should also check out this beach birthday cake, Superhero birthday cake, guitar cake design, Minion cake and Star Wars Lego cake.
🧾Supplies Required
- Cake - the gift box cake is made of two flavors, one vanilla, and one orange. I used my butter pound cake recipe for the vanilla flavored tier. The other cake was my orange cake recipe.
- Buttercream - I used buttercream to fill the cakes as well as to crumb coat them.
- Royal icing - I used very little icing for this gift box cake project. Even that was solely to assemble the loop bow and attach it to the cake.
- Fondant- I used my homemade fondant for this project and had it made in advance. I used it to cover the cake as well for all the deco on the cake including the loop bow. My homemade fondant always dries nice and hard. Hence, I did not have to add any CMC powder or Tylo powder to harden it. If you are using store-bought fondant, you will have to add CMC or Tylo to it. I have detailed out the step by step tutorial on how to make a loop bow here.
- Wilton food coloring in violet
and brown
- Pizza cutting wheel
- Cake decorating brush - I used this to dampen the cutouts before attaching them to the cake.
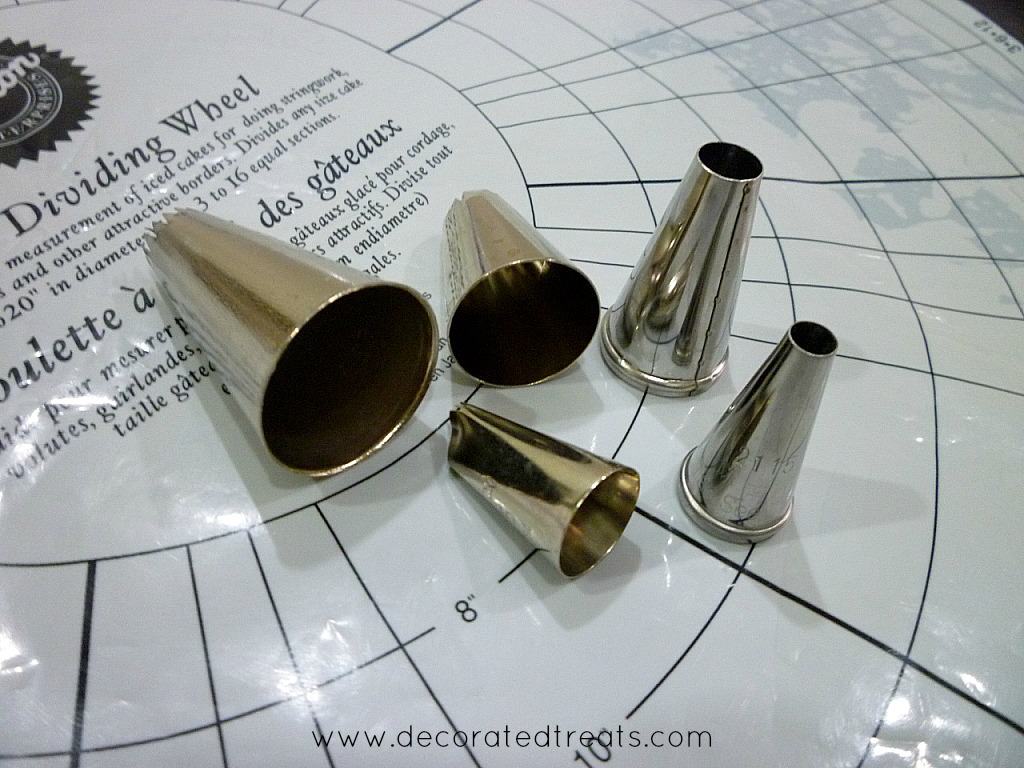
- Round piping tips
👩🍳How to Make
Step 1: Make the loop bow
I started with the loop bow one day in advance. The loops have to be made in advance, individually and once they are set, assembled to form a loop bow with some royal icing. Here's the step by step tutorial on how to make the bow.
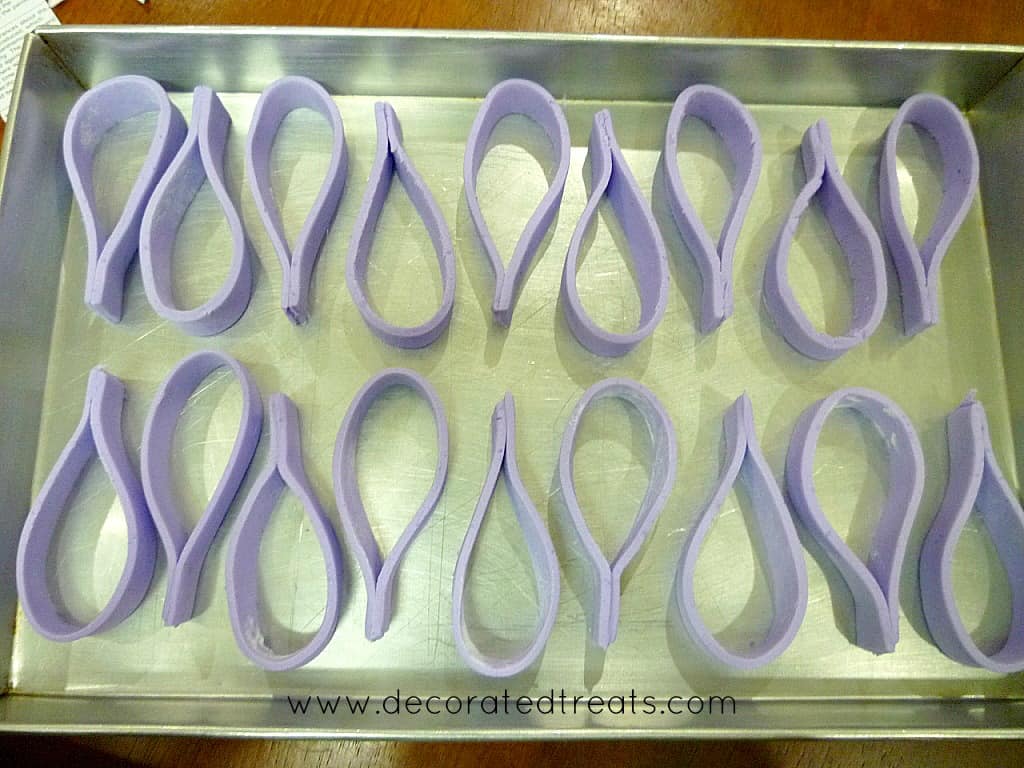
I used 2 colors for the loop bow. Cut fondant strips and form them into loops. Let the loops set and harden completely.
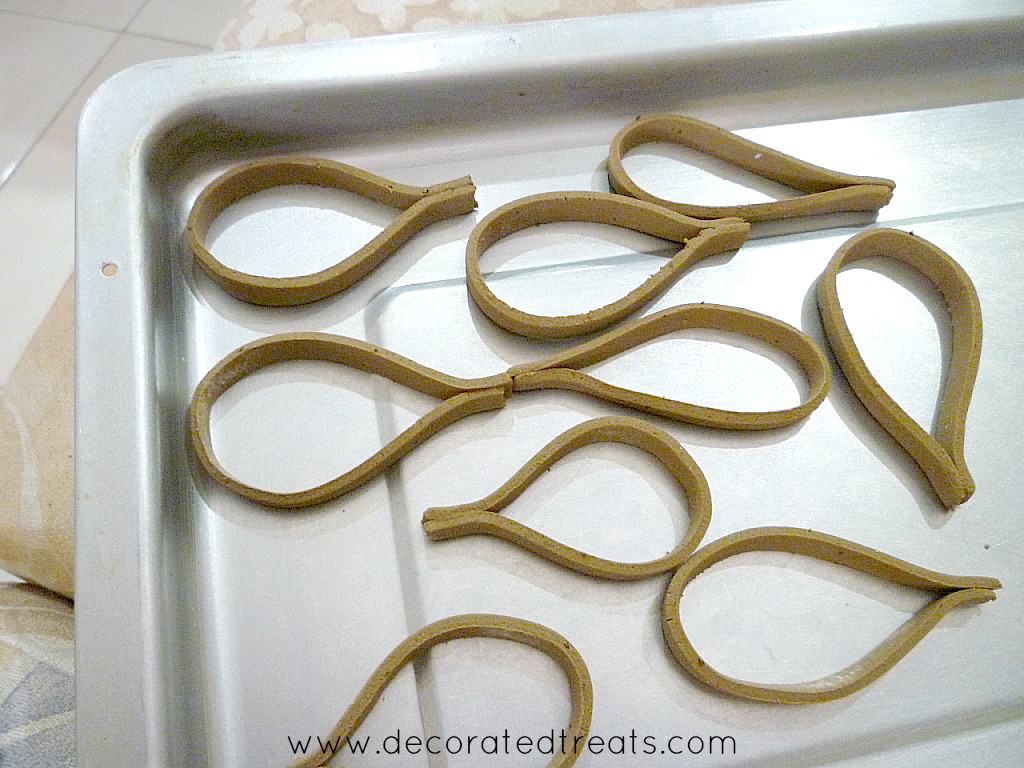
Fondant loops in brown color.
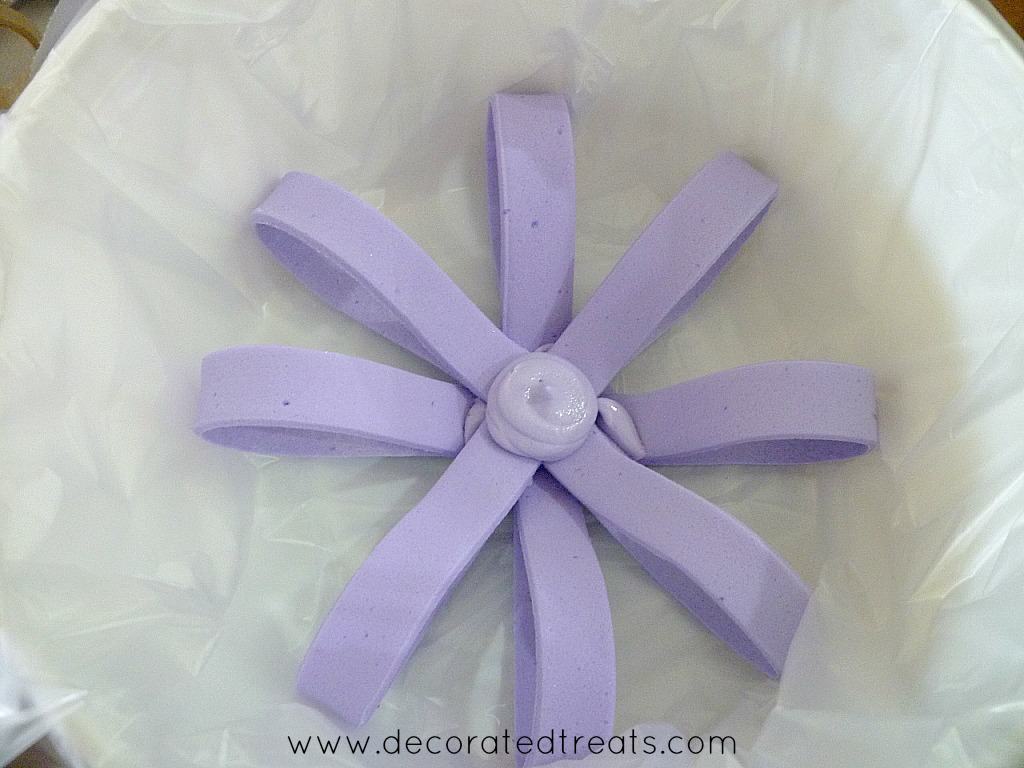
To assemble the loop, place a plastic sheet in a deep container. Pipe some royal icing in the center and arrange the first set of the loops.
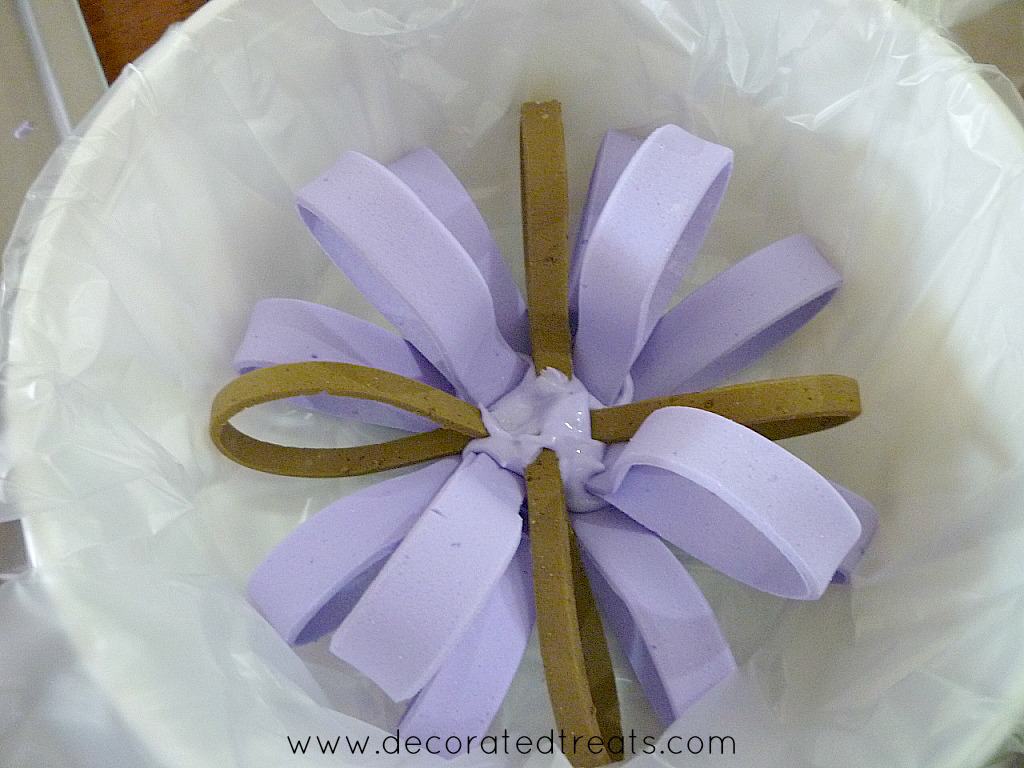
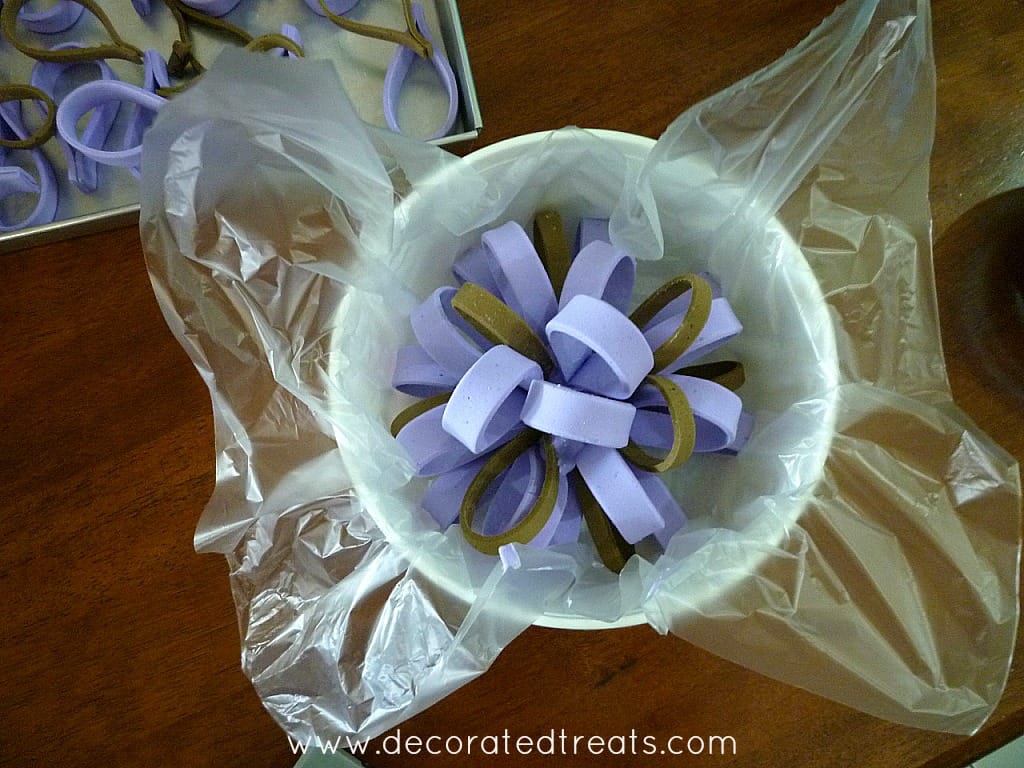
Add royal icing for each row of the loops and continue adding the loops until a well rounded bow is formed.
Let the royal icing set completely before lifting the bow out. Gently lift it by holding the plastic sheet in all 4 corners and place it on a flat surface before removing the plastic.
Step 2: Bake and Cover the Cakes with Fondant
Next were the cakes. Once baked and completely cooled, I sandwiched them with buttercream and covered them with fondant.
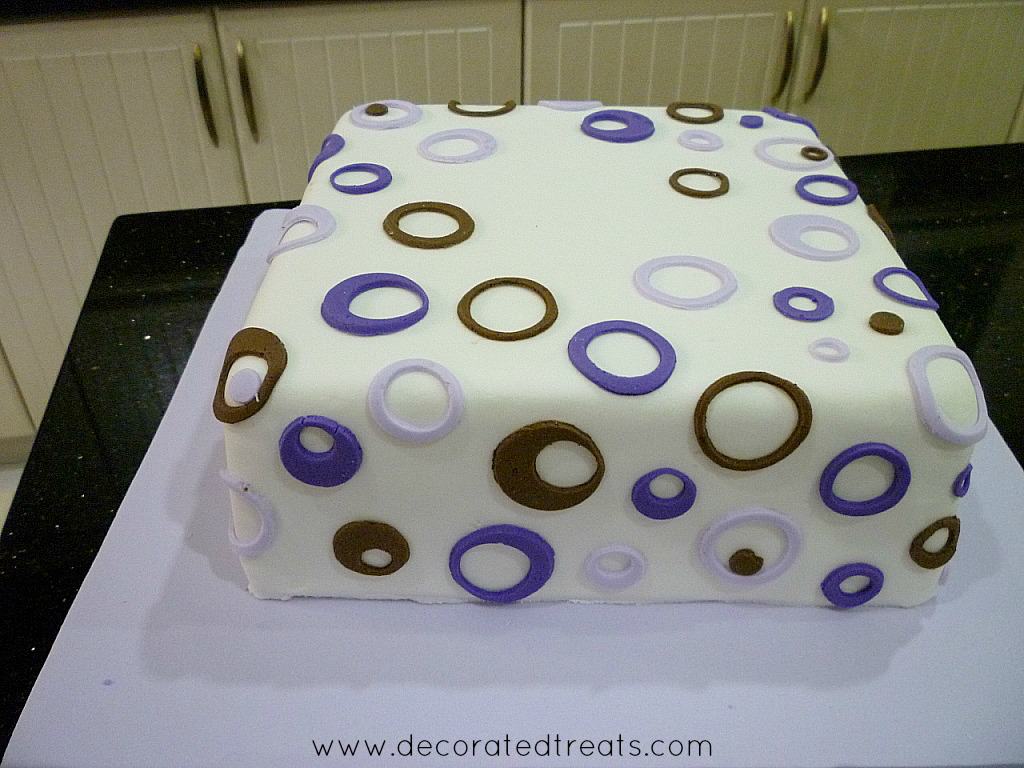
I then placed the bottom tier onto a fondant covered cake board and decorated it with random round cut-outs in varying sizes. As I mentioned earlier, each of the round pieces was cut using my round icing tips.
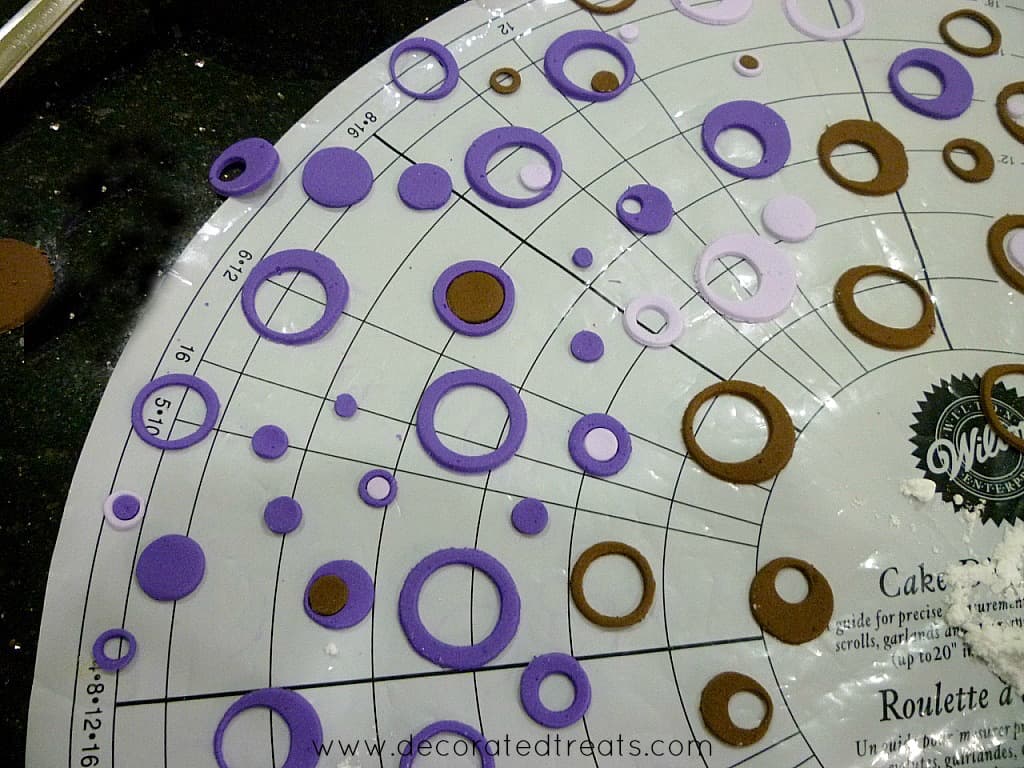
I then attached the cut outs onto the bottom tier of the gift box cake by brushing the back with a damp brush.
You can also use shortening to attach the cutouts onto your cake, or even use fondant glue. Shortening is the most recommended as you can remove and adjust the circle cuts easily without leaving any marks on the fondant covering of your cakes.
When I decorated this gift box cake, I did not know shortening could be used to attached fondant deco on cakes, so I used a damp brush. I have written a separate page on all the various options available for sticking fondant deco on cakes and you can read all about it here.
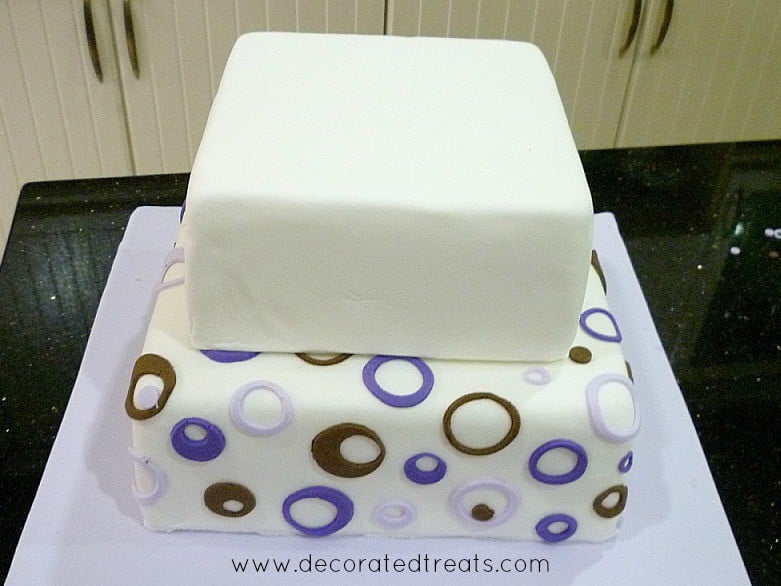
After that, I stacked the top tier on the bottom one (using bubble tea straws for support). Read my guide here on how to make tiered cakes.
Step 3: Add the Fondant Ribbon
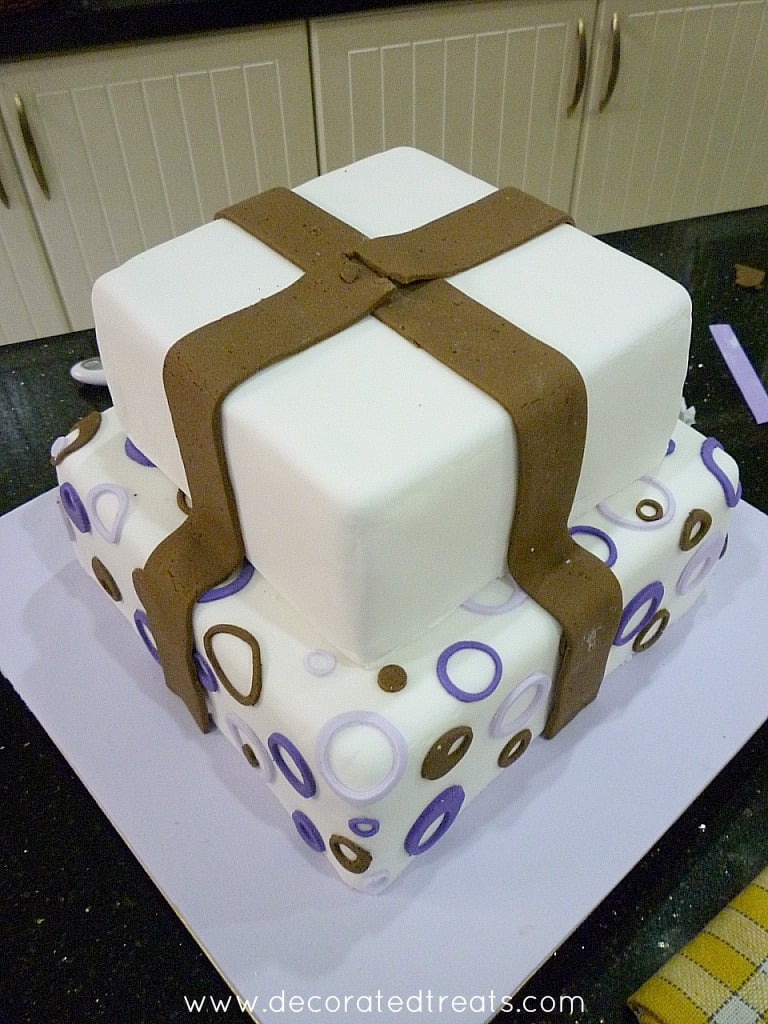
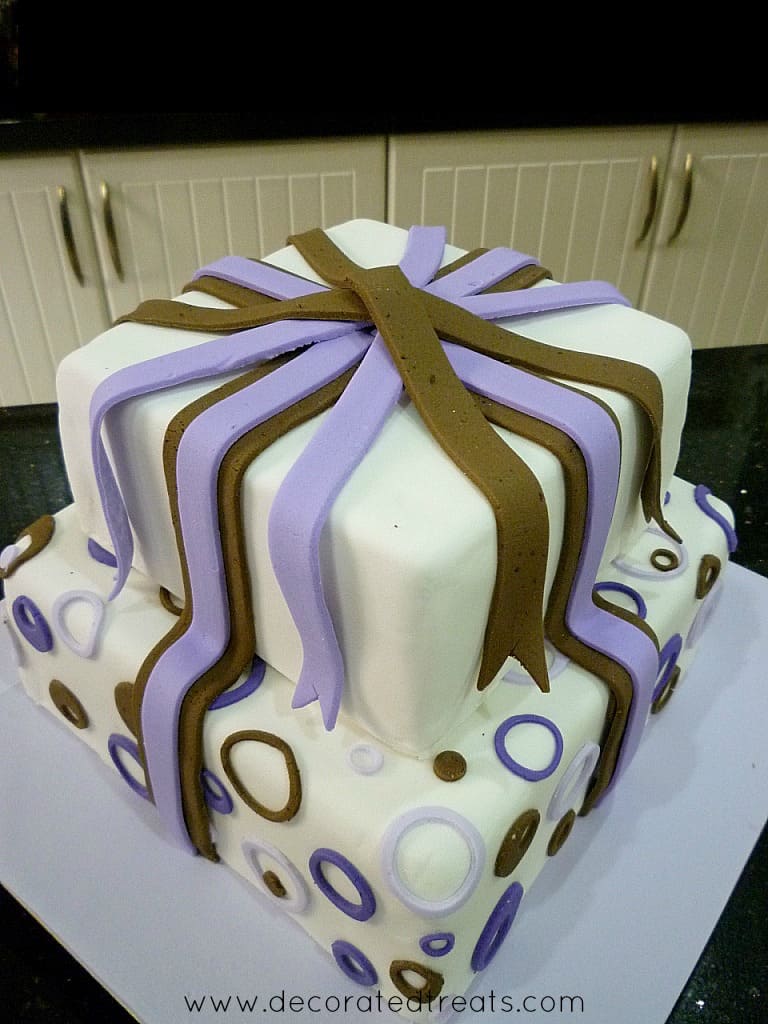
Next was the ribbon on all the 4 sides of the gift box cake. I wanted to make it dual-colored, to match the overall colors on the cake.
So, I started with wide brown strips and attached them on all 4 sides of the stacked gift box cake as shown below:
And then I added four strips of purple fondant on top, this time in a smaller width. I brush the back of these strips with a damp brush to make them stick to the brown strips.
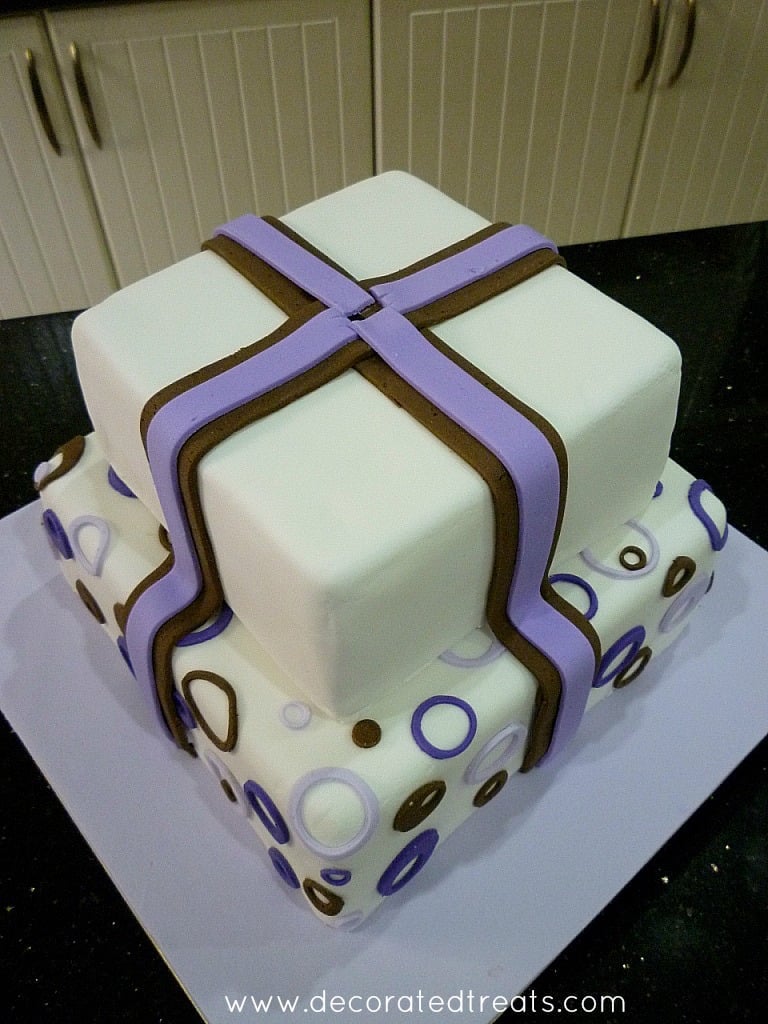
Next, I added additional ribbon strips in purple and brown alternately on all the 4 sides of the cake. I made these strips short, hanging right before the bottom tier. I cut out tiny triangles at the end of each of these strips to make them look like real ribbon ends.
So that they appear more natural, I used tissue paper to help support the strips while they set. That way, I was able to make the strips with some gaps between them and the sides of the cake. I removed the tissues once the strips were set.
Step 4: Add the Cake Border
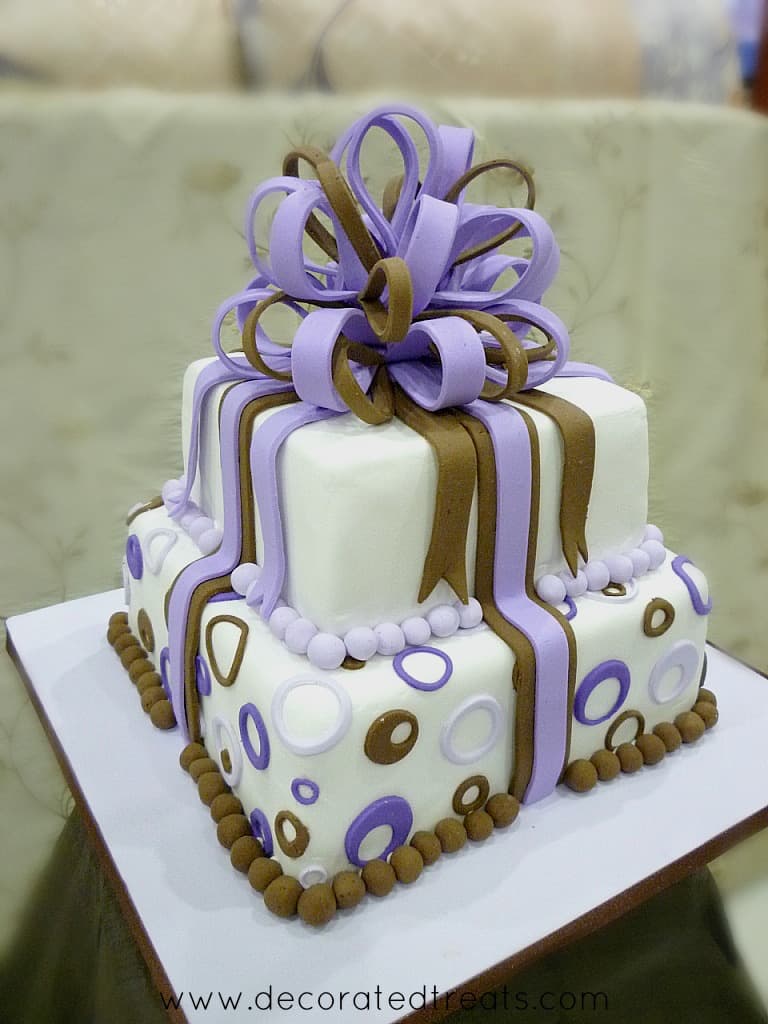
Once the ribbon work was done, I covered the cake borders (on both tiers) with round fondant balls. These were shaped by hand, individually. The bottom tier had brown balls border while the top tier had purple ones.
And I attached these to the gift box cake with a damp brush.
Step 5: Attach the Bow
And the final step was to attach the bow. I used royal icing to do this. This way, I was sure that it would be securely held in place even when the cake is moved during transportation.
I had to be careful when handling the bow as it was quite fragile. And it is very important to make sure the royal icing used to attach the loops together has set and hardened completely, which is why I assembled it a day in advance. Having the royal icing in stiff consistency helps it to set quicker, so that is something to remember as well.

And this was how the completed square gift box cake looked like:


Leave a Reply