

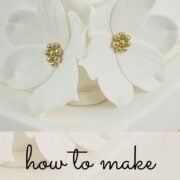
Learn how to make sugar flowers with this easy tutorial. These non-wired gum paste flowers are very simple and are perfect for beginners. Plus they are very quick to make too. You can make each flower in under 5 minutes!
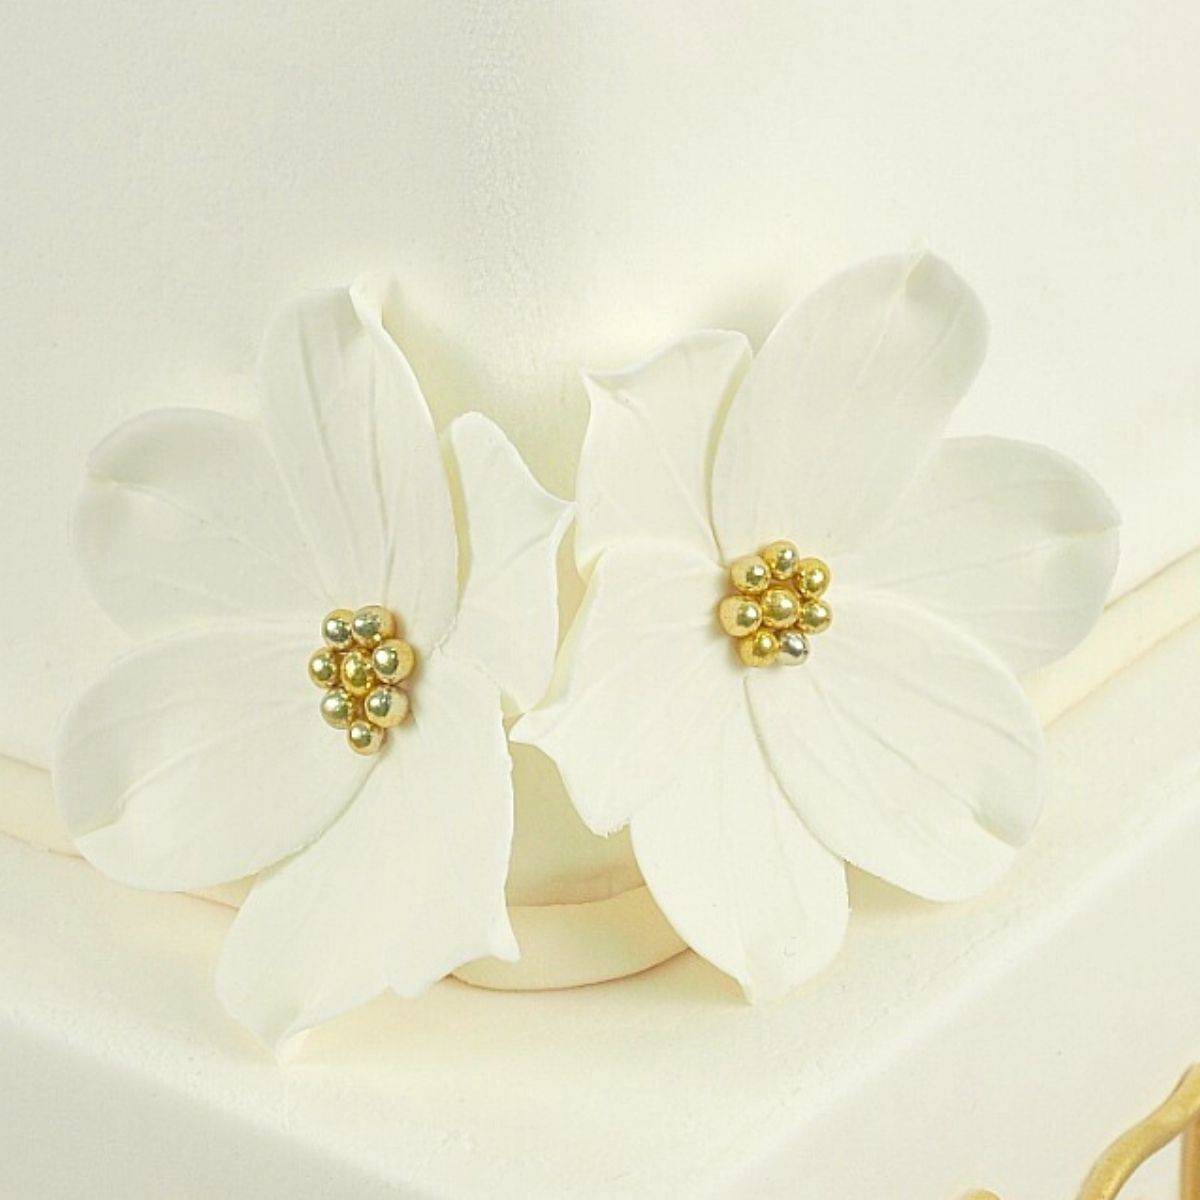
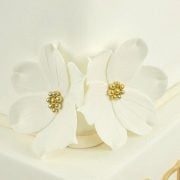
I made these simple sugar flowers for a square wedding cake. And I say 'simple' because the flowers were not only easy to make, they can also be made quickly. Plus they do not require any special sugar flower skills, which means anyone can make them.

It took me less than 5 minutes to make each sugar flower. The only time-consuming part was for the drying time. I left mine to dry overnight. That way, I had the petals completely dry and set to be used on my cake.
Jump to:
❤️Why you will love this tutorial
- The flowers are very easy to make.
- They are non-wired, making them perfect to be placed directly on cakes and cupcakes.
- The tutorial is complete with step by step instructions and images and is very easy to follow.
- The flowers can be made in advance and you can simple use them whenever you want. You can make them in white and simply dust them with your preferred flower dust color to suit your cake decorating project. Check out my comprehensive guide on how to color gum paste flowers for more tips.
If you like this simple sugar flowers, you will also like these easy rainbow colored fondant flowers and these 3 layered fondant flowers. They are also non-wired and very quick and easy to make.
And if you want to try your hand at more gum paste flowers, try these tutorials on how to make gum paste roses, gum paste hydrangeas, gum paste poppies, gum paste plumeria and gum paste hibiscus.
Also check out my guide on how to decorate cakes with flowers for food safe techniques when handling wired and fresh flowers on cakes.
🧾Supplies required
- Gum paste - I used Satin Ice white gum paste for these flowers. In fact, I use this gum paste for all my flowers. It is my favorite when it comes to making sugar flowers (gum paste flowers).
- 3 petals flower cutter - The one I used for these flowers is a Wilton flower cutter. It was part of the Wilton flower cutters set. See the image of the cutter in the step by step instructions below.
- Veining tool - If you notice the flower petals in the images above, you will see that each petal is veined. I used a peony leaf veining tool for this purpose. The veining tool had obvious veins and make very pretty texture on the petals of the sugar flowers. See the image of the veining tool in the step by step instructions below.
- Ball tool and flower sponge - the ball tool is used to thin the edges of the flower petals and the flower sponge is used to line the workspace when thinning the petals. It helps prevent the petals from tearing when thinning.
- Flower formers - these are small bowl shaped molds used to dry the flowers so that they set in a curved shaped.
- Cake decorating brush - to apply glue to the flowers.
- Fondant glue - to stick the petals and the flower centers.
- Gold dragees - I used these for the flower centers. They are in shiny gold color and were store-bought. The gold centers for the flowers were to match the rest of the wedding cake decoration which was all white and gold. You can change the gold color to silver or any other color you like.
✂️How to make
Step 1: Roll the gum paste and cut the petals
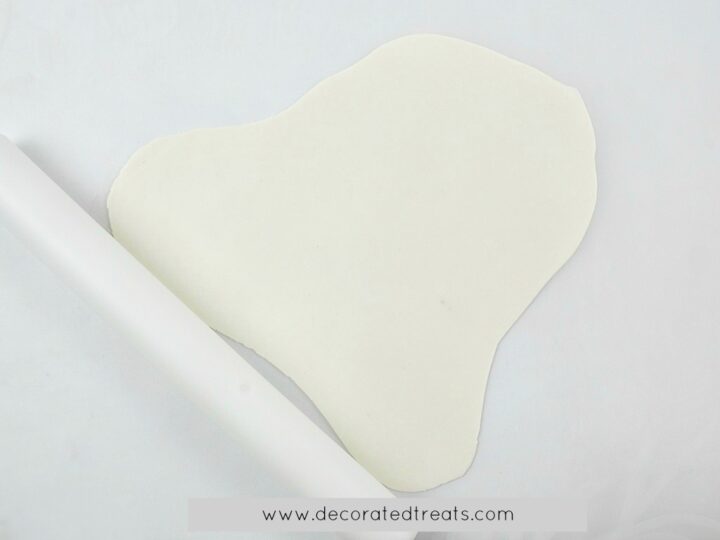
As in any sugar flowers or gum paste flowers, start with the gum paste. Roll it thin so that you get thin and natural looking petals.
Note: Make sure to dust your workspace well to prevent the gum paste from sticking. Use a DIY dusting pouch for a thin layer of dusting.
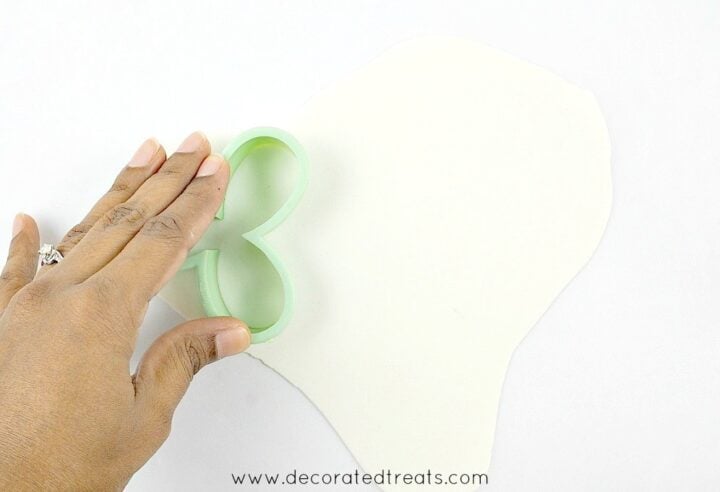
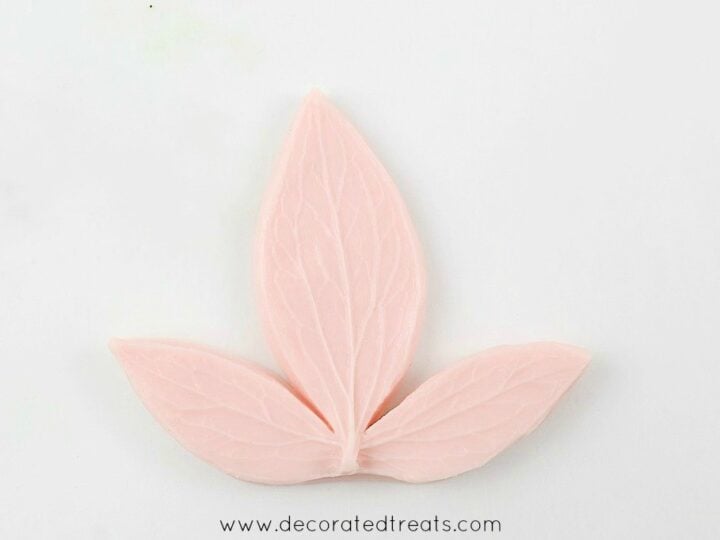
Using the Wilton 3 petal cutter, cut out the petals. Each flower requires 2 sets of petals.
Note: Depending on the number of flowers you intend to make, it is worth making a few extras to allow for breakages.

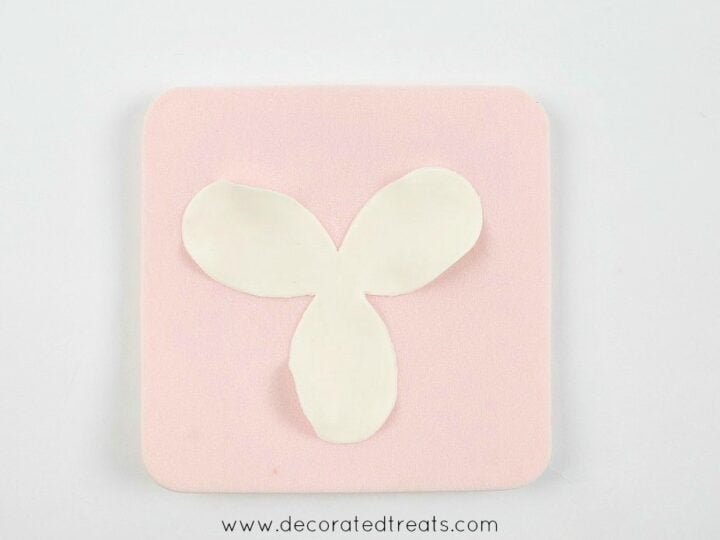
Using the ball tool and floral sponge, thin the edges of each petal by applying light pressure. The thinning and the slight frills that form from the thinning will give the petals a natural look.
Here's how the petals should look like after thinning the edges.
Step 2: Vein the flower petals
For the veining, you would need to do it for each petal, one at a time.
This is the peony veining tool.
Vein one petal at a time on the largest section of the veining tool.
Apply pressure only on the largest section and hold the other 2 sections of the veiner upwards so that they do not leave any marks on the remaining two sugar paste petals.
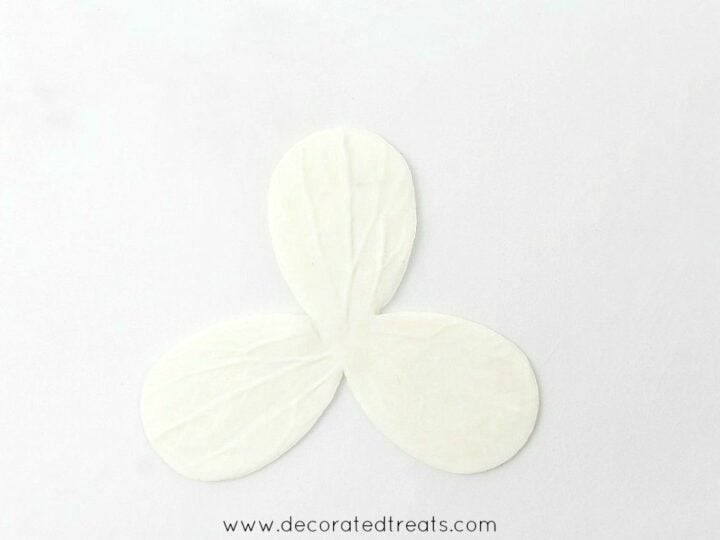
All 3 petals completely veined, individually.
Once veined, set them on a flower former.
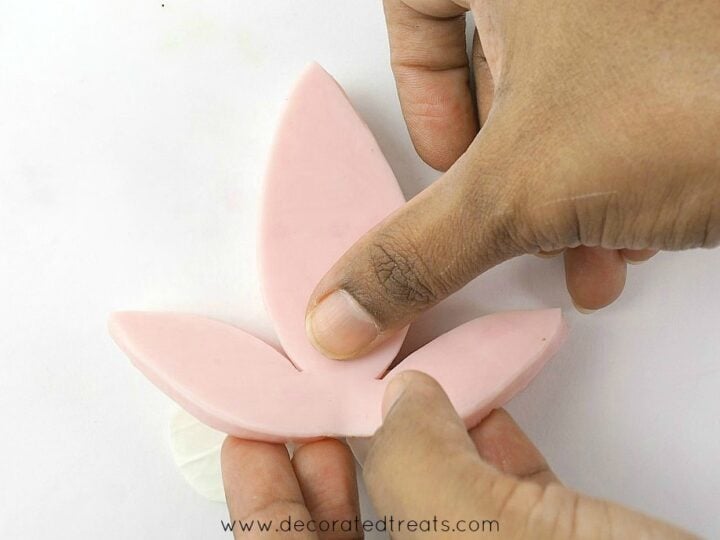
Pinch the end of each petal so that the petals have curved and pointed ends. Let the sugar flower petals dry out a little for about an hour.
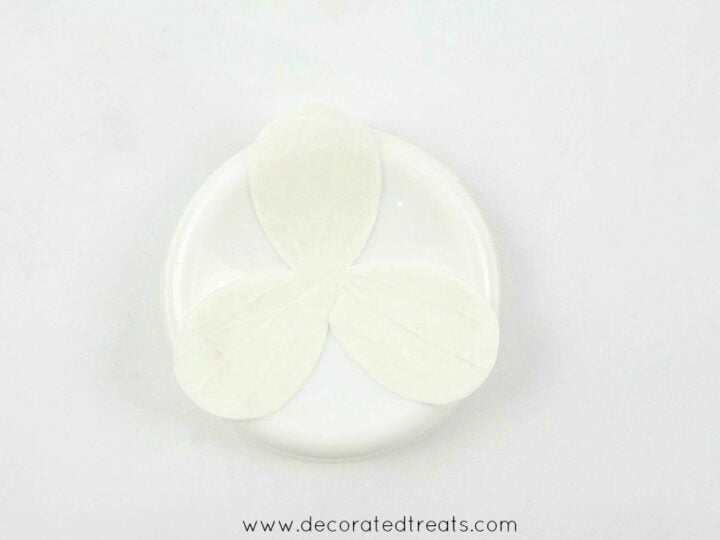
Step 3: Assemble the sugar paste flowers

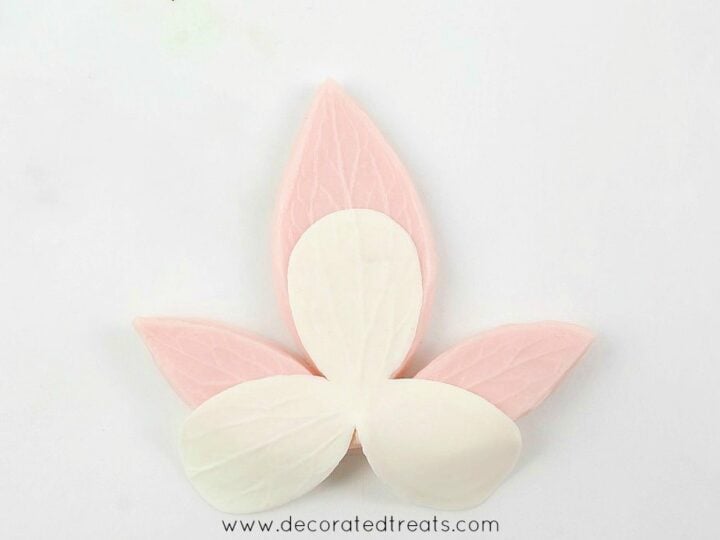
Place one set of petals on the other, making sure the second set of petals are positioned in between the first set of petals. Attach both sets with some fondant glue.
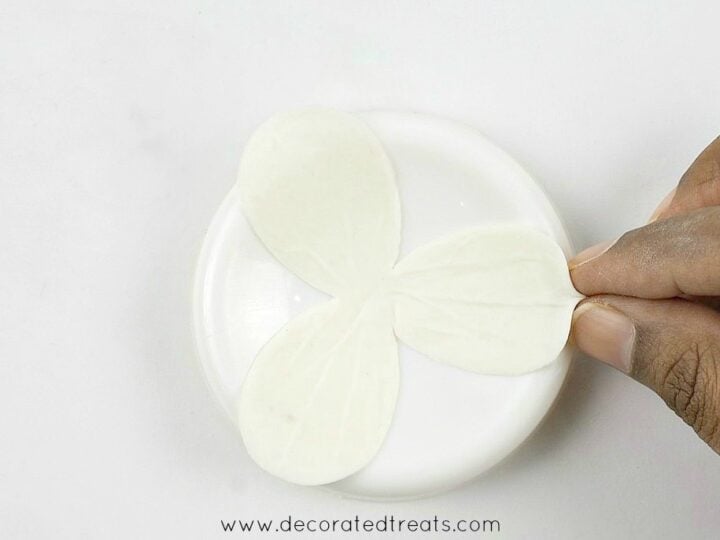
To make sure the pinched pointed edges of each petal remains pinched and pointed, apply a tiny bit of fondant glue.
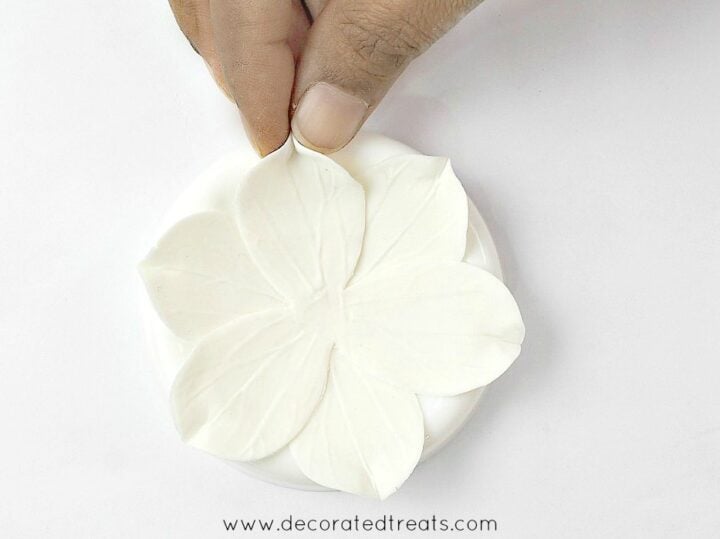
Re-pinch the petals so that the pinched ends stick together and remain that way. The pinching will not only give the flower petals a pointed edge, but it also makes each petal curve naturally.
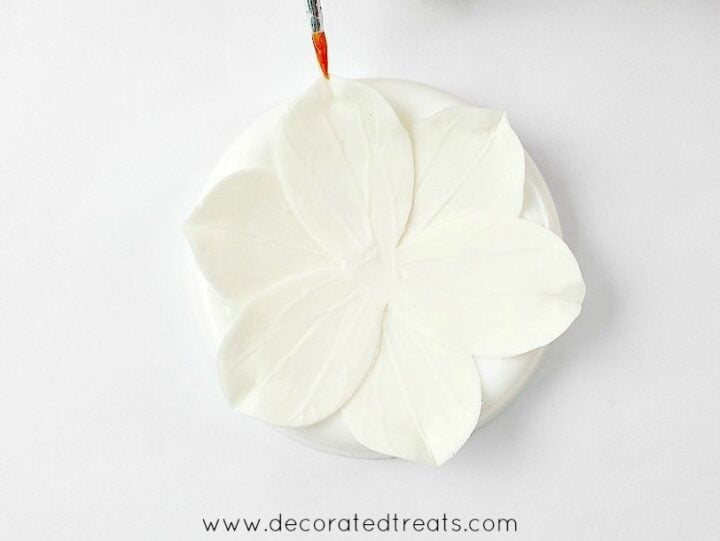
Step 4: Attach the flower centers
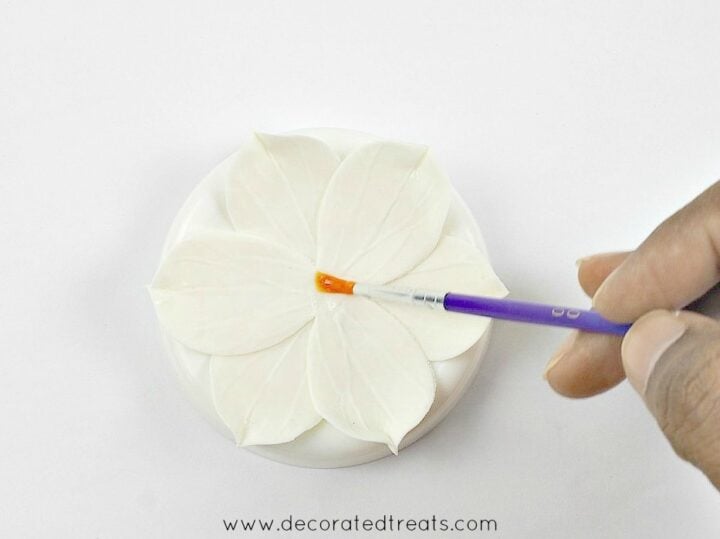
Brush some fondant glue in the center of each flower.
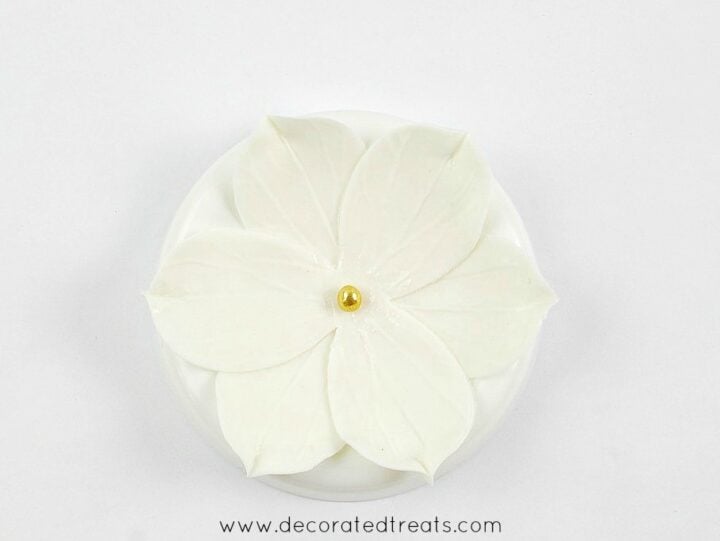
Start with one gold dragee. Place one large dragee right in the center.
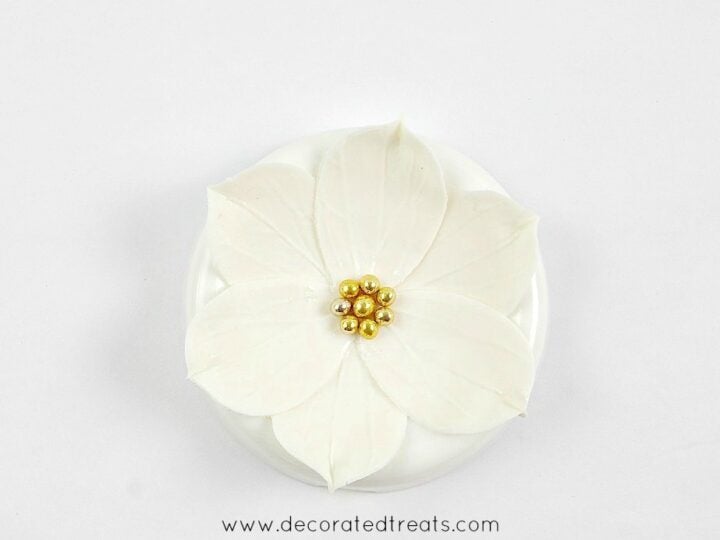
Then, add more dragees all around the first dragee such that they completely encircle the first one.
Once the flower centers are done, let the flowers set completely (preferably overnight). And when the rest of your cake decoration is done, attach these pretty sugar flowers to the cake with fondant glue.
And that was how I made these simple sugar flowers.
Hope you enjoyed this tutorial.
Leave a Reply