

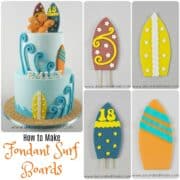
Learn how to make fondant surfboards with this easy tutorial. You can use them as cake toppers or simple cake decoration. They are quick and easy and you can easily customize the design and colors to your liking.
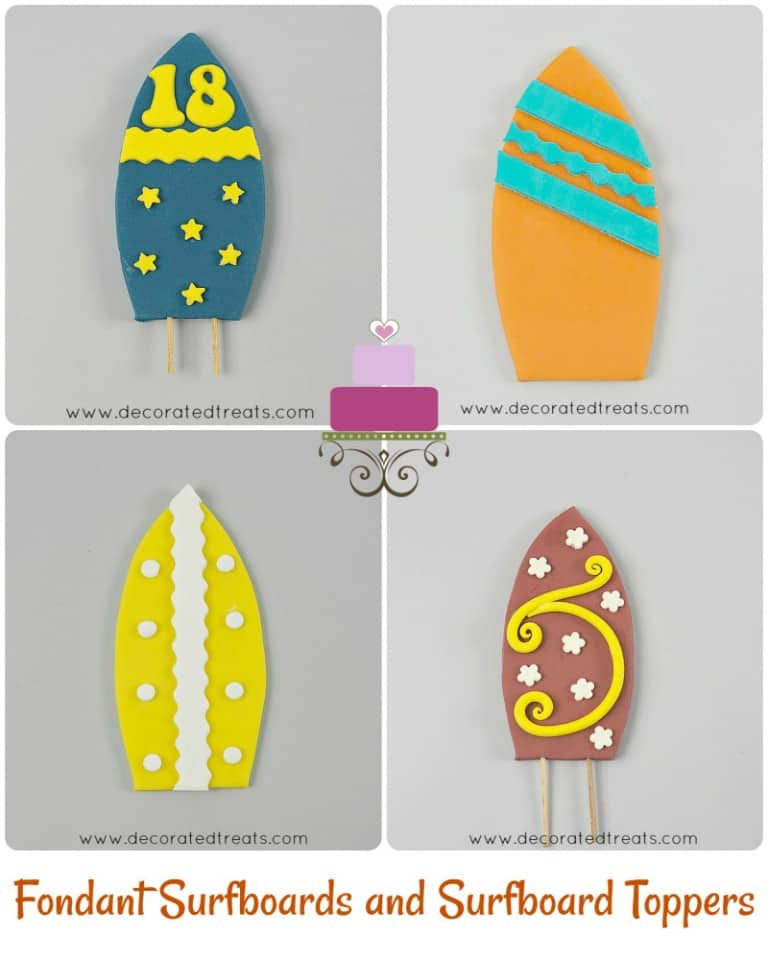
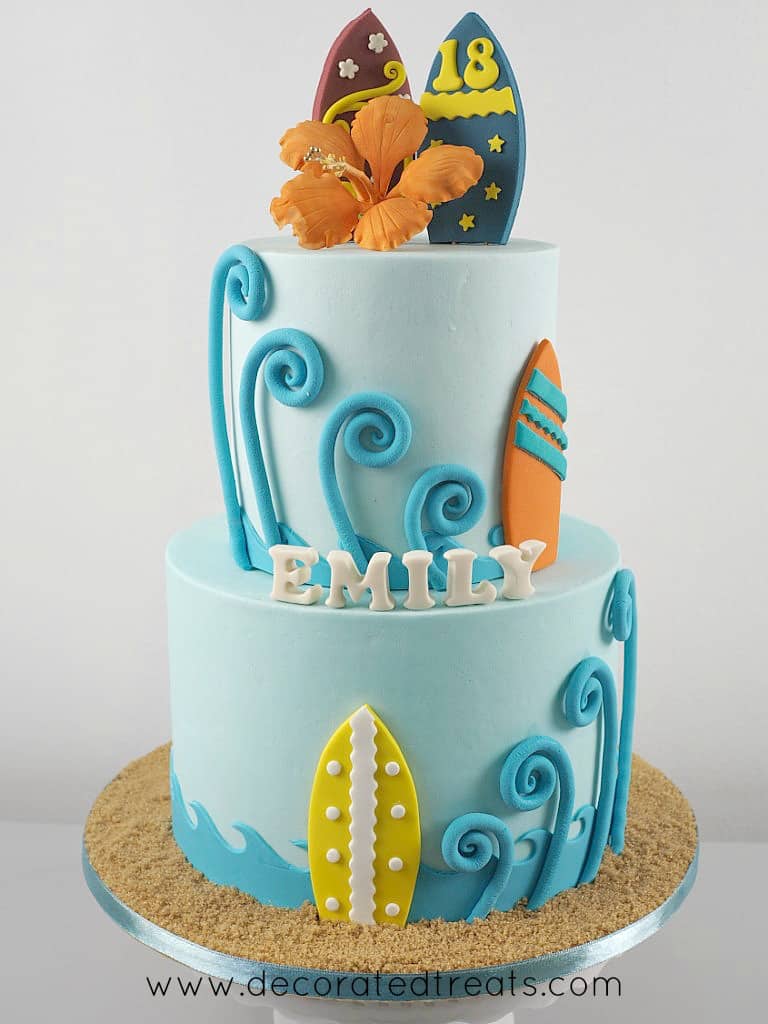
I decided to create this tutorial on how to make fondant surfboards and surfboard toppers while making this beach themed birthday cake. I made a total of 4 surfboards out of fondant and 2 of them were used as cake toppers.
Fondant surfboards are really quite fun to make. I say fun because decorating these surfboards is open for one's imagination and creativity - you can decorate them with any design or artwork and that makes it so fun!
For this particular project, I attached 2 surfboards to the sides of the cake (and therefore did not require any support) while another 2 were poked on the cake as 3D fondant surfboard toppers ( and therefore were attached with 2 toothpicks each so that they could stand in an upright position on the cake.
Jump to:
❤️Why you will love this tutorial
- The fondant surfboards are very easy to make.
- You do not need any special cutter to make the surfboard shapes.
- You can decorate the surfboards in any pattern or design you like.
- These make great decorations for beach themed cakes and cupcakes.
If you like this tutorial, also check out my other cake topper tutorials like this baby stroller cake topper, number cake topper, fondant unicorn horn cake topper and this 3D Olaf cake topper.
🧾Supplies
- Surfboard template - I used a hand drawn template. It is particularly useful when making more than one surfboard as you can use the template to make sure you cut the fondant in consistent sizes for all.
- Fondant - I used Satin Ice fondant for all the surfboards and the deco on them. You can also make your own fondant with this homemade fondant recipe or marshmallow fondant recipe.
- Food coloring - to tint the fondant.
- CMC powder - Helps fondant set quickly and firm and is recommended to be added to fondant when making 3D shapes and figurines.
- Pizza cutter - To cut the fondant.
- Extruder tool fitted with small round disc - To pipe out yellow fondant scrollwork for the red surfboard.
- Star plunger cutter - To make the yellow stars for the blue surfboard.
- Flower plunger cutter - To cut out tiny 5 petal flowers for the red surfboard.
- Clikstix numbers cutter - This is the number cutter for the number 18 on the blue fondant surfboard.
- Round piping tip - I used the round piping tip to cut out tiny white polka dots for the yellow surfboard.
- Sugar craft knife - To cut fondant scrolls for my red surfboard.
- Needle tool - To assist with the turquoise lines on the orange surfboard.
- Toothpicks - These are attached to the blue and red surfboards to hold them upright on the cake as cake toppers.
- Fondant glue - To attach the toothpicks to the fondant surfboards.
- Shortening - This is the glue for putting together all the deco on each surfboard.
- Styrofoam dummy - This is used as a mold for the orange and turquoise surfboards to set to a curved shape. I used 2 round dummies, one was 6 inches, and the other 9 inches. The dummy sizes should match the size your cake you are making.
👩🍳How to Make
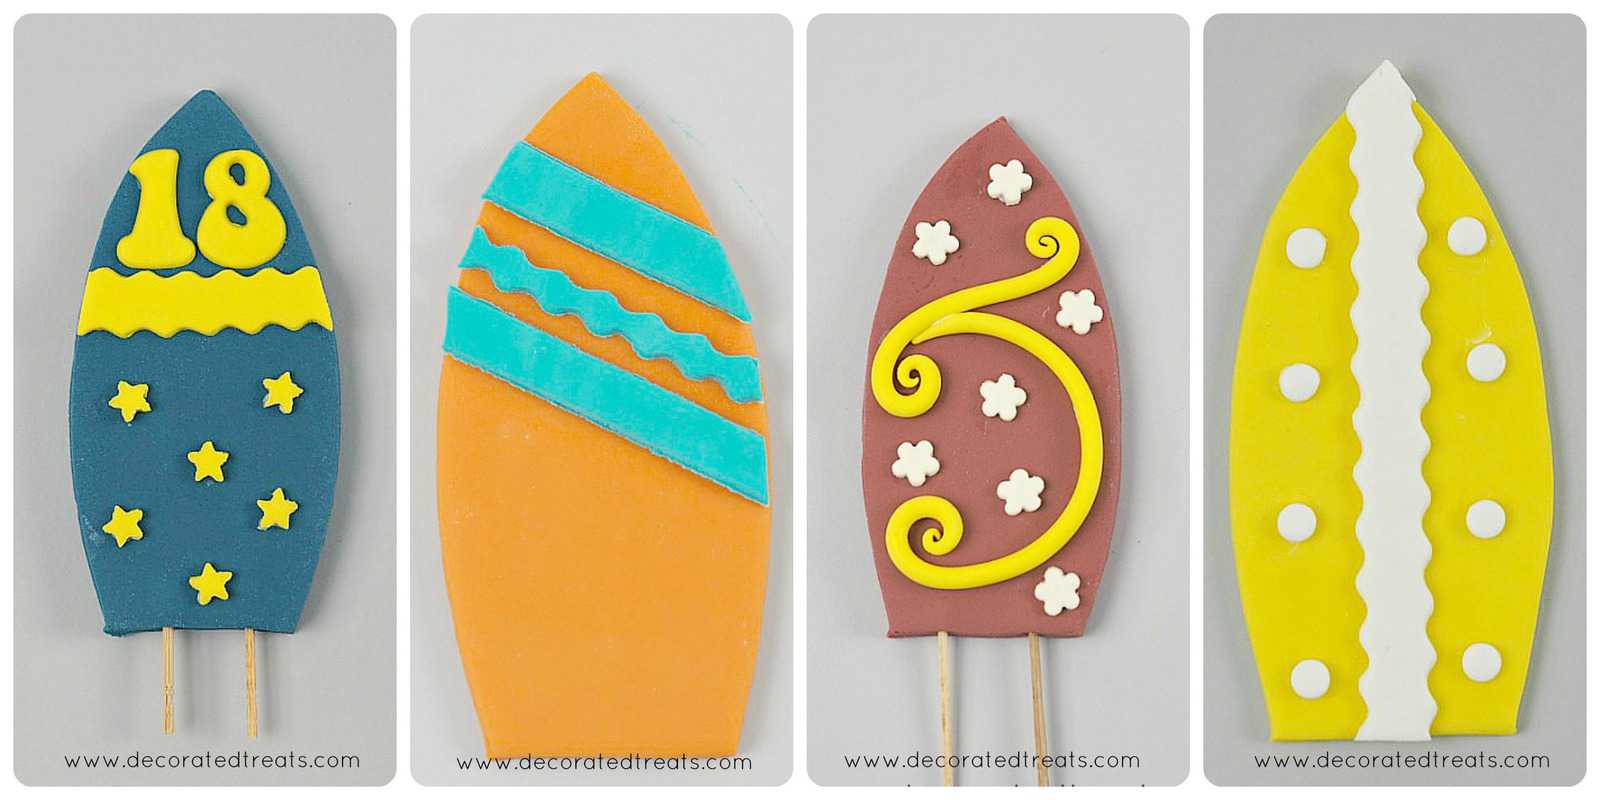
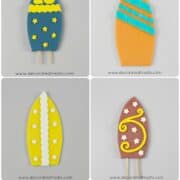
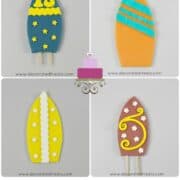
I will be showing you how to make all these 4 designs of the fondant surfboards.
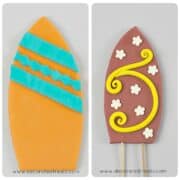
Design 1 - Maroon surfboard topper
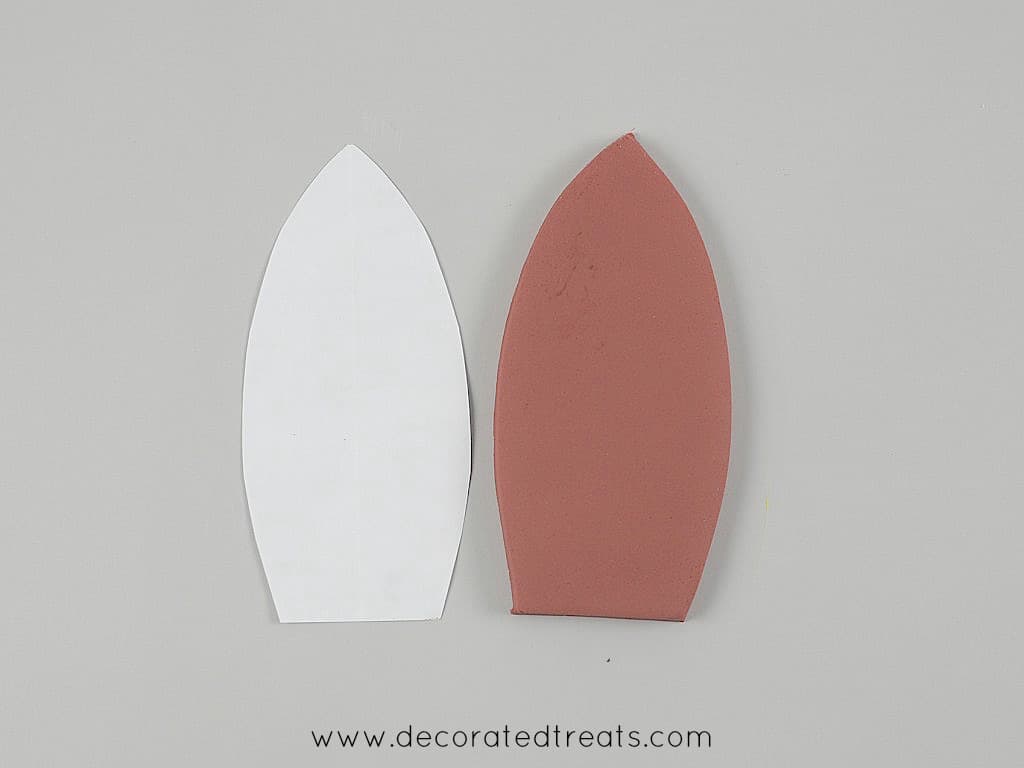
Step 1: Prepare the template
Draw the template out on a piece of paper. In drawing it, make sure the size fits your cake.
Cut it out following its outline.
Step 2: Cut the fondant
Tint your fondant red. Knead some CMC powder into it.
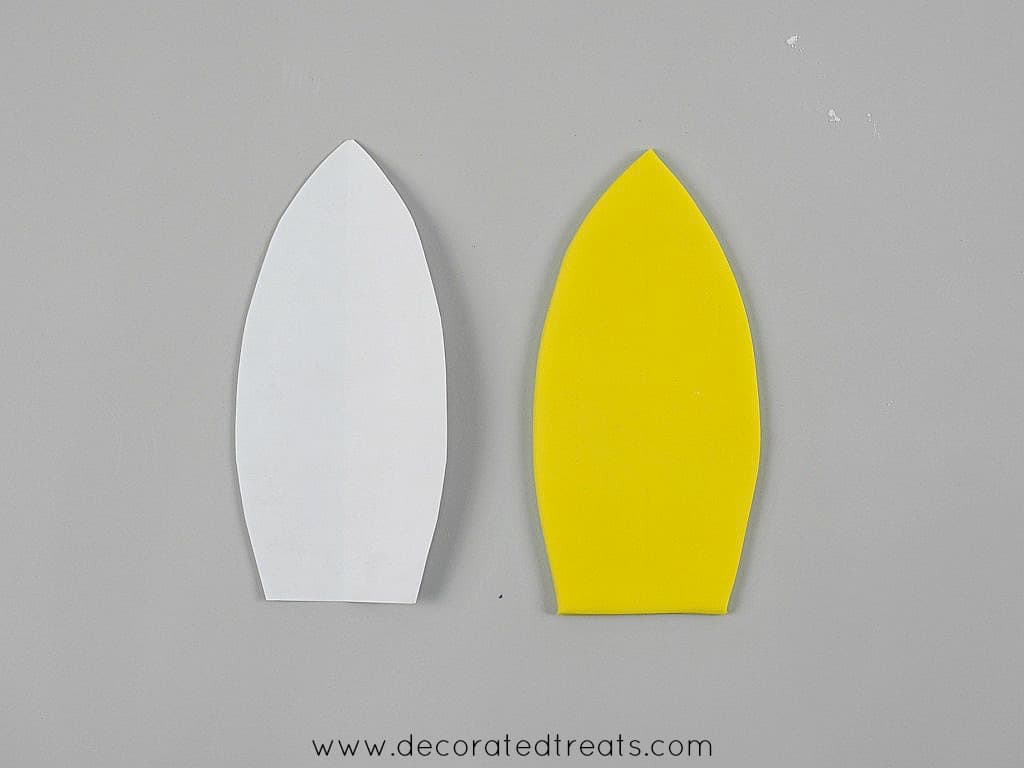
Roll the fondant and place the paper template on it. Cut out the shape with the pizza cutter.
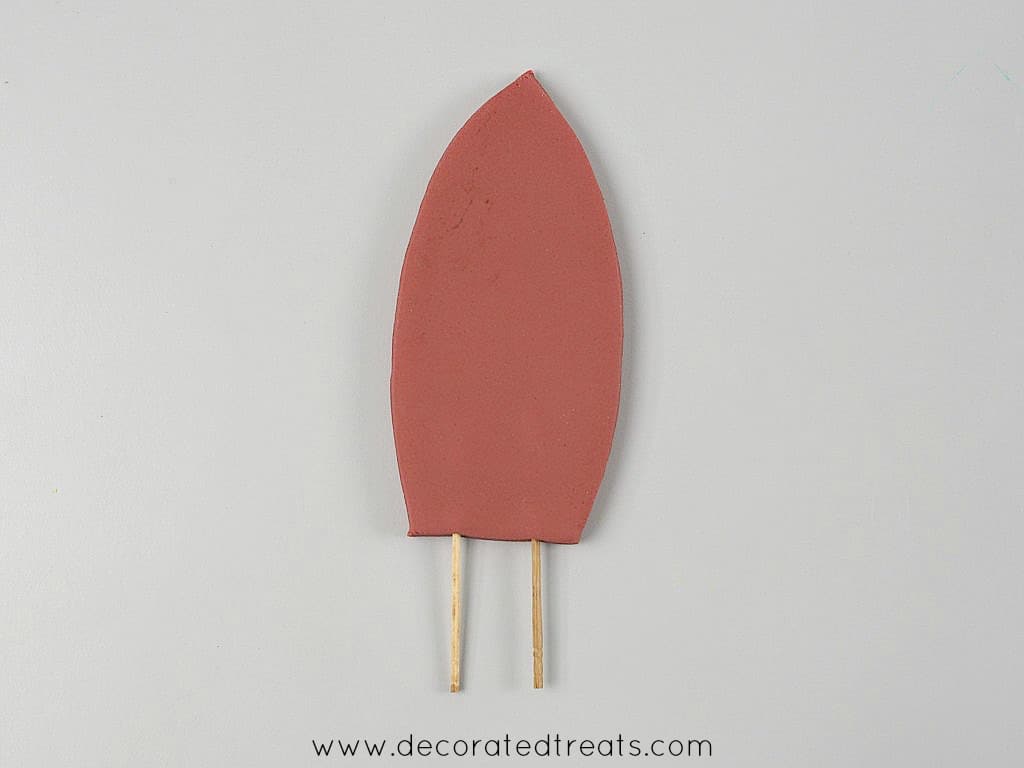
Step 3: Attach the toothpicks
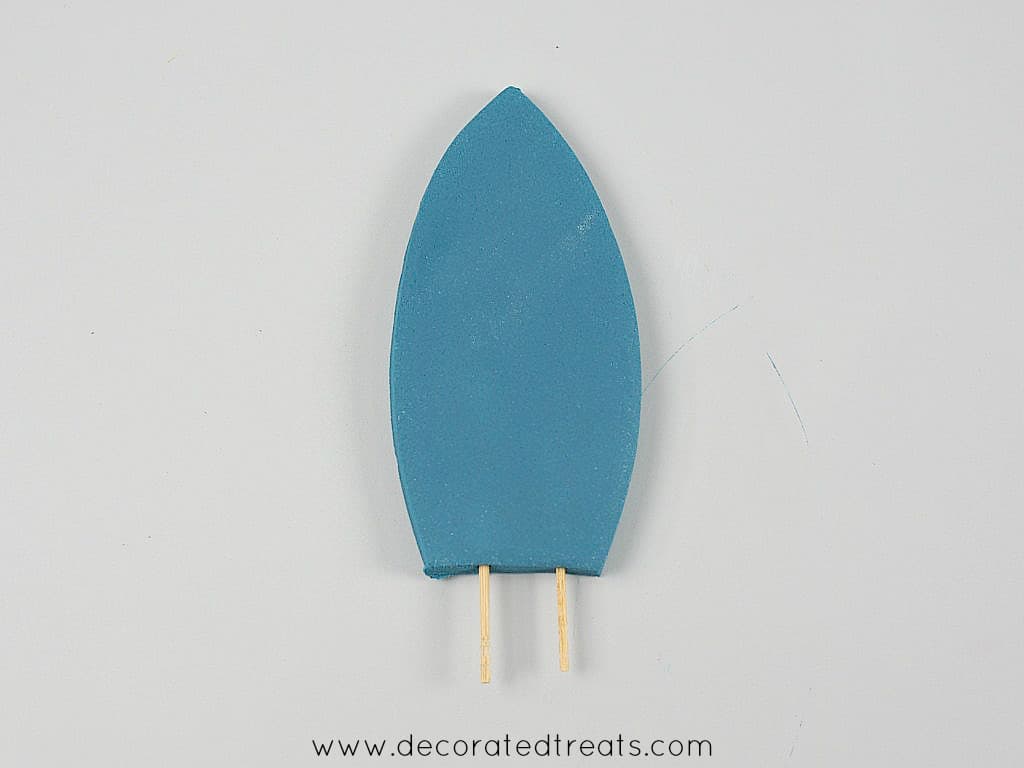
And then dip 2 toothpicks in fondant glue and attach them to the bottom.
Step 4: Decorate the surfboard
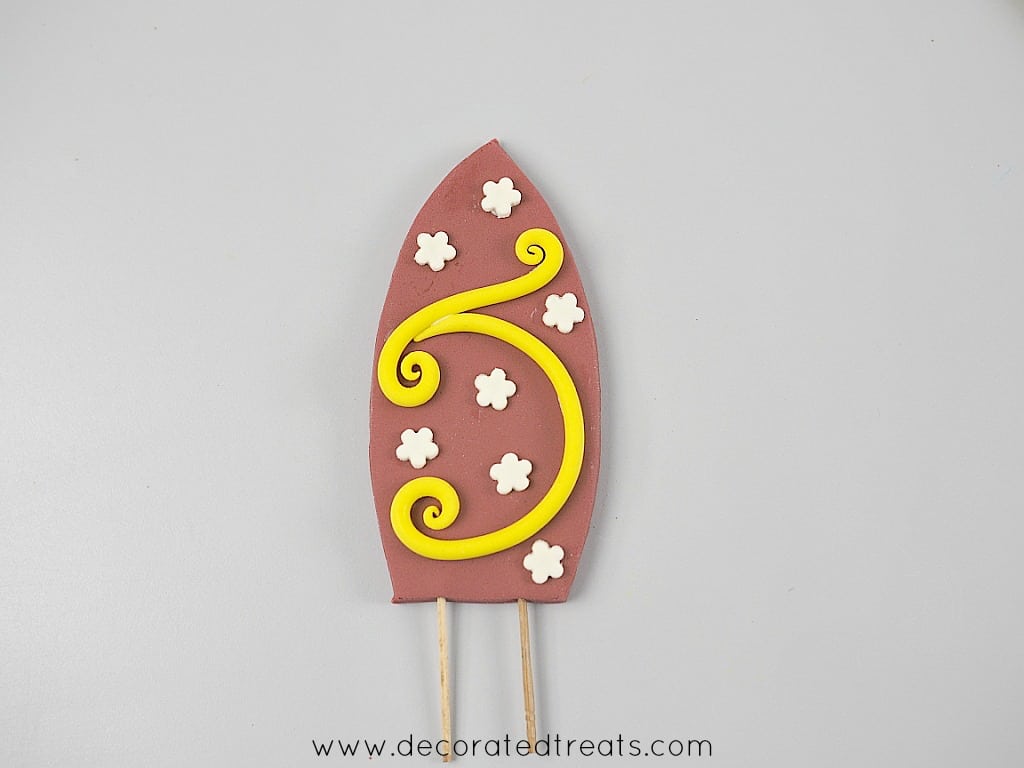
Use the extruder tool to pipe out a long thin roll of yellow fondant. With your fingers, make the end of the roll pointy.
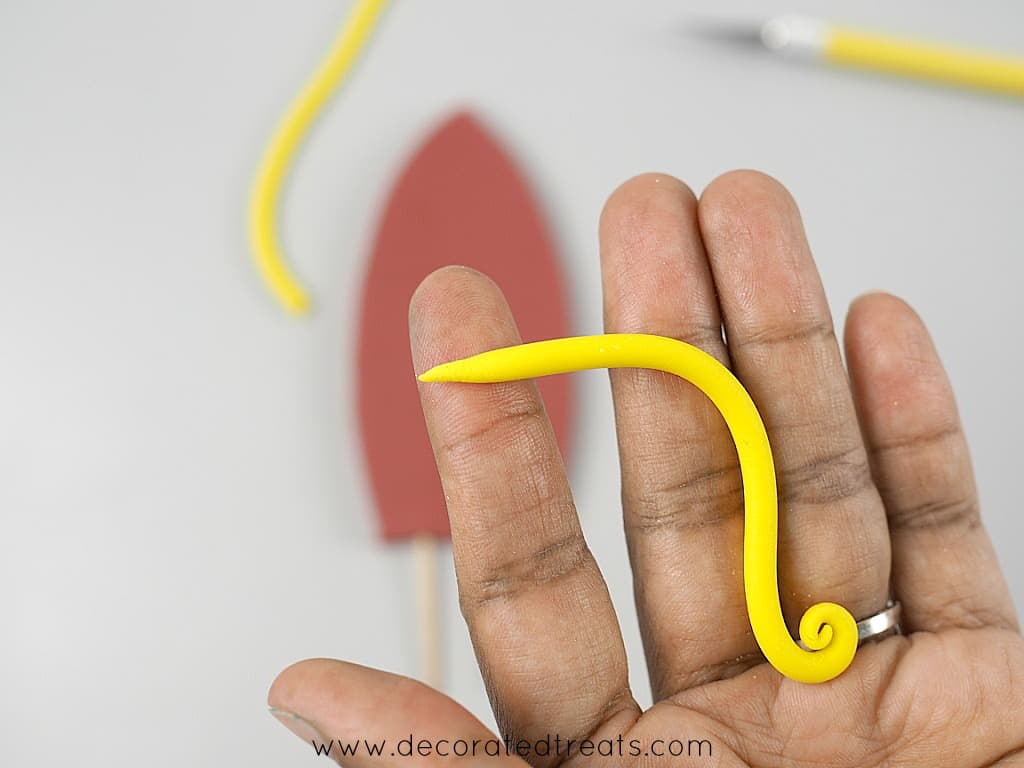
And then form a scroll as shown below. Attach the scroll to the surfboard with shortening.
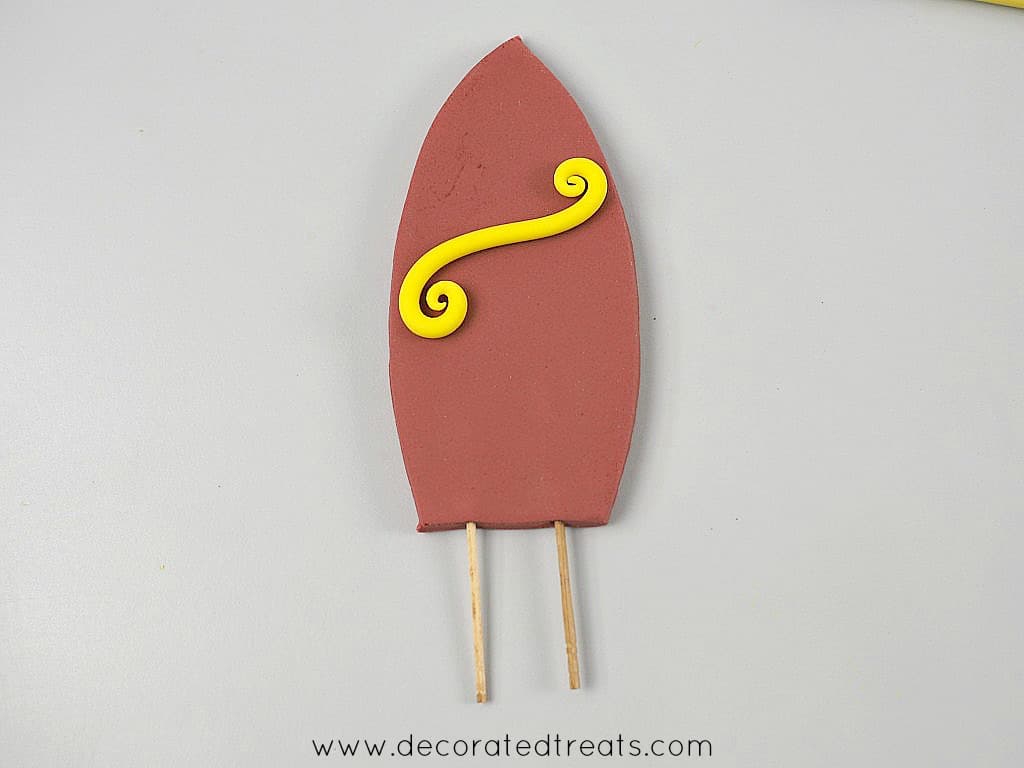
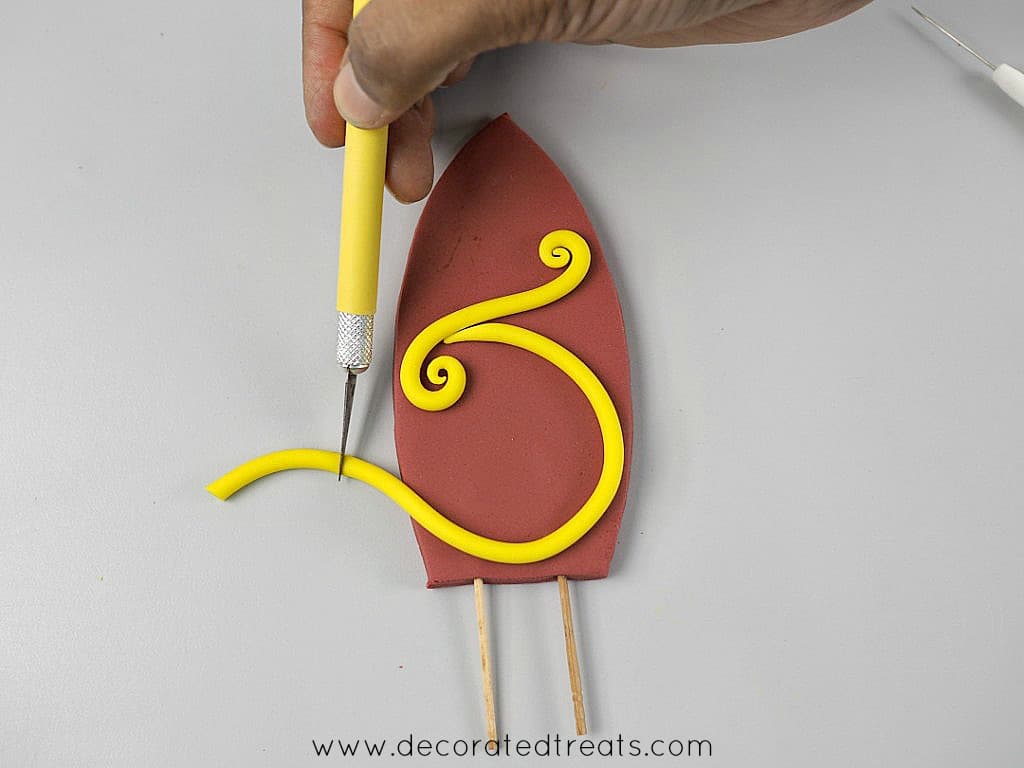
Make another scroll and attach it as shown below:
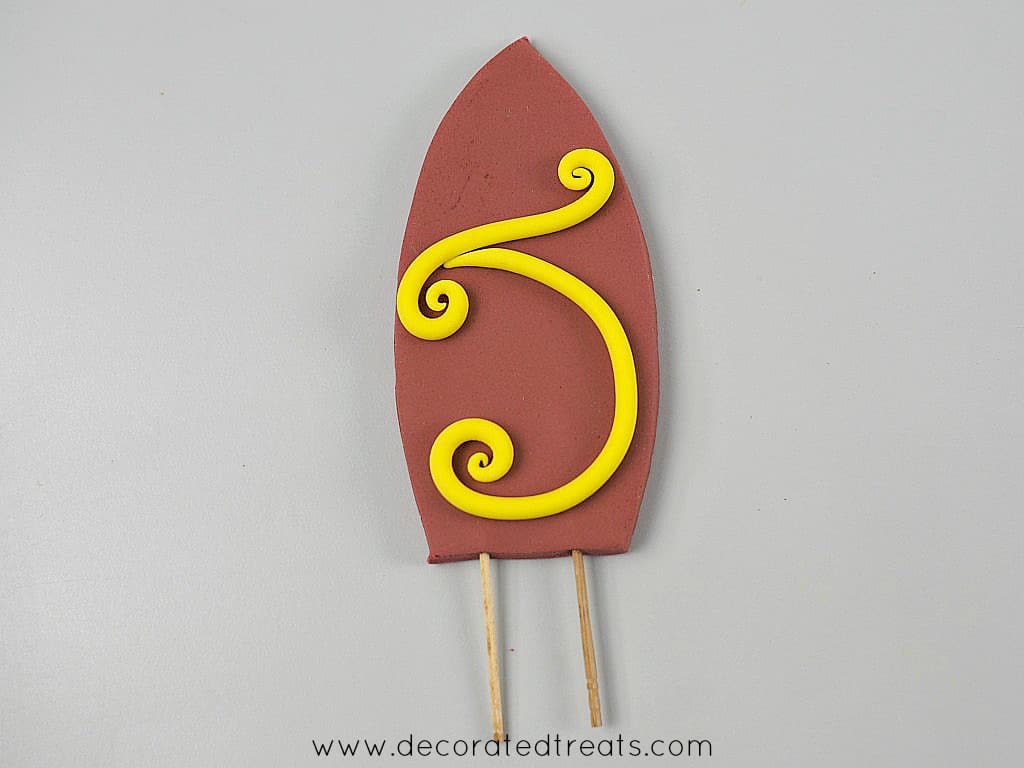
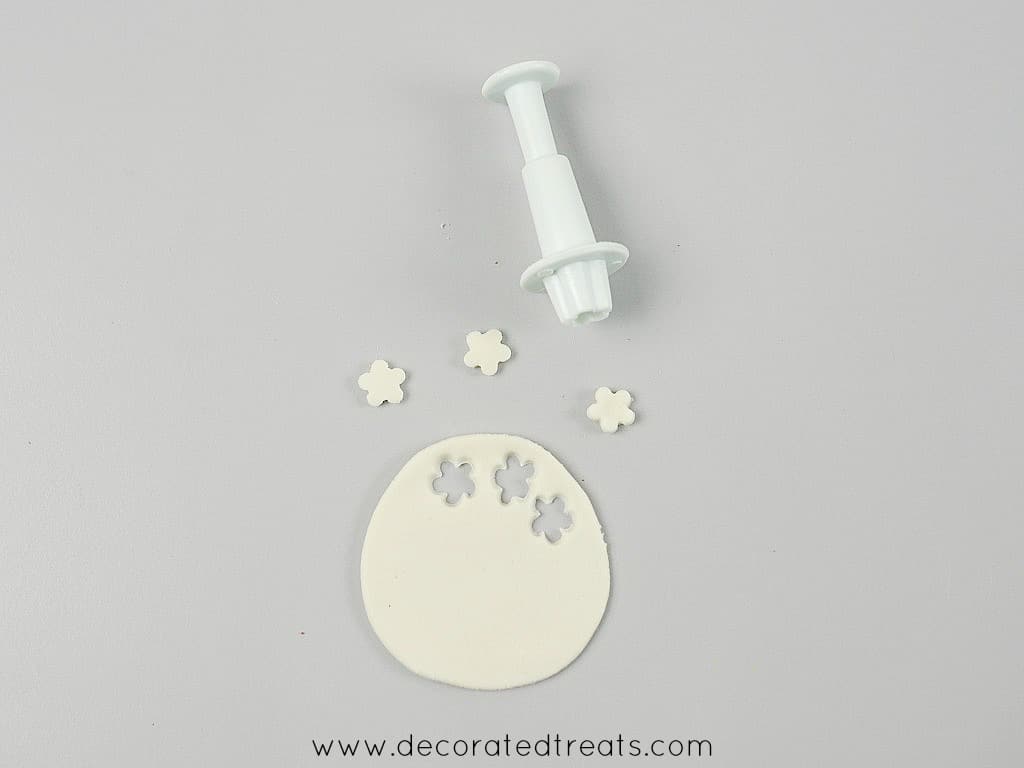
For the white flowers, use the small flower plunger cutter and attach the cutouts to the surfboard with shortening.
And this was how the completed surfboard should look like. Leave it on a flat surface overnight for it to set completely.
Design 2 - Blue fondant surfboard topper
Step 1: Repeat steps 1 to 3 from design 1 above
Tint the fondant blue instead of red.
Step 2: Decorate the surfboard
For the deco, use yellow fondant.
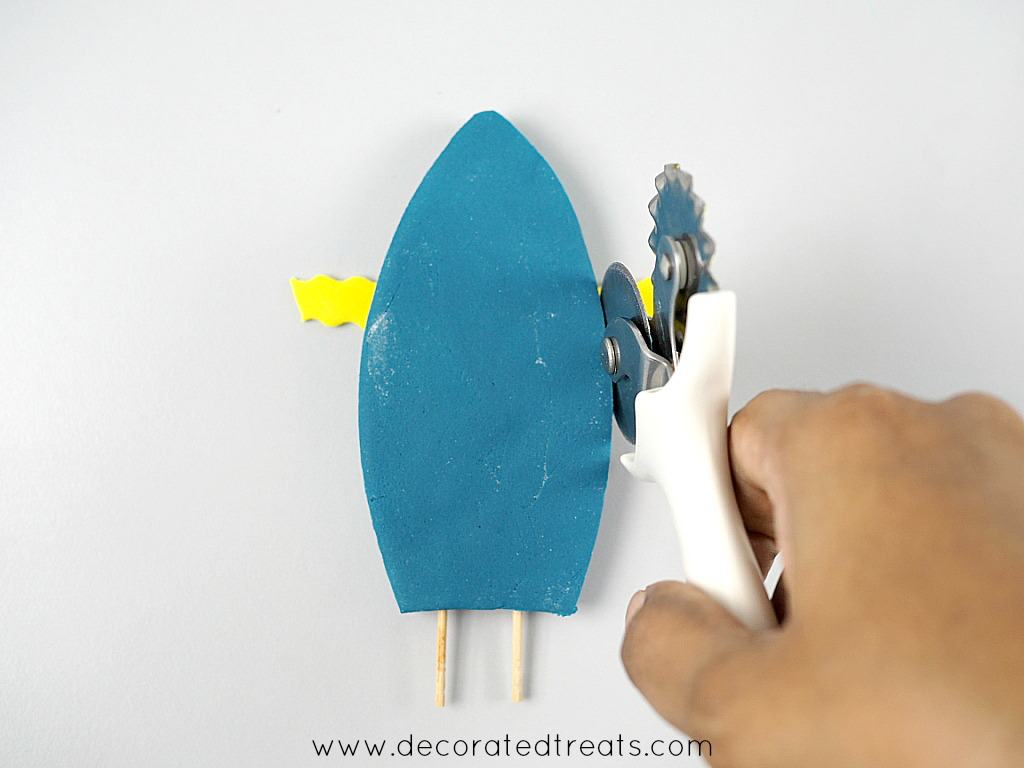
Roll the yellow fondant thin and cut out a strip with a scalloped cutter. My pizza cutter has 2 different blade shapes and I used the scalloped one to cut this horizontal piece.
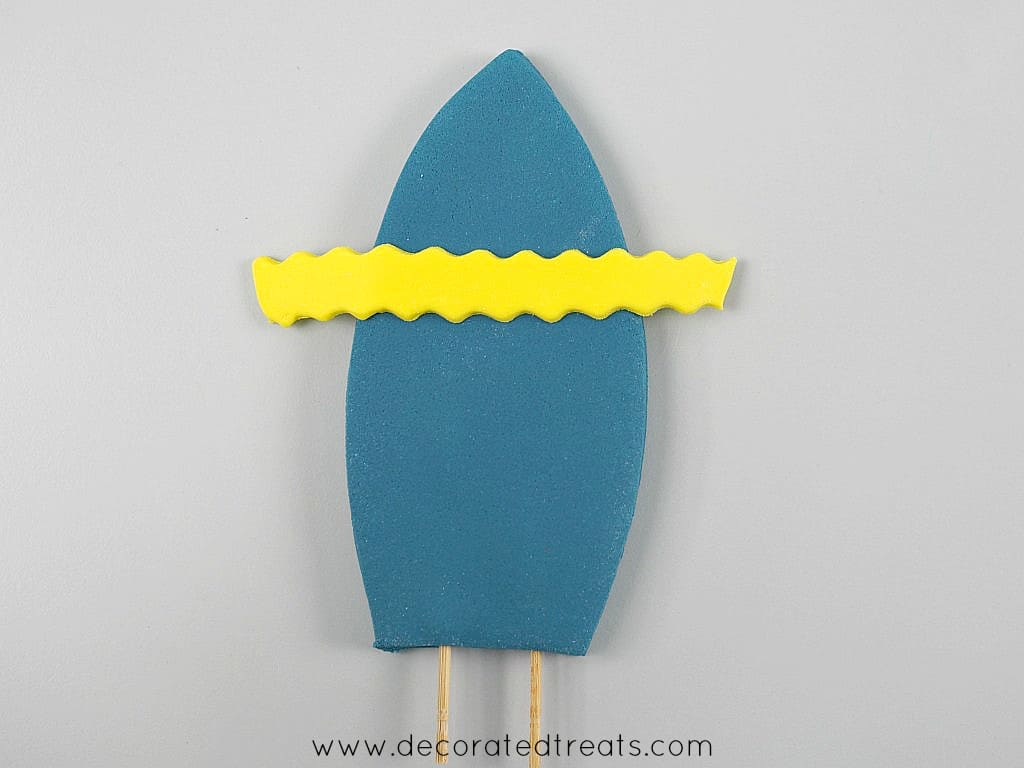
Attach it to the surfboard with shortening and trim off the excess at the sides.
Again, roll some yellow fondant, this time thinner. Cut out number 18 along with a few stars.
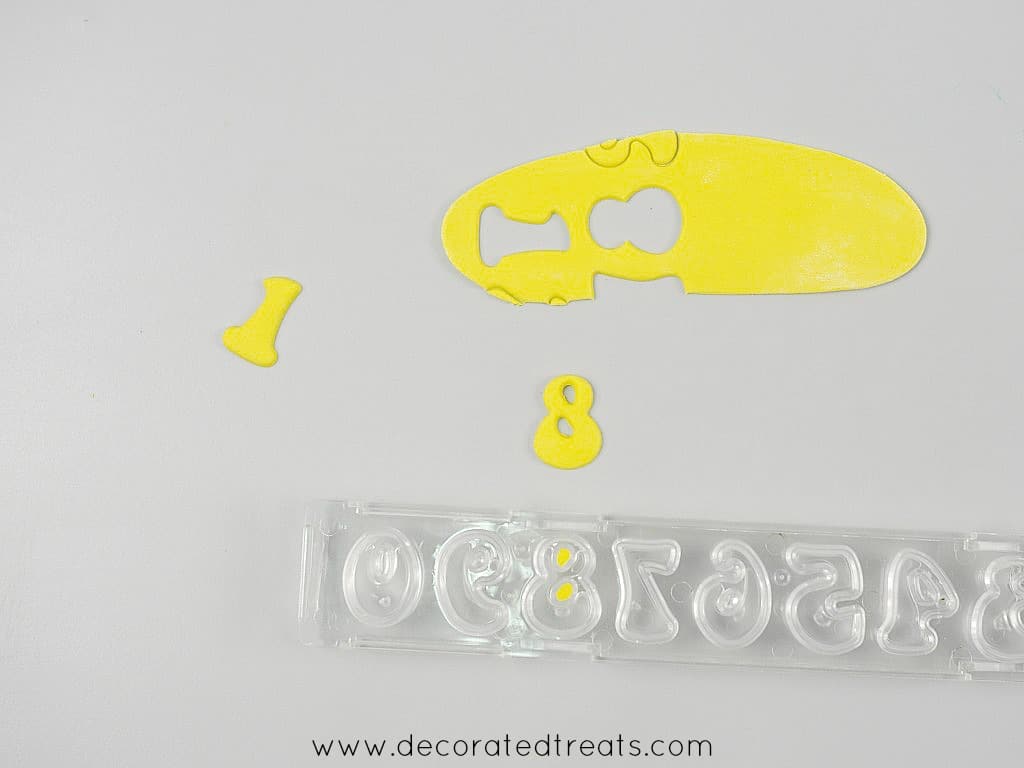
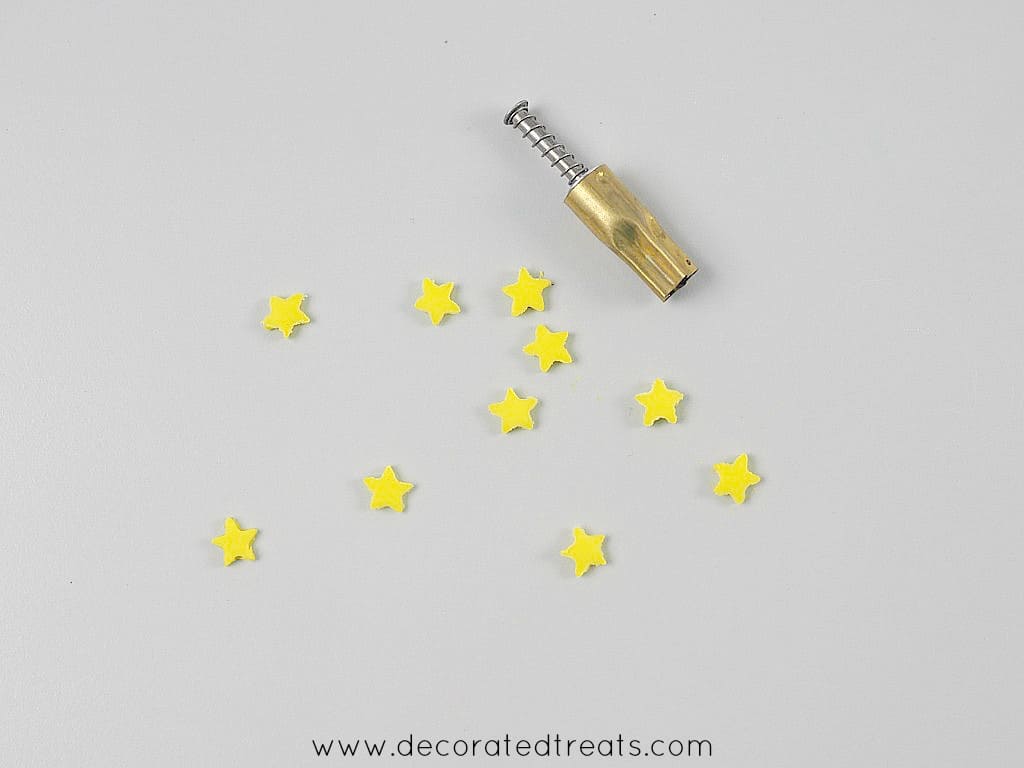
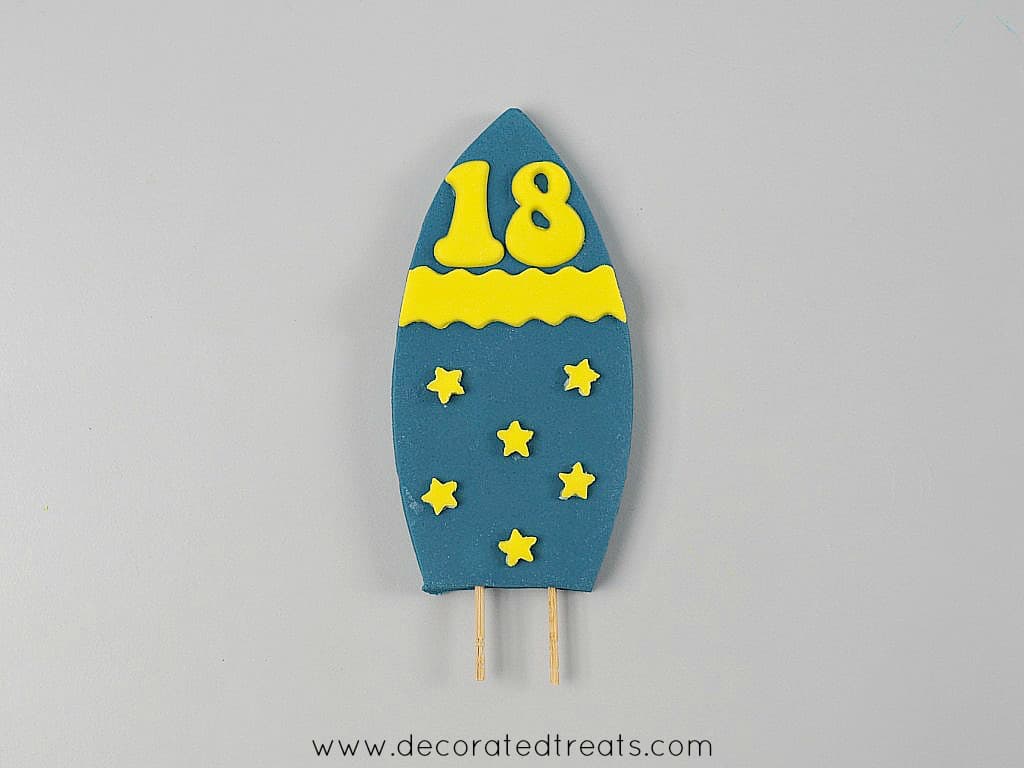
Attach the number above the horizontal line and place the stars randomly below the line to complete the decoration.
Similar to the red topper above, let the surfboard set completely in a flat lying position.
Designs 3 & 4 - Orange and yellow surfboards
Step 1: Repeat steps 1 and 2 from design 1 above
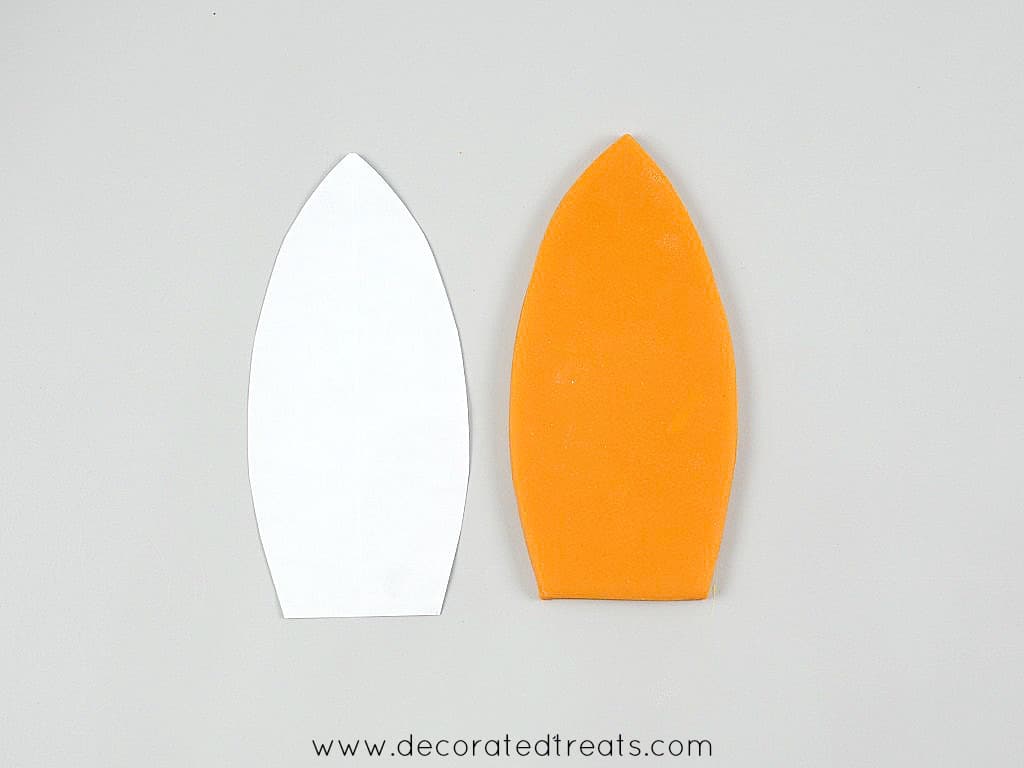
Tint the fondant yellow and orange instead of red. Since these 2 boards are not going to be cake toppers, you can skip the steps of attaching toothpicks to the bottom of each board.
Step 2: Decorate the boards
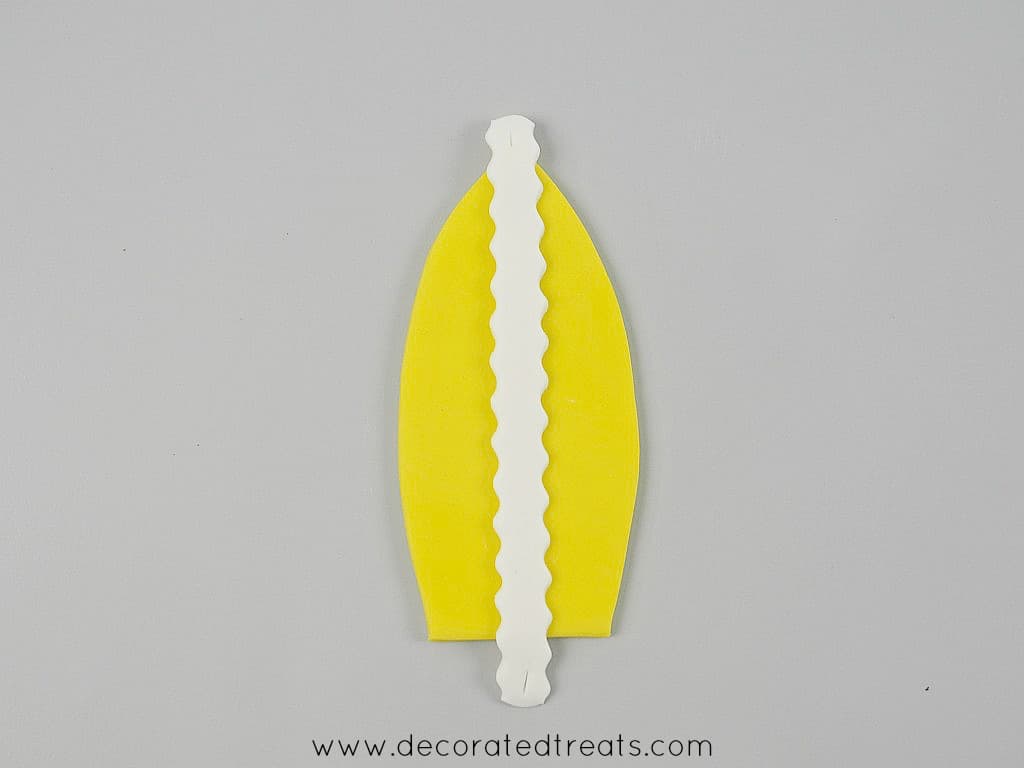
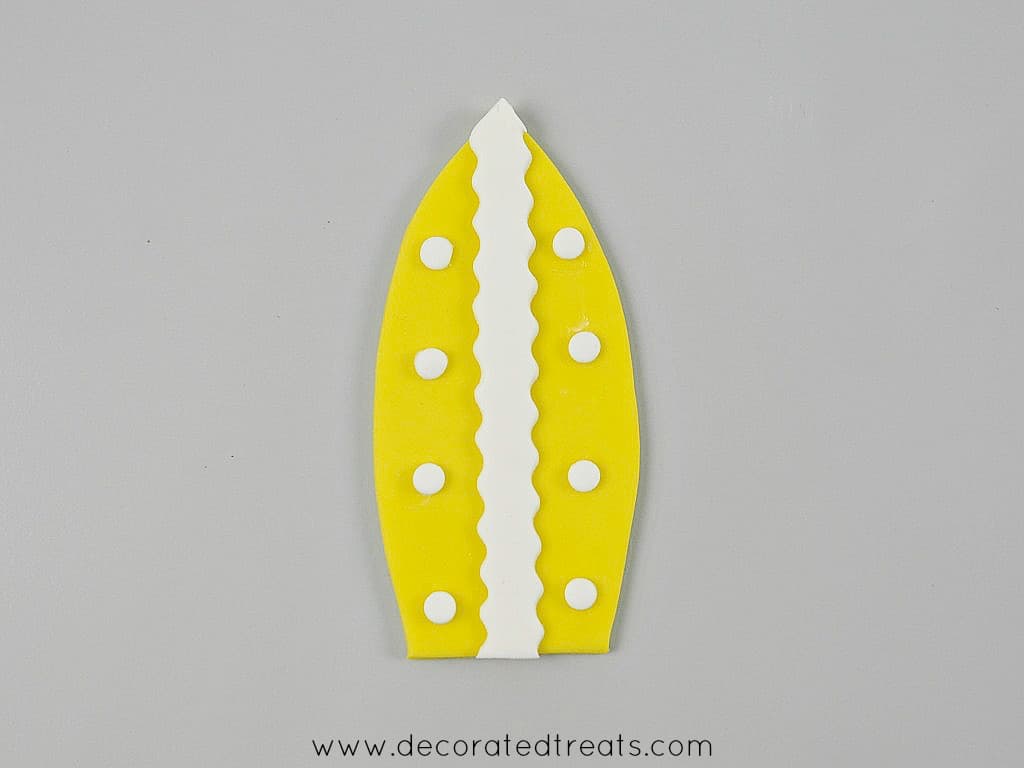
Start with the yellow board.
Roll some white fondant thin. Cut a ribbed vertical line with the pizza cutter and attach it in the center of the board. Turn the board over and trim off the excess at the top and bottom.
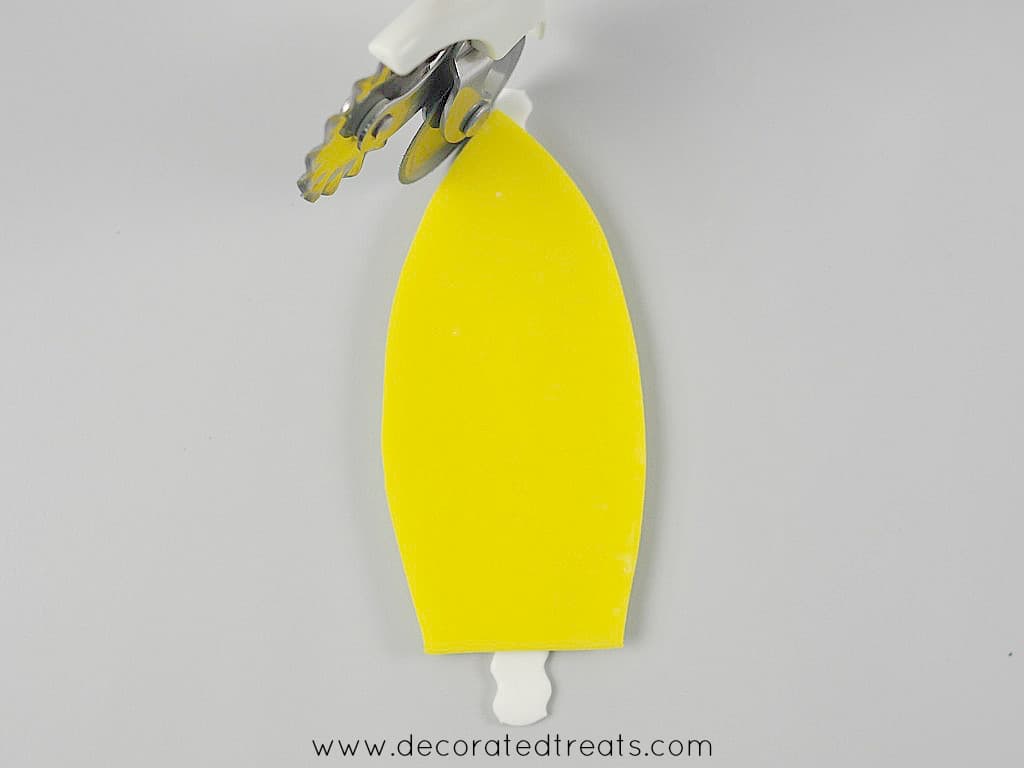
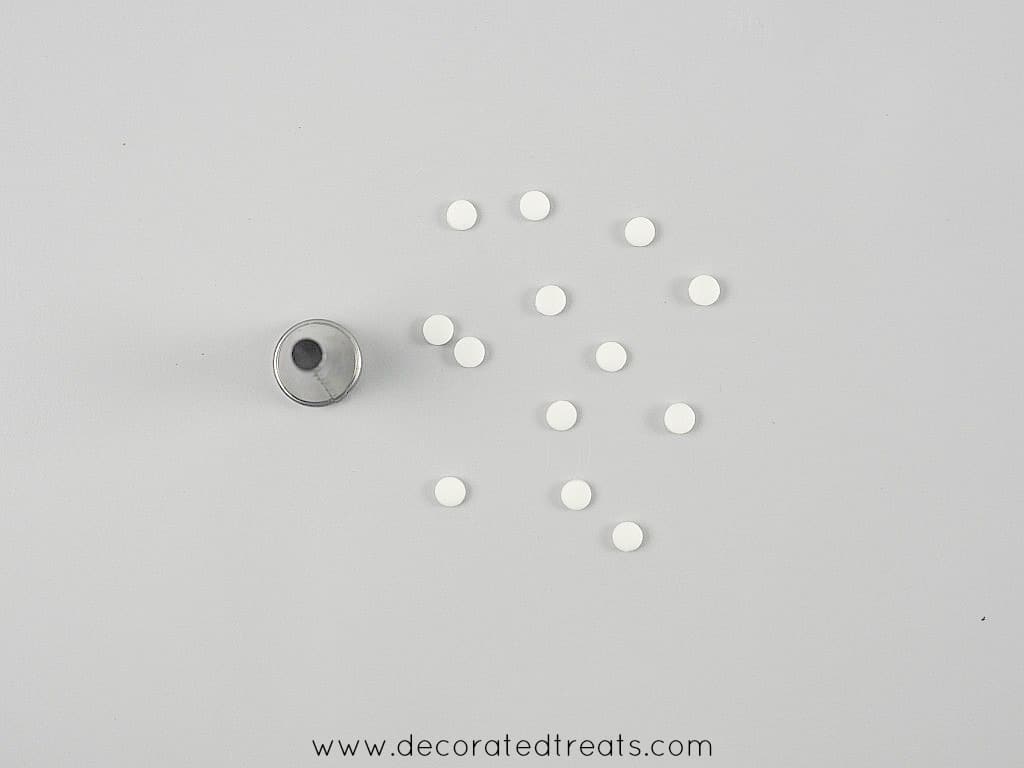
With the remaining rolled white fondant, cut out tiny polka dots using a medium-sized round piping tip. Attach all these to the board with shortening.
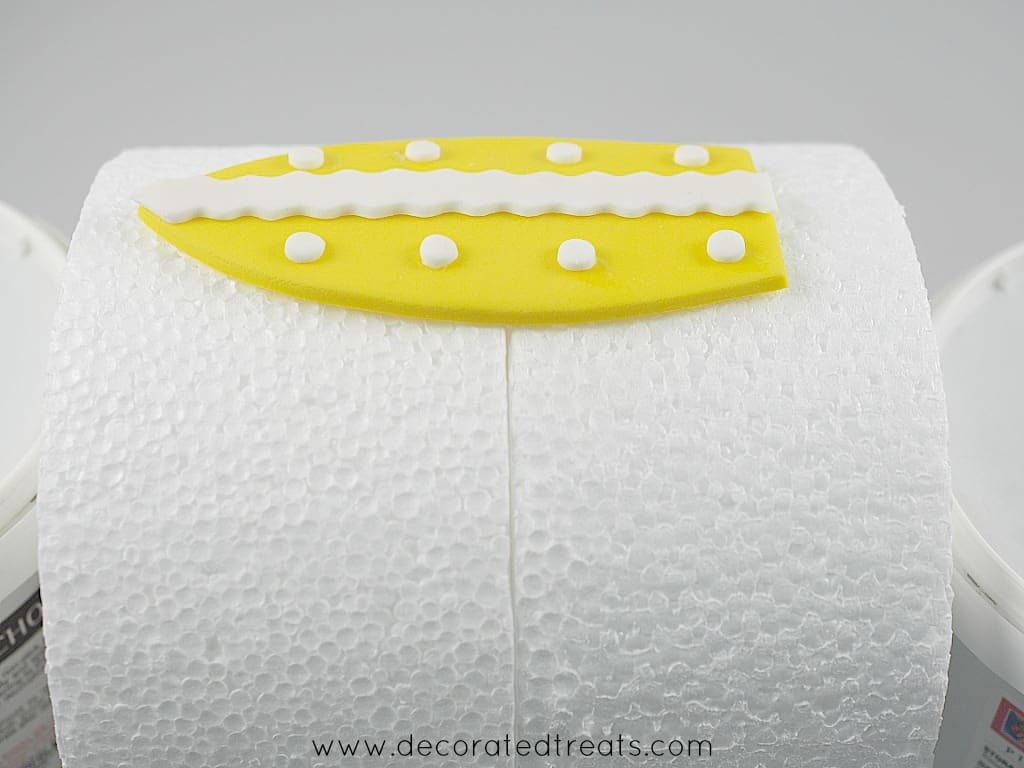
Since this surfboard is to be placed on the side of the cake and the side is curved, you will need to set the fondant in a curved position as well.
To do that, use a styrofoam dummy that is of the same size as the cake. Place the fondant surfboard on it. Leave it in this position until it is completely set.
Note: You only need to do this if you are making the surfboards before the cake is ready. If you are making after, you can attach the surfboards directly to the cake.
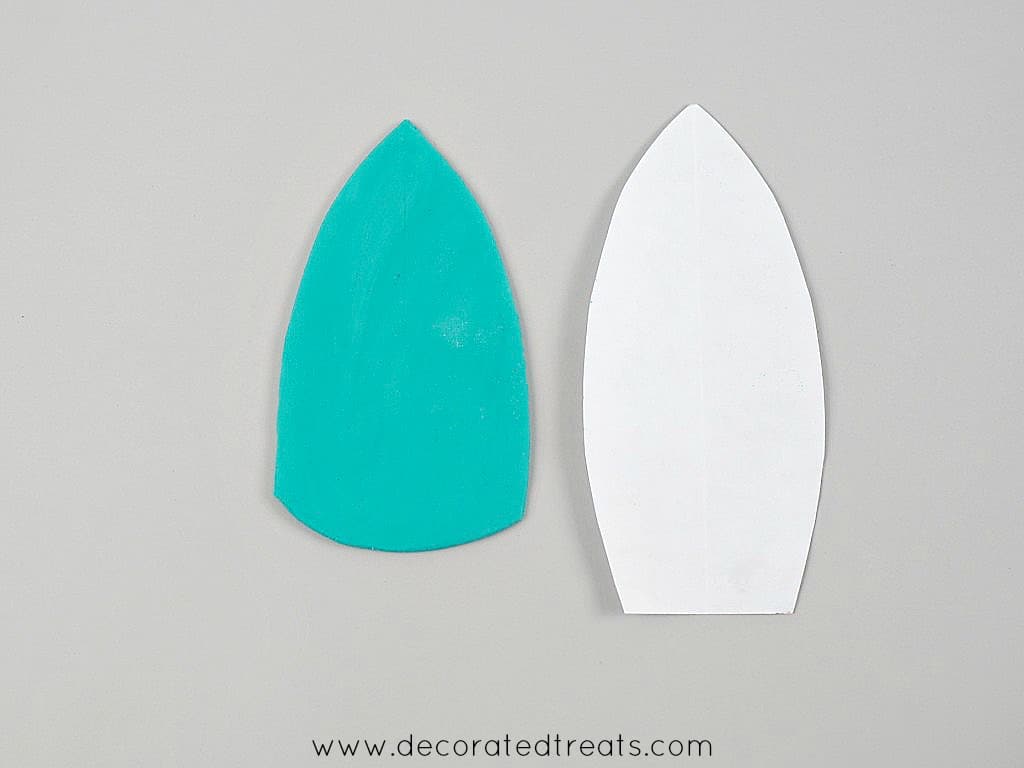
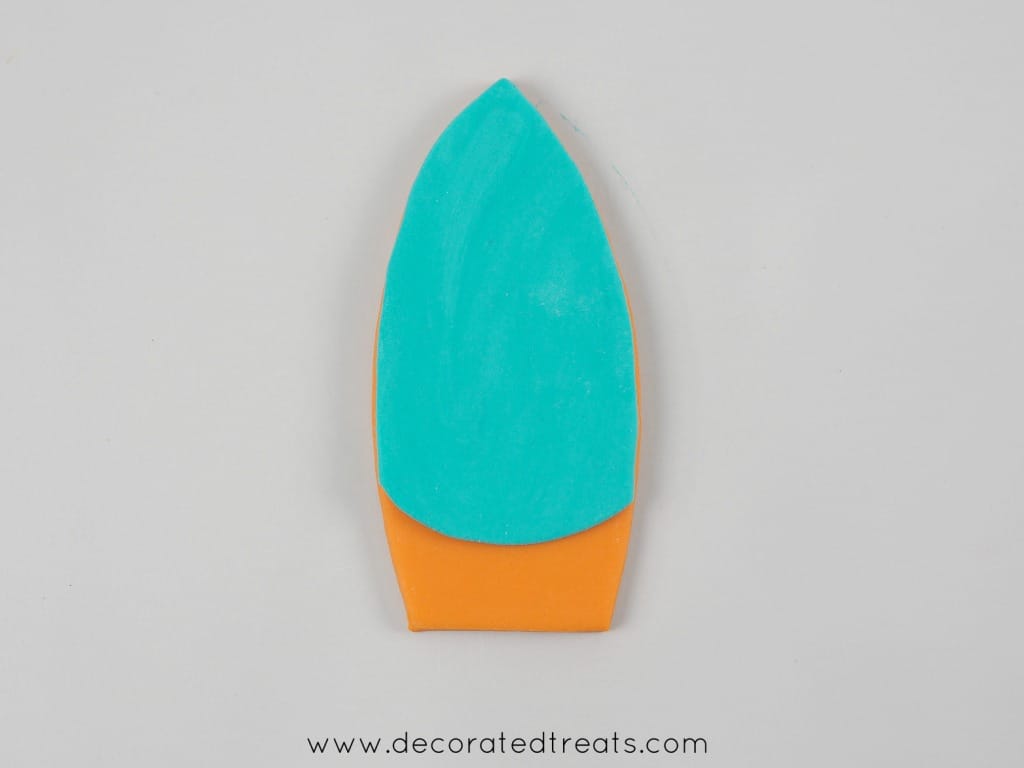
To decorate the orange surfboard, tint some white fondant into turquoise. No need to add CMC.
Roll and cut it into the surfboard shape but slightly shorter. Use the paper template as a guide.
Attach it to the orange board with shortening.
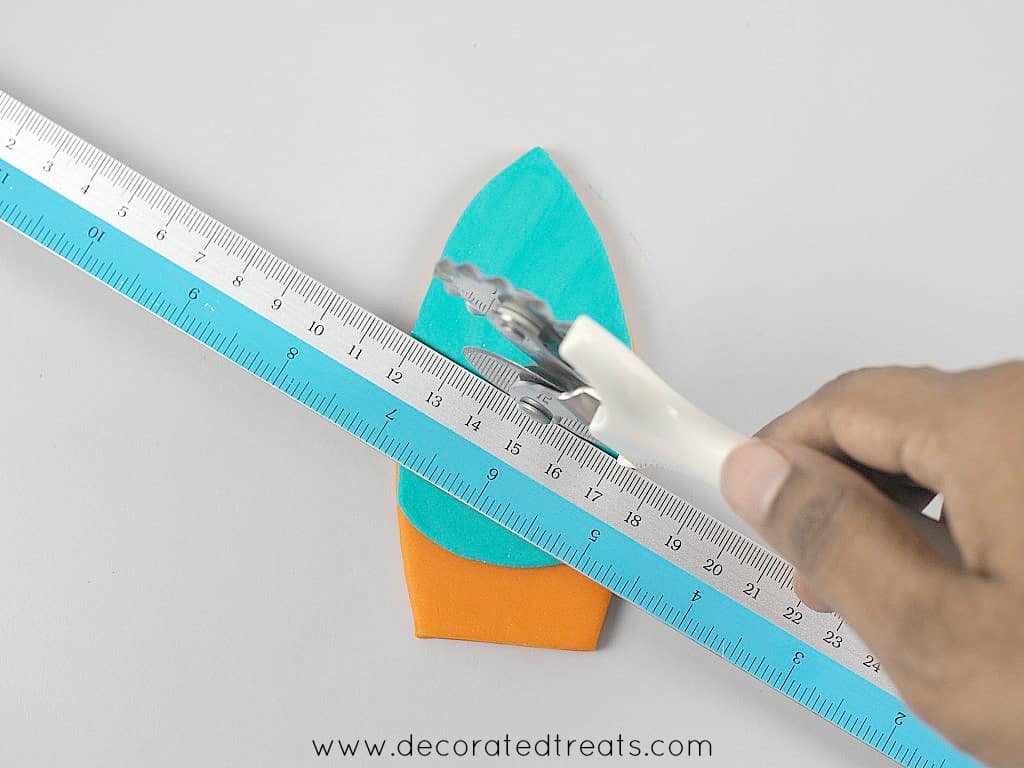
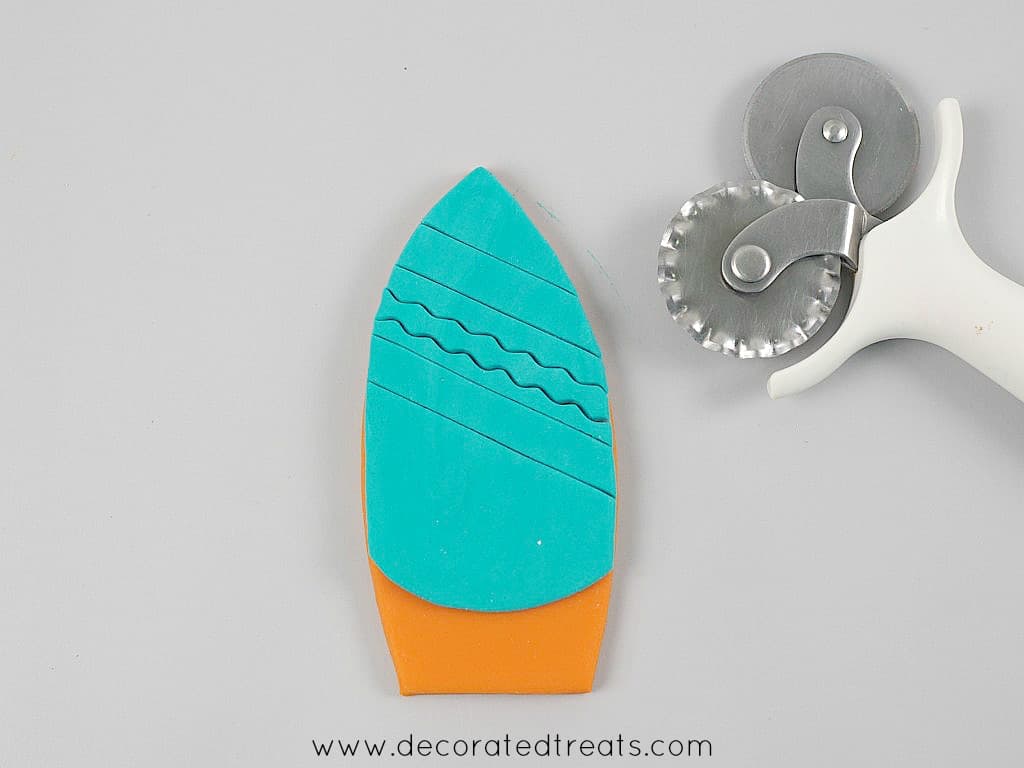
Next, use the pizza cutter and a clean ruler to cut horizontal lines as shown below:
The intention here is to only cut the turquoise piece, so be careful to not exert too much pressure when cutting so that the orange piece underneath does not get cut through.
After cutting the lines, use the needle tool or a toothpick to carefully remove the unwanted turquoise fondant strips as shown below:
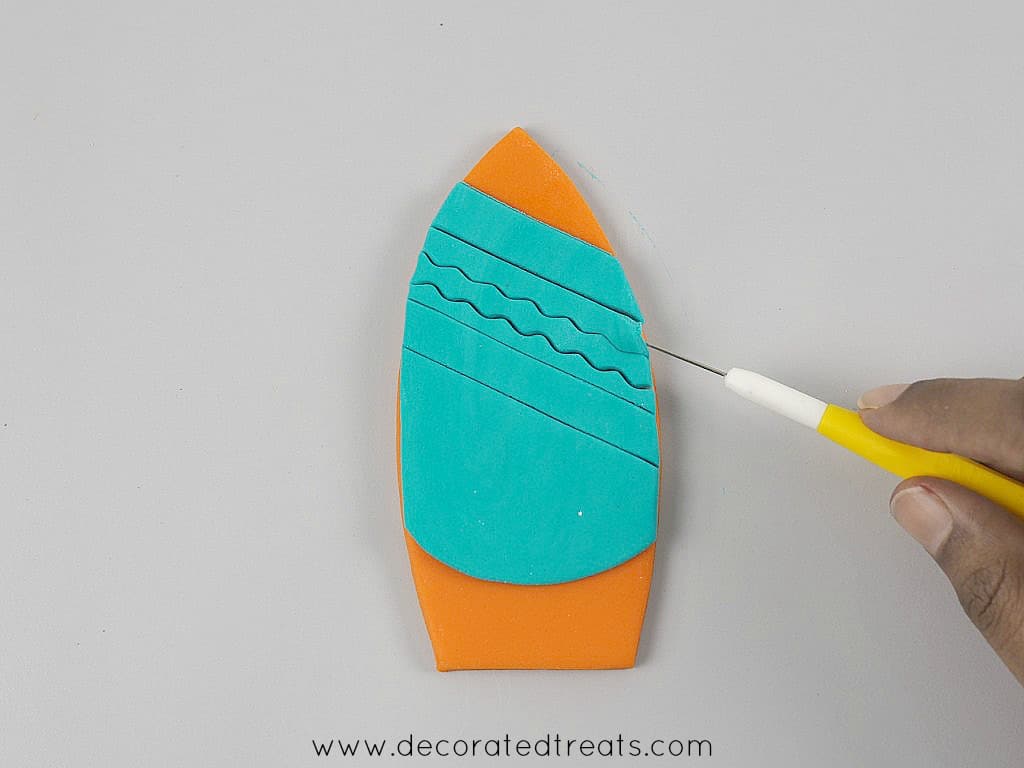
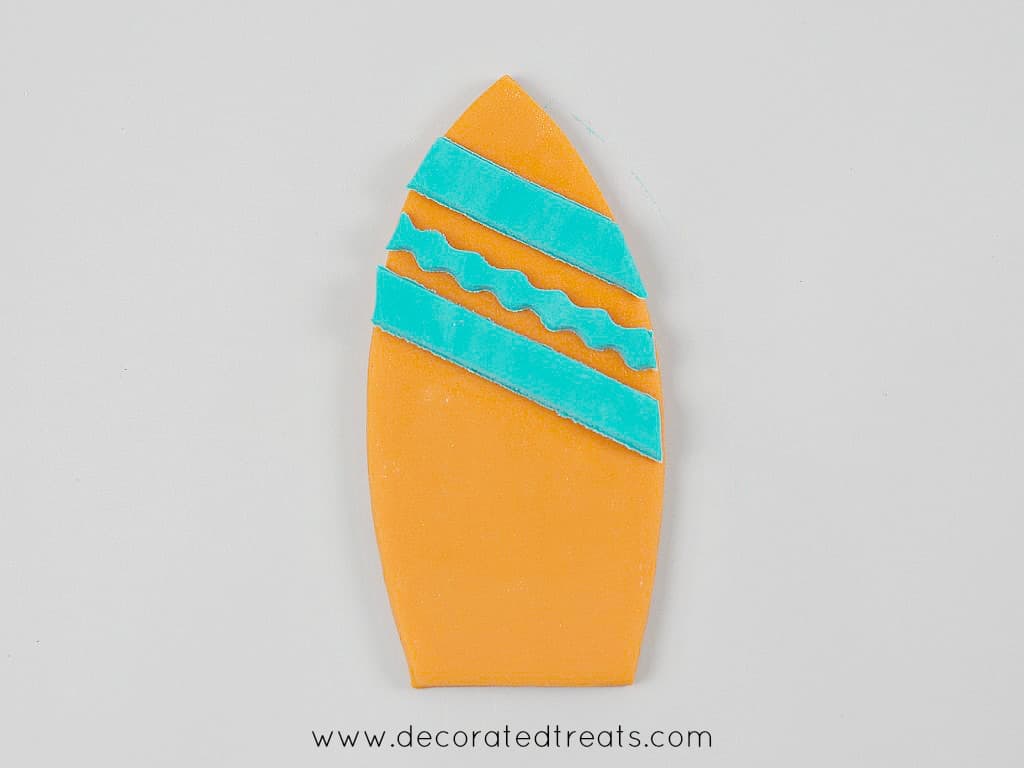
And similar to the yellow surfboard, let this orange one to set on the sides of a Styrofoam dummy as well until it is ready for use.

And that's my fondant surfboard and surfboard toppers tutorial. Click here or the image below to see how I decorated the rest of my beach birthday cake, including the gum paste hibiscus and the 3D cake lettering.
Hope you enjoyed this tutorial.


Leave a Reply