

Learn how to make 3D fondant letters for cake decorating with this easy tutorial. These letters add a professional touch to your cakes and stand out as a cake decoration on their own. Plus they are completely edible too!
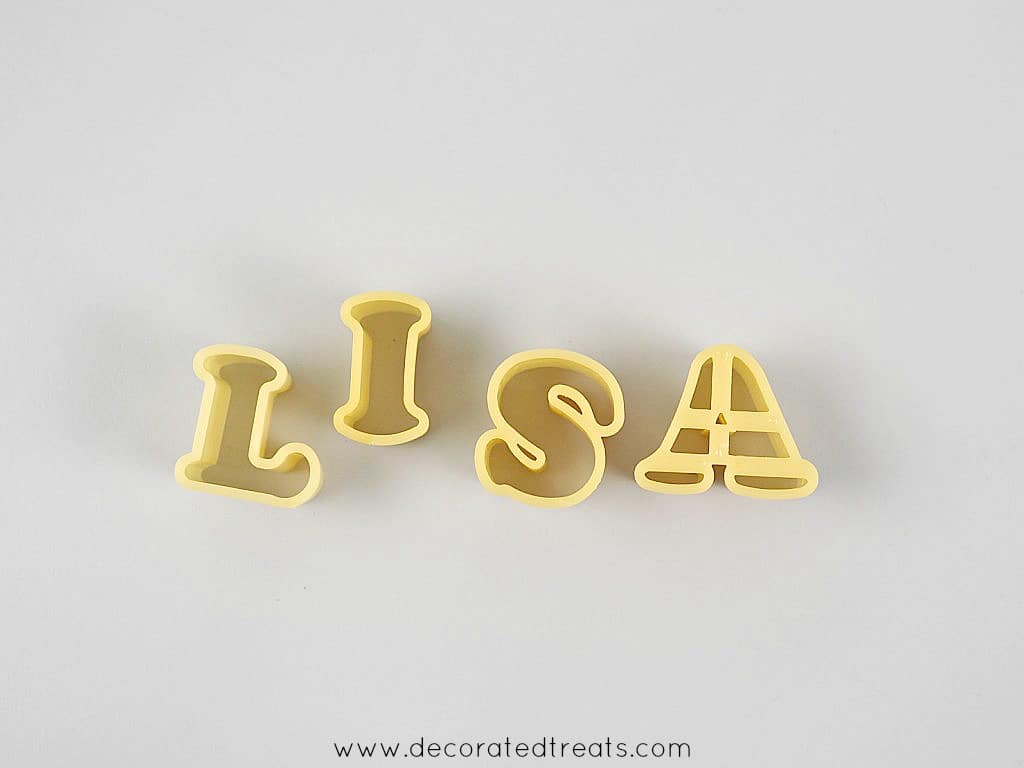
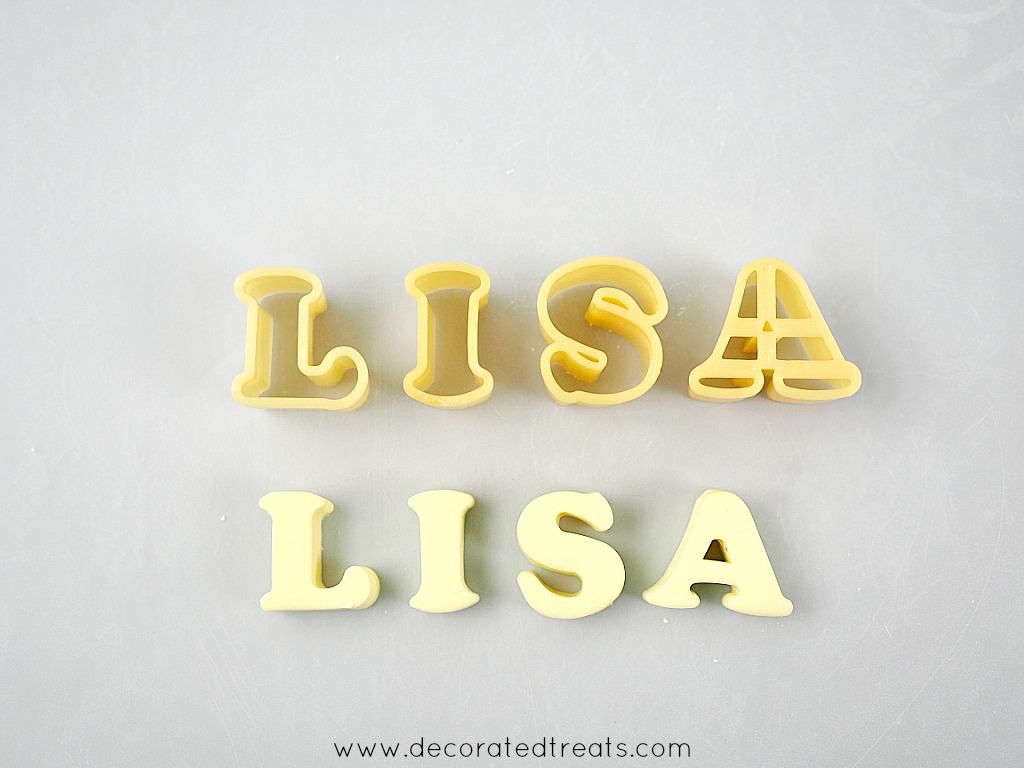
My 3D fondant letters are made using cutters. I bought these from a local cake decorating shop. The cutters themselves are quite thick, making it easy to cut out thick pieces of fondant letters.
I use these cutters quite often in my cake decorating projects and I am going to share on this page, my tips and tricks on how to use these cutters to make 3D letters for cake decorating.
Jump to:
❤️Why you will love this tutorial
- It is very easy to follow and the 3D letters are easy to make.
- They add a professional touch to cakes and the upright standing letters can be used as cake toppers too.
- You can also use these letters to decorate your cake boards.
Like this tutorial? You might also want to check out my other tutorials on how to make 3D letters in rainbow colors, how to make 3D standing number cake toppers and how to align letters on cakes.
🧾Supplies required
- Fondant - I use Satin Ice fondant. You can also make your own fondant with this homemade fondant recipe or marshmallows fondant recipe.
- CMC powder - I use this to stabilize the fondant so that it dries quickly and harder. Tylose powder can also be used in place of CMC powder.
- Alphabet cutters - The cutters must be deep so that they can accommodate the thick fondant used to cut the letters.
- Powdered sugar for dusting.
- Needle tool - I use this tool to help remove excess fondant from the cutters (especially on tiny corners of the cutters).
- Small rolling pin - This is quite an important tool for these 3D fondant letters, not just to roll the fondant but more for tapping the fondant out of the cutters.
👩🍳How to make
Step 1: Mix CMC into fondant. Start by mixing CMC powder into fondant. Knead the fondant until the powder is well incorporated into it.
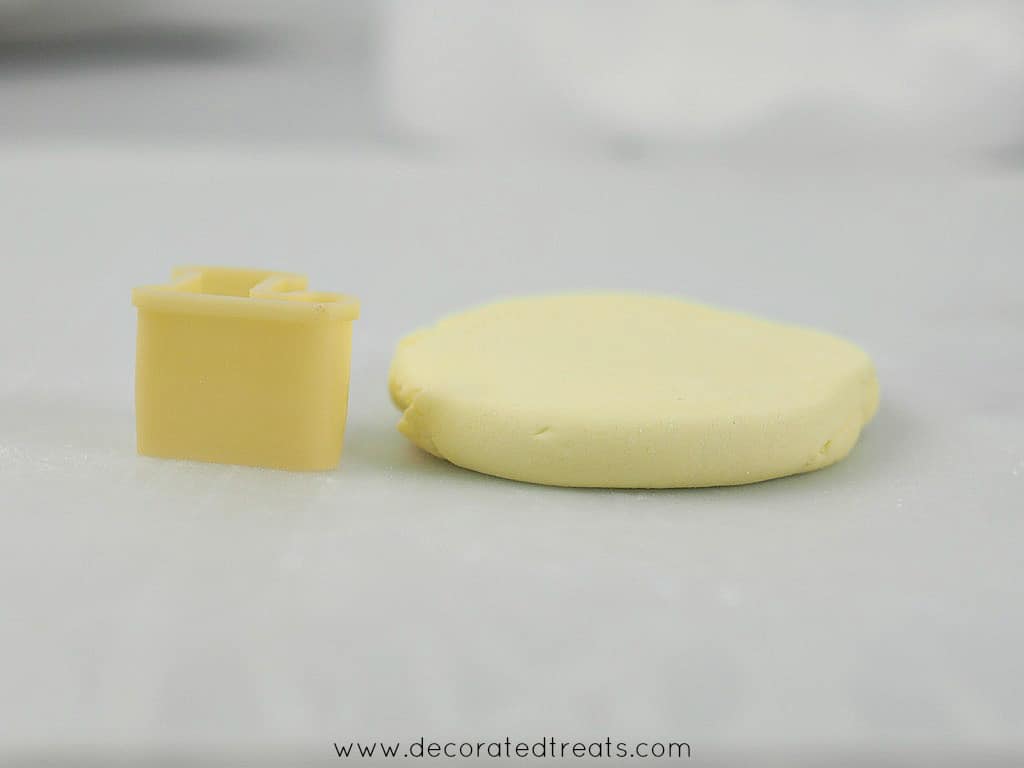
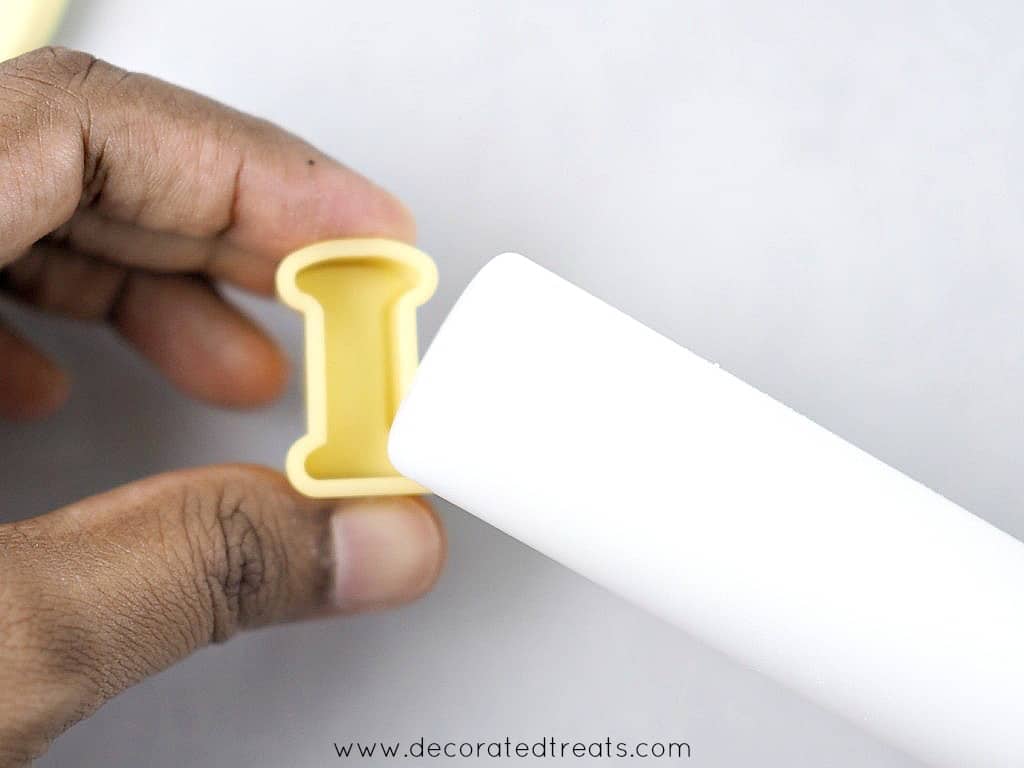
Step 2: Roll the fondant. Roll it thick (approximately 1 cm thick) so that the fondant letters that are cut out could stand upright without any support.
This is roughly how thick you need to roll the fondant in comparison to the cutter thickness (about 1cm in thickness).
Step 3: Cut the letters. Before pressing the cutters into the rolled fondant, make sure to dip them in powdered sugar. This helps in releasing the fondant letters from the cutters after cutting.
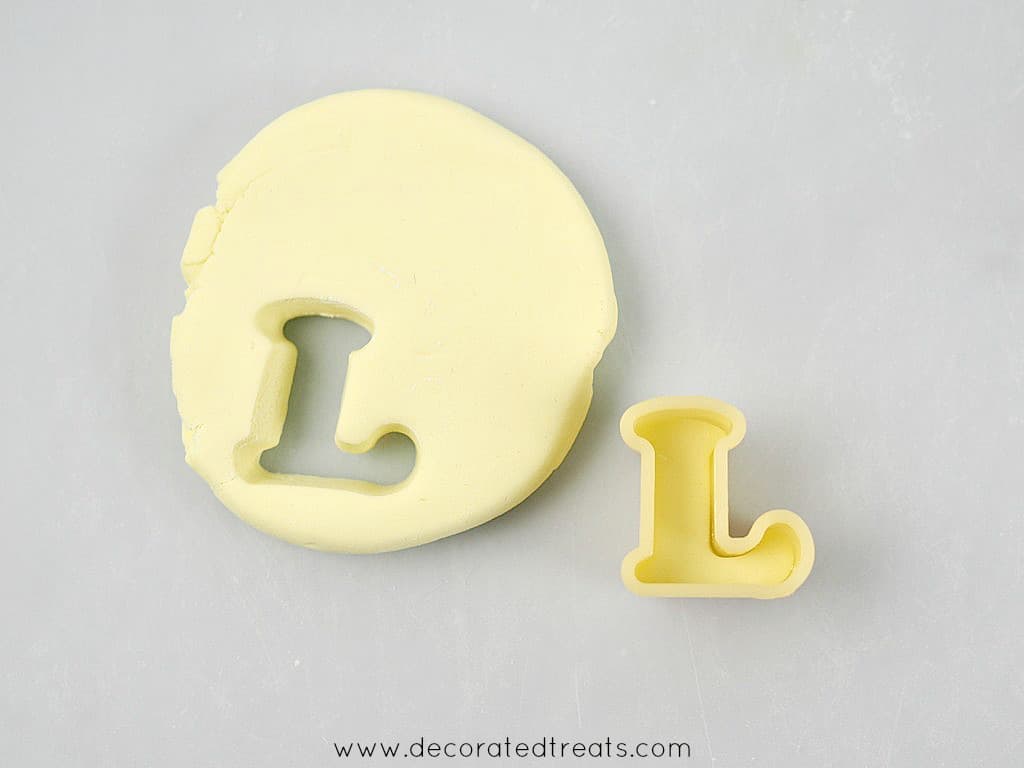
Step 4: Release the fondant letters from the cutters. Once cut out, use the needle tool to remove any excess fondant around the cutters, especially the small corners. Clean the sides off fondant first before attempting to release the letter cutouts.
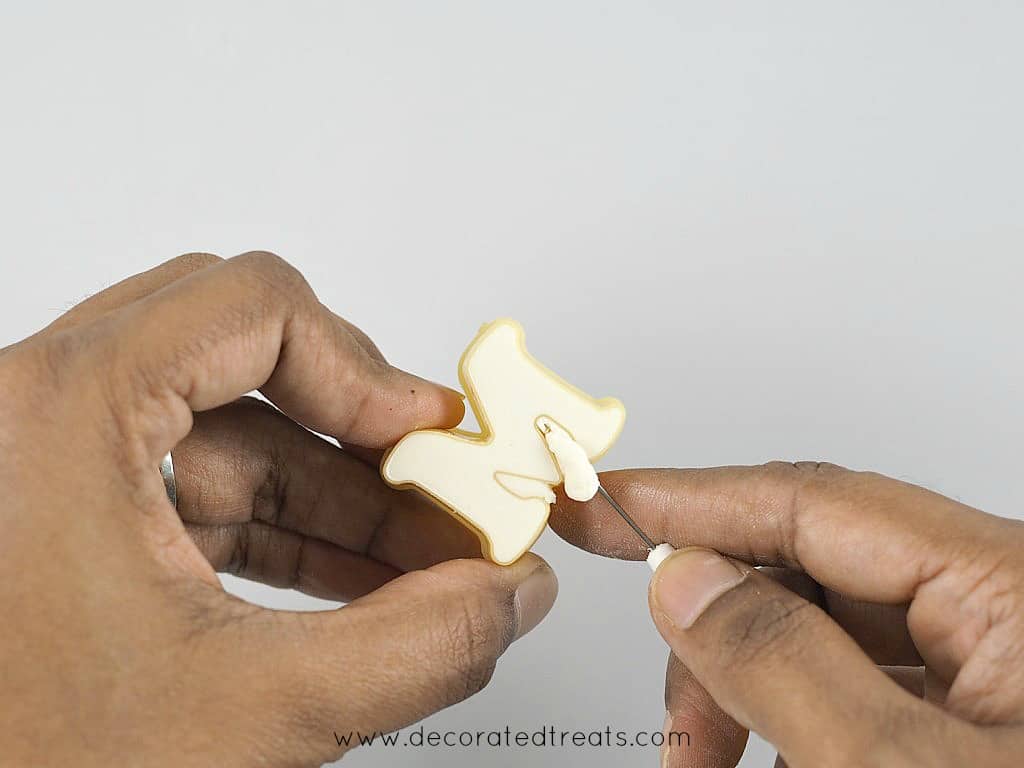
If the fondant letters do not readily release from the molds, tap the cutters with a rolling pin. This can take some time but the letters will eventually release.
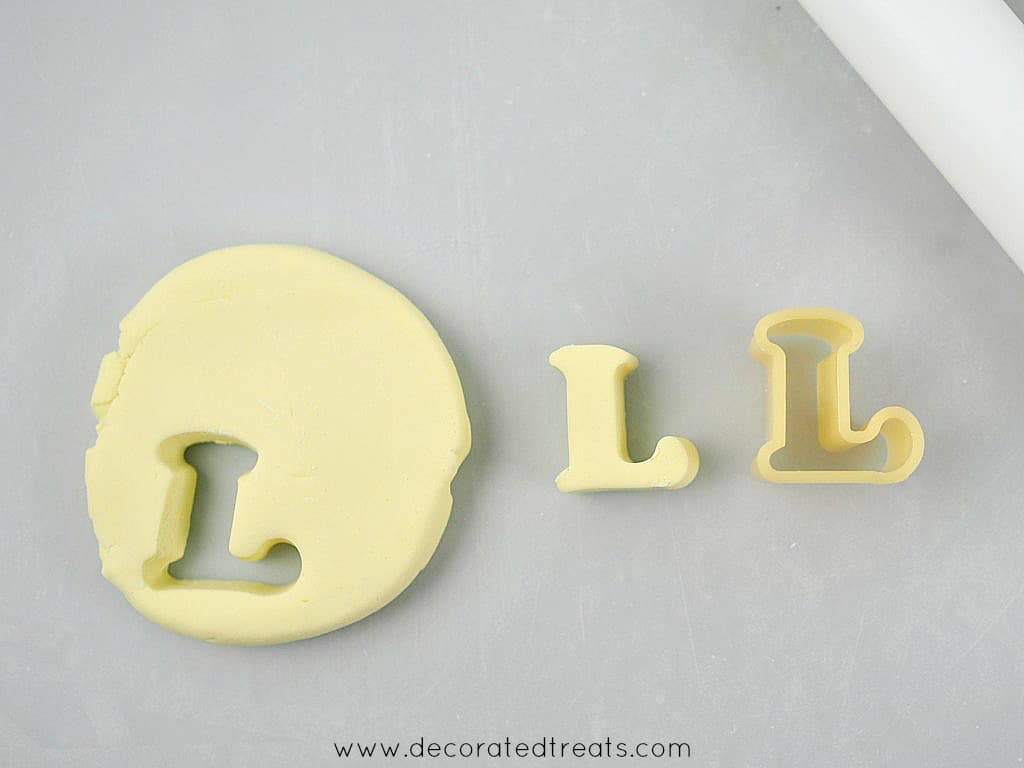
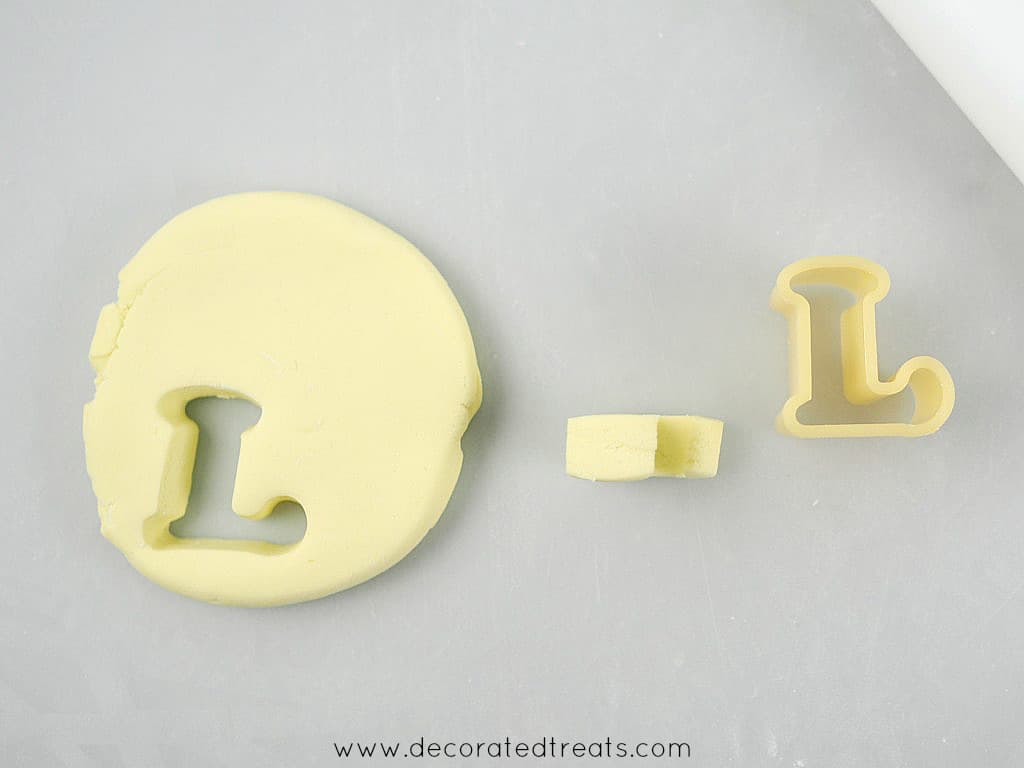
And this is how my letter L turn out after the tapping process:
Cut the remaining letters. Once done, try to position them standing upright, and make sure the bottom is level so that when the letters are dry, they can stand upright stable.
If the bottoms are not even, gently press the bottoms against a cake board until they are flat and even.
And then return the letters to a horizontally lying position and let them set completely before attaching them to cakes.
How to Attach the Letters to Cakes
To attach the letters to a fondant covered cakes, brush some fondant glue to the bottom of each letter and simply attach them to the cake. Let the glue dry completely before attempting to move the cake to prevent the letters from falling off.
For buttercream or ganache covered cakes, insert a toothpick to the bottom of each letter after cutting them. Once they are completely dry, you can simply poke the letters along with the toothpicks into the buttercream covered cakes.
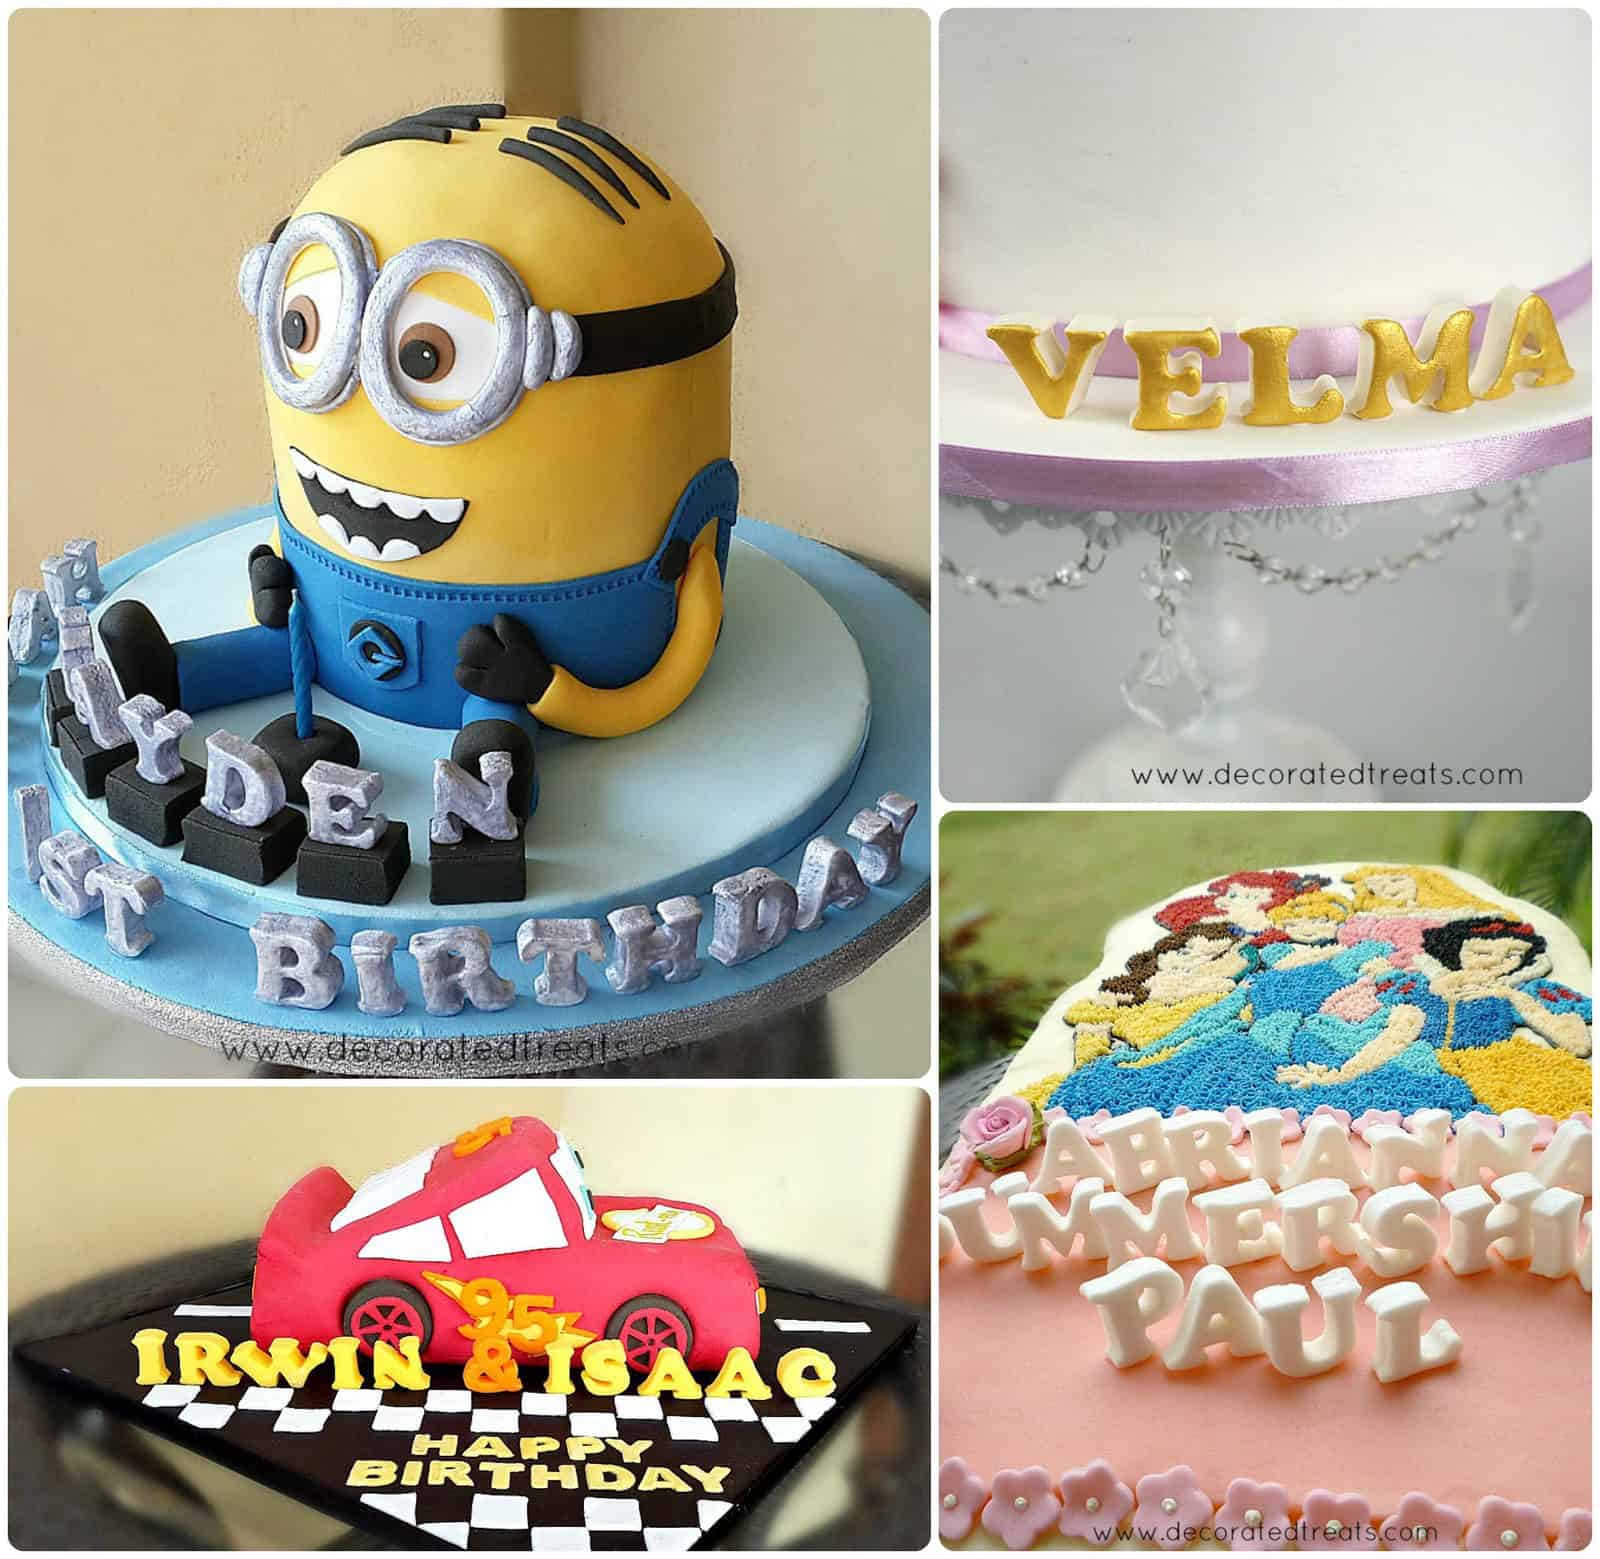
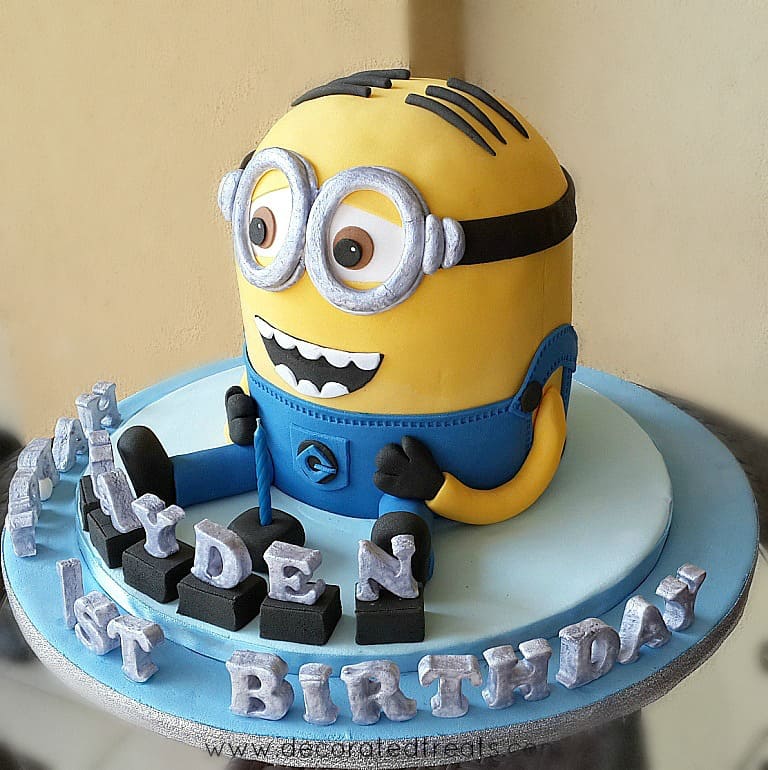
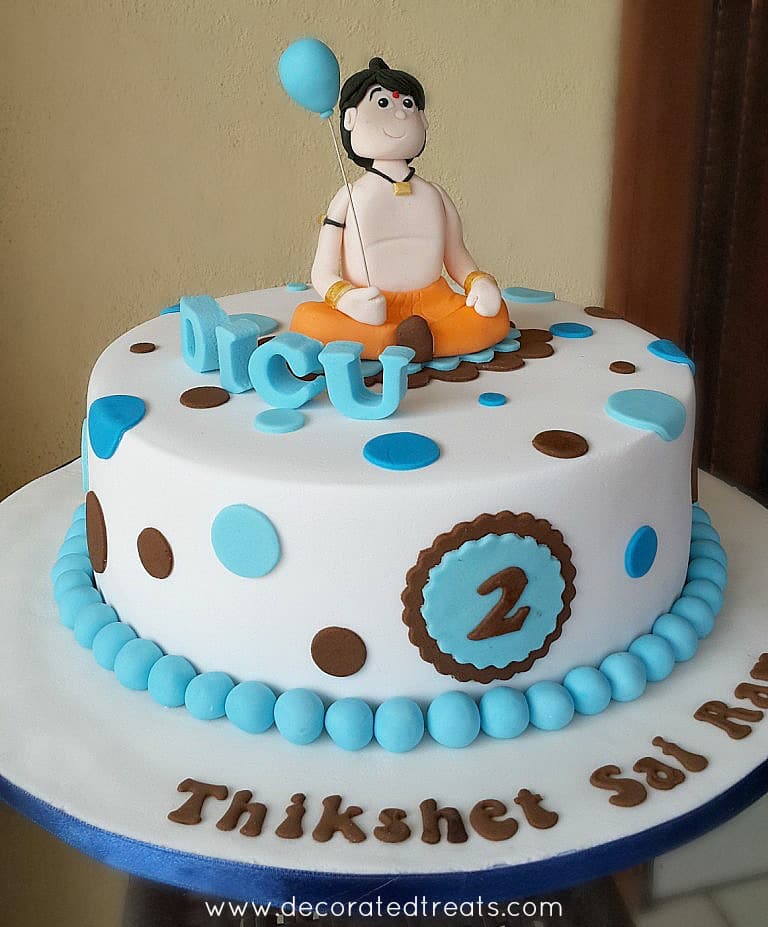
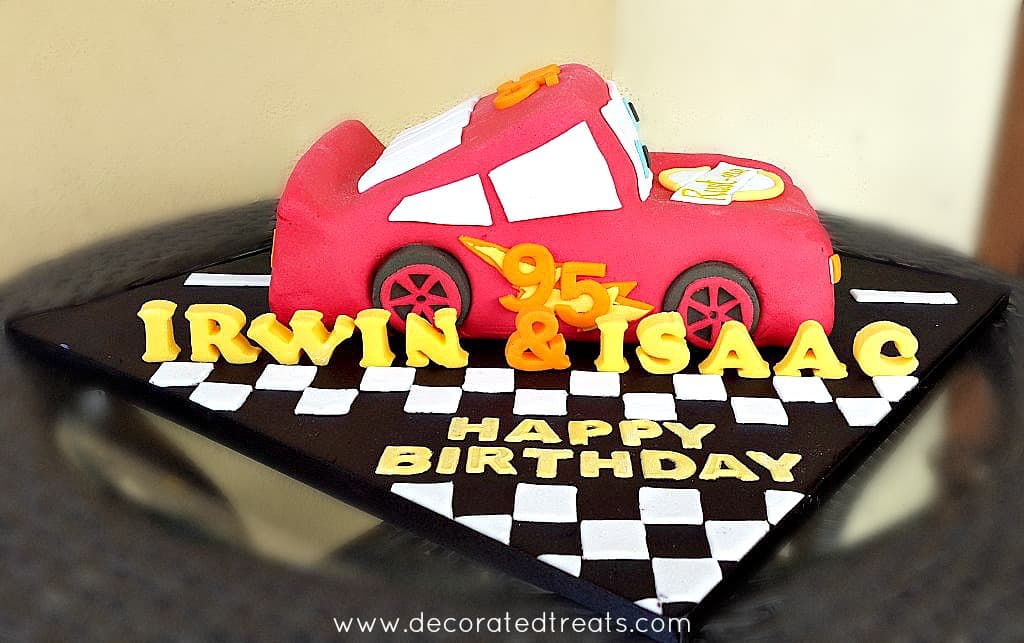
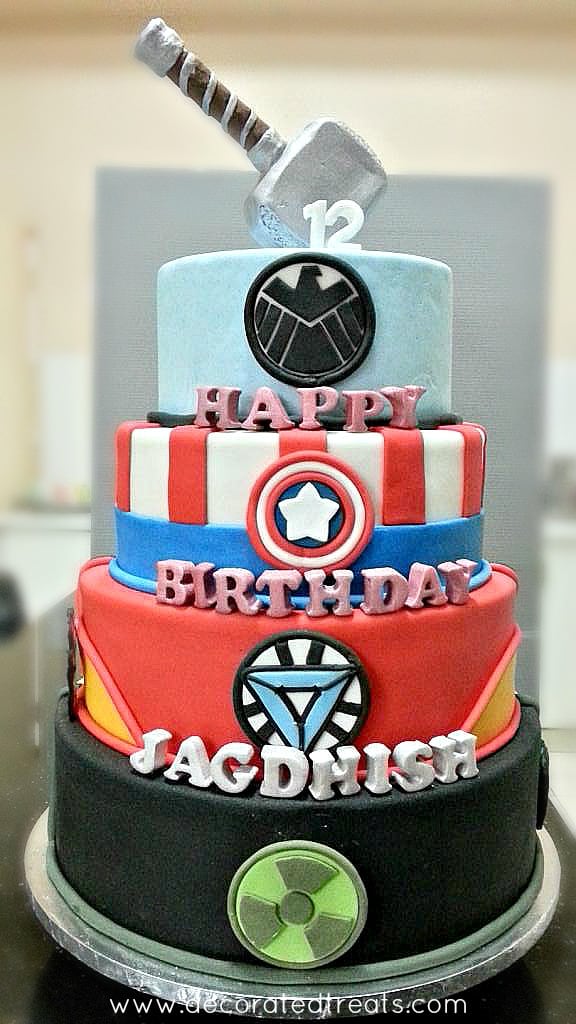
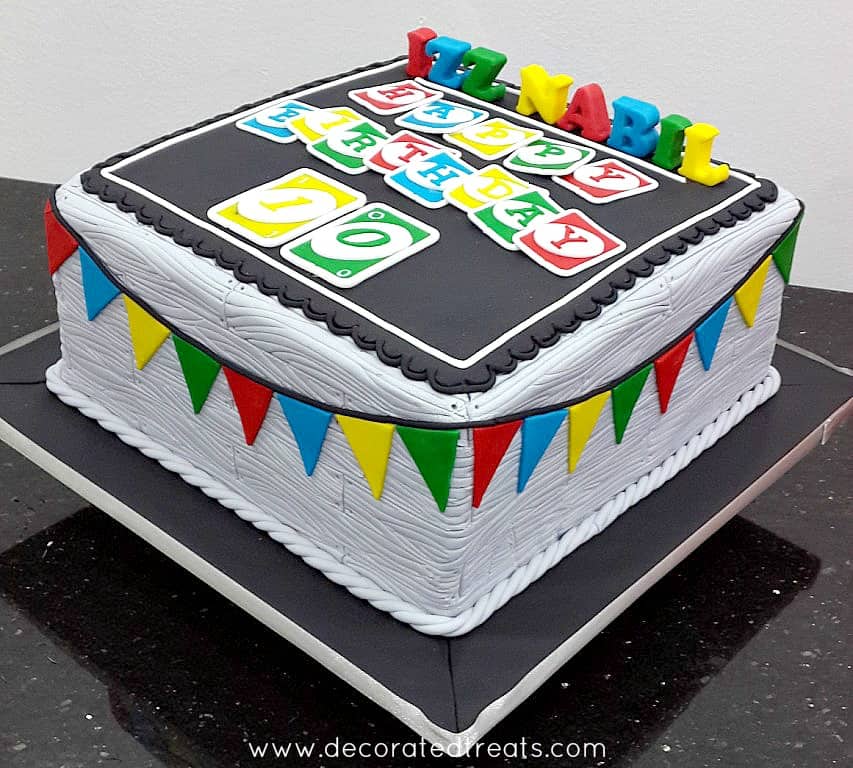
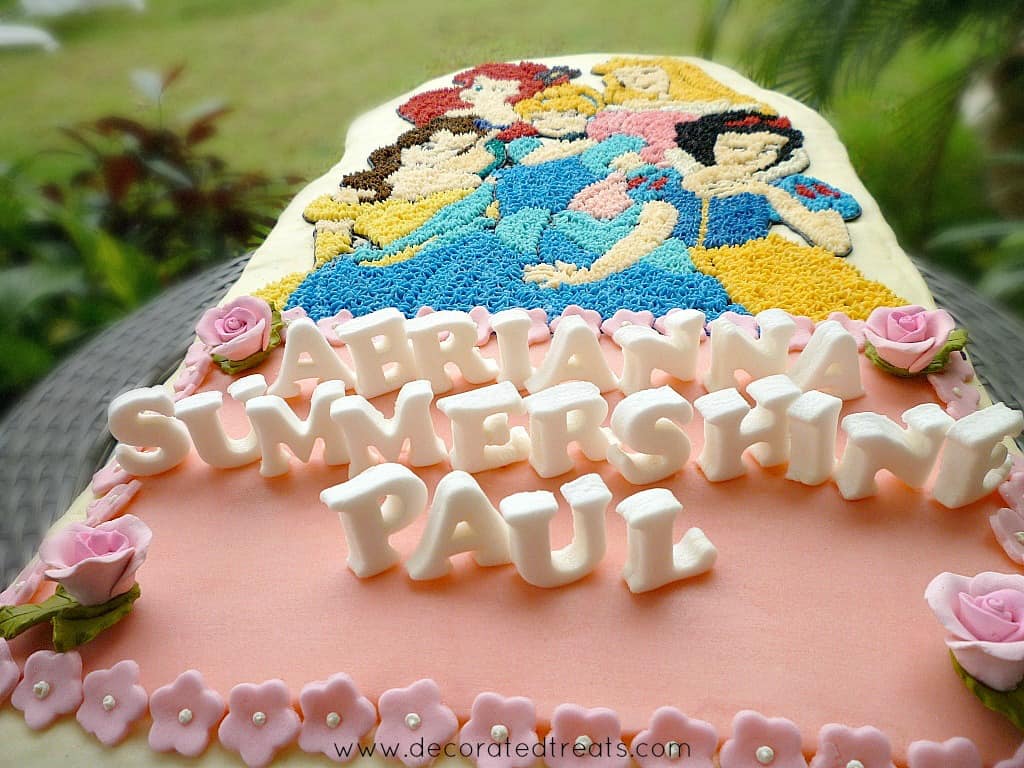
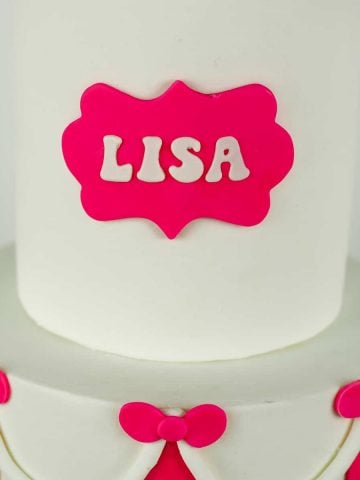
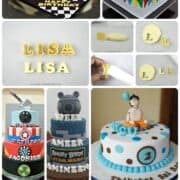
And here are some of my cake projects that feature these upright standing fondant letters.
Hope you enjoyed reading this!

Nic
Hi, I was wondering if the letter cutters are made of silicone or plastic? Thanks
Priya Maha
These are made of plastic.
Riza
Hi,
I really want to buy the same letter cutters that you used here.
Would you mind sharing where you bought them?
I am located in Toronto, Canada
Thanks in advance!
Riza
Priya
Hi Riza,
I purchased the cutters from a local cake decorating supplies shop, and I am in Malaysia. I have tried searching for similar cutters on Amazon for you, unfortunately I could not find similar ones.