

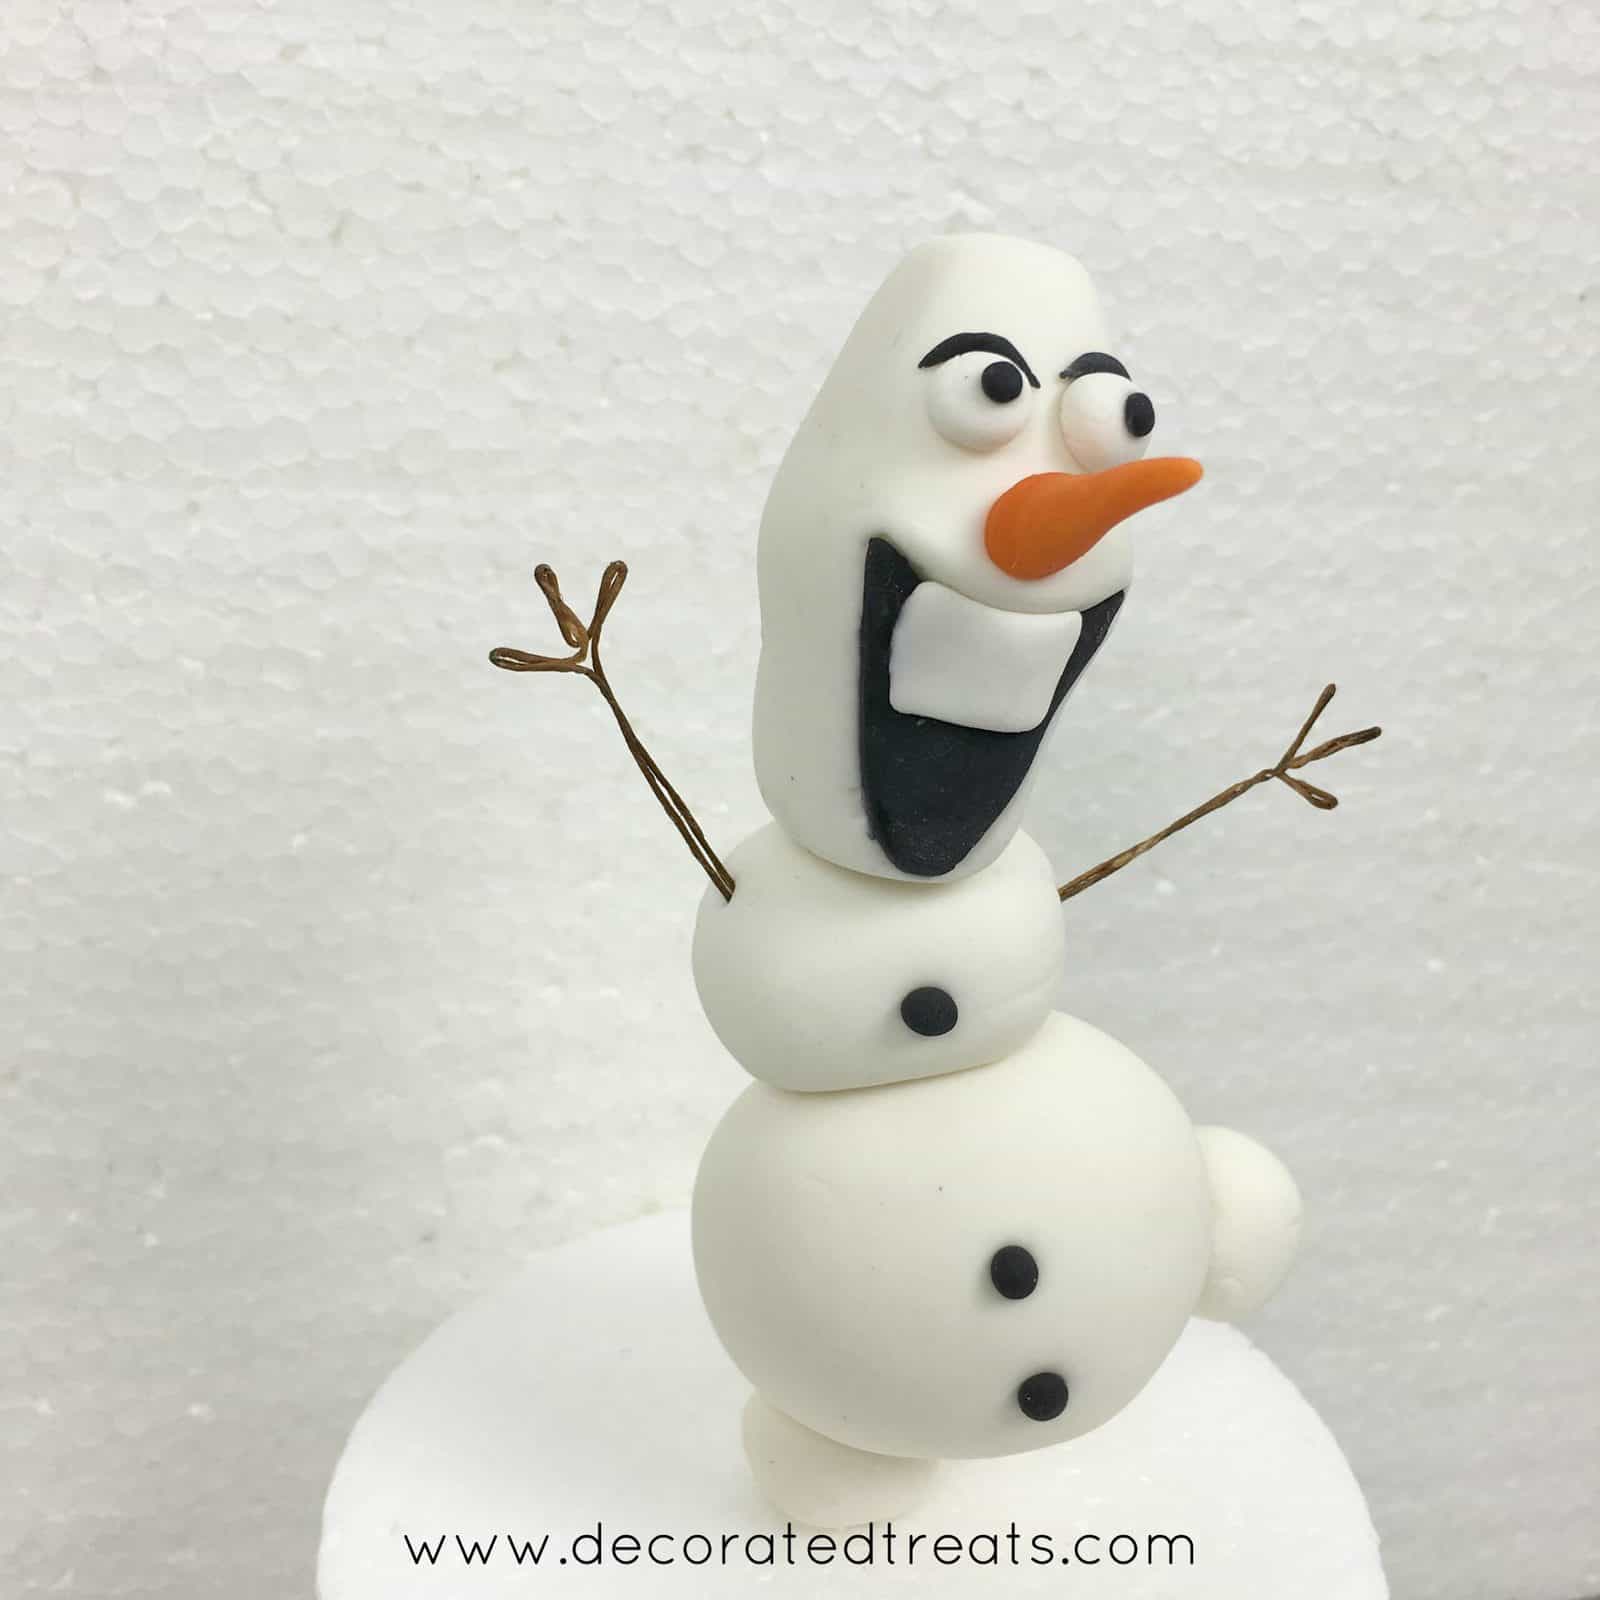
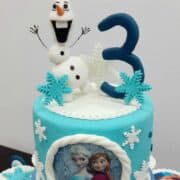
Learn how to make a 3D fondant Olaf cake topper with this step by step tutorial. It makes a very cute cake topper for a Frozen-themed birthday party.

🎥Video tutorial
Here is a short video tutorial of me making this 3D fondant Olaf cake topper.
If you like this cake topper, check out my other cake topper tutorials like how to make number cake toppers, how to make fondant unicorn horn, how to make 3D fondant snowflakes, how to make stroller cake topper, how to make guitar cake topper and how to make initials cupcake toppers.
🧾Supplies required
- Fondant – I used Satin Ice fondant in white, orange and black . These were the only colors on Olaf besides brown for his stick arms, but since I did not use fondant to make the stick arms, only these 3 colors are required.
- CMC powder – CMC is added to fondant to help it set firm and hard.
- Floral Wire – This is used to hold the Olaf body parts together and also to make his arms. For the body, you need a thicker wire (gauge 18) and for the arms, you will need a thin wire (gauge 30).
- Food coloring – I used Wilton brown food paste color to paint Olaf’s stick arms that I made using floral wire.
- Lollipop stick – This is used to insert the excess wire from the bottom of the cake topper to avoid direct contact of the wire with cake.
- Fondant shaping tools - To shape Olaf's mouth.
- Sugarcraft knife - To cut the fondant.
- Olaf template - I printed this off the internet. The template helps me in providing guide to the proportion of Olaf's body parts.
- Fondant glue – To hold Olaf together, including his nose, eyes, buttons, and arms.
👩🍳How to Make
Step 1: Prepare the template
You can download an image you like from the internet or trace it from a coloring book. Having the template makes it easy to determine the size of each of Olafs body segments, including his face, arms and legs.
Resize the image to the actual size of the topper. You can use my tutorial on how to resize images for cake decorating to resize the template.
Print the template.
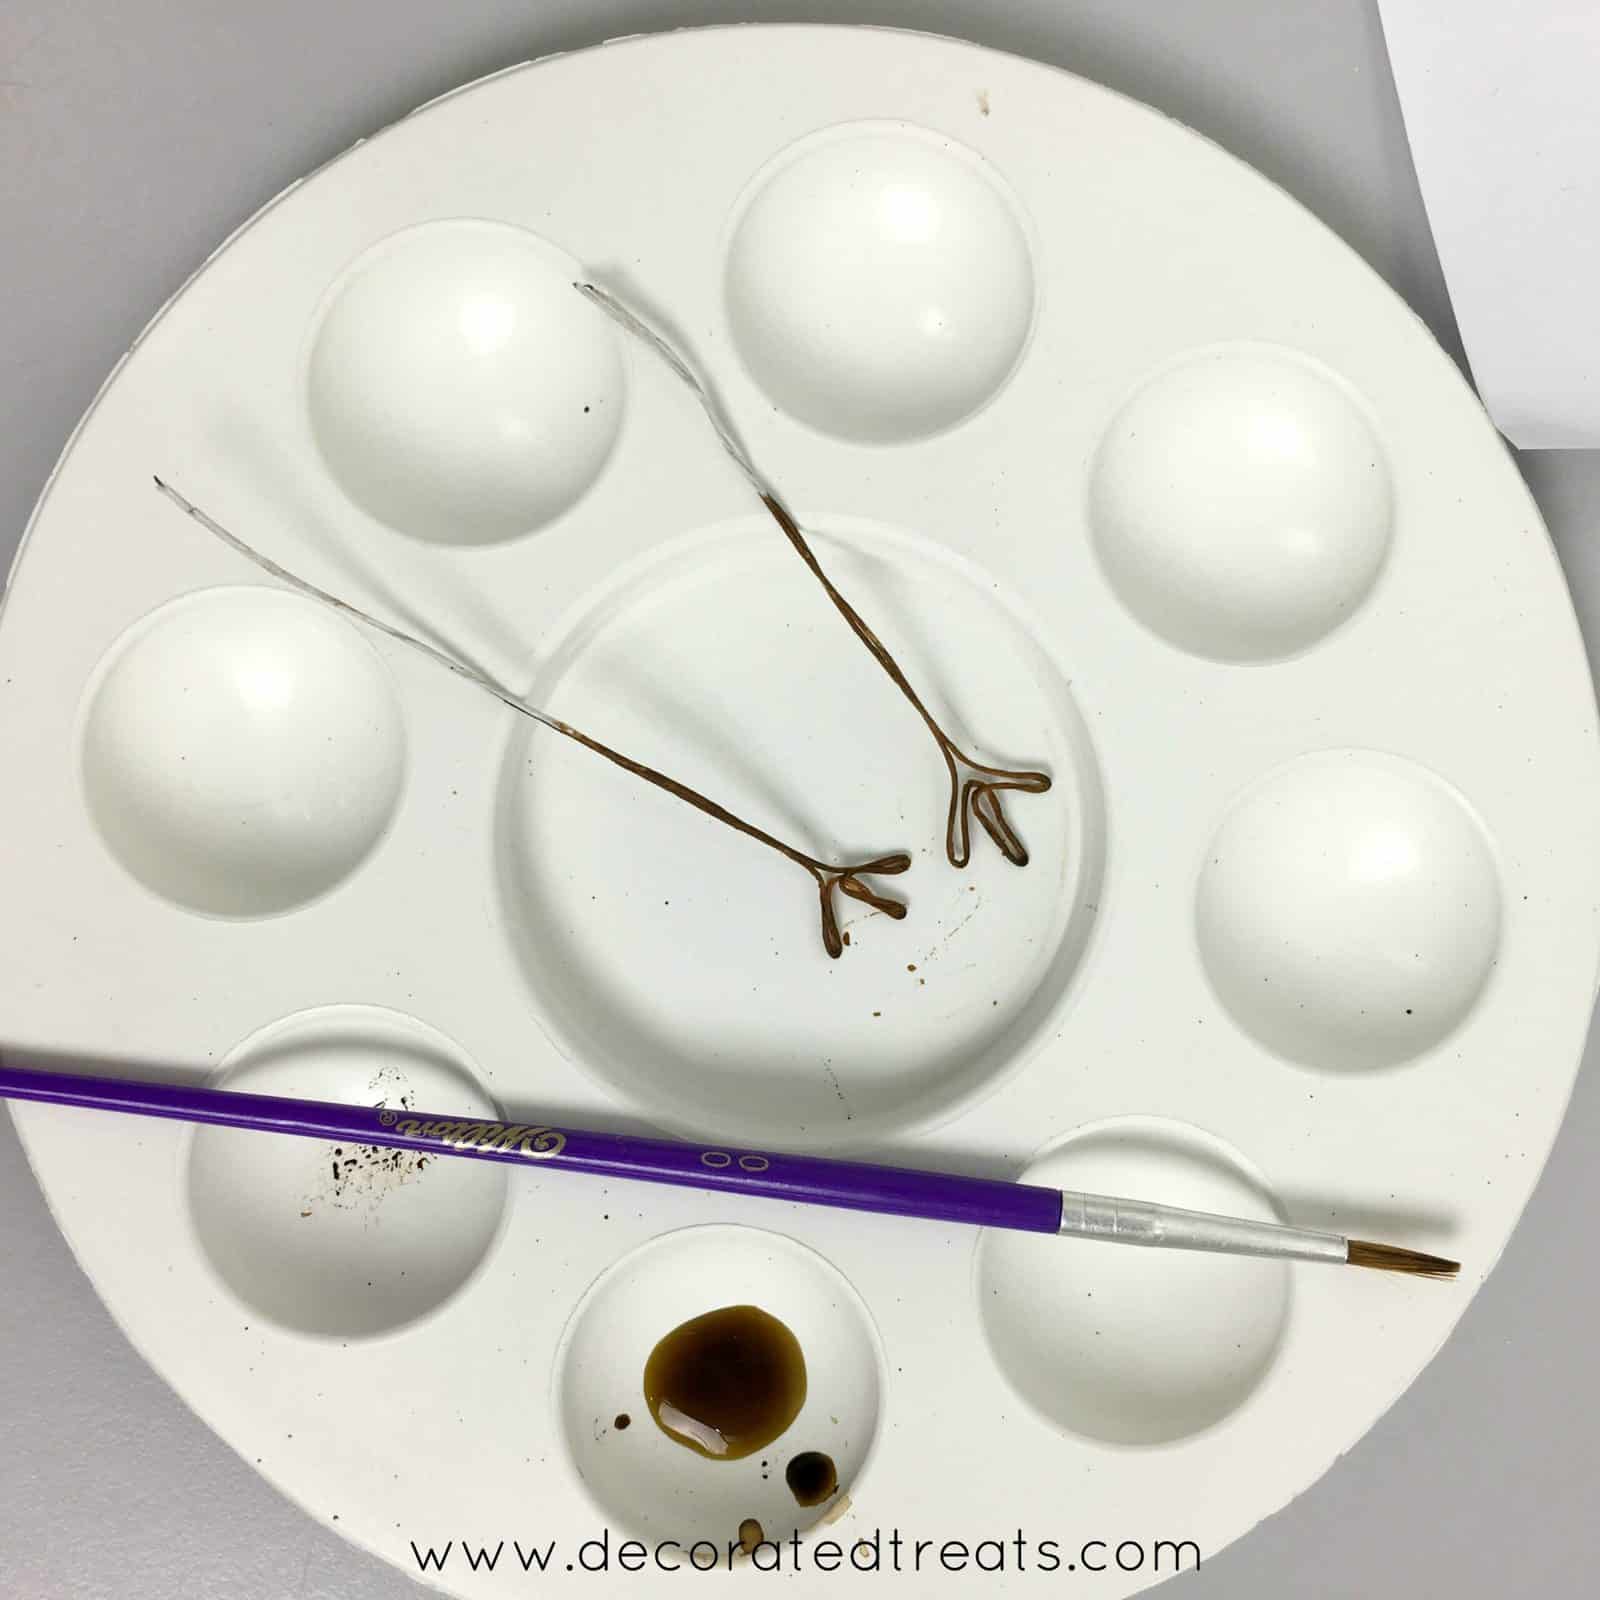
Step 2: Make the wire hands
Cut 2 equal lengths of thin wire for the arms.
Fold each wire into half. And then bend the wire into a zig-zag pattern on both sides such that you form 2 fingers on both sides, resulting in each arm having 3 fingers.
Paint the wire arms with the brown food color and set them aside to dry completely.
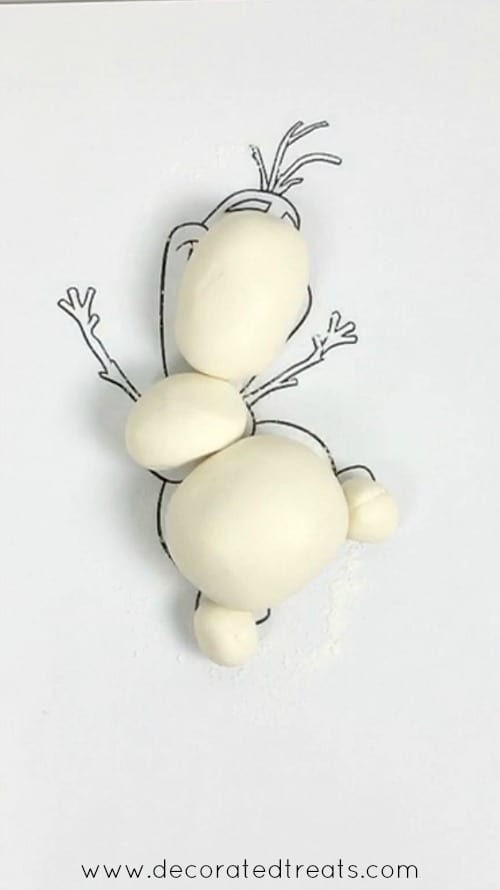
Step 3: Shape the body parts
You will need about a handful of fondant to make the entire figurine. For this amount of fondant, add about ½ teaspoon of CMC and knead well.
Divide the fondant to make up Olaf's face, body, and legs. Use your template as a size guide for each part.
At this stage, the sizes are just estimates and you will be refining them further as in the steps below.
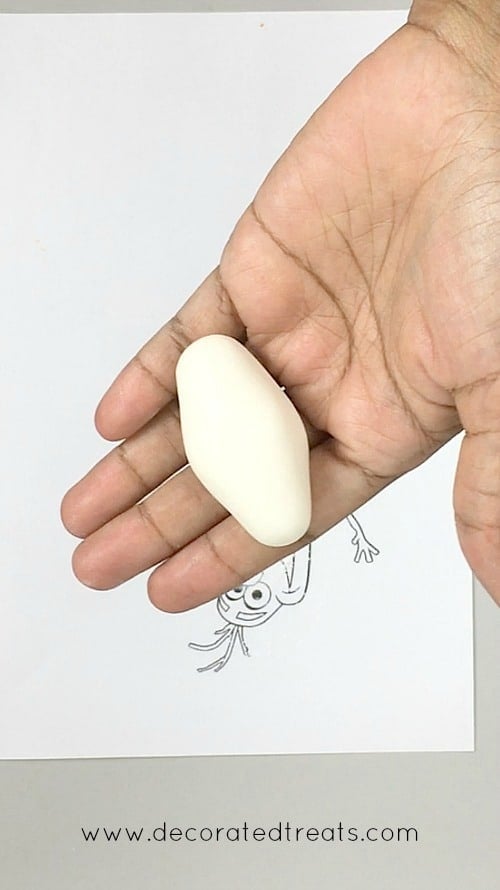
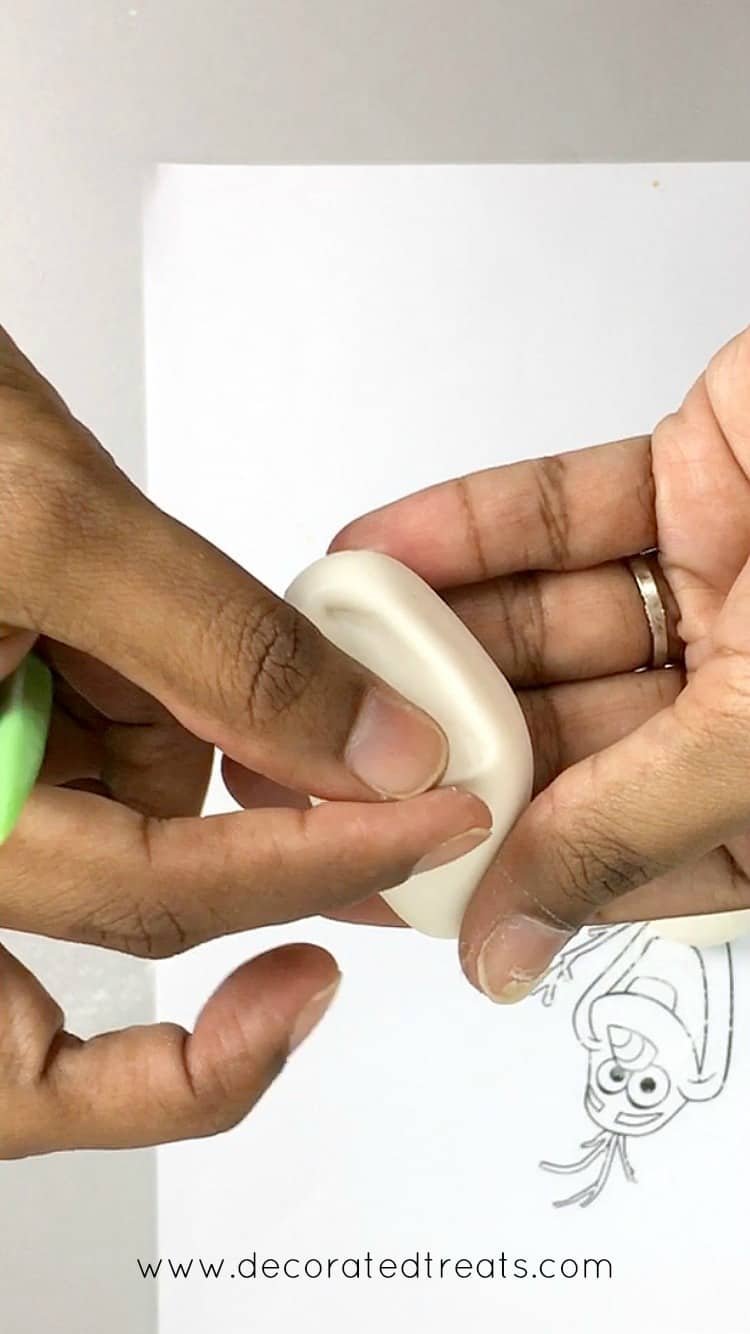
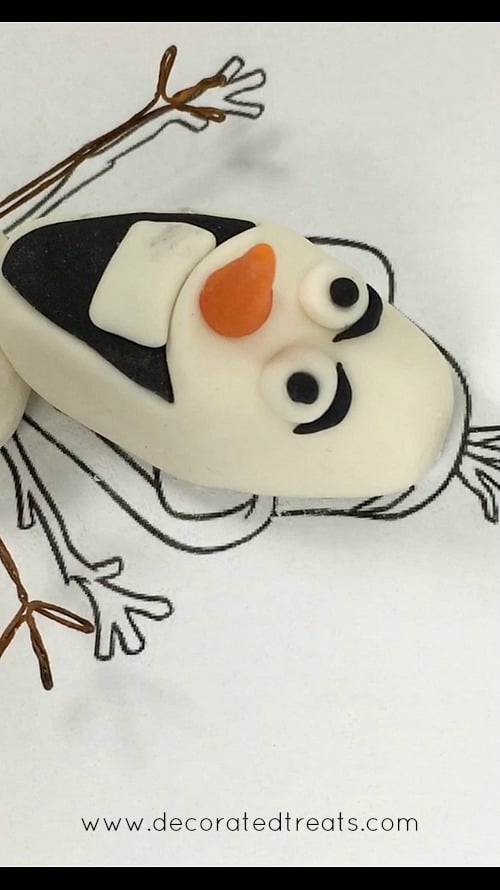
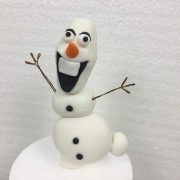
Step 4: Make Olaf's face
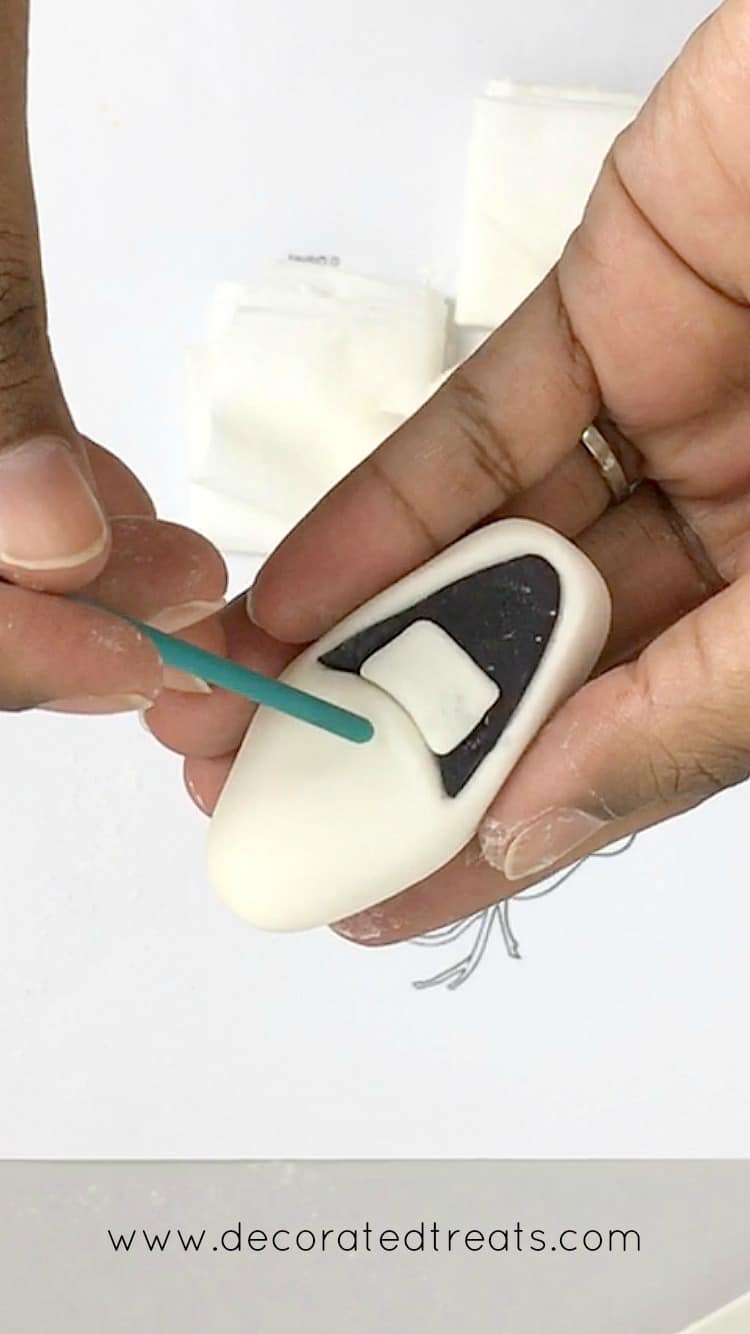
Shape the face into a diamond-like shape but with the top and bottom rounded instead of pointed.
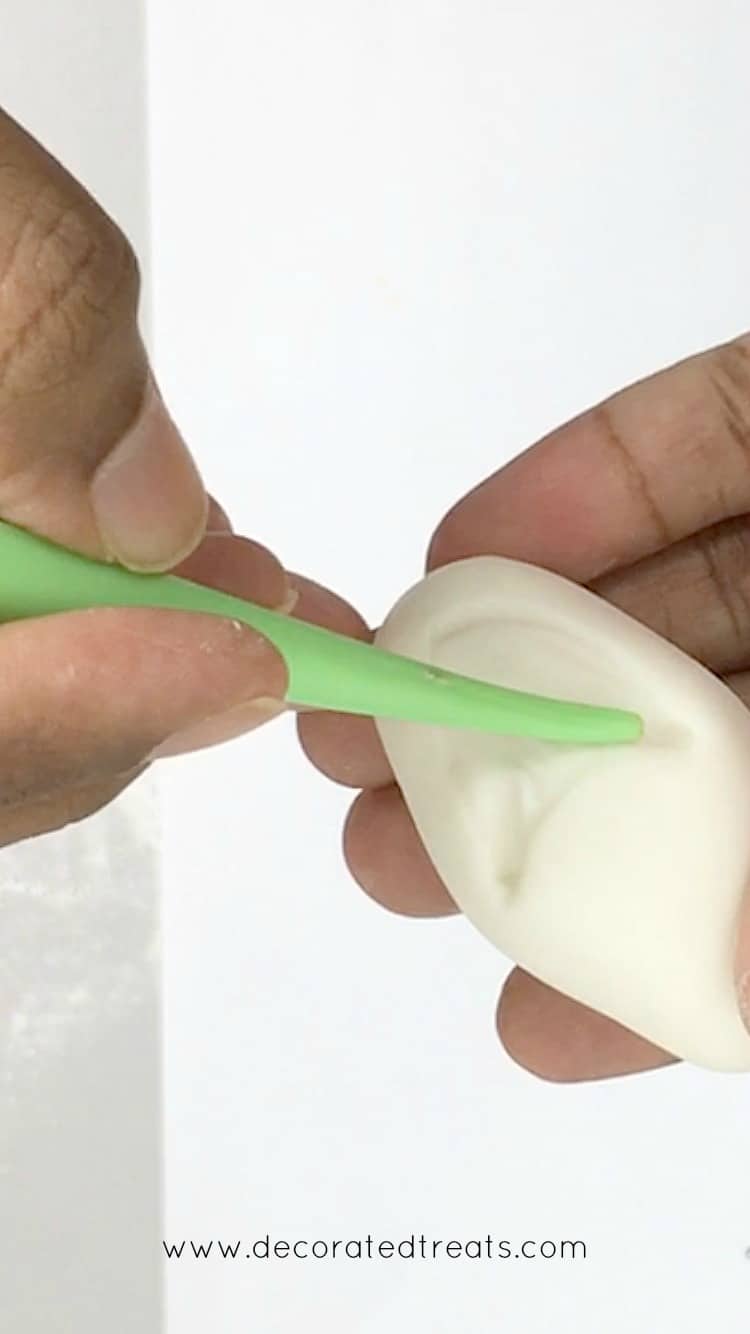
Next, use fondant modelling tool to mark a smiling mouth for Olaf. Do this by gently pressing in the section that makes up his mouth.
And then roll some black fondant and cut it out into a triangle with rounded corners. Attach this piece to the area which was compressed for Olaf's mouth earlier.
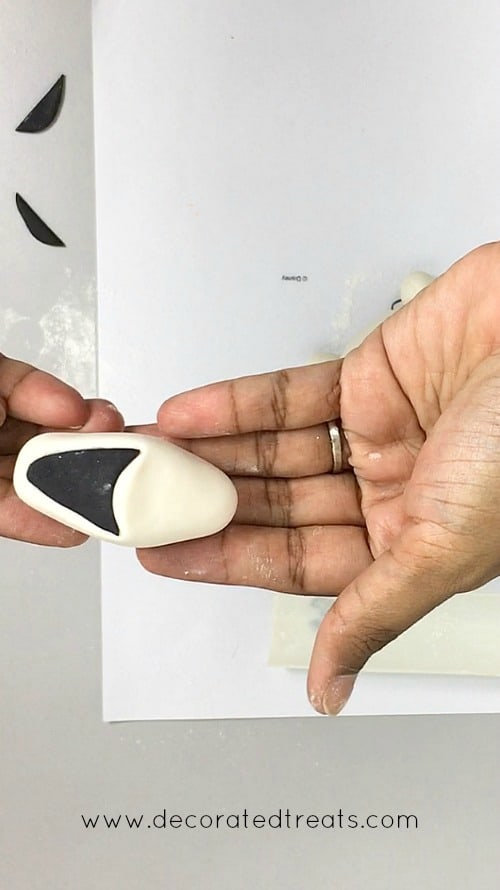
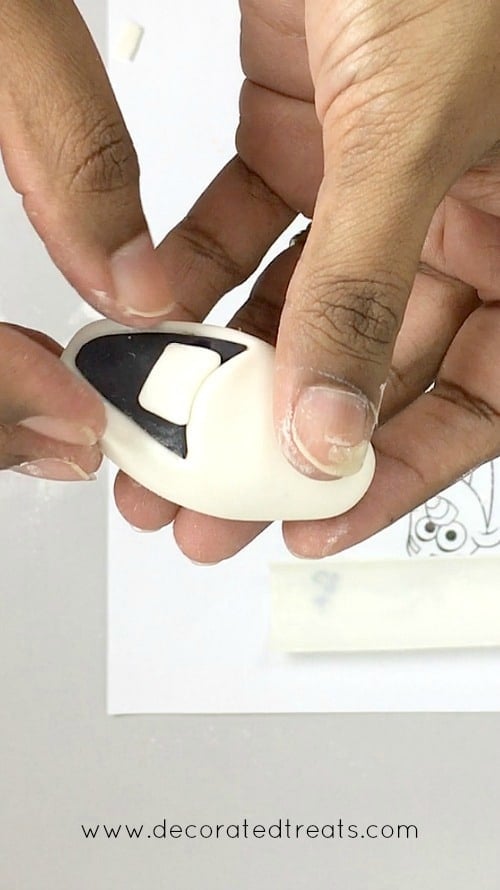
After that, add Olaf’s teeth. To make the teeth, roll some white fondant thin and cut it into a small rectangle.
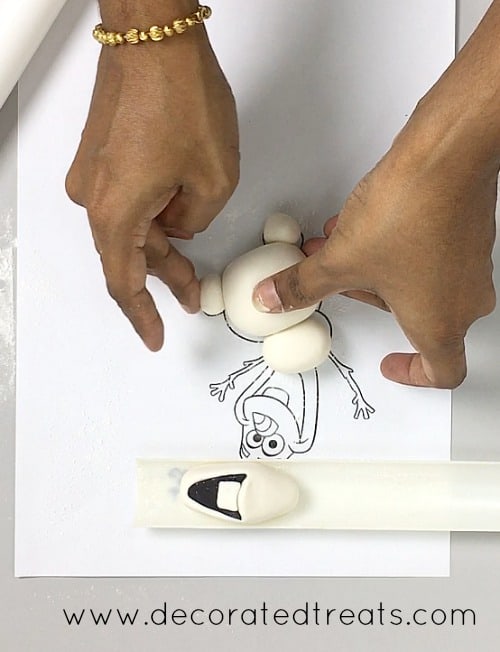
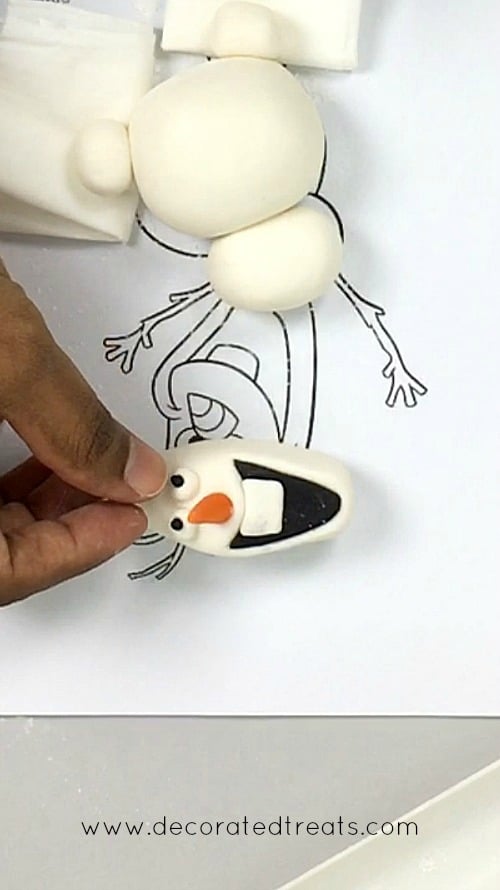
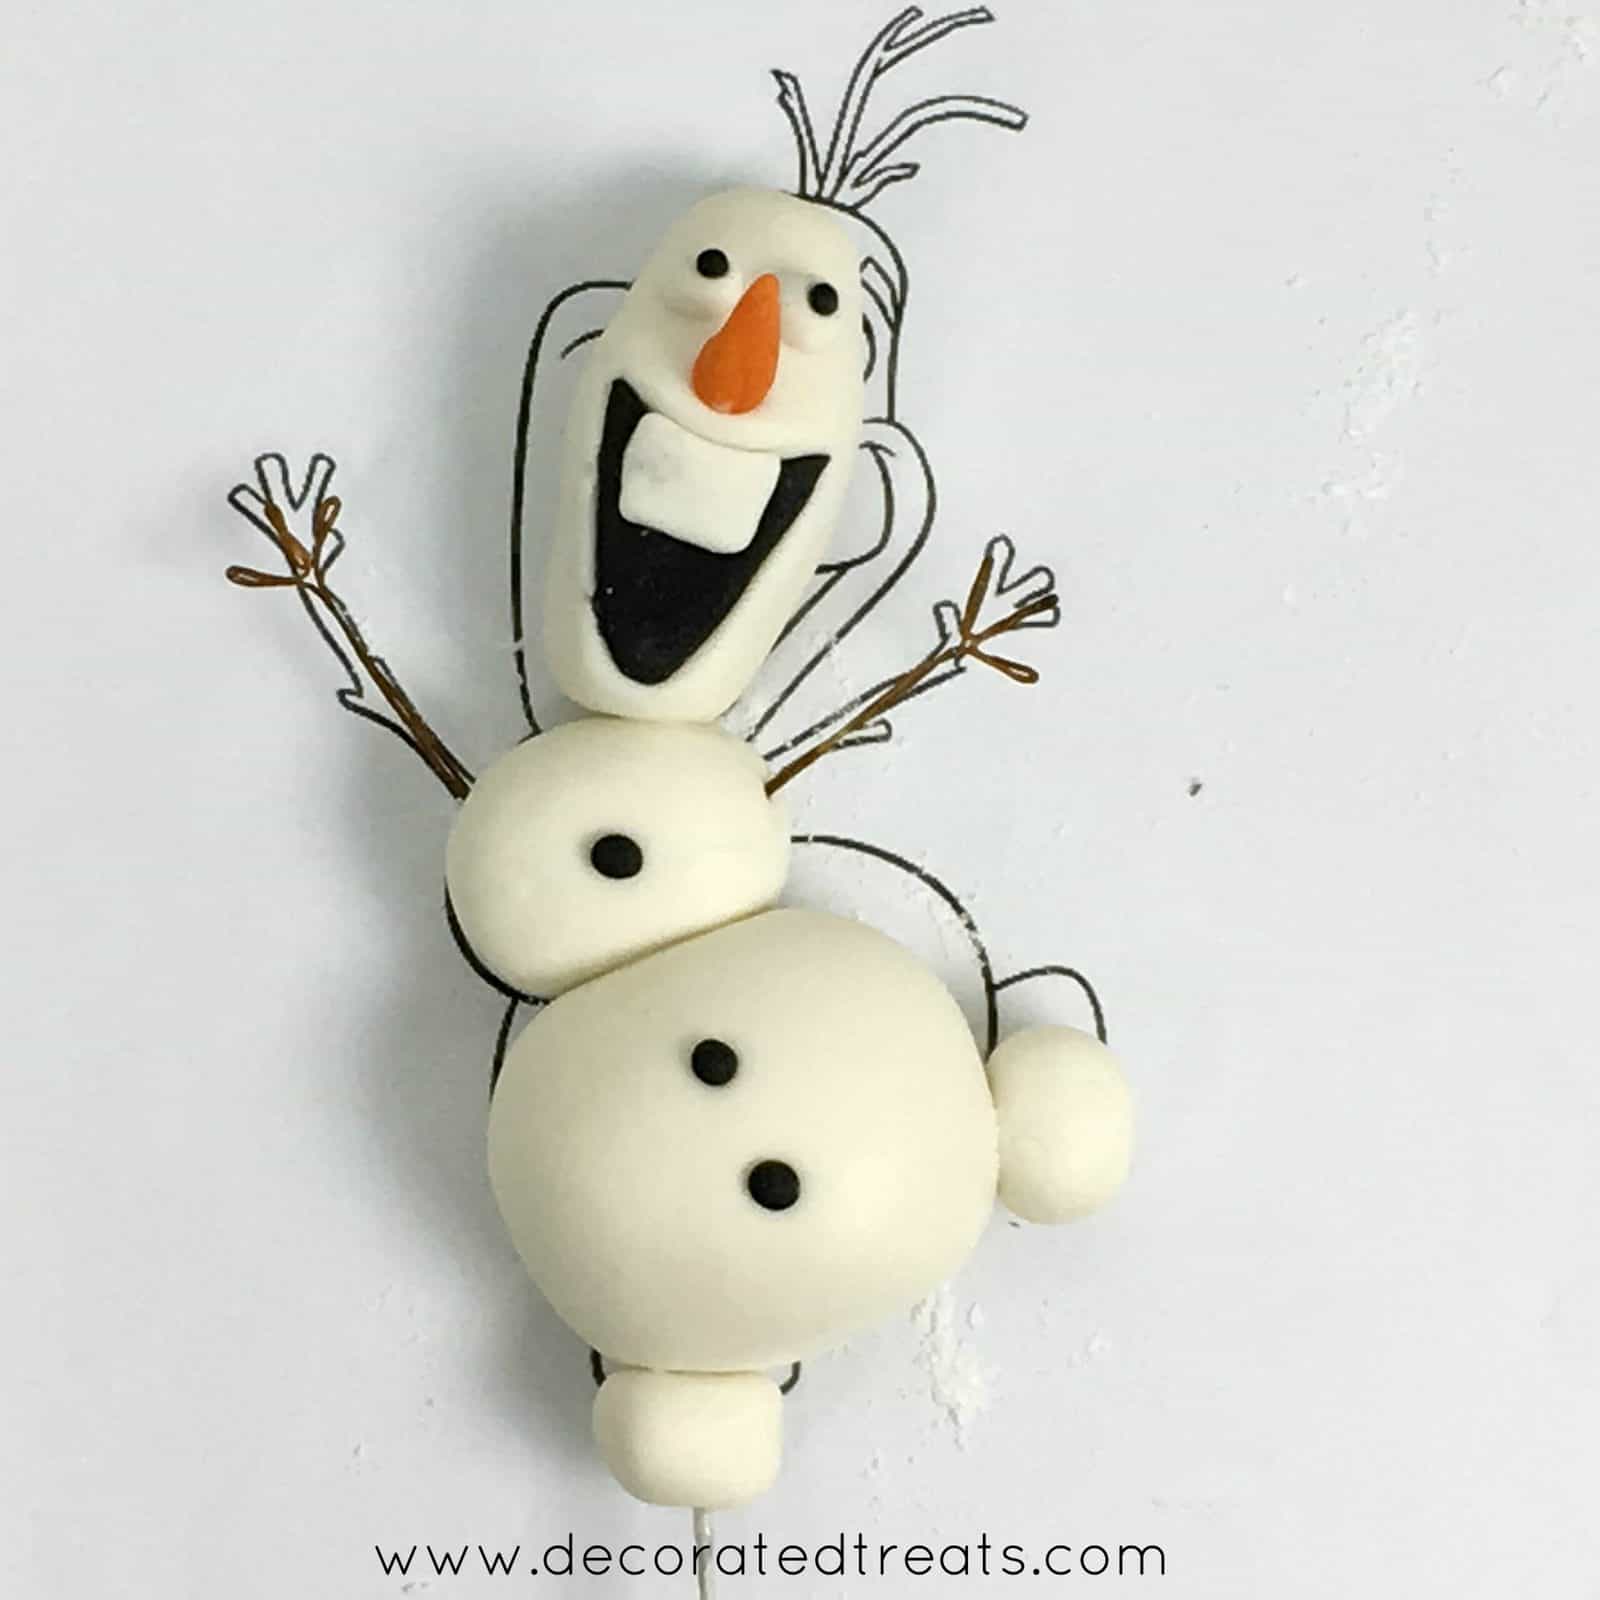
Step 5: Make the body and legs
The body is made up of 2 pieces of round fondant- one small round on top a larger round fondant ball.
And then pinch another 2 pieces of fondant of equal size, roll them round, and flatten them slightly to form Olaf’s his feet.
Attach these sections together with fondant glue.
Step 6: Complete the facial features
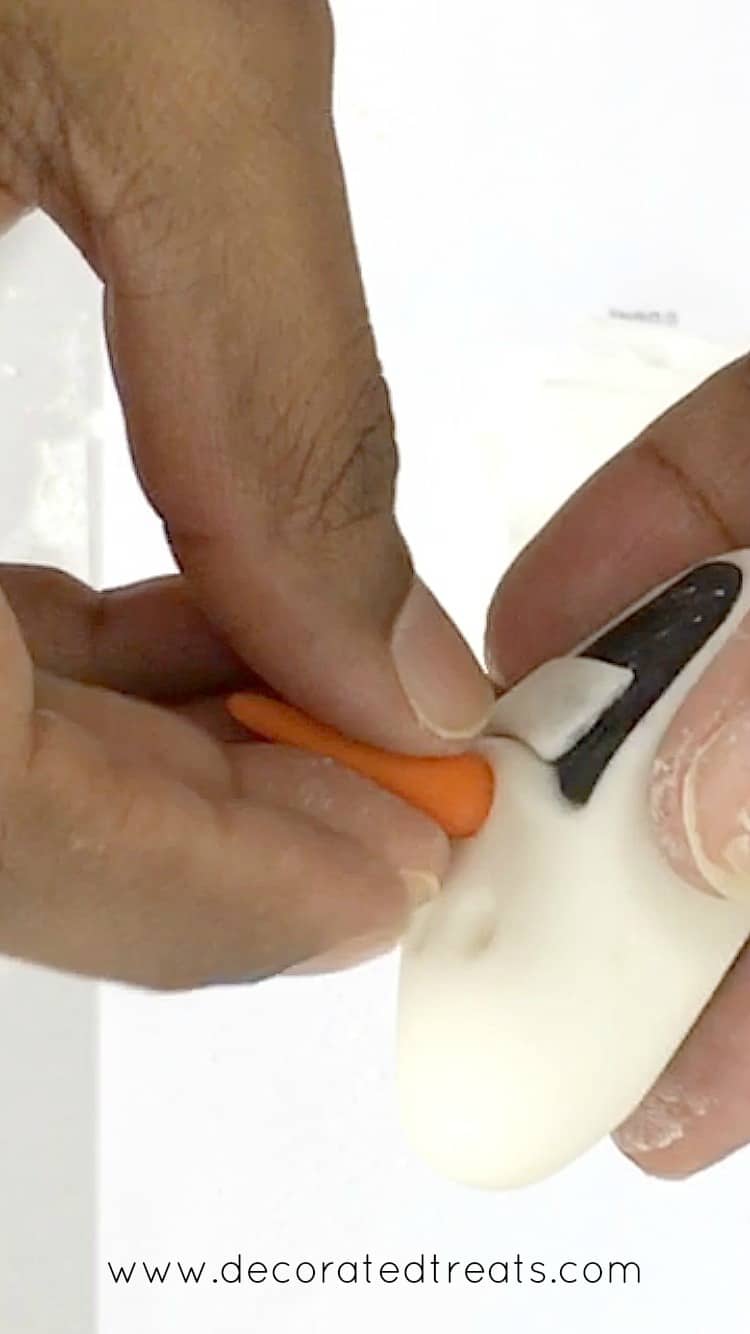
Using the end of a small brush, mark 3 holes on Olaf’s face, 2 for his eyes and one for the nose.
Form a tiny orange cone with orange fondant and attach it onto the face with fondant glue.
Similarly for the eyes, form 2 tiny small white balls and attach them to his eye sockets. And then roll 2 pieces of smaller black fondant balls and attach on the white balls.
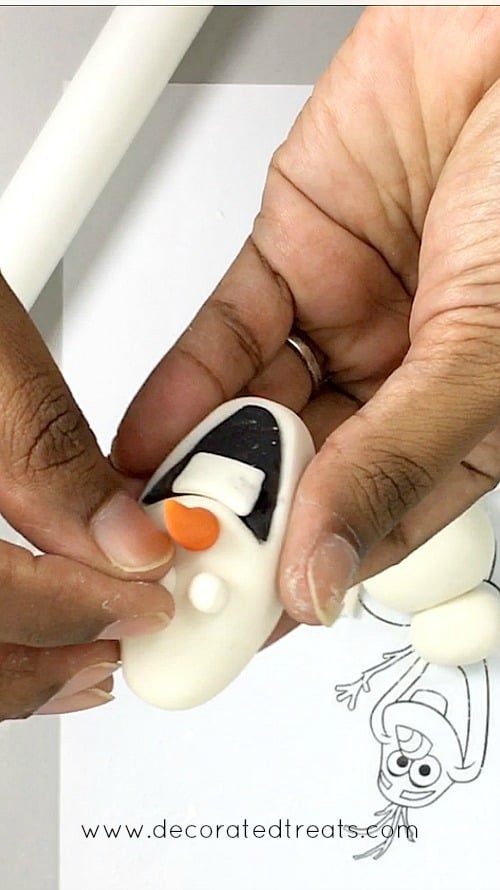
This was followed by the three buttons on his body.
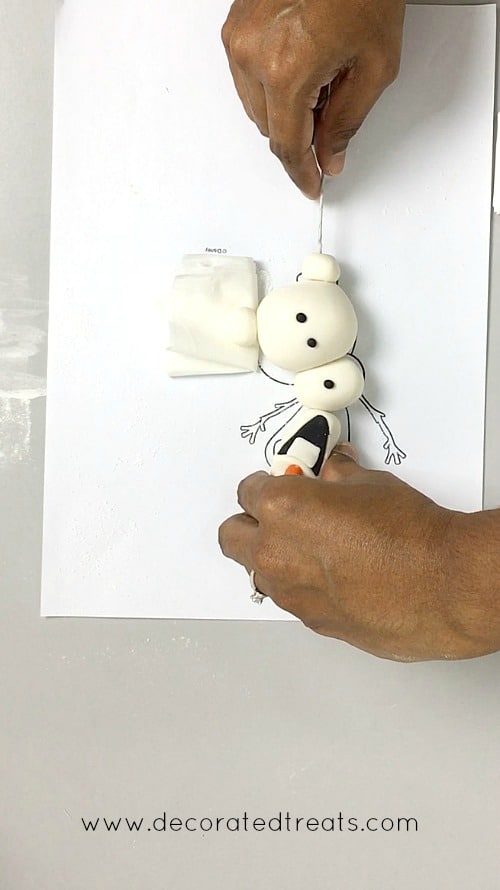
Step 7: Insert the wire
Use the template as a close guide in making Olaf so that you get the structure right.
Once all the components are ready, arrange them flat on your work surface in the way you want Olaf to be structured (which should be as your template).
Appy fondant glue to the 18 gauge wire and insert through the body to the face from the bottom. Also apply fondant glue between each section of Olaf so that they all remain in place securely.
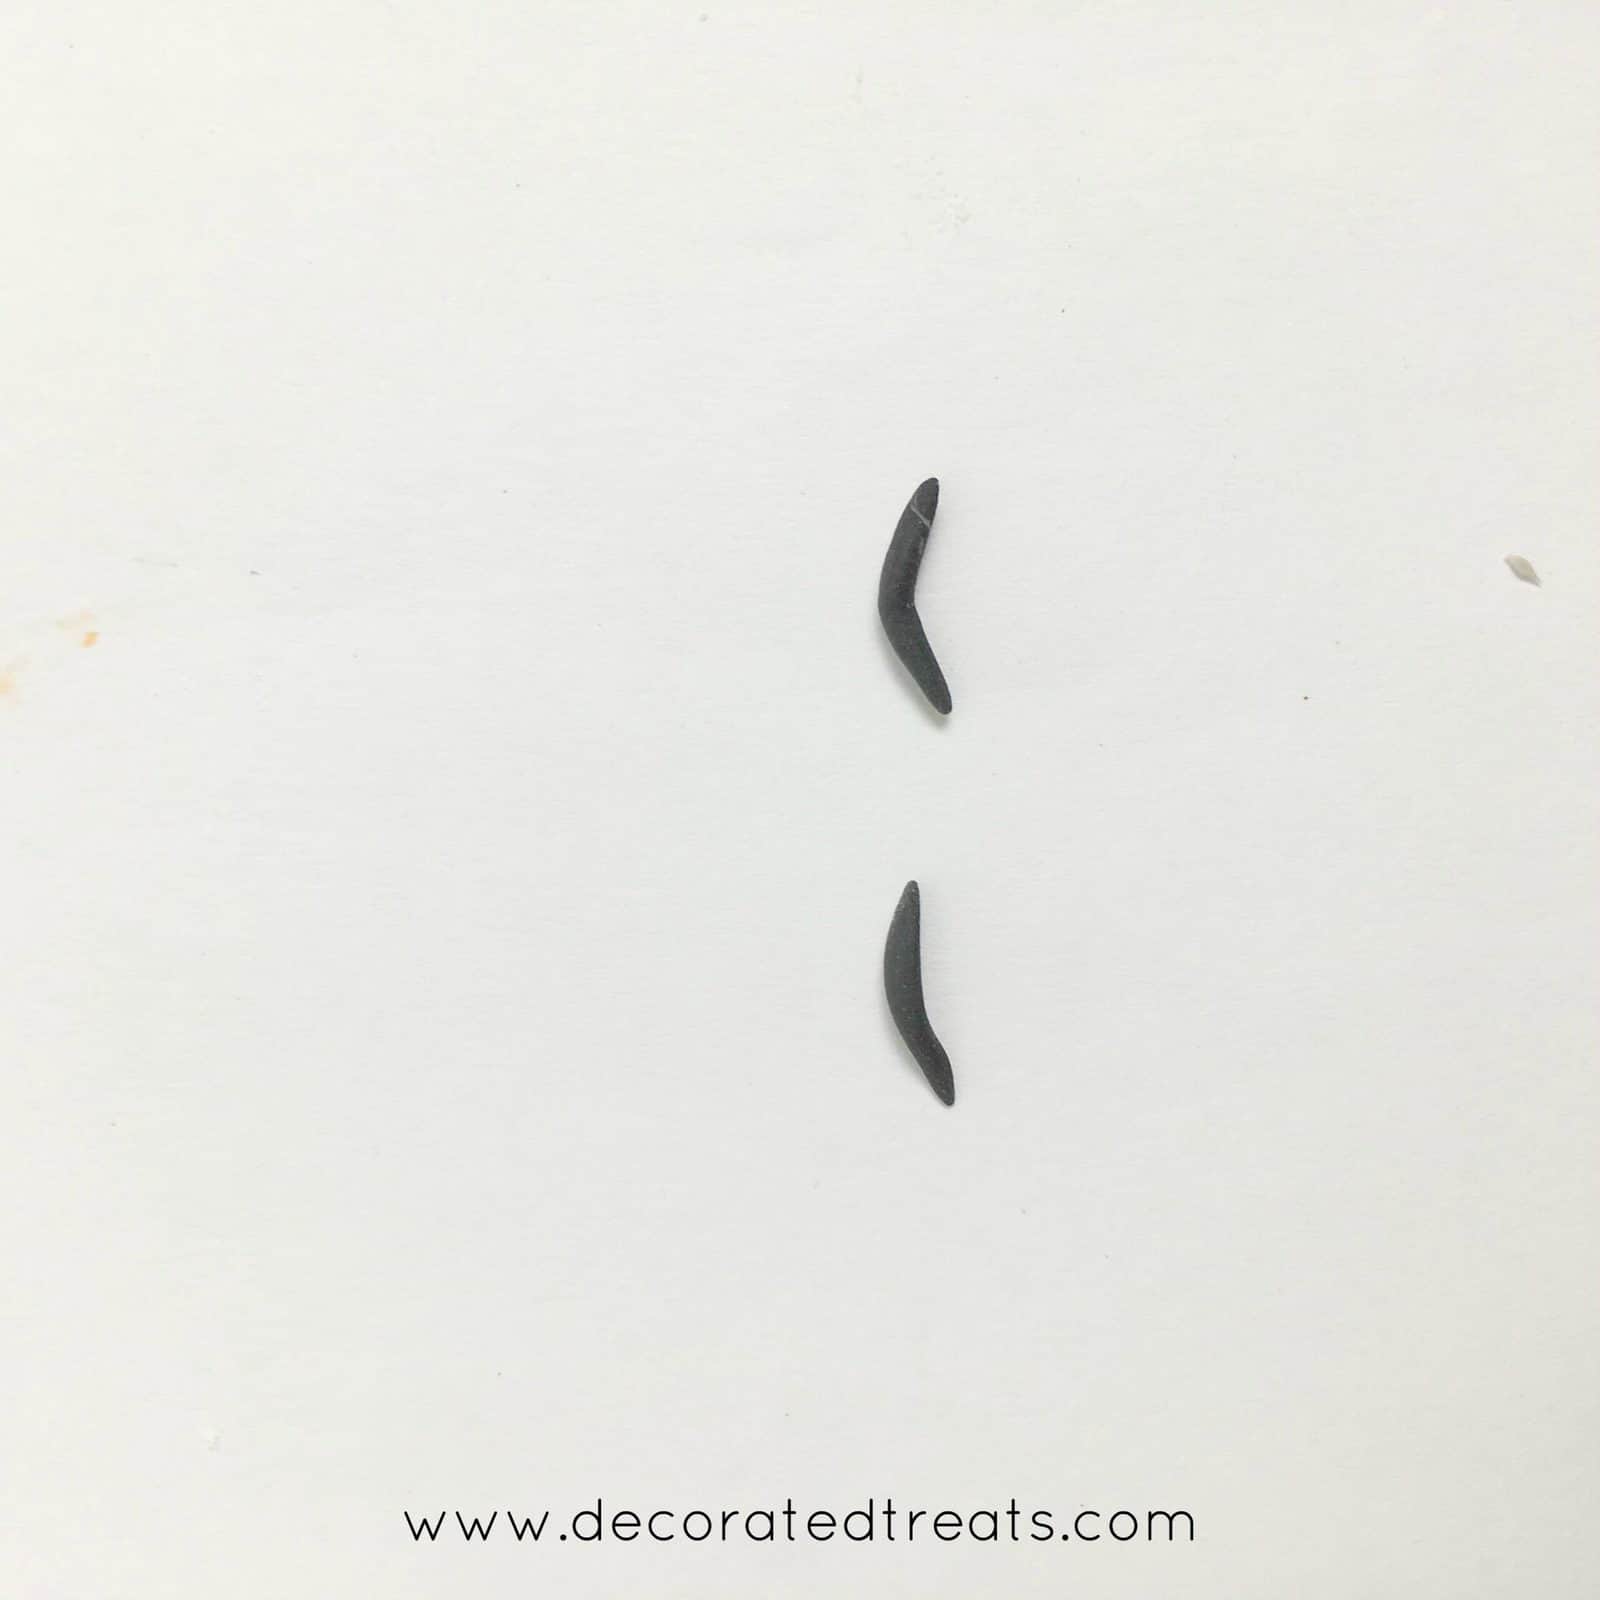
Step 8: Attach the arms and eye brows
Brushed the ends of each wire arm with fondant glue and poke the arms into Olaf’s body. Again, use the template as guide to position the arms.

Also add Olaf’s eye brows and eye ball made with 2 thin strips of rolled black fondant and 2 small balls of black fondant. Attach with fondant glue.
Let the Olaf topper set in a horizontal position overnight. Only set him in an upright position when all the body parts are completely set. This is to avoid them from losing shape due to weight and compression effect.
To avoid direct contact of the topper wire to your cake, insert it into a lollipop stick before poking it into the cake.
And that is how I made the Olaf cake topper in fondant.


Leave a Reply