

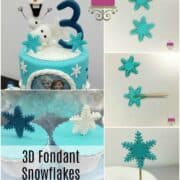
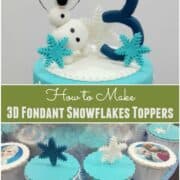
Learn how to make easy 3D fondant snowflake cupcake toppers with this easy tutorial. Made using snowflake cutter, these fondant snowflakes are extremely easy to make and make perfect decoration for winter or snow themed cupcakes and cakes.
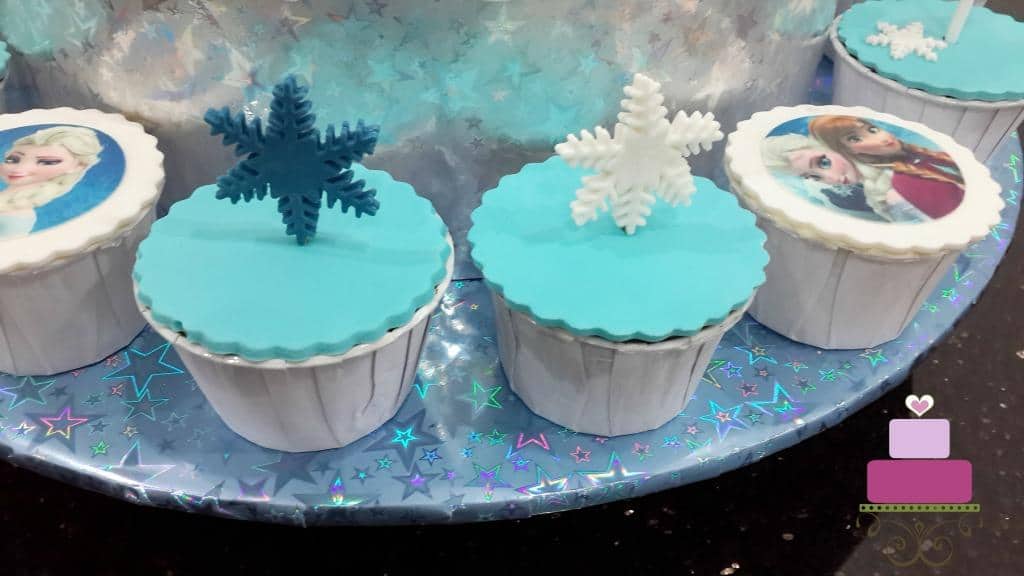
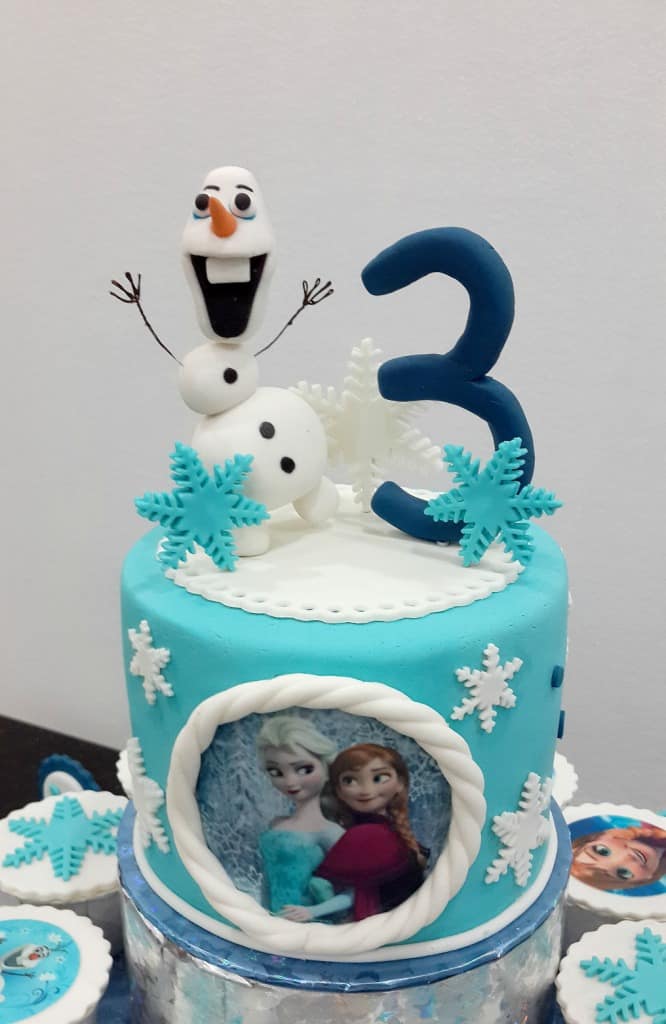
I made these for a Disney Frozen themed birthday party. And these 3D snowflakes formed part of the decoration for the Frozen themed cake and cupcakes set with Olaf topper I made. The other deco on the set were cupcakes decorated with 2d snowflakes, edible images as well as initials cupcake toppers.
If you like this tutorial and the cupcakes design, you might also want to check out how to make a matching DIY cupcake stand as well as tutorial on how to make 3D fondnat Olaf cake topper.
Jump to:
❤️Why you will love this tutorial
- The cupcake toppers are very easy to make.
- And very quick too. You can make each topper in under 10 minutes.
- They make cute and simple decorations for snow, winter and even Christmas themed cakes and cupcakes.
🧾Supplies required
- Fondant – I used Satin Ice fondant. You can also make your own fondant with this homemade fondant recipe or marshmallow fondant recipe.
- CMC powder – This is added to the fondant to make it set firm and strong. It is particularly useful when making 3D fondant decorations. You can also use Tylose powder in place of CMC powder.
- Snowflakes cutter – This is a plunger cutter set that comes in 3 different sizes. You can also use other snowflake cutters if you like.
- Toothpicks – These are attached to the fondant snowflakes and poked into the cupcakes to hold the toppers in place. Make sure to cut off the pointy ends to avoid the risk of them poking into anyone who decides to take a bite of the snowflakes.
- Shortening – Acts as glue in this project. You can also use fondant glue in place of shortening.
- Cake decorating brush - to apply shortening to the fondant pieces.
- Fondant glue - This is to stick the toothpick to the snowflakes.
👩🍳How to Make
Step 1: Tint the fondant
I made my fondant snowflakes in 3 colors -dark blue, white, and turquoise.
For the dark blue, I added Americolor Navy blue food color to white fondant, while the turquoise ones were made by adding Americolor turquoise food color to white fondant.
And of course, the white snowflakes were untinted.
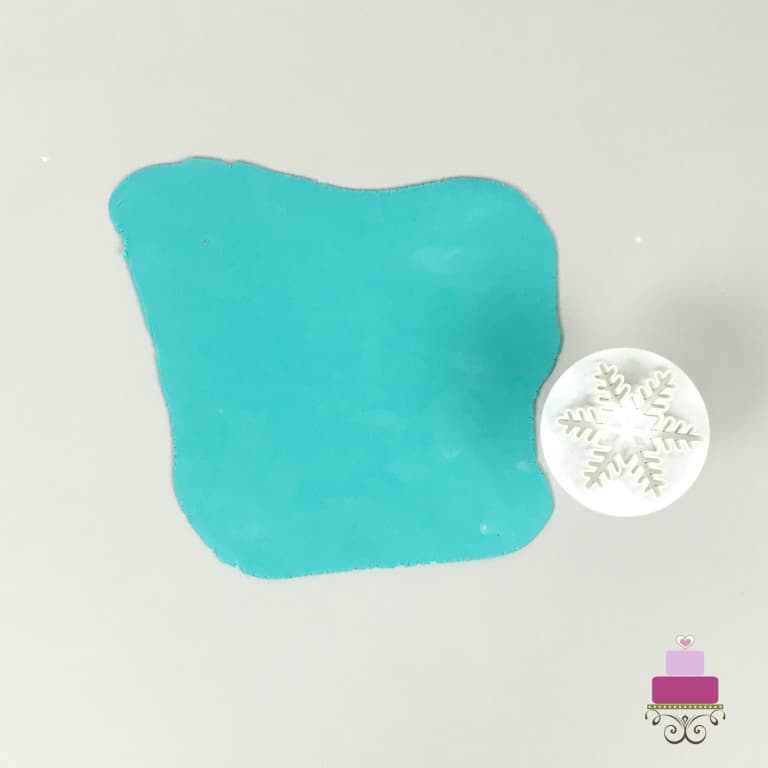
Step 2: Roll and cut the fondant
Knead some CMC into the fondant.
Roll it thin and cut out the snowflakes with the snowflakes cutter. Dip the cutter in powdered sugar or corn starch before pressing into the fondant for easy release of the cut snowflakes.
Make 2 snowflakes for each topper.
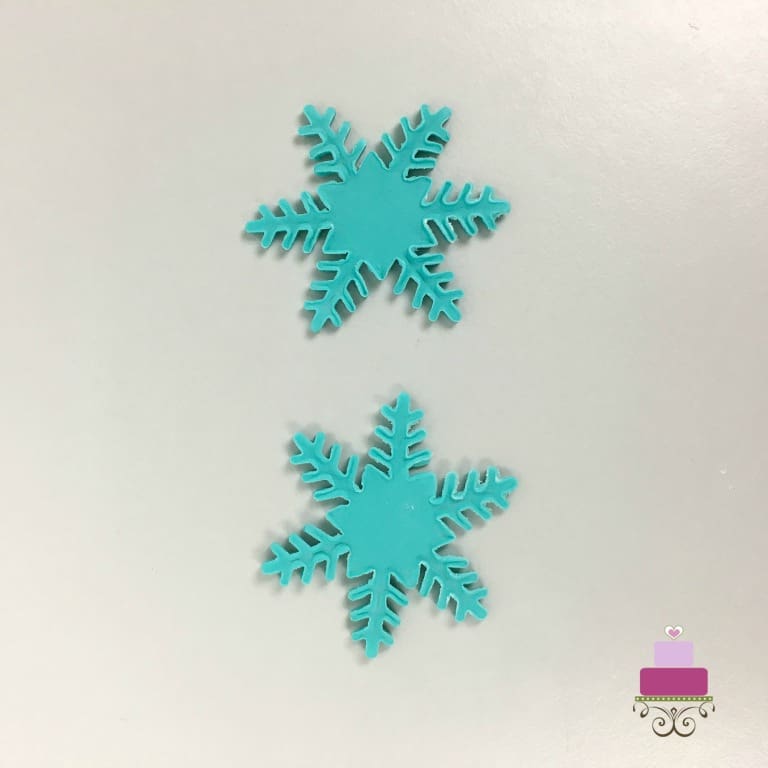
After cutting, set the fondant snowflakes aside for a few minutes to allow them to set a little. It is easier to assemble the toppers when the fondant is stiffer.
Step 3: Assemble the toppers
Brush the back of a fondant snowflake with shortening.
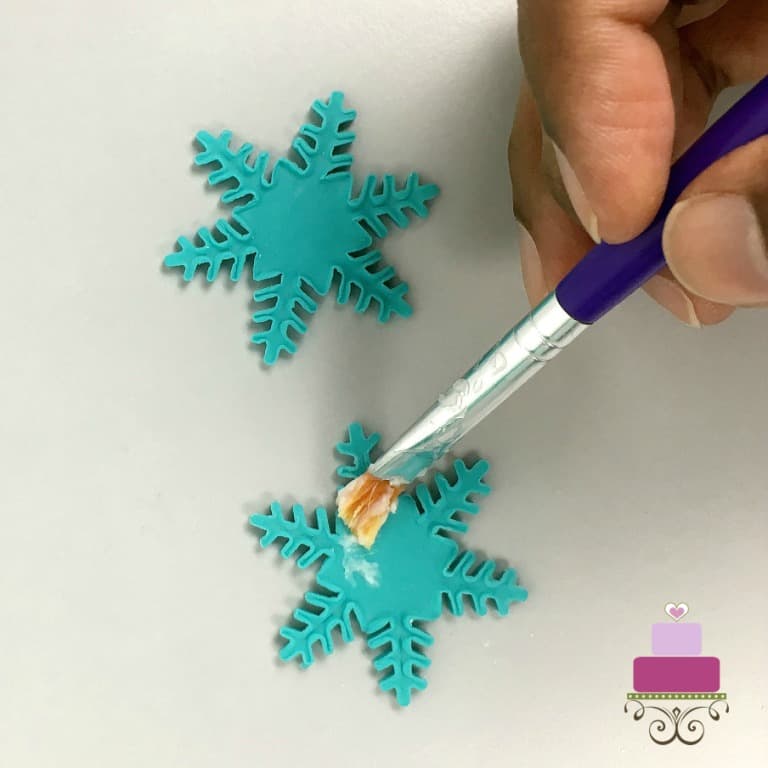
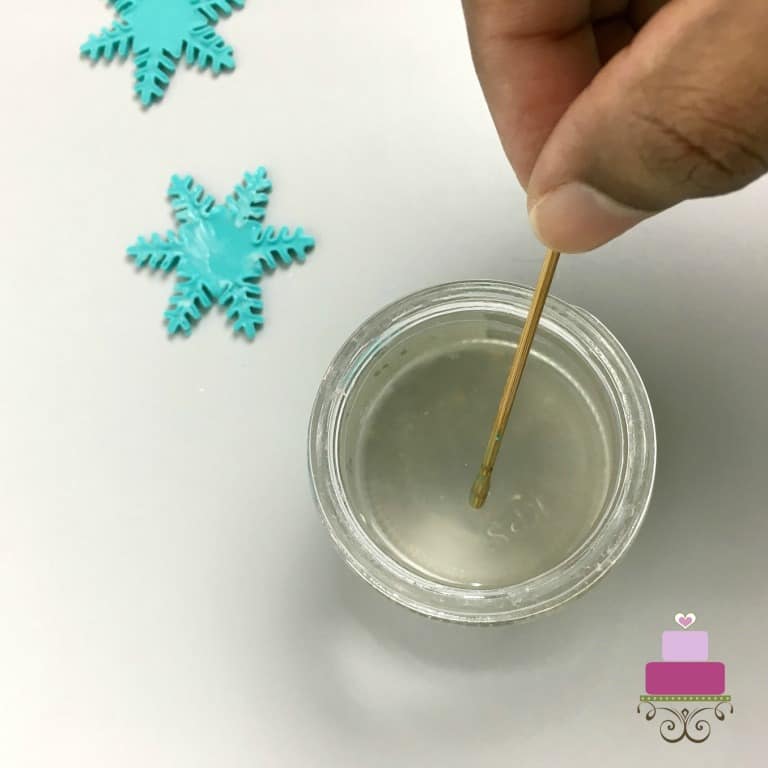
Dip a small section of a toothpick in fondant glue and place the fondant dipped section on the snowflake.
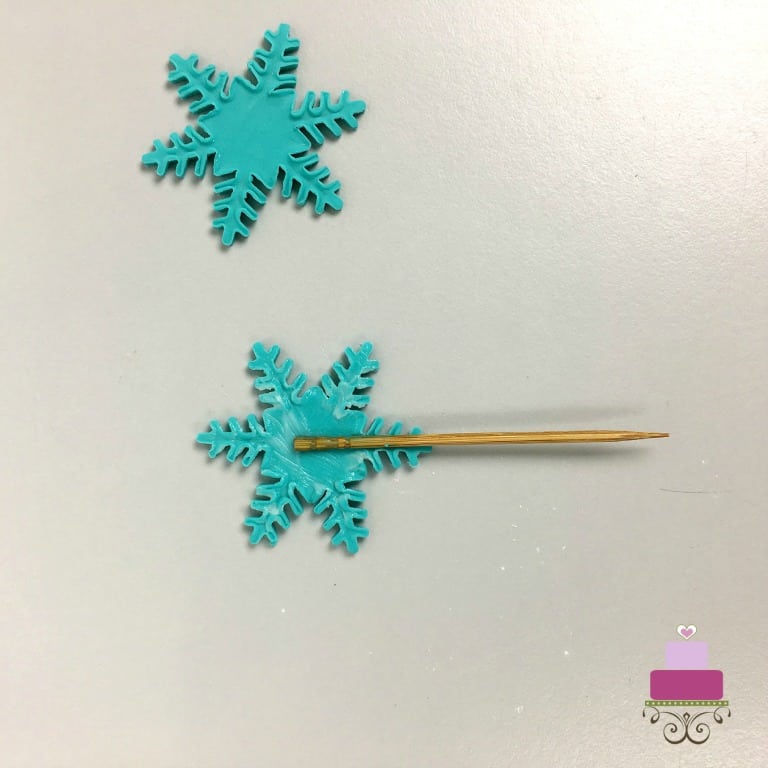
Top the toothpick and the snowflake underneath with another piece of fondant snowflake. Do it gently and make sure the top and bottom snowflake patterns are aligned.
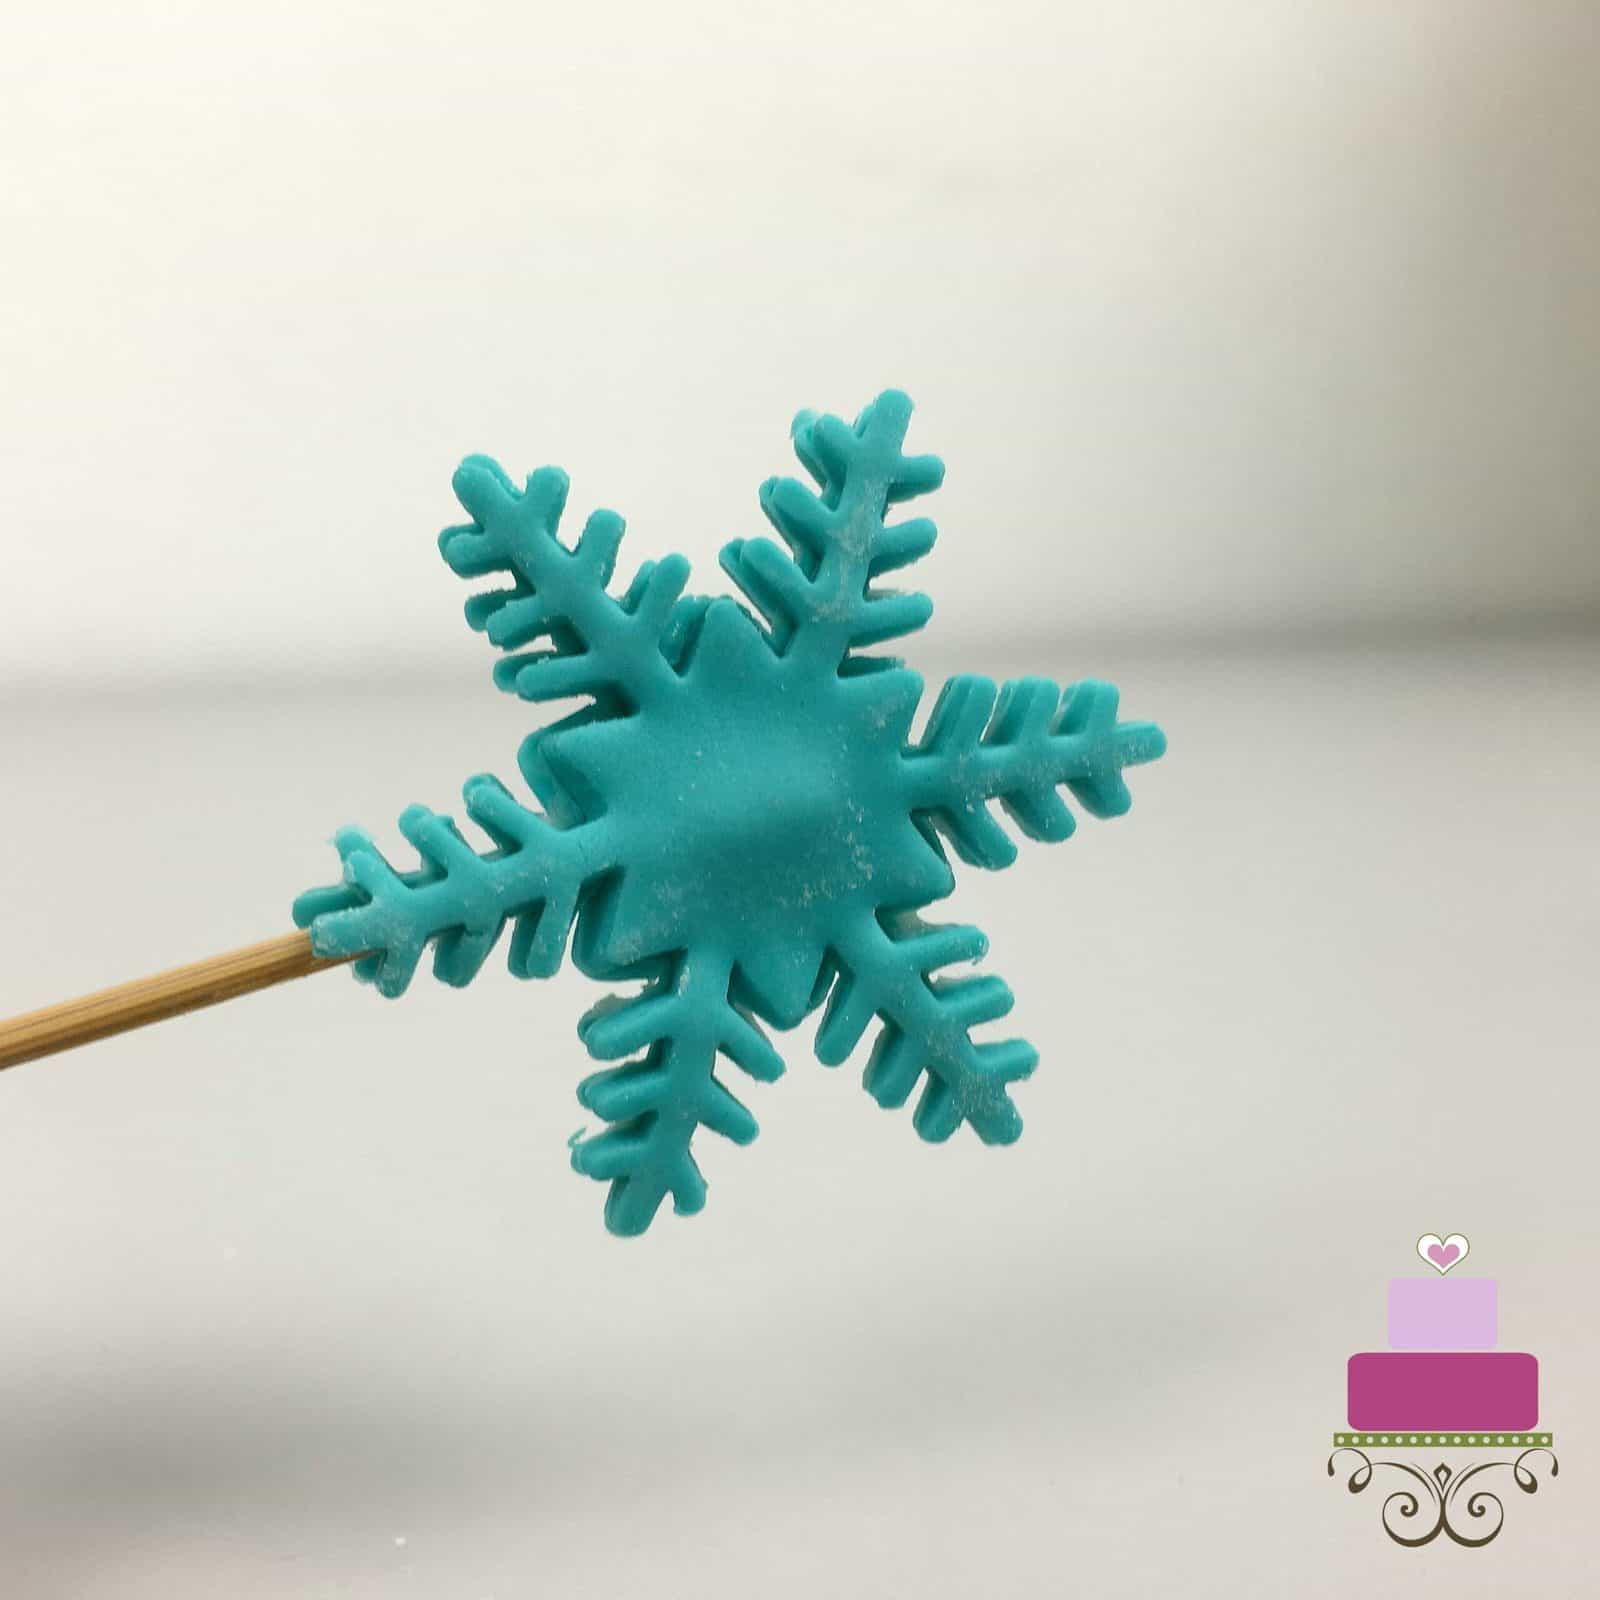
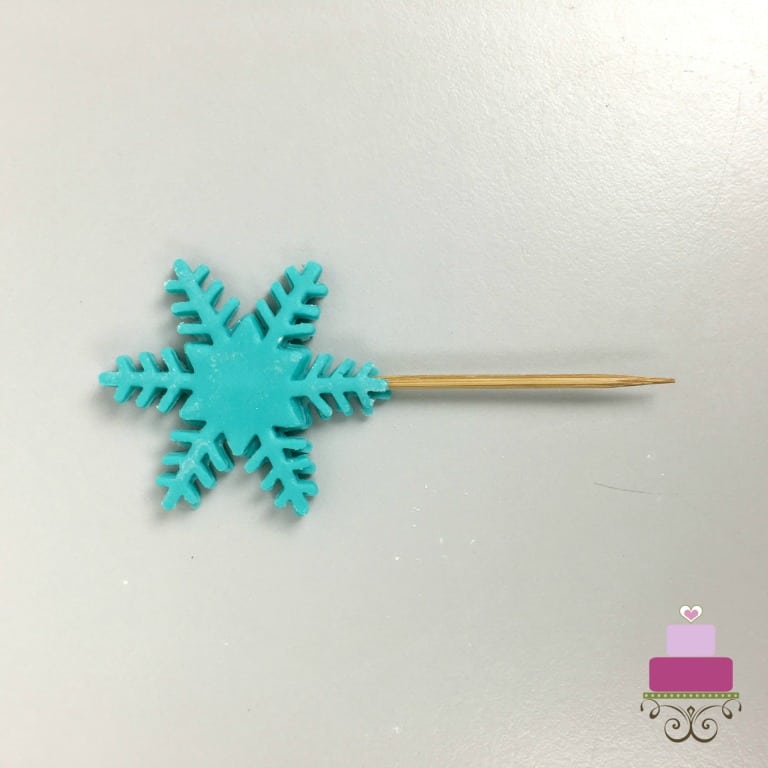
Press gently to attach both pieces and the toothpick together.
Note: It is highly advisable to use shortening when attaching the pieces of fondant together. With shortening, you can easily peel the snowflakes pieces off and reattach them should they not be well aligned. You will not be able to do it with fondant glue without any tearing or distortion to the fondant pieces.

Let the snowflake cupcake toppers set in a horizontal position before attaching them to the cupcakes.
Step 6: Attach the toppers to the cupcakes
To attach the toppers insert the toothpicks into the cupcakes until the toothpick is no longer visible. That will give you with pretty 3D snowflake cupcake toppers.

Leave a Reply