

Learn how to make your own easy DIY cupcake stand to display your gorgeous cupcakes and cakes at birthday parties, wedding reception or just about any event or party. Use this tutorial to let your creative juices flow and customize it further for your next party!
This tiered cupcake display stand can be used not just for cupcakes, but also a small cake at the top. It is a perfect way to display cupcakes and other sweet treats and save space at your dessert table. You can add more layers to your cupcake stands to create taller DIY cupcake tower.
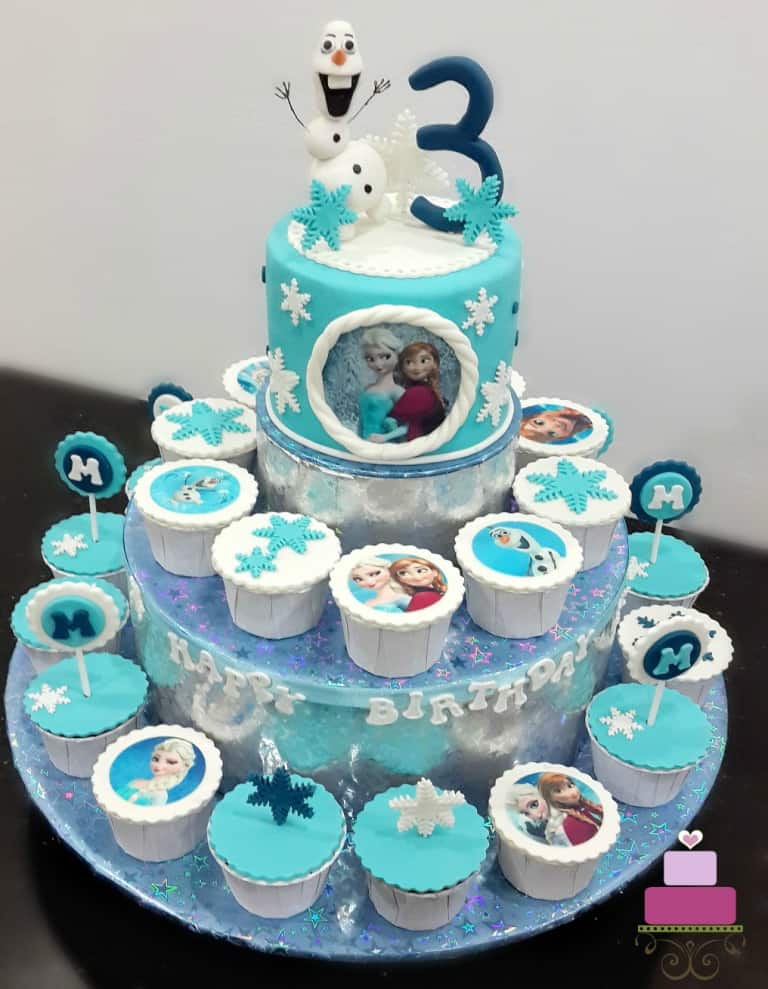
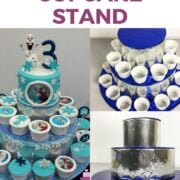
Here is a similar DIY cupcake stand cum cake holder I made for a customer for a set of Olaf cake and Frozen cupcakes. She ordered a 6 inches round cake and some cupcakes to go with it. So she was looking for a stand that could fit both the cake and cupcakes.
This was quite an easy DIY cupcake stand, made using wrapping papers, cake boards and Styrofoam dummies.
Jump to:
❤️Why you will love this tutorial
- This is an easy DIY project. The tutorial lays down clear step by step guidance, and you can assemble the stand fairly quickly.
- The materials used to make the stand are relatively cheap and can be easily purchased from local craft stores.
- The cost of making your own cake stand will only be a fraction of the cost of a complete cake stand purchased elsewhere.
- You can customize the cake stand to match and complement your party theme colors.
📋Supplies Required
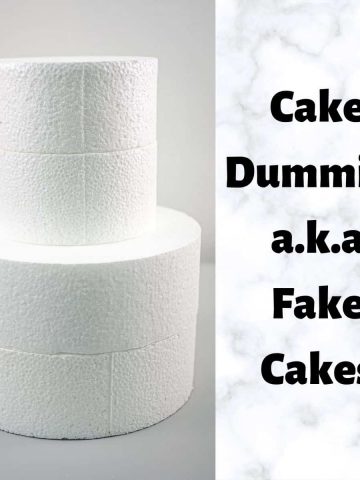
- Styrofoam dummies - I used 2 Styrofoam dummies, one measuring 6 inches in diameter and the other measuring 10 inches in diameter. Both were 4 inches high and I purchased these dummies at a local cake decorating supply shop. You can also get these at your local craft supplies stores.
- Wrapping papers - I chose silver and royal blue colors for this project because the stand was made for a Frozen themed party. You can also use scrapbook paper if you like.
- Cake boards or cardboard cake circle - I used 3 cake boards in total. The first 2 were in the exact same size as the Styrofoam dummies, i.e., 6 inches and 10 inches. The third one measured 15 inches.
- Hot glue gun & glue stick, paper glue - I used 2 types of glue, one is a paper glue which I used to stick my wrapping papers around the cake boards and Styrofoam and the other is the hot glue which I used to assemble the cupcake stand.
- Scissors and ruler - These were basically to measure and cut the wrapping papers.
✂️How to make
I used 2 Styrofoam dummies as the main base for the holder. In deciding on the sizes of the Styrofoam dummies, main consideration was the size of the cake that was going on the top tier of the holder and the size of the cupcakes that are to be put on the subsequent tiers.
Step 1: Decide on the size of the stand
- For this DIY cupcake stand project, I used a 6 inch round cake dummy for the top tier of the holder. This should fit a small cake measuring 6 inches and below. In deciding on the diameter of the next tier, measure the diameter of your cupcakes. Make sure the second tier is large enough to hold the 6 inches dummy core as well as fit a row of cupcakes all around it.
- For example, if your cupcakes are 2 inches in diameter, there should be at least 2 inches space all around the 6-inch dummy that was resting on the second tier of the stand. This in turn means that the diameter of the second tier should be 4 inches larger (2 times 2 inches) than the first tier.
- So the second Styrofoam dummy should be 10 inches in diameter (6 inches + 4 inches). And finally, for the third tier (which is just a layer of cake board), add another 4 inches to the second tier dummy which means your cake board should measure 15 inches (11 inches + 4 inches).
- As for the 3 cake boards, the first 2 should be the same size as the 6 inches and 10 inches. The base cake board should be 4 inches larger than the second board, i.e. 15 inches to be able to fit a row of cupcakes on it.
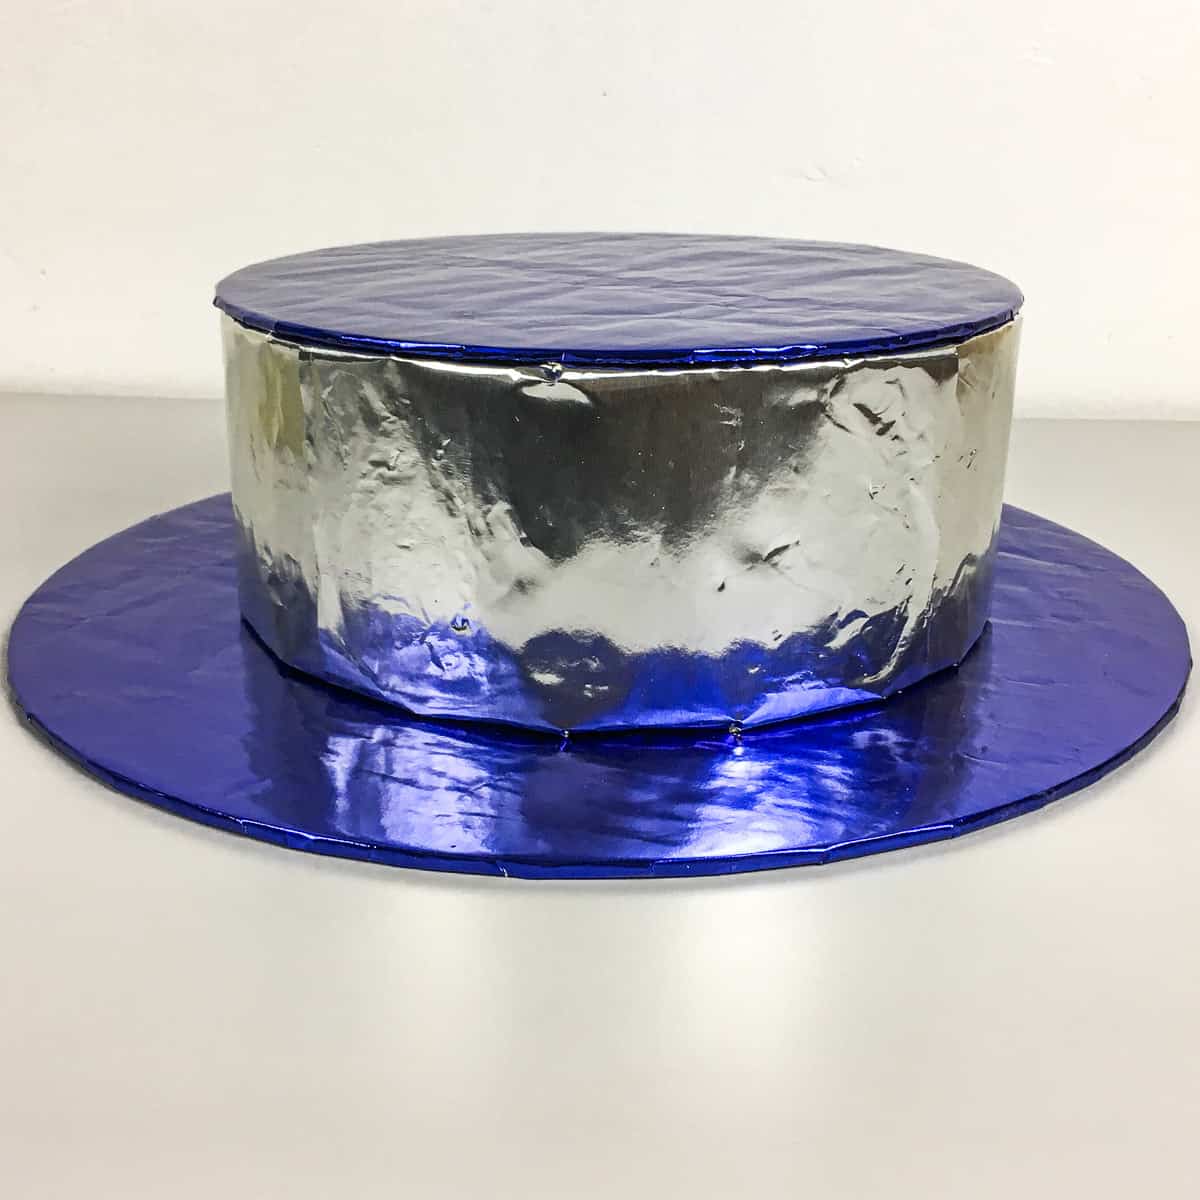
Step 2: Prepare the cake boards
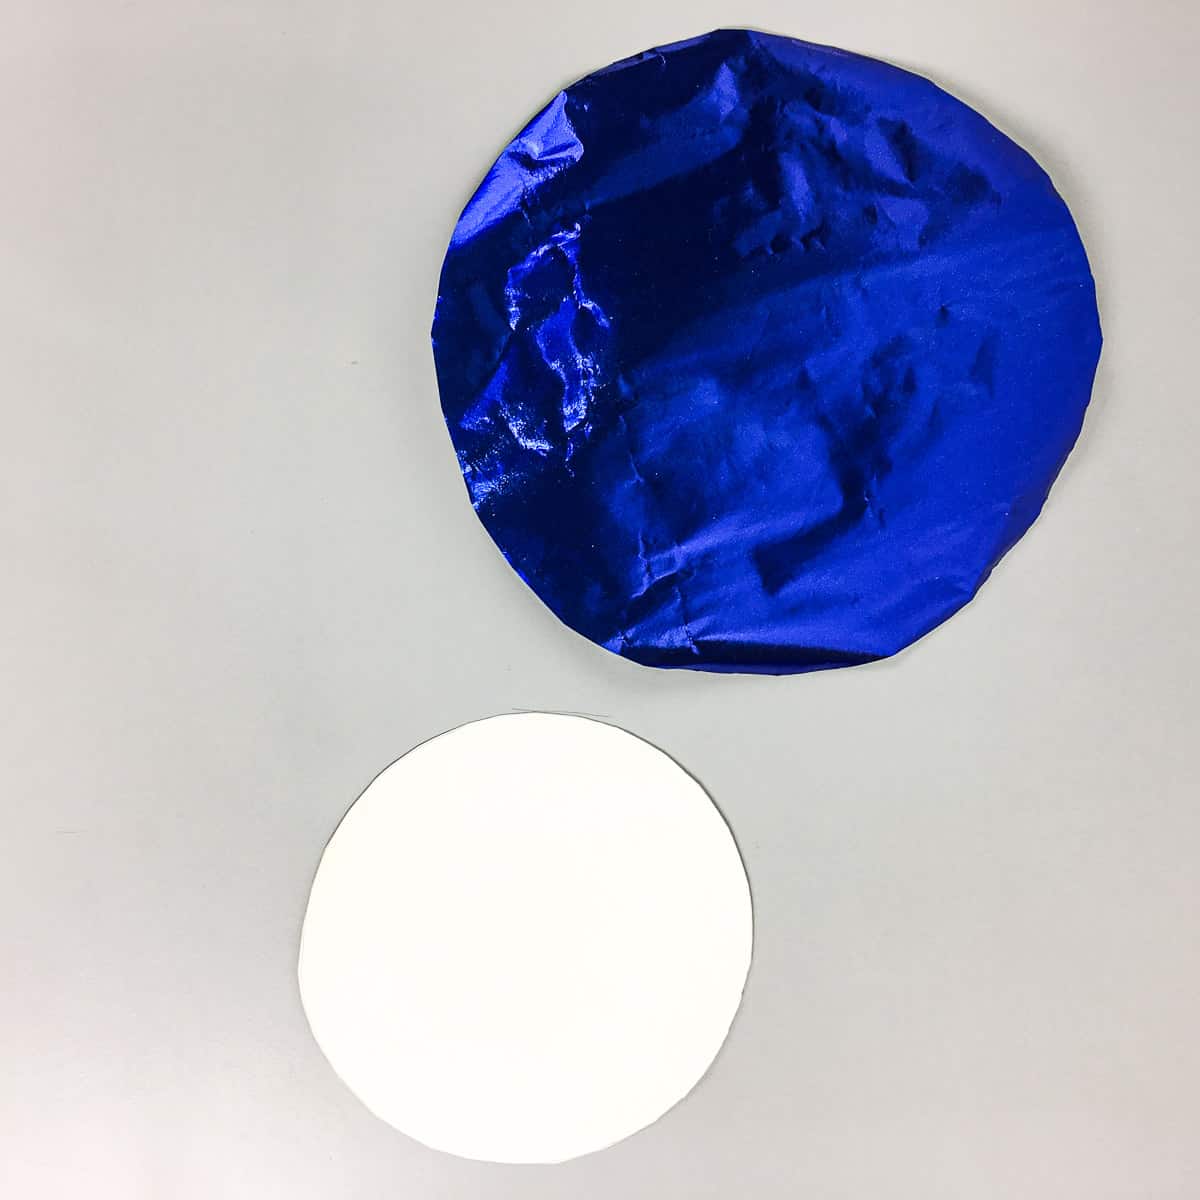
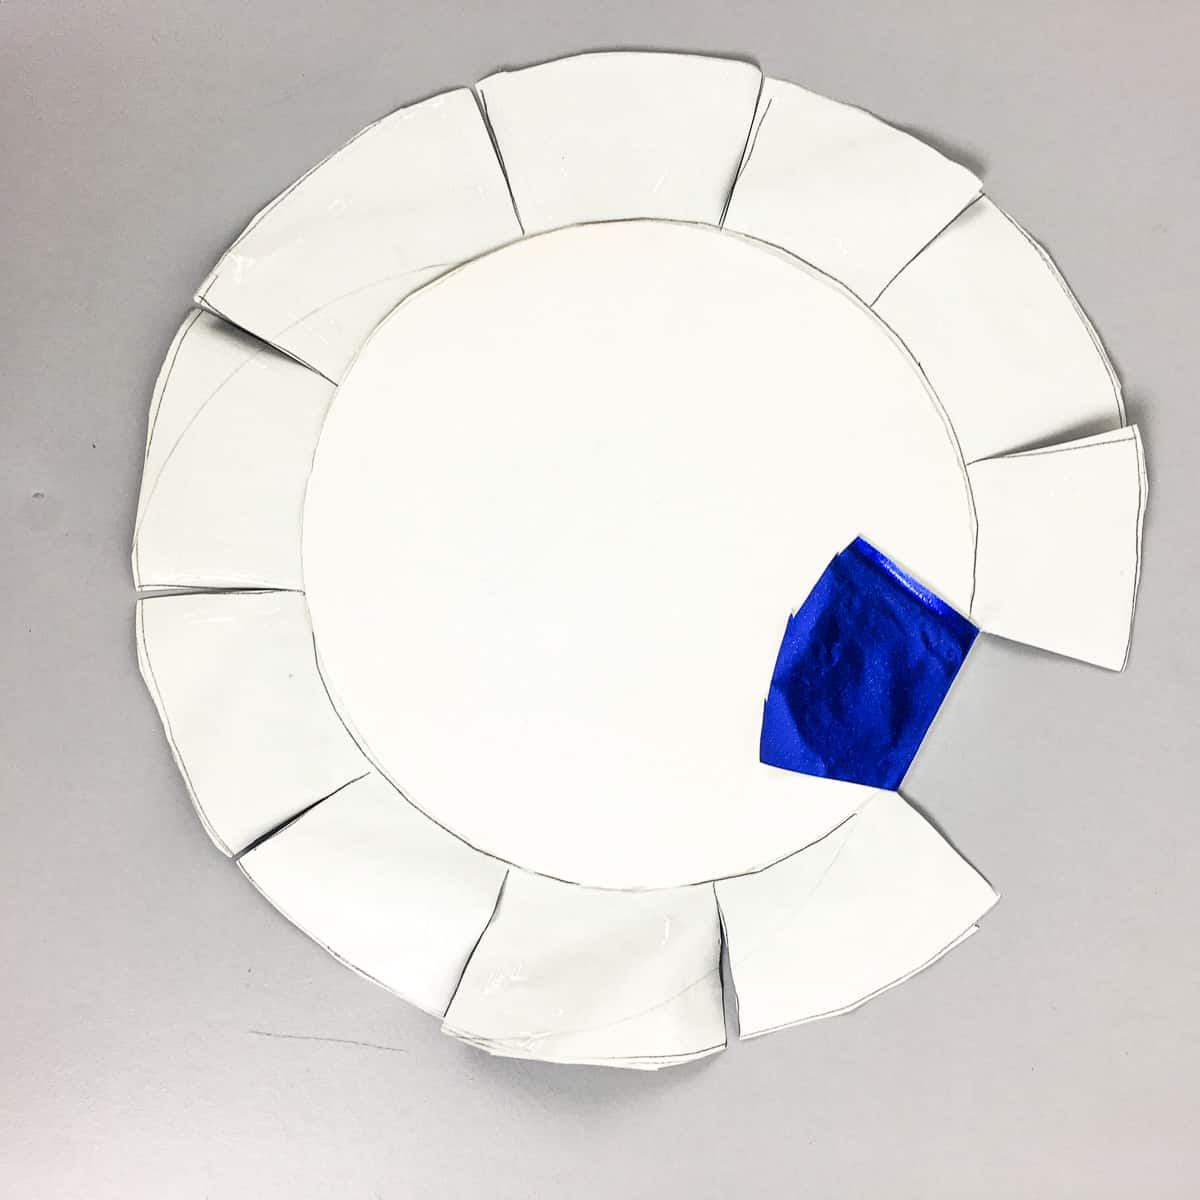
- The first step is to wrap the cake boards with wrapping paper. Placed the cake board on the reverse side of the wrapping paper. Draw a circle following the size of your cake board. And then draw another circle around the first one, giving an extra allowance of 1 inch all around the cake board. Cut it out.
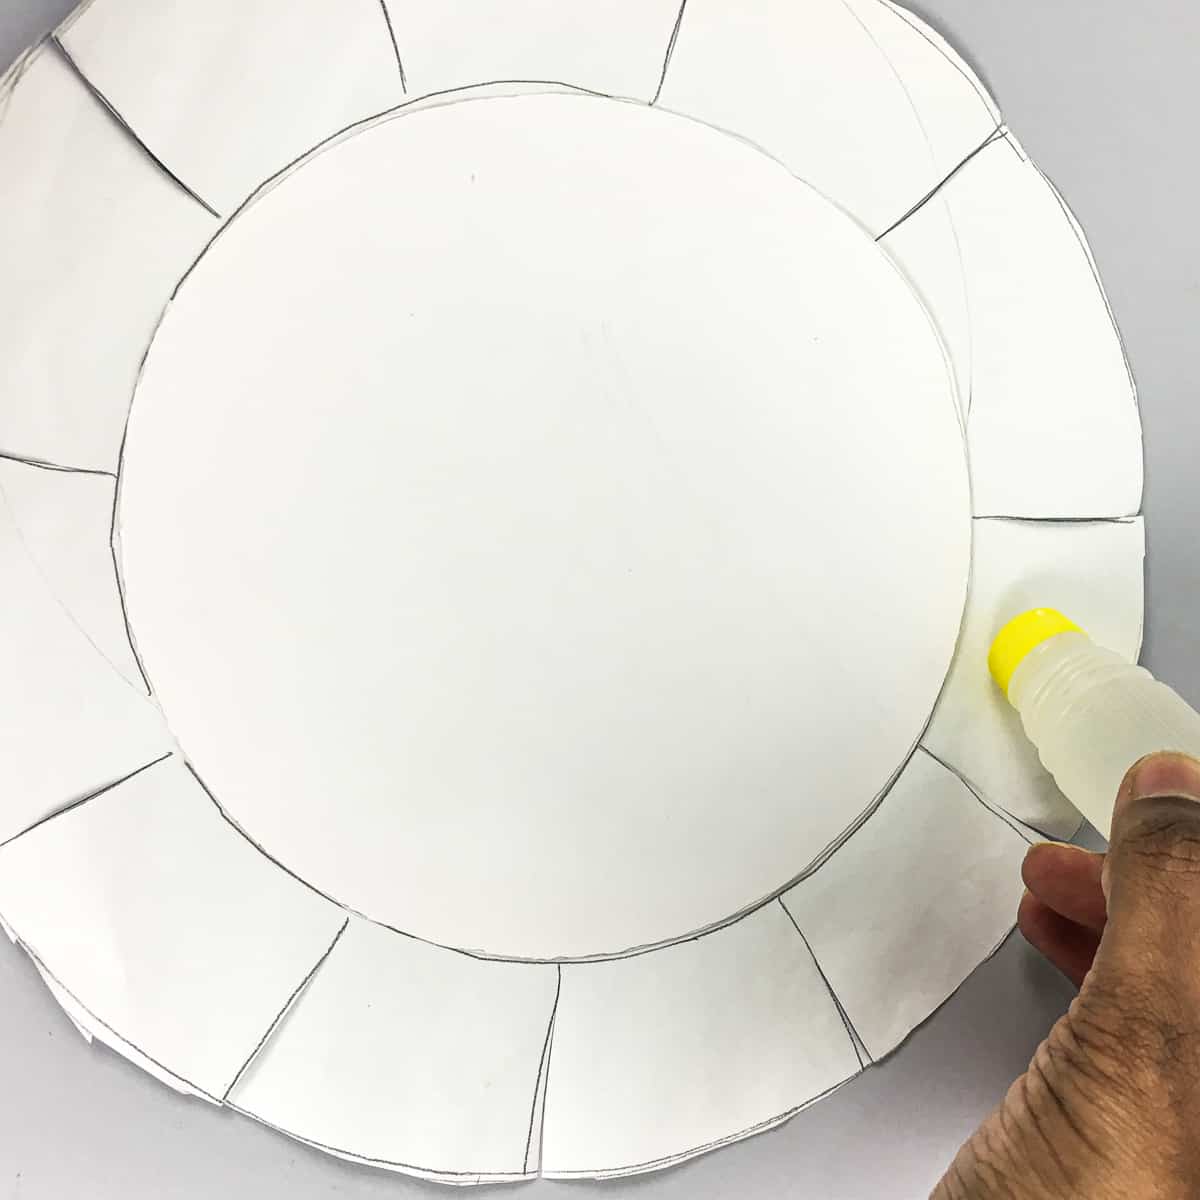
- The extra 1-inch allowance is for wrapping the paper around your cake board. Since its a circle, for ease of wrapping, snip the paper at about one-inch intervals all around. Make sure the snipping does not go beyond the inside outline.
- And then place your cake board in the center. Apply paper glue on the wrapping paper that shows around the cake board.
- And then, wrap the paper all around your cake board. Here is how I started mine:
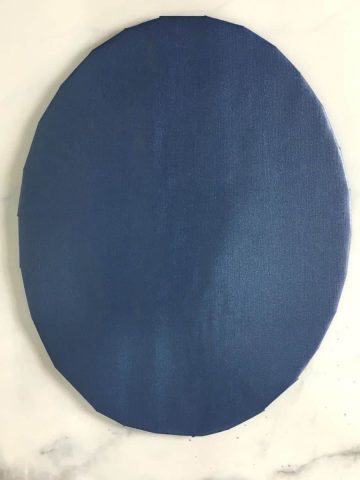
- And this was how it should look when completed. You will need to adjust and make smaller folds on the wrapping paper as you go around your cake board. The idea is to make sure its snugly wrapped.
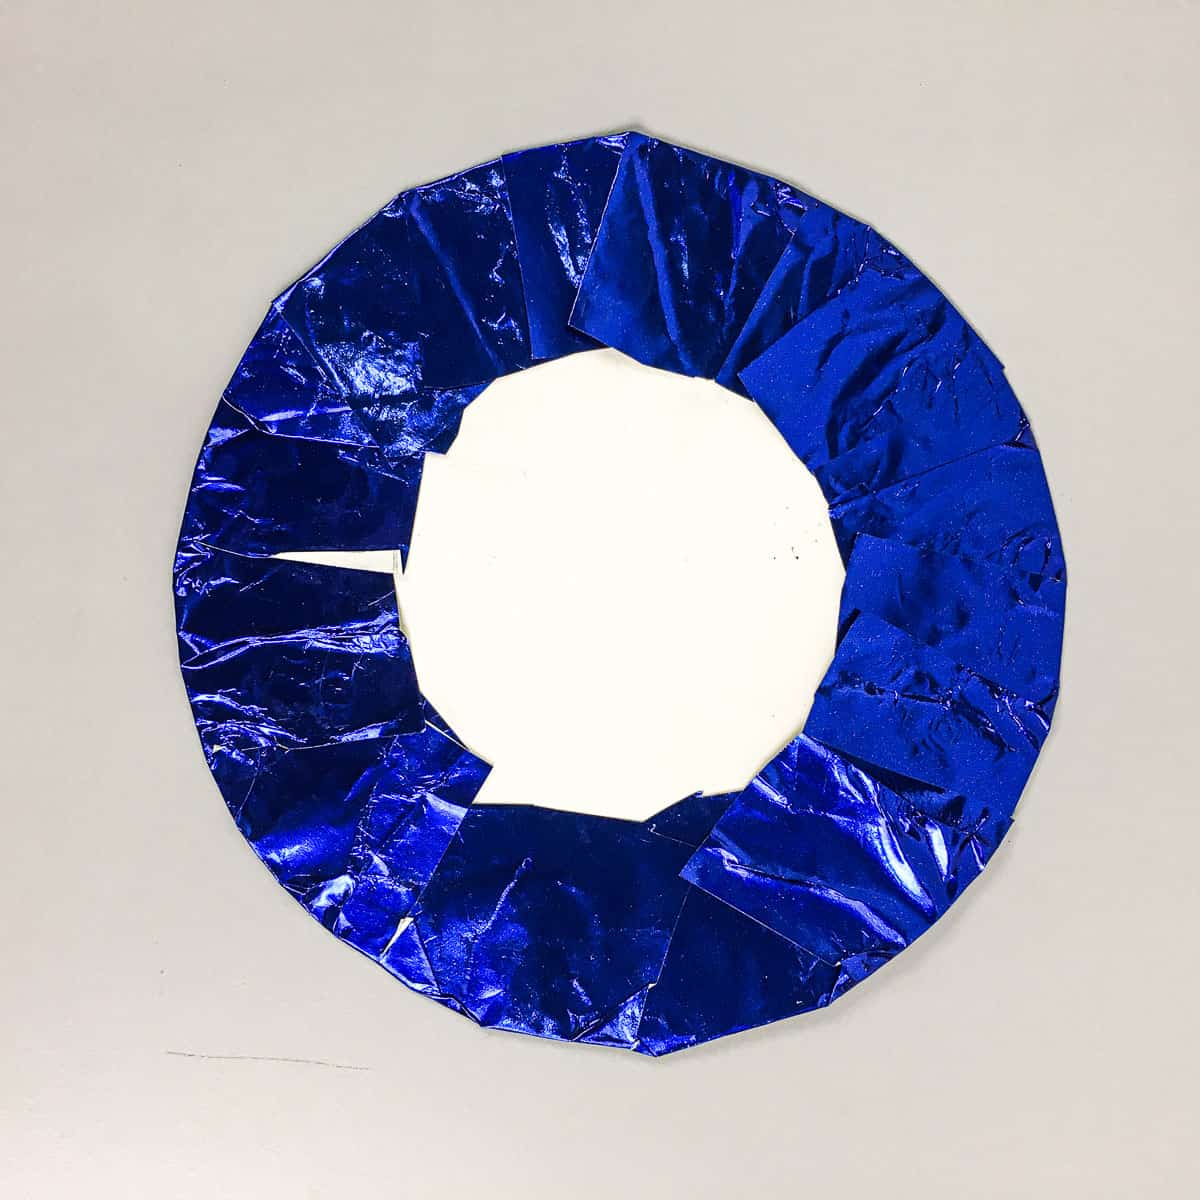
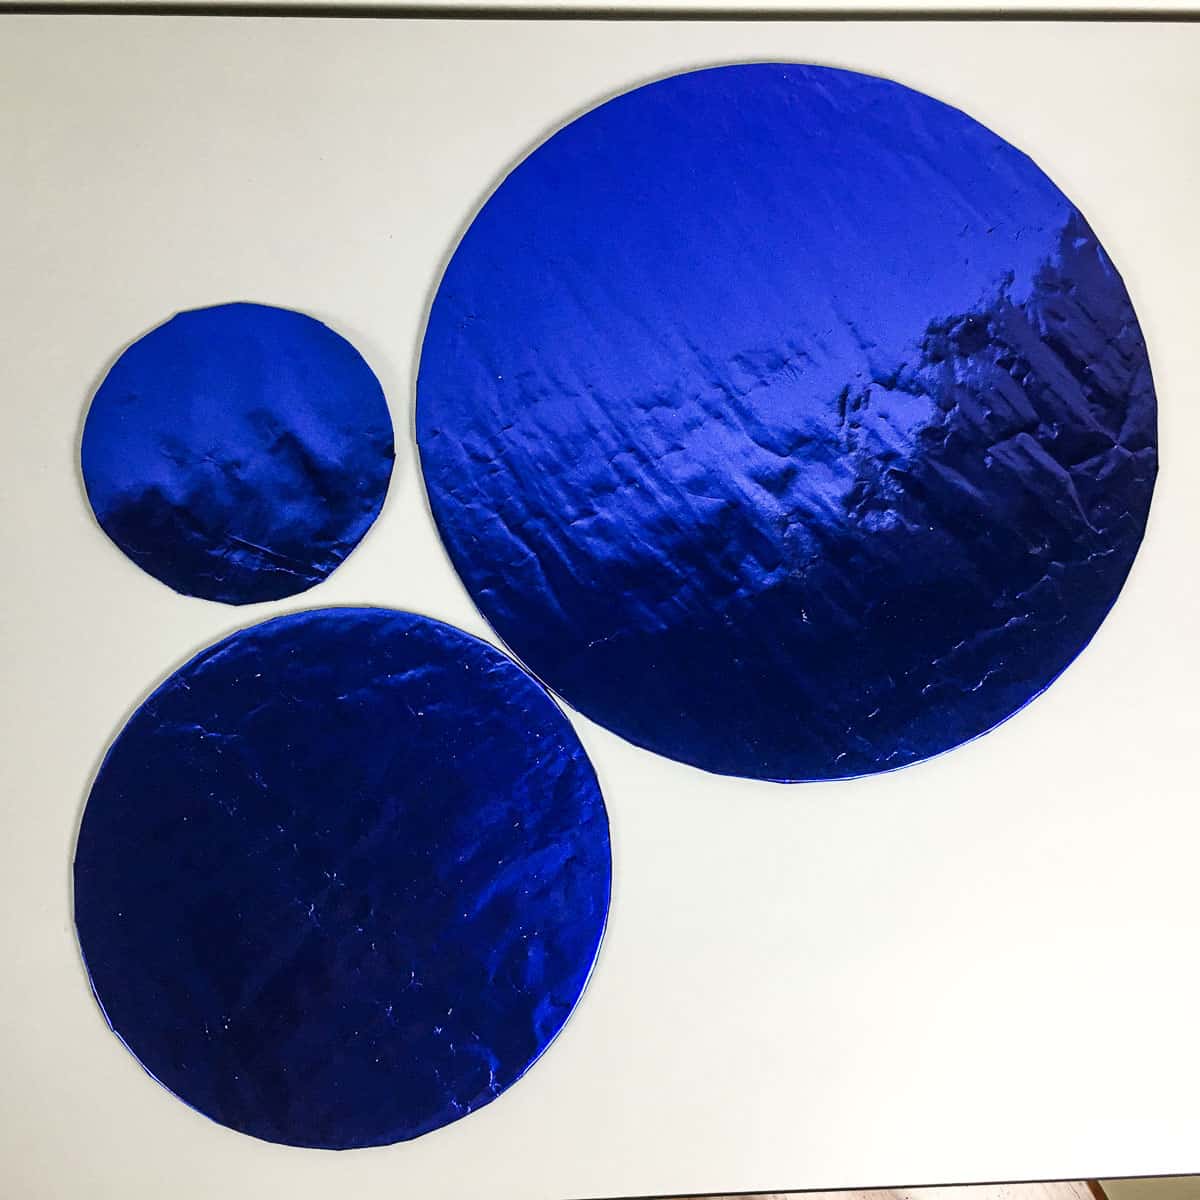
- Turn the board around and your cake board should look something like this:

- Go ahead and wrap the remaining 2 cake boards in the same way.
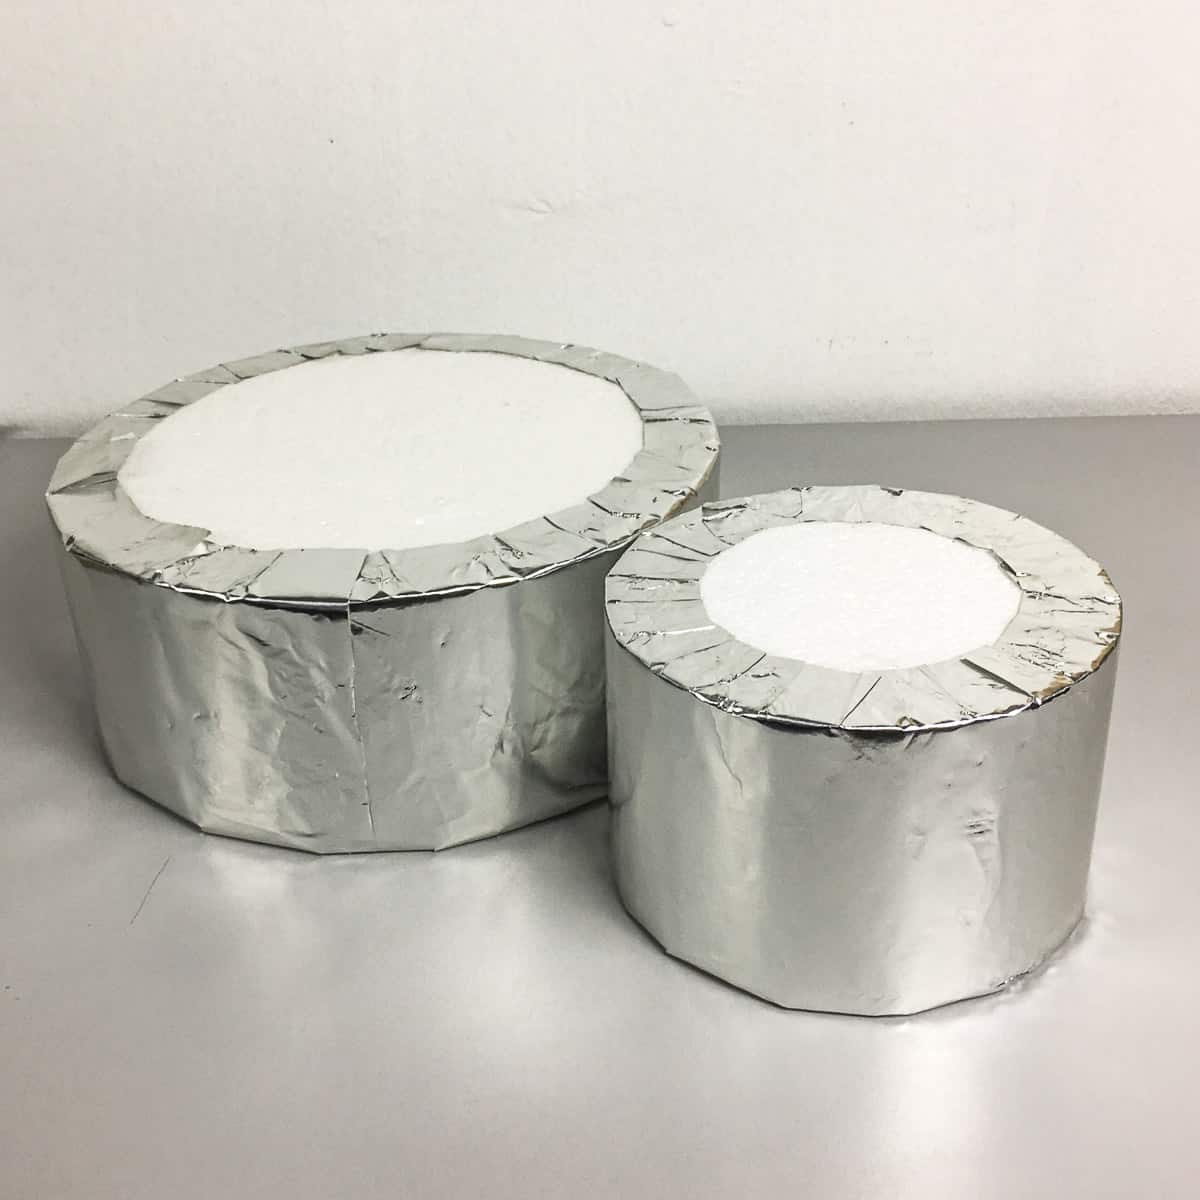
Step 3: Wrap the dummy blocks
- Next, prepare the Styrofoam dummies. I wrapped mine in silver wrapping paper. The first step you need to do is to measure the height of the dummies. Mine were 4 inches high.
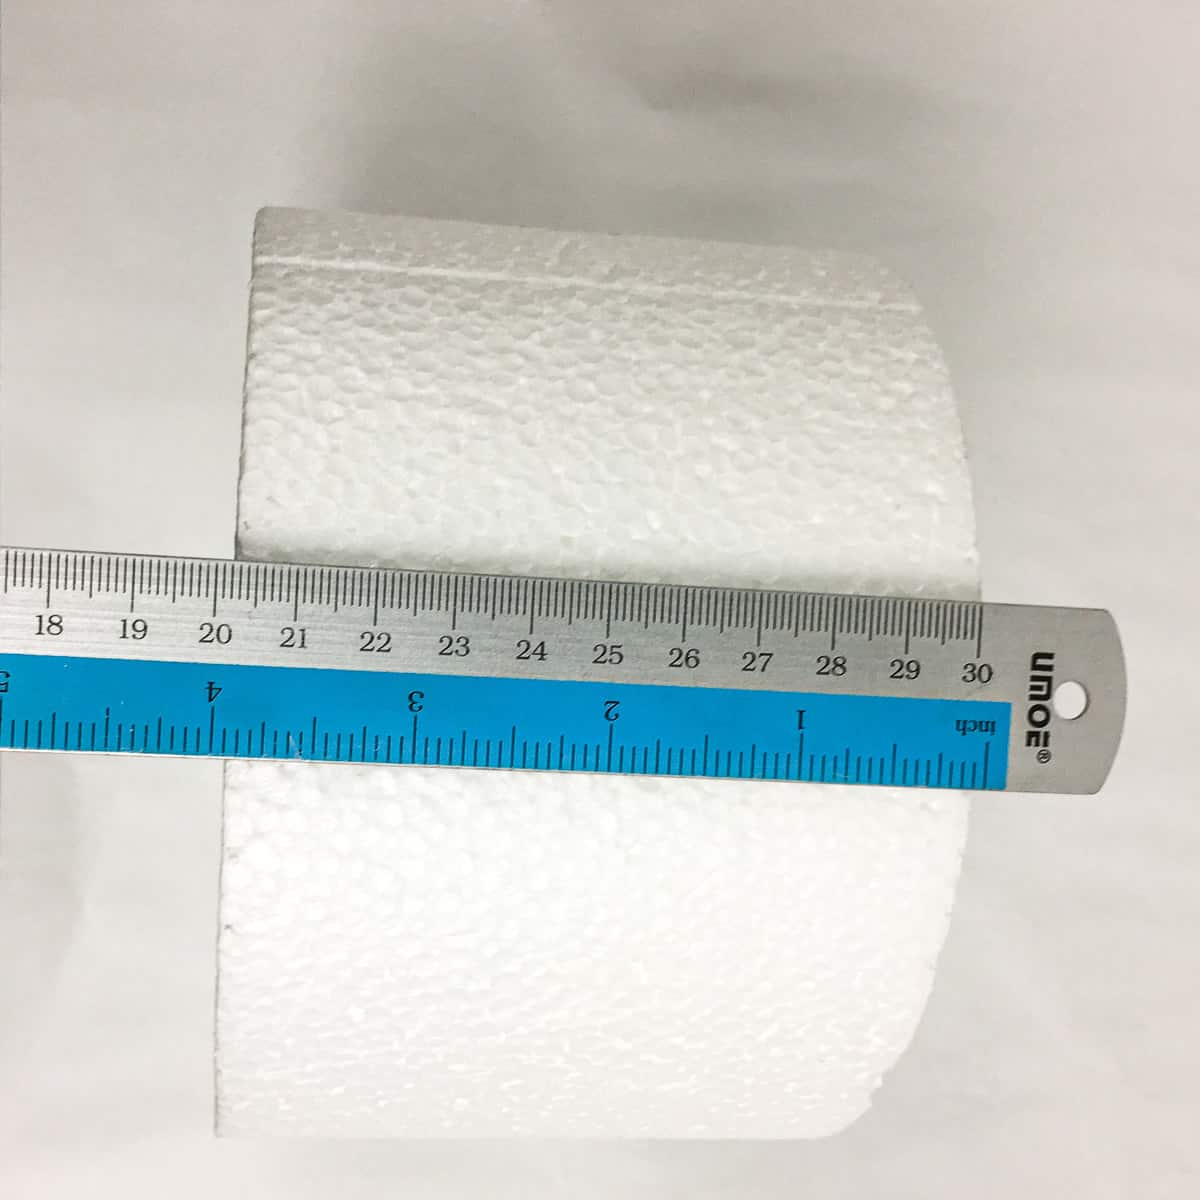
- And then, mark it on the reverse side of your wrapping paper, giving one-inch allowance at the top and bottom. The idea is to basically cut a strip of paper that is long enough to wrap the sides of the Styrofoam dummy. The extra 1 inch allowances on both sides are to secure the edges neatly once it's wrapped around the dummies.
- Here is how my paper strip looked like after cutting. Notice how I made small snips on both ends of the strip. This is to ease the wrapping process.
- After that, apply paper glue all over the strip. Place the dummy right in the center, and wrap the paper securely around it.
- Once you have the paper all around the sides, cut off the excess. Secure the ends, similar to the cake boards earlier. This was how I started:
- And this was how it looked like after completion:
- Go ahead and wrap the remaining dummy in the same way.
Step 4: Assemble the stand
- Next is the assembly process. Start with the largest cake board. Place the larger of the 2 wrapped cake dummies right in the center. Glue these together with hot glue. And then attach your second-largest cake board on top. This should be the same size as the Styrofoam dummy it is placed on.
- Continue with the smaller cake dummy and then the smallest cake board right on top. Secure all in place with hot glue.

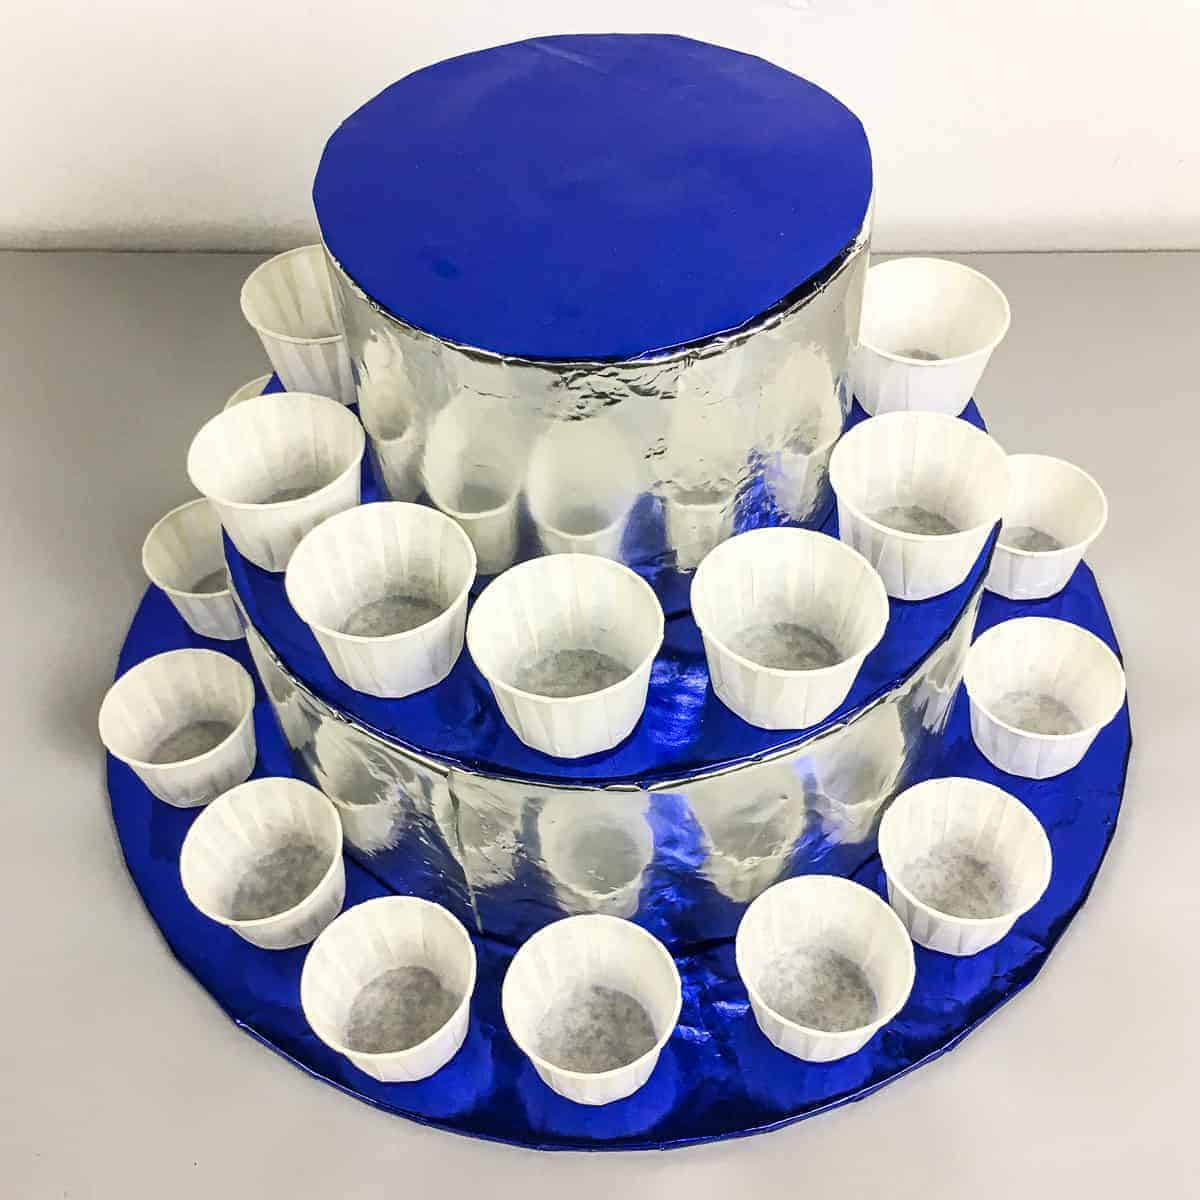
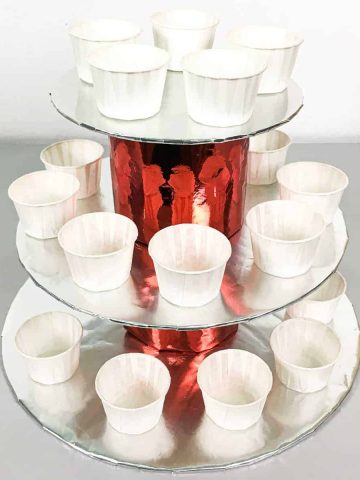
- Here is the completed DIY cupcake stand. I have my cupcake casings on it, just to show how the cupcakes fit well on the stand.
And that's that. Your DIY cupcake stand is pretty much done. You can decorate it further if you like or use it as it is.
💡Expert Tips
- Instead of wrapping the foam blocks with wrapping paper, you can also spray paint them. Let them dry completely before assembling the stand.
- Use satin or silk cloth to wrap the cake boards and the foam block or use satin ribbon to wrap the top rim of the foam blocks for a classy look and elegant cupcake display stand.
- Instead of using hot glue, you can also use double-sided tape or strong double-sided carpet tape to wrap the cake boards and the foam blocks.
- Cake board can be substituted with cardboard cake circles.
Leave a Reply