

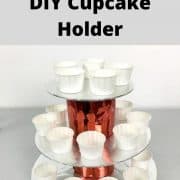
Learn how to make a DIY cupcake holder with this easy tutorial. It is quick and easy and makes a perfect addition to your dessert table. You can customize this simple stand to any color to suit your party theme too.

In this post, I have shared the step by step guide to creating a beautiful and functional 3 tier DIY cupcake holder that will impress your guests and make your cupcakes stand out. It is a great way to display not just your cupcakes but also your other favorite treats at birthday parties, dinner parties, baby shower and even weddings!
And if you like this DIY cupcake holder idea and are into DIY projects, you should also check out my other post on how to make cupcakes stand for yet another creative DIY cupcake stand idea. And you might also want to check out this post on how to make your own cake boards to learn how to make your own custom designed cake board.
Jump to:
I made this DIY cupcake stand for my son's 12th birthday party. And it was crafted in a simple design to match the theme colors of his Marvel Superheroes party as well as the personalized cupcakes.

❤️ Why you will love this tutorial
- This is an easy project. It is easy to follow (with detailed step by step images) and easy to make.
- You only need 4 simple items to make the cupcake holder, i.e. cake boards, styrofoam blocks (or tin cans), wrapping paper and hot glue gun. These are relatively cheap items that are easily available and can be purchased from a dollar store or your local craft store.
- You can create custom cupcake holders to match your party theme at a fraction of the cost required to purchase them from elsewhere.
- It is a great way to save space on your dessert table.
- You can use it not just for cupcakes but also for other sweet treat like fruit jelly cups, puddings like these Biscoff pudding cups, cheesecake in cups like this kiwi cheesecake, mini cheesecakes like these Snickers cheesecakes and other treats.
📋Supplies required
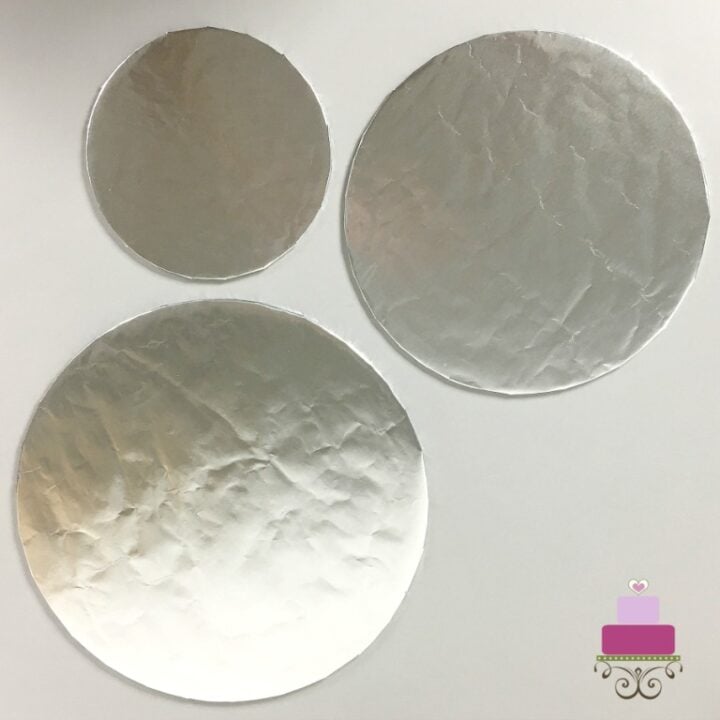
- Cake boards - I used a total of three boards. 1 for the top measuring 6 inches in diameter, the one in the center measuring 8 inches, and the bottom one measuring 11 inches in diameter. If you prefer to make these on your own, here is my tutorial on how to make your own cake boards. It is recommended for the 11 inches round cake board (i.e. the base board) to be a cake drum or a thick cake board (you can stack 3 cake boards together to make a thick board) for additional stability).
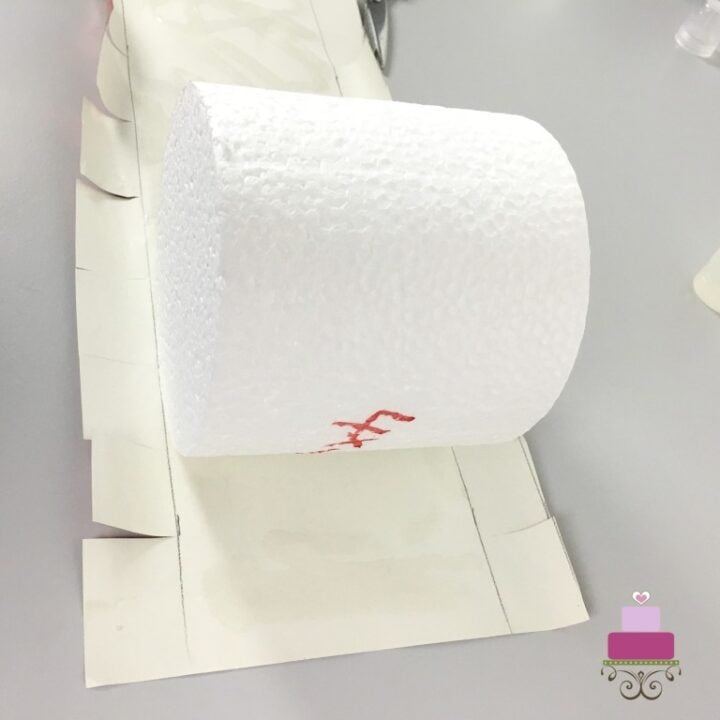
- Styrofoam cylinder blocks - I used 2 of these blocks for the cupcake holder and they formed the center core. Each was 3 inches in diameter and approximately 3.75 inches in height.
- Wrapping papers - For this project, I used 2 different colors; silver and red.
- Paper glue - I used paper glue to stick the wrapping paper to the boards and the Styrofoam cores.
- Hot glue - I used this stronger glue to hold the cupcake holder together, i.e. to stick and hold the cake boards and the foams together.
🧾Substitution and variations
- Cake boards - you can make these yourself if you prefer with corrugated cardboard. Here is the full tutorial on how to make the cake boards.
- Styrofoam cylinder blocks - if you cannot find these, an easy substitute would be the food cans (like soup cans) you have at home. You can even use the ones which are unopened as those will also help to keep the cake holder stable with their weight. All you need to do is wrap the tins or cans as you would with the styrofoam blocks as shown in the tutorial below before using.
✂️How to Make
Step 1: Wrap the cake boards
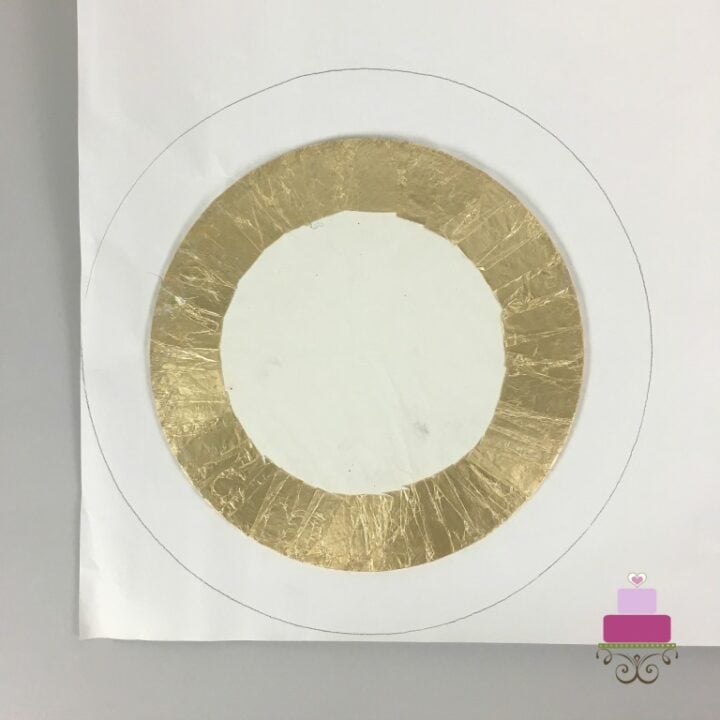
Wrap each of the cake boards, one by one. Place each on the reserve side of your wrapping paper.
Draw an outline around the boards. And then another outline that is one inch larger than the cake board.
Cut the wrapping paper following the larger circle outline.
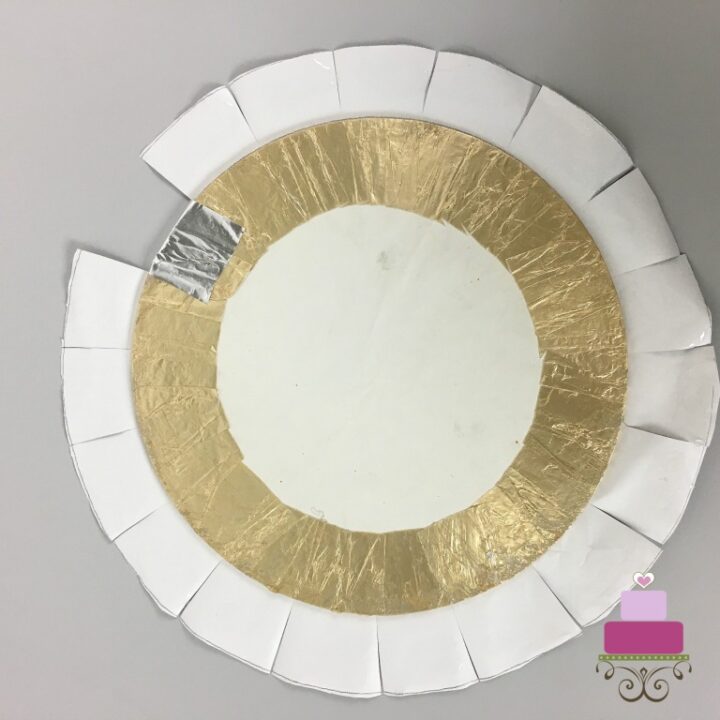
Next, make short snips all around the cut outs. Make sure the cuts do not go beyond the inner outline.
And then apply glue all around the edges of the cake board and wrap the paper around it.
You will need to overlap some parts of the wrapping paper folds on the cake board.
Wrap as neatly as possible.
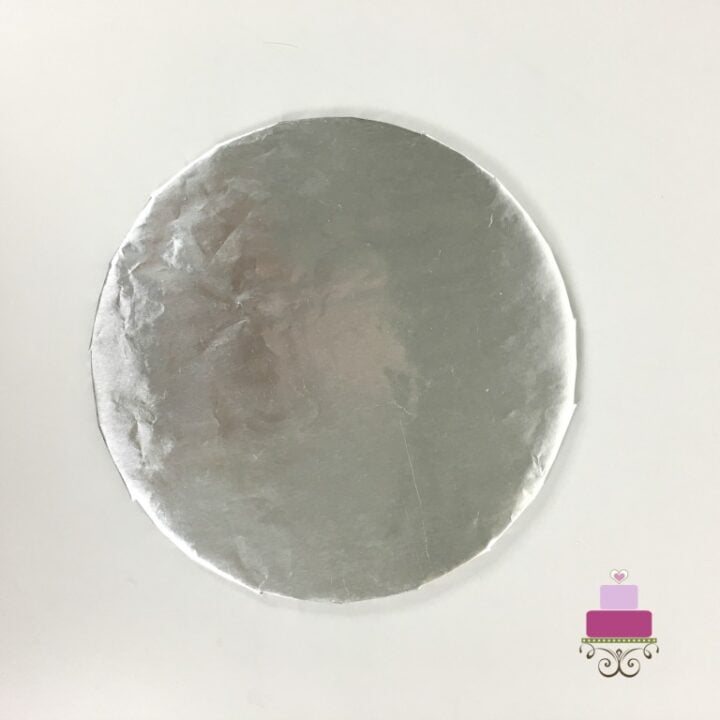
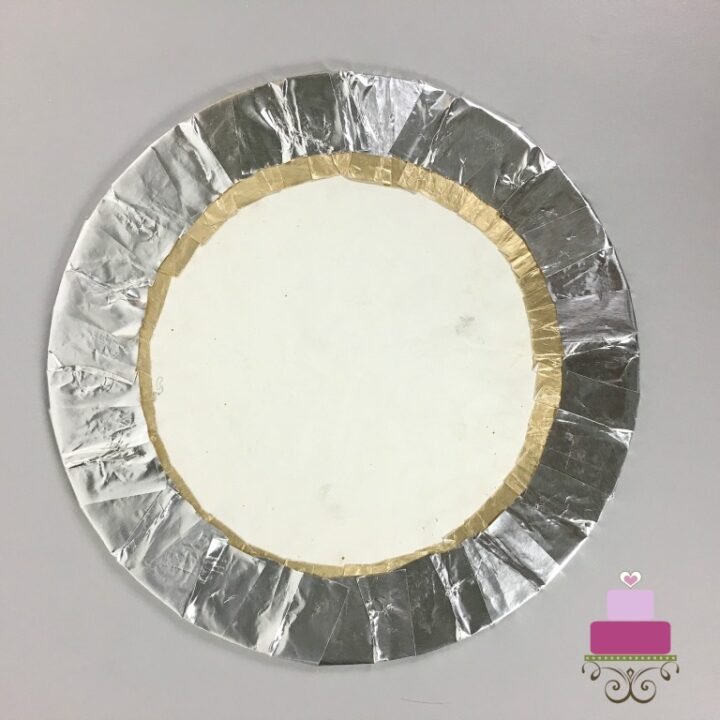
And this was how the board should look like on the front side once wrapping is complete.
Wrap the remaining 2 cake board in the same way.
Step 2: Wrap the styrofoam blocks

Next are the center foam cores. To wrap these, measure the height of each block.
The ones I used here were 3.75 inches high.

Cut out a long strip of red paper with a width that equals the height of the foam plus extra 1 inch allowance on both sides.
And then cut short snips on both sides of the paper strip before applying paper glue all over it (including the snipped sections).
To wrap the foam, place it in the center on the paper strip and make sure there is enough allowance on both ends.

And then wrap the paper tightly around the sides of the foam core.
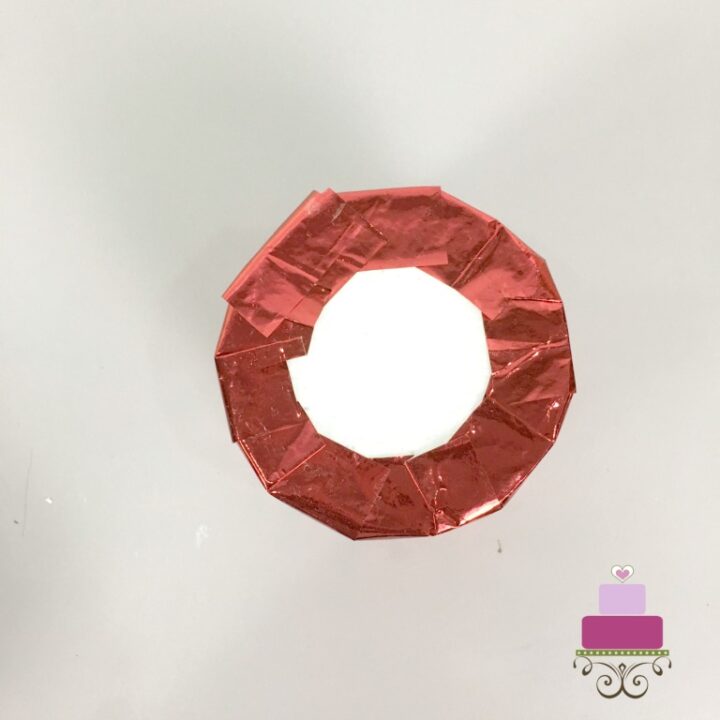
Fold and glue the sides in the exact same way as the cake boards.
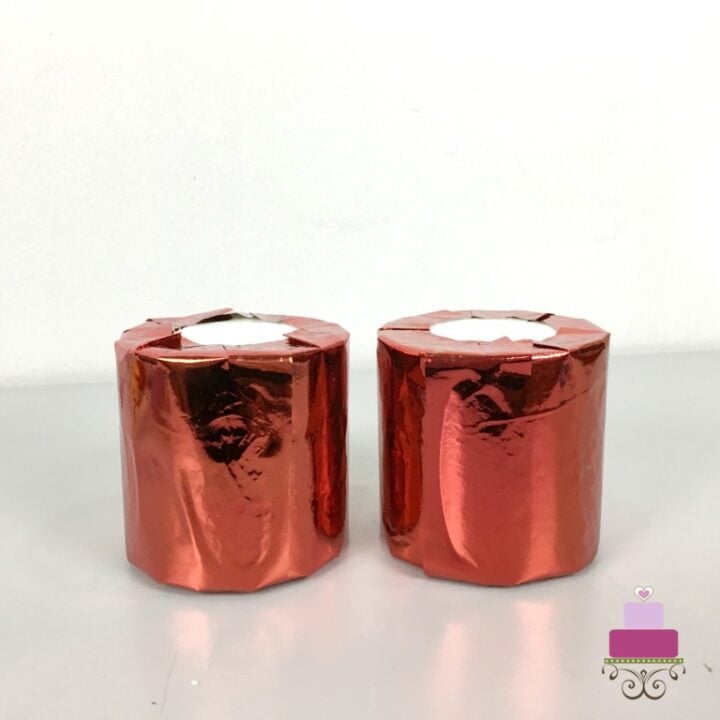
This was how both the core foams for the cupcake holder looked like after the wrapping process was completed.
Step 3: Assemble the tiered DIY cupcake holder

To assemble, start with the largest cake board as the base for the cupcake holder.
Use hot glue to stick the first foam core right in the center of the board.

And then attach the second largest cake board on the foam core also with hot glue.

Repeat the process for the next foam core and the top most cake board.

To make sure all the components stick securely to each other, place a heavy book on the cupcake holder and leave it there for about 30 minutes. And that completes the project.
Hope you enjoyed this easy DIY cupcake holder tutorial and find it useful. You can use this same technique to create multiple tiered DIY cupcake towers.
💡Expert tips
- Use a cake drum for the base board as it will be much more stable and prevent your holder from falling when the cupcakes are not placed in a balanced position, all around the holder.
- Use the same technique to create multi tier DIY cupcake tower for birthdays and weddings. When making tall towers, you can opt to use two or three layers of the same sized cake boards for the tiers.
- When choosing the size of the cake boards and the styrofoam block, make sure there is sufficient space to fit your cupcakes. Measure the diameter of your cupcake liners and make sure they are able to fit on the cake board.
- Customize the color the decoration to suit your party theme. There are many ways you can decorate these cupcake stands further. And you can find many interesting deco items in your local craft supplies store or dollar store.
- Instead of plain colored paper, you can use scrapbook paper to wrap or decorate the cake boards. You can further wrap each of the cake board layers with plastic wrap. You can even give the cake board a simple wrap with parchment paper.
- Tie a piece of ribbon along the edges of the cake boards to create a border-like effect and secure them in place with hot glue sticks (hot glue gun).
- The cake board can be replaced with cardboard cake circle and you can wrap them with aluminum foil if preferred.
- Use spray paint to paint the cake boards and the styrofoam core in your party theme colors to suit the party decorations instead of wrapping them with paper.
💭 FAQs
Yes, you can. The holder can be reused many times.
Instead of using this stand only for cupcakes, you can also use it for ice cream cone cupcakes, or muffins or other party treats.

Leave a Reply