

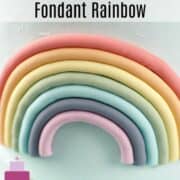
Learn how to make fondant rainbow with this easy tutorial. Made using pastel tones, the rainbow has all 7 colors, is perfectly symmetrical and completely edible. It is quick to make and is absolutely beautiful.
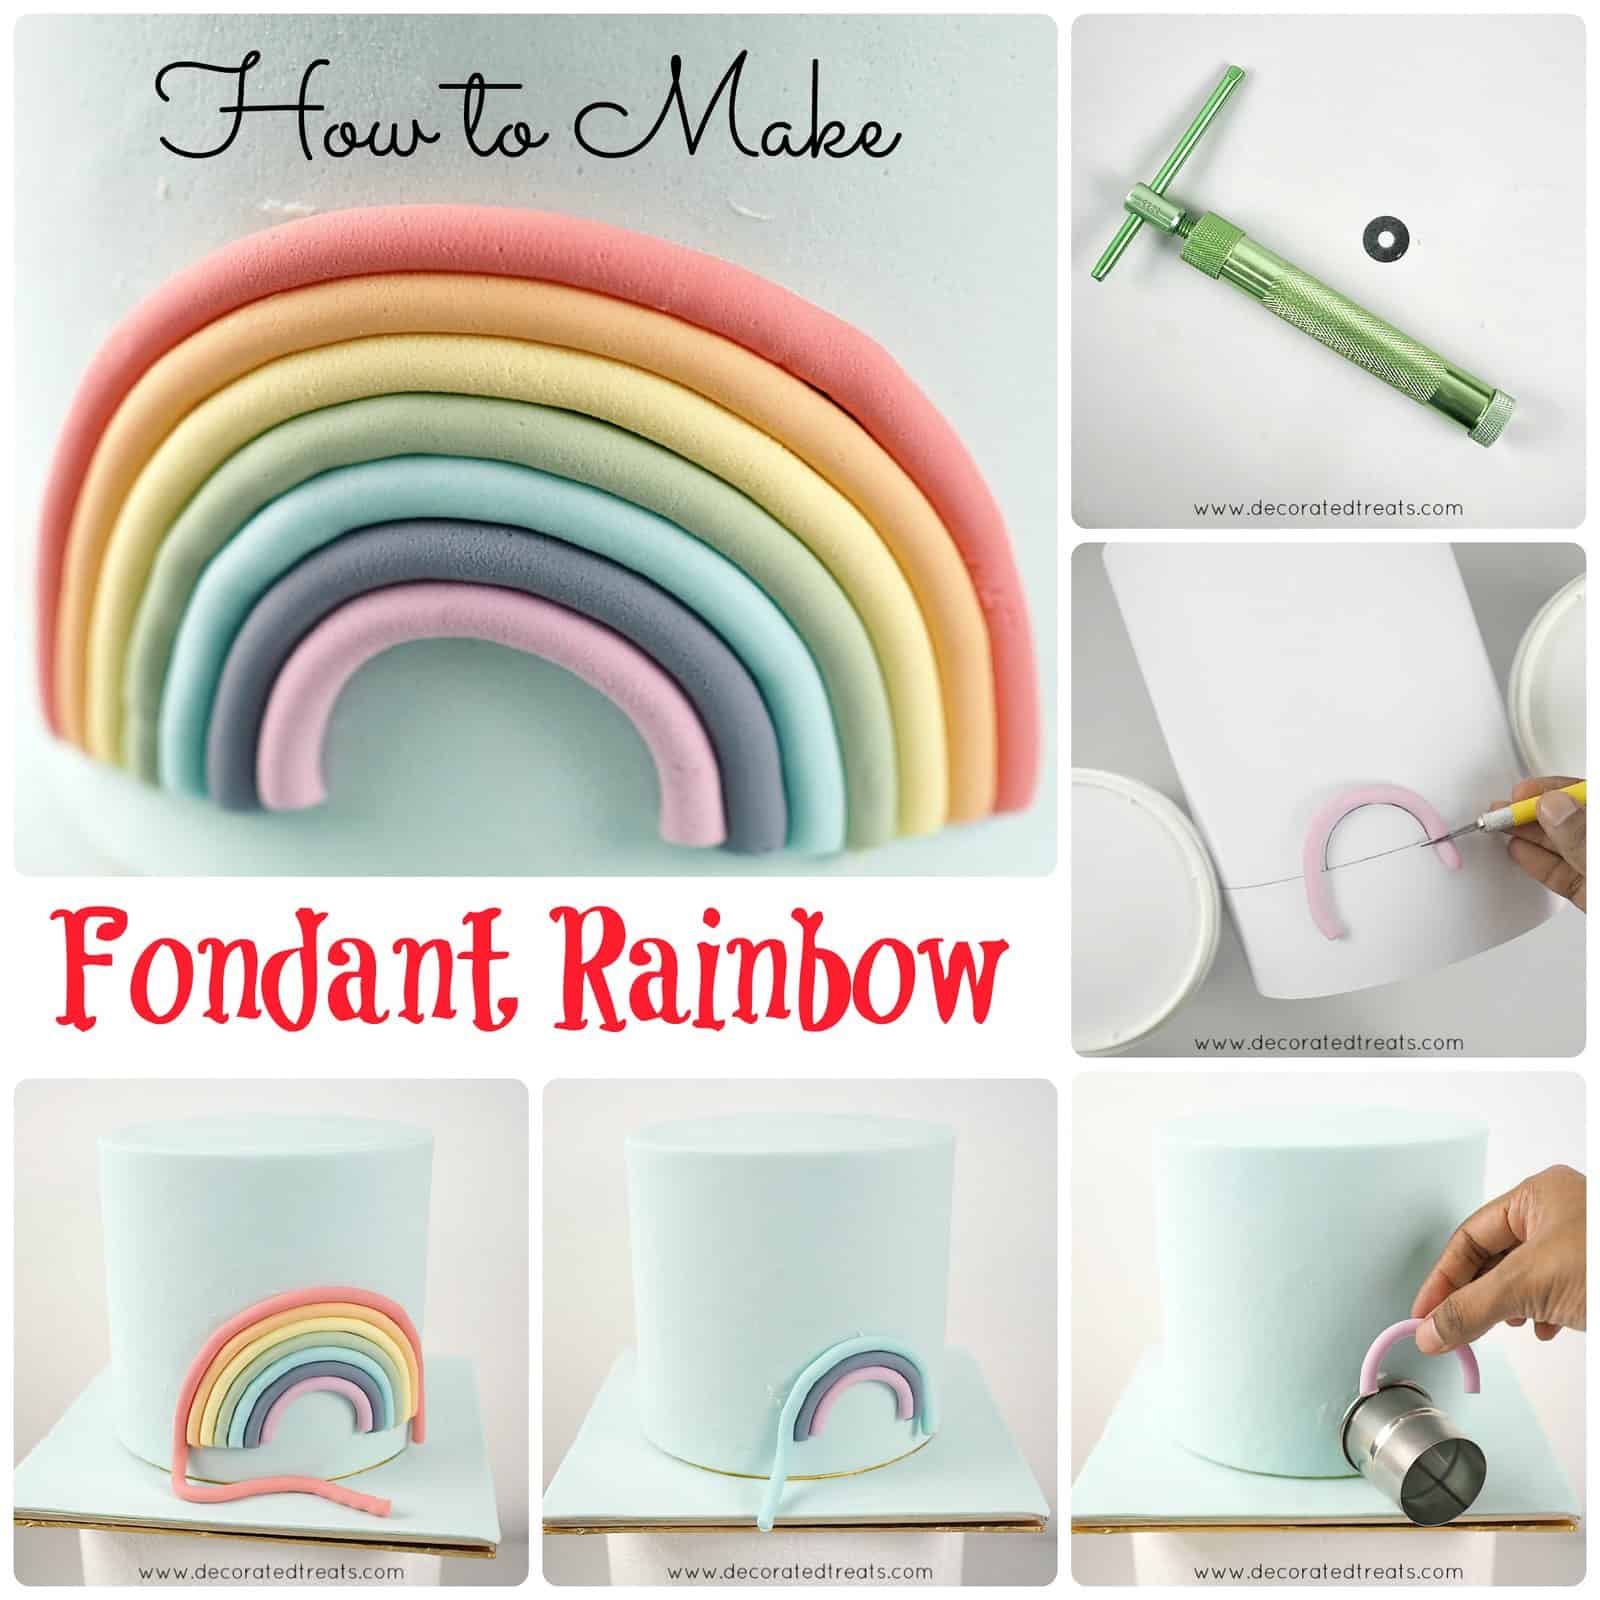
This tutorial is on how to make a 2D fondant rainbow. It is not a cake topper, but is attached to the side of the cake.
I made this rainbow for a rainbow birthday cake. This rainbow has all the 7 colors and is perfectly symmetrical. And I am also sharing on this page, my tips on how to mix the perfect rainbow colors for a fondant rainbow.
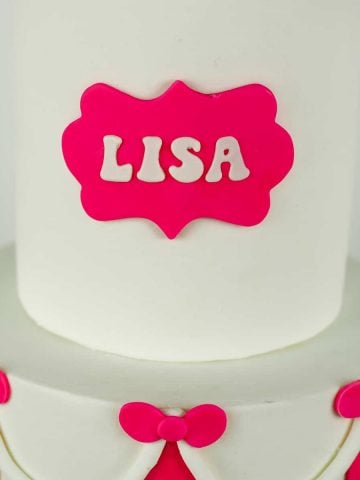
I also used the same set of colored fondant to create rainbow fondant letters for the cake.
❤️Why you will love this tutorial
- It is very easy to follow.
- The tutorial makes a full fondant rainbow with all 7 colors of the rainbow.
- You do not need any special cutters or molds to make the rainbow.
- It teaches you technique to make a perfectly symmetrical rainbow.
If you like this tutorial, you might also like my other tutorials on how to make fondant flowers in rainbow colors, how to make 3D fondant clouds, how to make fondant hearts without cutters, how to make 3D fondant letters for cakes and how to make number cake toppers.
🧾Supplies
- Fondant - I used Satin Ice fondant in white, yellow, orange and baby blue. For the rest of the other rainbow colors, I used white fondant and tinted it with food coloring. You can also make your own fondant with this homemade fondant recipe or marshmallow fondant recipe.
- Food coloring - I used Americolor gel food colors in red, avocado, royal blue and electric purple (see below on how I mixed these colors to achieve the rainbow colors)
- Extruder tool with medium-sized round disc - This tools helps to make fondant strips in consistent thickness. And it is quick too. If you do not have an extruder tool, you can still roll the fondant into strips by hand.
- White paper and styrofoam dummy - The white paper is to draw the rainbow template and the foam dummy is to shape the rainbow. Use a dummy that is the same size as your cake.
- Shortening - To attach the rainbow on to the fondant covered cake.
- Sugar craft knife - To trim the ends of the rainbow strips for an even finishing.
👩🍳How to Make
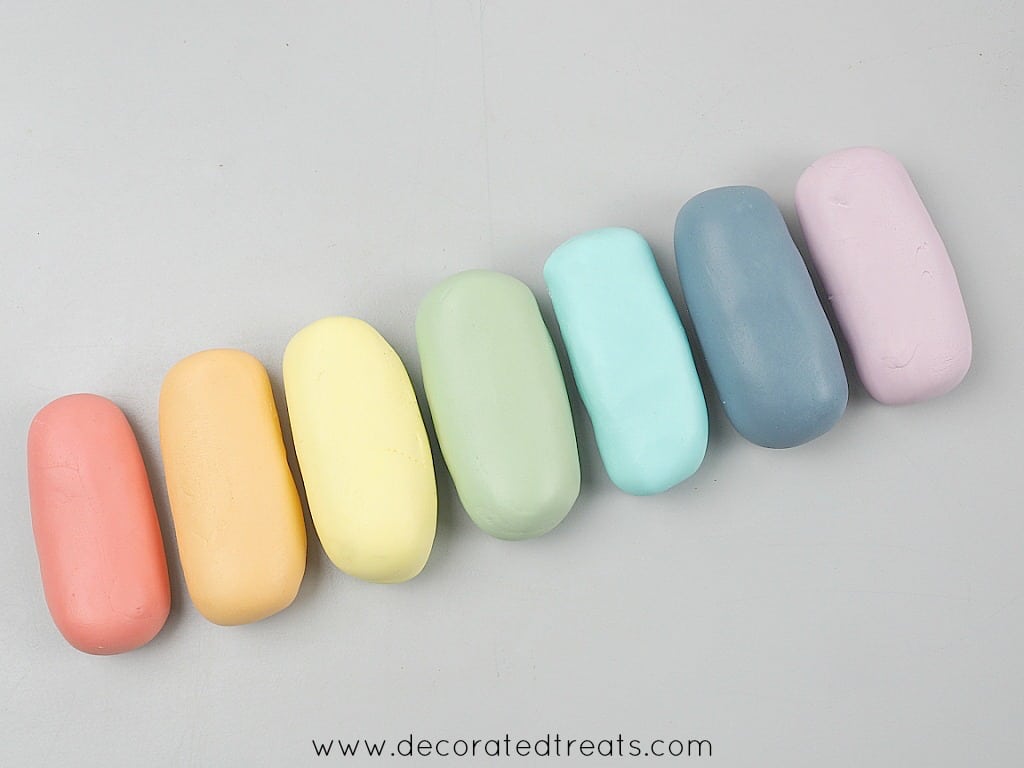
Step 1: Tint fondant in the rainbow colors
The first step is to tint the fondant in all the 7 colors of the rainbow. And this were the color mixes I used:
- Red - White fondant + Americolor Red Red
- Yellow - Yellow fondant + white fondant
- Orange - Orange fondant + white fondant
- Green - White fondant + Americolor Avocado
- Blue - Baby Blue Fondant
- Indigo - White fondant + Americolor Royal Blue (2 parts) + Americolor Red Red (1 part)
- Violet - White fondant + Americolor Electric Purple.
Keep the fondant covered after tinting.
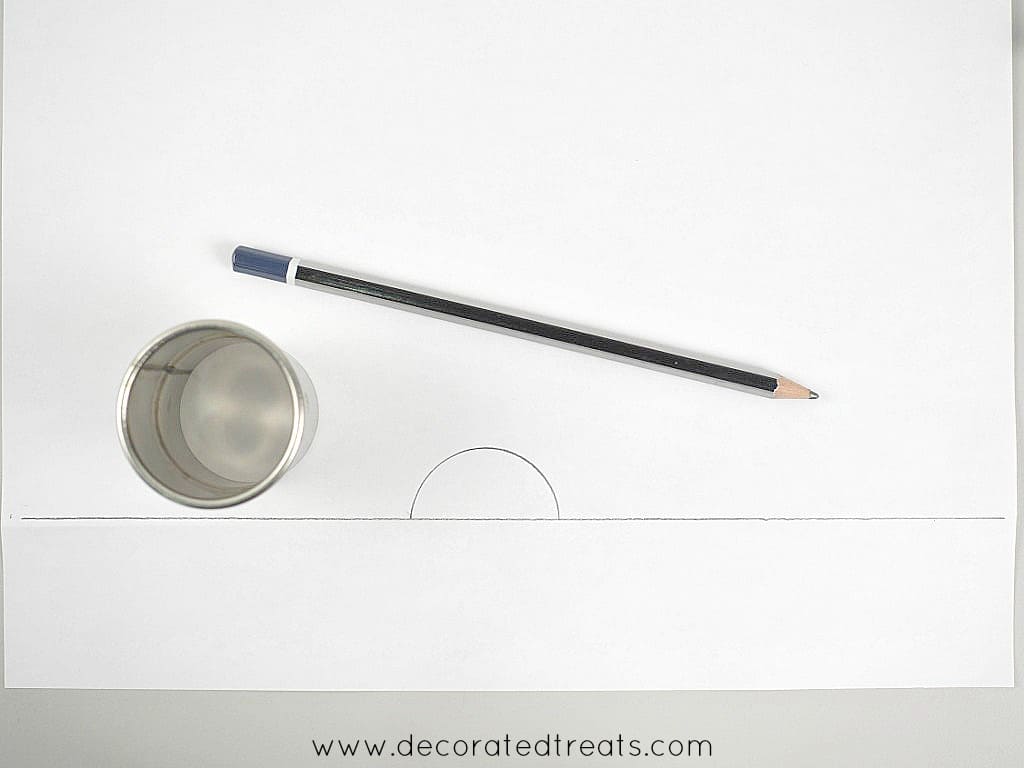
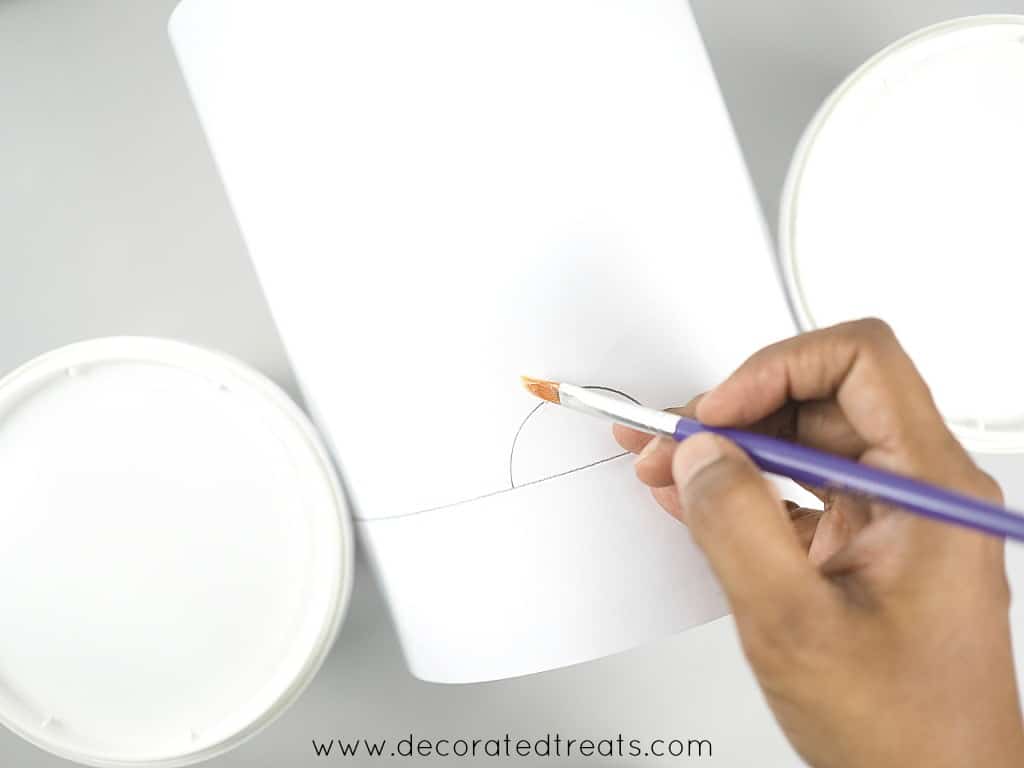
Step 2: Prepare the rainbow template
The template is required only for the smallest curve on the rainbow which is the violet strip. You can use a cookie cutter to draw it.
Start with a long horizontal line on the paper and then draw a half circle in the middle.
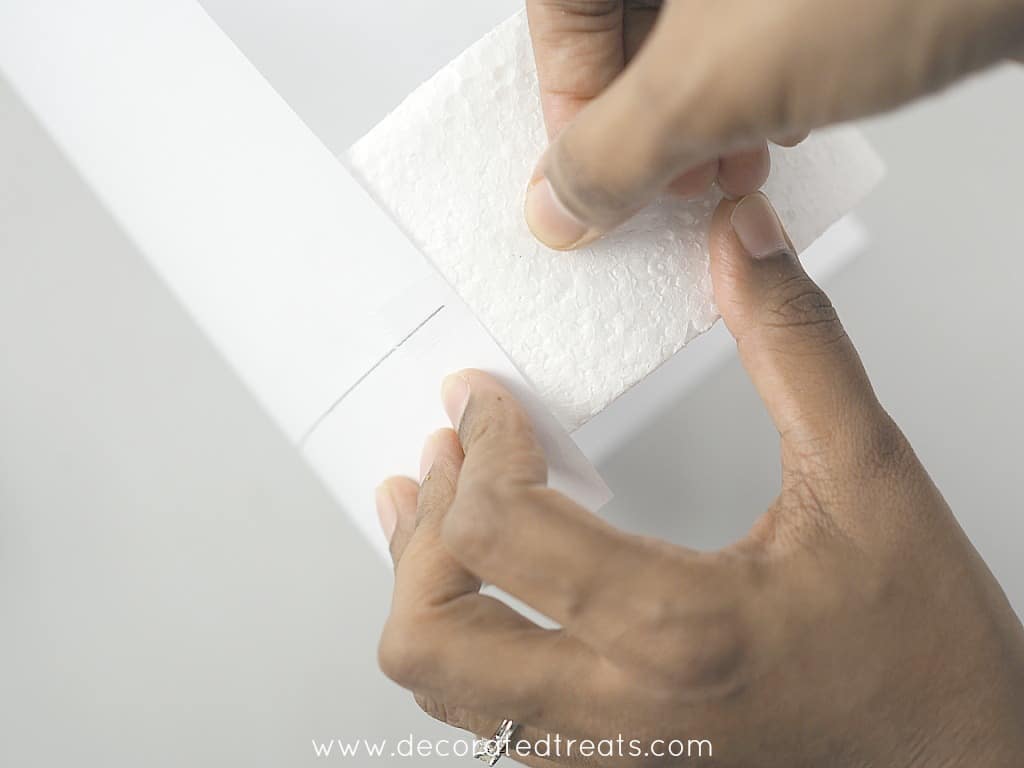
Tape the paper around the sides of a 6 inch round styrofoam block.
Note: The size of the styrofoam block should be the same as your cake. Mine was a 6 inch round cake, hence I used a 6 inch round dummy.
To hold the dummy from rolling, you can hold it in place by place something heavy on both sides. I used my fondant containers.
Apply a little shortening on the paper so that the fondant strip stays in place once put on the paper.
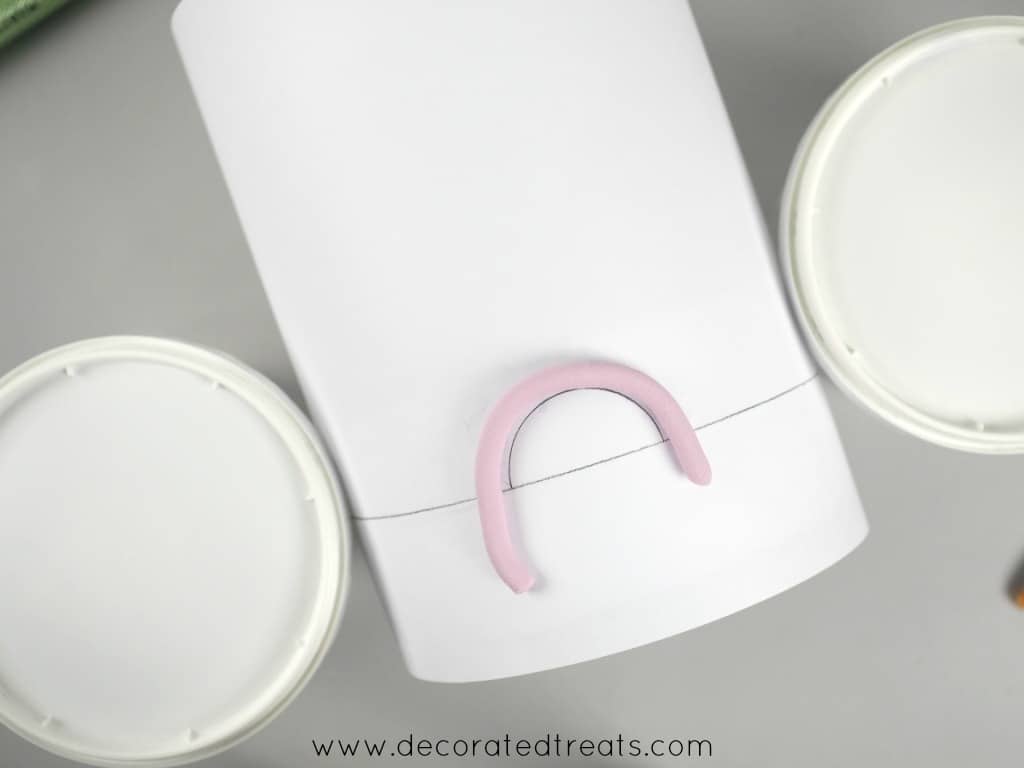
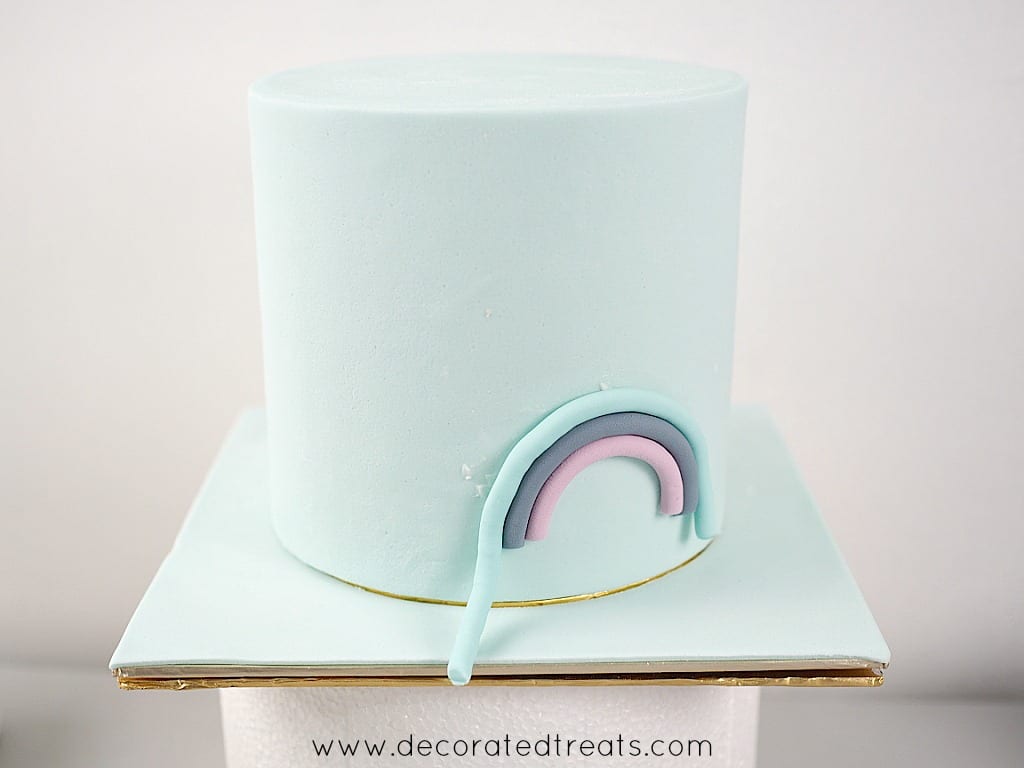
Step 3: Make the first stripe of color
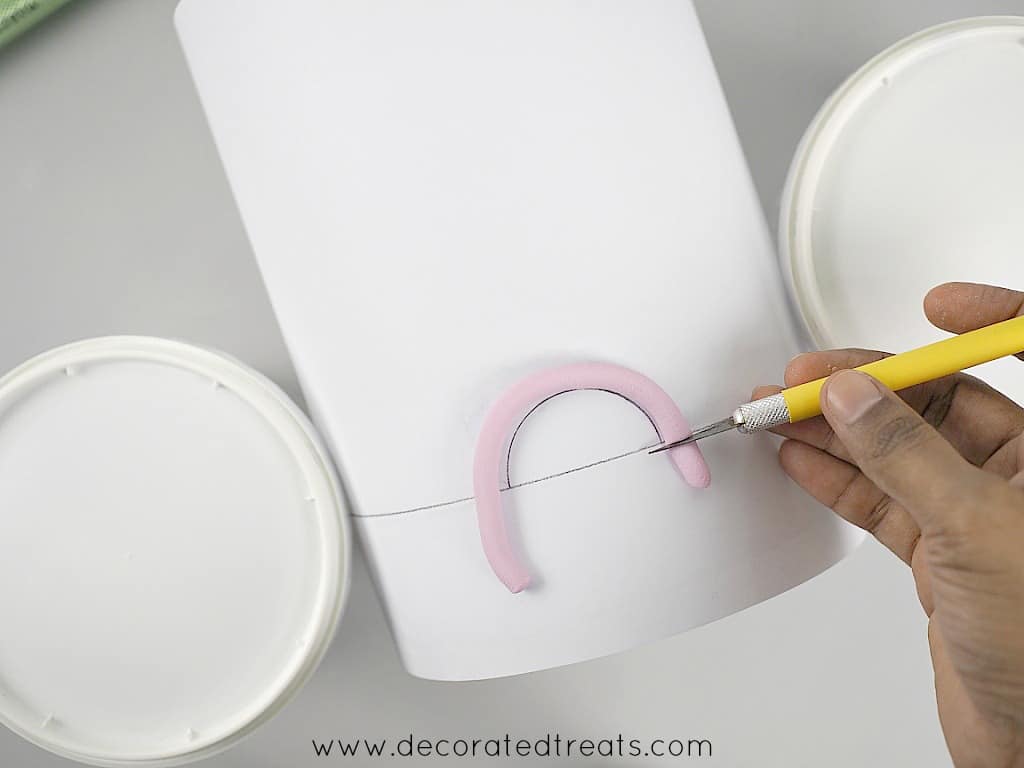
Using the extruder tool, pipe out the last color of the rainbow, i.e. violet. Positioned the strip onto the semi circle drawing on the paper and trim off excess on both sides.
Let this strip set in shape for about 10 minutes.
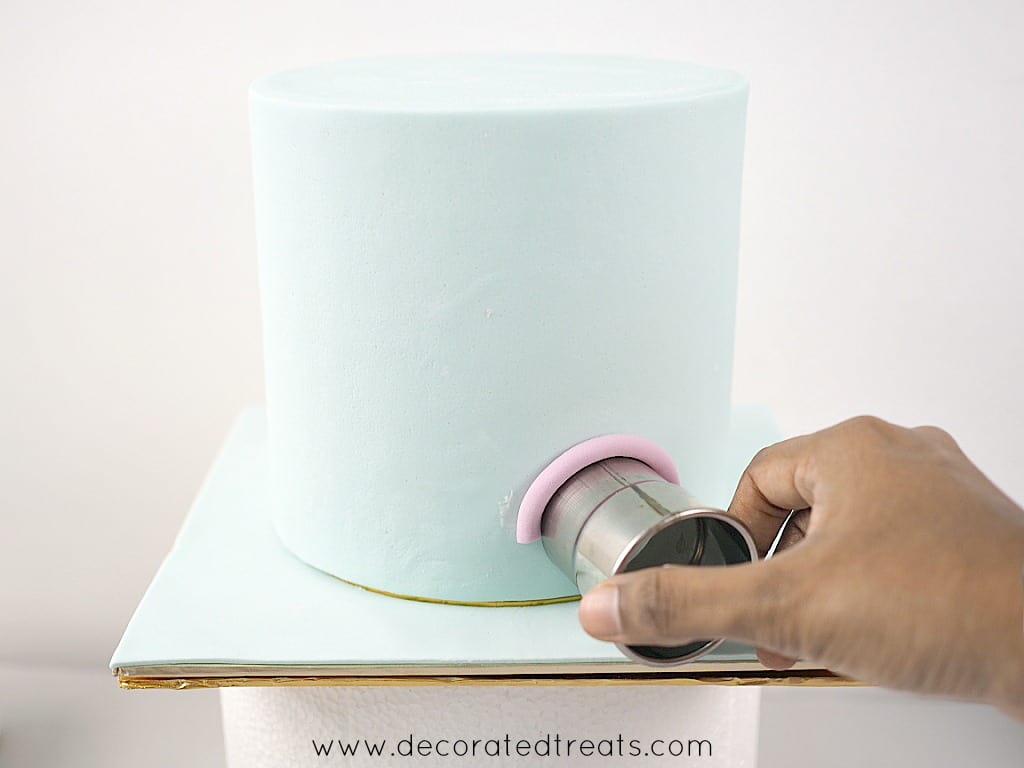
Apply shortening on your cake (covered in fondant first) where you wish to position the rainbow. And then, gently lift the violet rainbow strip and place it on the cake.
Note: You can use the same cutter used to draw the template to guide you in placing the strip on the cake.

Step 4: Add the remaining colors
Once the violet strip is in place, proceed to add with the rest of the colors. Apply shortening to the cake before putting on each strip.
And after each addition, trim off any excess fondant with the sugar craft knife.
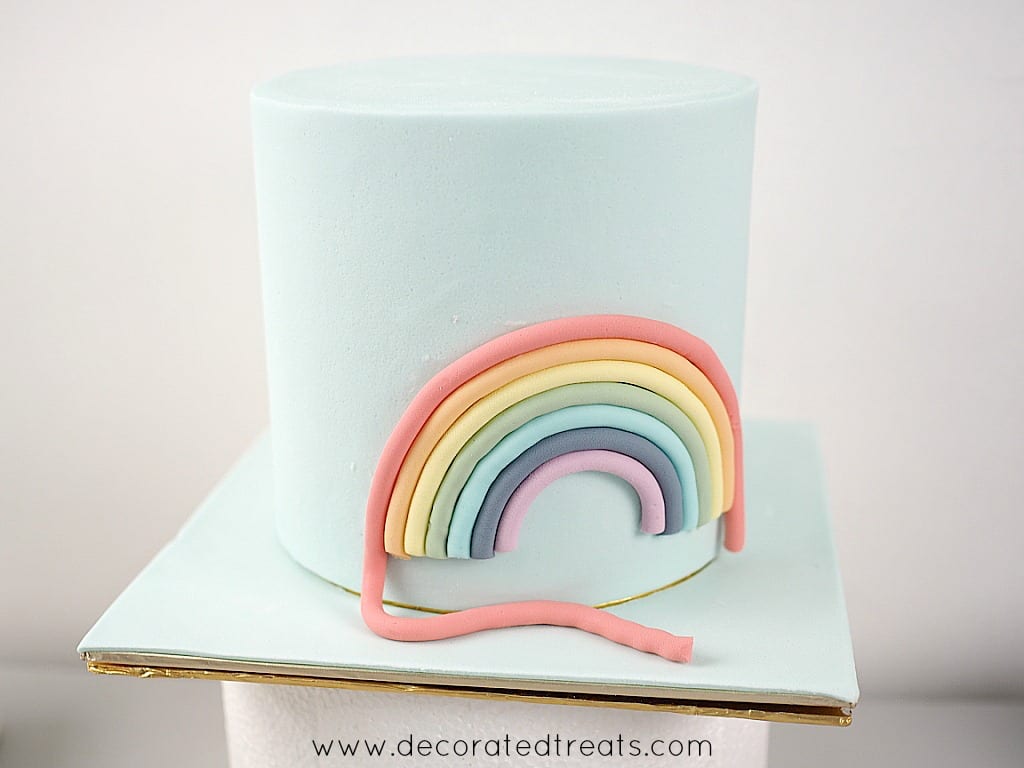
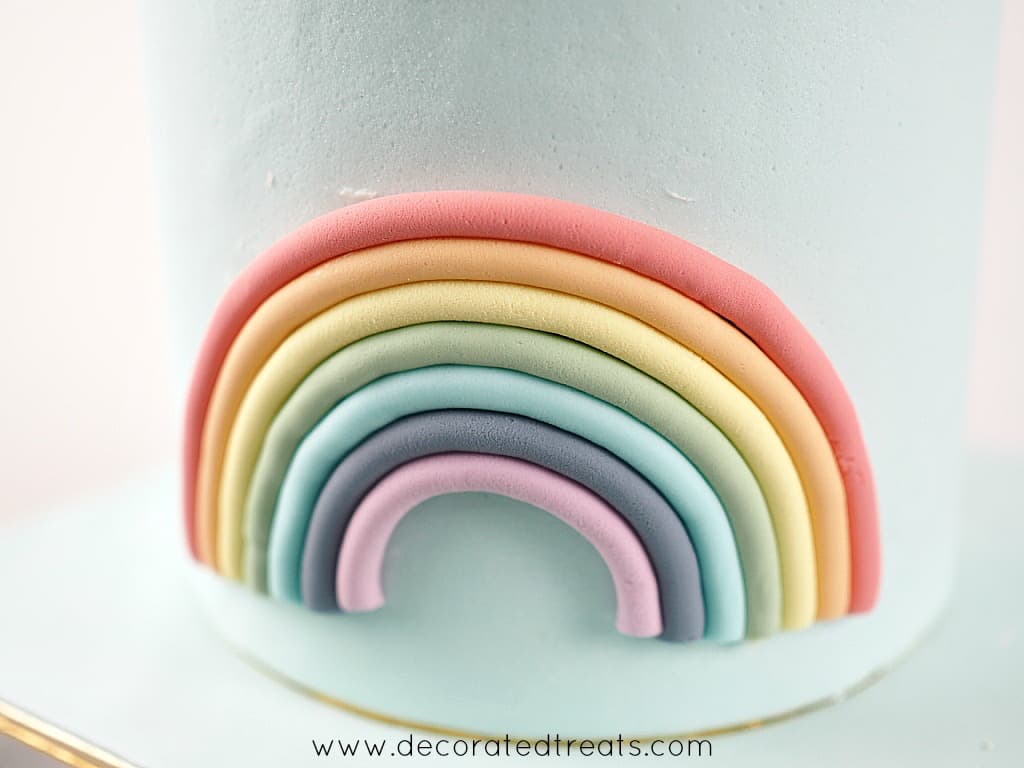
This is how the completed fondant rainbow should look like on the cake.
Step 5: Add some fondant clouds
For the finishing touch, you can add fondant clouds at both ends of the rainbow. Refer to this fondant clouds tutorial to make them. They are very quick and easy and do not require any tools or cutters.
And that's pretty much how to make the fondant rainbow.


Leave a Reply