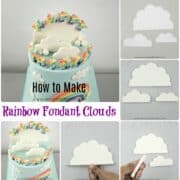
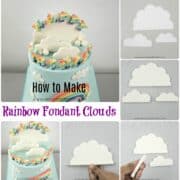
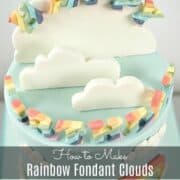
Learn how to make 3D fondant clouds with this easy tutorial. They are quick and easy and you do not need any special cutters or molds to make them. Plus you can make them in any size you like.
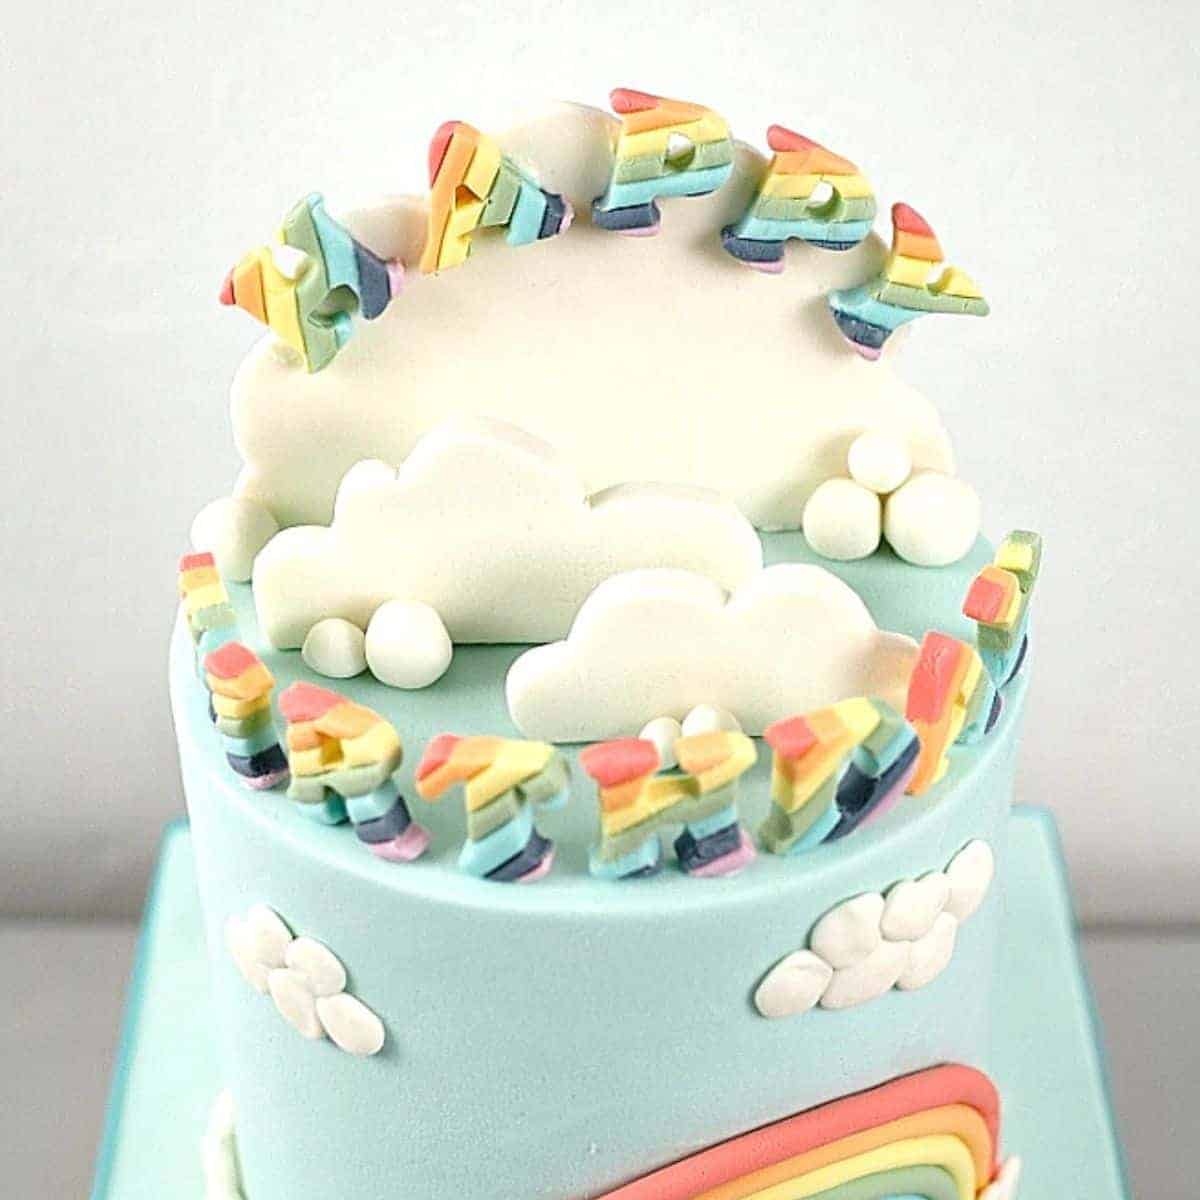
Fondant clouds are pretty easy to make, and I have seen many different techniques for creating such clouds. I have made 2 different types of fondant clouds for a rainbow birthday cake and have prepared tutorials for both types. The first are 3D clouds which I am sharing on this page. The other type are 2D fondant clouds that were also made without any cutters.
Jump to:
❤️Why you will love this tutorial
- This is an easy tutorial.
- The clouds are very simple and quick to make.
- You do not need any special molds or cutters for the fondant clouds.
- You can make them in any size you like.
If you like this tutorial, you should also check out my other fondant decorating tutorials like how to make fondant rainbow, how to make rainbow fondant letters for cake decorating, fondant embossing technique and how to make fondant hearts without cutters.
🧾Supplies required
- Fondant - I used Satin Ice white fondant. You can also make your own fondant with this homemade fondant recipe or marshmallow fondant recipe.
- CMC powder (Tylose) - Since the clouds were in 3D form, I added CMC powder to the fondant to make it dry harder.
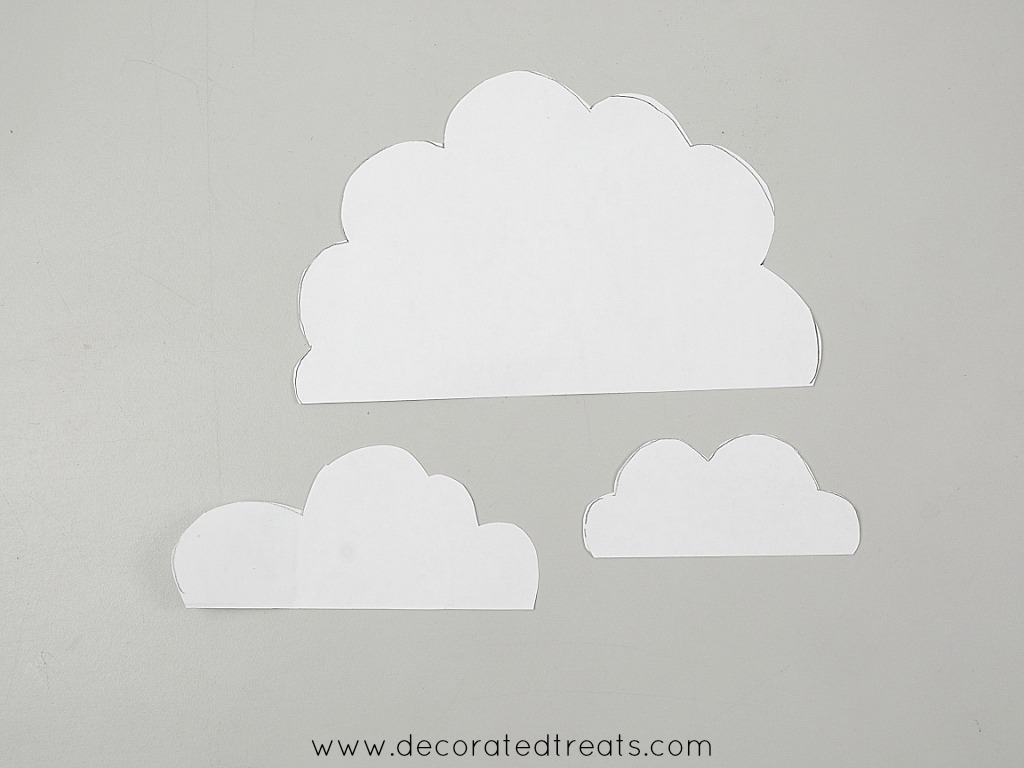
- Clouds templates - You can draw these free hand on a piece of paper or trace from an image you like in a book or on the internet.
- Sugar craft knife - This is to cut the fondant clouds out of fondant.
- Fondant glue - To attach the clouds to the cake.
👩🍳How to Make
Step 1: Prepare the cloud templates
If you are drawing the clouds by hand, draw them on a piece of paper and cut the clouds following their outline.
If you prefer to trace it of a book or download from the internet, resize the image to make sure it fits the size of your cake. Use this tutorial on how to resize templates for cake decorating. Print and cut the templates out.
Note: Make sure the size of the clouds fit the size of your cake. Measure carefully before finalizing the template.
Step 2: Roll and cut the fondant
Once the templates are ready, knead CMC into fondant ( use about ¼ teaspoon of CMC powder for a handful of fondant).
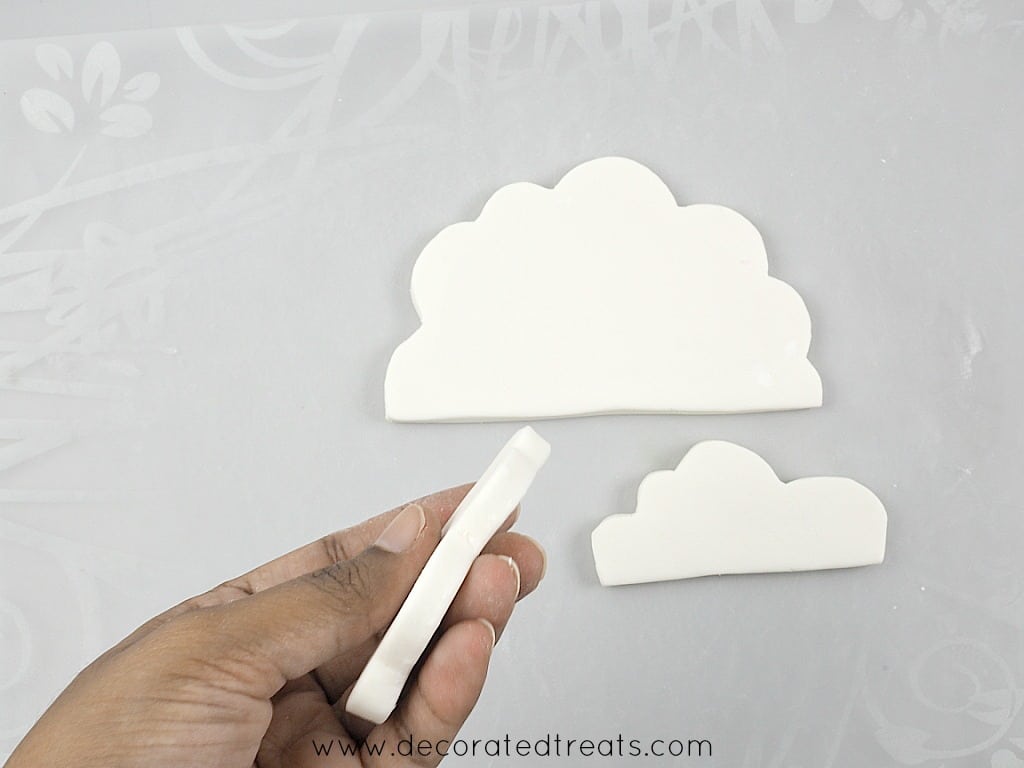
Roll the fondant to about ¾ cm thickness. The fondant has to be thick because the clouds are meant to stand upright. Thicker fondant will make the clouds more stable when put upright on the cake.
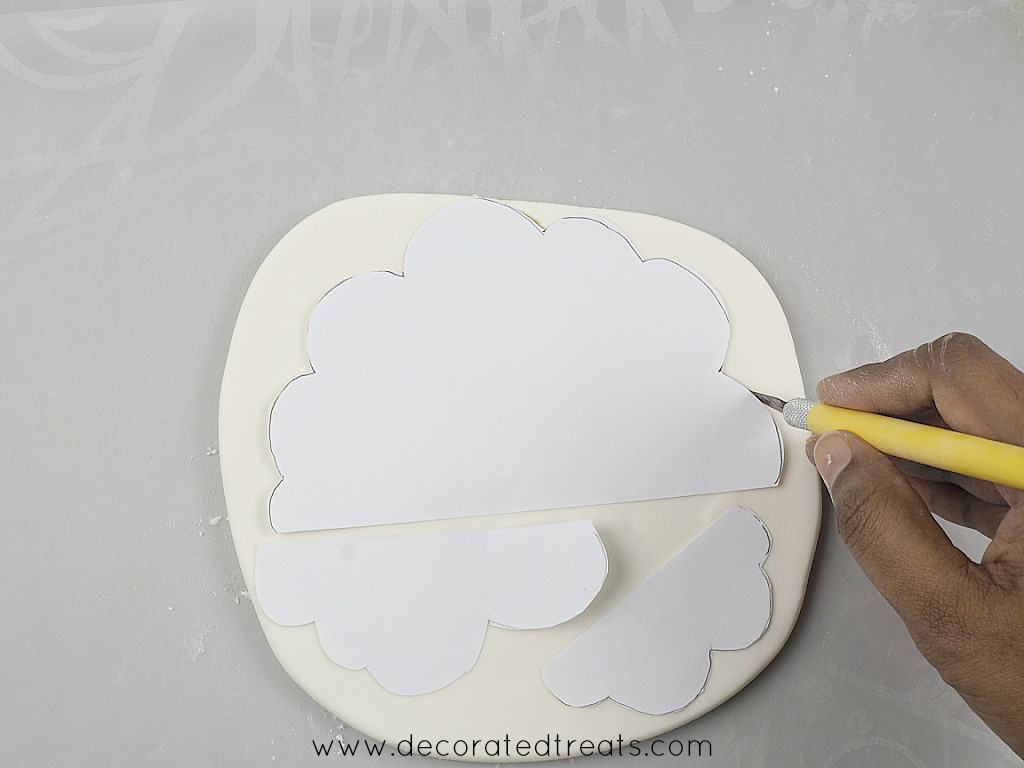
Next, place the paper templates on the rolled fondant and cut them out, one by one, using the sugar craft knife.
Step 3: Smooth the sides
Once cut, smooth the sides. You can use fondant modelling tools or your fingers to smoothen the edges.
Do the same for the bottom of the clouds and make sure the bottom is level. This is important to make sure the clouds are level on the cake. Use a ruler and gently press the fondant to make it level.
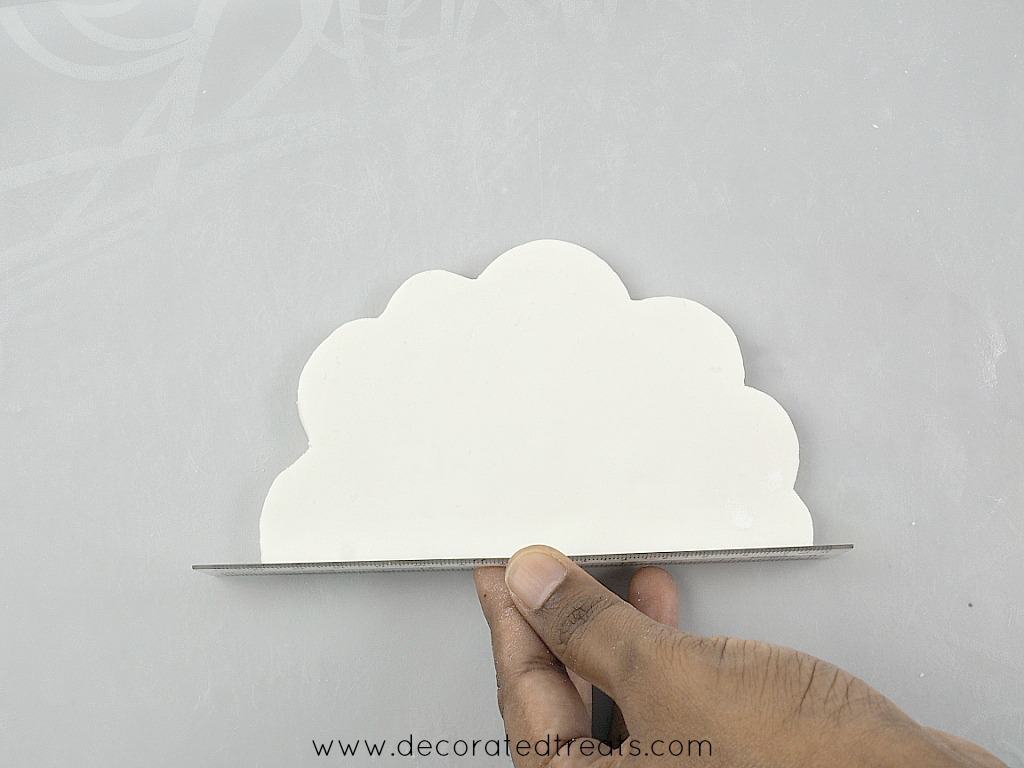
Do for all the clouds and then leave them aside to set completely. You can also leave them overnight.
Adding the CMC helps with the setting, but since the fondant is thick, you need to make sure the clouds are completely dry and set before placing them on the cake.
If you wish to add toothpicks or skewers to the clouds to help hold them in place on the cake, dip the skewers or toothpicks in fondant glue and poke them into the clouds at the bottom before setting them aside to dry completely.
I did not add any toothpicks or skewers to mine.
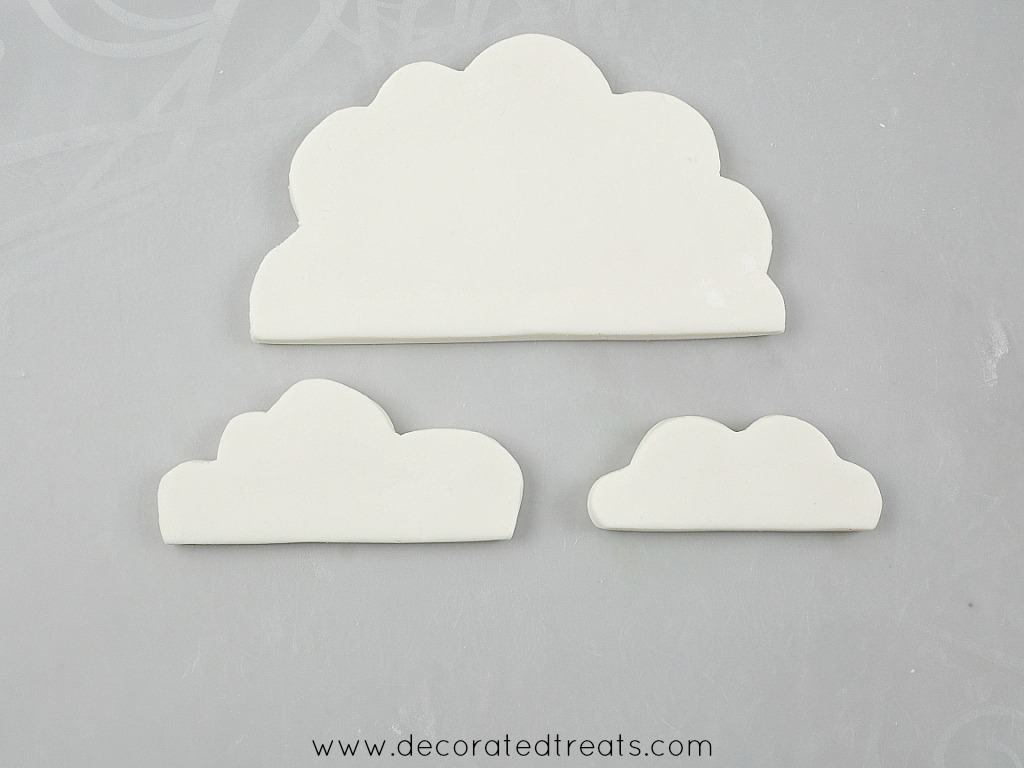
Step 4: Attach the clouds to cake
To attach the clouds on a fondant covered cake, use fondant glue. Unlike small fondant decorations, shortening will not be able to support the weight of these clouds. Fondant glue, once dried, is much better at holding the clouds in place.
You can also attach the clouds with royal icing if you like.
For added assurance that the clouds do not fall off when transporting or moving your cake or if you are placing them on a buttercream covered cake, attach skewers or toothpicks to the base of the clouds before setting them aside to dry.
When placed on the cake, the toothpicks will be able to provide extra support in holding the clouds in place.
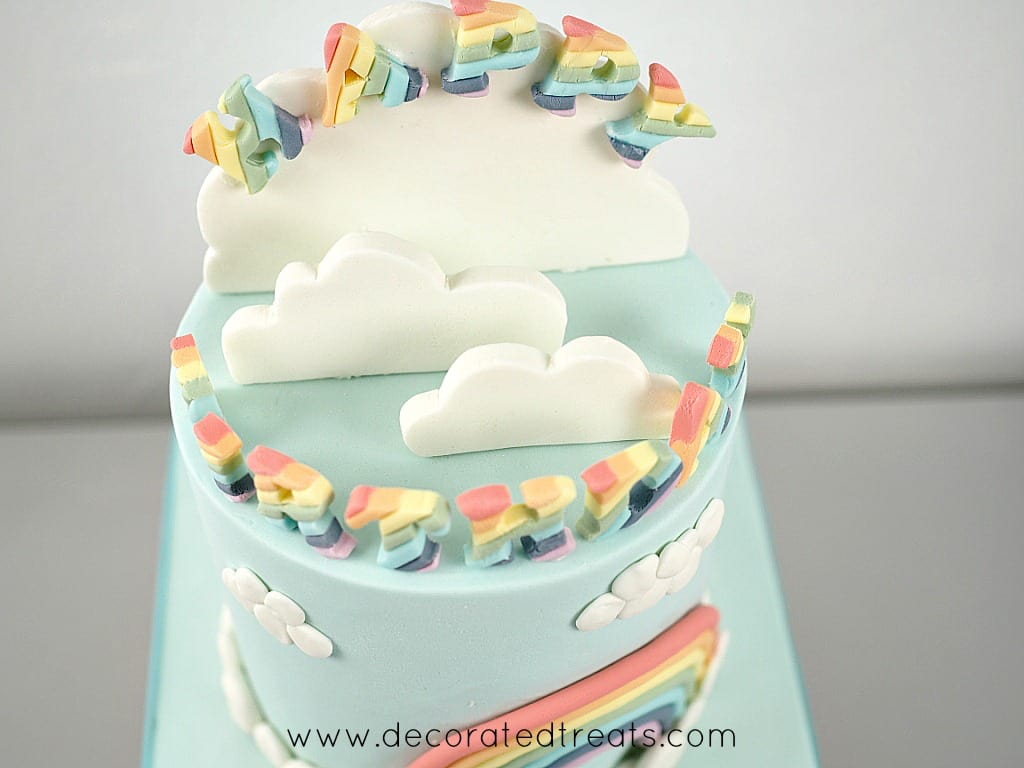
Step 5: Add fondant cloud clusters
And for the finishing touches, roll tiny balls of fondant in random sizes and place them in clusters at the base of the clouds (used fondant glue to stick them).

That was how I made my 3D fondant clouds. Hope you enjoyed this tutorial.




Leave a Reply