

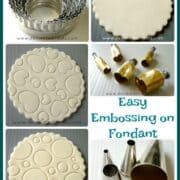
Fondant embossing technique is an art of imprinting decorative designs on fondant or even buttercream. It is a quick and easy way to create textured patterns on your fondant and one of the easiest cake decorating techniques around. Here's a quick and easy embossing idea for your cakes and cupcakes!
Fondant embossing technique has long been used in decorating cakes and is very easy to master. So much so, there are so many embossing tools available in the market today.
If you are new to cake decorating it might be a little difficult for you to find some of these tools. This is because they are not all called embossers. Some are called pattern presses, cutters, and even impression mats. But they all do the same thing – emboss beautiful intricate designs and patterns on fondant.
I am sharing on this page, a fondant embossing technique using just plunger cutters, plain icing nozzles or tips, and a pizza cutter. To do this, all you need is fondant, plunger cutters or cookie cutters, round piping tips in various sizes, and a pizza cutter.
Jump to:
❤️Why you will love this technique
- It is very easy.
- You do not need any special embossing tools. You can literally use your existing piping tips and cookie cutters to create pretty embossed designs on your fondant.
- You can create different embossed designs each time using a combination of different tools you already have at home.
- It is an inexpensive way to decorate your cakes and cupcakes.
If you like this tutorial, do also check out my other fondant decorating techniques like how to use silicone fondant molds for cake decorating, fondant lace without lace mats, how to make fondant hearts without cutters and fondant crimping technique for cake decorating.
🧾Supplies required
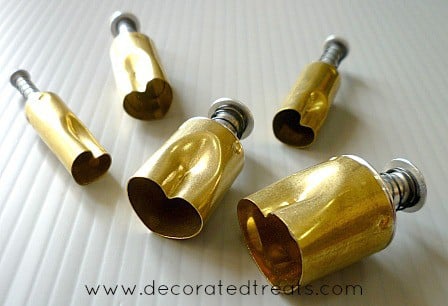
- Plunger cutters - these are small cutters and come in various shapes like round, square, star, heart and oval. I used heart shaped cutters for this tutorial.
- Round piping tips in various sizes
- Pizza cutting wheel
- Ruler
- Fondant - you can make your own fondant with this homemade fondant recipe or marshmallows fondant recipe. Alternatively, you can use store bought fondant too.
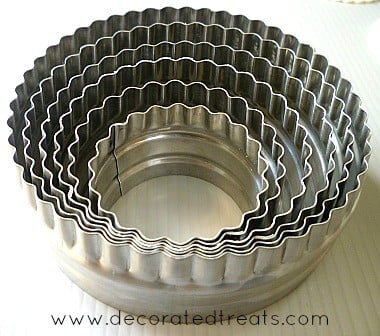
- Large round scalloped cutter - to cut out the fondant pieces.
👩🍳How to make
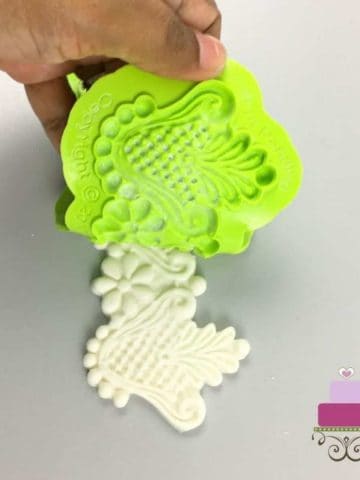
Depending on the type of embossing tools you use, you can emboss the fondant after covering your cakes with it or before. Similarly for cupcakes.
Generally, if you are using individual pattern presses or emboss sticks, you can cover your cakes with fondant first. However, if you are going to use an impression mat or a textured rolling pin to emboss your cake, then you will have to emboss the fondant first before you cover your cake with it.
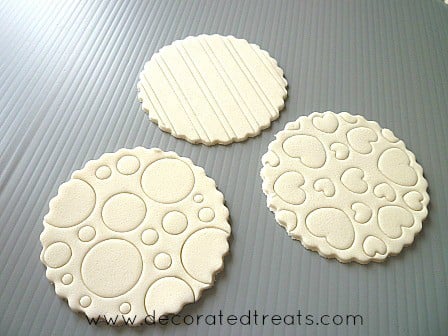
My tutorial below is using individual pattern prints and I have cut the fondant into circular pieces to fit cupcakes before embossing.
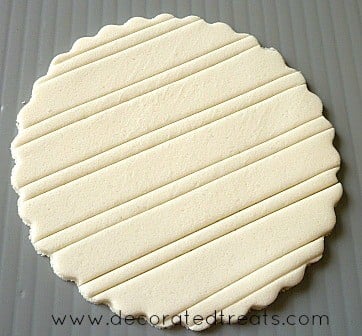
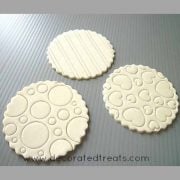
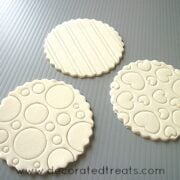
Design 1 - Embossed lines
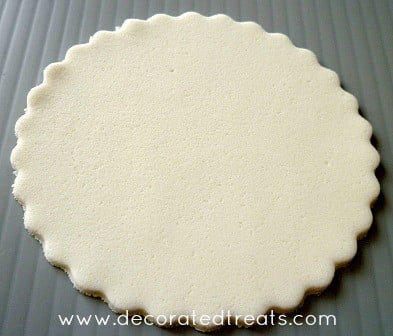
Place the cut fondant piece on a light corn flour or powdered sugar dusted workspace.
Place a ruler on the cut out and mark straight lines with the pizza cutting wheel. Apply very light pressure when cutting as the intention is to only leave the line marks and not cut the fondant.
Continue the process to make any lined designs on your fondant.
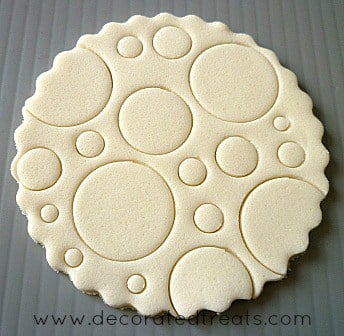
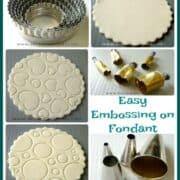
Design 2: Embossed circles
Again, place your rolled and cut fondant piece on a lightly dusted workspace.
Gather your piping tips in various sizes. The smaller circles are made using round piping tips. The larger ones are simple the back of the piping tips.
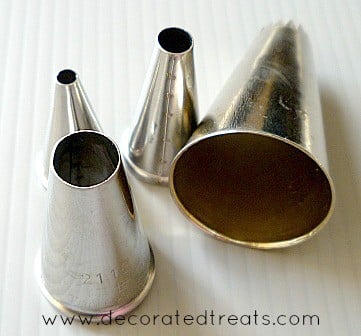
Press the piping tips onto the fondant cut out in random order to imprint the circles pattern.
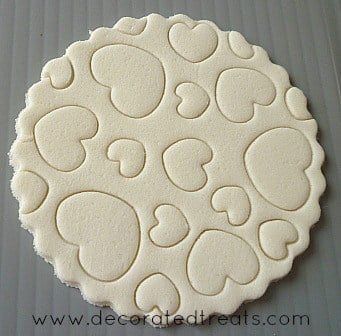
Design 3: Embossed hearts
This is the third and last embossed pattern. Similar to the 2 designs above, start by preparing the fondant cut out.
Gather the heart plunger cut set and imprint the patterns in random order all over the fondant. For this design, it is best that you use cutters from the same set as different sets will have different heart shapes.
Again, remember to not press the cutters all the way to the bottom of the fondant. The intention is not to cut the heart shapes out to to merely imprint the design on it.
💡Expert tips
For this fondant embossing technique, always remember to not press the patterns all the way to the bottom of the fondant. This can result in you totally cutting out the patterns of your fondant. When embossing patterns on fondant, we only want to leave the pattern impression on fondant and not totally cut the patterns out.
Hope you enjoyed reading this.

Leave a Reply