

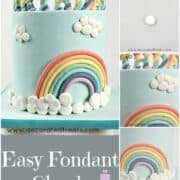
Learn how to make fondant clouds without cutters with this easy tutorial. No cutters or special tools are required. All you need is some white fondant and a pair of hands and you can make these cute edible clouds within minutes.

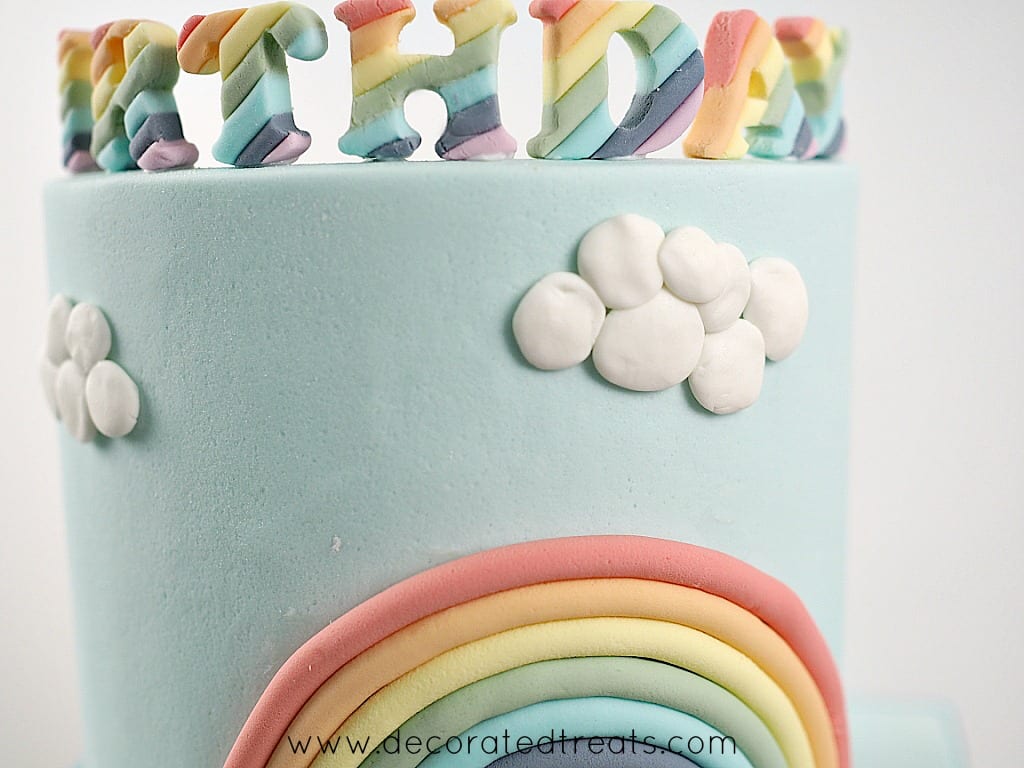
I made these clouds for a rainbow themed cake. In fact, I had 2 different types of fondant clouds on that cake. One on top of the cake in flat 3D form, and the other type is the 2D ones I have on this page.
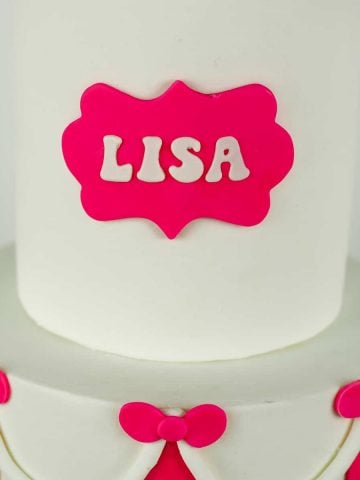
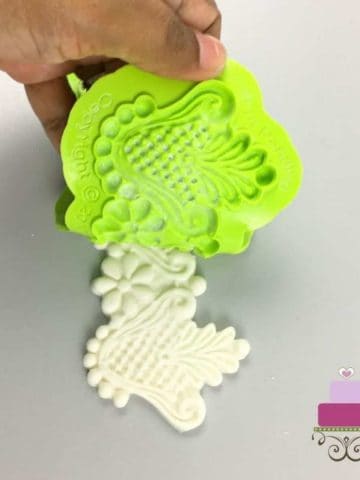
If you like fondant decorations, do check out my other fondant tutorials on how to make cute puffed fondant hearts, easy fondant flowers, 3D fondant loop bow and fondant bow and fondant flowers with stems and leaves.
❤️Why you will love this tutorial
- The clouds are very easy and very quick to make.
- You do not need any tools or cutters to make them.
- They make very cute decoration for nature themed cakes and are completely edible.
🧾Supplies required
Like I mentioned earlier, there really are no tools involved in making these fondants clouds. So essentially it's only these 2 supplies:
- Fondant - I used white Satin Ice fondant. No need to tint it as clouds are white. You can make your own fondant with this homemade fondant recipe or marshmallow fondant recipe.
- Shortening - This is used shortening to attach the clouds on the sides of the cake. Fondant glue can also be used.
👩🍳How to make
Step 1: Shape the fondant
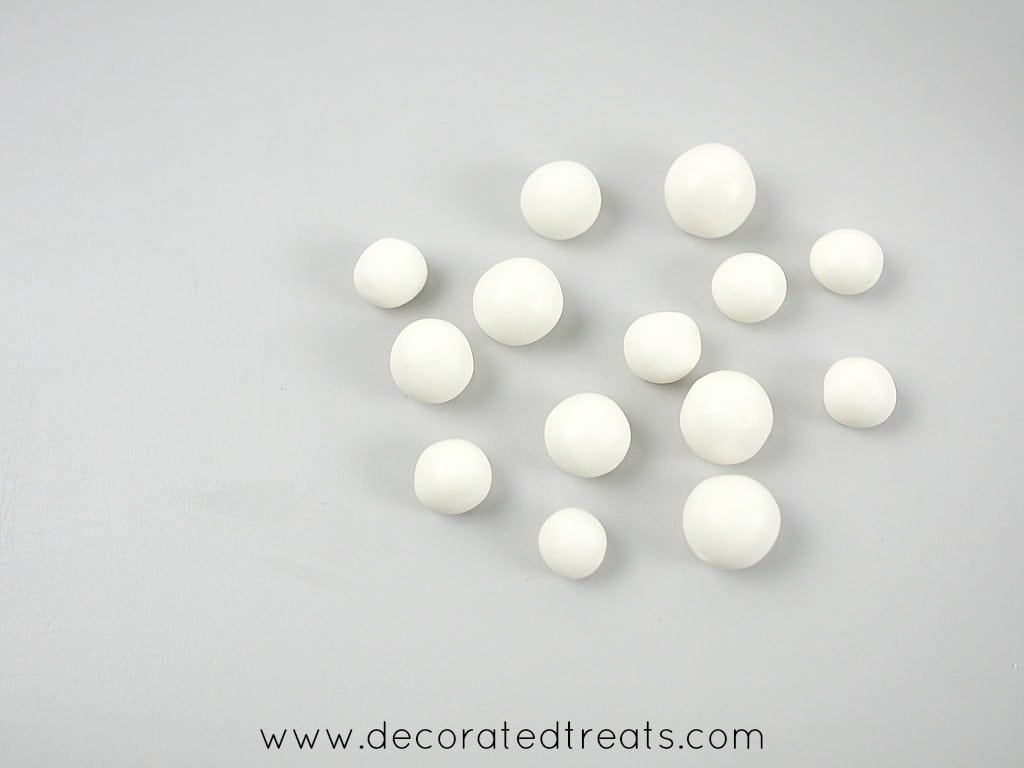
Start by pinching out fondant pieces in random sizes. You don't have to make them all in same sizes. Make some slightly smaller and some slightly larger.
Roll the pieces to form smooth balls.
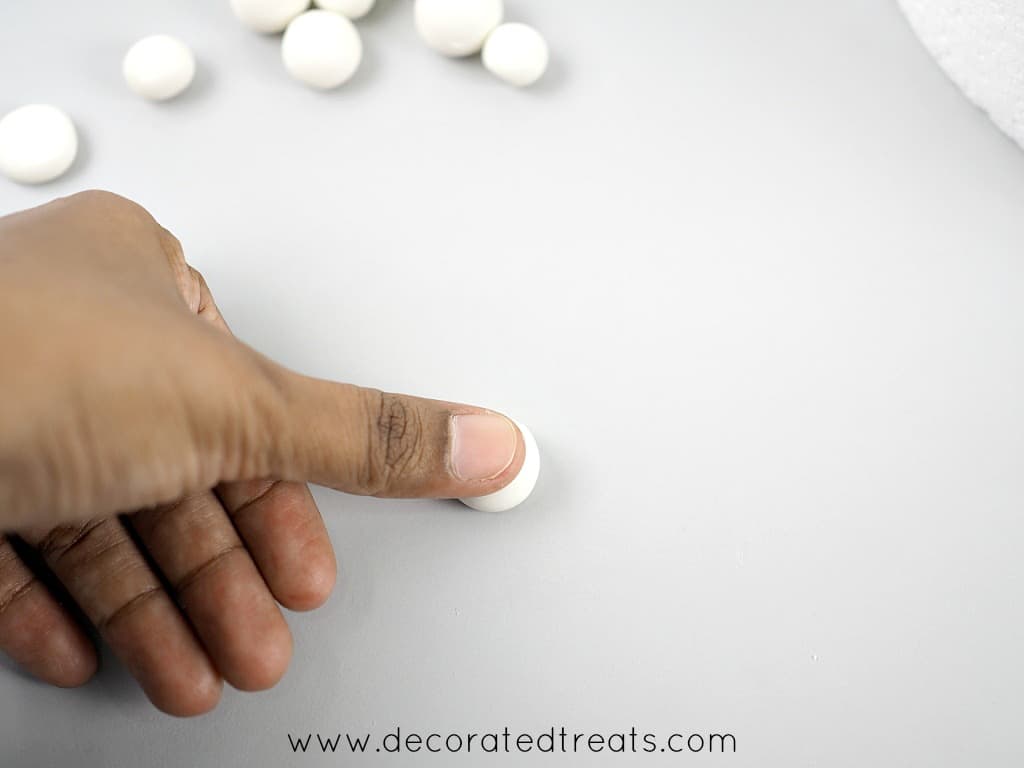
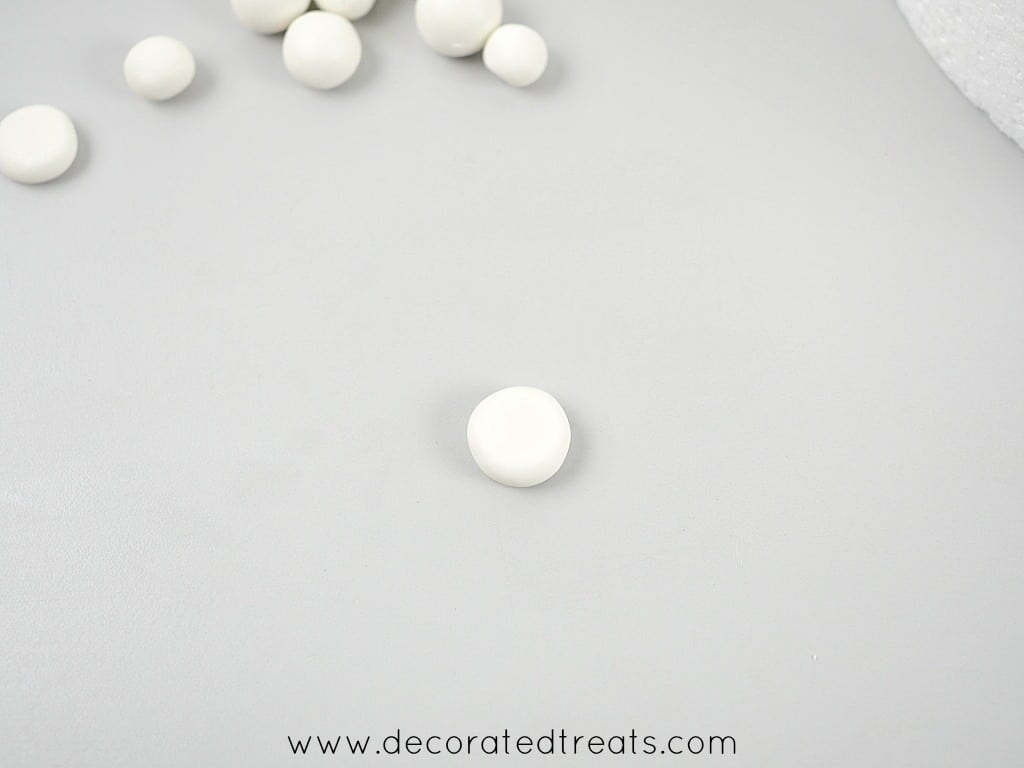
Step 2: Flatten the fondant pieces
Press each of the fondant balls one by one with your thumb. You only need to press lightly to flatten them slightly.
Step 3: Assemble the fondant clouds
Pick up the flattened fondant balls in varying sizes for each cluster of clouds. Arrange them one by one, as close to one another as possible in a cluster.
Use shortening to attach these flatted fondant pieces to your cake. In arranging them in a cluster, push them as close to one another as possible in a single layer.
Top the first layer with one or two smallest fondant balls overlapping the first layer.
And that literally completes the fondant clouds. Easy right?
Options
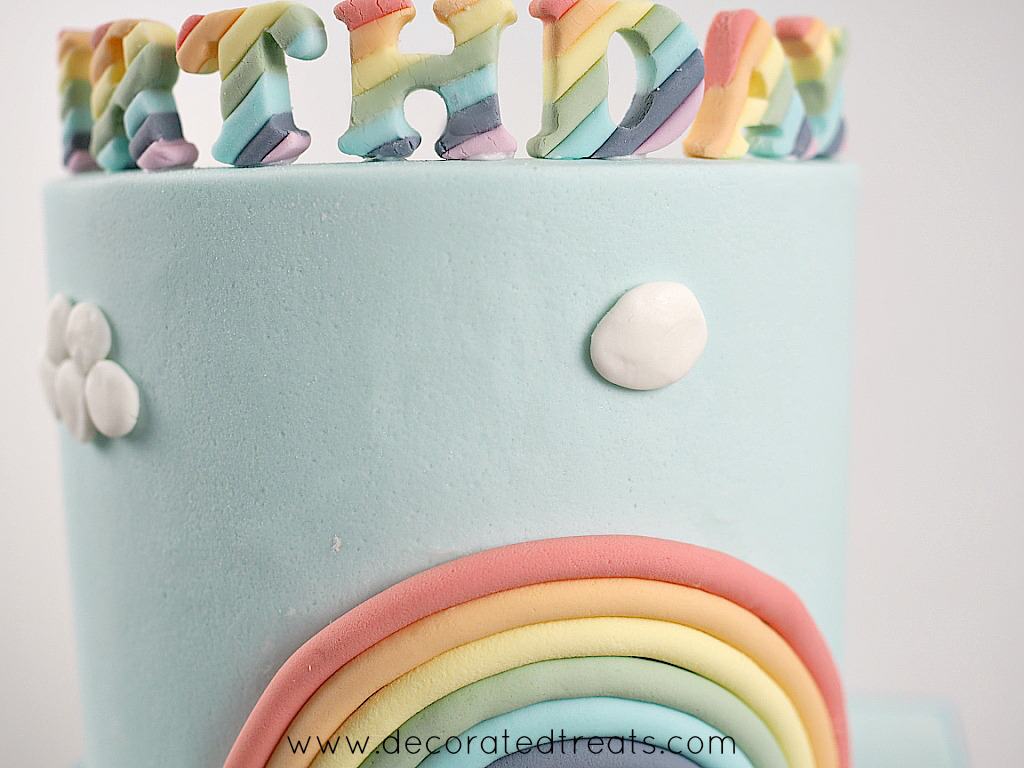
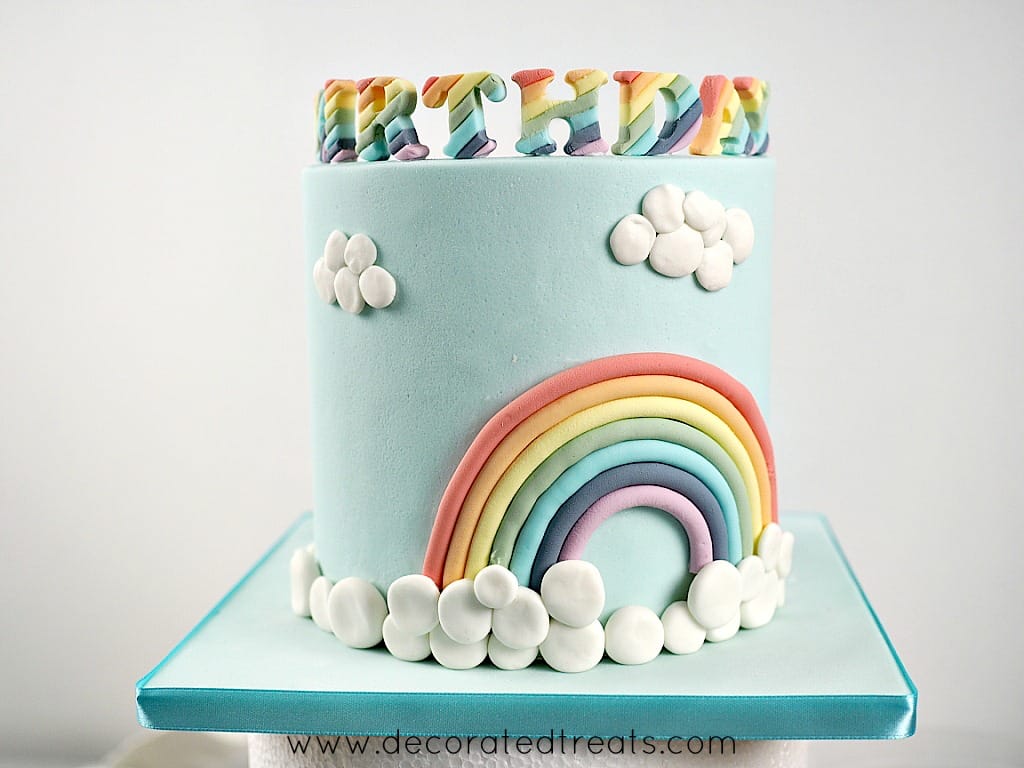
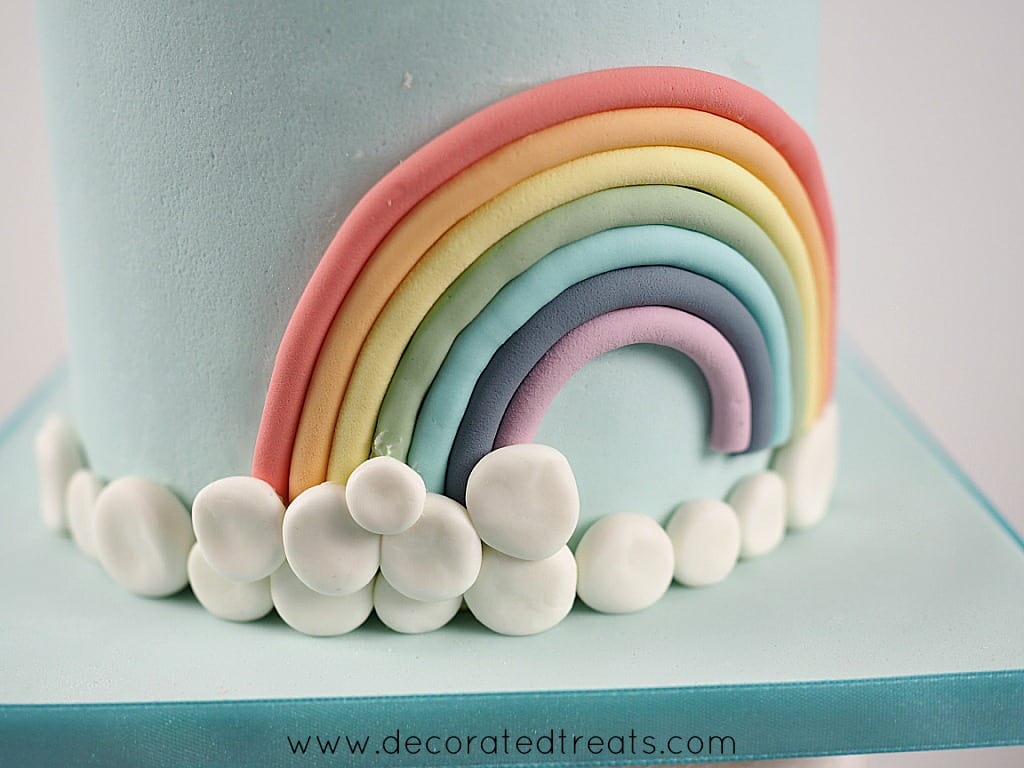
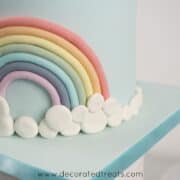
You can also use these fondant clouds as a cake border and to decorate fondant rainbow on your cake like I did with mine.
To do this, prepare the fondant balls and flatten them. Attach them all around the base of the cake with shortening. In doing this, make sure the sizes of the fondant balls vary such that you have a good mix of small and large pieces well alternated all around cake.

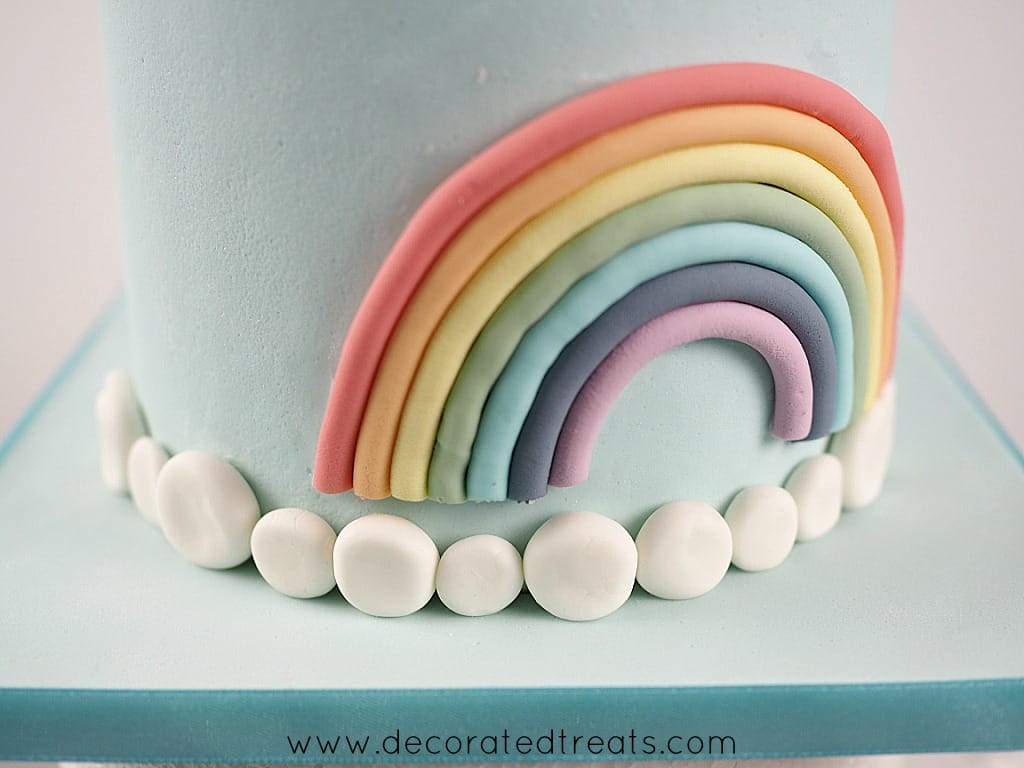
Once the first row of the fondant clouds is completed, add the second layer. This time, it need not be all around the cake. Suffice if you place them in a cluster at the base of the rainbow.
Overlap this row on the earlier row and the base of the rainbow.
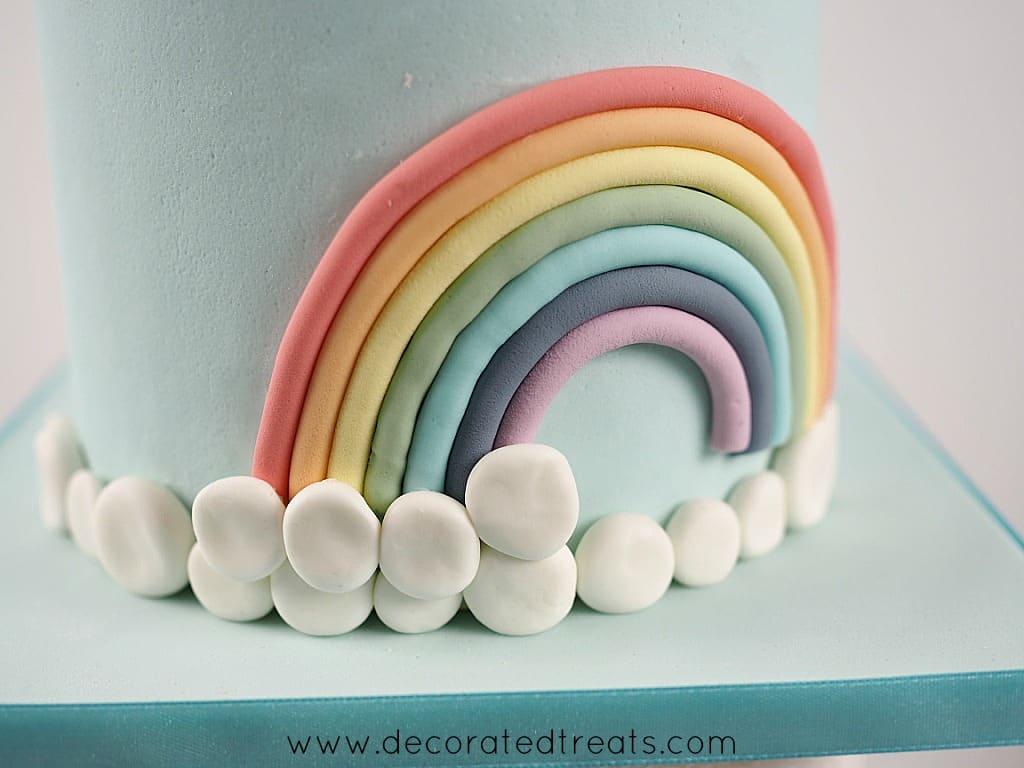
And then, add more flattened balls, this time, overlapping on the second row of clouds. And this was how one side of the clouds cluster looked like on my cake.
Repeat the same process on the other end of the rainbow, with some fondant balls overlapping the first row and the rainbow, while others directly above the first row but overlapping the rainbow.
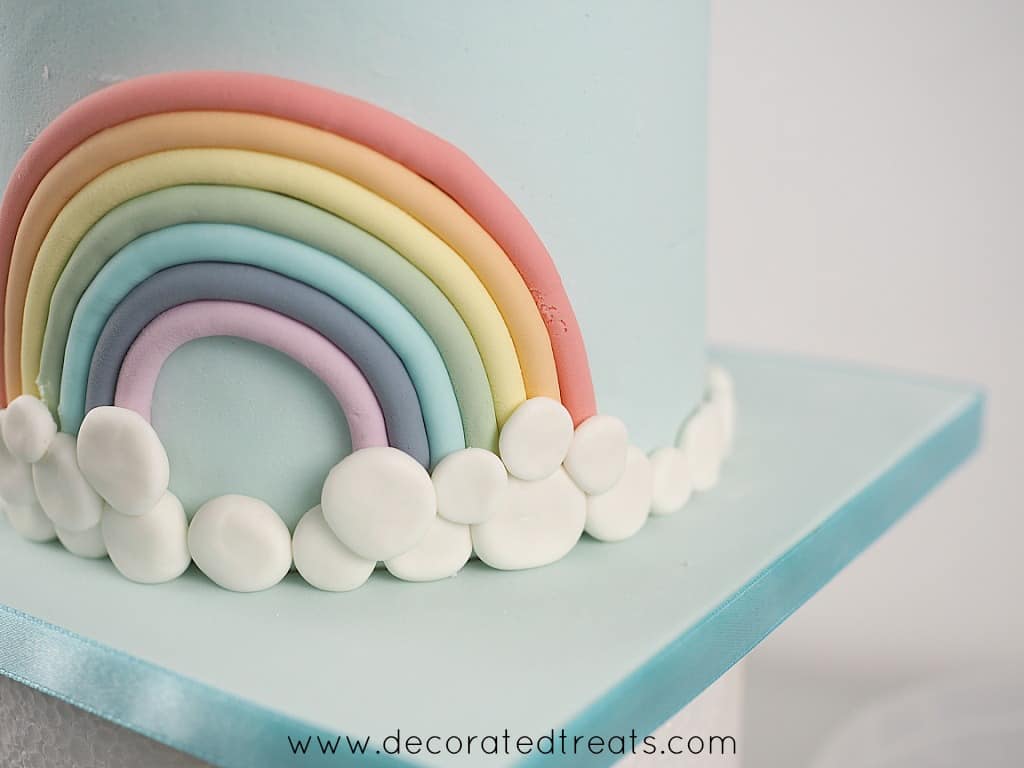
And this was how the completed rainbow fondant clouds at the base of the rainbow looked like.


Arya
How much time did you leave for them to set? also how much time before the cake was cut/eaten?
Priya Maha
Hi Arya,
There is no need to leave the fondant clouds to set. As soon as you finish attaching them to the cake, the cake can be cut.