

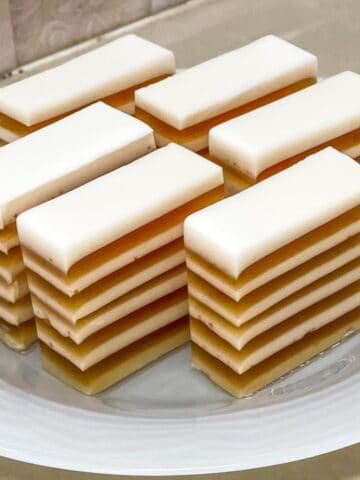
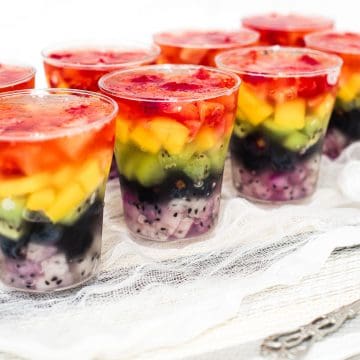
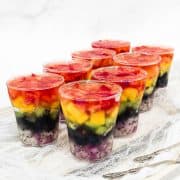
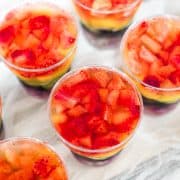
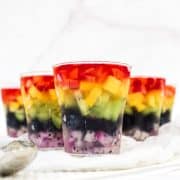
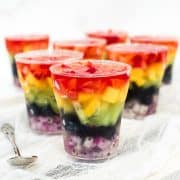
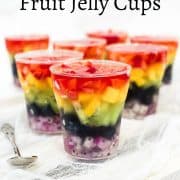
This fruit jelly cups recipe makes delicious agar agar dessert with layers of fresh strawberries, mango, kiwi, blueberries, and dragon fruit in pretty rainbow colors. They are easy to make and are very refreshing.

These fresh fruit jelly cups are made by layering different flavors and colors of fresh chopped fruit in the order of rainbow colors, and these are held together with a simple solution of agar agar jelly. The bottom layer consists of chopped white dragon fruits, followed by blueberries, then chopped green kiwi, chopped mangoes and finally chopped strawberries on top.
If you like fruit jellies, you should also check out this fruit jelly cake, lychee jelly and nata de coco jelly. They are all made in single molds and make great jelly cakes.
For more jelly cup recipes, you can try this basic agar agar recipe or this coffee jelly for a coffee flavored jelly, or this butterfly pea jelly for a pretty, naturally colored jelly.
Jump to:
❤️Why You Will Love This Recipe
- This is a very easy jelly recipe. There is no artificial flavors or colors in these jellies.
- It is packed with fresh fruits and you can use any fruits you like.
- Made in individual cups, these are easy to serve at parties.
- The combination of sweet and chewy texture of the jelly with the juicy and firm texture of the fruits is perfect.
What is Agar Agar
Agar agar is a type of jelly dessert common in Asia. It is derived from seaweed (red algae) and is plant based. It is often sold in powder form, and can also be found in long thin strips or flakes.
Agar agar is typically used to make jellies. It is cooked with sugar and water until completely dissolved and then poured into molds to set. It is almost similar to gelatin but is of plant origin and has a firmer texture.
You can find agar agar powder in online stores or in local Asian markets or stores.
📋Ingredients
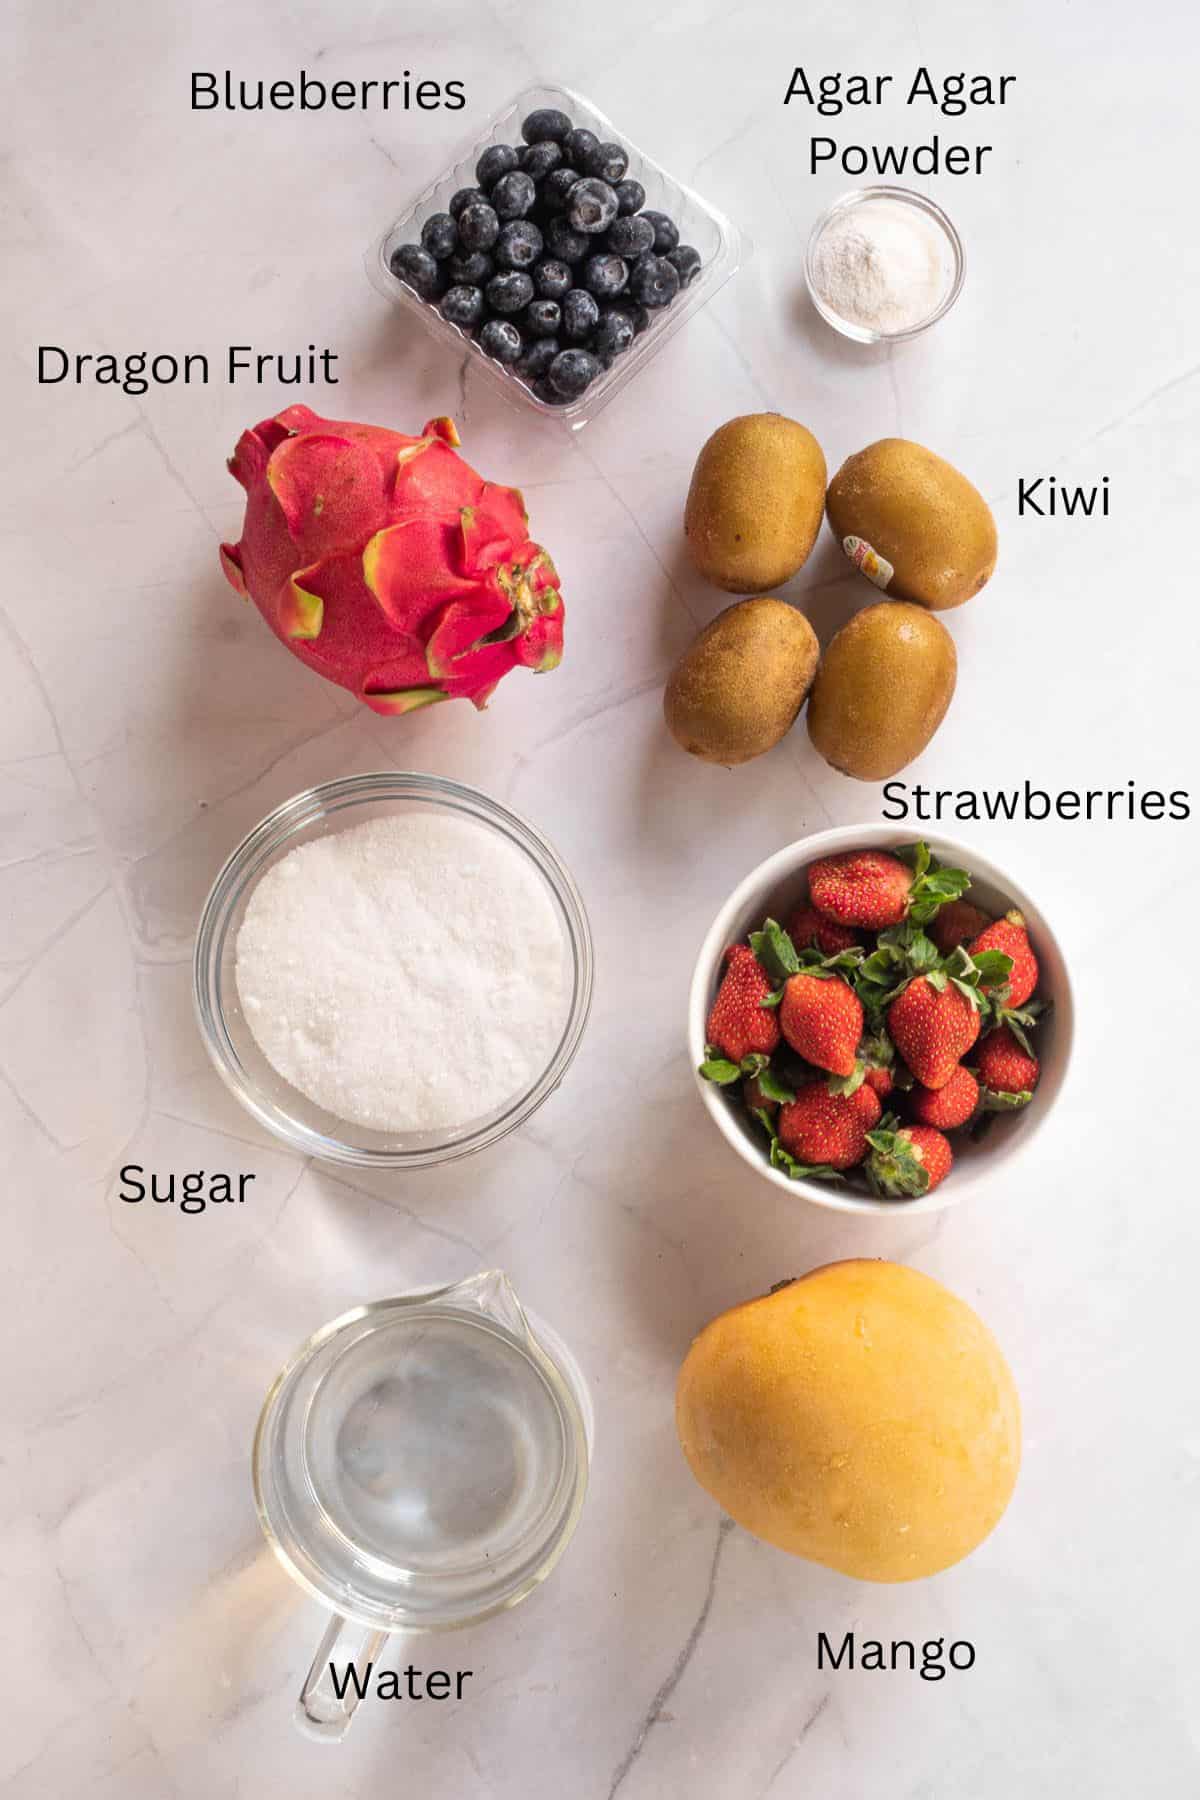
- Agar agar - choose unsweetened and unflavored powder. I recommend to purchase the powder in small packets of 10g for ease of measuring (this recipe requires 10g of agar agar powder)
- Sugar - both coarse sugar and granulated sugar will work for this recipe. Use white sugar to keep the agar agar clear and transparent.
- Water - to cook the agar agar jelly. Use filtered water.
- Strawberries, mango, kiwi, blueberries and dragon fruits - choose well ripened fruits and in a variety of colors of the rainbow.
*Refer to the recipe card below for full list of ingredients and exact quantities. For best results, use a digital kitchen scale where applicable*
🧾Substitution and Variations
- Agar agar jelly powder can be replaced with konnyaku jelly powder. Use the exact same quantity.
- The fruits can be substituted with any other fruits you like. If you are making with 4 different types of fruits, choose one each in red, orange/yellow, green and blue. If you are making with 5 fruits, you can choose the fruits in red, orange/yellow, green, blue and purple.
- To make a single large fruit jelly, use this fruit jelly cake recipe instead.
This recipe has not been tested with other substitutions or variations. If you do try, please let me know in the comments section below!
👩🍳How to Make
Step 1: Prepare the mold. Wash and pat the molds dry. Arrange them in a tray and set them aside.
Note: The first step in making any jelly is preparing the molds. This is an important step as jelly tends to set quickly at room temperature and preparing the molds after the jelly is cooked could result in the jelly setting in the pot before being poured into the molds.
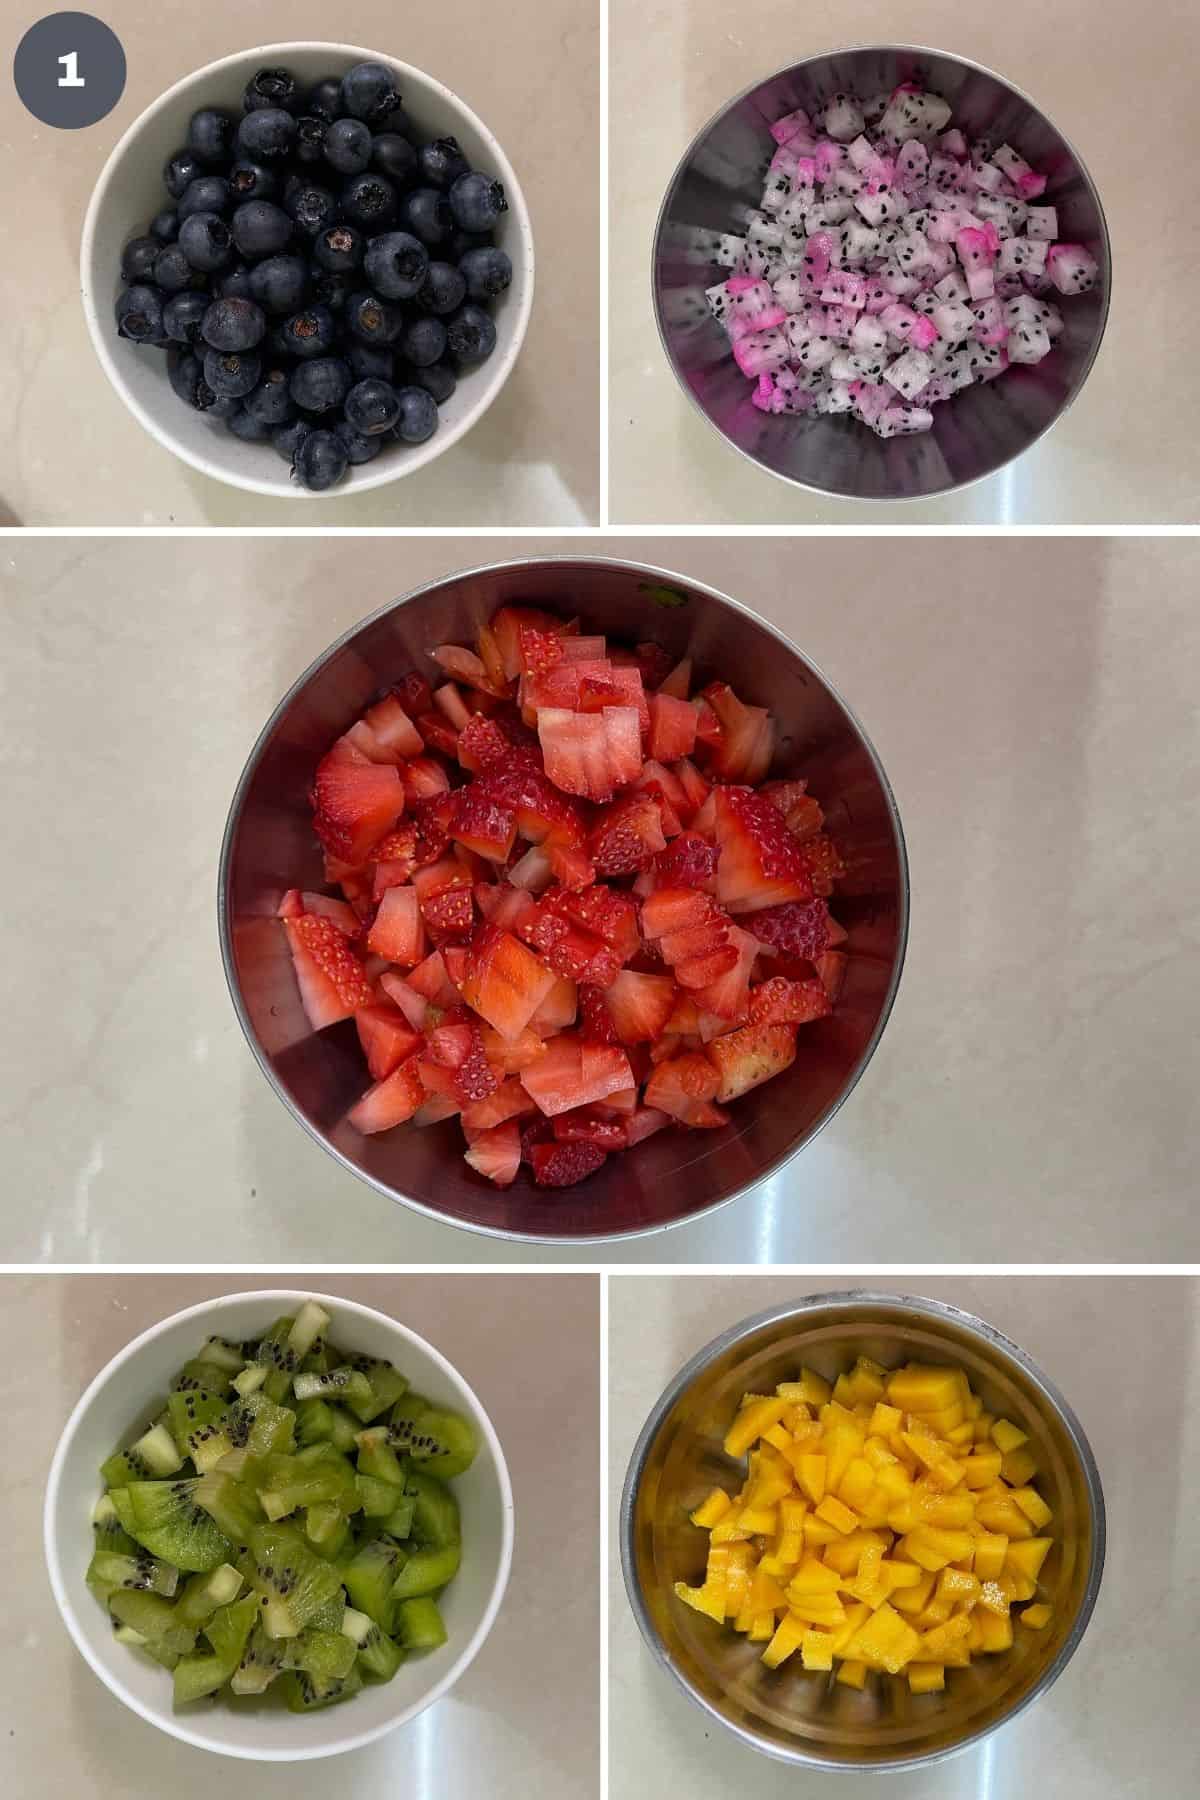
Step 2: Prepare the fruits. To make these rainbow colored fresh fruit jelly, choose at least 4 or 5 different types of fruits (image 1) in different colors of the rainbow as follows:
- Strawberries - hull the fruits and chop into small pieces.
- Mango - Peel the skin and cut the flesh into small cubes.
- Kiwi fruit - Peel the skin and cut the fruits into small pieces.
- Blueberries - Choose berries that are of a small variant so that you can add them whole into the jelly cups and do not have to cut them any further.
- Dragon fruit - Choose the one with white fresh. Peel off the skin and cut the fruit into small cubes.
Note: In chopping or cutting the fruits, keep the size of the chopped fruits consistent.
Once the fruit are all cut up and ready, set them aside in separate bowls until ready to assemble the fruit jelly cups.
Step 3: Cook the jelly. Start by measuring the water into a small saucepan.
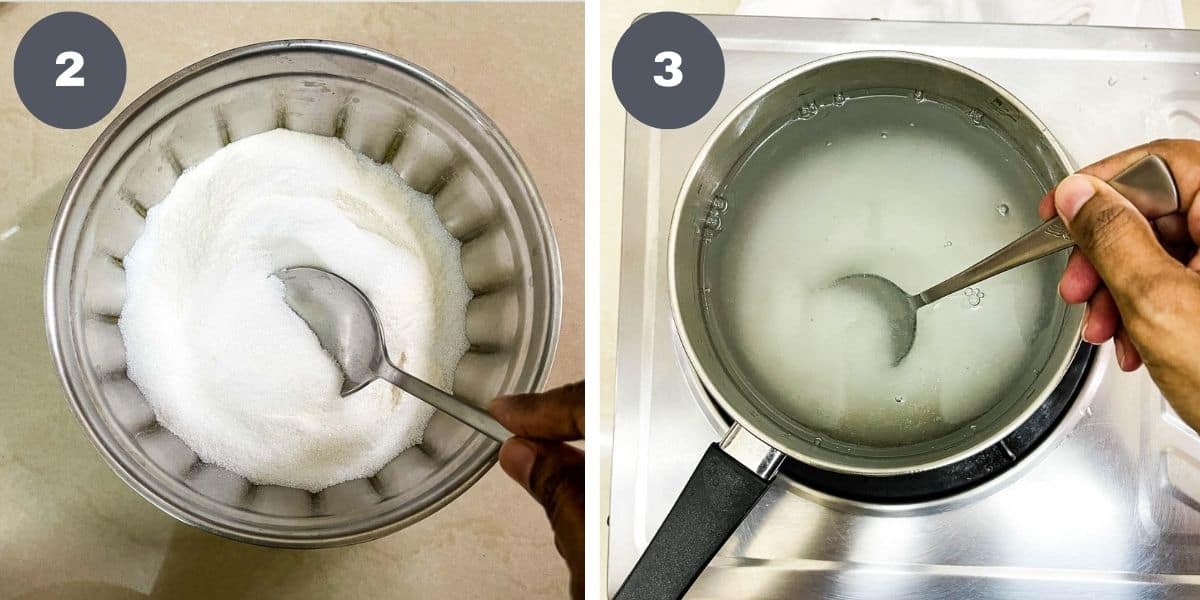
In a separate bowl, measure the sugar and agar agar powder. Stir both these dry ingredients until the agar agar powder is well combined with the sugar (image 2).
Pour the sugar and jelly mixture into the pot of water. Stir to disperse the sugar (image 3).
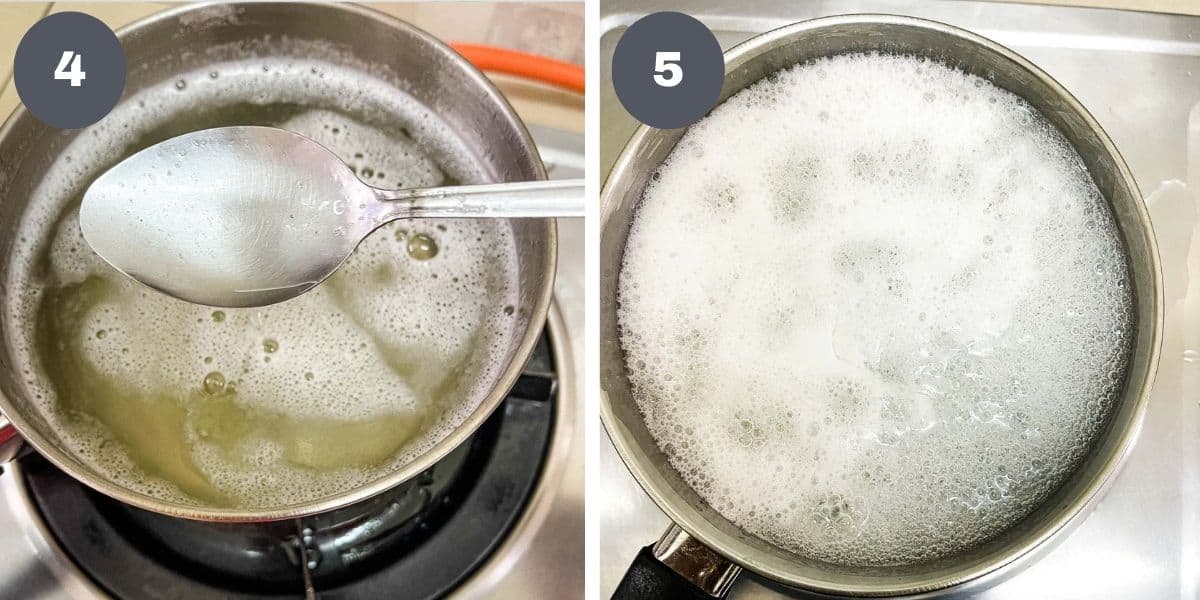
Turn on the heat and cook the jelly over medium low heat. Stir constantly for about one minute to avoid the jelly from clumping (image 4). Thereafter, stir occasionally.
Cook until the jelly solution comes to a rolling boil (image 5). Turn off the heat and set the jelly aside to cool slightly.
Note: Pouring the boiling hot jelly onto the fruits can result in them becoming soft and soggy. Hence, it is best to let the jelly cool down slightly for about 5 to 10 minutes before pouring over the fruits.
Step 4: Layer the fruits in the molds. While waiting for the jelly to cool slightly, arrange the fruits into the prepared jelly cups.

Start with the dragon fruit. Divide the chopped dragon fruit in the prepared cup molds. Level them with a spoon (images 6 & 7).
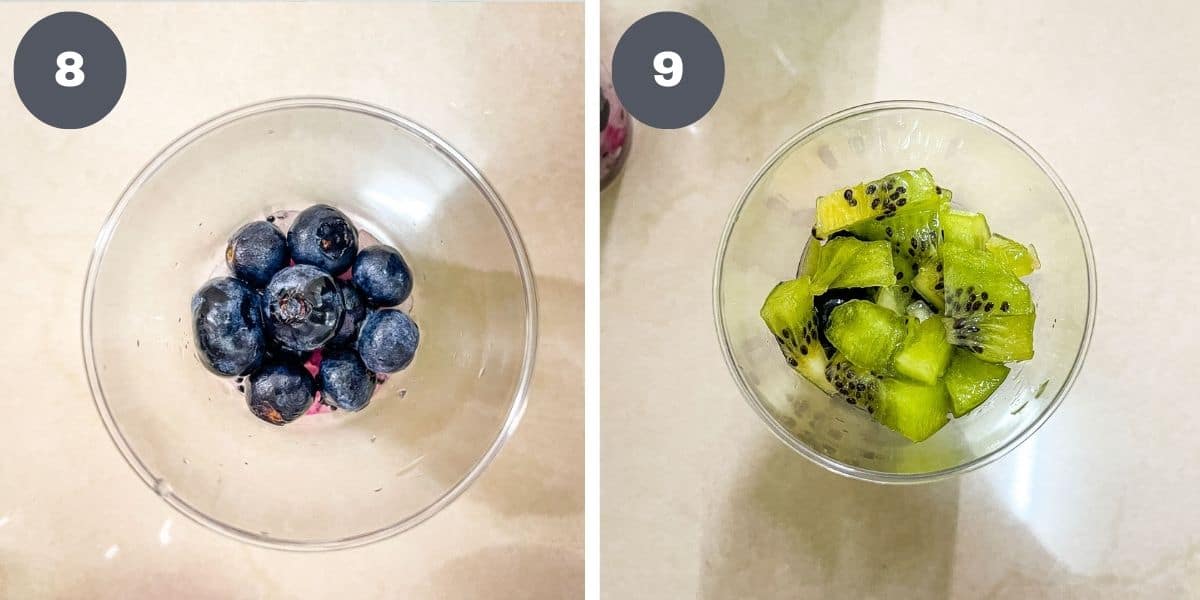
Next, divide the blueberries. Try to arrange the blueberries such that they touch the sides of the mold so that the blue layer in the fruit jelly cups is well visible from the sides (image 8).
For the next layer, add the chopped kiwi fruit. Press them down lightly with a spoon if you want to compact them, but not too hard that you squash them (image 9).
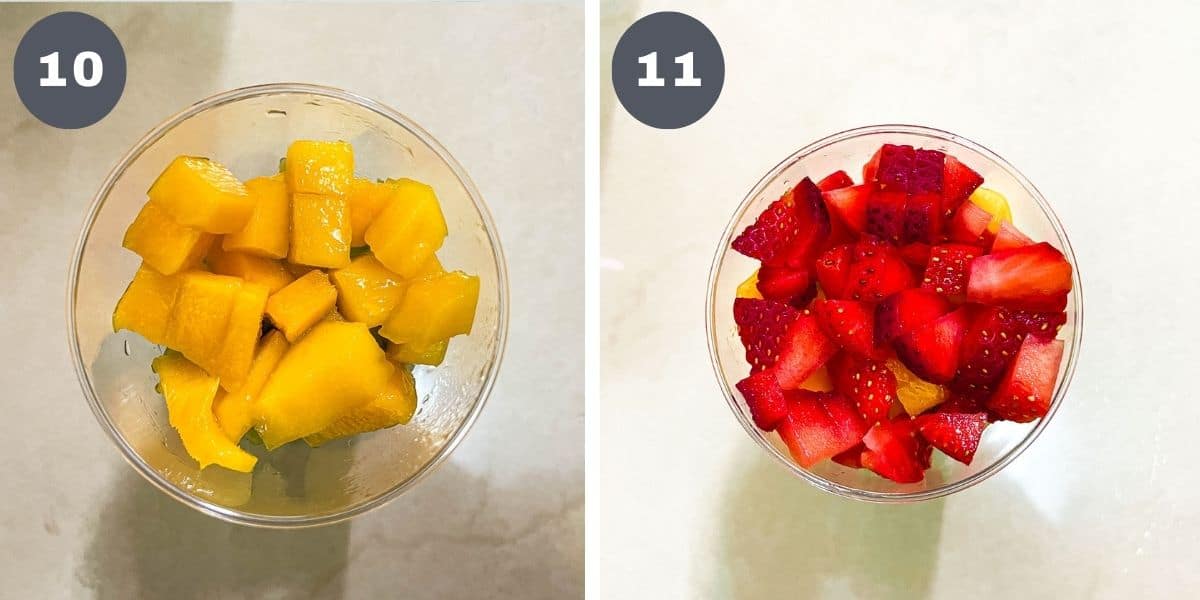
Top the green kiwi layer with the yellow mango layer (image 10). And finally, add the chopped strawberries (image 11).
Note: You want to make sure each fruit layer is as even as possible for balanced layers.
Step 5: Spoon the jelly into the fruit cups. Once the fruits are all well layered in the cups, it is time to pour the cooked agar agar jelly over.
Note: For easy pouring, you can transfer the jelly solution into a large mug with a pouring lip. Otherwise, you can scoop the jelly with a ladle.
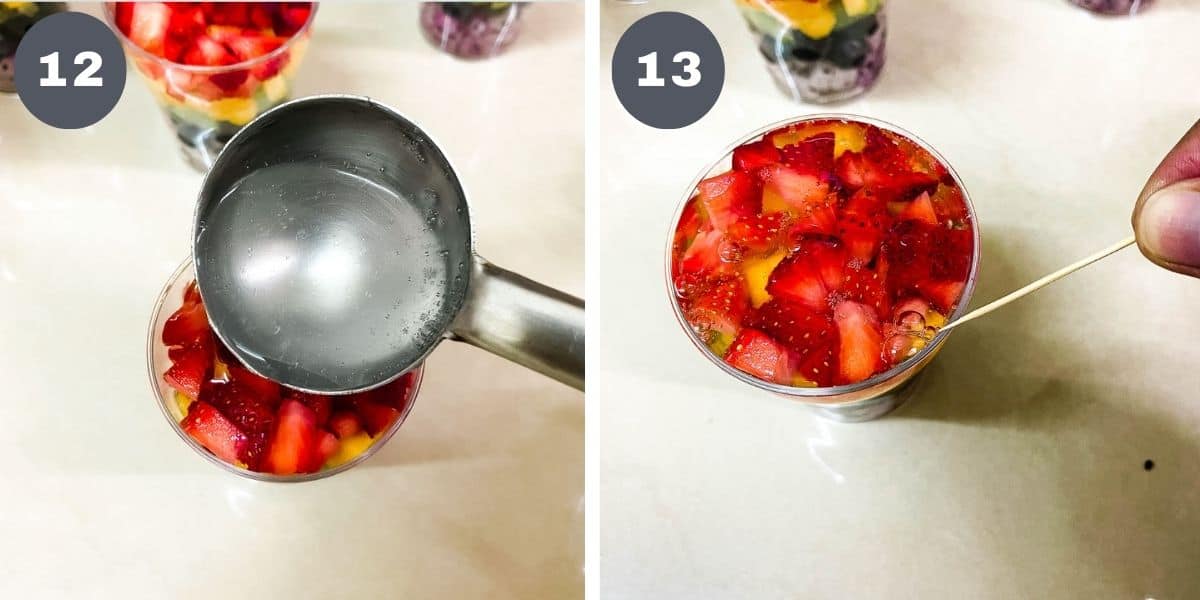
Pour jelly into each cup until almost full. Tap the jelly cup lightly to release air bubbles that is trapped between the fruits and to allow the jelly liquid to move down to the bottom of the molds (image 12).
You will realize that tapping actually creates more space in the jelly cups. Add more jelly to fill the space until the fruit jelly cups are full.
If you see any large air bubbles on the surface of the fruit jelly cups after the jelly pouring and tapping process, use a toothpick to break them (image 13). Do this as soon as you see the bubbles to avoid the bubbles from setting on the jelly.
Repeat the process for all jelly cups.
Note: If you find that the un-poured jelly has cooled down considerably, heat it up again to make sure it does not set before pouring into the jelly cups.
Transfer the fruit jelly cups into the refrigerator to cool and set completely for at least 1 to 2 hours before serving.

💡Expert Tips
- An important point to remember when cooking the agar agar is to make sure it is cooked to a rolling boil. This will ensure the jelly powder is completely dissolved. If the jelly is not thoroughly dissolved, the jelly will not set properly.
- Mixing sugar with the agar agar powder helps the agar agar powder to disperse and prevent it from clumping when added into the water.
💭FAQs
Ideally, the jelly should set within one hour of chilling time. If this does not, it could be for these following few reasons. Firstly, the jelly did not dissolve completely when cooking. Sometimes it is hard to see if the jelly has completely dissolved in the water when cooking. The best way to ensure the jelly is properly cooked is by making sure to wait until the jelly mixture comes to a rolling boil.
Secondly, you did not use sufficient jelly powder. If the proportion of jelly to liquid is not correct, the jelly will not set properly. Always ensure to follow the instructions at the back of your jelly packet. In this recipe, I have used 10g of agar agar powder for 1 liter of water.
Thirdly, not allowing sufficient time for the jelly to set. Ideally, the jelly should be allowed at least one to two hours of chilling time to ensure it sets properly. This setting time depends very much on the depth of the mold used. If you use a shallow mold, the setting time will be much faster, vice versa.
These jelly cups can last for a good 6 to 7 days. Keep them refrigerated at all time and keep them covered in an airtight container to prevent the jelly from becoming dry, especially on the surface.
❤️More Recipes You Will Love
Do you like this recipe? Please leave a 5-star ⭐⭐⭐⭐⭐rating in the recipe card below and consider a review further down this page. I would love to hear from you. Thank you!
📖Recipe
Fruit Jelly Cups
For best results, use the metrics measurements. US customary measurements have not been tested and are only meant for guide.
Ingredients
- 10 g agar agar powder
- 200 g white sugar
- 1 l water
- 400 g strawberries
- 400 g kiwi fruits
- 400 g blueberries
- 400 g mangoes
- 400 g dragon fruit
Instructions
- Wash and pat the molds dry. Set aside (see Note 1).
- Prepare the fruits.
- Wash and hull the strawberries. Cut them into small pieces.
- Peel the mango. Slice and cut into cubes.
- Peel the kiwi fruits. Chop the fruits into small pieces.
- Wash the blueberries.
- Peel the dragon fruit. Slice and cut into cubes.
- Measure water into a small saucepan.
- In a separate bowl, measure the sugar and agar agar powder. Mix with a spoon to combine (see Note 2).
- Pour the sugar and agar agar powder mixture into the saucepan of water. Stir to disperse the sugar.
- Turn on the heat to medium low and cook the jelly. Stir constantly for the first minute to avoid the jelly from clumping. Thereafter, stir occasionally.
- Continue to cook the jelly until it reaches a rolling boil (see Note 3). Turn off the heat. Let the solution cool down slightly before pouring into the cups (see Note 4).
- In the meantime, layer the fruits into the jelly cups.
- Start with the dragon fruits. Divide them between each jelly cup, making sure they are evenly distributed. Use the back of a spoon to press them down lightly to form an even layer.
- Top the dragon fruit with blueberries, followed by kiwi, mangoes and finally strawberries (see Note 5).
- Spoon the jelly solution into the cups (see Notes 6 & 7).
- Tap the cups lightly on the kitchen countertop to release any air bubbles trapped between the fruit pieces.
- Break any visible bubbles on the surface of the jelly with a toothpick. Top up the cups with more jelly if required.
- Place the fruit jelly cups in the refrigerator for about 1 to 2 hours to set completely before serving.
Notes
- The first step in making any jelly is preparing the molds. This is an important step as jelly tends to set quickly at room temperature and preparing the molds after the jelly is cooked could result in the jelly setting in the pot before being poured into the molds.
- Mixing sugar with the agar agar powder helps the agar agar powder to disperse and prevent it from clumping when added into the water.
- An important point to remember when cooking the agar agar is to make sure it is cooked to a rolling boil. This will ensure the jelly powder is completely dissolved. If the jelly is not thoroughly dissolved, the jelly will not set properly.
- Pouring the boiling hot jelly onto the fruits can result in them becoming soft and soggy. Hence, it is best to let the jelly cool down slightly for about 5 to 10 minutes before pouring over the fruits.
- Make sure each fruit layer is as even as possible for balanced layers.
- For easy pouring, you can transfer the jelly solution into a large mug with a pouring lip. Otherwise, you can scoop the jelly with a ladle.
- If you find that the un-poured jelly has cooled down considerably, heat it up again to make sure it does not set before pouring into the jelly cups.
Leave a Reply