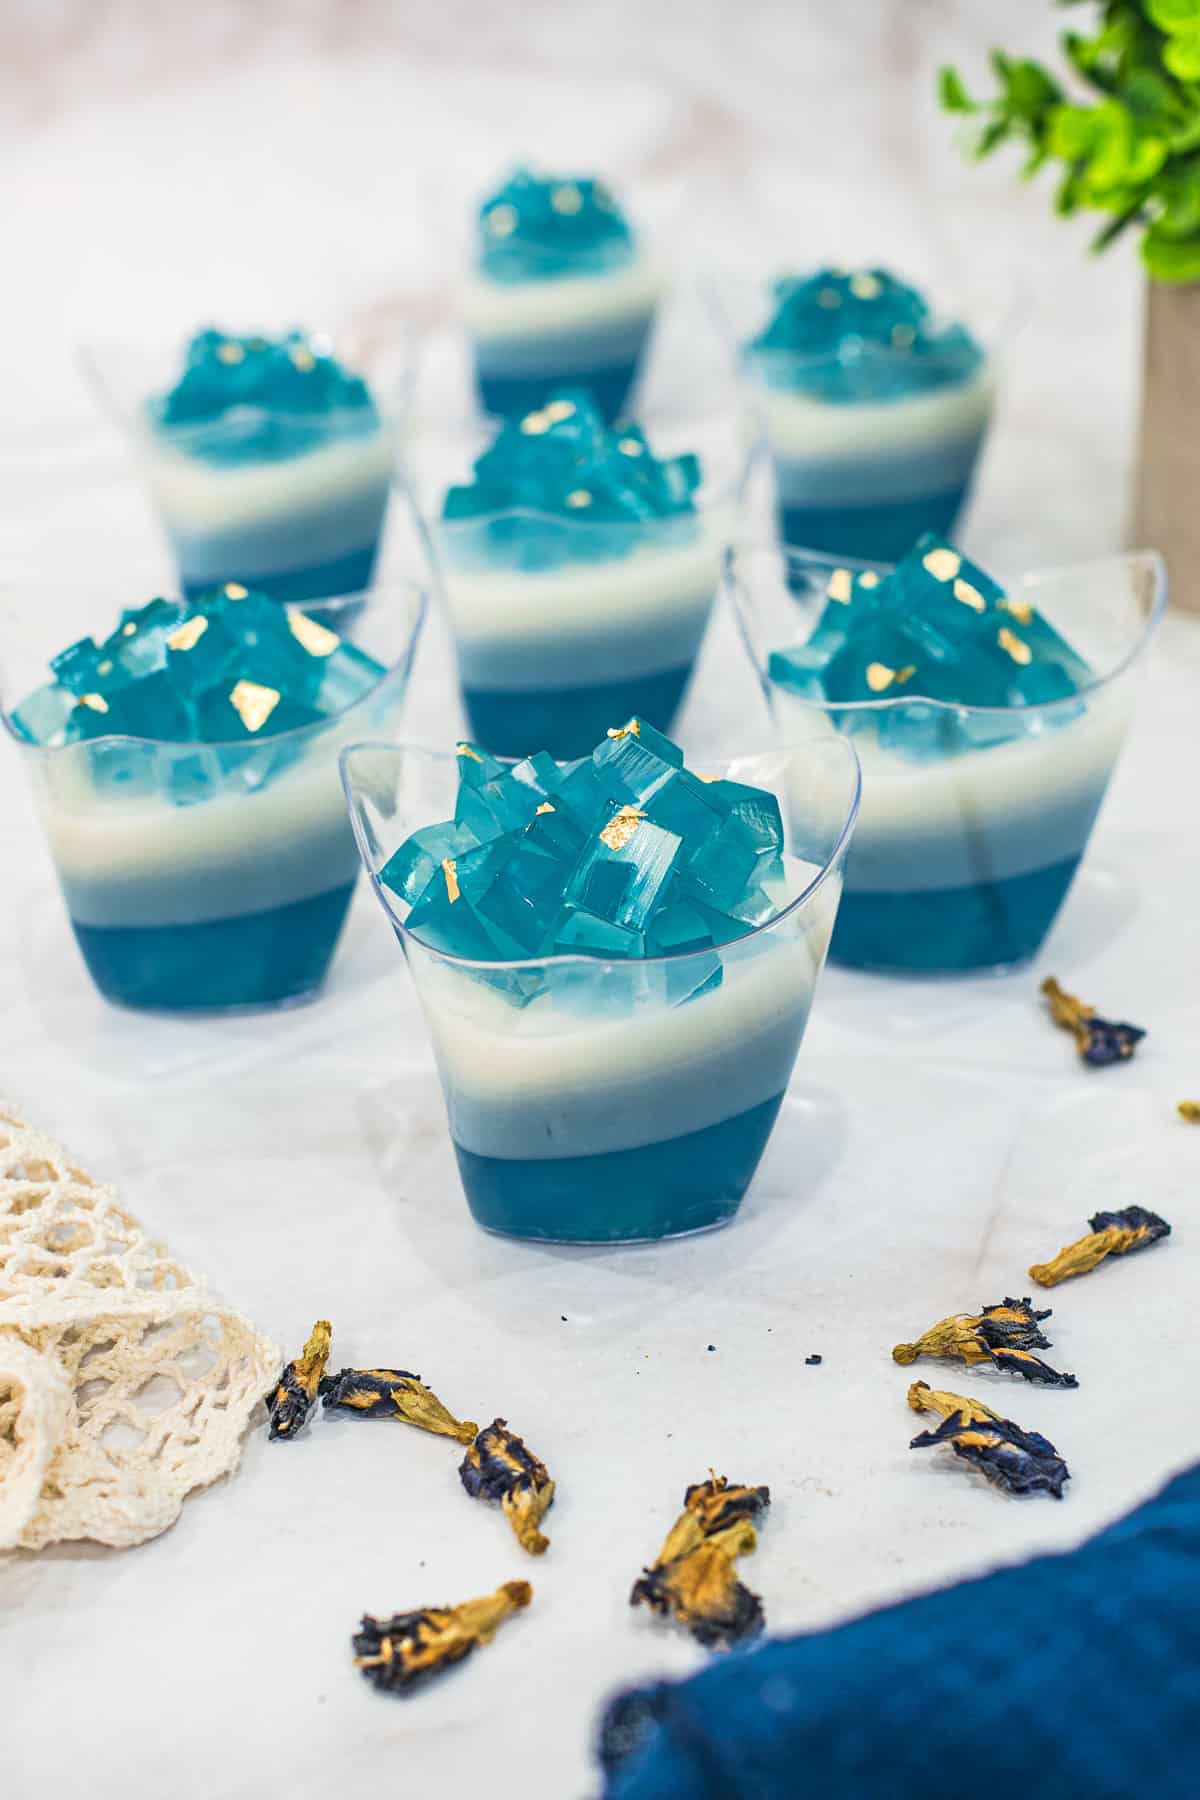
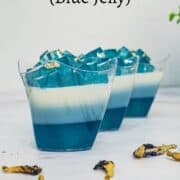
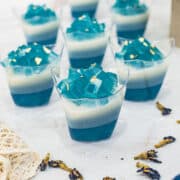
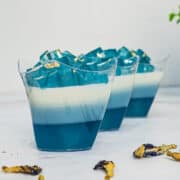
This butterfly pea jelly recipe makes a very pretty, naturally colored, blue and white layered agar agar with butterfly pea flowers and coconut milk. With only 5 ingredients, this blue pea flower agar agar is easy to make, light and refreshing and makes a perfect addition to any dessert table.
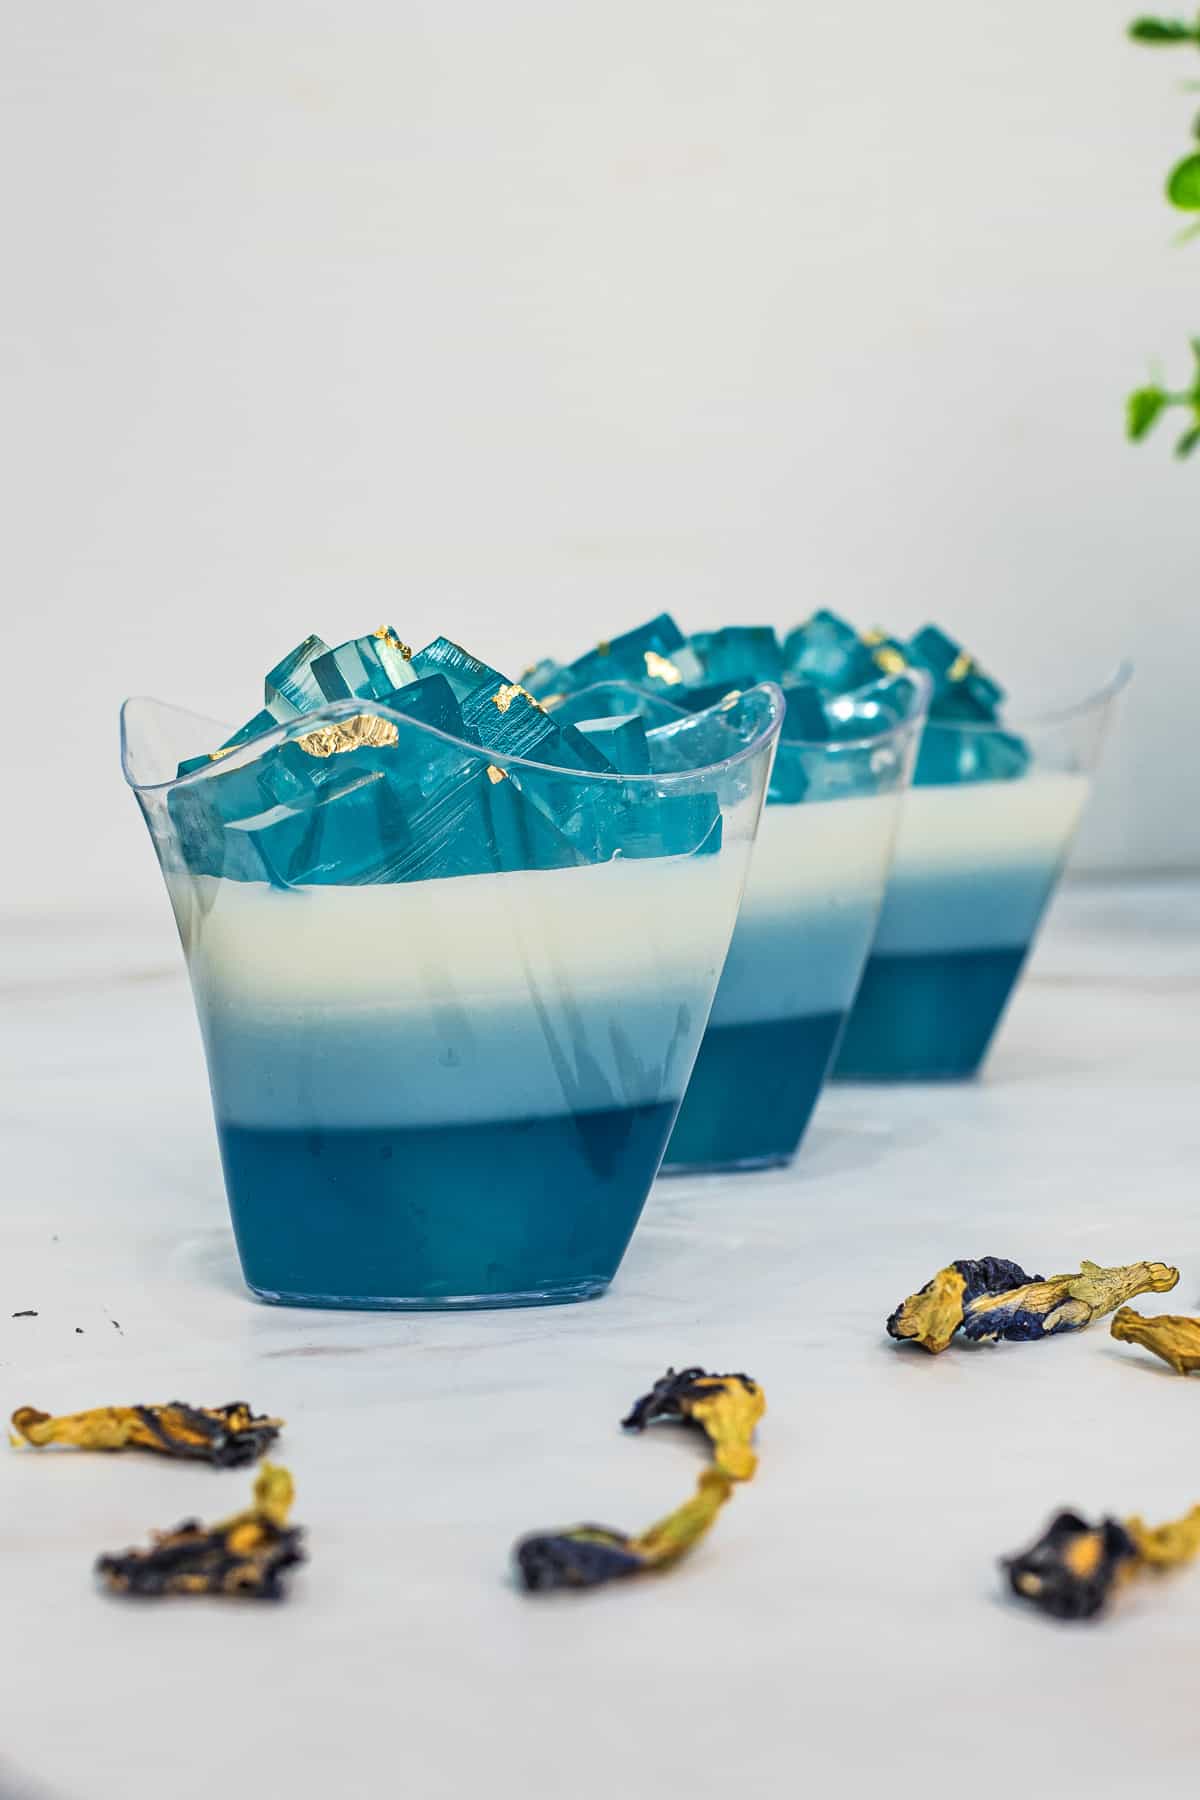
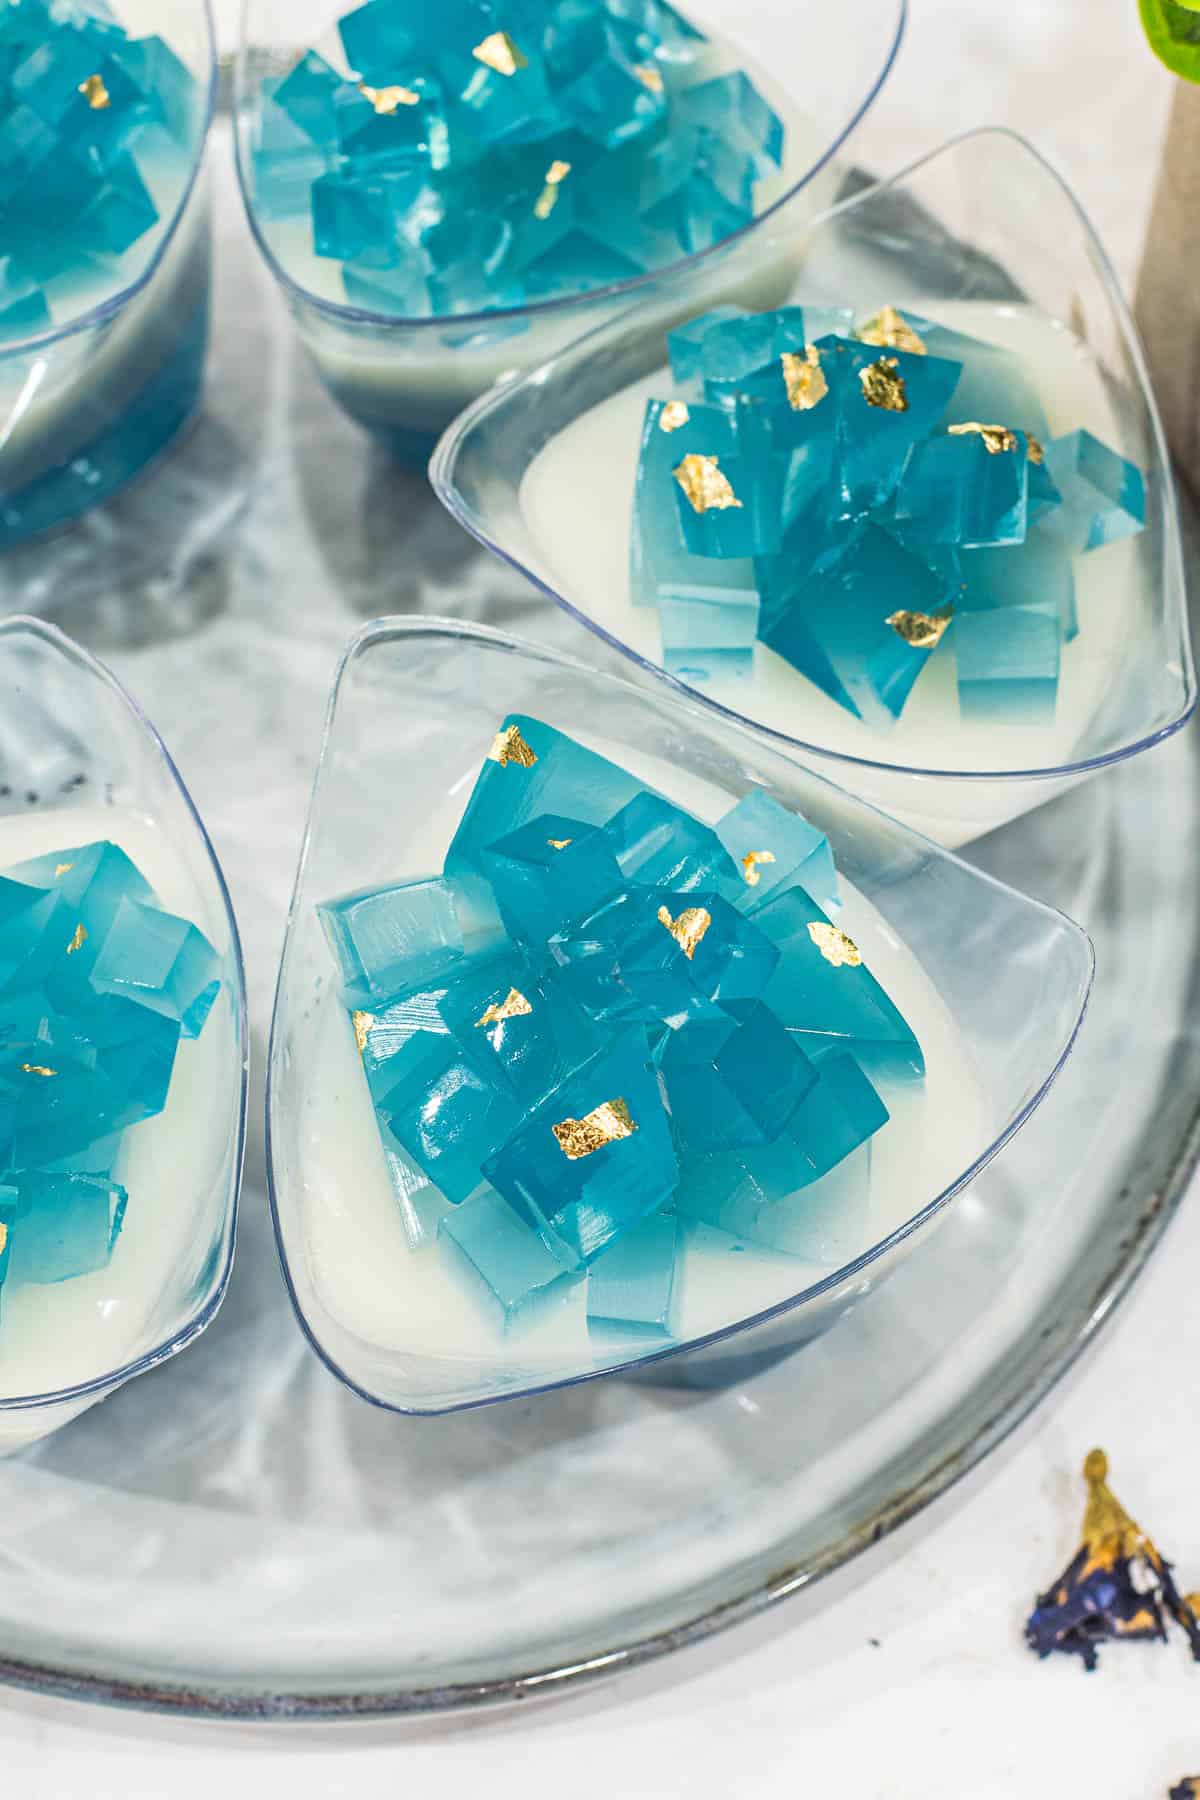
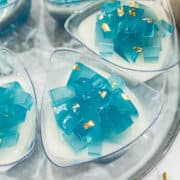
This easy jelly is made using agar agar powder. It is poured into individual serving cups in layers of blue, creamy blue and white layers and topped with cubed blue butterfly pea jelly pieces decorated with a touch to gold flakes. Served chilled, this jelly cups make perfect desserts on a hot day.
If you like this butterfly pea jelly, you should also check out my easy agar agar recipe. Its very quick and easy to make. And for more layered jelly, check out this pandan jelly and coconut jelly. They make great desserts after a hearty meal.
Jump to:
❤️Why You Will Love This Recipe
- This is an easy dessert recipe and uses very simple ingredients, all of which are plant based.
- The beautiful color of the agar agar jelly is naturally derived from the butterfly pea flowers. There is no artificial blue color used.
- The wonderful blue hue of the jelly makes this delicious blue jelly a pretty dessert , prefect for a blue-themed party.
What is Blue Butterfly Pea Flower?
Butterfly pea flowers are beautiful blue flowers native to the Southeast Asia region. These edible flowers are also commonly known as blue pea flowers or Asian pigeonwings. In Malay, the flowers are called 'bunga telang'. The flower stalks grows in a vine.
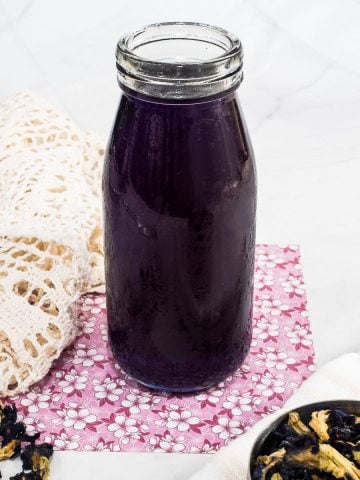
Butterfly pea flowers are widely used as a natural dye or colorants in Asian delicacies. Their deep blue pigments are released when steeped in hot water or when they are ground and added to water. The most common drink made with butterfly peas is the butterfly pea flower tea or blue pea tea. It is a simple drink made by steeping the flowers in water and is served either hot or cold.
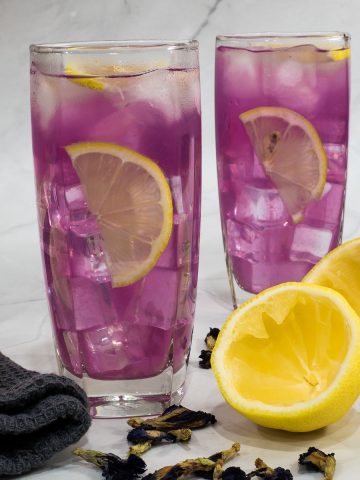
An interesting fact about these flowers is their reaction to acidic pH. The pretty blue hue will change into a equally pretty purple hue when the extract comes into contact with acidic pH like lemon juice or lime juice. And this is how the magic purple lemonade is often made.
These blue butterfly pea flowers can be used in their fresh flower form, as dried flowers and also in powder form. While getting them in fresh from is not very common, they can be purchased in dried or powder form. And they last longer too provided you keep them in an air-tight container in a cool dry place. You can find these flowers and powder in online store as well as Asian markets.
What is Agar Agar?
Agar agar is a gelling agent similar to gelatin however, it is derived from seaweed and is therefore plant based. It is a vegan alternative to gelatin powder is also sometimes referred to as vegan gelatin.
It is commonly available in powder form and can also be found in strips. Agar agar is often used to make jellies like this basic agar agar jelly, mango jelly, fruit jelly cake, coffee jelly and fruit jelly cups. It is also used as a plant based substitute for gelatin.
📋Ingredients
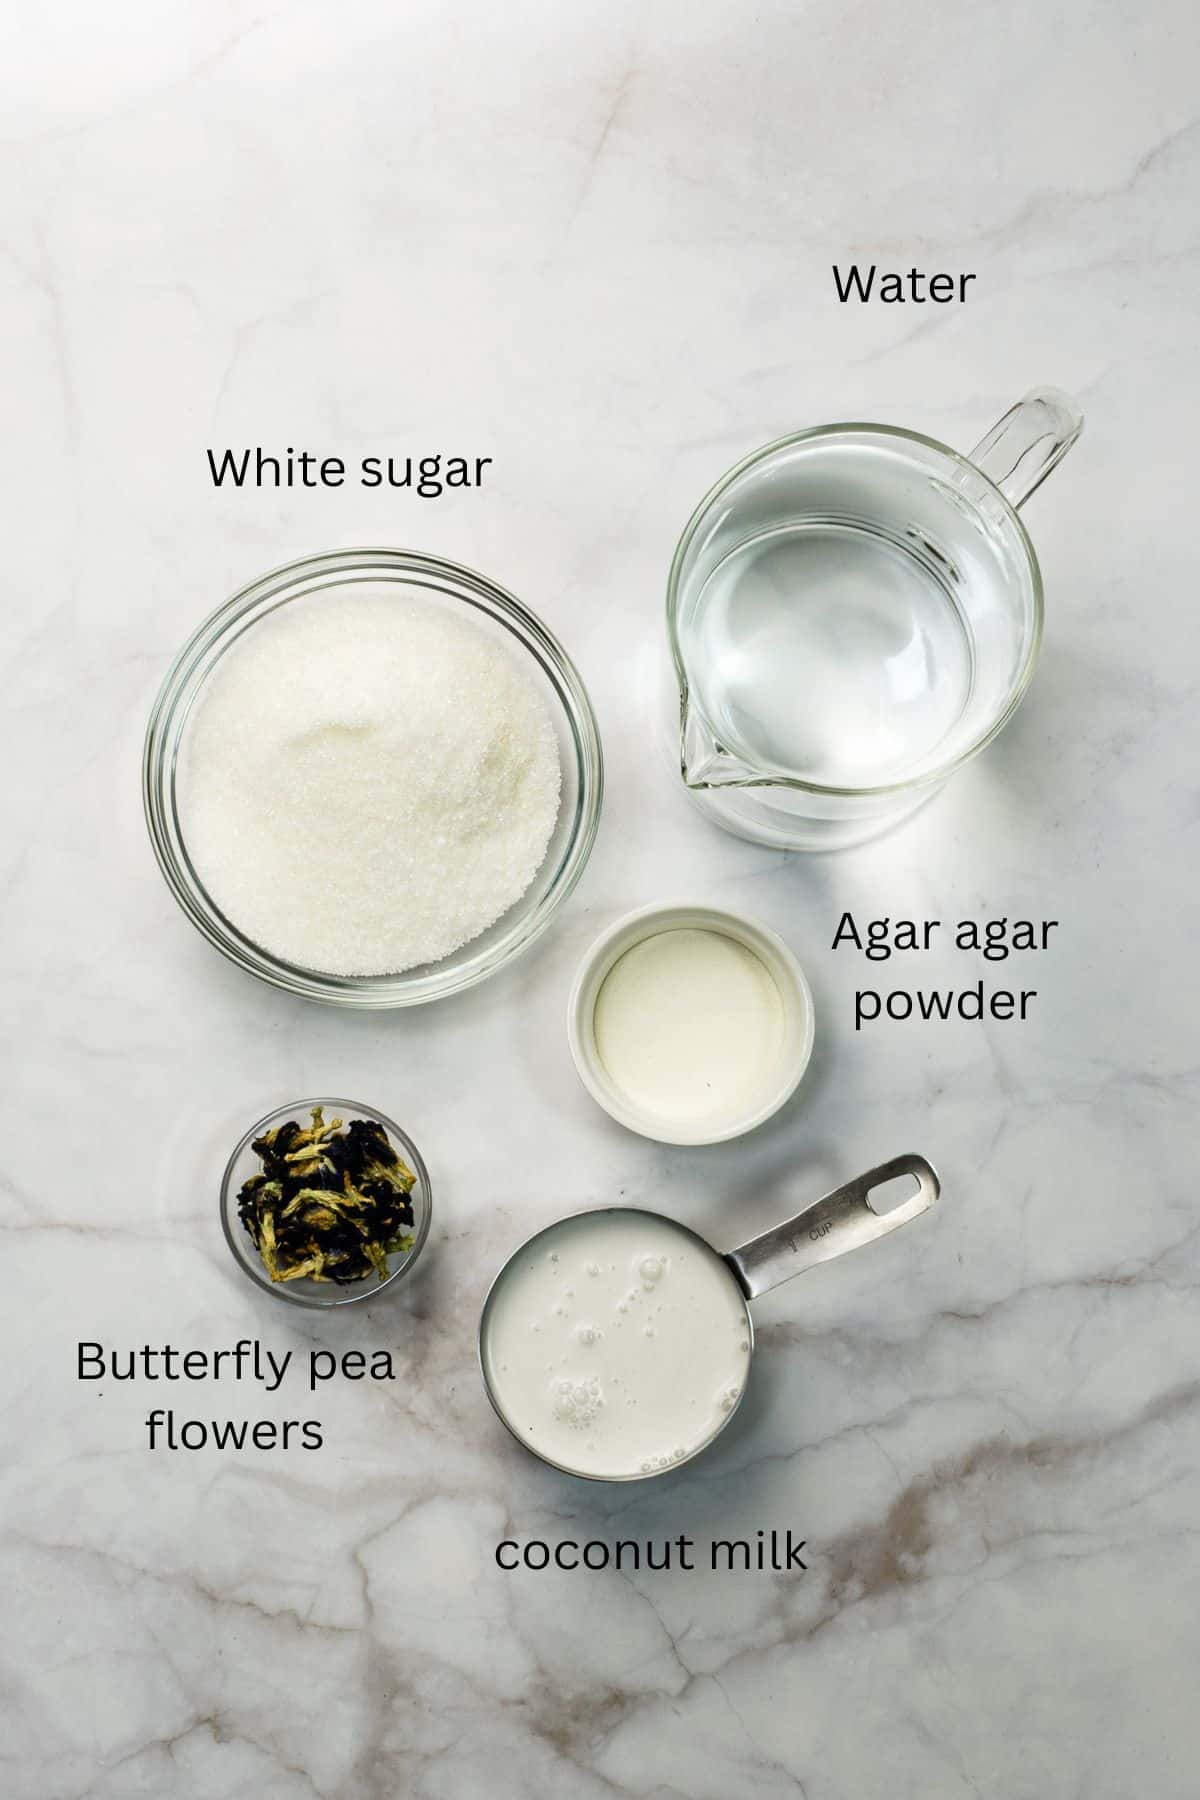
- Agar agar powder (jelly powder) - this is sold in powder form and often in packets of 10g. Make sure to use unsweetened agar-agar powder without any color or flavoring.
- Butterfly pea flowers (blue pea flowers) - I use dried flowers. These are more easily available and last longer than fresh flowers.
- White sugar - this sweetens the jelly. To preserve the pretty blue hue of the jelly, it is best to use white sugar. Both granulated sugar or coarse sugar will work for this recipe.
- Coconut milk - this is the white substance that is squeezed from the white coconut flesh and not the clear water inside the coconut. Coconut milk is different from coconut cream. You will need to use coconut milk for this recipe, not coconut cream. Also, use thick coconut milk for a more creamy taste.
- Water - use filtered water.
*Refer to the recipe card below for full list of ingredients and exact quantities. For best results, use a digital kitchen scale where applicable*
🧾Substitution and Variations
- Dried blue pea flowers can be replaced with fresh flowers. Alternatively, you can also use the blue butterfly pea powder (sold in powder form). Add the powder to the jelly while cooking it. Start with about one sixteenth of a teaspoon and increase gradually until you achieve your desired blue hue.
- For pandan flavored jelly, knot 2 pandan leaves separately and add to the agar agar as you cook it. Discard before pouring the jelly into molds.
- Instead of pouring the butterfly pea jelly into cups, you can also pour it into a single large jelly mold. Excluding the cubed jelly topping, you will need a mold that has a capacity to hold about 1.5 to 1.6 liters of liquid jelly. This recipe yields approximately 2 liters of jelly.
This recipe has not been tested with other substitutions or variations. If you do try, please let me know in the comments section below!
👩🍳How to Make
This butterfly pea jelly is cooked in 2 stages with the bottom most, clear blue jelly and the cubed topping in the first stage and the pastel blue and white layers in the second stage. Ingredients for both stages are separated in the recipe card below for easy reference.
Step 1: Cook the blue jelly.
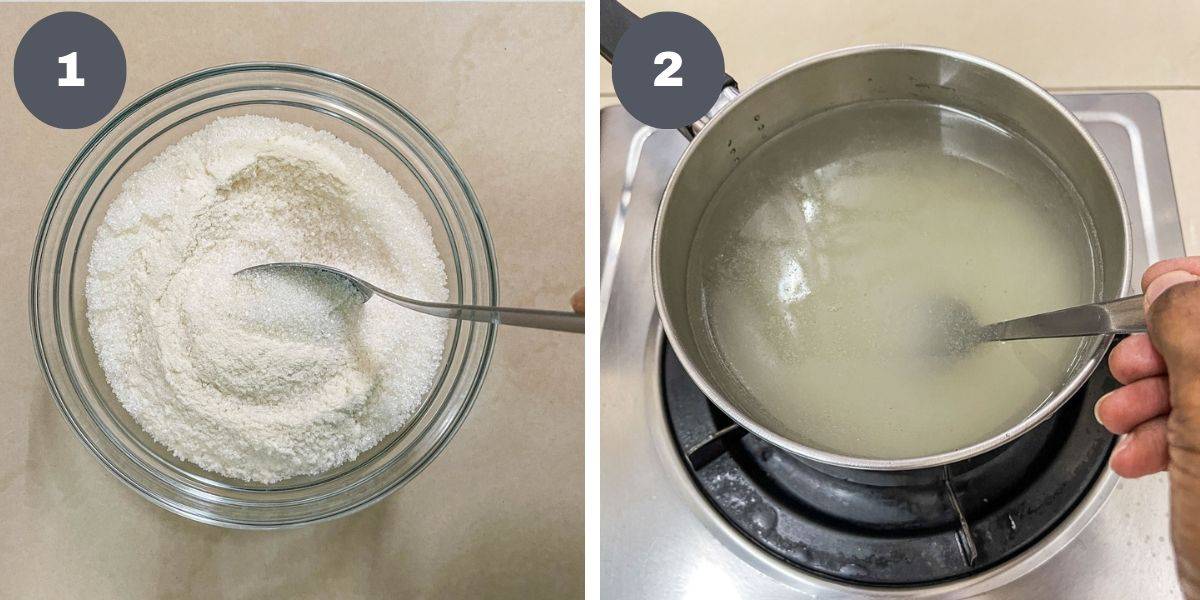
Measure sugar into a bowl. Add the agar agar powder into the sugar and mix well (image 1).
Note: Mixing agar agar powder with sugar before adding to any liquid will prevent it from clumping.
In a medium saucepan, measure the water. Add the sugar and agar-agar mixture into the water and stir to disperse (image 2).
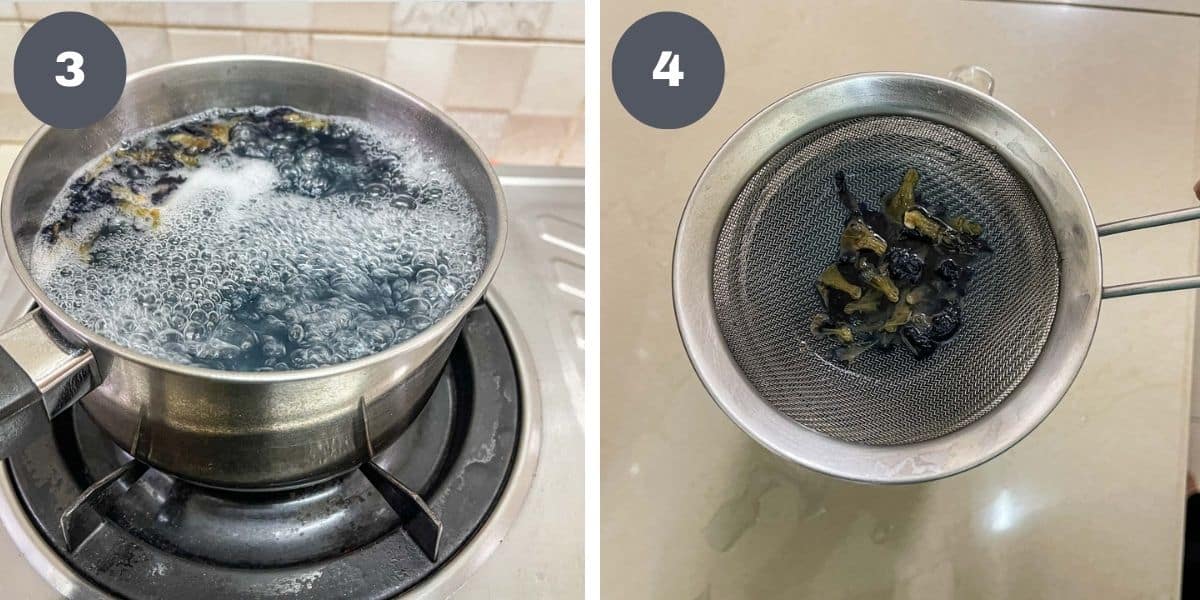
Turn on the heat to medium flame and stir the agar agar solution until the sugar is dissolved. Next, add the butterfly pea flowers and stir briefly. Let the jelly solution cook until it reaches a rolling boil stage (image 3). Stir occasionally.
Note: Cooking the jelly to a rolling boil stage will make sure the jelly powder is properly dissolved. If the jelly powder is not completely dissolved, your jelly will not set properly.
Reduce the heat and let the jelly simmer for about one minute. Turn off the heat and strain the jelly solution with a fine mesh strainer into a measuring jug (image 4). Discard the flowers. Make sure the jug is able to withstand the heat of the agar agar solution.
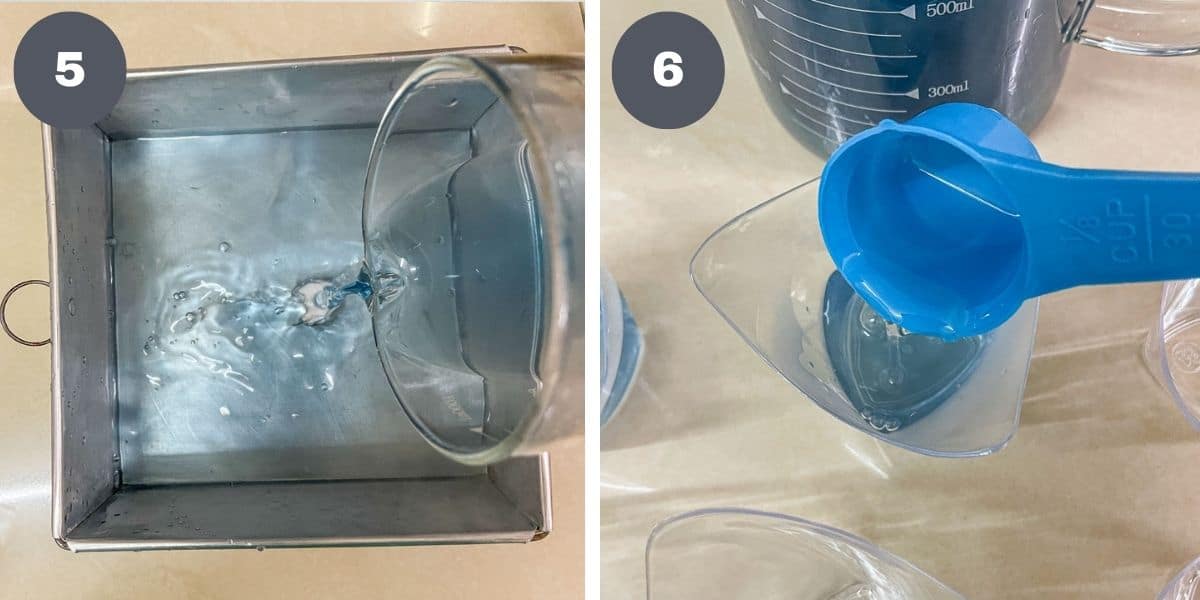
Pour half of the jelly solution into a square tin (approximately 7 inches by 7 inches square). Set it aside to let it cool slightly before placing it in the fridge to set completely (image 5).
Divide the remaining jelly into prepared jelly cups or molds. Divide the jelly equally for even layers (image 6). Set them aside to allow the jelly to set before adding the next layers.
Note: For even jelly layers in all cups, measure the solution in a measuring cup before pouring into the cups.
Step 2: Cook the coconut milk jelly. Similar to the first layer of jelly, measure the sugar and agar agar powder into a bowl. Mix them well so that the agar agar powder is well dispersed in the sugar.
Next, measure water into a saucepan. For this second stage, you will be using coconut milk as part of the liquid to make the jelly, hence the water measurement will be lesser than the first stage above. Refer to the recipe card for exact measurements. Add the agar agar and sugar mixture into the water and stir.
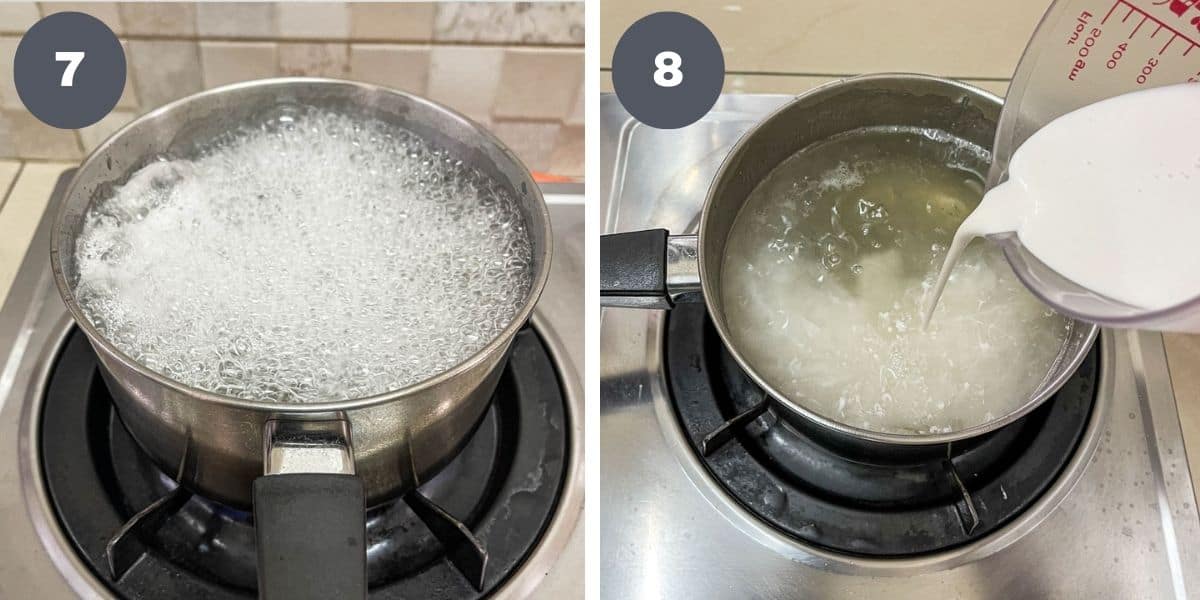
Turn on the heat to a medium flame and stir to avoid the agar agar powder from clumping at the bottom of the pan. Let the jelly solution cook to a rolling boil, stirring occasionally (image 7).
Turn the heat to low and add the coconut milk. Stir to mix (image 8).
Step 3: Assemble the jelly layers.
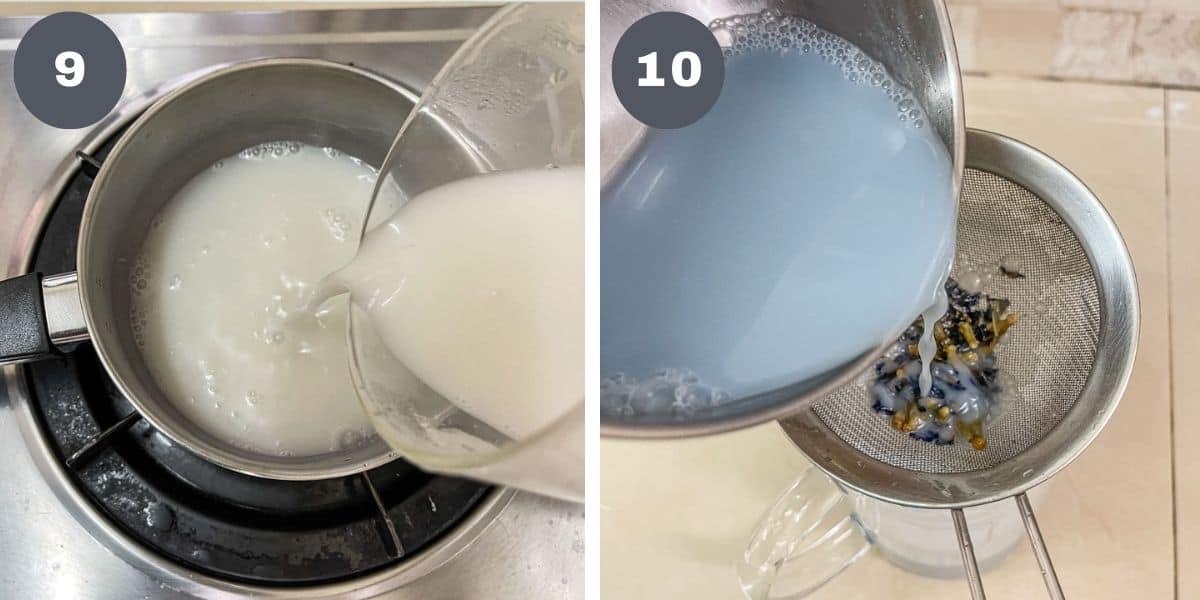
Let the jelly cook on low heat until it comes to a very gentle boil (very light simmer). Do not boil the solution too much. Turn off the heat. Transfer half of the coconut milk jelly solution into another pan (image 9).
Add the blue pea flowers into the pan and stir lightly. Turn on the heat to a very low flame and steep butterfly pea flowers in the hot agar agar mixture for about one minute. Make sure the solution does not simmer. If it does, turn off the flame.
Cover the pan with a lid and let the flowers steep for about 3 minutes. Stir occasionally. Once the jelly has reached the desired blue hue, strain the flowers (image 10).
Test the first layer jelly in the cups by touching the surface with your finger tips. The jelly should have started to set. If not, place it in the fridge for about 5 minutes to quicken the setting process. You can do this process simultaneously as you are preparing the coconut milk jelly above.
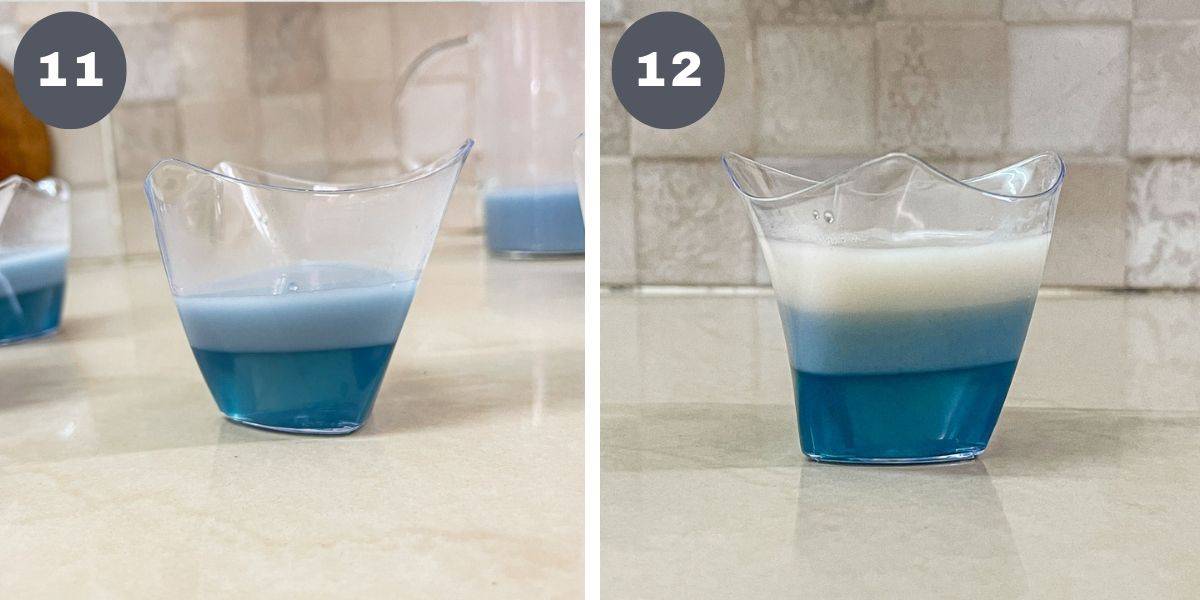
Once the first layer is set, divide the blue tinted coconut milk jelly into the jelly cups (image 11). Place the cups in the fridge to allow the jelly to set.
Note: Placing in the fridge will quicken the process and this is necessary to prevent the remaining (untinted) coconut milk jelly solution from cooling down too much and setting at room temperature. If you notice it cooling down, heat it up again on low heat to keep it warm.
Once the second layer is set, pour the final white layer into each cup. Place the cups back in the fridge to allow this white layer to set completely (image 12).
Step 4: Add the topping.
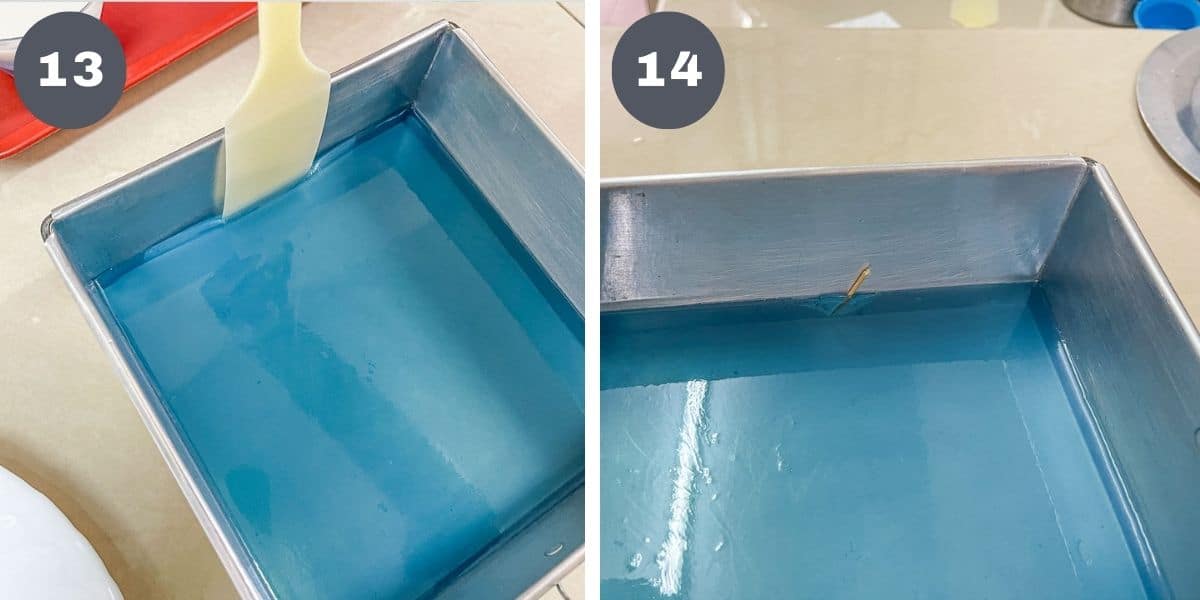
Remove the blue jelly tray from the fridge and turn the jelly out onto a plate. For easy release, use a thin spatula to run through the sides of the jelly and the mold (image 13).
And then, insert 2 toothpicks on the sides, between the jelly and the tin (image 14).
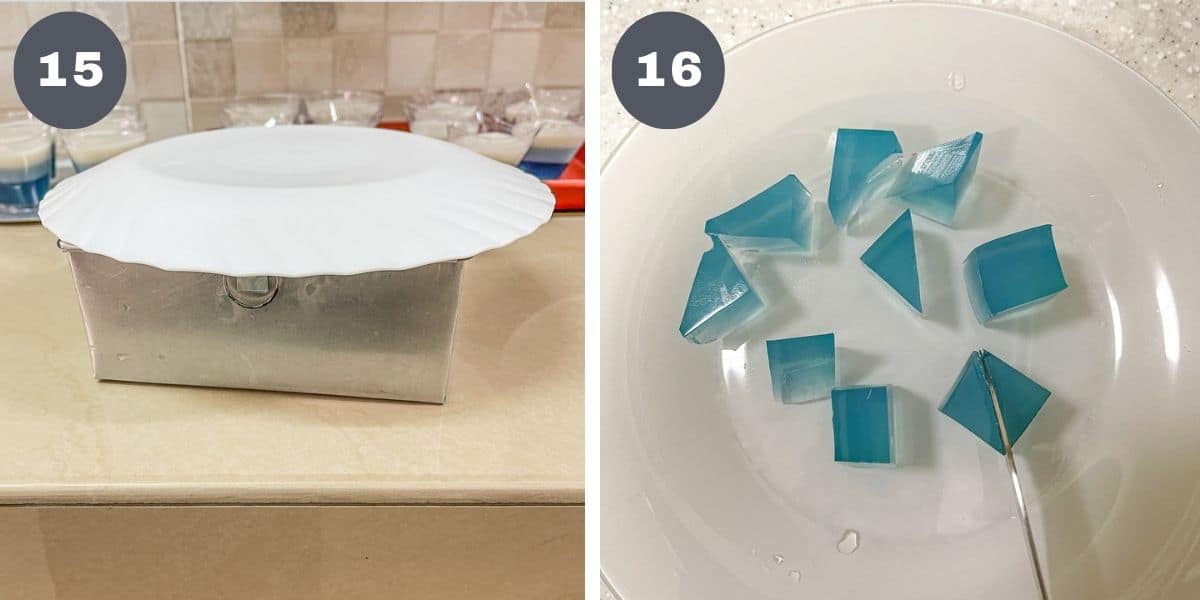
Place a large plate (facing down) on the mold (image 15).
Turn the mold over (while holding the plate on the top) to release the jelly onto the plate. Cut the jelly into small cubes and triangles (image 16).
Scoop the cut jelly onto each butterfly pea jelly cup. Decorate with tiny pieces of edible gold flakes if preferred. Keep the jelly chilled until ready to serve.
💡Expert Tips
- Agar agar powder tends to clump when added to hot water. For easy handling, mix it with sugar first. This helps disperse the powder and prevents it from clumping. Also, mix it into the water before heating up the water. This also helps prevent the jelly from clumping.
- When cooking agar agar jelly, it is important that the jelly is cooked until it is completely dissolved, otherwise the jelly will not set. To ensure the jelly powder is completely dissolved, cook the jelly solution over medium heat and continue cooking until it reaches a rolling boil stage.
- When making agar agar with coconut milk, it is important to note that boiling the solution for too long will cause the coconut milk to separate. When you pour the jelly solution into a mold, the separated coconut milk solids will float to the top leaving the bottom of the jelly with a layer of clear jelly. Hence, when making this butterfly pea jelly with coconut milk, it is important to make sure not to allow the coconut milk solution to reach a boiling stage.
- Releasing jelly from a metal tin can be difficult. For easy release, insert 2 or 3 toothpicks between the sides of the jelly and the mold before turning it over.
- The jelly will take a good 2 to 3 hours to set at room temperature. If you wish to set it quicker, refrigeration helps. To know if the jelly is completely set, it should be firm when pressed. If it is even slightly wobbly, it is not ready and should be allowed more time to set.
💭FAQs
Coconut milk is the white liquid that is extracted from the white coconut flesh or meat. It is not the clear water that is readily present in coconuts.
To get coconut milk, you will have to squeeze it out from finely grated coconut flesh. Coconut milk has a lovely creamy taste. Known as 'santan' in Malay, this milk is widely used in many Asian desserts like this coconut sago pudding, coconut milk jelly, pandan jelly and ube jam.
No, coconut water will not work for this butterfly pea jelly recipe as it will not yield the creamy texture for jelly layers.
The jelly should be allowed to set completely before serving. This can take at least 2 to 3 hours at room temperature and will be quicker if refrigerated (about 2 hours). Jelly poured in deeper containers like the jelly cups will take a longer time to set as compared to those set in shallower molds.
Keep the jelly chilled if not serving as soon as it is set. Left overs should be kept in the fridge and can last for a good 4 to 5 days.
❤️More Recipes You Will Love
Do you like this recipe? Please leave a 5-star ⭐⭐⭐⭐⭐rating in the recipe card below and consider a review further down this page. I would love to hear from you. Thank you!
📖Recipe

Butterfly Pea Jelly
For best results, use the metrics measurements. US customary measurements have not been tested and are only meant for guide.
Ingredients
Clear Blue Jelly Layer
- 10 g agar agar powder
- 250 g white sugar
- 1 l water
- 15 butterfly pea flowers (dried)
Coconut Milk Jelly Layer
- 10 g agar agar powder
- 200 ml coconut milk (thick)
- 800 ml water
- 250 g white sugar
- 20 butterfly pea flowers
Decoration (optional)
- Edible gold flakes
Instructions
The clear blue jelly layer
- Measure the sugar into a bowl. Add the agar agar powder into the sugar and mix well (see Note 1).
- In a medium saucepan, measure the water. Add the sugar and agar-agar mixture into the water and stir to disperse.
- Turn on the heat to medium flame and stir the agar agar solution until the sugar is dissolved.
- Add the butterfly pea flowers and stir briefly. Let the jelly solution cook until it reaches a rolling boil stage (see Note 2).
- Reduce the heat and let the jelly simmer for about one minutes. Turn off the heat and strain the jelly solution with a fine mesh strainer into a measuring jug.
- Pour half of the jelly solution into a square tin (approximately 7 inches by 7 inches square). Set it aside to let it cool slightly before placing it in the fridge to set completely.
- Divide the remaining jelly into prepared jelly cups or molds. Divide the jelly equally for even layers (see Note 3). Set them aside to allow the jelly to set before adding the next layers.
The coconut milk jelly layers
- Similar to the first layer of jelly, measure the sugar and agar agar powder into a bowl. Mix them well so that the agar agar powder is well dispersed in the sugar.
- Next, measure water into a saucepan. Add the agar agar and sugar mixture into the water and stir.
- Turn on the heat to a medium flame and stir to avoid the agar agar powder from clumping at the bottom of the pan. Let the jelly solution cook to a rolling boil.
- Turn the heat to low and add the coconut milk. Stir to mix.
- Let the jelly cook on low heat until it comes to a very light simmer (see Note 4). Turn off the heat.
- Transfer half of the jelly solution into another pan. Add the blue pea flowers into the pan and stir lightly.
- Turn on the heat to a very low flame and let the flowers cook in the hot jelly for about one minute. Make sure the solution does not simmer. If it does, turn off the flame.
- Cover the pan with a lid and let the flowers steep for about 3 minutes. Stir occasionally. Once the jelly has reached the desired blue hue, strain the flowers.
- Test the clear blue jelly in the cups by touching the surface with your finger tips. The jelly should have set. If not, place it in the fridge for about 5 minutes to quicken the setting process. You can do this process simultaneously as you are preparing the coconut milk jelly above.
- Once the first layer is set, divide the blue tinted coconut milk jelly into the jelly cups. Place the cups in the fridge to allow the jelly to set (see Note 5).
- Once the second layer is set, pour the final white layer into each cup. Place the cups back in the fridge for this white layer to set completely.
The topping
- Remove the clear blue jelly (poured into square jelly tray earlier) from the fridge and turn the jelly out onto a plate. For easy release, use a thin spatula to run through the sides of the jelly and the tin. And then, place 2 toothpicks on the sides. This will create air pockets on the sides and help release the jelly better.
- Place a large plate (facing down) on the tin.
- Turn the tin over (while holding the plate on the top) to release the jelly onto the plate.
- Cut the jelly into small cubes and triangles.
- Scoop the cut jelly onto each jelly cup. Decorate with tiny pieces of edible gold flakes if preferred. Keep the jelly chilled until ready to serve.
- The jelly should be allowed to set completely before serving. This can take at least 2 to 3 hours at room temperature and will be quicker if refrigerated (about 2 hours). Jelly poured in deeper containers like the jelly cups will take a longer time to set as compared to those set in shallower molds.
Notes
- Mixing agar agar powder with sugar before adding to any liquid will prevent it from clumping.
- Cooking the jelly to a rolling boil stage will make sure the jelly powder is properly dissolved. If the jelly powder is not completely dissolved, your jelly will not set properly.
- For even jelly layers in all cups, measure the solution in a measuring cup before pouring into the molds.
- When making agar agar with coconut milk, it is important to note that boiling the solution for too long will cause the coconut milk to separate. When poured into a mold, the separated coconut milk solids will float to the top leaving the bottom of the jelly with a layer of clear jelly.
- Placing the jelly in the fridge will quicken the process and this is necessary to prevent the remaining (untinted) coconut milk jelly solution from cooling down too much and setting at room temperature. If you notice it cooling down, heat it up again on low heat to keep it warm.


Leave a Reply