

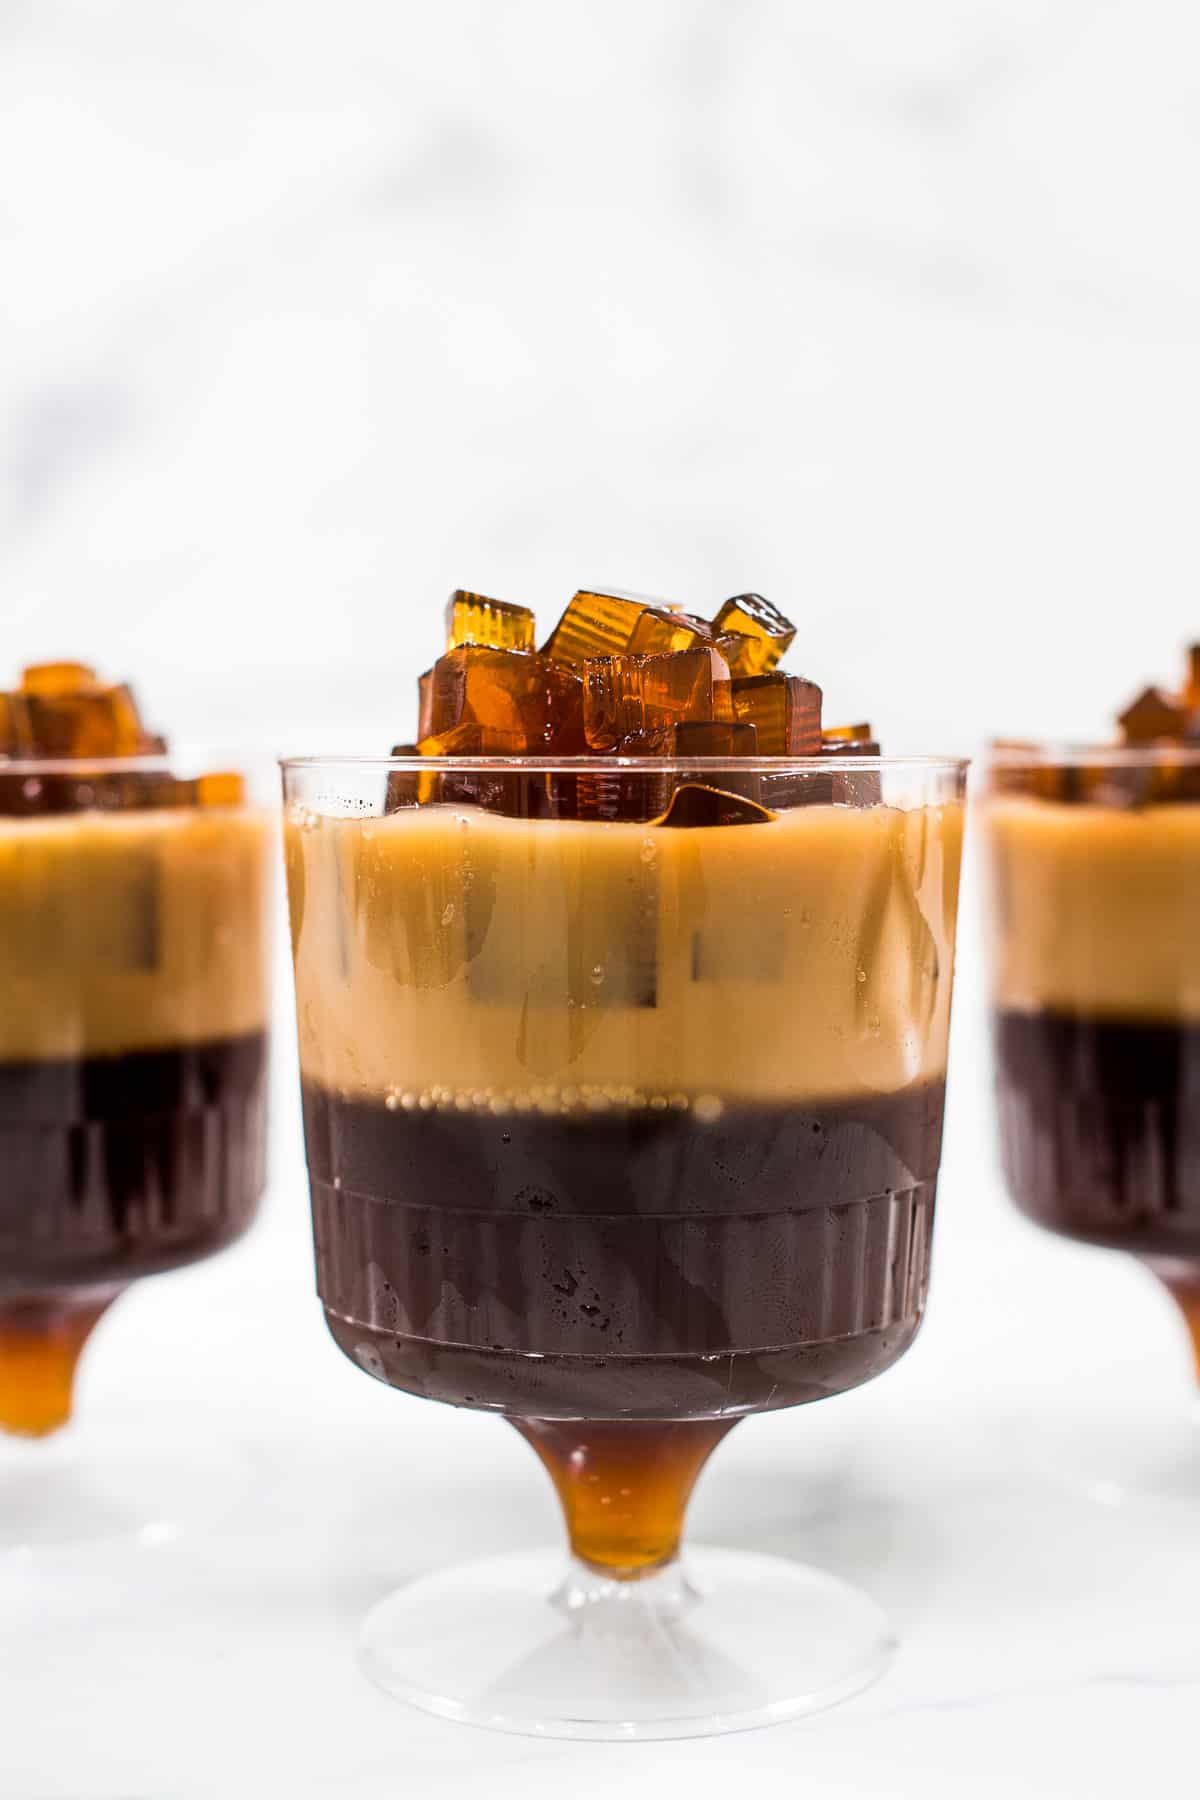
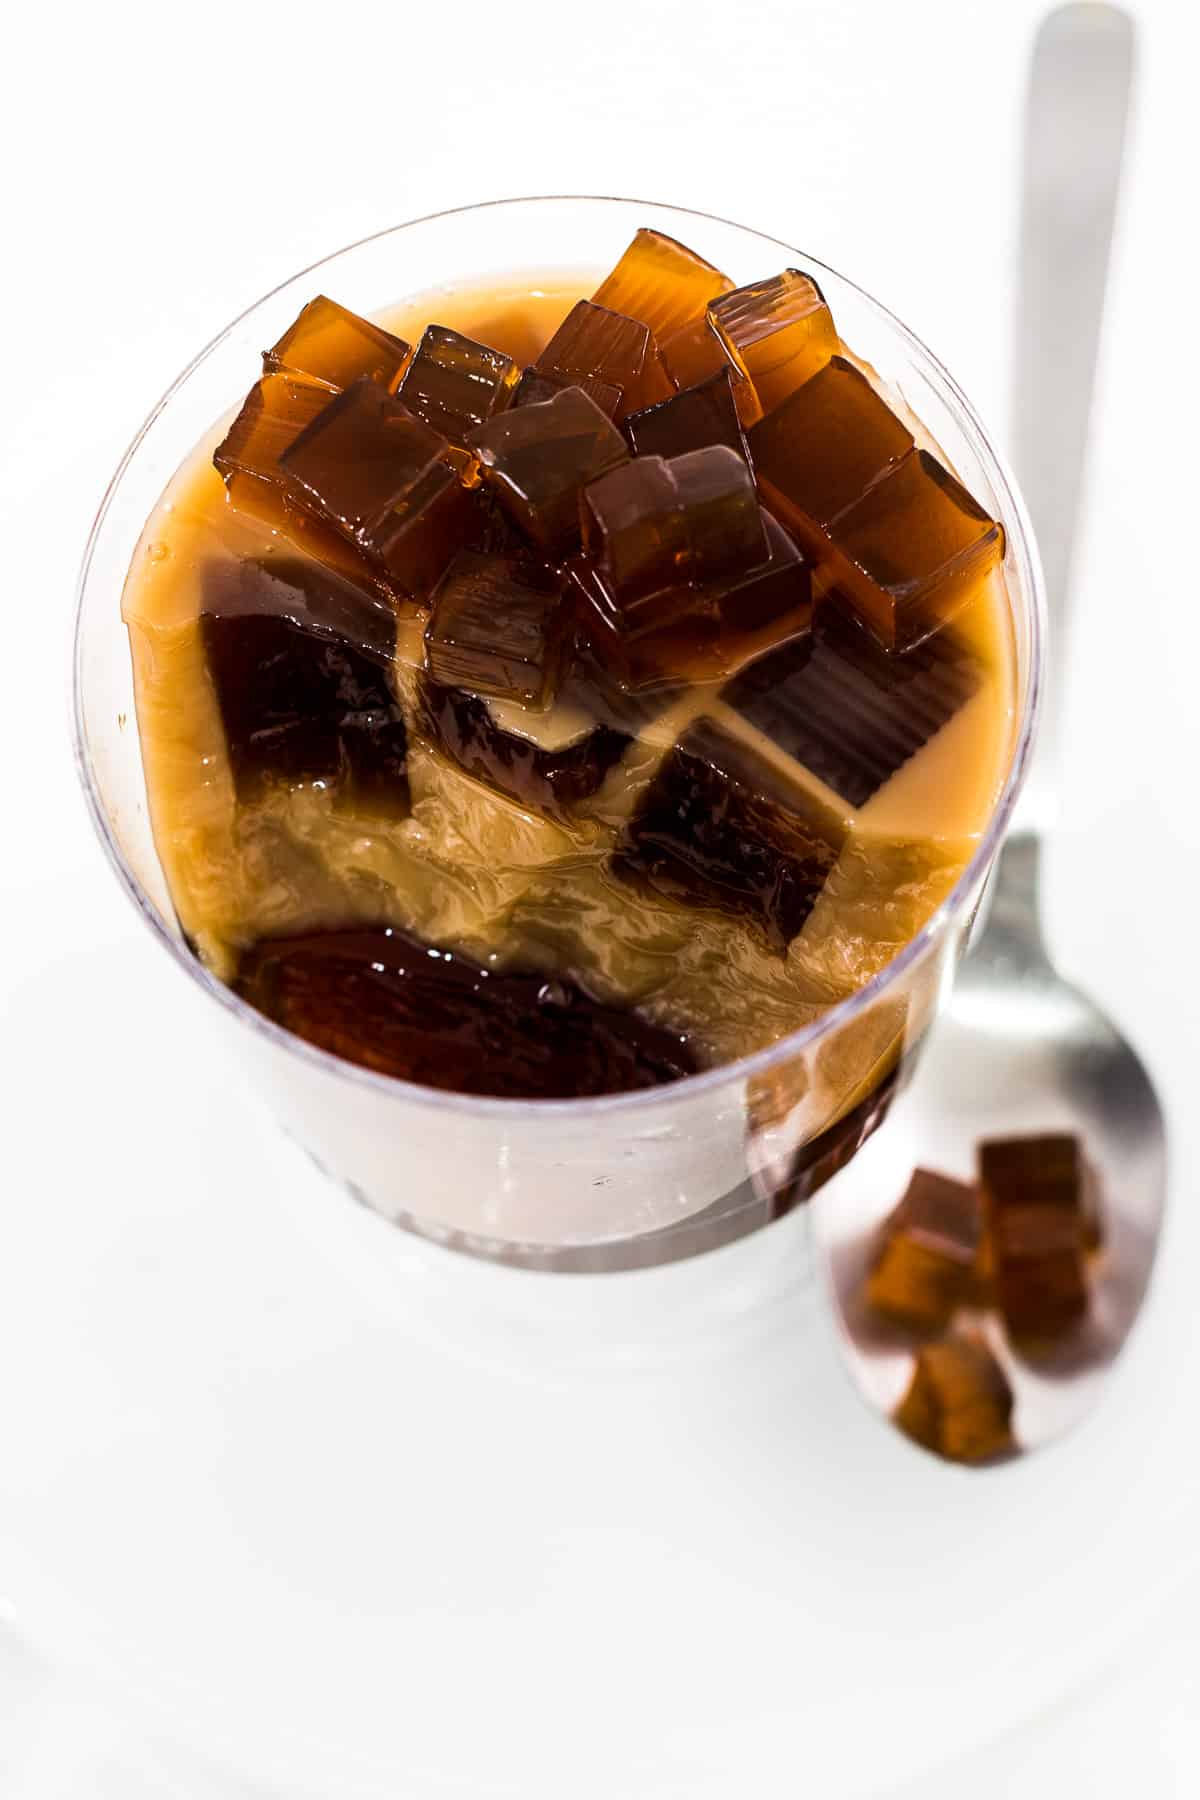
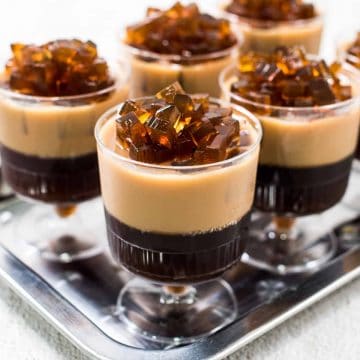
If you are a fan of coffee desserts, you will love this coffee jelly. It is light and refreshing, easy to make and is a perfect for coffee lovers.

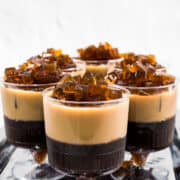
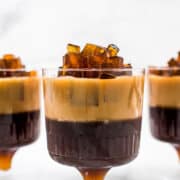
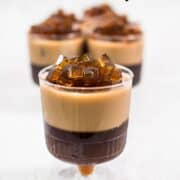
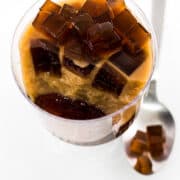
Made in individual serving cups, the jelly consists of a layer of black coffee jelly, followed by a layer of creamy milk coffee jelly and topped with tiny coffee jelly cubes. How is that for a coffee dessert?
The coffee jelly recipe on this page is very similar to the popular Japanese dessert called Kohi Zeri / Kohii Zerii (Japanese Coffee Jelly). The only difference is that the Japanese coffee jelly consists only of the black coffee jelly. The Japanese jelly is also often made using gelatin powder instead of agar agar jelly. It is often consumed with iced coffee or milk or latte (as coffee bubble tea) and sometimes topped with dollop of fresh whipped cream, drizzles of heavy cream or sweetened condensed milk or even scoops of ice cream.
I used agar agar powder for this jelly recipe. Agar agar powder is derived from seaweed and is a vegetarian substitute for gelatin. It has the gelling properties almost similar to gelatin and is typically sold in powder form or in long strands. Here is a basic agar agar jelly recipe you can try.
The coffee jelly recipe I have on this page consists of not only the black coffee jelly, but also an additional layer to milk coffee jelly layer. Unlike the Japanese coffee jelly, this coffee jelly is best consumed on its own and it is best when served chilled. Nevertheless, it can also be served at room temperature.
If you like agar agar jelly, you should also check out this butterfly pea jelly made using butterfly pea flowers, mango jelly, fruit jelly cake and fruit jelly cups.
For more jelly recipes, check out this konnyaku jelly recipe with mangoes and oranges, nata de coco jelly and lychee jelly. These are made using a different type of jelly called konnyaku jelly which has a firmer and chewier texture and are absolutely delicious.
Jump to:
❤️Why You Will Love This Recipe
- It is quick and easy to make.
- It makes a perfect dessert for coffee lovers and vegans.
- Made in individual serving cups, these jelly makes it easy to serve.
📋Ingredients
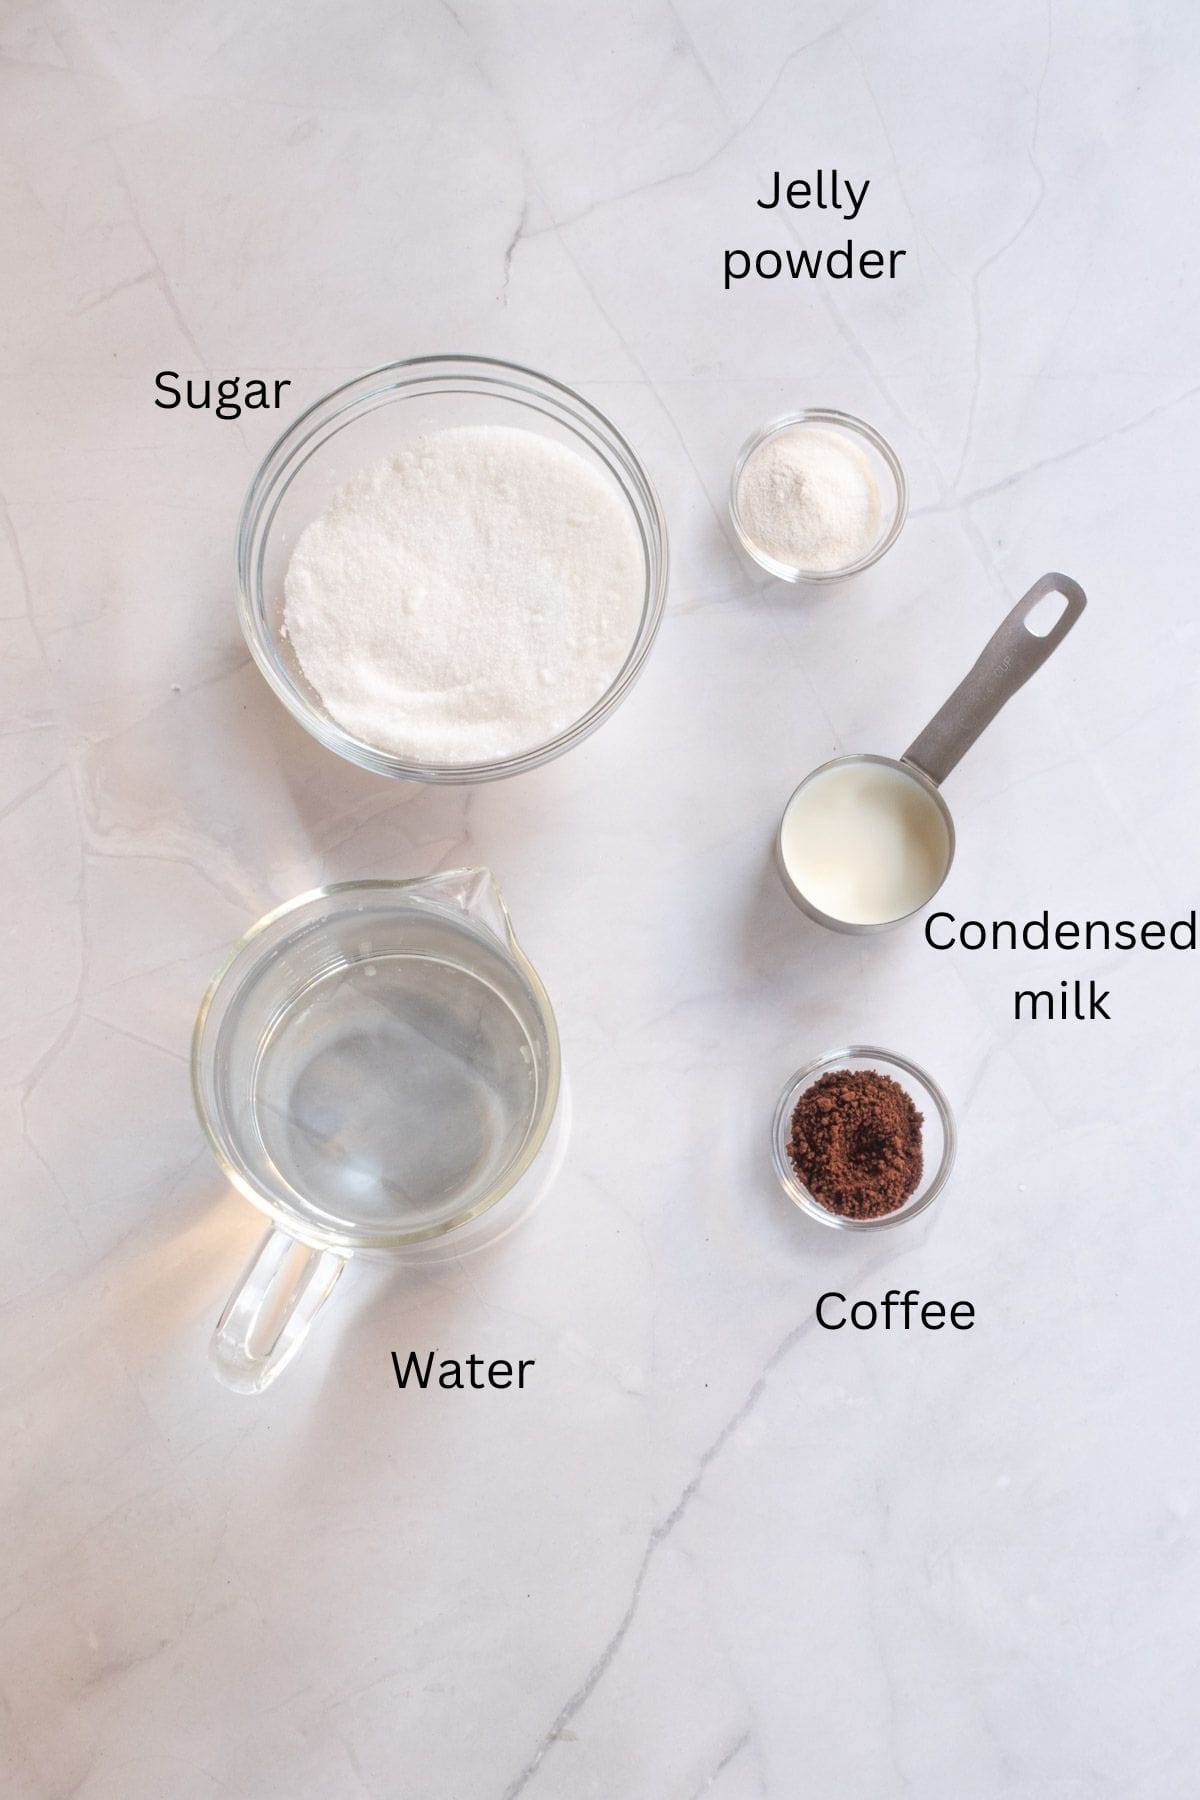
- Agar-agar jelly powder - choose powder which is unsweetened, unflavored and without any color. Agar agar is often sold in small packets of 10g or 20g.
- Instant coffee - water soluble coffee powder or granules.
- Sugar - both coarse sugar or granulated sugar will work.
- Condensed milk - adds a creamy base to the milk coffee layer in the jelly.
- Water - to cook the jelly. Use filtered water.
*Refer to the recipe card below for full list of ingredients and exact quantities. For best results, use a digital kitchen scale where applicable*
🧾Substitution and Variations
- Agar agar jelly can be substituted with konnyaku jelly powder.
- Instant coffee can be substituted with brewed coffee. However, reduce the water in the recipe by the amount of brewed coffee used. Total liquid in the jelly should not be more than 1 liter.
- You can use any type of coffee you like, including decaf coffee. Reduce the amount if you want a lighter coffee flavored jelly, and add more if you want a strong coffee taste. But do keep in mind that the more coffee you add, the more bitter the jelly will become. You would need to add more sugar into the jelly accordingly.
- Instead of pouring the jelly into individual jelly cups, you can set it in a large silicone mold or tin. While removing the jelly from a flexible silicone mold is easy, it is the contrary for metal molds. To effectively remove the jelly from the metal mold, use a spatula to loosen the sides of the jelly and then turn it out onto a large plate. If that does not help, you can try cutting out the jelly in the mold itself and then remove the cut pieces onto serving plates. Add the jelly topping after that.
This recipe has not been tested with other substitutions or variations. If you do try, please let me know in the comments section below!
👩🍳How to Make
Step 1: Prepare the molds. As with making all jellies, start by preparing the molds. Wash and pat them dry.

This is because jelly sets very quickly after cooking and it is best that the molds are all ready to pour the jelly in as soon as it is cooked. For this recipe, I used a square tin and small plastic cups (images 1 & 2).
Step 2: Cook the jelly. Mix the sugar and agar-agar powder in a small bowl until the jelly powder is well dispersed.
Note: This step helps avoid the agar-agar powder from clumping when added to the water later.
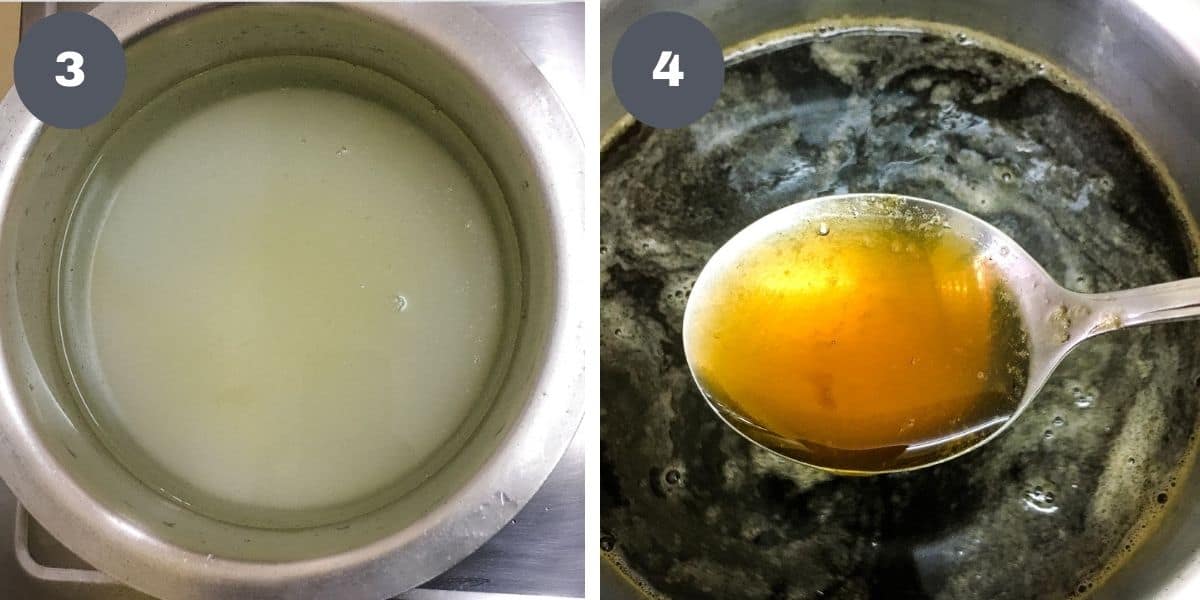
Measure water into a small saucepan or pot. Add the sugar and agar-agar powder mix and stir to combine. Turn on the heat to low (image 3).
Add the instant coffee into the pot. Stir until the coffee, sugar and agar-agar are completely dissolved. The agar-agar powder will take the longest to dissolve. On low to medium heat, it should take about 8 to 10 minutes. Cook until the jelly reaches a rolling boil.
To test if the jelly is completely dissolved, scoop some of the coffee jelly solution in a large spoon. If you see tiny dots in the solution, the agar-agar powder is not completely dissolved yet. Continue to cook the coffee jelly, stirring it often to help the agar-agar powder dissolve quicker (image 4).
Step 3: Make the black coffee jelly cubes. Once the agar-agar is completely dissolved, turn off the heat. Transfer about 2 to 2.5 cups of the coffee jelly into a shallow tin or container. I poured mine into a 6 inches square tin. There is no need to line the tin .
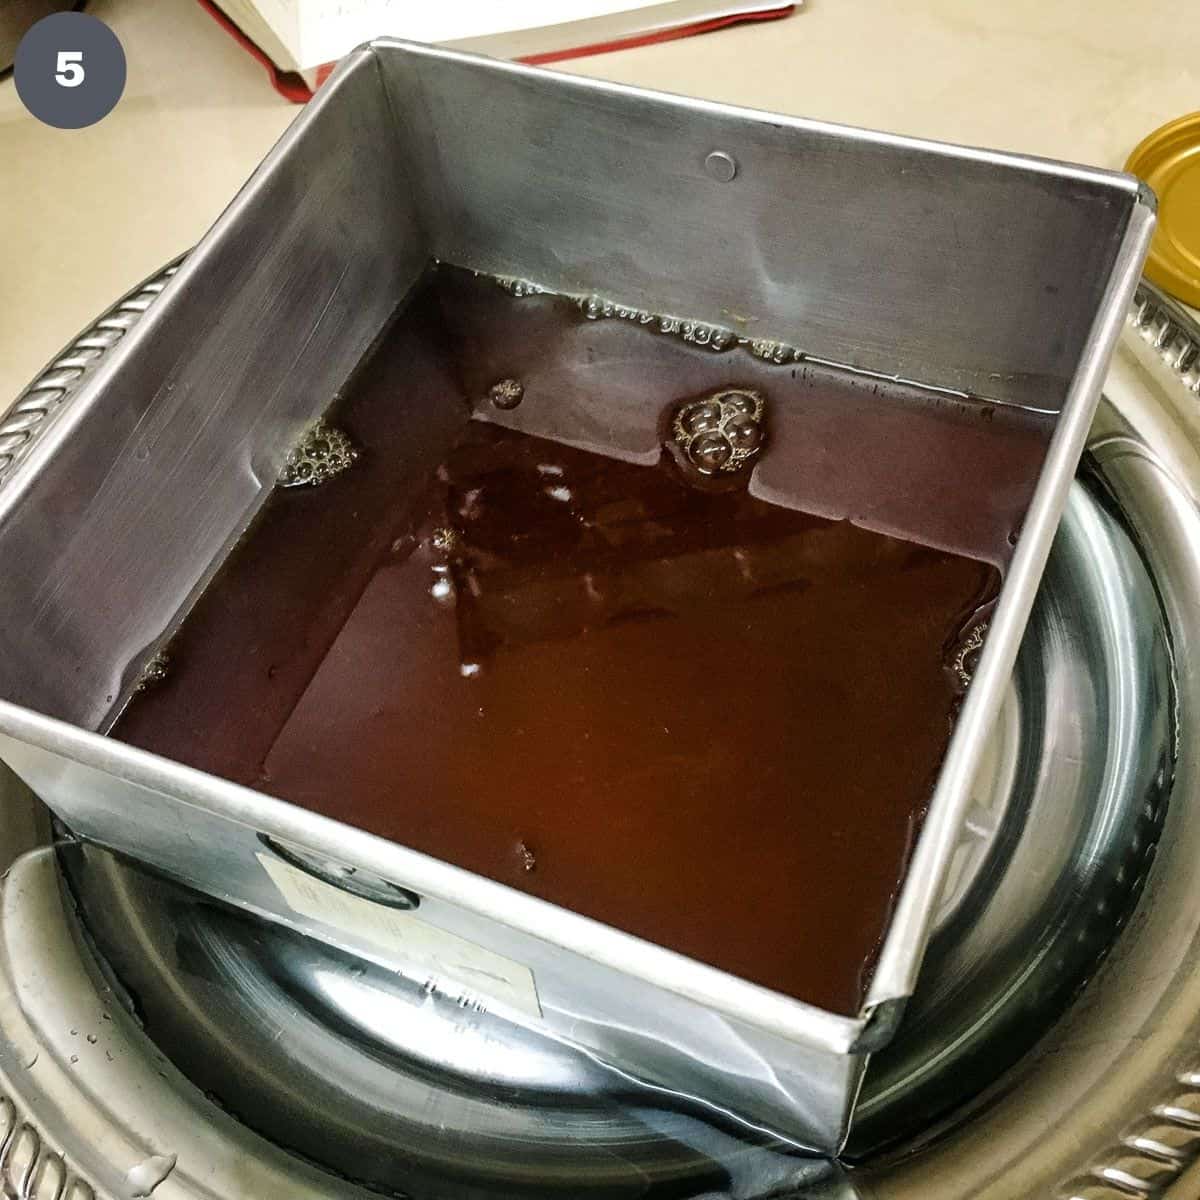
Leave the jelly aside to set. To help speed the process, place the container in a tray filled with ice water (image 5). Once the jelly has cooled down, move the jelly container to the fridge. Let it set completely while assembling the rest of the coffee jelly.
Step 4: Make the jelly layers. Scoop half of the remaining black coffee jelly into prepared jelly molds. I used individual cups.

If there are too many bubbles on the jelly surface, remove them with a small spoon (image 6). Transfer the jelly molds into the fridge to help the jelly set quicker.
Add condensed milk to the remaining coffee mixture (jelly) in the pot. Keep it warm by heating it up again if you see it cooling down. Also, constantly stir the solution to prevent skin from forming on the surface of the milk coffee jelly. This is an important step here because you need to wait for the black coffee jelly layer in the molds to set before you can add on the milk coffee jelly layer.
As soon as the black coffee jelly in the molds is set, remove the molds from the fridge.
Note: At this stage, you need not wait until the black jelly is completely firm, suffice if the top is set. Test by gently pressing the surface, if it's firm to the touch, it is ready for the next layer of jelly.
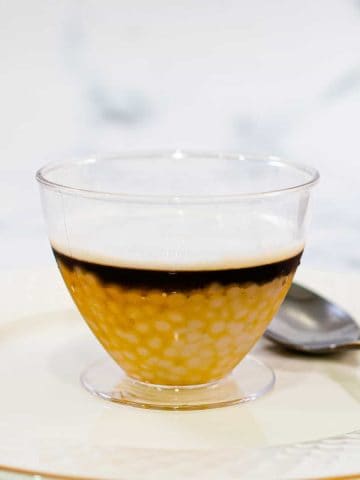
Use a ladle to gently scoop the milk coffee jelly onto the black coffee jelly (image 7).
Step 5: Add the coffee jelly cubes. Remove the black coffee jelly made in the first step above from the fridge.

Use a jam knife to cut it vertically and horizontally to get small cubes of jelly (image 8).
Remove the cubes onto a plate. Drop the cubes into the milk coffee jelly layer. Drop them in before the milk coffee jelly sets. You will see the cubes float up (image 9). Reserve the remaining black jelly cubes for the topping. Move the jelly molds into the fridge for the jelly to set completely.
Step 6: Add the topping. Cut the remaining black coffee jelly cubes into smaller cubes.

Once the molded jelly is completely set, spoon the jelly topping on (image 10). Chill until ready to serve.
💡Expert Tips
- Keep the total liquid in the jelly recipe to the amount indicated at the back of your agar-agar powder sachet. As a general guide, for every 10g of agar agar powder, use 1 liter of liquid.
- Make sure the jelly is cooked until the agar agar powder is fully dissolved to ensure the jelly sets well.
- If pouring hot jelly solution into plastic containers or molds is a concern for you, you can always cool the jelly solution down slightly before pouring it into the containers. The best way to cool the jelly down is by placing it under the fan. To avoid the surface of the jelly from forming a skin as it cools down, keep stirring it as it cools down.
💭FAQs
Agar-agar powder is a plant based jelly powder made from edible seaweed. It is a common dessert in Asia and can be found in local Asian grocery stores or Asian markets. Agar agar is often used to make jellies and is a good substitute for animal gelatin.
The agar-agar powder has a tendency to clump when added to the water. And it will often take a very long time and a lot of stirring to get these clumps to dissolve. If they are not dissolved, your jelly with not be smooth and you will be able to taste the lumps as you eat the jelly.
The best way to avoid this is to mix the agar-agar powder with sugar first before adding it to the water. That way, the agar-agar powder itself is well distributed and there is an unlikely chance for clumps.
Jelly sets as it cools down. While this is not a problem in most cases, it can be when you are using the jelly solution to make layered jelly.
When making layered jelly, you literally pour one layer of jelly into your molds, and wait until it sets before pouring the next layer on. This waiting process sometimes causes the jelly that in not yet poured into the molds to set too.
To avoid this, you would need to keep the jelly solution from cooling down. You can do this by turning on very low heat on your stove. But do take note to avoid the jelly from boiling too much as that can thicken it up too.
The other way would be to turn the heat on and off. As the jelly starts to cool down, turn on the heat. Once the jelly is heated up, turn it off. That way, your jelly solution does not get thickened too much. And remember to keep stirring it often too.
The reason I choose condensed milk rather than milk or evaporated milk is to avoid diluting my coffee jelly solution. When diluted, the jelly will not set as firm as it should. Hence, it is best that condensed milk is used for this jelly.
This would depend on the mold into which the jelly is poured. Smaller, shallower molds would tend to set faster as compared to larger, deeper ones.
To test if the jelly is set, press it down lightly with your finger. If it is firm to the touch, the jelly is ready.
This jelly lasts for a good 4 to 5 days, however, it must be kept chilled in the fridge. Keep it in a covered container to prevent it from drying out in the fridge.
Sometimes, you will notice excess liquid in the jelly container after a day or two. This is normal, the jelly tends to release some liquid as you keep it longer. Having said that, the jelly is still as good to eat and can be safely consumed.
❤️More Recipes You Will Love

Do you like this recipe? Please leave a 5-star ⭐⭐⭐⭐⭐rating in the recipe card below and consider a review further down this page. I would love to hear from you. Thank you!
📖Recipe
Coffee Jelly
For best results, use the metrics measurements. US customary measurements have not been tested and are only meant for guide.
Ingredients
- 10 g agar agar powder
- 250 g sugar
- 2 tablespoon instant coffee granules or powder
- 2 tablespoon sweetened condensed milk
- 1 liter water
Instructions
- Prepared the molds and set them aside.
- Combine agar-agar powder with sugar. Mix well (see Note 1) and set aside.
- Measure water into a medium sized pot. Add the agar-agar and sugar into the water and stir.
- Next, add instant coffee to the pot. Cook the jelly over low to medium heat.
- Stir and cook the jelly solution for about 10 minutes, until it reaches a rolling boil.
- Pour about 2 to 3 cups of the jelly into a small dish. Let the jelly set slightly before placing it in the fridge to set completely.
- Spoon half of the remaining black coffee jelly solution in the pot into the prepared mini jelly molds. Let the jelly set.
- While waiting for the black jelly layer to set, prepare the milk coffee jelly. To do this, add condensed milk to the remaining jelly solution in the pot. Mix well.
- Also, prepare the black coffee jelly cubes. Remove the dish of black jelly placed in the fridge earlier. It should have set completely by now, given that it is a shallow layer of jelly. Cut the jelly into small cubes of about 1cm sizes. You can cut the jelly directly in the dish or you can also turn it out onto a board and then cut it.
- Remove the jelly molds from the fridge. Check that the top of the black jelly is firm by pressing it lightly (see Note 2).
- Gently spoon the milk coffee jelly onto the black jelly layer.
- Add a few of the cut black jelly cubes into each of the jelly molds. You will see the jelly cubes float to the surface of the milk coffee layer. At this stage, not all the jelly cubes will be used up. Reserve the remaining for the topping.
- Return the jelly in the molds to the fridge to set completely.
- While waiting for the jelly to set, prepare the jelly topping.
- To make the topping, cut the remaining black jelly cubes into smaller squares.
- Chill in the fridge while waiting for the jelly in the molds is set.
- Spoon some of the jelly toppings onto each mini coffee jelly in the molds before serving.
Notes
- This step helps avoid the agar-agar powder from clumping when added to the water later.
- At this stage, you need not wait until the black jelly is completely firm, suffice if the top is set. Test by gently pressing the surface, if it's firm to the touch, it is ready for the next layer of jelly.
- Keep the total liquid in the jelly recipe to the amount indicated at the back of your agar-agar powder sachet. As a general guide, for every 10g of agar agar powder, use 1 liter of liquid.
- Make sure the jelly is cooked until the agar agar powder is fully dissolved to ensure the jelly sets well.
- If pouring hot jelly solution into plastic containers or molds is a concern for you, you can always cool the jelly solution down slightly before pouring it into the containers. The best way to cool the jelly down is by placing it under the fan. To avoid the surface of the jelly from forming a skin as it cools down, keep stirring it as it cools down.
Jerika
I love coffee jelly!!!:) I would surely try your yummy enticing version. Thanks!:)
Jeannie
we love making this for our own dessert and then tried serving with friends they enjoyed it!
Elizabeth
Great recipe! So refreshing. I did find it was a little too sweet for my taste so the second time, I made it with 150g of sugar instead of 250g and it was amazing.
Andrea
It was a delicious desert ! Thank you for sharing ☺️
Priya
Thank you Andrea :). I am glad you like it!