

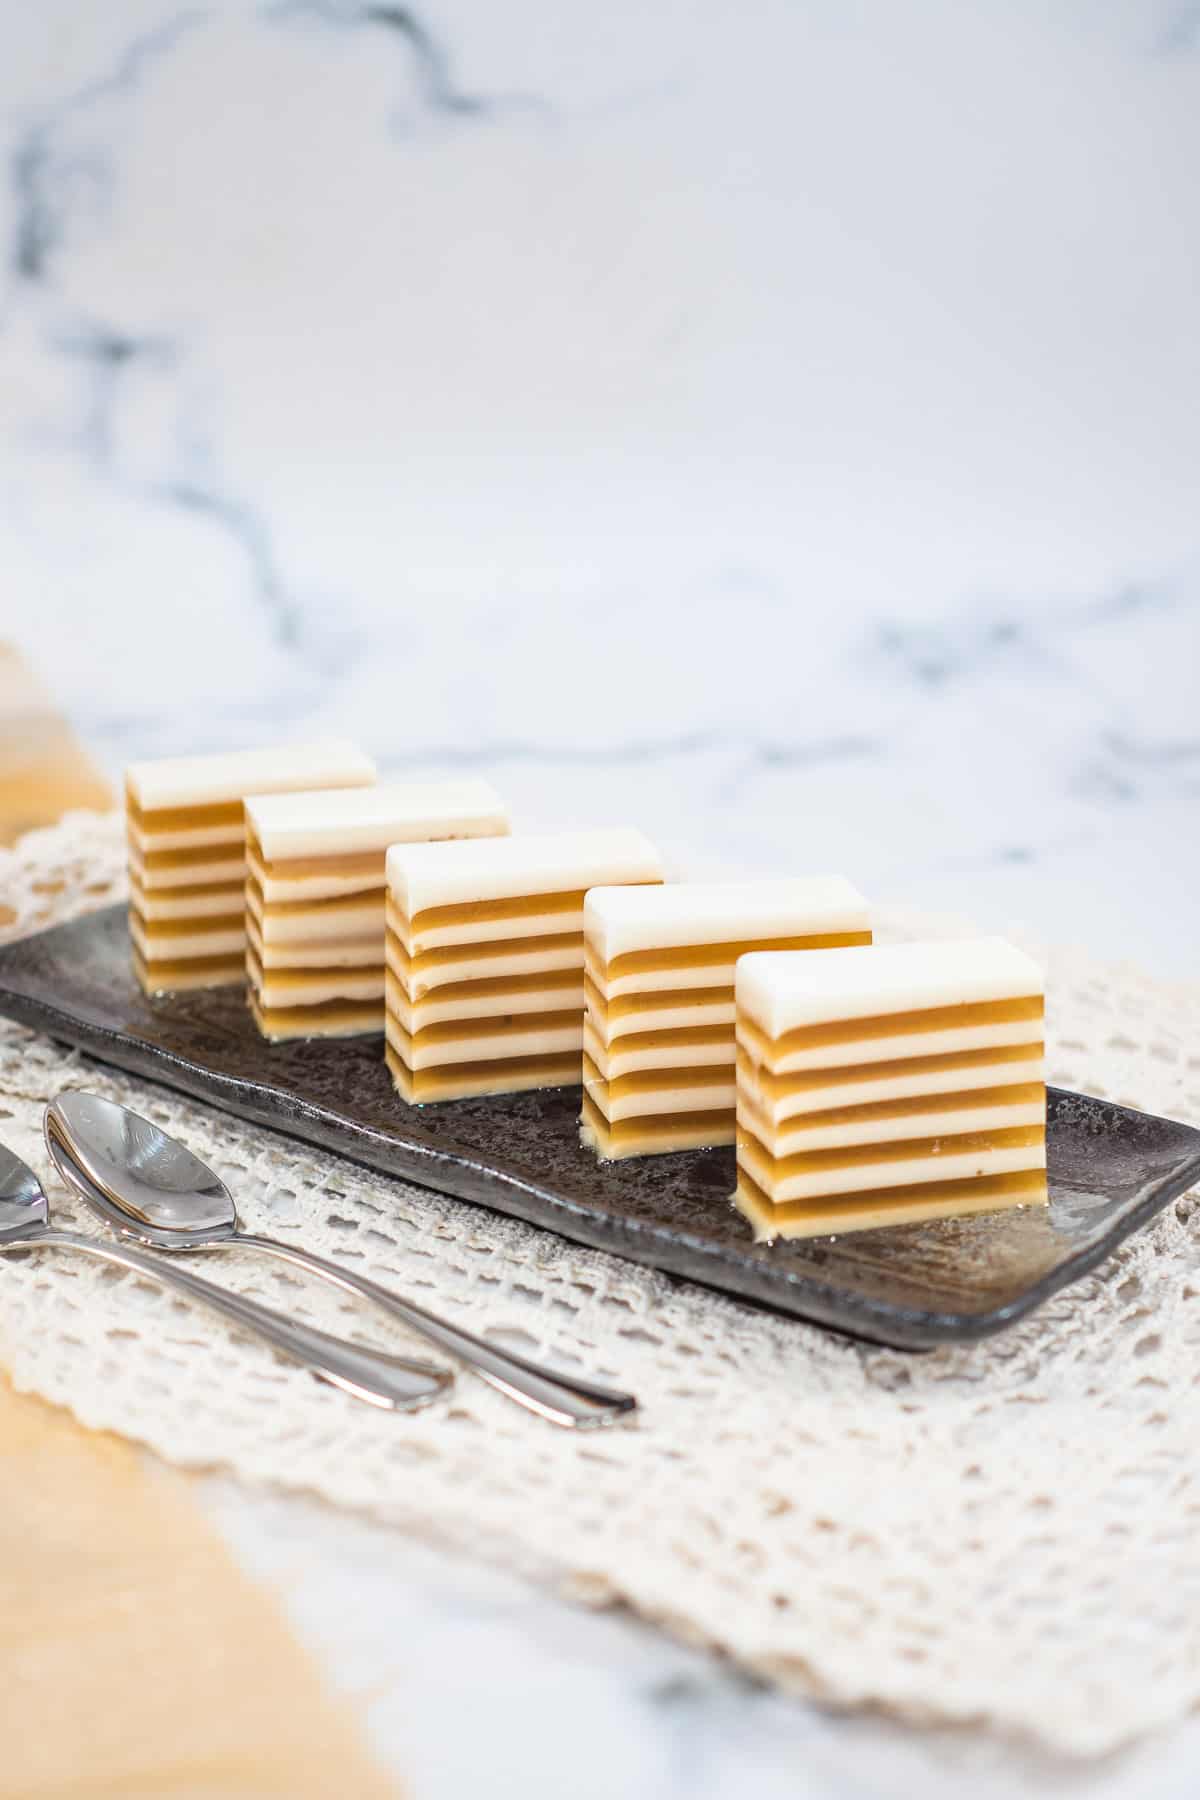
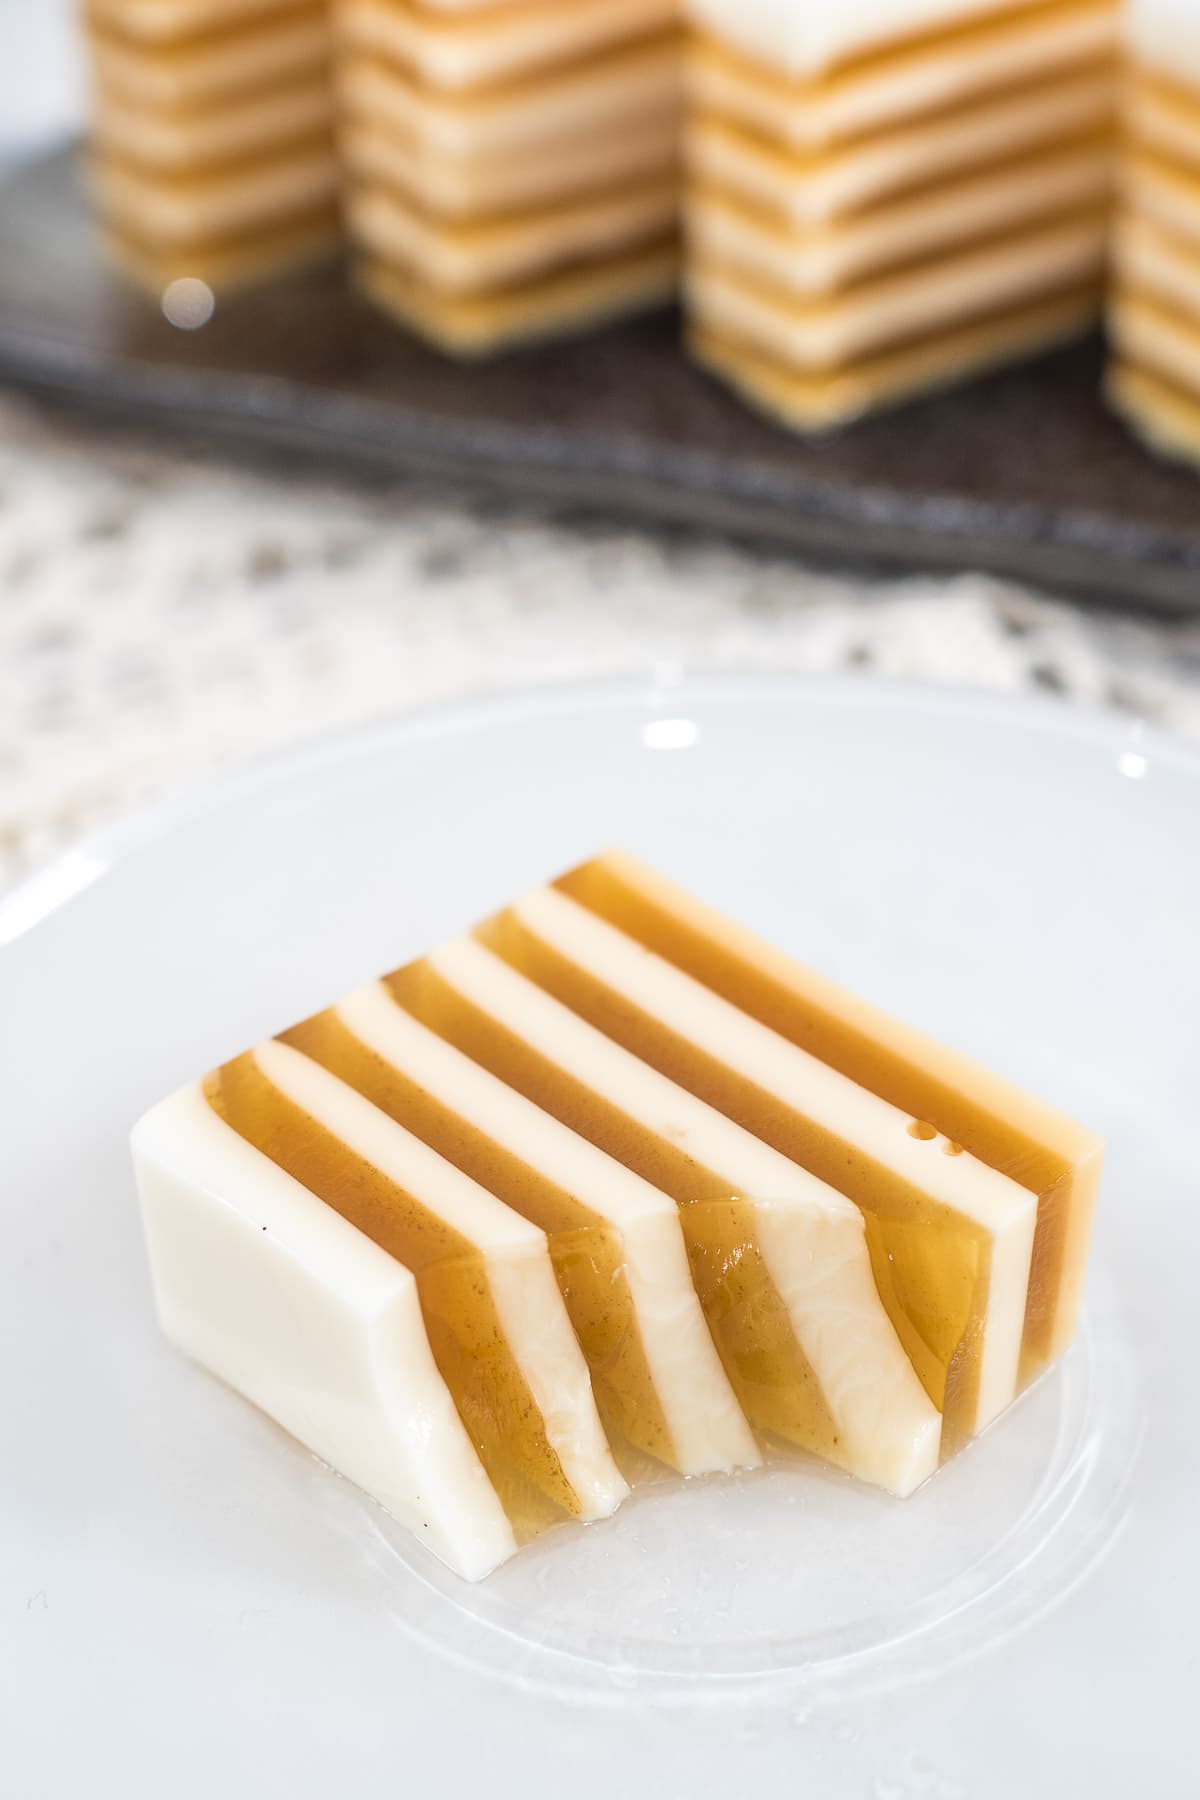
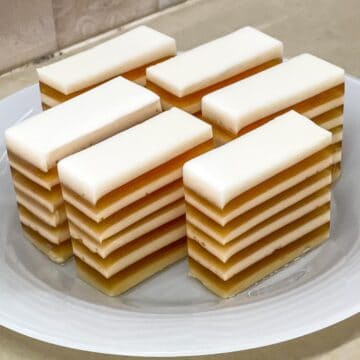
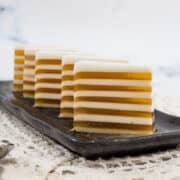
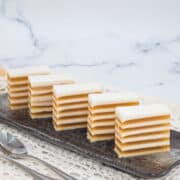
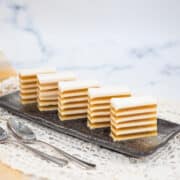
This coconut jelly recipe makes a deliciously refreshing agar agar jelly with a combination of creamy coconut milk and caramel-like sweet palm sugar. Set into pretty white and amber layers, these delectable dessert requires only 5 ingredients and is quick and easy to make.
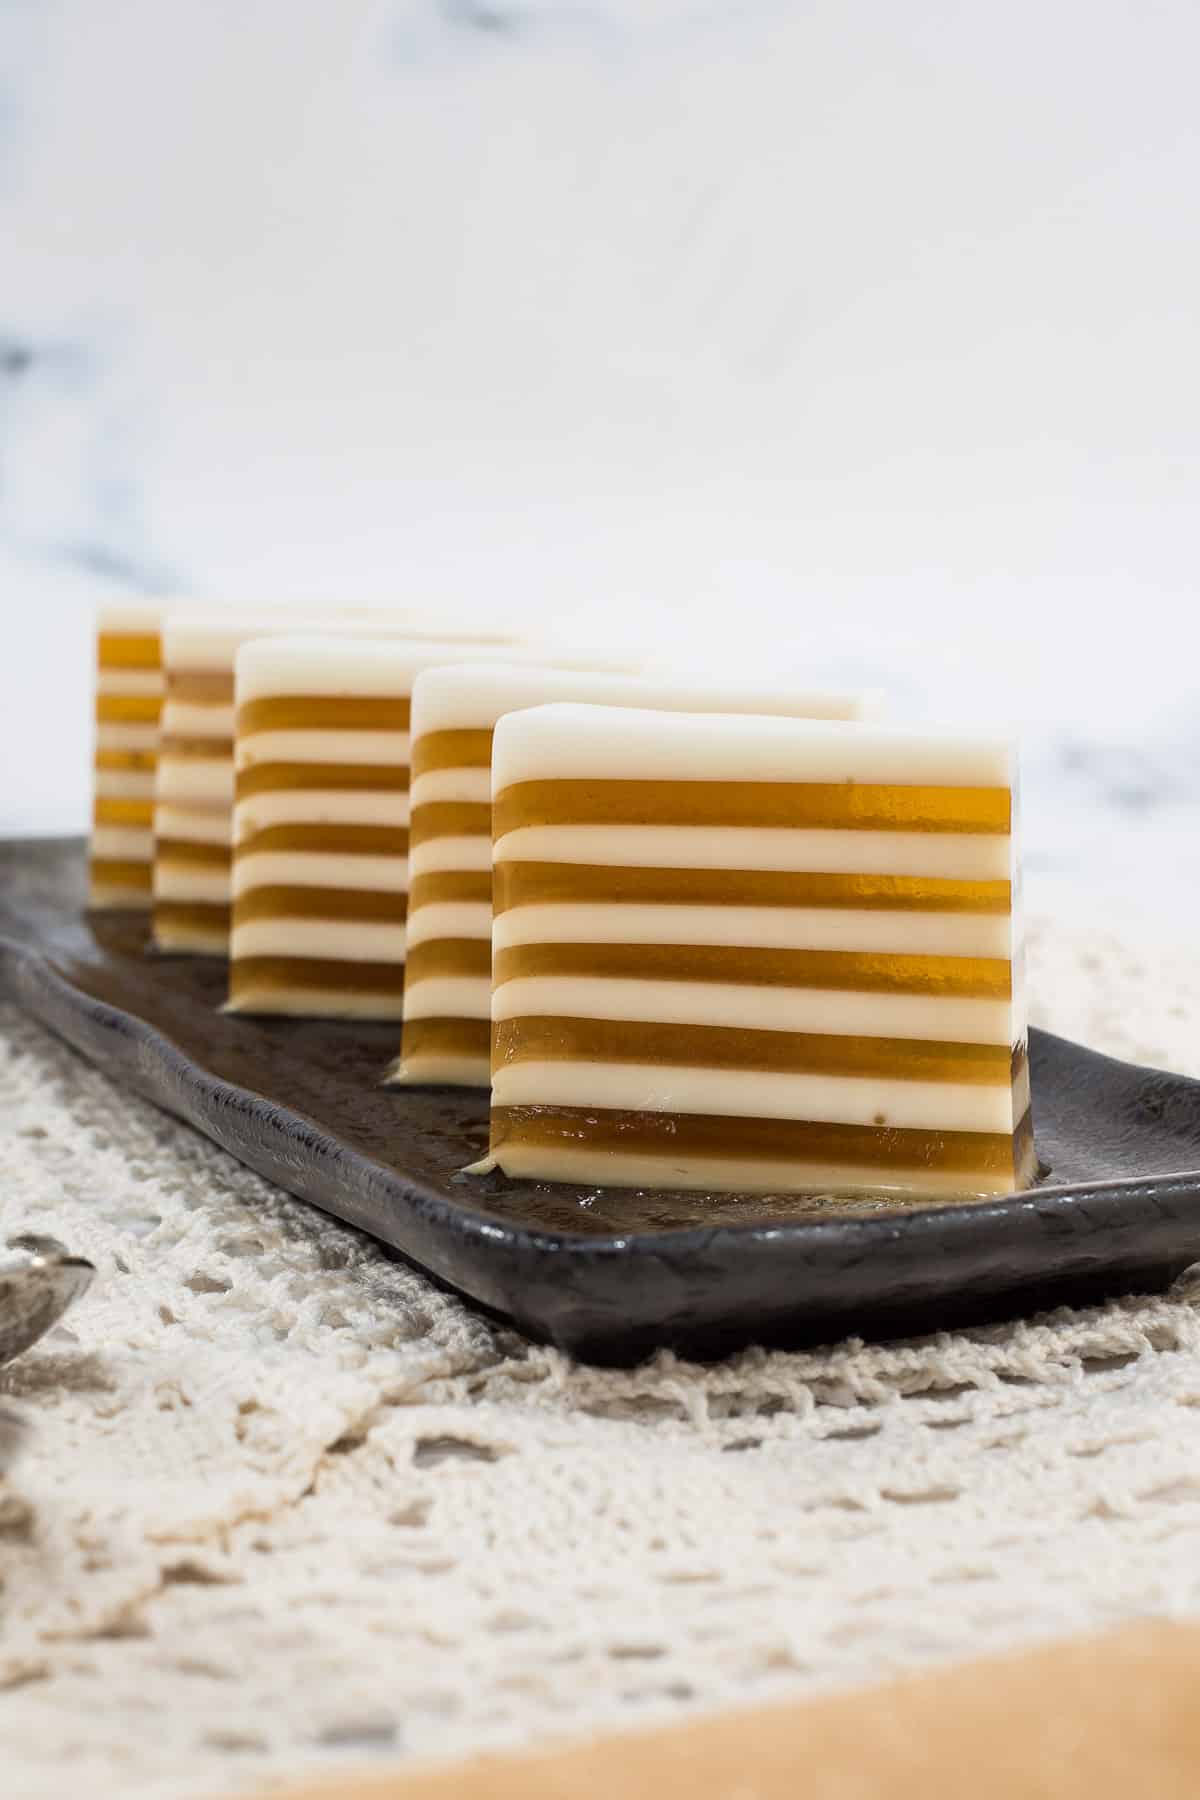
This coconut jelly is poured into a rectangle tin in thin layers. The white layers are made up of coconut milk flavored jelly while the amber or brown layers are made up colored and flavored with palm sugar. The combination of the creamy coconut milk and sweet palm sugar layers in this tropical agar agar jelly is simply perfect!
If you like agar agar jelly and are looking for a basic recipe, try this easy agar agar jelly recipe. You can use it to make agar agar in any flavor you like, like this coffee jelly and mango jelly. You can also use it to make fruit filled jellies like this fruit jelly cake and fruit jelly cups.
Jump to:
❤️Why You Will Love This Recipe
- This is a simple recipe and requires only 5 ingredients.
- The combination of creamy coconut milk and the caramelized sweetness of the palm sugar in the jelly creates a lovely exotic flavor fusion.
- The distinct layers of the contrasting white coconut milk and the deep amber palm sugar create a lovely presentation for the jelly, making it not only a great snack and dessert but also an ideal choice for special occasions.
- The jelly can be made in advance, making it a convenient dessert option.
- The ingredients used are completely plant based, making this coconut jelly a perfect option for vegetarians and vegans.
What is Coconut Milk?
Coconut milk is the thick, white and creamy liquid that is extracted from the white coconut flesh. To extract the milk, you cut or grate the coconut flesh and place it is a food processor. Add some water and process until fine. Strain the coconut milk with a fine sieve or a muslin cloth. Discard the pulp.
Coconut milk is not the clear water or juice that is naturally present in coconuts (coconut water). It is also not coconut cream. Coconut cream is derived from coconut milk.
What is Palm Sugar?
Palm sugar (also know as Gula Melaka) is naturally derived from palm trees. It is brown is color and is often sold in cylindrical blocks. Palm sugar is widely used in Asian cooking and pairs excellently well with coconut milk.
📋Ingredients
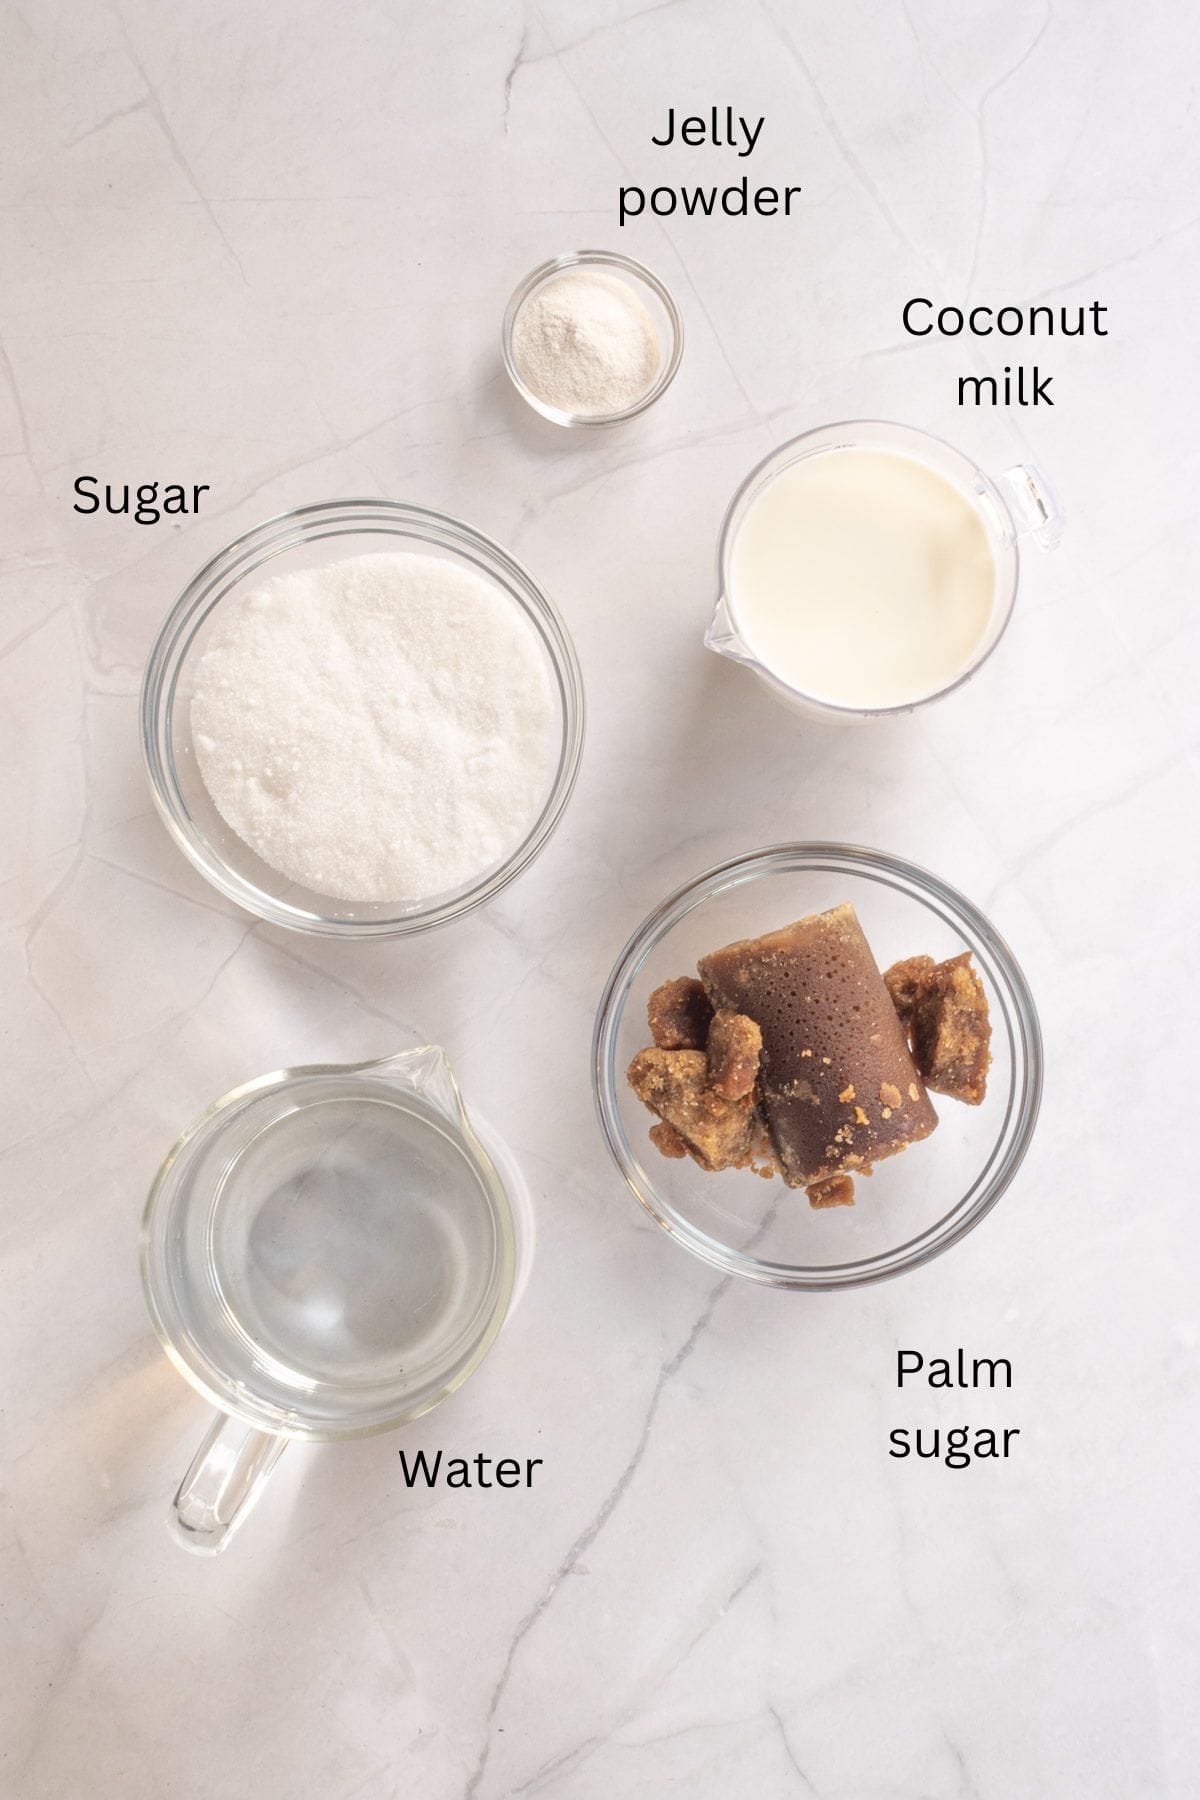
- Jelly powder (agar agar powder) - this is normally sold in packets. Use clear, unflavored jelly.
- White sugar - this is to sweeten the coconut milk jelly layer. Both coarse sugar or granulated sugar will work for this recipe. Colored sugar such as brown sugar will not work as it will change the white color of the coconut milk jelly layer.
- Palm sugar (Gula Melaka) - this is normally sold in cylinder blocks or in discs. Make sure it is at room temperature for easy cutting.
- Thick coconut milk - the creamy white liquid that is extracted from the white flesh of the coconut and not the clear liquid (coconut water or coconut juice) that is readily present in coconuts. Use full fat coconut milk for a creamy jelly texture.
- Water - used to cook the jelly. Use filtered water.
*Refer to the recipe card below for full list of ingredients and exact quantities. For best results, use a digital kitchen scale where applicable*
🧾Substitution and Variations
- The jelly uses agar-agar powder, but you can also use konnyaku jelly powder if you like. Use in the exact same quantity.
- For a pandan flavored coconut jelly, knot 2 pandan leaves and add them to the jelly solution as you cook it. Remove and discard the leaves once the jelly has reached the rolling boil point.
- If you don't have palm sugar or cannot find it in your local stores, you can replace it with brown sugar for the brown layers of the coconut jelly. Simply replace the same amount of brown sugar as the palm sugar. Do note however that the jelly will taste better with palm sugar.
- If you are pressed for time, you can make this coconut jelly into 2 simple layers - first layer of coconut milk jelly (white layer) and the second layer of palm sugar jelly. The jelly will still taste great and will still look pretty. You can also pour the jelly into individual jelly cups like this butterfly pea jelly.
This recipe has not been tested with other substitutions or variations. If you do try, please let me know in the comments section below!
👩🍳How to Make
Step 1: Dissolve the palm sugar. Cut the palm sugar into small pieces for easy dissolving. Alternatively, grate it with a cheese grater. Place in a small saucepan or pot.
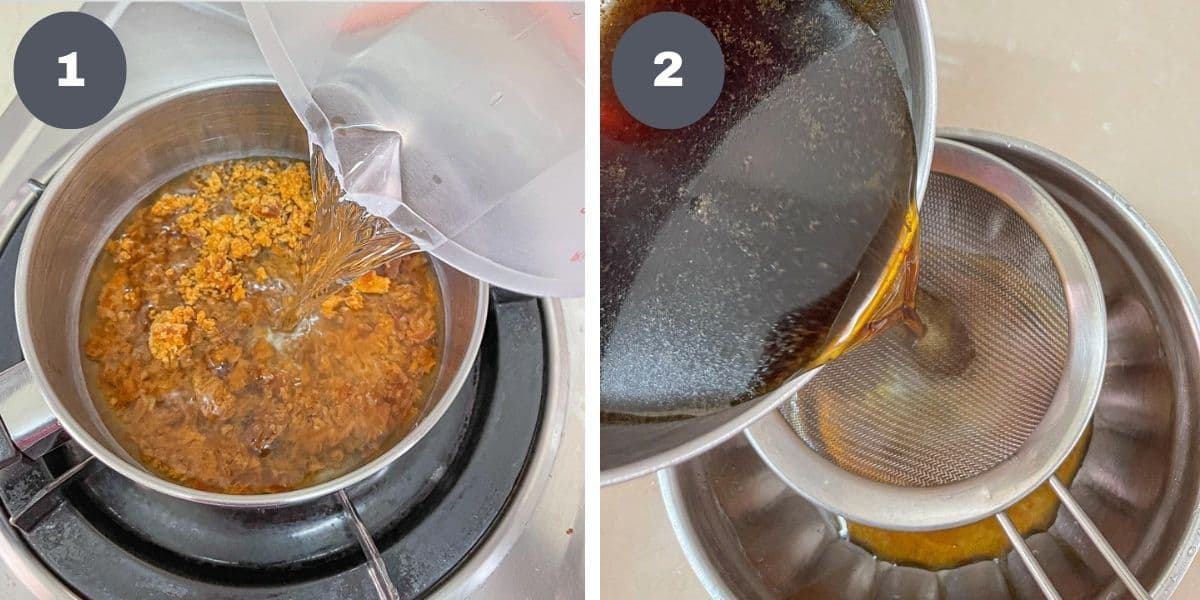
Add water into the pot (image 1). Cook over medium heat until the sugar is completely dissolved. Stir the sugar to help it dissolve quicker. Strain to remove any residue (image 2). Set aside.
Step 2: Cook the jelly. In a medium saucepan or pot, add water.
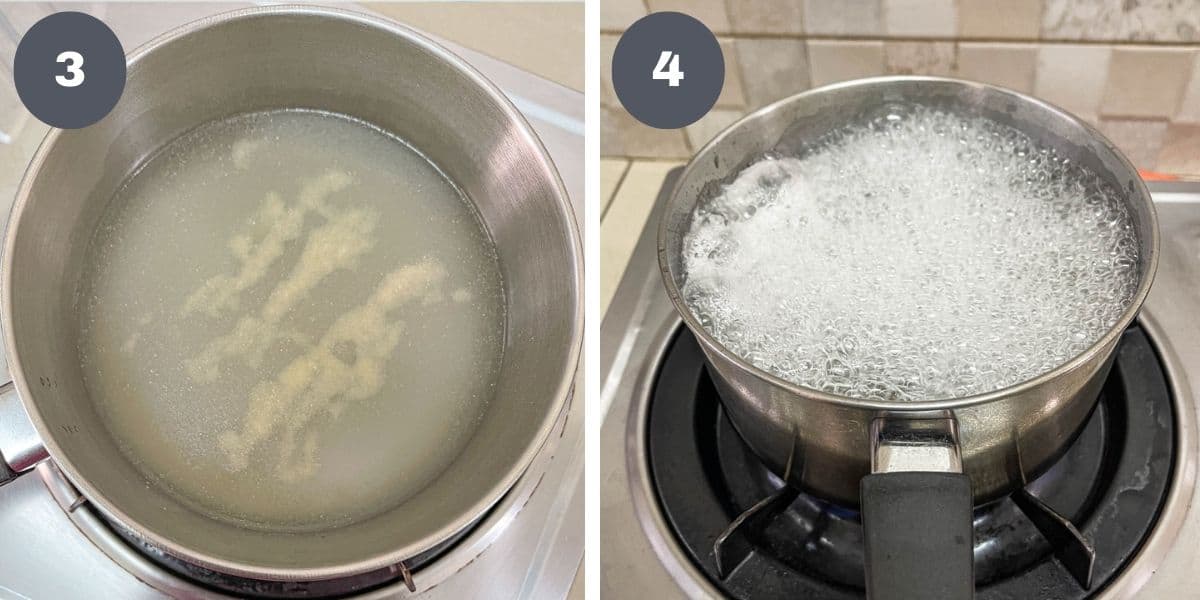
Sprinkle the jelly powder (agar agar powder) over the water (image 3). Heat up the solution over medium heat. Stir to dissolve the jelly powder.
Continue cooking until the jelly reaches a rolling boil point (image 4). This should take approximately 5 to 10 minutes on medium low heat.
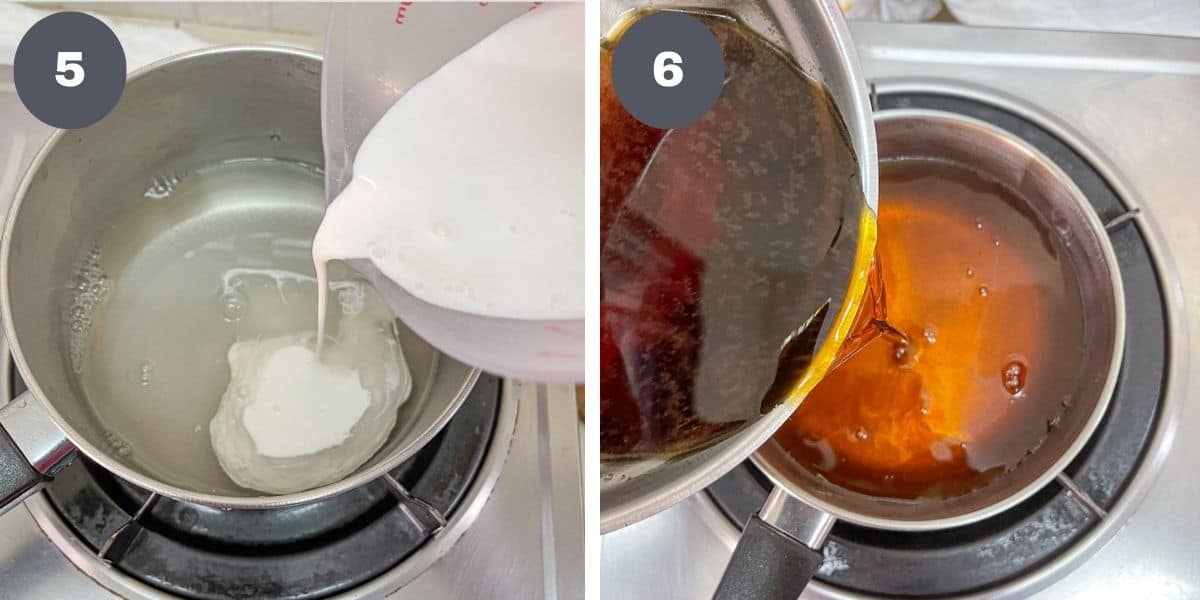
Divide the strained jelly solution into 2 parts. Mix coconut milk and white sugar into the first portion (image 5). Heat it up over low heat and stir until the sugar is all dissolved. If you don't get the grainy feeling at the bottom of the pan as you stir, the sugar is dissolved and you can stop stirring. Turn off the heat, cover and set it aside.
Note: Do not over cook the coconut milk or the milk solids with separate.
For the second portion, add the palm sugar syrup. Heat up the solution and stir until well combined (image 6). Turn off the heat and cover the pot to keep it hot.
Step 3: Assemble the jelly layers.
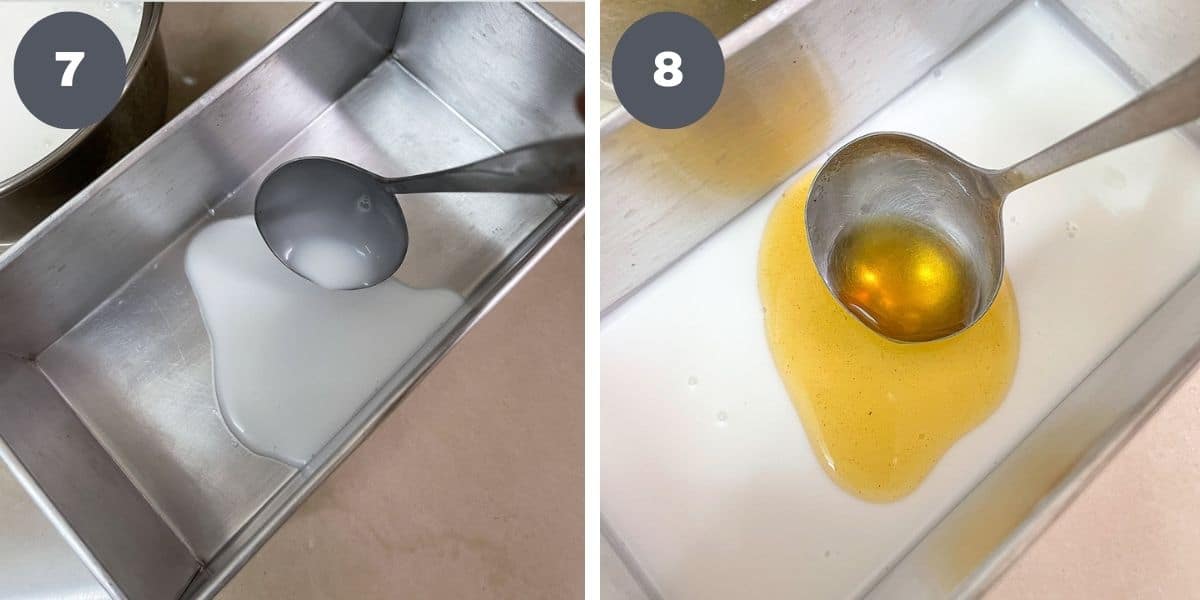
Spoon the first layer of the coconut milk jelly solution into the prepared mold (image 7). Refrigerate to allow it to set quickly.
Remove from fridge and gently spoon the second layer, this time the palm sugar jelly solution (image 8). Pour gently to prevent the bottom layer jelly from breaking. Refrigerate to set.
Note: When pouring the second layer, make sure the jelly solution is hot. If it is not, heat it up. This is to ensure the jelly layers stick to each other and do not separate when you unmold and cut the jelly later.
Repeat the process until both the jelly solutions are used up. If there is any residual that is not enough for full layering, you can combine both the coconut milk and palm sugar jelly solutions into one. Pour them as the final layer for your coconut jelly.
Remove any bubbles you see on the surface with a spoon. Let the jelly cool down slightly and then return the jelly mold to the fridge to chill completely for at least 2 hours before serving.
Step 4: Unmold and cut the jelly.
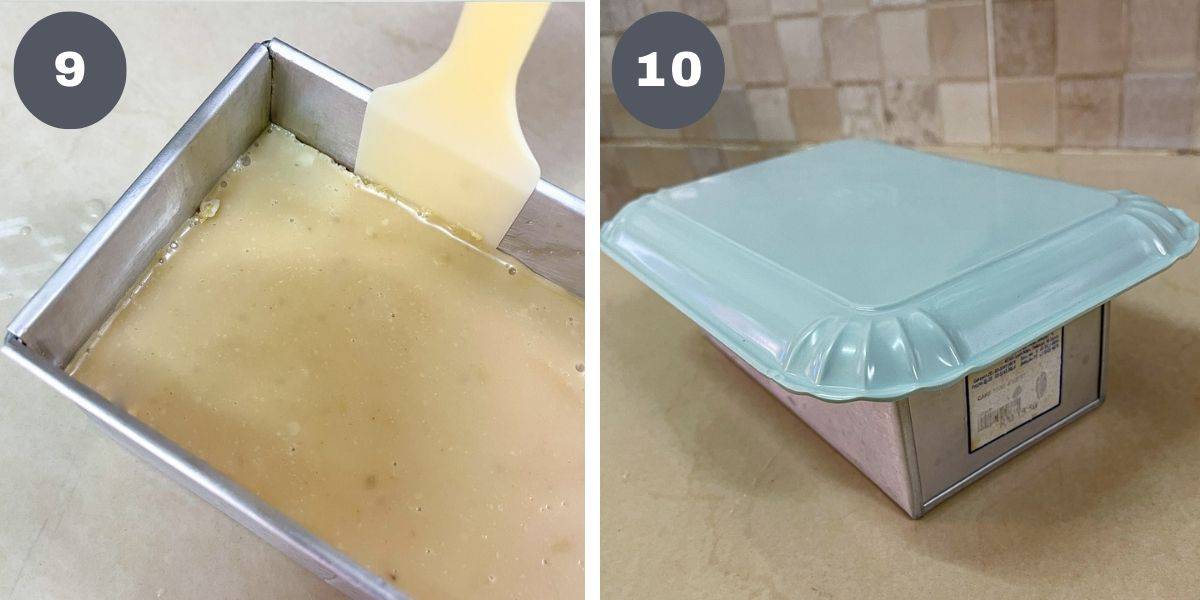
Once the jelly is completely set, remove it from the fridge. To loosen the jelly from the mold, run a thin spatula along the sides of the jelly and the mold (image 9).
Cover the mold with a plate (image 10).
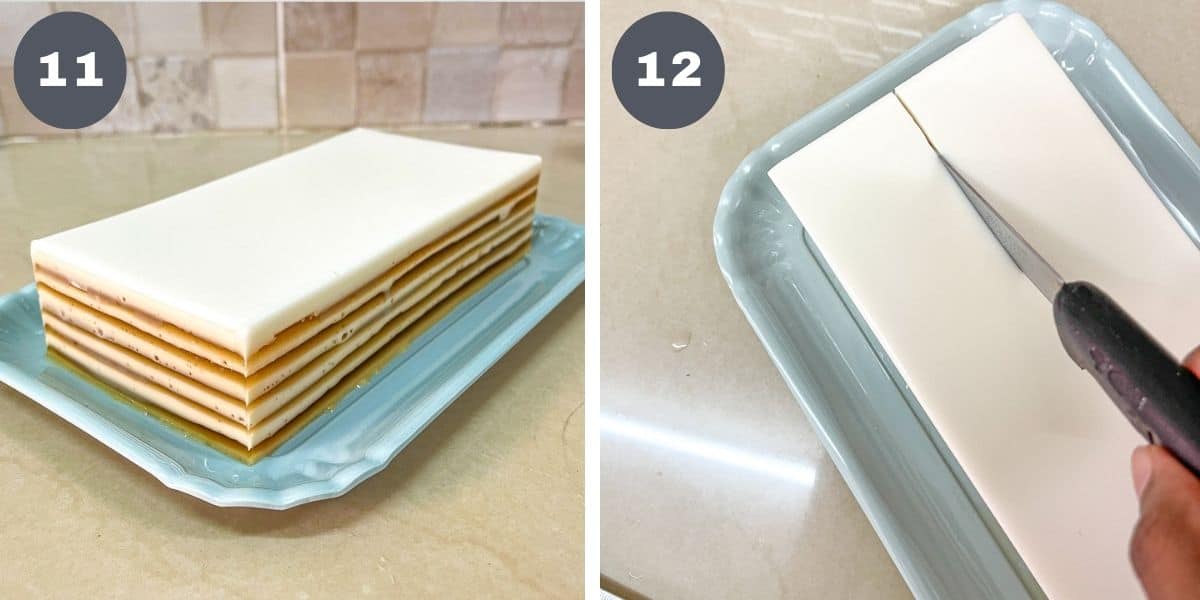
Holding both the mold and the plate together, turn the jelly over onto the plate (image 11) . Tap lightly to remove the jelly onto the plate. If the jelly does not release, try inserting a few toothpicks (2 or 3) between the jelly and the mold. The air pockets created by inserting the toothpicks will help release the jelly when turned onto a plate.
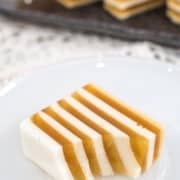
Cut the jelly and refrigerate until ready to serve (image 12).
💡Expert Tips
- When making layered jellies, always make sure the next layer you pour onto the jelly is steaming hot. This is necessary to help the layers adhere to one another better and do not slide off when cutting.
- For consistent layers of jelly, use the same sized ladle or cup to pour each jelly layer.
💭FAQs
Yes, you can and it is a matter of personal preference. Layer the jelly in the same way as mentioned above into each of the individual molds.
Agar agar jelly sets when its temperature reduces. Thicker layers of jelly typically take a longer time to set as compared to thinner layers.
Also, placing the jelly in the fridge will make it set faster as compared to room temperature.
The jelly is best served chilled. Keep it refrigerated until ready for serving.
Left overs should also be refrigerated. The jelly can last in the fridge for 4 to 5 days.
When poured into a larger mold and cut into pieces, the jelly tends to release some liquid after a few hours of cutting. This is normal and does not mean that the jelly has turned bad. You can still consume the jelly and it is still as good as new.
One way to prevent the jelly from melting is to cut it only before serving. Another way is to pour it into individual serving cups. That way, the jelly will remain solid for a good one week.
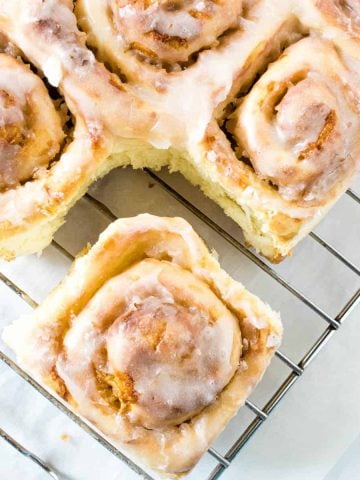
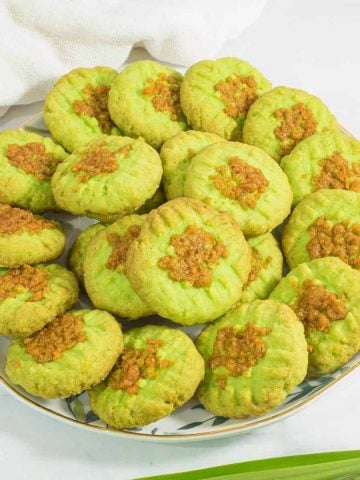
❤️More Recipes You Will Love
Do you like this recipe? Please leave a 5-star ⭐⭐⭐⭐⭐rating in the recipe card below and consider a review further down this page. I would love to hear from you. Thank you!
📖Recipe
Coconut Jelly
For best results, use the metrics measurements. US customary measurements have not been tested and are only meant for guide.
Ingredients
- 10 g jelly powder (agar agar powder)
- 100 g white sugar
- 100 g palm sugar (Gula Melaka)
- 300 ml coconut milk (thick)
- 900 ml water
Instructions
- Prepared the mold and set it aside.
- Make the palm sugar syrup. Measure 300ml water in a small pot.
- Grate the palm sugar and add it to the water. Cook over medium heat until the palm sugar is all dissolved. Strain the solution and set the syrup aside.
- In a separate medium-sized pot, measure 600ml water. Sprinkle the jelly powder into it.
- Stir and cook on medium heat until the jelly solution comes to a rolling boil (see Note 1). This should take about 10 minutes on medium heat.
- Strain the jelly solution and divide it into 2 equal portions.
- Pour the coconut milk and white sugar into the first portion. Stir over low heat until the sugar is all dissolved (see Note 2). Cover and turn off the heat.
- Pour the strained palm sugar solution into the second portion. Heat it up briefly and stir well. Cover and turn off the heat.
- Pour a thin layer of the coconut milk jelly solution into the prepared mold. Refrigerate until the jelly sets.
- Remove from fridge and very gently, pour a thin layer of the gula melaka jelly on the white layer (see Notes 3 & 4). Spoon the jelly as close to the top surface as possible to prevent the bottom layer from breaking.
- Refrigerate until the second jelly layer sets lightly.
- Repeat the process until both the jelly solutions are used up. For the final layer, if there is not enough of either solution to make a full layer, combine both the solutions and pour into the mold as one final layer.
- Refrigerate the jelly until it is completely set and thoroughly chilled for about 2 hours.
- Once completely set, remove the jelly from the fridge. Run a thin spatula along the sides of the mold to loosen the jelly.
- Place a plate on top of the mold and turn it over with the mold underneath it. Tap to remove the jelly onto the plate (see Note 5).
- Cut the jelly into small blocks before serving.
Notes
- To make sure the jelly powder is completely dissolved, cook the jelly to a rolling boil, otherwise, the jelly will not set properly.
- Do not over cook the coconut milk or the milk solids with separate.
- When pouring the second layer, make sure the jelly solution is hot. If it is not, heat it up. This is to ensure the jelly layers stick to each other and do not separate when you unmold and cut the jelly later.
- For consistent layers of jelly, use the same sized ladle or cup to pour each jelly layer.
- If the jelly does not release, try inserting a few toothpicks (2 or 3) between the jelly and the mold. The air pockets created by inserting the toothpicks will help release the jelly when turned onto a plate.
Leave a Reply