

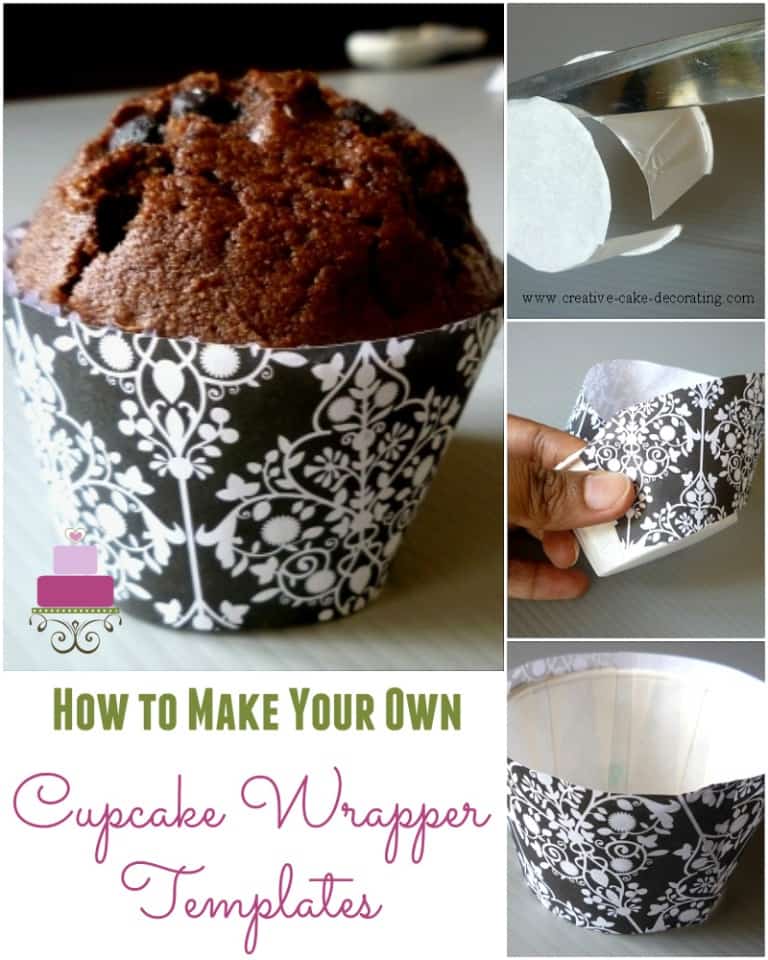
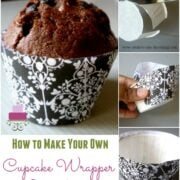
Learn how to make your own cupcake wrapper template with these easy, step-by-step instructions and tutorial and start dressing your delicious cupcakes up in the most creative ways you can imagine! It's quick and easy and makes a fun DIY project too!
For more DIY projects, you can check out my tutorial on how to make your own cake boards, how to make cupcake stands, how to make cupcake holders and DIY fondant dusting pouch tutorial.
Jump to:
❤️Why you will love this tutorial
- A great way to decorate cupcakes if you are not much into decorating with frosting or fondant.
- A great way to add a personal touch to store bought cupcakes.
- You can use matching cupcake wrappers to match the overall color, design and theme of your party. For example, if you are making cupcakes for a baby shower or birthday , you can bake your cupcakes in plain white liners or purchase some from a local bakery and wrap them afterwards with colored or designed paper (or scrapbook paper) to match your baby shower party or birthday party theme.
- You can make them in any size you want and customize to the size of your cupcakes, including for mini cupcakes. These are not easily available for purchase.
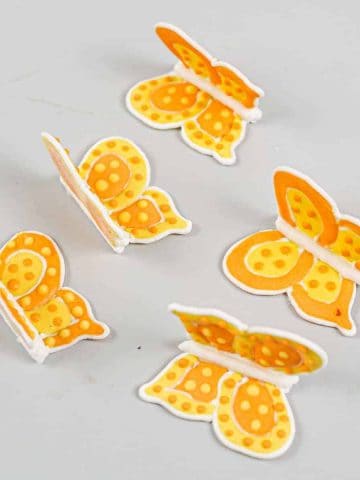
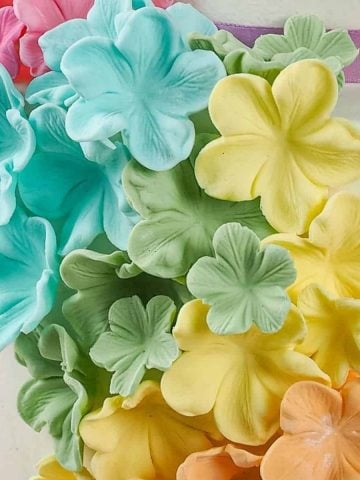
- The tutorial is very easy to follow and the wrappers are very easy to make. This can be an easy craft and fun projects with kids too. Get them to help you decorate the completed wrappers with cute embellishment like paper butterflies, or flowers.
- The wrappers are fairly cheap to make and the supplies are easily available at home and local craft store or dollar store. You can save money from having to buy expensive cupcake wrapper.
📋Supplies Required
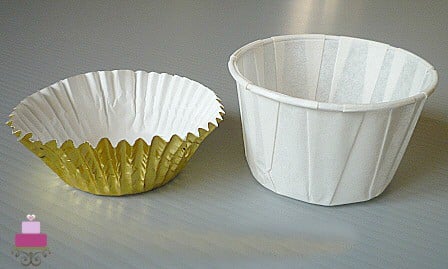
- Cupcake or muffin liners depending on the type of liner you use to bake your cupcakes (I am using both a normal cupcake and a muffin liners here to show the difference in the template design for each casing)
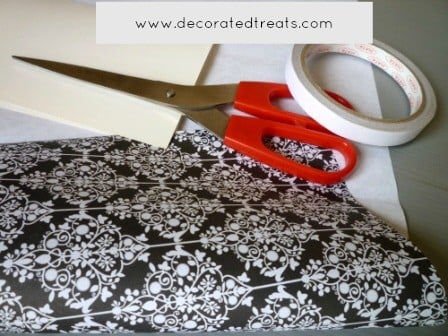
- Cardboard for the template
- Color paper or wrapping paper in your preferred color or design to turn into cupcake wrappers (I am using a black and white damask patterned gift wrapping paper in this tutorial)
- Double sided tape or glue stick . The tape and glue are sufficient if you are making paper wrappers, but if you are going to use a cloth or other material that is hard to stick with normal glue or double-sided tape, you may need to use hot glue or other stronger glues
- A pair of scissors
- A sharp pencil (for marking on paper)
👩🍳How to Make
Step 1: Cut the cupcake liners
- In the next few steps, I am going to show you how different sized cupcake liners will require different sized wrapper templates.
- We start with the standard liners. Cut a straight line from the top to the bottom of the liner as shown below.
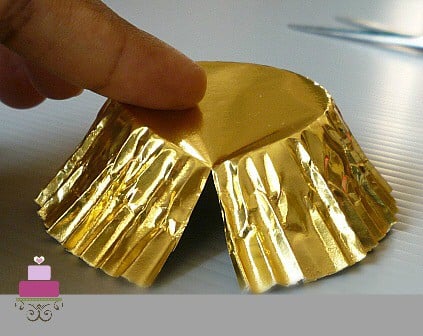
- Next, cut out the bottom of the casing.
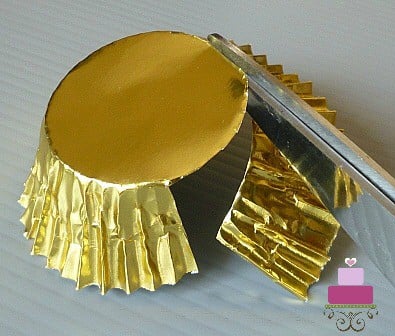
- This is how the cupcake liner should look like once you have completely cut out its bottom.
- Here, I am showing you the same process as above but this time using a muffin liner. Similar to the cupcake line above, cut a straight line from top to bottom of the liner.
- And then, cut out the base of the liner as shown.
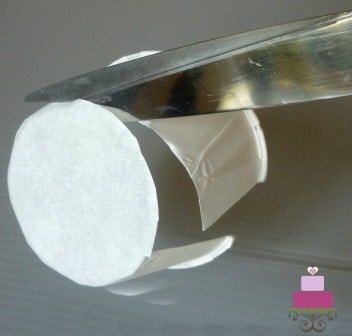
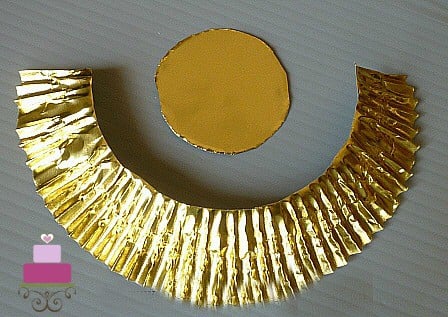
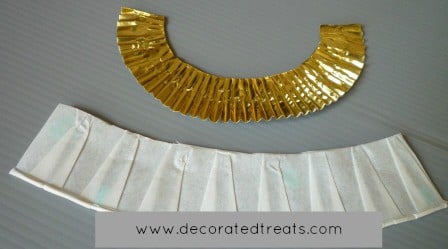
- This is how the cut out muffin liner will look like.
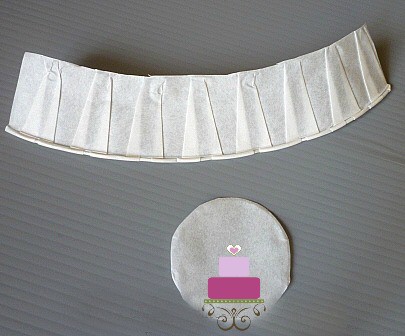
- This image shows the difference between a normal cupcake liner and a muffin liner once they are cut out. These cut-outs will form the base of your templates.
- Do note that to make a cupcake wrapper template, you do not need the base circle cut-outs of the liners, so you can discard them for the next steps.
Step 2: Draw and cut the template
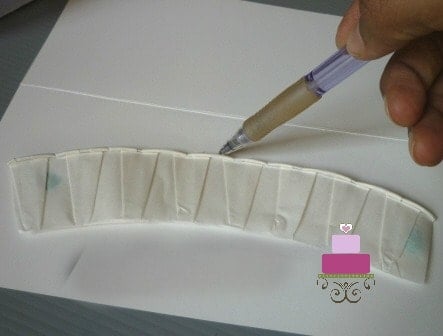
- Place the cut-out of the liner onto a cardboard. Here, I am using the muffin liner. Draw the outline of the cut-out casing onto the cardboard.
- Once you have traced the pattern, extend the drawing on both ends by about 1 cm. The black lines in the image below show the exact outline of the muffin liner cut out as traced onto the cardboard. The red markings or lines on both ends of the pattern are the additional allowance of about 1cm on both sides of the traced muffin liner pattern.
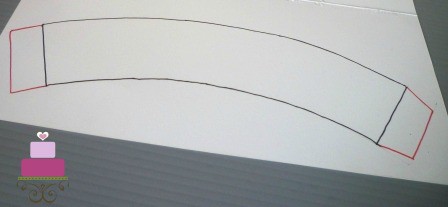
- Here is the close up image of one side of the template. Note that the extension of the pattern here is an exact rectangle.
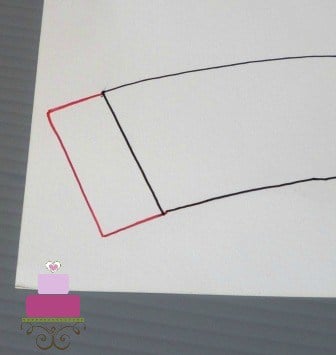
- And this is the close up of the other end of the template. Note that the extension here is not an exact rectangle and that the ends are narrower.
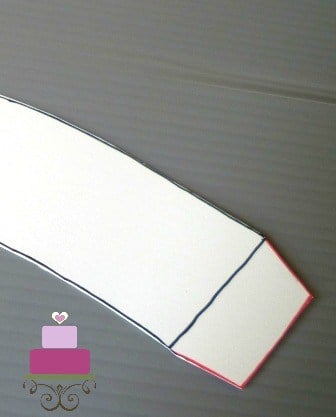
- Cut the pattern out and this cardboard cut-out is your cupcake wrapper template. So at this point, you already have your own cupcake wrapper template ready. You can keep this template to cut as many cupcake wrappers you want out of your preferred decorative paper/ other material to wrap your cupcakes.
Step 3: Cut the wrappers
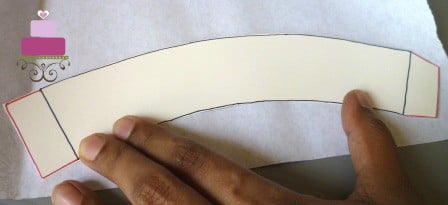
- Place the template onto the reverse side of your decorative paper and trace the pattern onto it with a pencil.
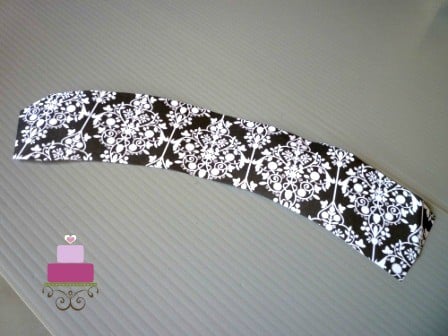
- Cut the pattern out following its outline and turn it over. This is how the cut out wrapper will look like.
Step 4: Assemble the cupcake wrapper
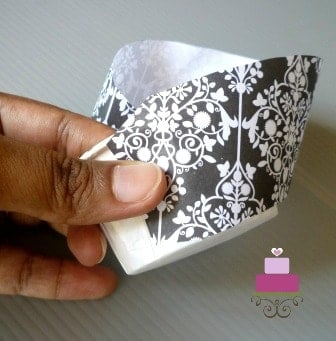
- Glue one side of the wrapper onto an empty cupcake liner. Start with the narrower end of the wrapper.
- Wrap the decorative paper around the cupcake casing and overlap the other end of the wrapper onto the earlier glued end and secure it in place with some glue.
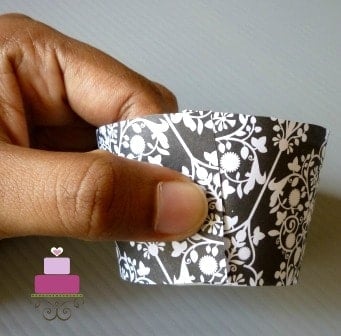
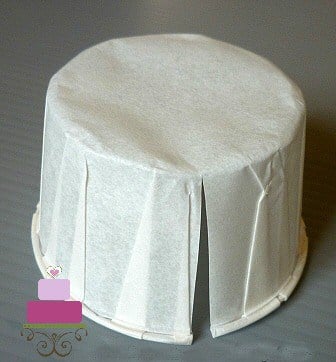
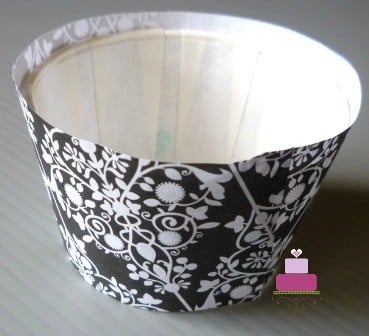
- This is how your casing should look like once it is wrapped.
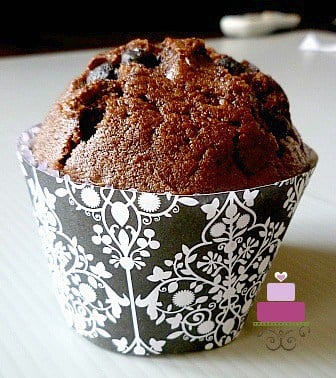
- Place your delicious cupcake into the assembled wrapper and this is how it would look like. Easy right?
These are pretty much the only steps you need to take to make your own cupcake wrappers. In fact, once you have your cardboard template ready, you can reuse it for as many times as you want.
💡Expert tips
- Use food safe material for the wrappers. Avoid paint or glitter that can come into contact with your food.
- You can add further embellishments to your cupcake wrappers, like attaching a small ribbon bow, or ribbon flowers onto your cupcake wrappers for added decorative effect.
- Assemble the cupcake wrapper (ie glue them ) before putting your cupcakes in instead of wrapping them around the cakes and trying to glue to the original liner with the cupcakes in. It will be a lot harder to do it this way.
- You can make the sides of the liners taller than the actual cupcake liner. This is a great way to hide any imperfections in your decorated cupcakes.
💭FAQs
It is advisable to not bake with the cupcake wrappers are these are not be baked in and might not be of material that is heat proof.
Technically yes, however it would depend on the condition of the wrapper. If it is made of washable material, you can wash and reuse them. But if it is not, and if it has come into contact with the frosting and has frosting marks on it, it may not be reusable.
Cupcake liners are the paper or foil casings in which you fill up your cupcake batter and bake your cupcakes in. Cupcake liners are crucial in baking cupcakes and is almost a must-have when baking cupcakes.
The only other options of baking cupcakes without any liners is if your pour your cupcake batter directly into greased muffin tins or muffin pan made of metal (or high grade silicone cupcake pans) and bake them without any paper or foil liners. Otherwise, cupcakes are almost always baked in liners.
Liners come in many different shapes, colors, sizes and make. The most common or standard cupcake liners are made of white paper with ridged folds that run vertically around the sides of the liner. See my vanilla cupcakes that are baked in this type of cupcake liner. You can also find these type of paper liners in a whole lot of different colors, patterns, sizes and also shapes.
The other common type of cupcake liners include muffin cups ( see how I baked these mini funfetti cupcakes and triple chocolate cupcakes in white muffin cups). These are also made of paper, and are more sturdy than the ones with the ridged liners.
Other types of cupcake liners include foil liners (made using aluminum foil) or tulip cupcake liners. These are basically parchment paper liners that are made or shaped with square pieces of parchment paper. To shape them, you place a small piece of parchment square (or wax paper) on a muffin tray cavity and press it down with your fingers to take the shape of the round cavity. In doing this, the corners of the parchment paper will form tulip-like petals around the cavity, hence the name tulip cupcake liners. You can see how I used this technique to make the DIY cupcake liners for my mini Basque cheesecake recipe, though in this recipe, I snipped the petals away.
Cupcake wrappers, on the other hand, are pieces of decorative paper, foil or cardbaord that is wrapped around baked cupcakes, after all the baking is done (and sometimes after the decorating is done). They are not to be used for baking as they often do to have a base to hold the batter. The main purpose of a cupcake wrapper is for its decorative touch and to make your cupcakes look appealing and pretty, mostly for parties and celebrations. And similar to cupcake liners, there are many different types of cupcake wrappers.
Gai
Thank you so much. You have saved my sanity! I was probably overthinking it, but you made it so easy. Thank you again