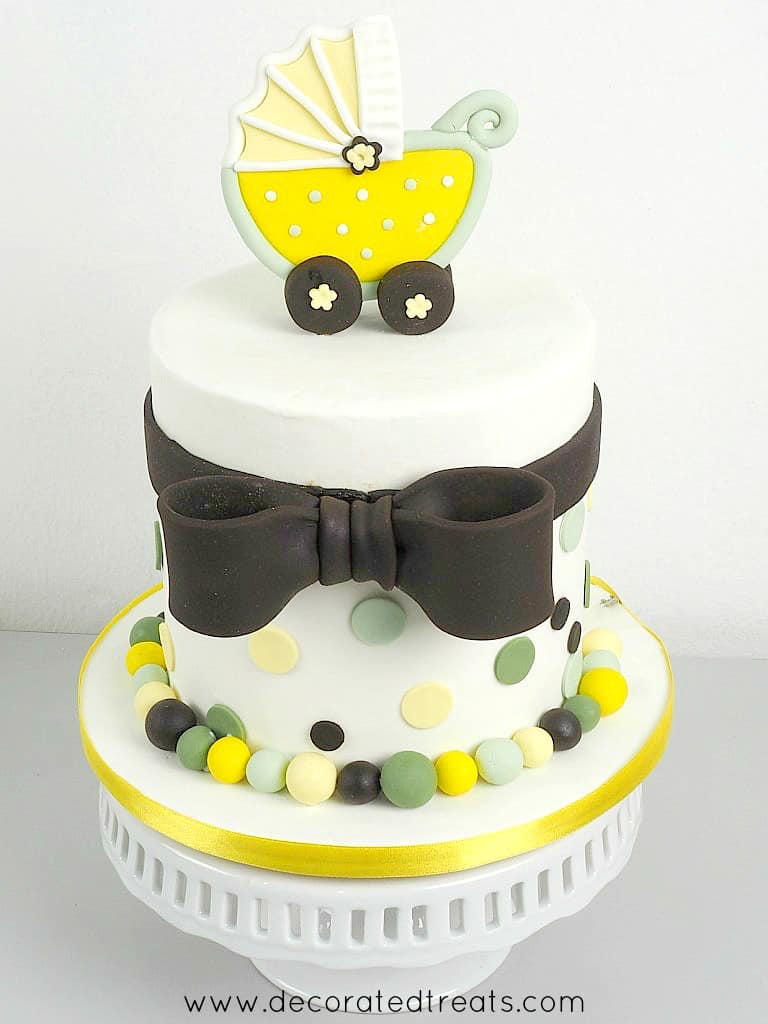
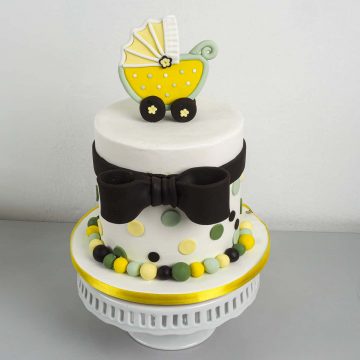
Here is a cute baby shower cake design with handmade fondant baby stroller and large fondant bow. Decorated in sweet colors of yellow and green, this cake is easy to make.
🧾Supplies Required
- Cake - This is a single tier 6 inch round cake, with a height of 6 inches. I used my butter pound cake recipe and made one and half times recipe for 6 inches round cake so that I get 3 cakes. I stacked them all together to form a cake that is 6 inches high.
- Buttercream icing - I used this icing to fill the baby shower cake layers as well as to crumb coat the cake.
- Fondant
- The cake was covered in Satin Ice white fondant. I also used Satin Ice Yellow and Chocolate for the cake decoration. The rest of the colors, i.e. the dark and light green as well as the light yellow were achieved using Wilton
and Americolor gel paste colors.
- Baby Stroller topper - I made this topper ahead of time using fondant and attached long wooden picks to its wheels. Click here to read how I made this baby stroller cake topper.
- Bow - This was also out of fondant and again, made ahead of time so that it is dry and hard by the time I put it on the cake. Click here to read how I made the bow.
- Round plunger cutters
- I used a few sizes for the polka dots on the cake.
- Yellow satin ribbon
- This was for the cake board.
- Fondant smoother
- Pizza cutting wheel
- Cake decorating brush
👩🍳How to Make
Step 1: Make the Stroller and the Bow
I made the baby shower stroller topper and the bow a few days in advance. Here's how to make the baby stroller topper and here's how to make the bow.
Next, I prepared all the colors I needed for the baby shower cake decoration. These were the colors I used:
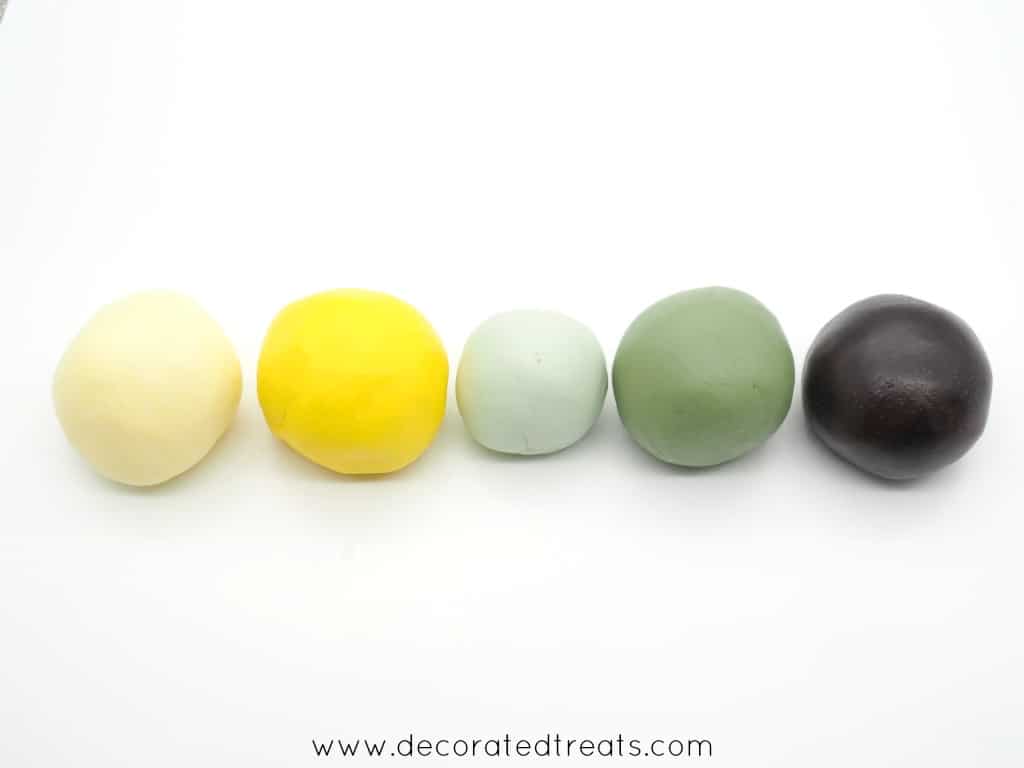
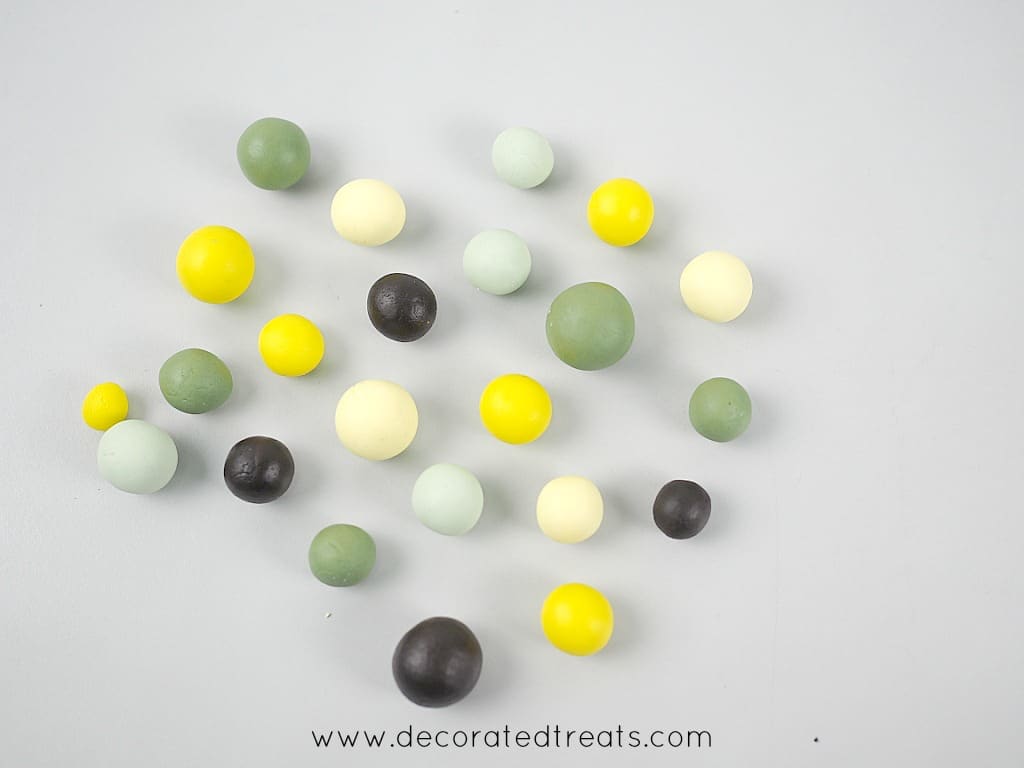
For the pale yellow I mixed 1 part of Satin Ice Yellow with 3 parts of white fondant, for the bright yellow, I used Satin Ice Yellow, for the pale green, I mixed Americolor Avocado green gel paste to white fondant, for dark green I mixed Wilton Juniper green and a tiny hint of Satin Ice chocolate fondant to white fondant and for the dark brown, I used Satin Ice chocolate fondant.
Step 2: Bake the Cakes
And then I moved on to the cakes. Once the cakes were baked and cooled, I leveled them, filled each layer with buttercream and stacked them together. I then covered the stacked cake with a thin layer of buttercream. For added stability (since the baby shower cake was 6 inches high), I inserted a bubble tea straw right in the middle of the cake.
I then covered the whole cake with white fondant, trimmed the edges and smoothed the sides. Once the cake was ready, I started with the decoration.
Step 3: Attach the Bow to the Cake
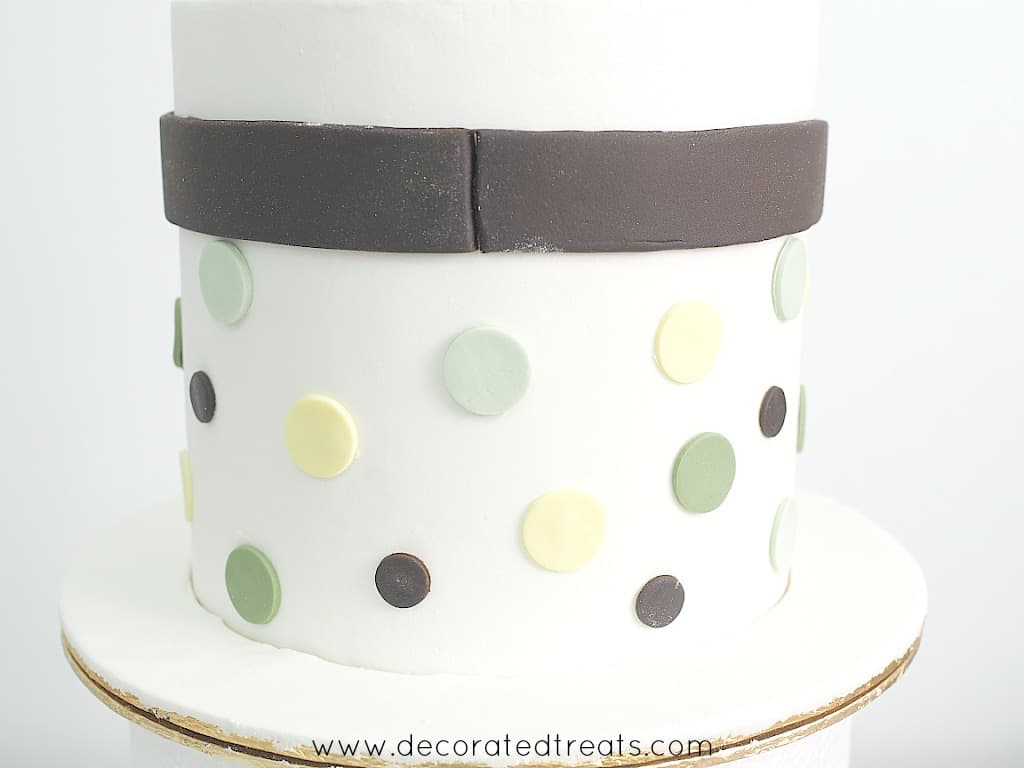
First to go on the baby shower cake was the brown ribbon on the sides of the cake. Since the ribbon was to be placed two thirds up the sides of the cake, I used a guide to make sure the ribbon is placed in a level horizontal line all around the cake and not slanted.
The guide I used is a piece of paper. I measured the diameter of the cake.
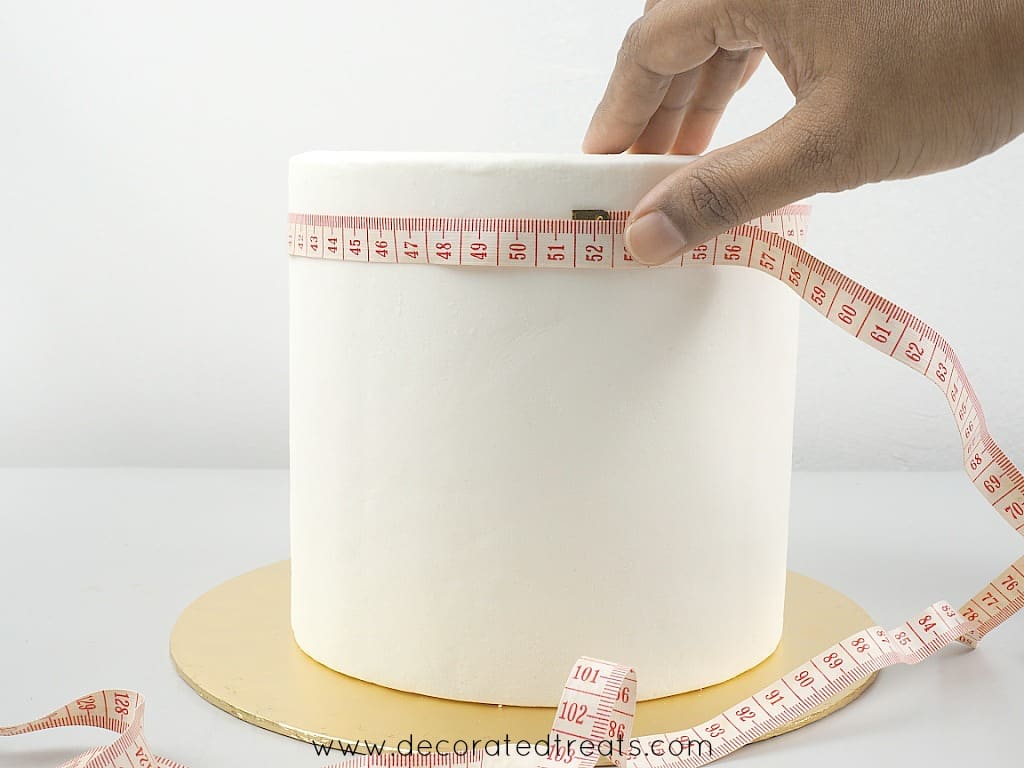
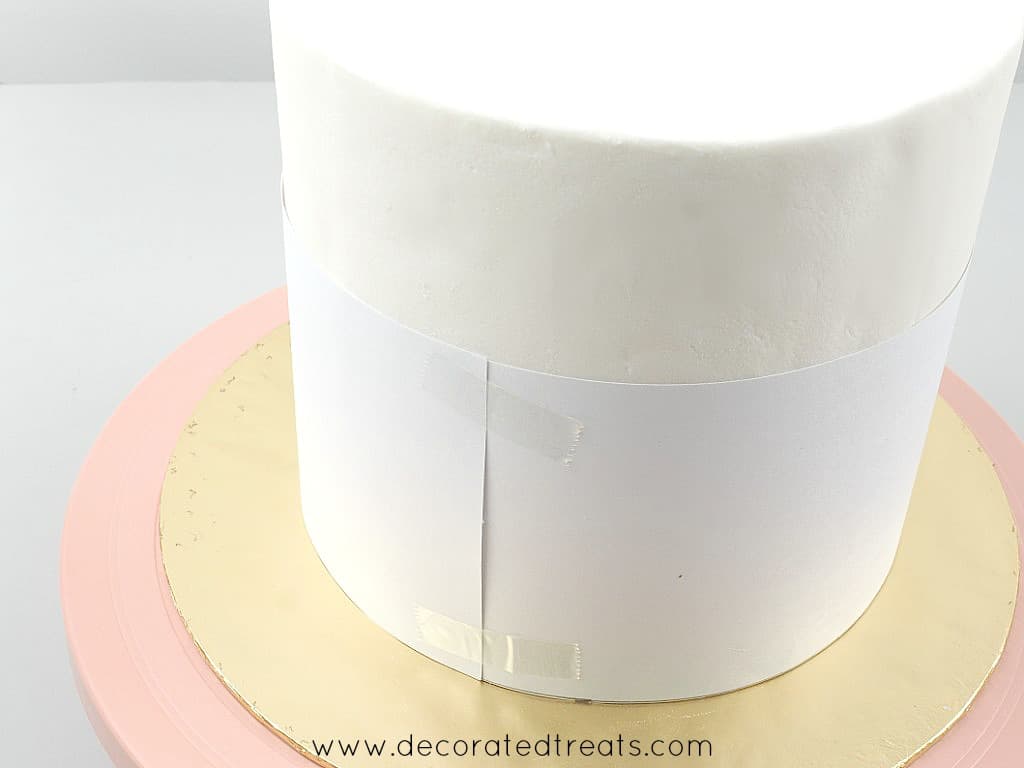
Then, I measured the height at which I wanted the ribbon to be on the baby shower cake and cut out a long strip of paper. The paper was long enough to be wrapped around the cake and at the height at which I wanted the ribbon to be on the cake.
I taped the paper strip so that it stays in place.
Next, I rolled chocolate fondant into a long strip. The length had to be the same as the diameter of the cake I measured earlier. I cut out the strip to a width I wanted. For this cake, I used my ruler as a guide for the width.
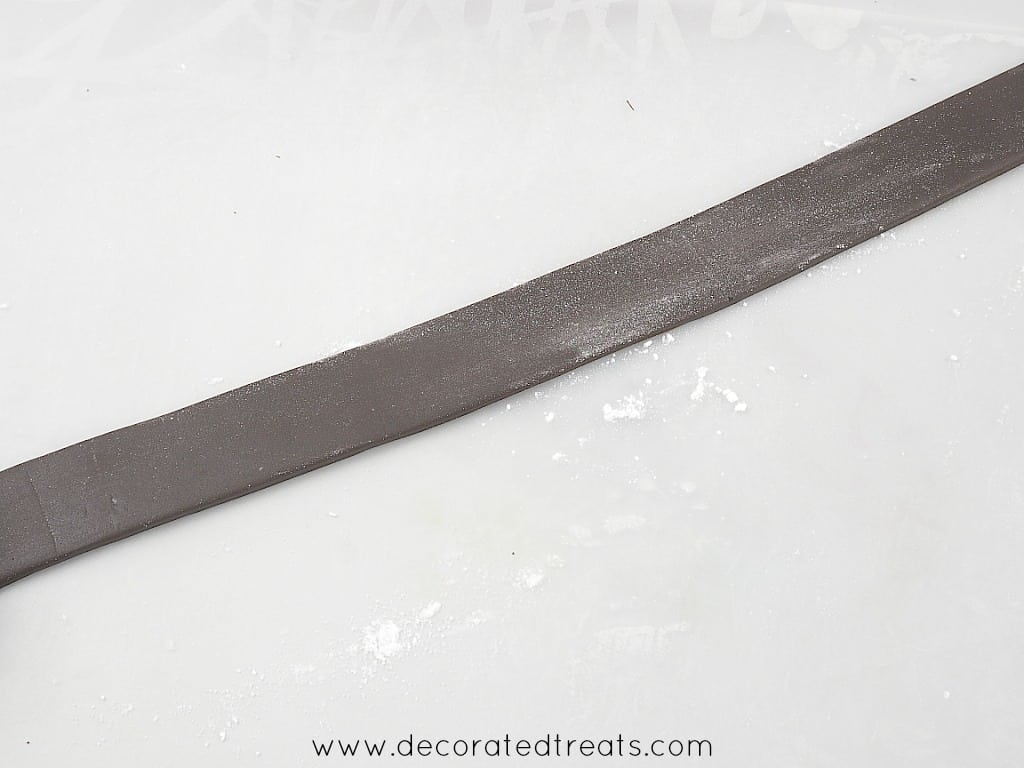
Since the strip was long, lifting it that way will stretch it out of shape. To avoid that, I dusted some icing sugar on the strip and rolled it up loosely as shown below.
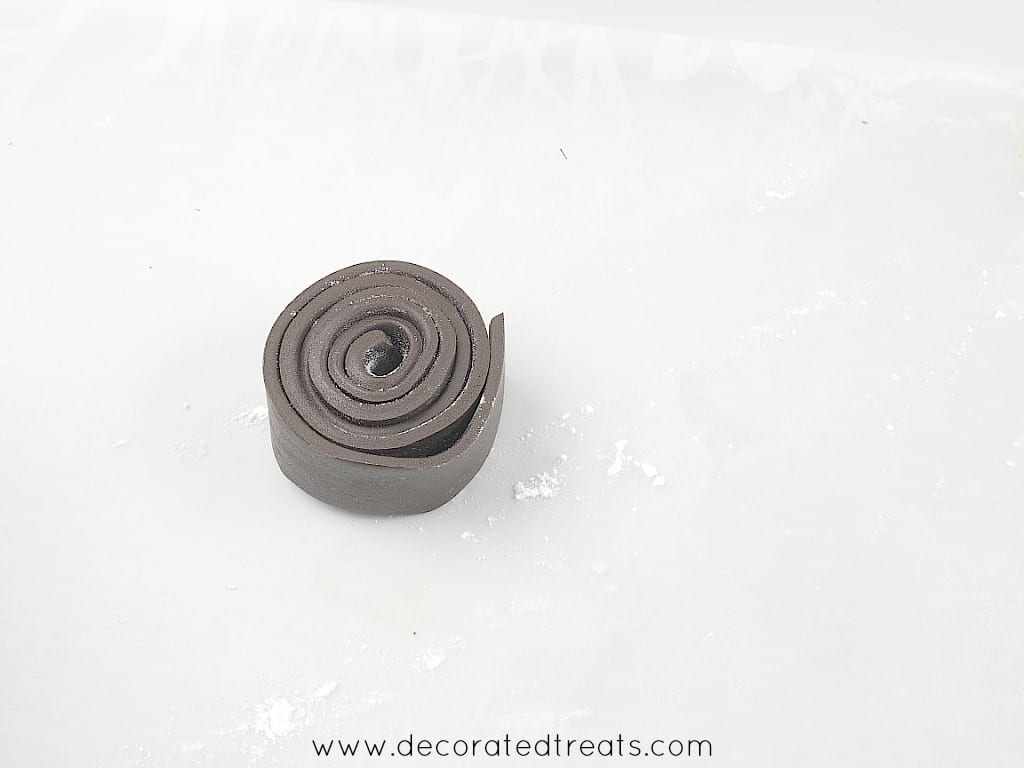
I then lifted the roll and slowly unrolled it as I attached it to the baby shower cake. I used fondant glue to attach the strip to the cake. And I used the paper strip taped to the cake earlier as a guide to ensure the ribbon is placed level on the cake.
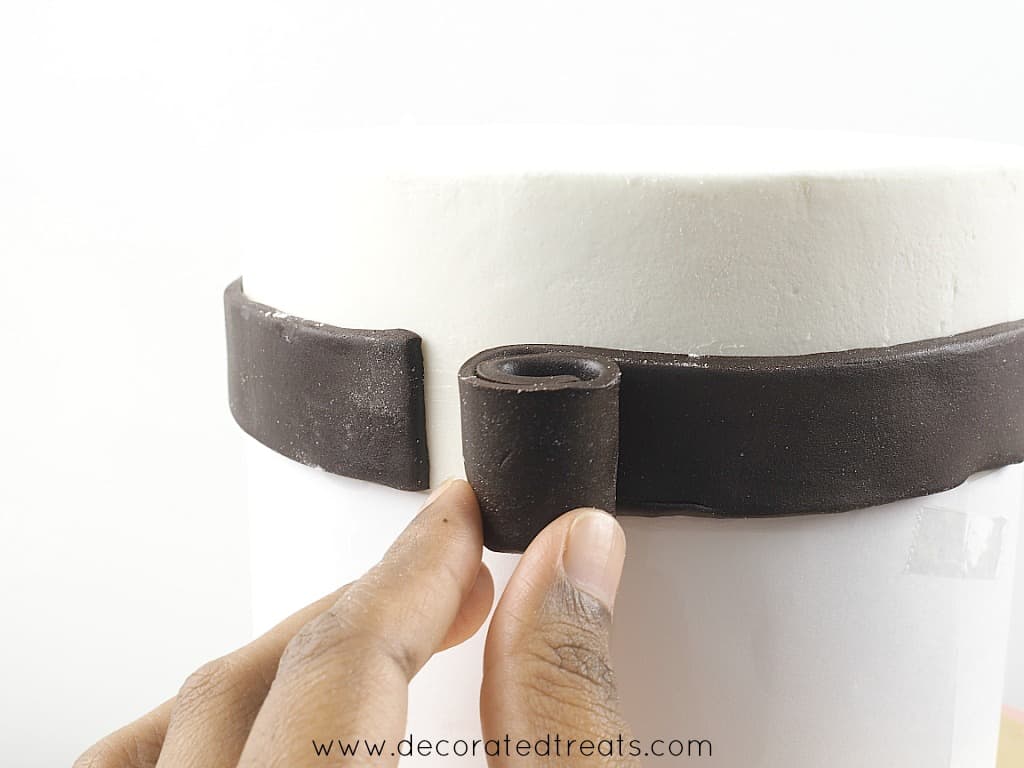
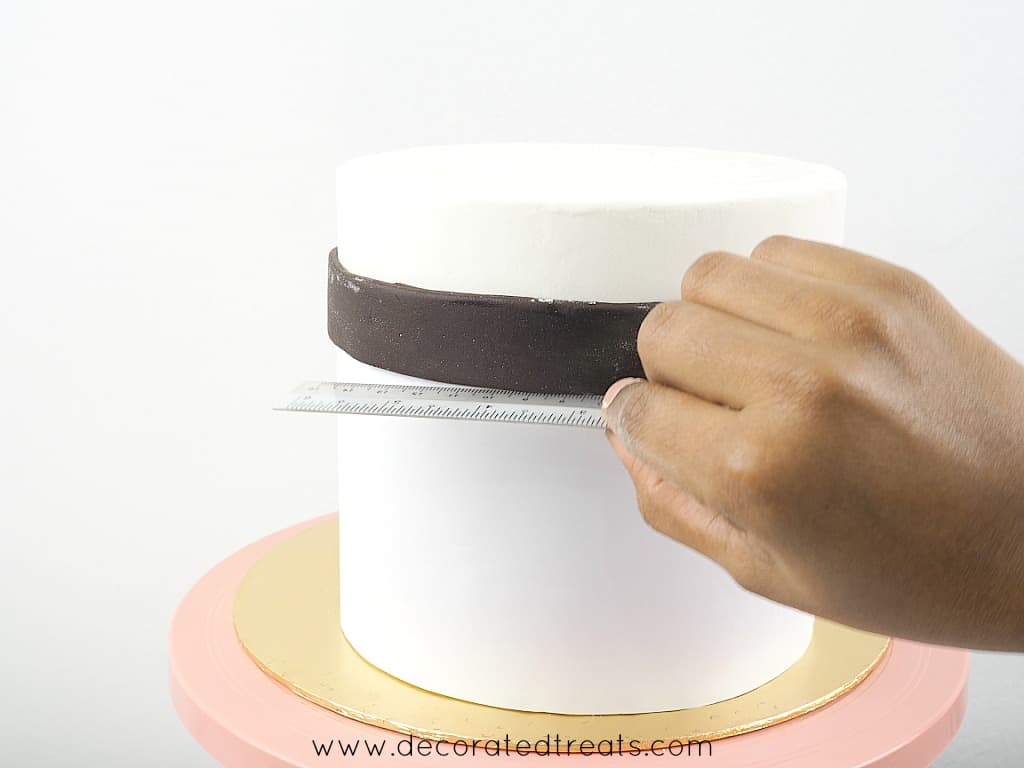
To tidy the strip further, where it was not very straight, I used a ruler to push it into a level line. I also use a fondant smoother to make sure all parts of the strip are well attached to the cake. You can do this with your hands, but there might be dents since our fingers and palms are not flat, so the smoother tool is the best means to do this.
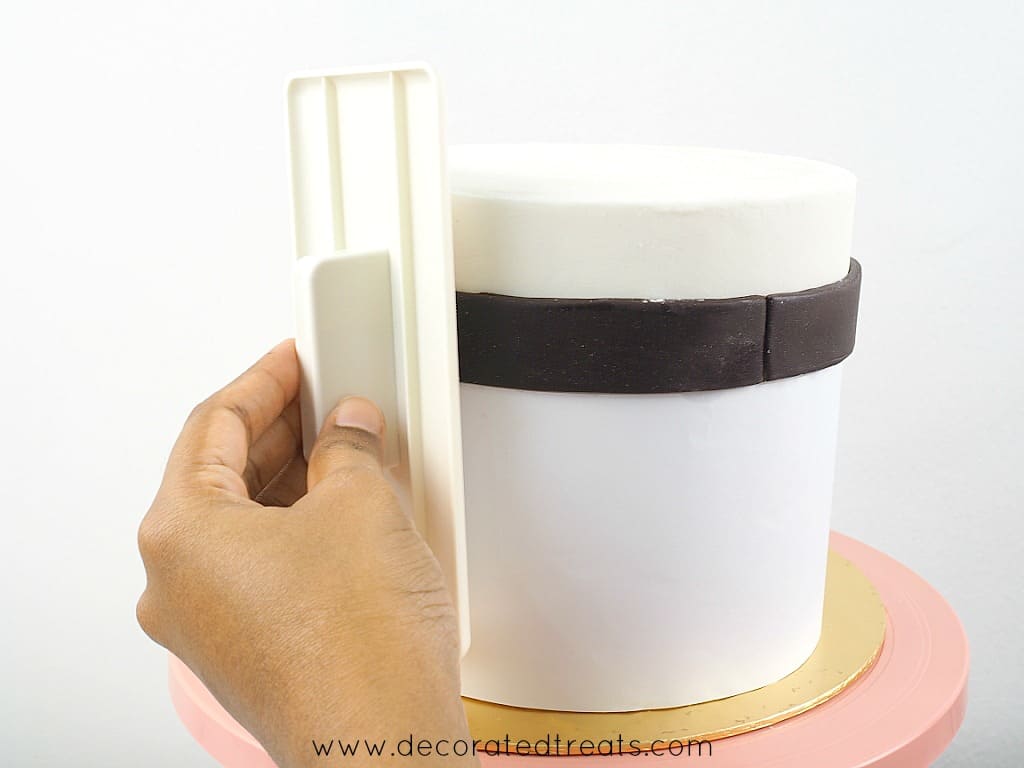
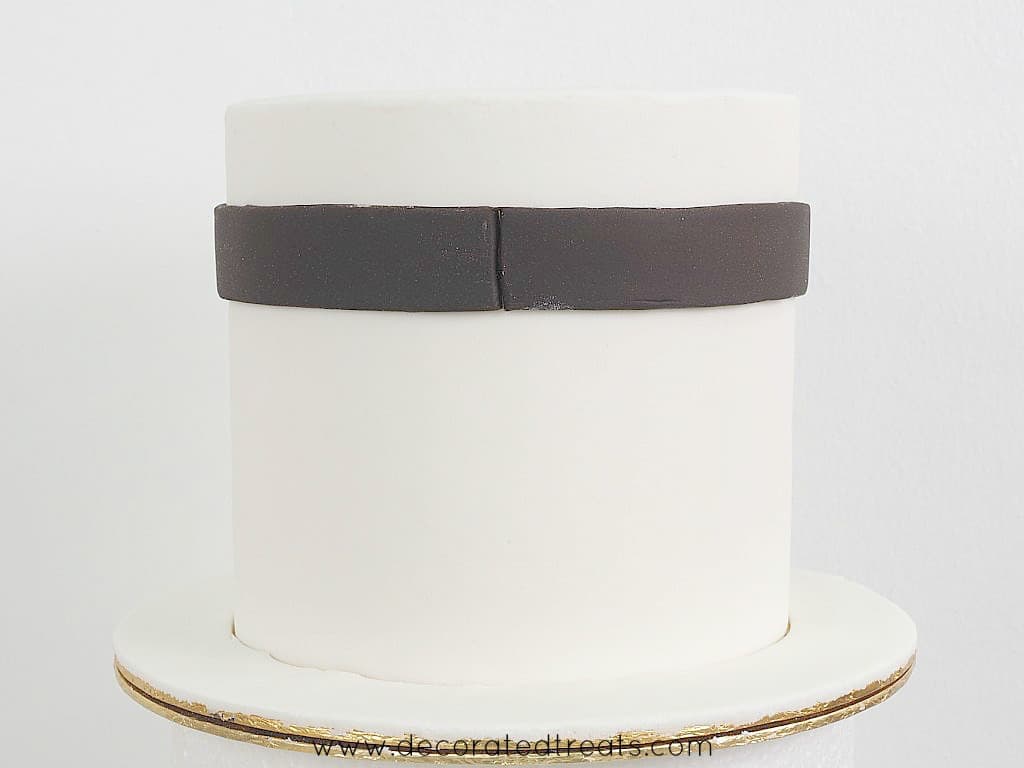
One the ribbon was done, I covered the cake board. I rolled a long strip of white fondant and placed it on the cake board all around the cake and trimmed the edges neatly.
Step 4: Add the Polka Dots
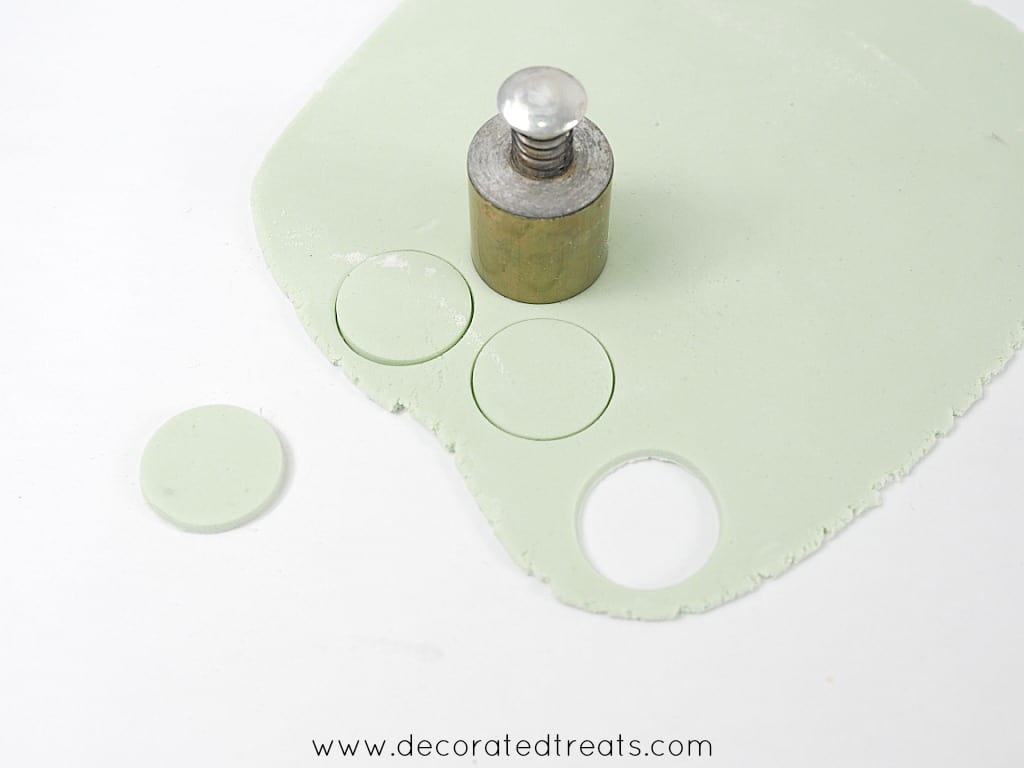
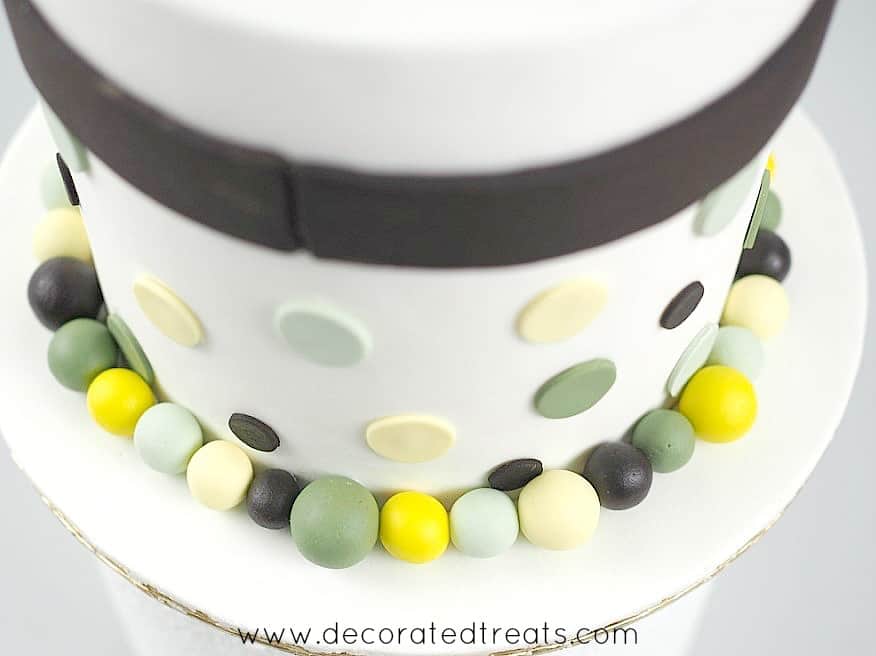
I then went on to add the polka dots on the baby shower cake. The polka dots were cut out out of fondant using my round plunger cutters in two sizes.
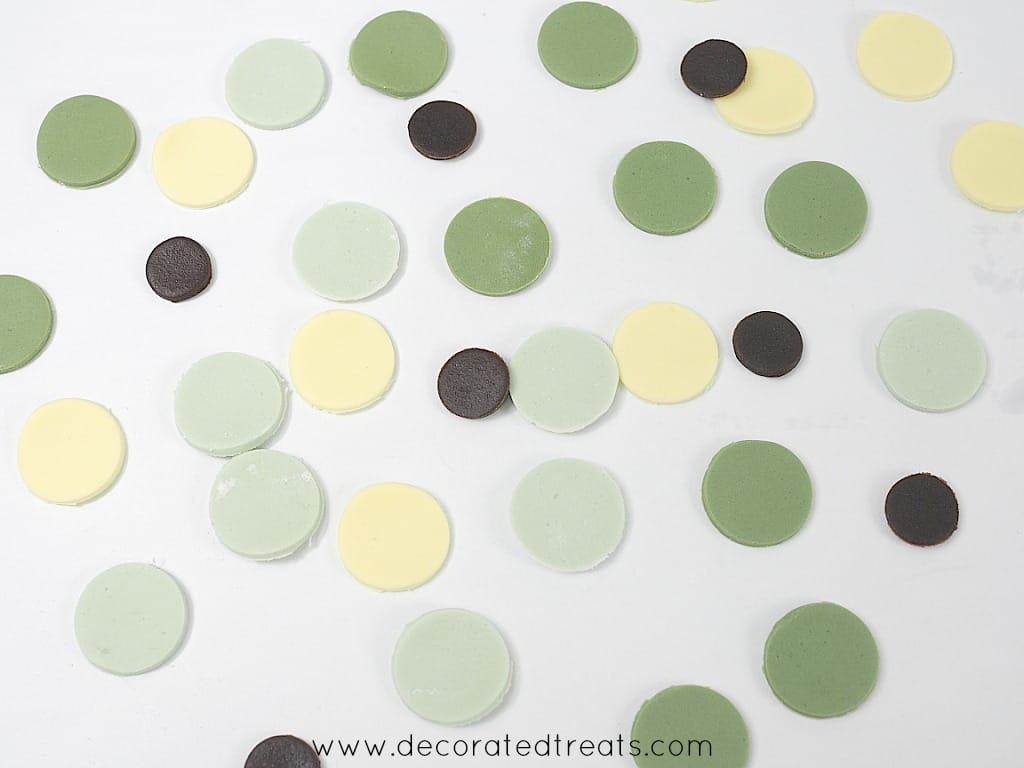
I attached the dots to the baby shower cake with shortening in random order but made sure the colors are well distributed.
Step 5: The Cake Border
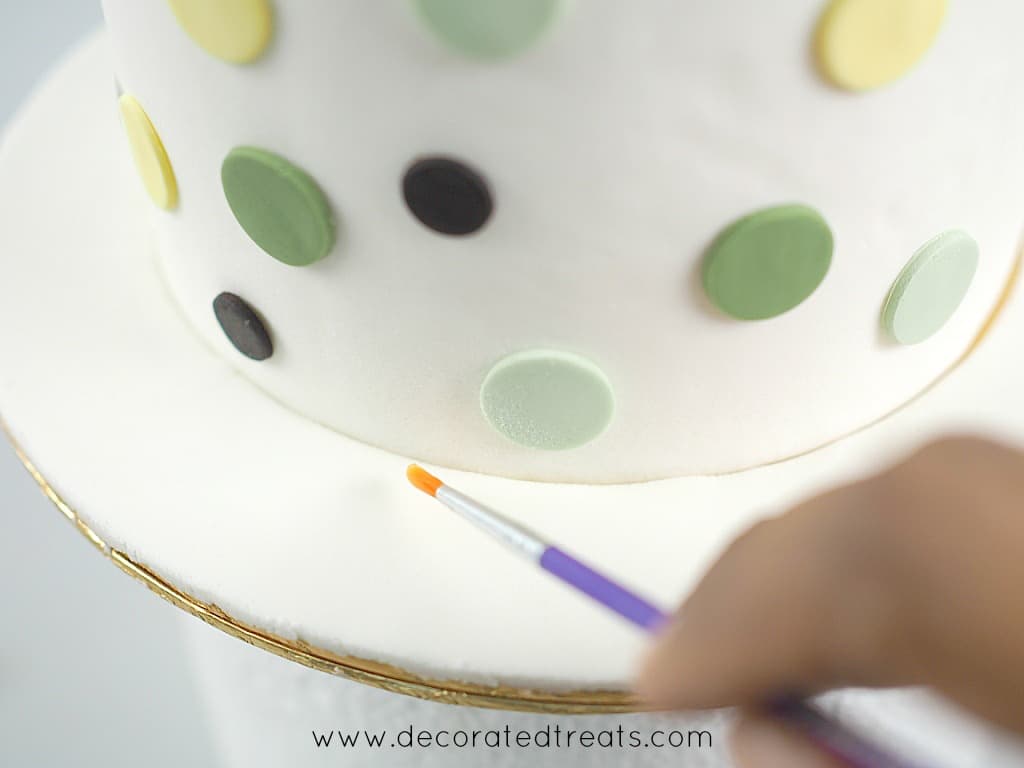
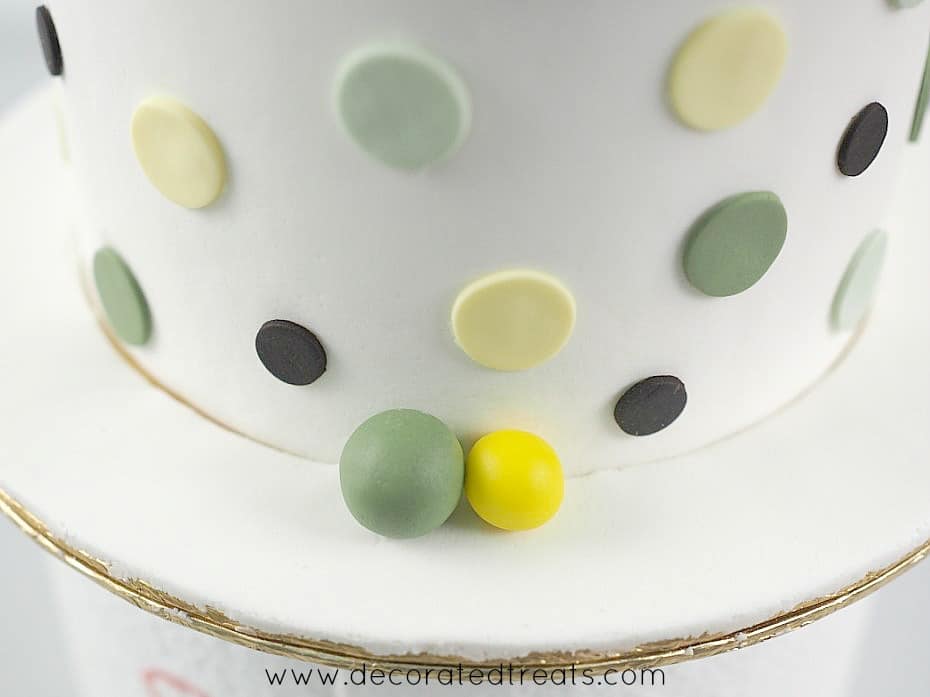
Next were the balls for the cake border. These were rolled by hand and in random sizes. When placing them on the cake, I followed the colors in order - brown, dark green, dark yellow, pale green & pale yellow. These balls were attached with shortening.
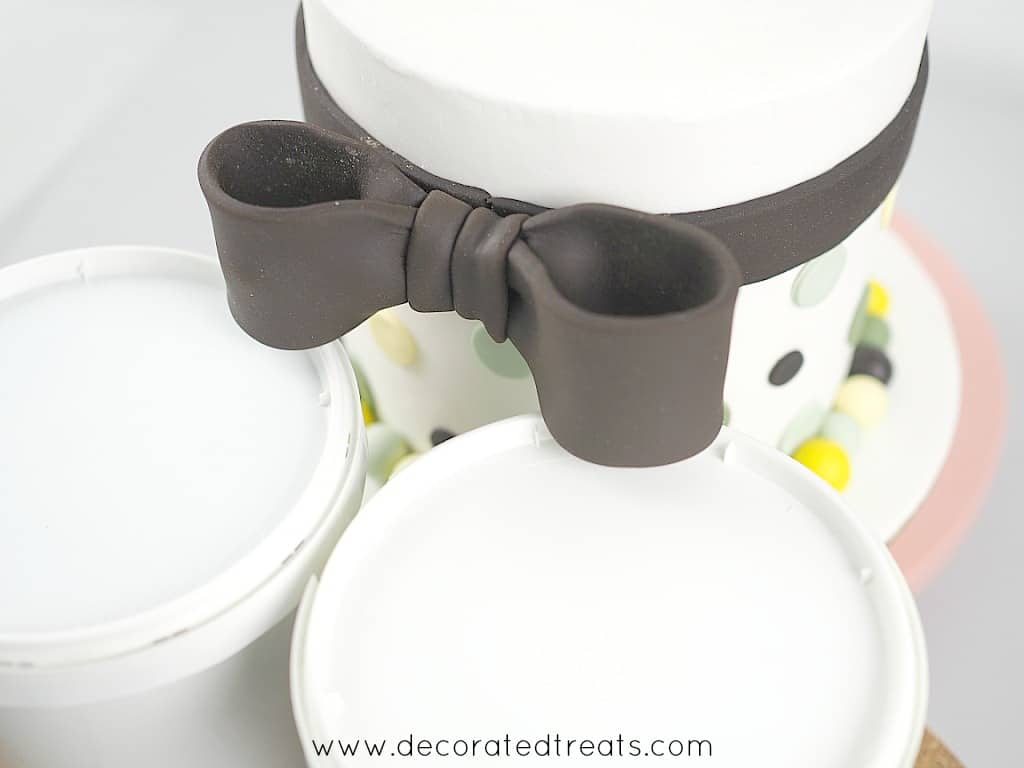
After that was the bow. I attached the bow to the baby shower cake as shown with fondant glue. Since the bow was heavy, it needed support until the glue has dried completely. For this purpose, I used 'support' (two fondant containers that happen to be of the right height to allow the bow to be rested on) to hold the bow in place while it was drying.
Step 6: Attach the Baby Stroller Topper
Once the bow was dry, I then poked the baby stroller topper on the baby shower cake. I attached tiny pale yellow flowers on the centers of each wheel with shortening for added decoration.
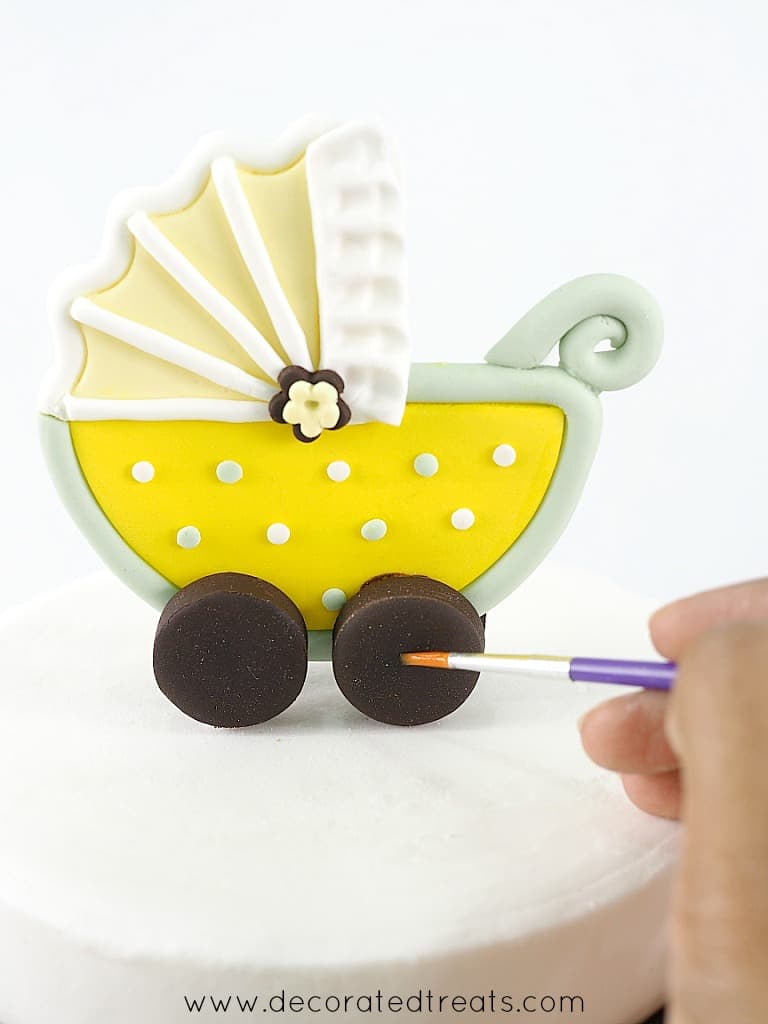
Adding flower to the wheels.
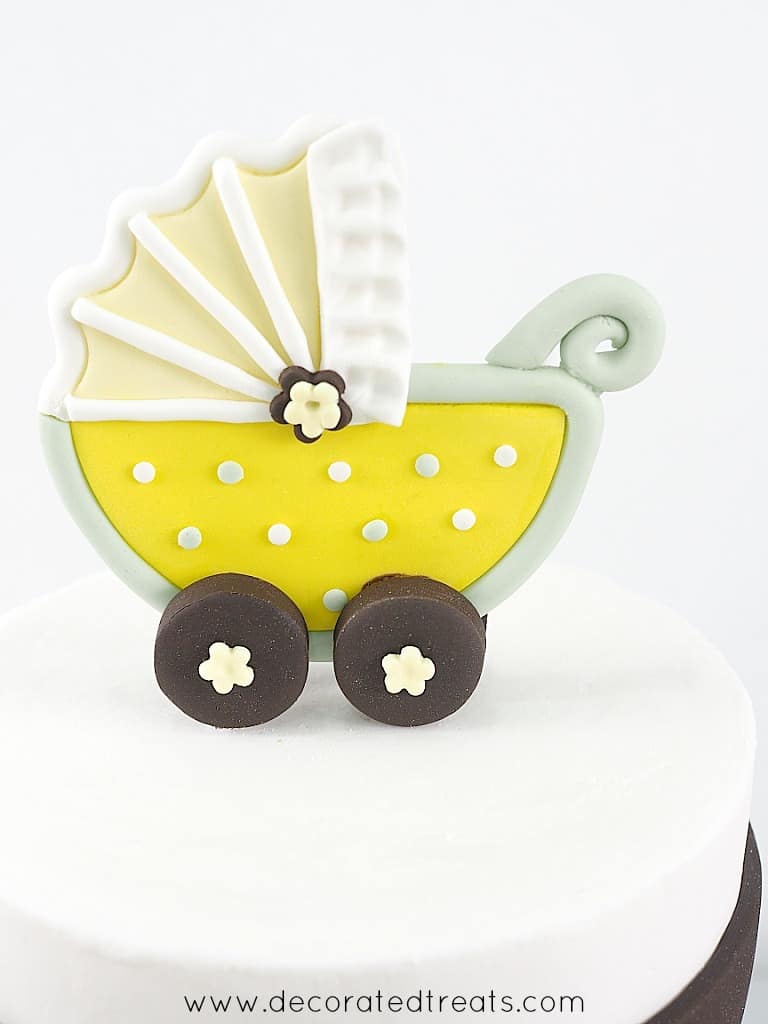
Completed stroller topper for the baby shower cake.
And then attached a yellow ribbon all around the cake board. And that's it. My baby stroller baby shower cake.

❤️More Designs You Will Love
Do you like this tutorial? Please leave a 5-star ⭐⭐⭐⭐⭐rating in the recipe card below and consider a review further down this page. I would love to hear from you. Thank you!
📖Recipe
Baby Shower Cake with Baby Stroller Topper
Equipment
- Round plunger cutters
- Yellow satin ribbon for the cake board
- Fondant smoother
- Pizza cutting wheel
- Food safe brush
For best results, use the metrics measurements. US customary measurements have not been tested and are only meant for guide.
Ingredients
Cake
- 360 g self-raising flour
- 360 g granulated sugar
- 360 g butter
- 6 eggs
- 90 ml milk
- ¾ teaspoon baking powder
- ¼ teaspoon salt
- 1 teaspoon vanilla extract
Decoration
Instructions
Making the baby stroller topper and bow
- I made the baby shower stroller topper and the bow a few days in advance. See the links in the equipment section above for tutorial on how to make the topper and the bow.
Baking the cake
- Preheat oven to 170 °Celsius.
- Beat butter and sugar till soft and creamy for about 2 minutes. Add eggs, one at a time, beating well after each addition.
- In a separate bowl, sift flour, baking powder, and salt. Fold in the sifted ingredients into the creamed mixture alternately with milk, starting and ending with flour.
- Finally, add in vanilla extract and combine well. Pour batter into 3 greased and floured 6-inches round cake pans and bake for 45 to 50 minutes until the top of the cakes spring back when lightly pressed. The cakes are done when a skewer inserted in the center of the cake comes out without any wet batter.
- Remove cakes from oven and let them cool completely before icing and decorating.
- Baking time may vary slightly for larger cakes.
- Once the cakes are completely cooled, level and fill each layer with buttercream and stack them together. Cover the stacked cake with a thin layer of buttercream. For added stability (since the baby shower cake is 6 inches high), insert a bubble tea straw right in the middle of the cake all the way down. Snip off any excess straw the the top. Make sure the straw is slightly below the cake level to avoid it portroding out of the cake when covered with fondant.
- And then cover whole cake with white fondant. Trim the edges and smooth the sides.
Preparing the fondant
- Prepare all the colors needed for the baby shower cake decoration.
- For the pale yellow, mix 1 part of Satin Ice Yellow with 3 parts of white fondan.
- For the bright yellow, use Satin Ice Yellow
- For the pale green, mix Americolor Avocado green gel paste to white fondant
- For dark green, mix Wilton Juniper green and a tiny hint of Satin Ice chocolate fondant to white fondant
- For the dark brown, use Satin Ice chocolate fondant.
Adding the bow
- First to go on the baby shower cake is the brown ribbon on the sides of the cake.
- Measure the diameter of the cake. Cut out a strip of paper to match the diameter. Wrap it around the cake, about two thirds from the bottom of the cake.
- Tape the ends to hold the strip in place.
- Roll some chocolate fondant into a long strip. The length should be the same as the diameter of the cake. Cut out a long strip with a width of 1 inch.
- Dust some icing sugar on the strip and roll it up loosely.
- Using the paper strip on the cake as guide, apply some glue right above the paper strip and gently unroll the fondant strip, using the paper strip as a guide to ensure the fondant strip is placed in a level, straight line.
Tidying the fondant ribbon strip
- To further tidy the position of the strip, use a ruler to push it up or down.
- Use a fondant smoother to smoothen the strip and ensure it is well attached to the cake.
- One the ribbon is done, cover the cake board. Apply some fondant glue or shortening to the cake board. Roll a long strip of white fondant and place it on the cake board all around the cake and trimmed the edges neatly.
Adding the polka dots
- Cut the polka dots in fondant with round plunger cutters in two sizes.
- Attach the dots to the baby shower cake with shortening in random order but make sure the colors are well distributed.
Attaching the cake border
- Roll fondant balls in random sizes, in the following colors and attach them to the cake in the same order - brown, dark green, dark yellow, pale green & pale yellow. Attach the balls with shortening or fondant glue.
Attaching the bow
- Attach the bow to the baby shower cake with fondant glue. Since the bow is heavy, it would need support until the glue dries completely. For this purpose, I used ‘support’ (two fondant containers that happen to be of the right height to allow the bow to be rested on) to hold the bow in place while it was drying. You can use any other support as suitable.
Adding the baby stroller cake topper
- Once the bow dries firmly in place, poke the baby stroller topper on the baby shower cake. Attach tiny pale yellow flowers on the centers of each wheel with shortening for added decoration.
- And finally, attach a yellow ribbon all around the cake board.




Leave a Reply