

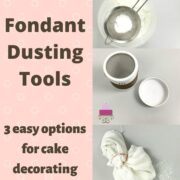
Dusting tools for fondant and gum paste are basically tools that assist in the dusting of powdered sugar or cornstarch when working with fondant or gum paste. They help make working with fondant very easy and produce great results every time.
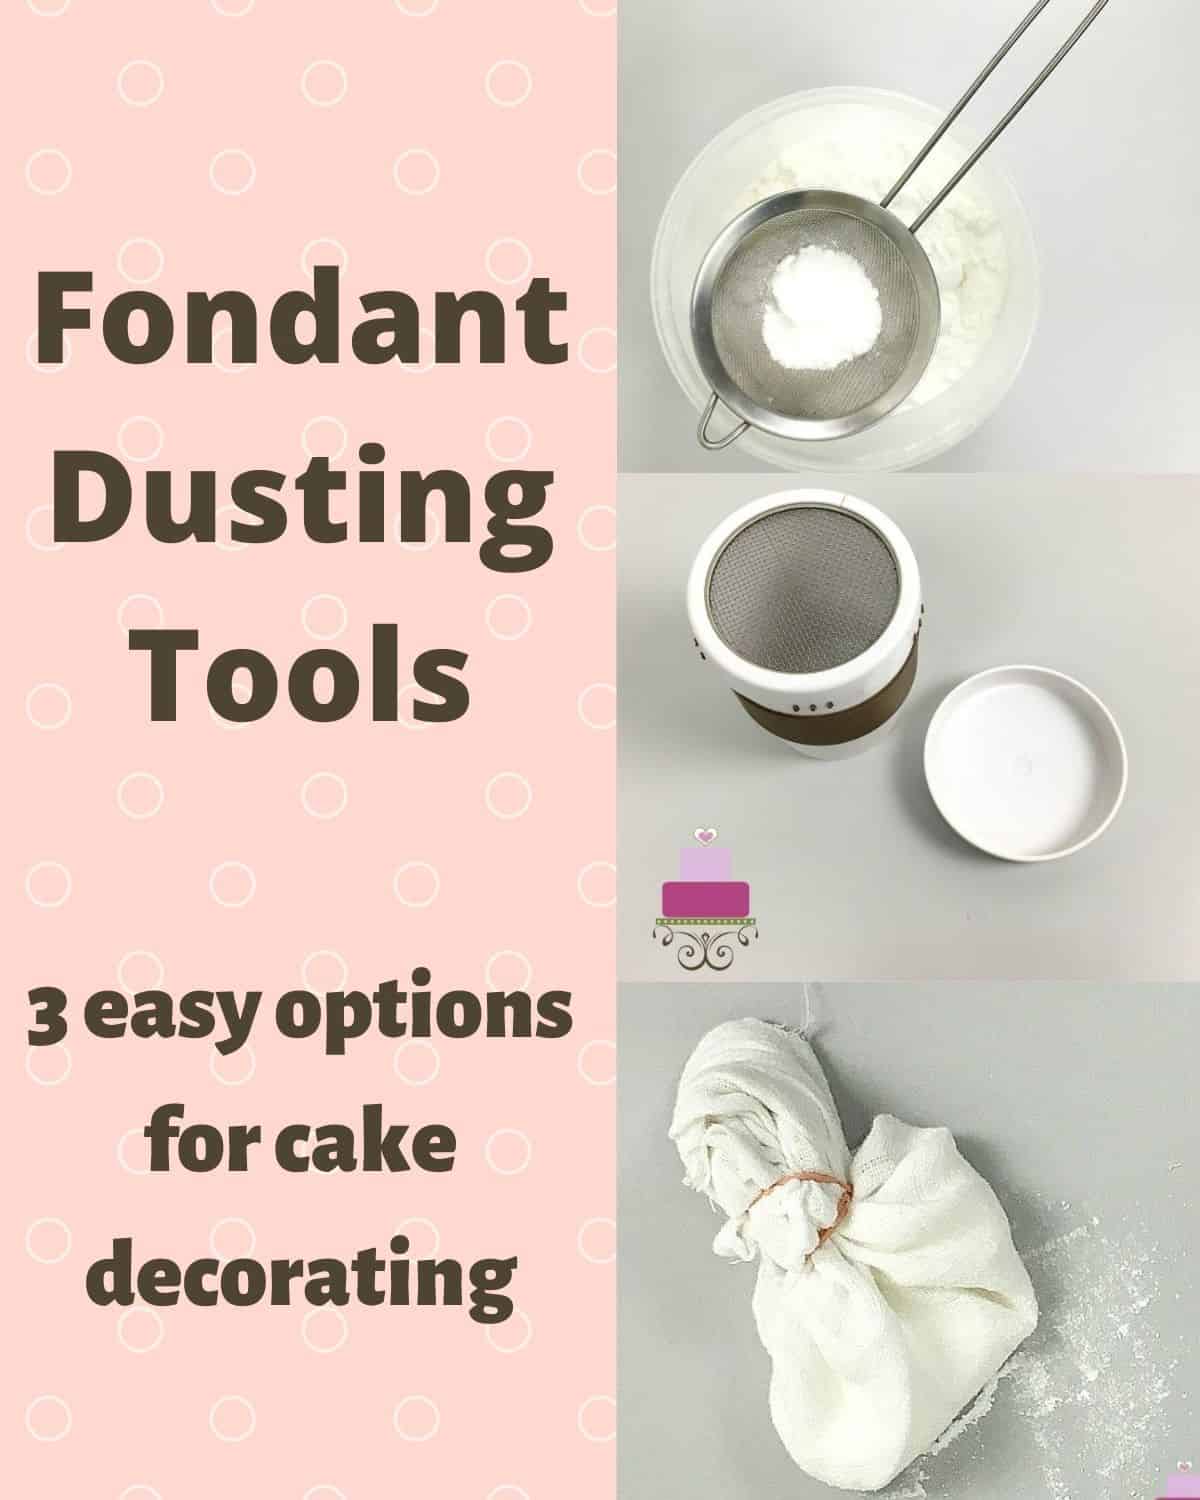
Fondant tends to stick to the work surface or even fingers when being worked on. It often requires a little dusting of powdered sugar or cornstarch so that it is easier to work with.
Some people prefer to use shortening when working with gum paste. However, since that does not require any special tools (other than a brush maybe) I am not covering it on this page.
Without any dusting tools, our good old fingers can do the work just fine. But when it comes to working with fondant or gum paste, I find it so much more convenient to not use fingers.
Firstly, your fingers tend to get messy with powdered sugar (or cornstarch). Secondly, it is difficult to get a light and thin coat of sugar dust. It's always tiny little lumps of powdered sugar on the work surface which is not so convenient to work with especially when working with small pieces of fondant or gum paste that only require a very light dusting of powdered sugar.
Let's look at all the different techniques and dusting tools I use for dusting my fondant. I often use these interchangeably, depending on the project I am working on.
And for more tips and techniques, check out my tutorials on how to make your own cake boards, how to decorate cake boards, how to level and layer a cake and how to line a cake tin.
Jump to:
Common tools and techniques
These are the 3 of my most commonly used dusting tools and techniques:
1. Sieve
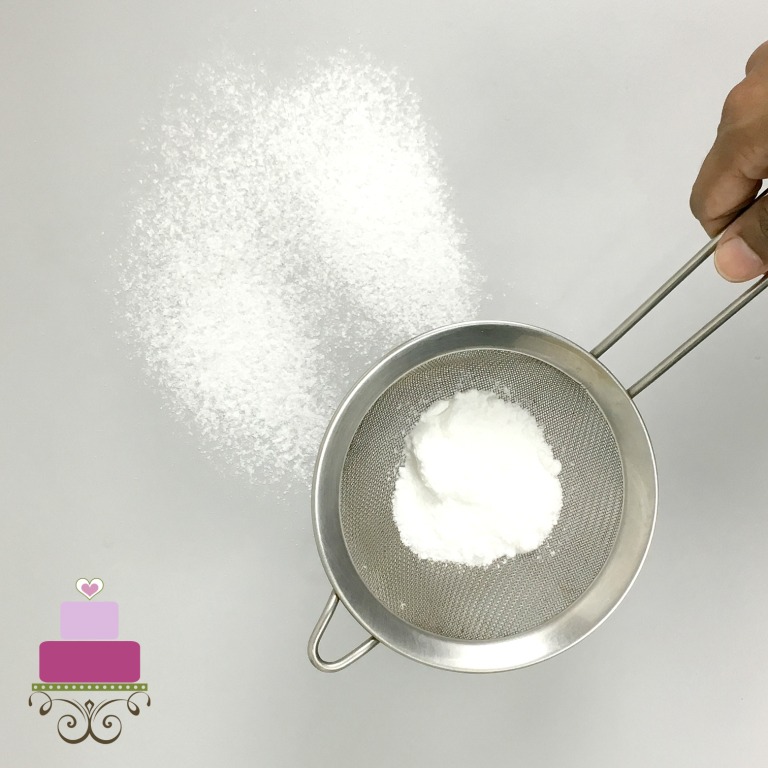
This method is so basic that it requires no introduction. It is a very common technique and I use it mostly when working with fondant for cake covering.
I normally store my sugar in a large container, one that would fit my sieve in. And then, when I need to dust my work surface with powdered sugar, I simply scoop some sugar with a spoon into my sieve and simply sieve it lightly onto my work surface and fondant.
The good thing about this technique is that you do not need to invest in a special tool just for dusting. And secondly, it helps to dust large areas of work very quickly.
The only downside with this technique is that you have to wash your sieve each time you complete a project. I prefer to use a sieve when I am doing large projects or when I need to cover many cakes with fondant at any one time. If I were to use a sugar shaker, I will have to keep refilling it, so using a sieve is faster.
2. Powdered sugar shaker
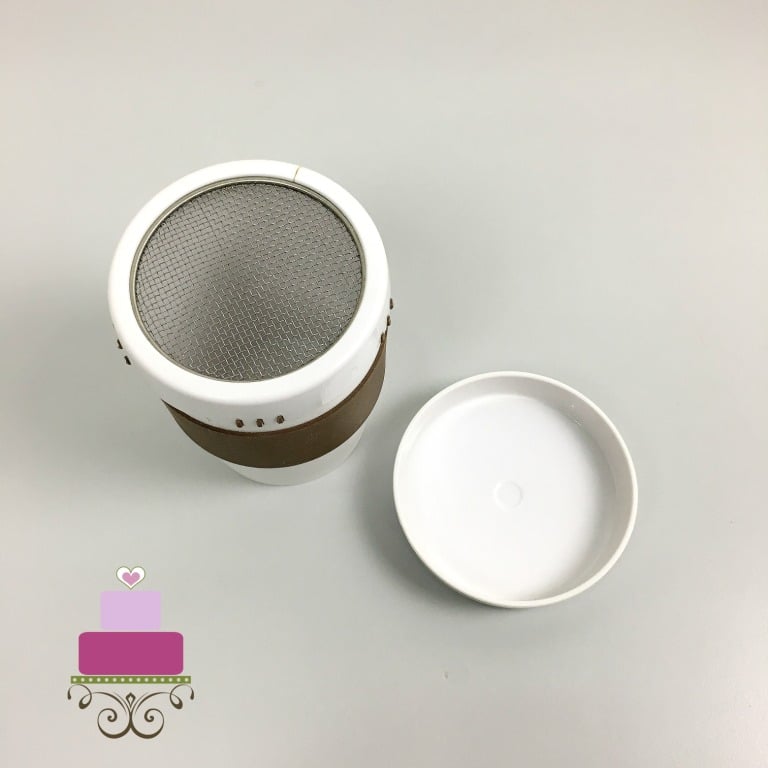
This is a special dusting tool, meant specifically for dusting. I call it a powdered sugar shaker and it's basically a drinking glass-shaped container with a screw-on lid made of wire mesh. There is another lid above the wire mesh to cover the container completely.
The good thing about this dusting tool is that it is super convenient to use. You just need to fill it with icing or powdered sugar and its ready for use anytime. It's easy to store and mess-free.
The downside is, you would just need to refill the container a couple of times when working with large amounts of fondant.
I prefer to use this sugar shaker dusting tool when covering cakes with fondant on a small scale (i.e. about 2 cakes or less). But not so much for small fondant pieces or gum paste flowers as it would be too much dusting for small fondant or gum paste work.
3. Dusting pouch
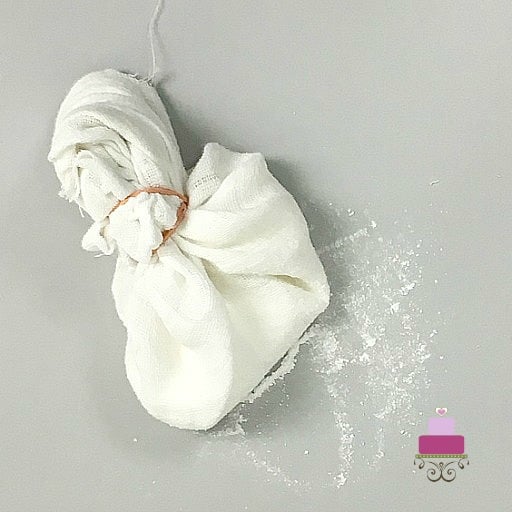
This is another option for fondant and gum paste dusting. This is basically a DIY pouch that is made of cloth and filled with powdered sugar or cornstarch. To use it, you just have to tap the pouch onto your work surface to get a thin coat of sugar dust or cornstarch. Get the tutorial to make this dusting pouch with my easy step by step here.
This is particularly preferred when working with small pieces of fondant deco, when you need only a very light coat of sugar dust. I normally use a dusting pouch for gum paste flowers too. Its easy to use and I get to confine the dusting to just a small area of my work surface, which means cleaning up later is easier!
Having said that, the dusting pouch does not quite work well for large pieces of fondant or when dusting fondant to cover cakes. The dusting is too light for such work and therefore is not quite effective in such cases.
When to use which dusting tool?
This is a matter of personal preference.
The powdered sugar shaker is as effective as the sieve method. However, since the container size is limited, I prefer to use it for small cake covering projects. It is good for about 2 to 3 cakes covering and would need to be refilled after that. So this is my preferred tool when working with a smaller number of cakes at any one point.
The dusting pouch is more specific in its use. I definitely do not use it to dust fondant when covering cakes as it's not as effective. But this is absolutely what I use for small fondant deco work on cakes and gum paste flowers. This is a very convenient tool that can be used for many projects before having to be refilled again. And does not mess up the work surface which means cleaning up is easy. Plus, you can easily make one on your own so it's cost-effective too. Click here for the tutorial on how to make your own DIY dusting pouch.


Leave a Reply