

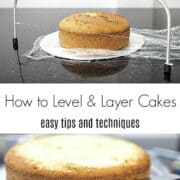
Learn how to level a cake and layer a cake with this tutorial. It teaches you various techniques and tools that are available for you to achieve best results when levelling and layering cakes.
This post covers two main issues faced by bakers. Firstly, how to bake level cakes (i.e. cakes with a flat top (instead of a domed one) and the various techniques and tools available to level cakes that are domed. Secondly, how to cut a single layer cake into multiple layers.
There are many factors that affect the levelness of baked cakes. Some of it include the cake recipe itself, the oven heat, baking time, etc. While I am not able to comment much on these factors, I do know a method cake decorators (including myself) typically use to help achieve leveled cakes.
Below are some of the tips and tricks I have learned in getting level cakes as well as the techniques I use to level domed cakes and layer cakes.
Jump to:
❤️Why you will love this post
- It addresses the concern of baking level cakes (without domed tops).
- You get to learn how to level domed cakes.
- You get to know all the various methods and tools available to layer cakes like a pro.
If you like this tutorial, you should also check out my other posts on how to line a cake tin, how to work with cake dummies, how to resize templates for cake decorating and how to make your own cake boards.
How to Bake Level Cakes (without Domed Tops)
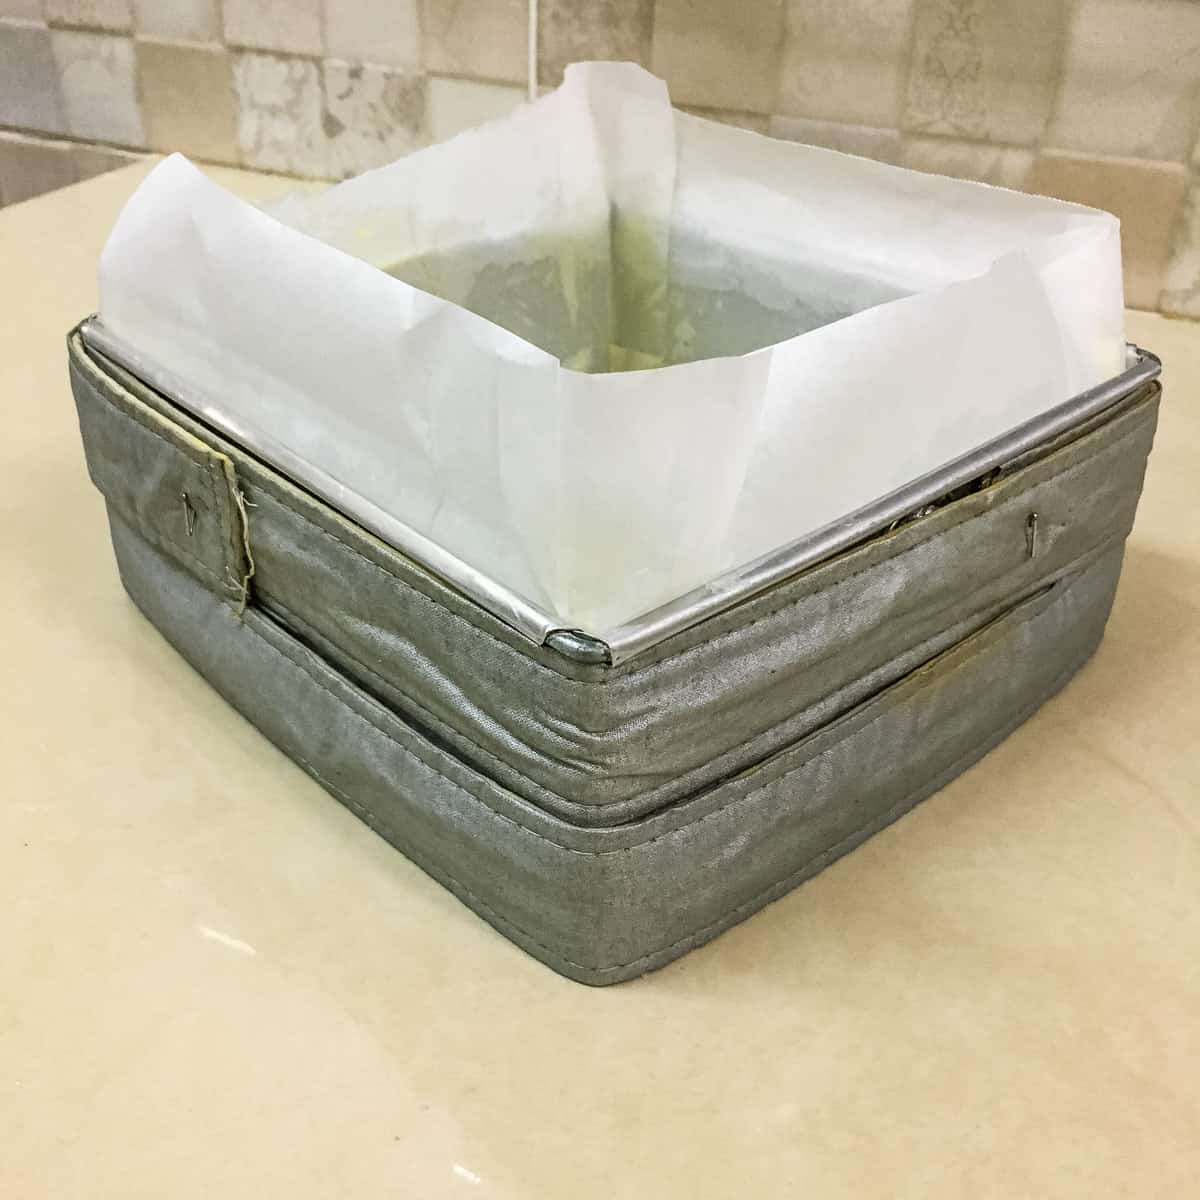
I use baking strips when baking large cakes. By large I mean cakes with a diameter of 10 inches or more. You can use these strips for smaller cakes but I find them only necessary for larger cakes.
These strips are predominantly meant to help cakes bake evenly, especially larger ones. When baking large cakes, often the sides tend to get baked first. However, the centers take a lot longer to bake.
This could result in cakes being dry on the edges due to over baking while waiting for the cake centers to get done. Using baking strips can help solve this problem. Here is how the baking strips look like when wrapped around a cake tin.
Baking strips not only help cakes to bake evenly, they also help the cake to remain level after baking. So if you want to bake level cakes, baking strips are something you could consider.
This very useful baking tool can be purchased from any cake decorating shops or you can get them online on Amazon. Follow the instructions given on the packaging to avoid any mishaps.
The ones I have require me to soak them in water for a while. And then, I remove them from the water and squeeze the excess off lightly.
After that, I wrap them around my cake tins. The strips set come with a set of pins. This just makes it easier for me to secure the strips in place while baking my cakes into evenly baked cakes with level tops.
How to Level Domed Cakes (4 Methods)
1. Use a serrated knife
This is probably the most commonly used method in leveling and layering cakes. And is probably one of the most basic methods as well.
Simply use a long-serrated knife and slice off the domed top of your cakes. Though this sounds like easy to do, if you are not careful, you can end up with a cake top that is level, but slanted.
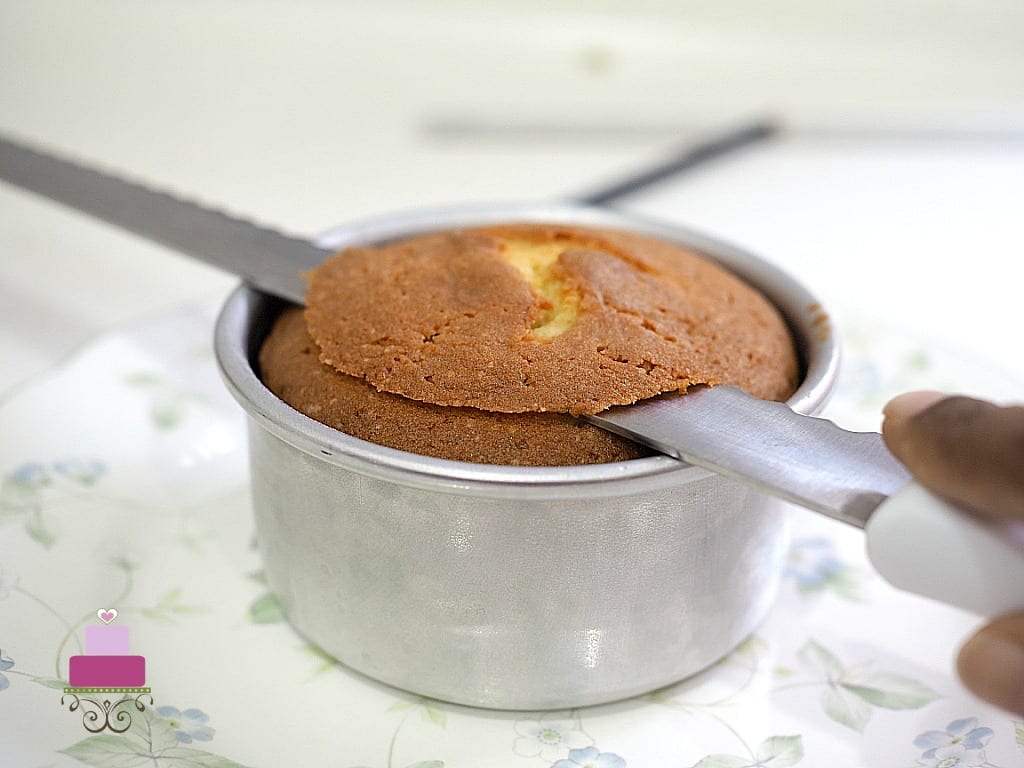
2. Use cake boards and cake tins
Another way to help to achieve a leveled top when cutting with a knife is to use the cake tin method.
With this method, you place a few cake boards of the same diameter into the cake tin. And then place your baked cake on them. Doing this will result in your cake being elevated higher than the rims of the cake tin.
You can then use the cake tin rim as guide in leveling your cake for a leveled top.
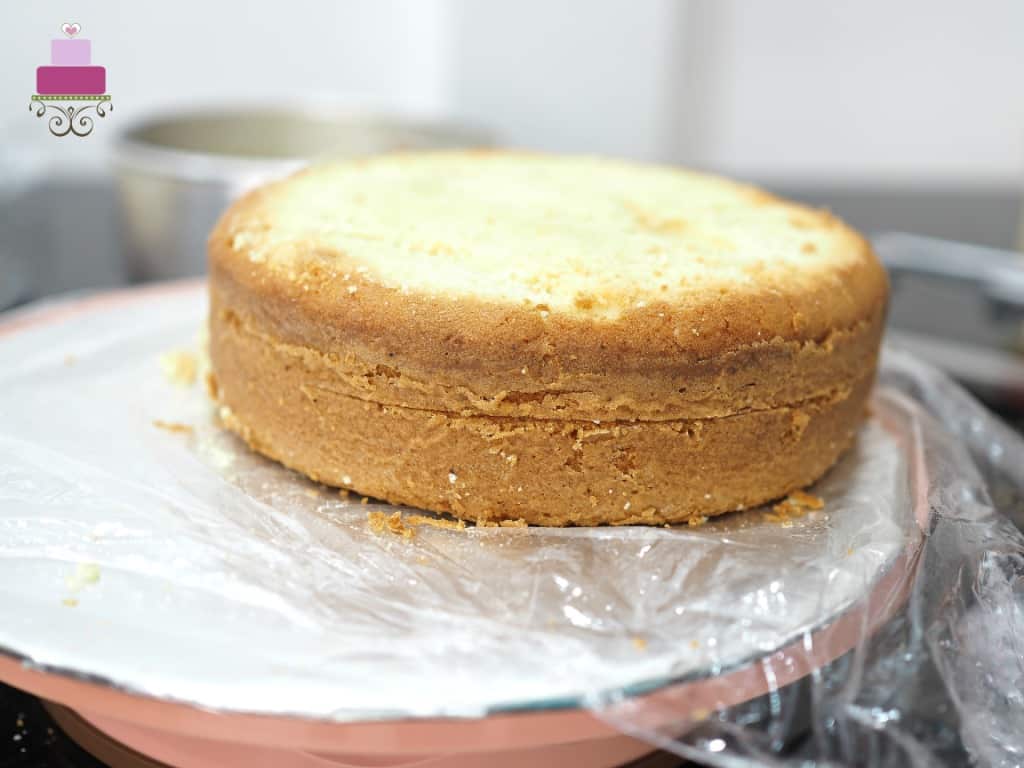
The cake above was baked in the same tin.Once completely cooled down, I added a few layers of cake boards inside the cake tin and put the cake on top. That way, the cake was upped a bit from its original height in the tin.
And I then used the cake tin rims as the guide to place my knife and slice the domed top off. You can use the same method to layer cakes as well. Just add more cake boards in the tin until the cake comes up to a level you want to layer it.
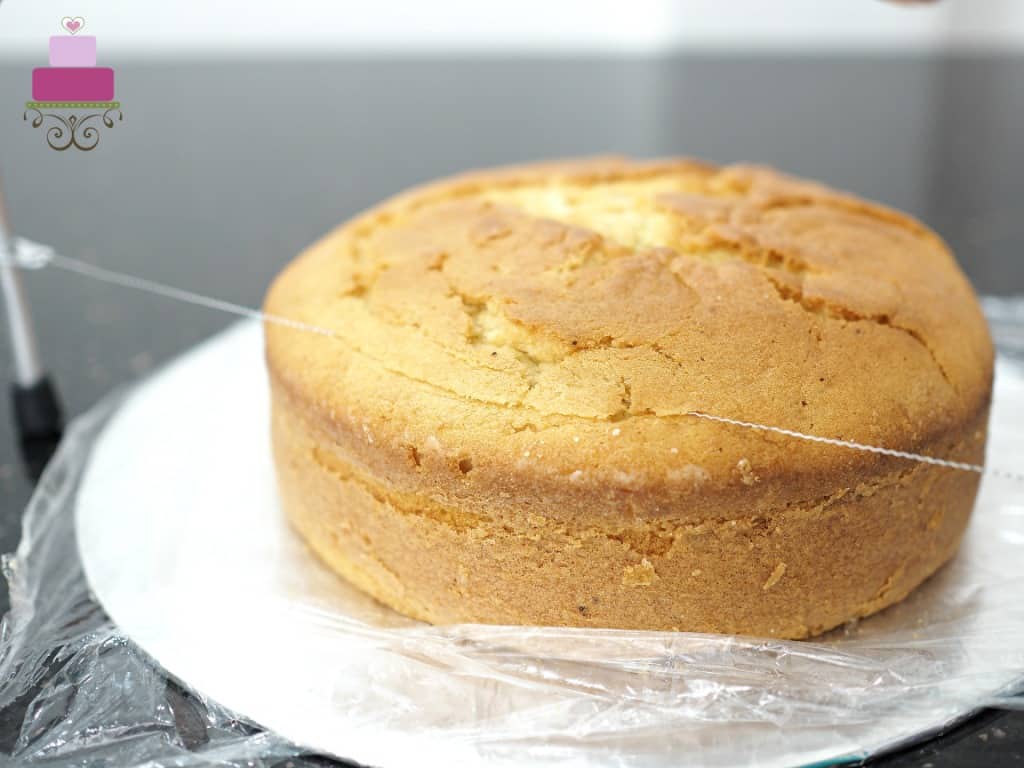
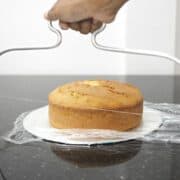
3. Use a cake leveler
Cake leveler is a special tool for cake leveling and layering. It typically consists of a handle and thin wires.
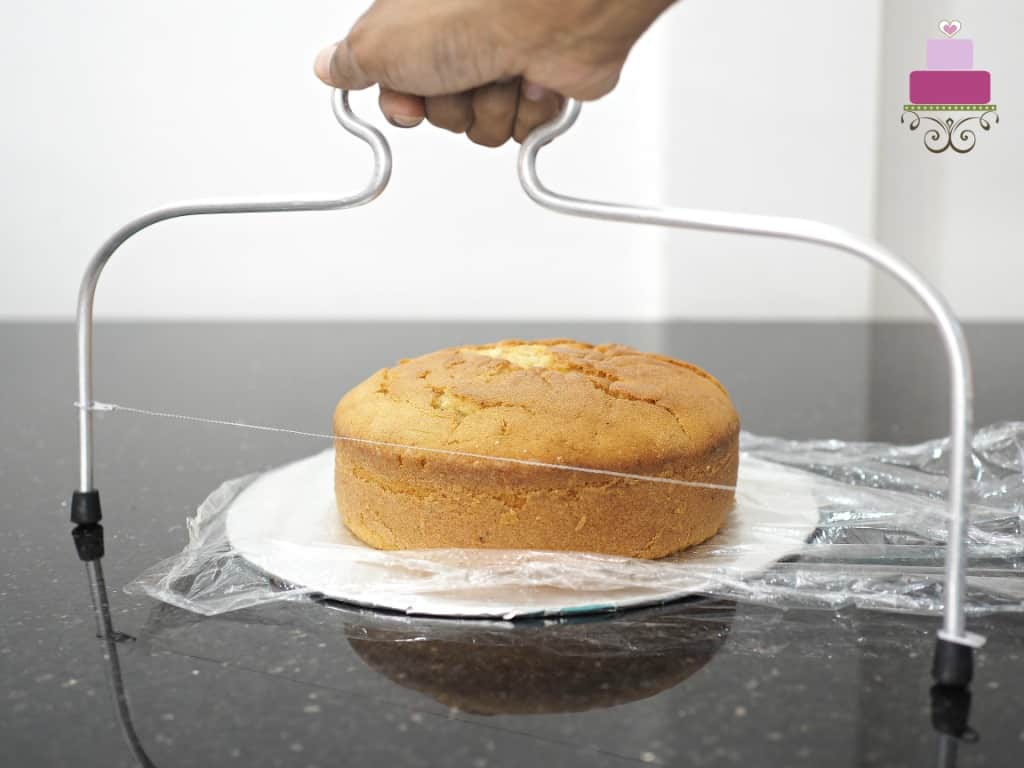
The handle of a cake leveler is to guide with the movement of the leveler and the wires are to cut the cake. You can adjust the wires to the height you want and level your cake within seconds.
This is my most preferred choice of tool and method for layering and leveling cakes. Not only does it help with leveling my cake to perfection, I am also able to get consistent layers when layering my cakes.
Plus this tool is inexpensive and one that would definitely be useful for both new and seasoned cake decorators.
To use the cake level, the first step is to adjust the height of the wire.
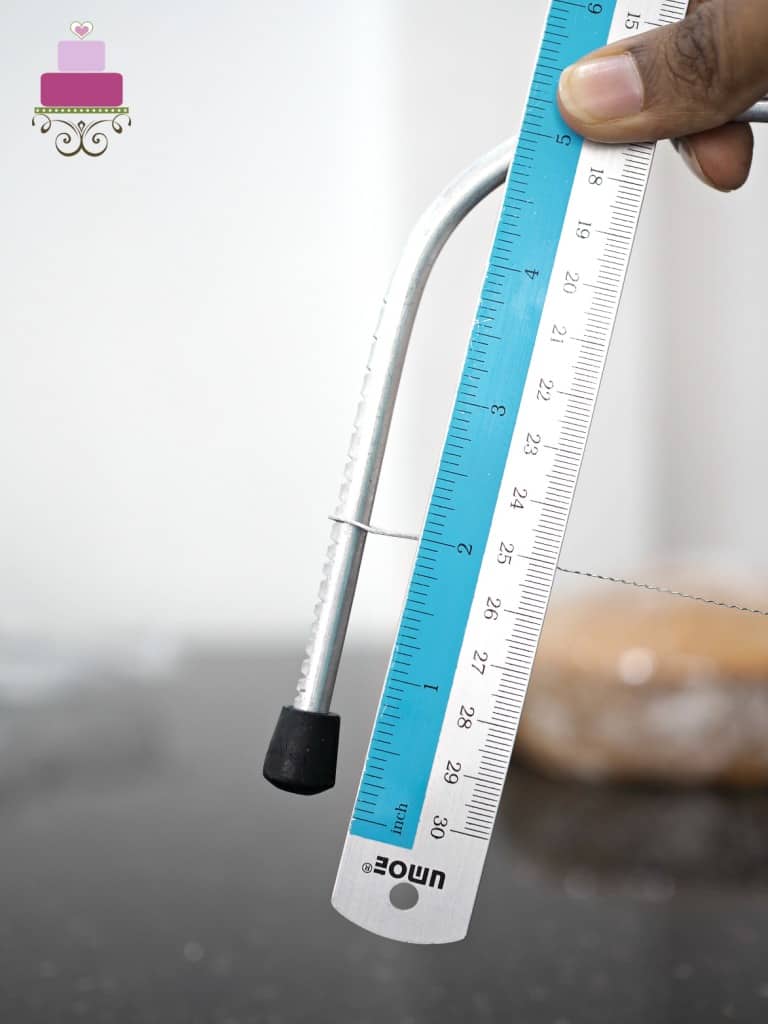
Measure your cake and identify the height at which you wish to cut off the domed top.
Place the cake on a level surface and make sure there is enough space to more the leveler around it.
Move the cake leveler back and forth as how you would if you were to saw the cake. The wire will slowly slice the cake as you move the leveler from one end of the cake to the other.
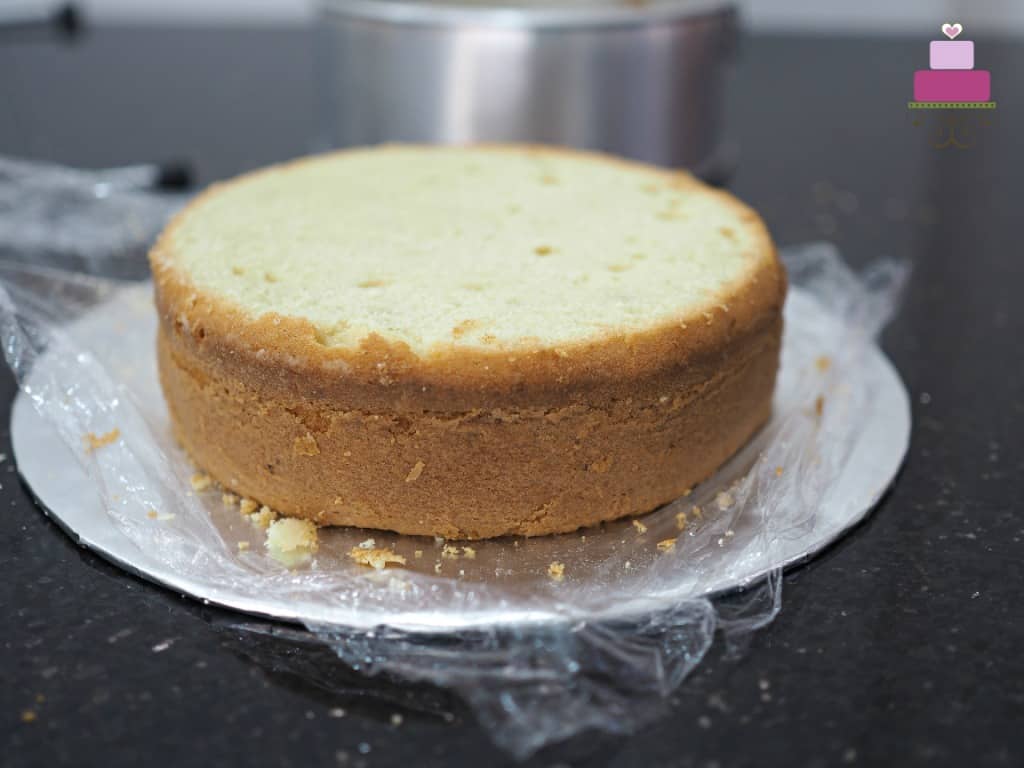
Remove the cut top and clean the crumbs for a perfectly leveled cake top.
Use can also use the cake leveler to layer the cakes simply by adjusting the height of the wires.
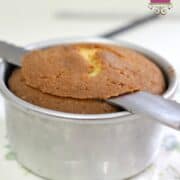
4. Use a cooling rack or wire rack
You can also level a domed cake by placing it upside down on a wire cake when cooling it.
Once your cakes are baked and you notice that they are domed in the center, you can simply turn them over onto a wire rack and leave the cakes to cool down with the top facing down.
Once cooled, turn the cake over. You will have a level cake top, or simply leave it with the bottom side up on a cake board (to take advantage of the perfect smooth level of the cake) and decorate.
An important tip to remember when doing this is to place the cake upside down immediately after taking it out of the cake tin. It is easier to flatten the domed cake top when the cake is still hot rather than when it has cooled down.
There is one limitation to this method though. You can only use it for cakes that are only slightly domed. If the dome is too high, putting the cake upside down on a wire rack can result in the cake totally cracking in the center.
How to Layer a Cake (4 Methods)
1. Use a cake leveler
Similar to leveling a domed cake, you can use a cake leveler to slice a cake into layers by adjusting the height of the wire.
Measure the height of your cake and determine the number of layers you wish to make and the height you want each layer to be.
Adjust the wire accordingly and cut the layers.
2. Use a serrated knife
This is also similar to leveling a domed cake.
Mark the height at which you want to layer a cake on a few spots around the cake. Use a serrated knife to cut the cake into layers, using the markings on the cake as guide for even layers.
For better guide, you can use toothpicks or skewers. See the next sections below.
3. Use toothpicks and serrated knife
To start with, measure the height at which you want to level your cake off. Mark the lines with your knife.
Next, poke the toothpicks horizontally at an interval of about 3 or 4 inches apart on the line you marked on the sides of the earlier.
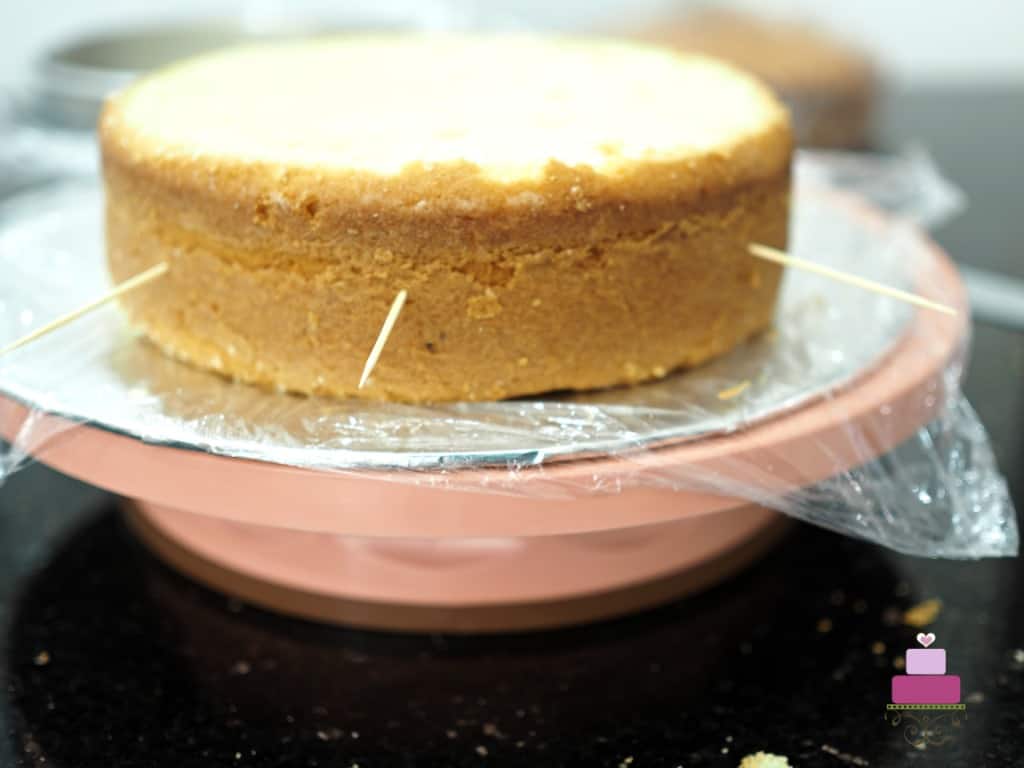
Start leveling your cake by placing your knife right above one of the toothpicks. Turn the cake around as you start slicing it horizontally.
Make sure your knife remains closely above the toothpicks as you move along the sides of the cake. Continue until the cake is completely layered.
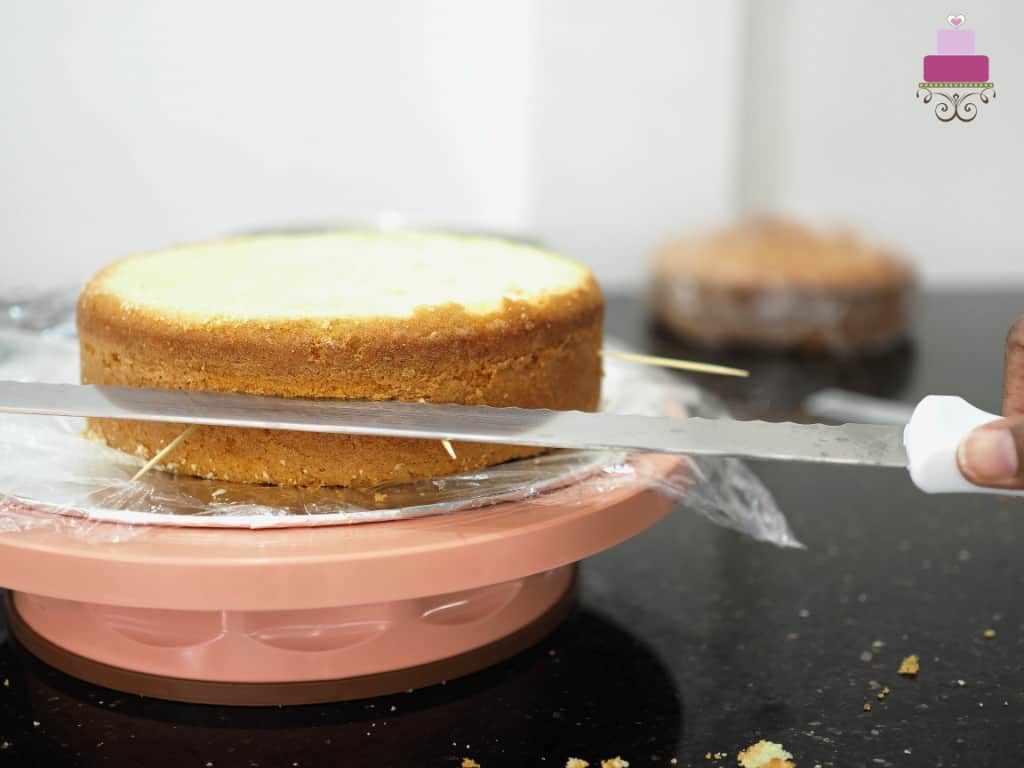
4. Use skewers and serrated knife
Wooden skewers are generally longer than toothpicks. So, if you need more guidance than what the toothpicks can provide, use long thin wooden skewers in place of the toothpicks.
And instead of poking them just slightly into the sides of your cake, you can actually poke them through until the sticks come out of the other end of the cake. This way, you can use the sticks as a guide to making sure you don’t over slice any part of the cake.
Here's how you do it:
Start by marking the level at which you wish to layer your cake with a knife.
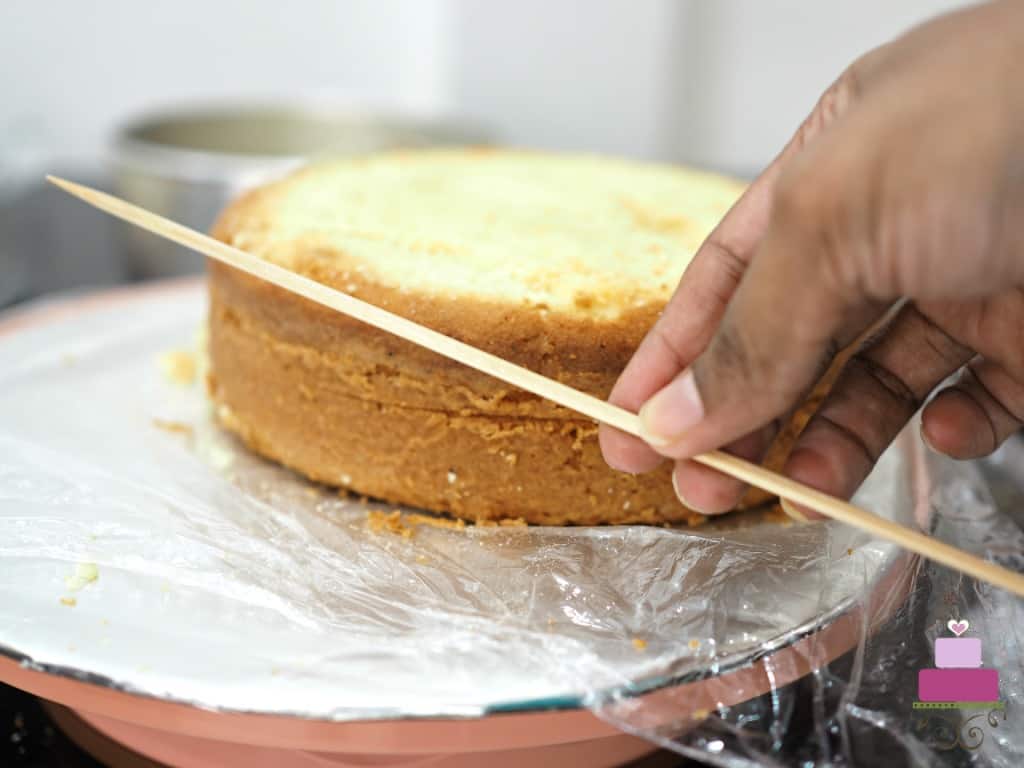
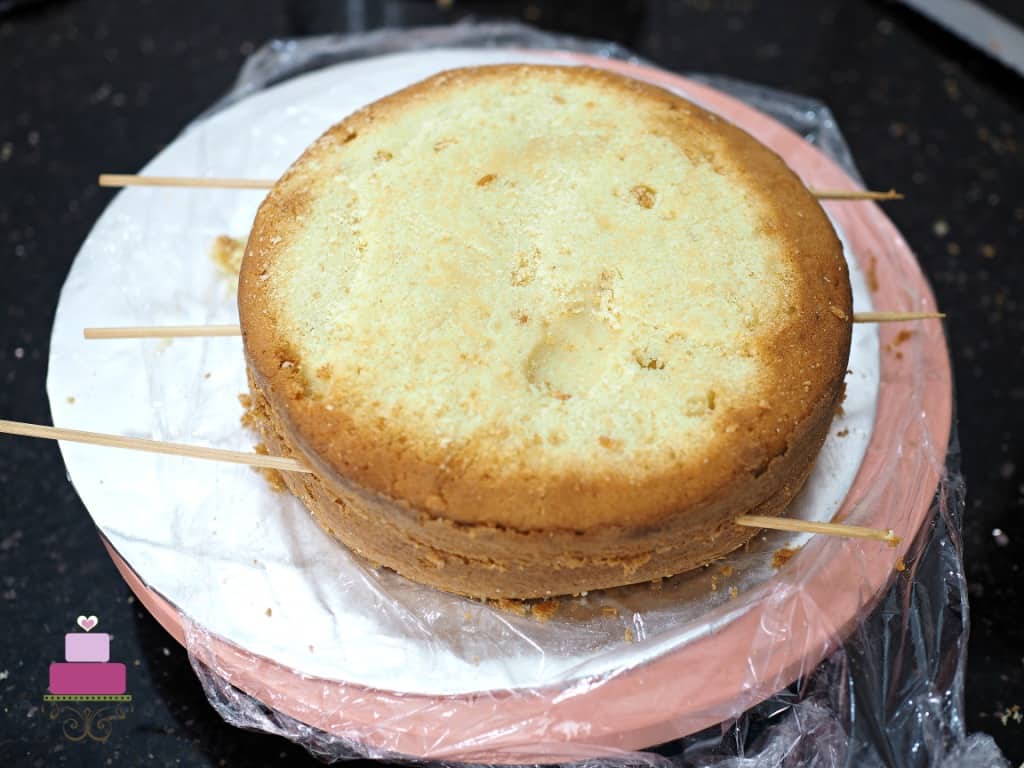
Use long skewers that are longer than the diameter of your cake.
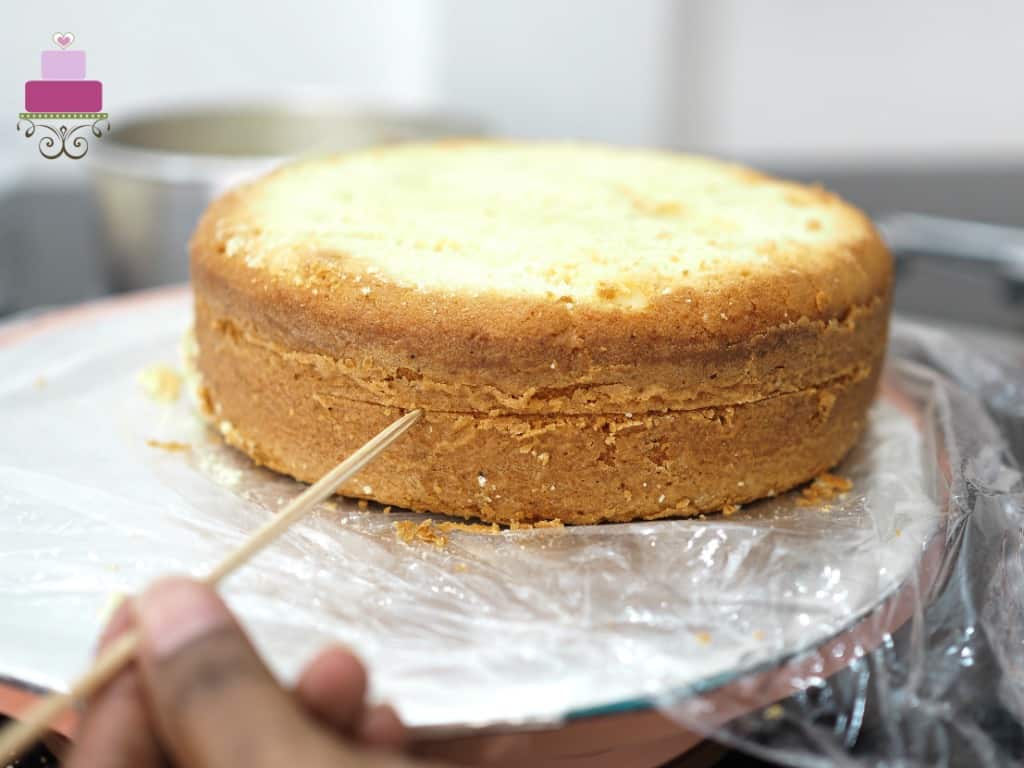
Poke the skewer on the marking all the way until it comes out at the other end of the cake. Make sure it comes out right where you made your marking on the cake.
This is how it should look like after poking through the cake.
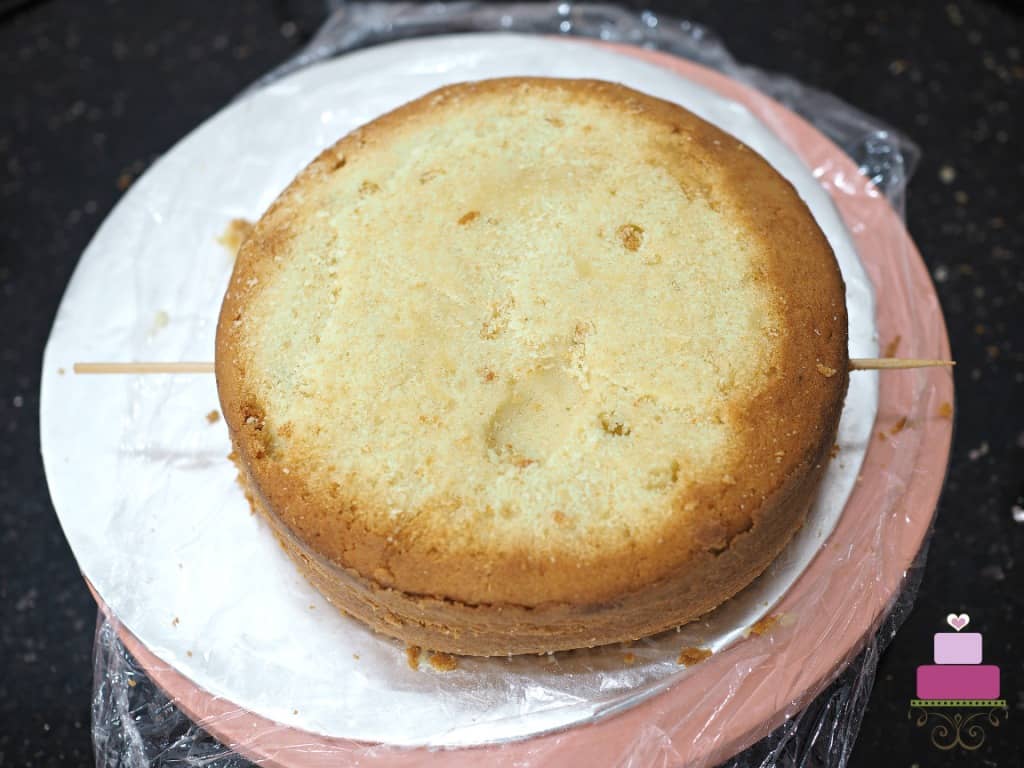
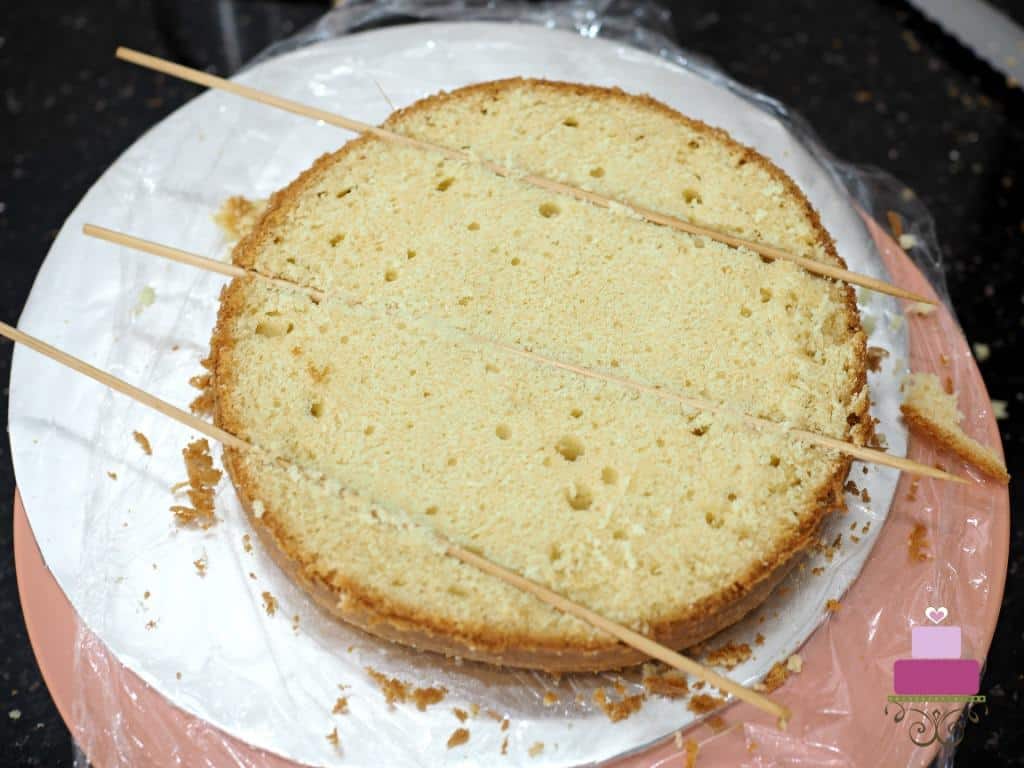
Repeat with a few more skewers, making sure they are poked in and out exactly at the markings you made on the cake.
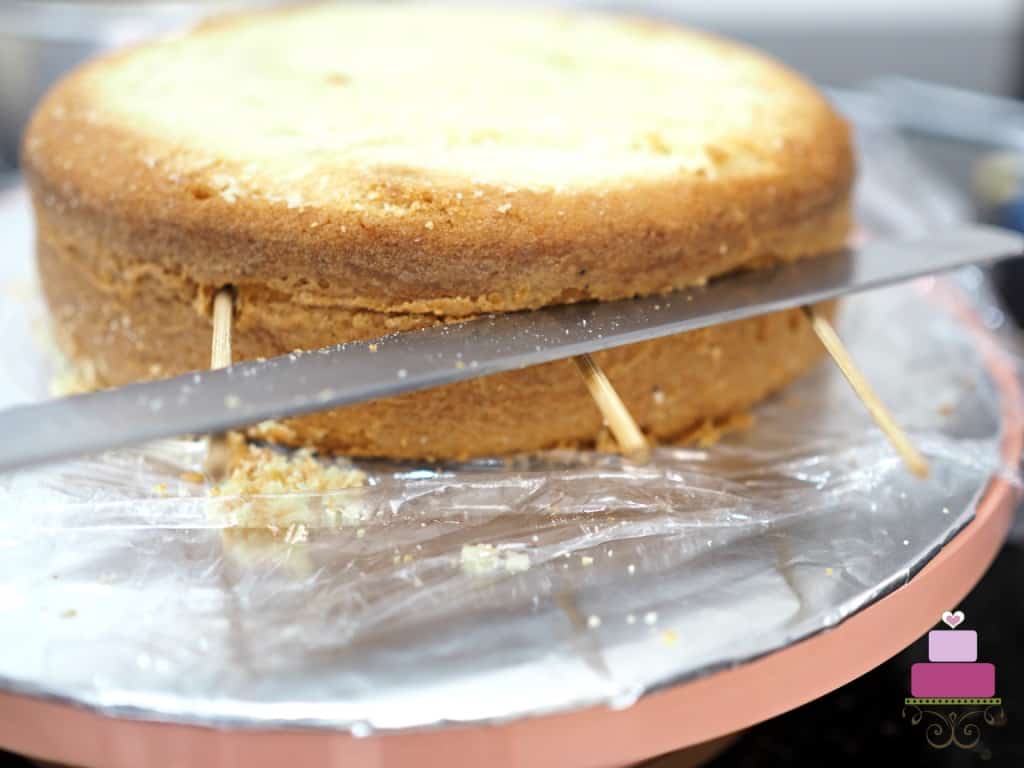
Place a long serrated knife on the skewers as guide and slice the cake.
This is how the cake should typically look like if you have layered it closely to the skewers.
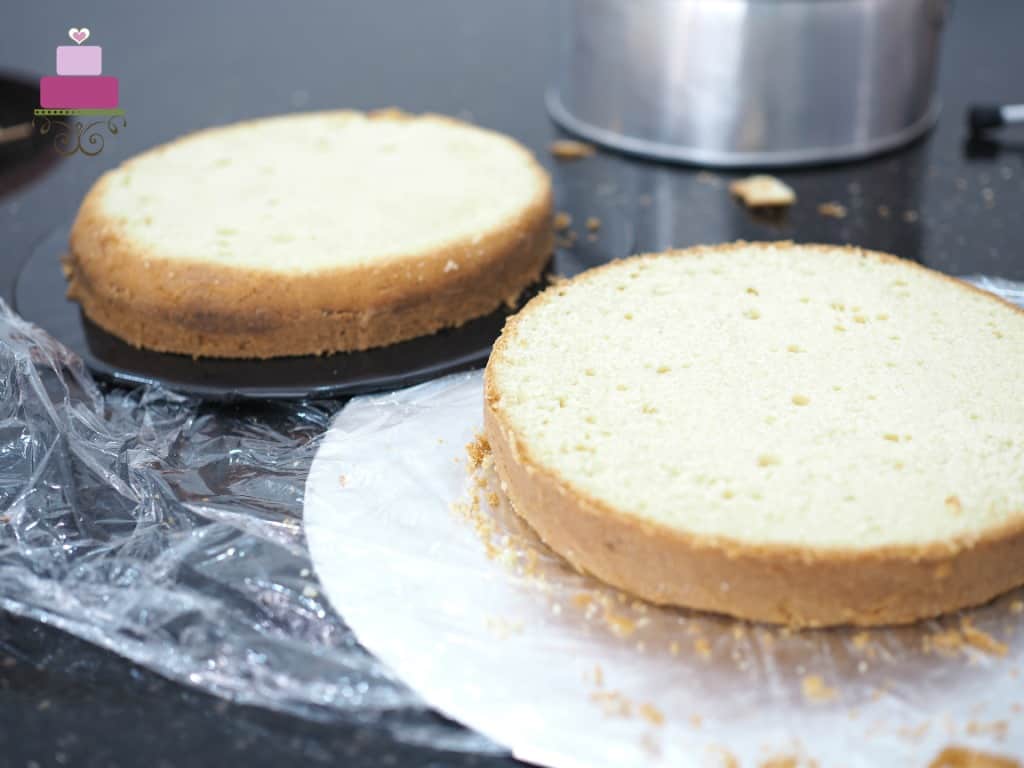
Remove the skewers and you will have perfectly level cake layers.
The only problem with this cake layering method is that you might not be able to find skewers long enough for cakes with large diameters, so you can only use this cake layering technique for small cakes.
These are pretty much all the methods I have used and know on how to level a cake and how to layer a cake. Of all these, using a cake leveler is my most preferred option for leveling and layering a cake. A basic cake leveler is rather inexpensive and produces perfect results all the time.


Denise
Thank you I'm just starting. Very helpful
Sally Betts
I have always liked making cakes but to be honest even though they taste nice, they don’t always look too good! Thank you for your tips on cake levelling.
Priya
Thank you Sally 🙂