

In this tutorial on how to use Tappit letter cutters, I am going to share with you the tips and techniques on how to use letter cutters for cake decorating. When used correctly, these cutters can produce professional results for your cakes in a very short time.
Jump to:
What are Tappit letter cutters?
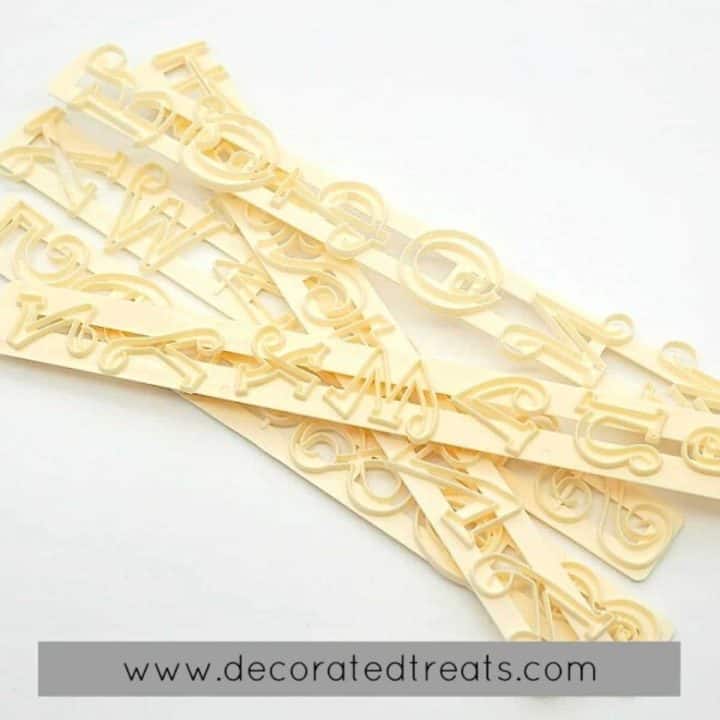
Tappit is a brand name for a specific type of letter cutters produced by FMM Sugarcraft. They come in long ruler-like shapes with each ruler holding a few alphabets in a row.
These cutters come in many different font types and sizes including capital letters and small letters.
They produce very professional looking font and are excellent for people whose letter piping skills (freehand) on cakes is a challenge, like me!
Unlike typical cookie cutters or fondant cutter, these letter cutters are very thin and to use them, you need to roll your fondant or gum paste very thin.
Originally, the Tappit cutters were meant to be used by tapping them onto the workspace. This will release the letters. See the video by FMM Sugarcraft at the end of this page to learn the tapping method.
There are also other ways to use these cutters effectively. I am sharing on this page, how to use Tappit cutters, my way.
❤️Why you will love this tutorial
- You get to learn the correct technique to use the cutters for quick and professional results.
- They make cake lettering very easy.
- The technique is perfect for those whose letter piping skills are not that great.
If you like this tutorial, you should also check out my other tutorials on how to align letters on cakes for perfectly centered lettering, how to make 3D fondant letters for cakes and how to make rainbow fondant letters.
You may also be interested in how to make your own 3D standing number cake toppers too.
🧾Supplies required
- Gum paste - My favorite is Satin Ice. I prefer to work with gum paste when it comes to Tappit cutters because gum paste can be rolled really really thin. This is an important tip for using the Tappit cutters.
- Rolling pin - To roll the gum paste
- Pizza Cutter - To cut the rolled gum paste
- Needle tool - to remove letters from the cutters
- Corn starch or powdered sugar for dusting
👩🍳How to Make
Step 1: Roll the gum paste. Roll the gum paste as thin as possible. Tappit cutters are very shallow and thin. As such, it is important for the gum paste to be rolled thinner than the depth of the letters on the cutters.
Step 2: Cut into strips. Once you have the gum paste nice and thin, cut them into thin strips. The width of the strips would depend on the height of the Tappit fonts. Cutting the gum paste into strips like this helps to make the most use out of the rolled gum paste.
Once you have the strips cut, let them dry out for about 10 minutes.
Note: This is a very important step. It makes so much difference when the gum paste is slightly dry as compared to when it's in its original consistency.
Step 3: Cut the letters. Dust the strips with some corn starch before cutting. You only need light dusting and is it best to use a dusting pouch.
Place the cutter in a vertical position while the strips are in a horizontal position.
Note: It is important to make sure the strips are cut in a width that can fit the height of the letters.
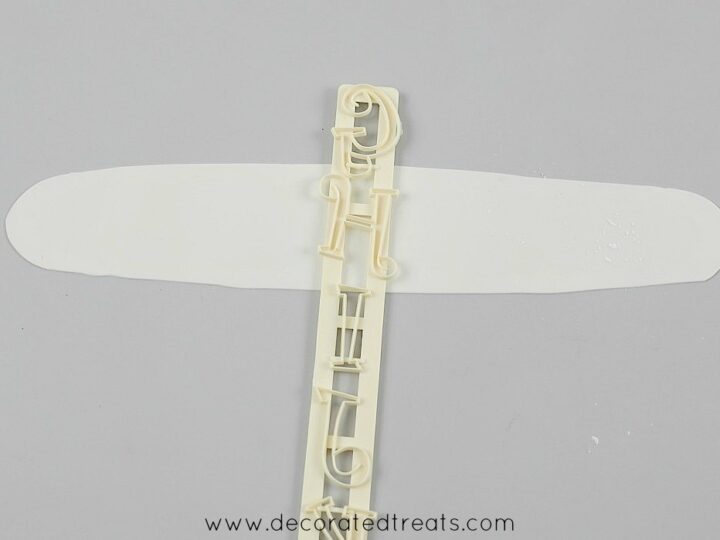
Press the cutters into the gum paste strip. Cut off the rest of the gum paste strip so that it is easy to work with.
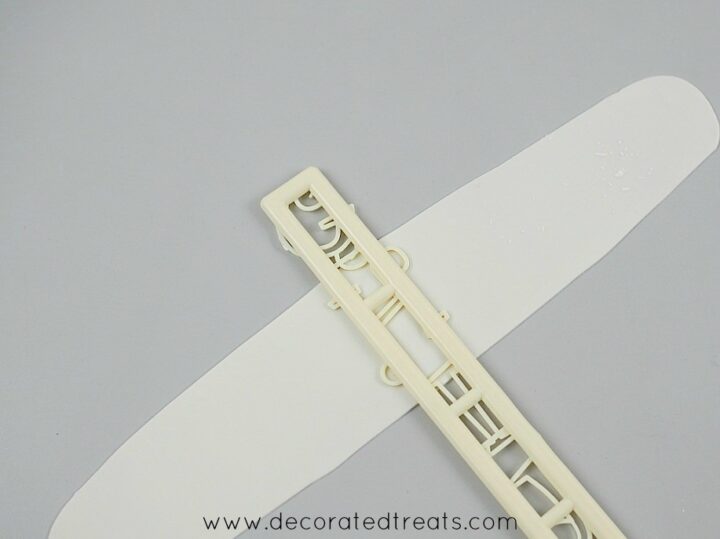
Next, press the cutter along with the gum paste underneath it back and forth on your workspace until the letter is completely cut and detached from the gum paste strip.
Note: Make sure your workspace is smooth when doing this step.
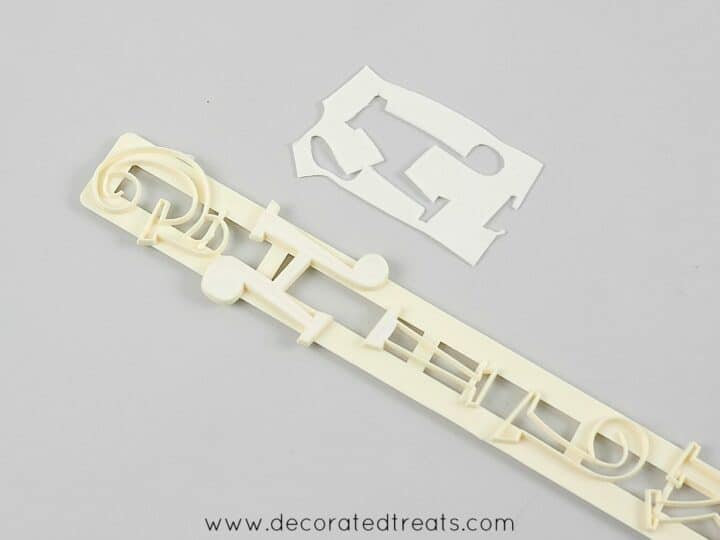
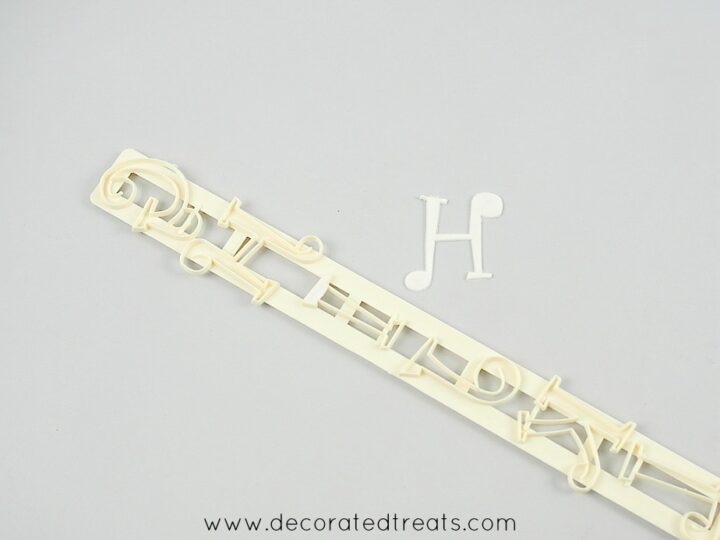
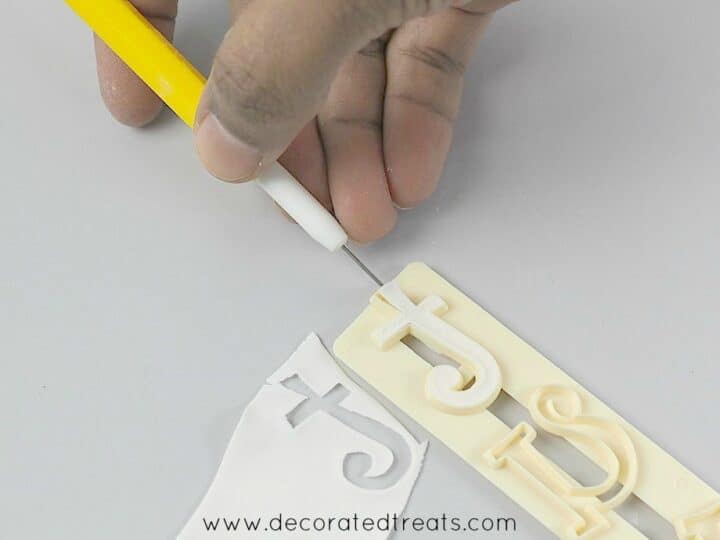
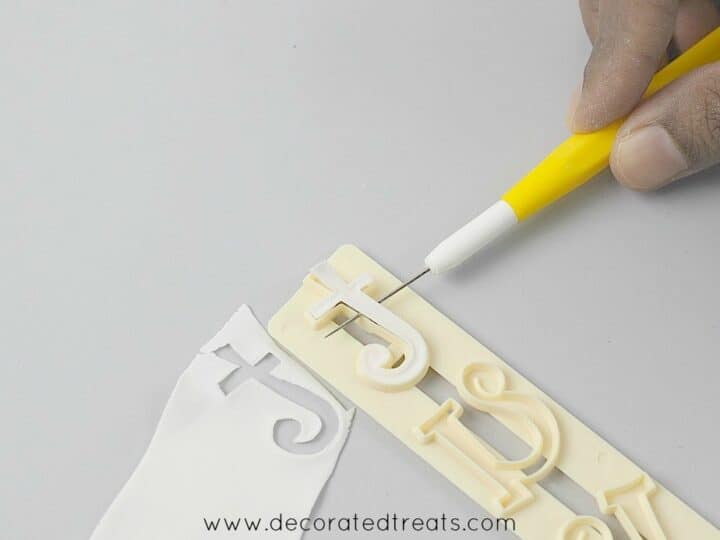
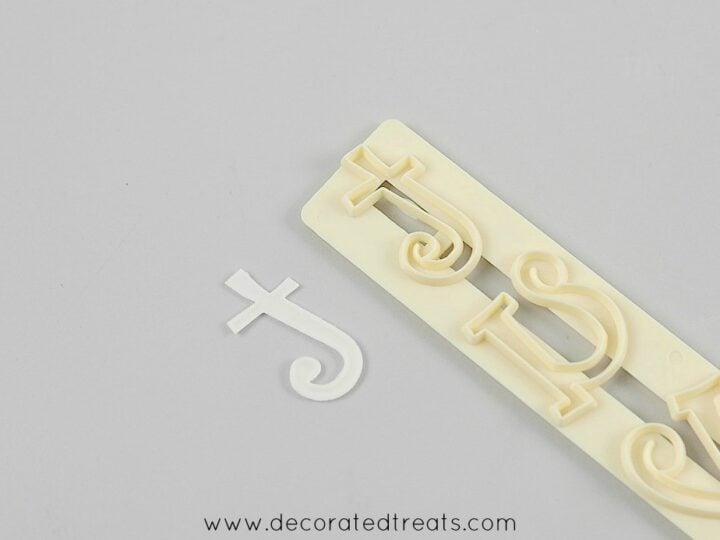
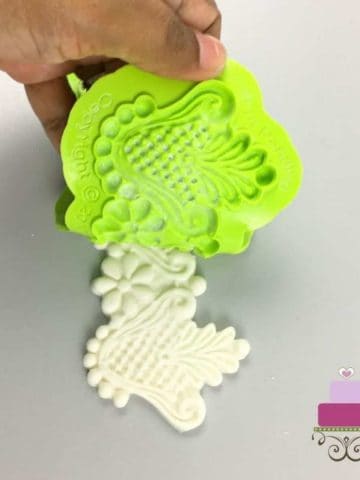
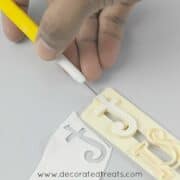
Step 4: Remove the letters from the cutter. Lift the cutter, and most of the time, the letters will automatically come out of the cutters (if the gum paste is thin and dried enough).
If they don't, use a needle tool to help pick a corner of the letter and then slowly guide the letter out of the cutter. Do take note when using the needle tool to not leave any marks on the letters.
How to make the most out of your rolled gum paste
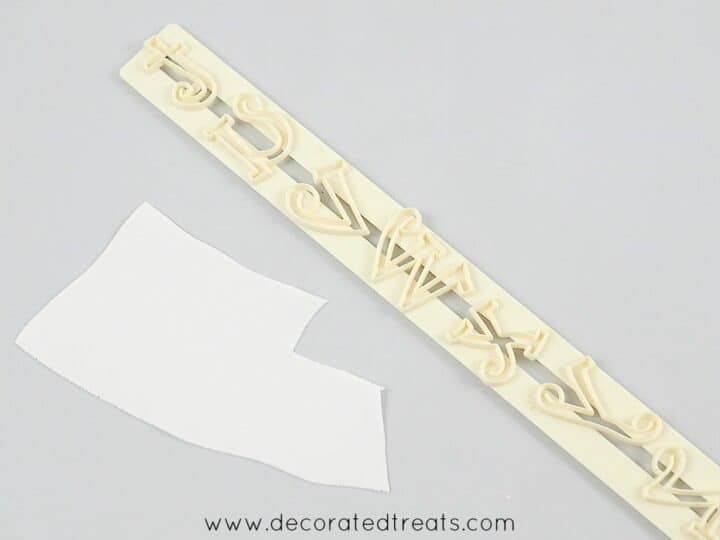
Here is another technique that I often use when cutting letters using these cutters. This technique is particularly useful to get the most letters out of a small piece of gum paste strip.
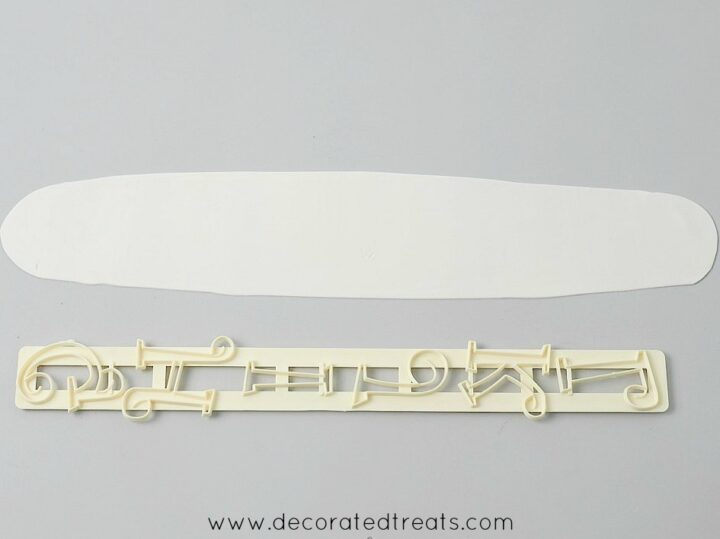
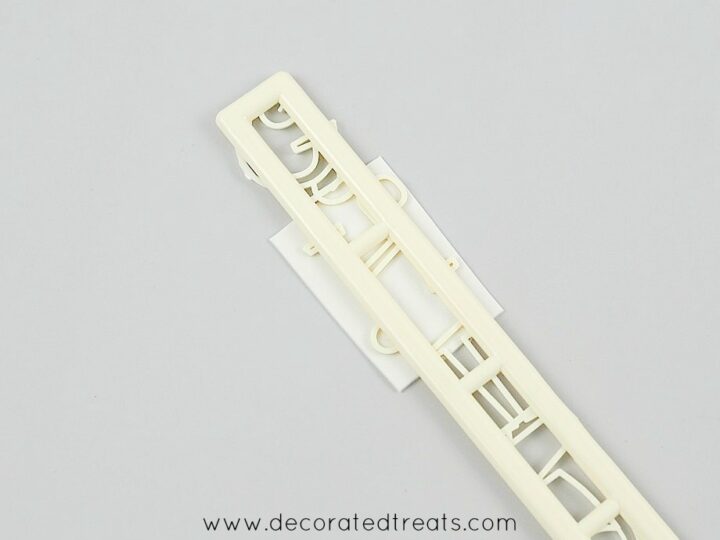
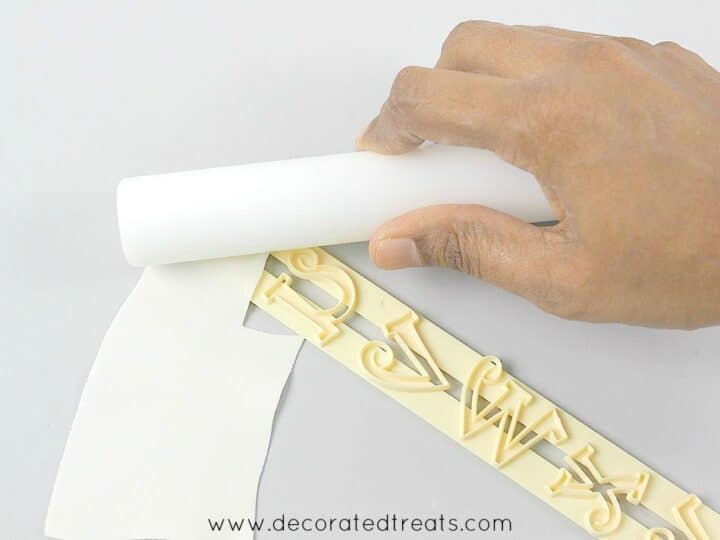
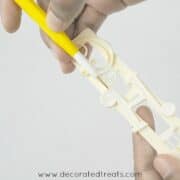
With this method, you literally position your gum paste on the cutter and adjust it as close as possible to its edges so that you don't waste any space on your rolled gum paste. See the image below:
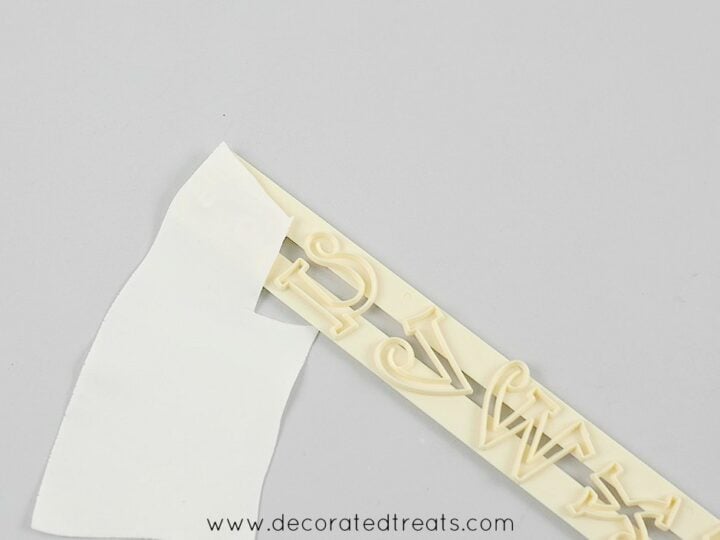
Next, you press the gum paste lightly on the letter cutter until it stays in place.
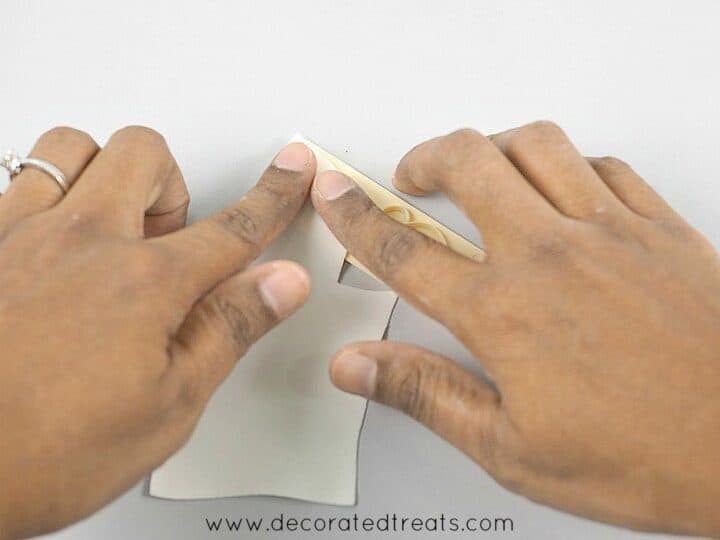
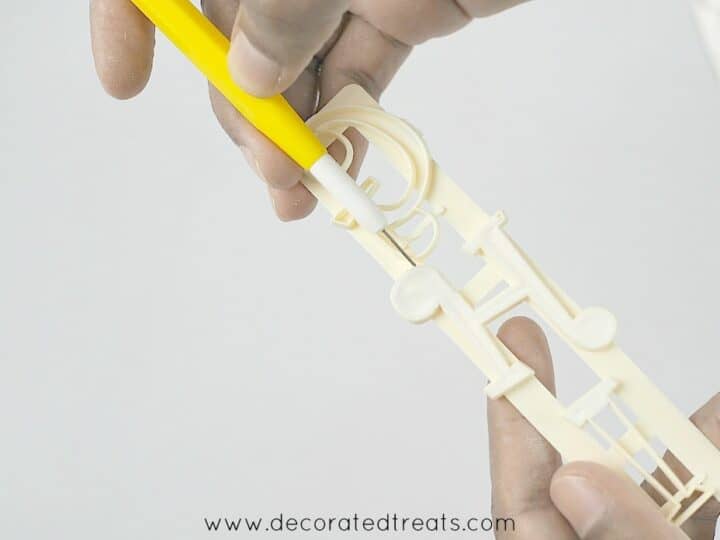
And then use a rolling pin and rub it on the letter until the gum paste is cut out.
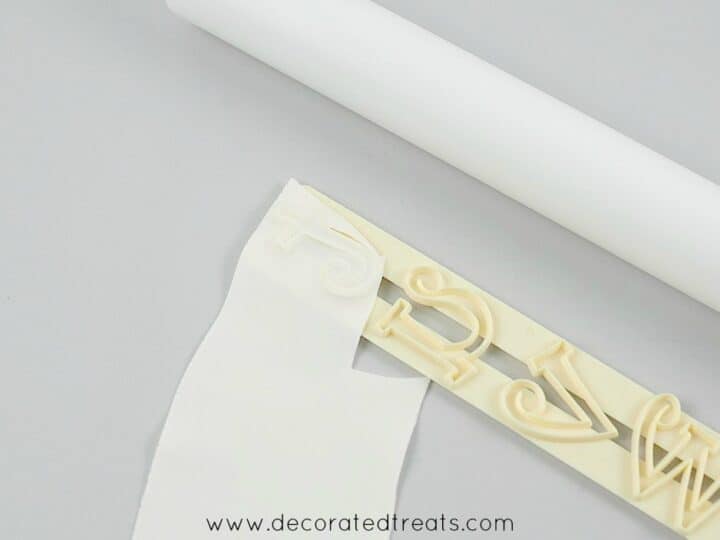
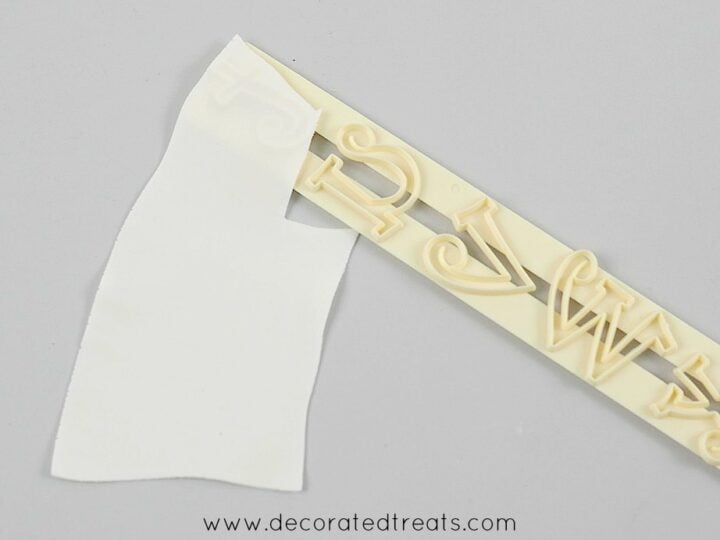
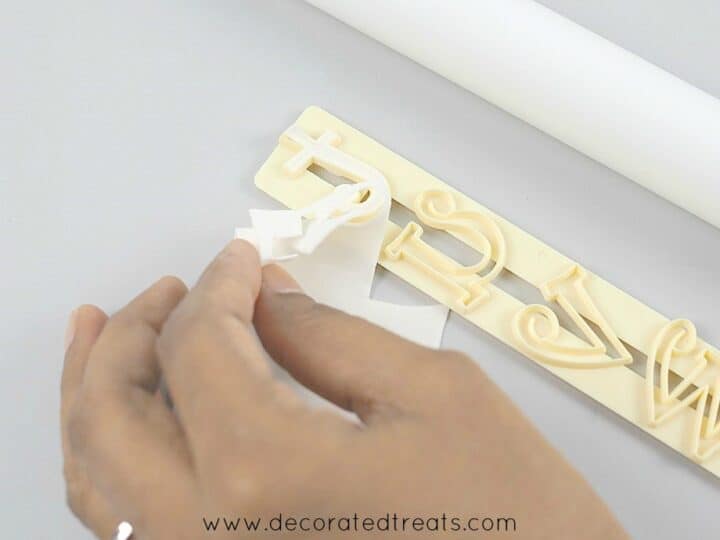
To remove the cut letter from the cutter, use a needle tool (if it is already not detached).
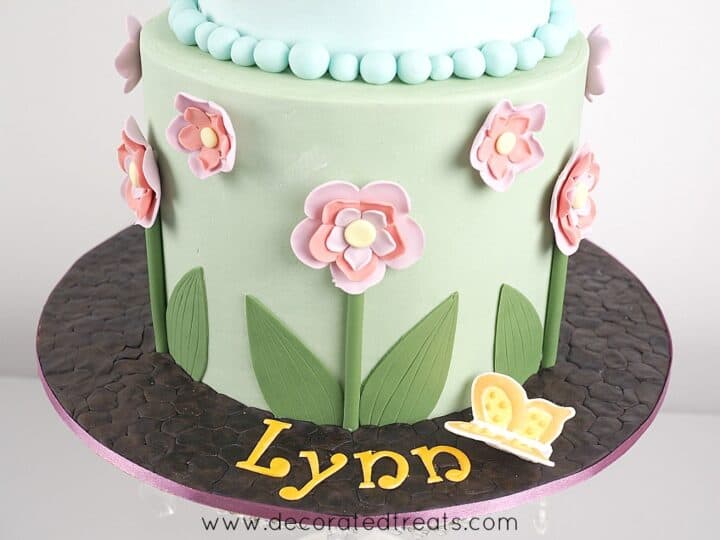
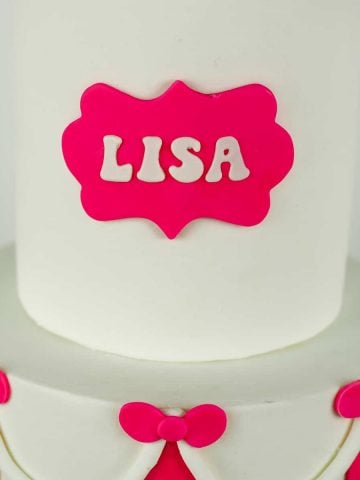
How to attach the letters to cake
Step 1: Let the gum paste letter dry. Once you have all the letters ready, let them sit out for a little longer for them to dry and set.
Since the letters are very thin, it is much easier to work with them when they are dry - they don't lose shape when being lifted and moved around on the cake.
Step 2: Attach them to cakes with shortening. And when sticking the letters on the cakes, always use shortening.
Shortening is the best as it allows you to move the letters around without them losing shape.
Water and fondant glue can also be used, but they make the gum paste sticky which means moving or adjusting them on the cake is almost impossible.
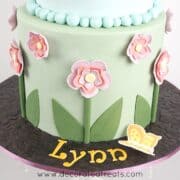
Note: When you are adding a lot of letters on a cake, it is best to follow my tips and guide on cake lettering for perfectly aligned and centered letters on your cakes.
And that's it. You will have perfect lettering for your cakes in no time!
🎥Video tutorial
And here is a short video by FMM Sugarcraft on how to use Tappit letter cutters (the tapping method):
Hope you enjoyed this technique.


Leave a Reply