

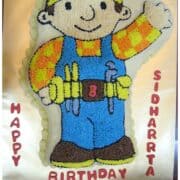
This Bob the Builder cake is very easy. Baked in a specialty shaped pan, and decorated with star piping technique, this cake is very easy to make and perfect for beginners.
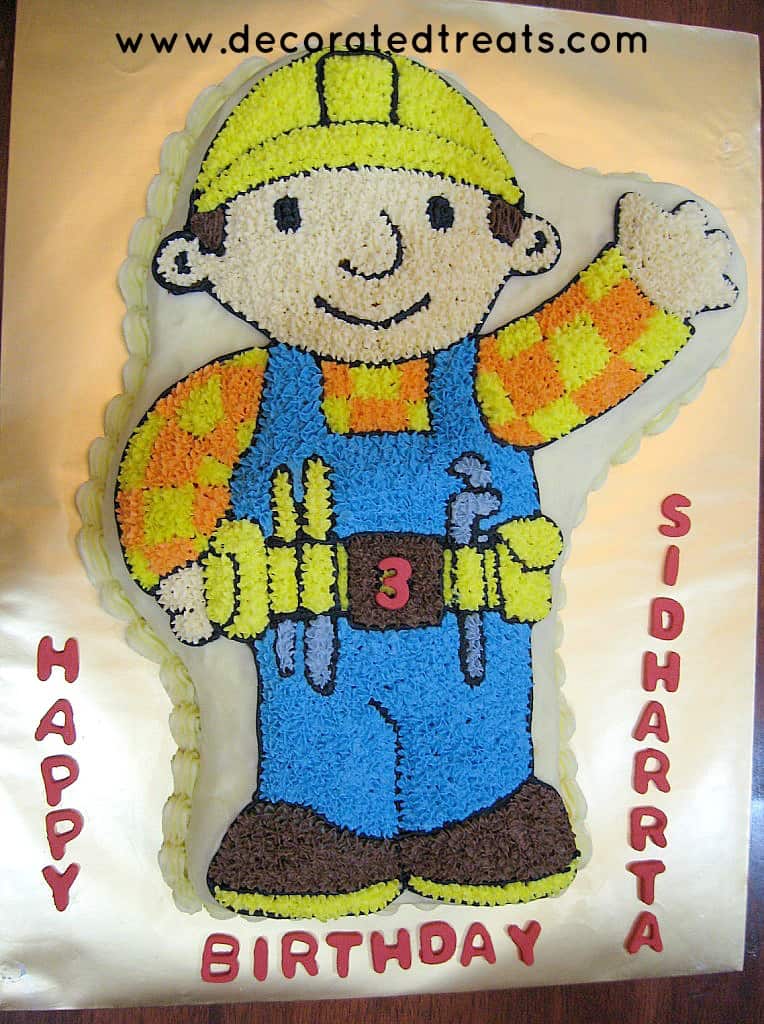
There were no big secrets in decorating this cake. The cake itself was in the shape of Bob the Builder. I did not carve it out, instead I used Wilton specialty character cake pan which I rented from a local cake decorating shop here.
The cake pan came with a set of instructions on how to decorate it. Its fairly simple, made using the star piping method for the most part. The rest is just smooth icing and outline piping.
Jump to:
🧾Supplies Required
- Bob the Builder licensed character cake pan and decorating instructions ( I rented mine for a local store and it came with an instructions card. If you plan on renting one, make sure the instructions card is included as it provides step by step instructions for frosting the cake).
- Wilton
food coloring in black, copper, royal blue, lemon yellow, orange, and brown (the instructions also come with a guide of how much buttercream you would need for each color).
- Piping bags
👩🍳How to Make
Step 1: Bake the Cake
I baked the cake using my butter pound cake recipe. In estimating the amount of batter I needed for this cake pan (given that it's not in the normal round or square shape tin), I followed this method to calculate my cake recipe.
I used a rectangle cake board for the cake. This is because I wanted some space around the cake to place the birthday message (the instruction card shows a cake board in the shape of the cake itself).
Step 2: Decorate the Sides of the Cake
I used my butter icing instead of buttercream for the sides of the cake. My butter icing is of a much stiffer consistency. I prefer to work with it for shaped cakes as it is easier for me to achieve a smooth finish with this icing compared to the much softer buttercream.
Step 3: Pipe the Outlines and Fill the Design with Star Piping
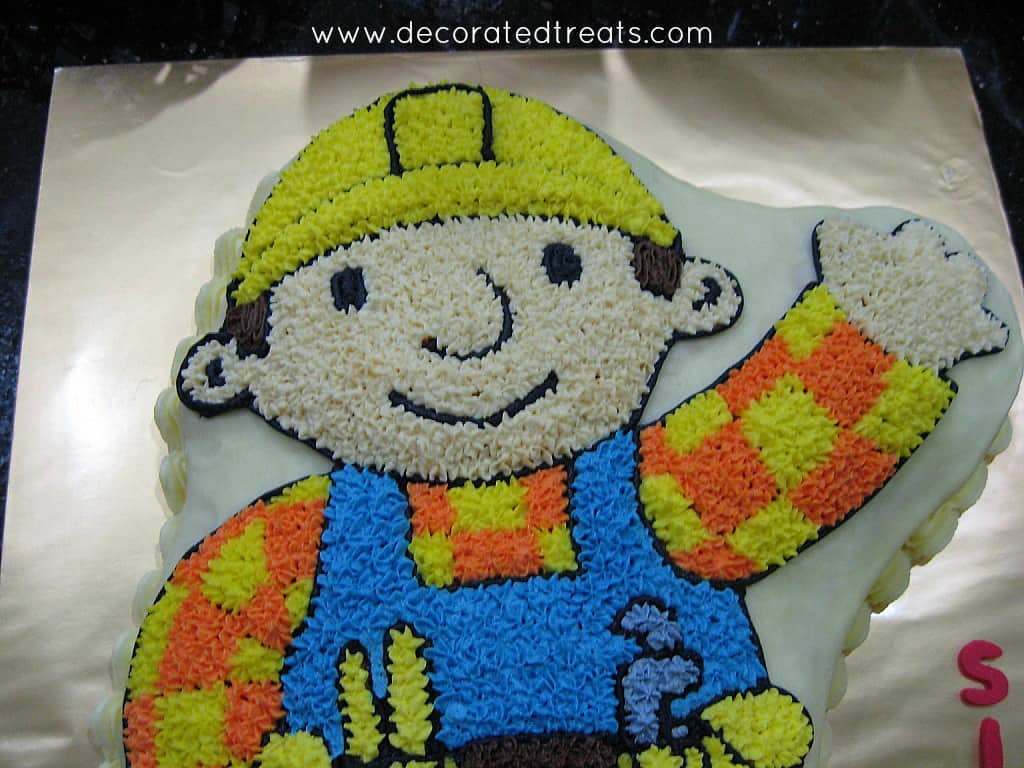
Once the background was done, I then used buttercream to complete the rest of the decoration on the cake. I stood guided by the instructions card. I started off with an outline (with black buttercream using tip #3). That was followed by smooth icing for Bob's eyes using the same tip. The rest of Bob the Builder on the cake was completed using star tip #16.
Step 4: Pipe the Cake Border
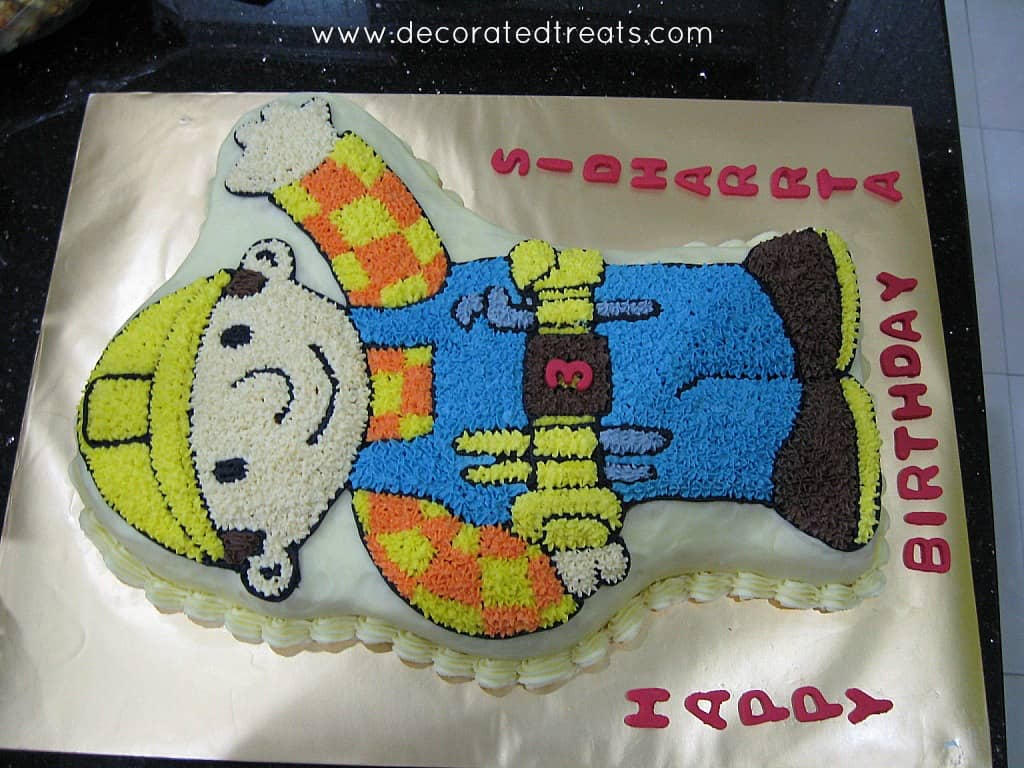
Finally, for the border, I used tip #21 and piped shells in the same color as the sides of the cake.
I finished off the cake with the birthday message which I cut out from fondant using Wilton Alphabet cutters.
How to Make Shaped Cakes without Special Character Cake Pans
Some of you may be really interested in making this exact same Bob the Builder design but might be having problems in getting the cake pan. In fact, I think Wilton has also discontinued this cake pan so purchasing one might not be an easy option.
While it would be significantly easier to have the shaped cake pan, you can also make this cake without the pan. Here's how to do it:
Step 1: Prepare the cake template. Print out the image from the internet or trace it out from your child's favorite coloring book. You will probably have to adjust the image to the size you want it to be on the cake. Once you have the image in its final size, trace it onto parchment paper. Cut it out following its outline.
Step 2: Carve the cake. Once the image is ready, place it on your cake. Carve the cake to follow the outer shape of the image. Its best to give an extra allowance of 1 to 1.5 inches from the outline of your image.
Step 3: Frost the sides and crumb coat the top of the cake. Frost where the image would not fall. And where you would be placing the image, coat it with a thin layer of icing. The icing will make it easier to trace the design pattern onto your cake.
Step 4: Trace the image onto the cake. Place the image on the frosted cake. Trace the outlines (ie. the facial features, the clothes pattern, etc) into the cake using a sugarcraft knife. To trace, you will need to literally cut through the template to mark the lines on the cake. Lift the pattern once you are done with tracing all the lines on the image.
Step 5: Pipe the outlines and fill the design with star piping. Once you have all the lines marked on your cake, you can use your black buttercream icing to pipe the outlines. After that, use star piping to cover the rest of the design.
This technique can be used to transfer any pattern or design onto a cake. I have used this technique to make a buttercream Minnie Mouse cake.


Leave a Reply