

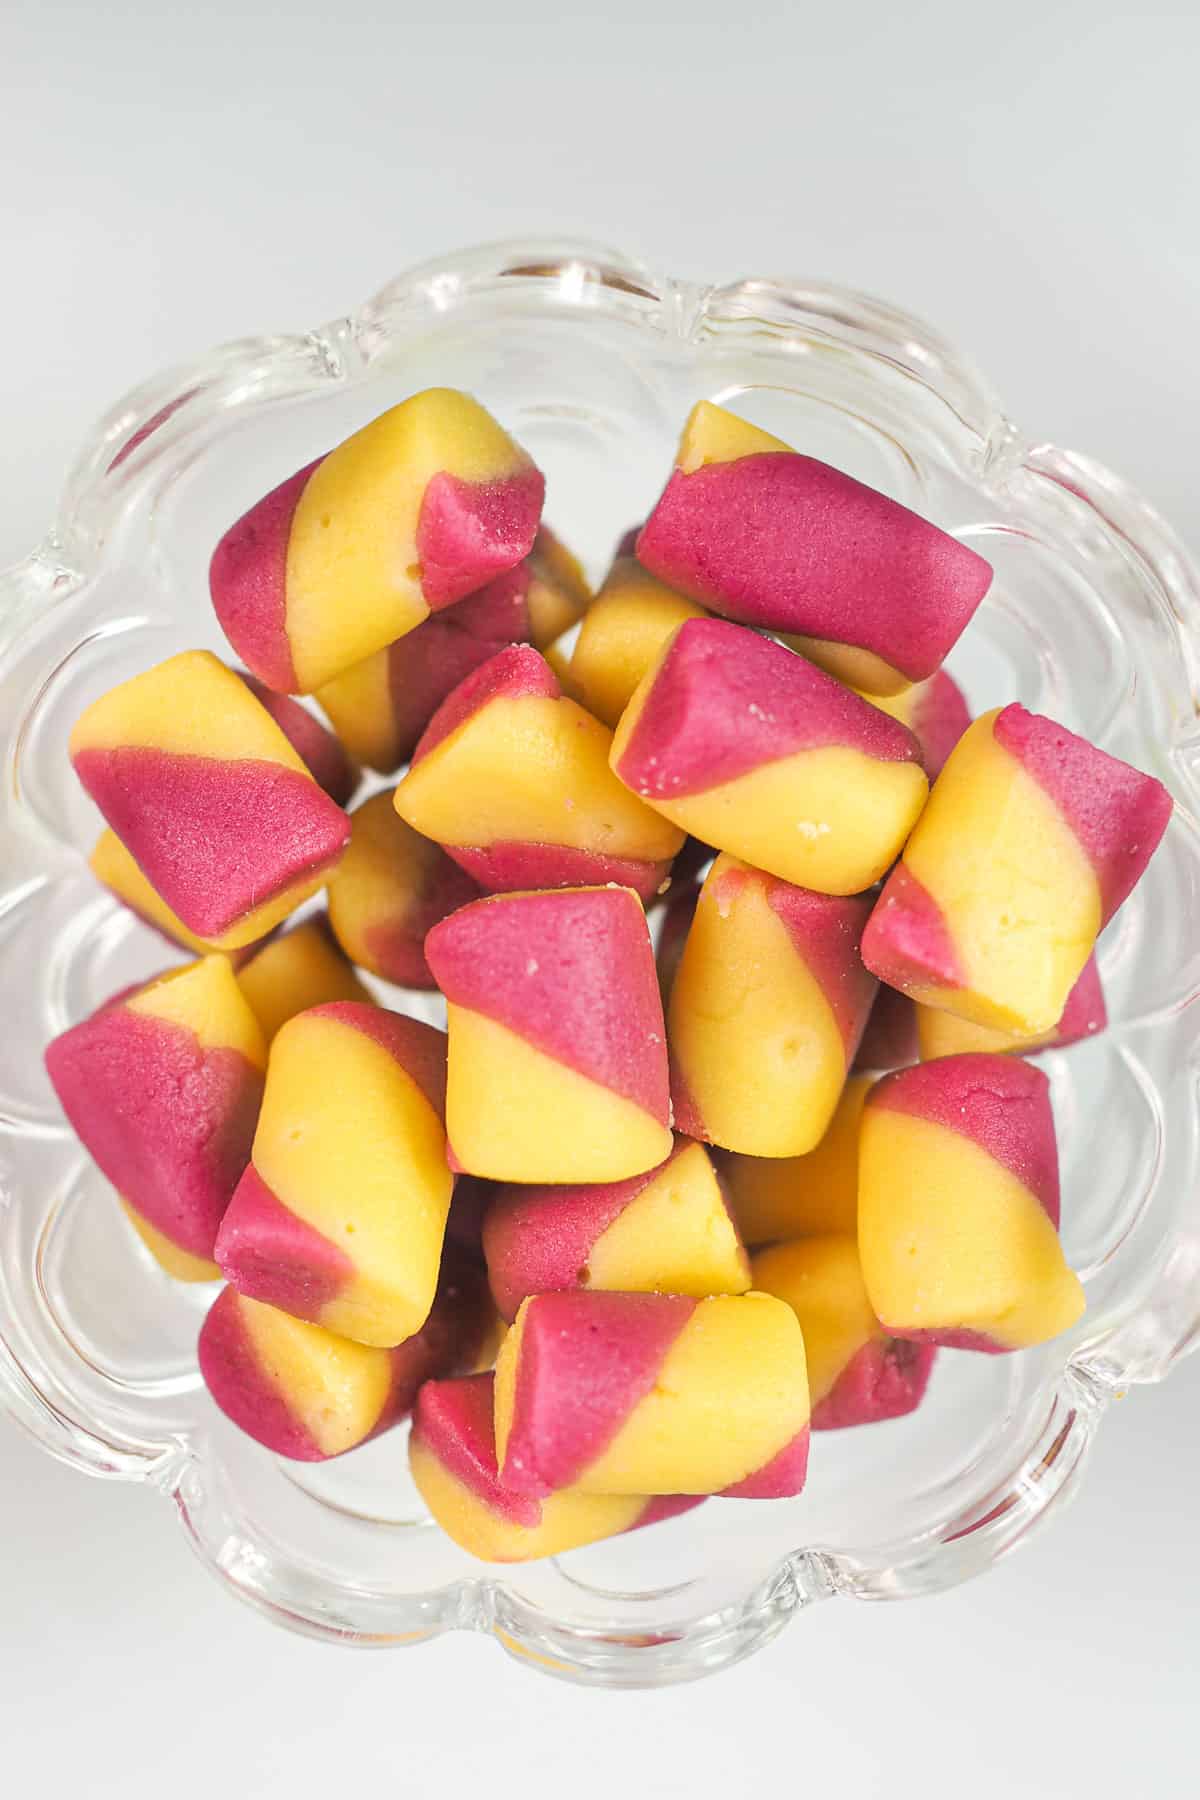
Homemade butter mints candy is nothing new to most people. If you love those soft, subtly sweet mints that often served after a meal, you're in for a treat.
This recipe will teach you how to easily make these creamy, satisfying butter mints at home with just a few simple ingredients. No fancy kitchen skills or tools required!
Jump to:
❤️Why you will love this recipe
- This is an easy recipe and uses basic pantry ingredients.
- It is very simple to make and anyone can make them with ease.
- The mints are delicious, with a creamy mint taste, perfect for after-meals.
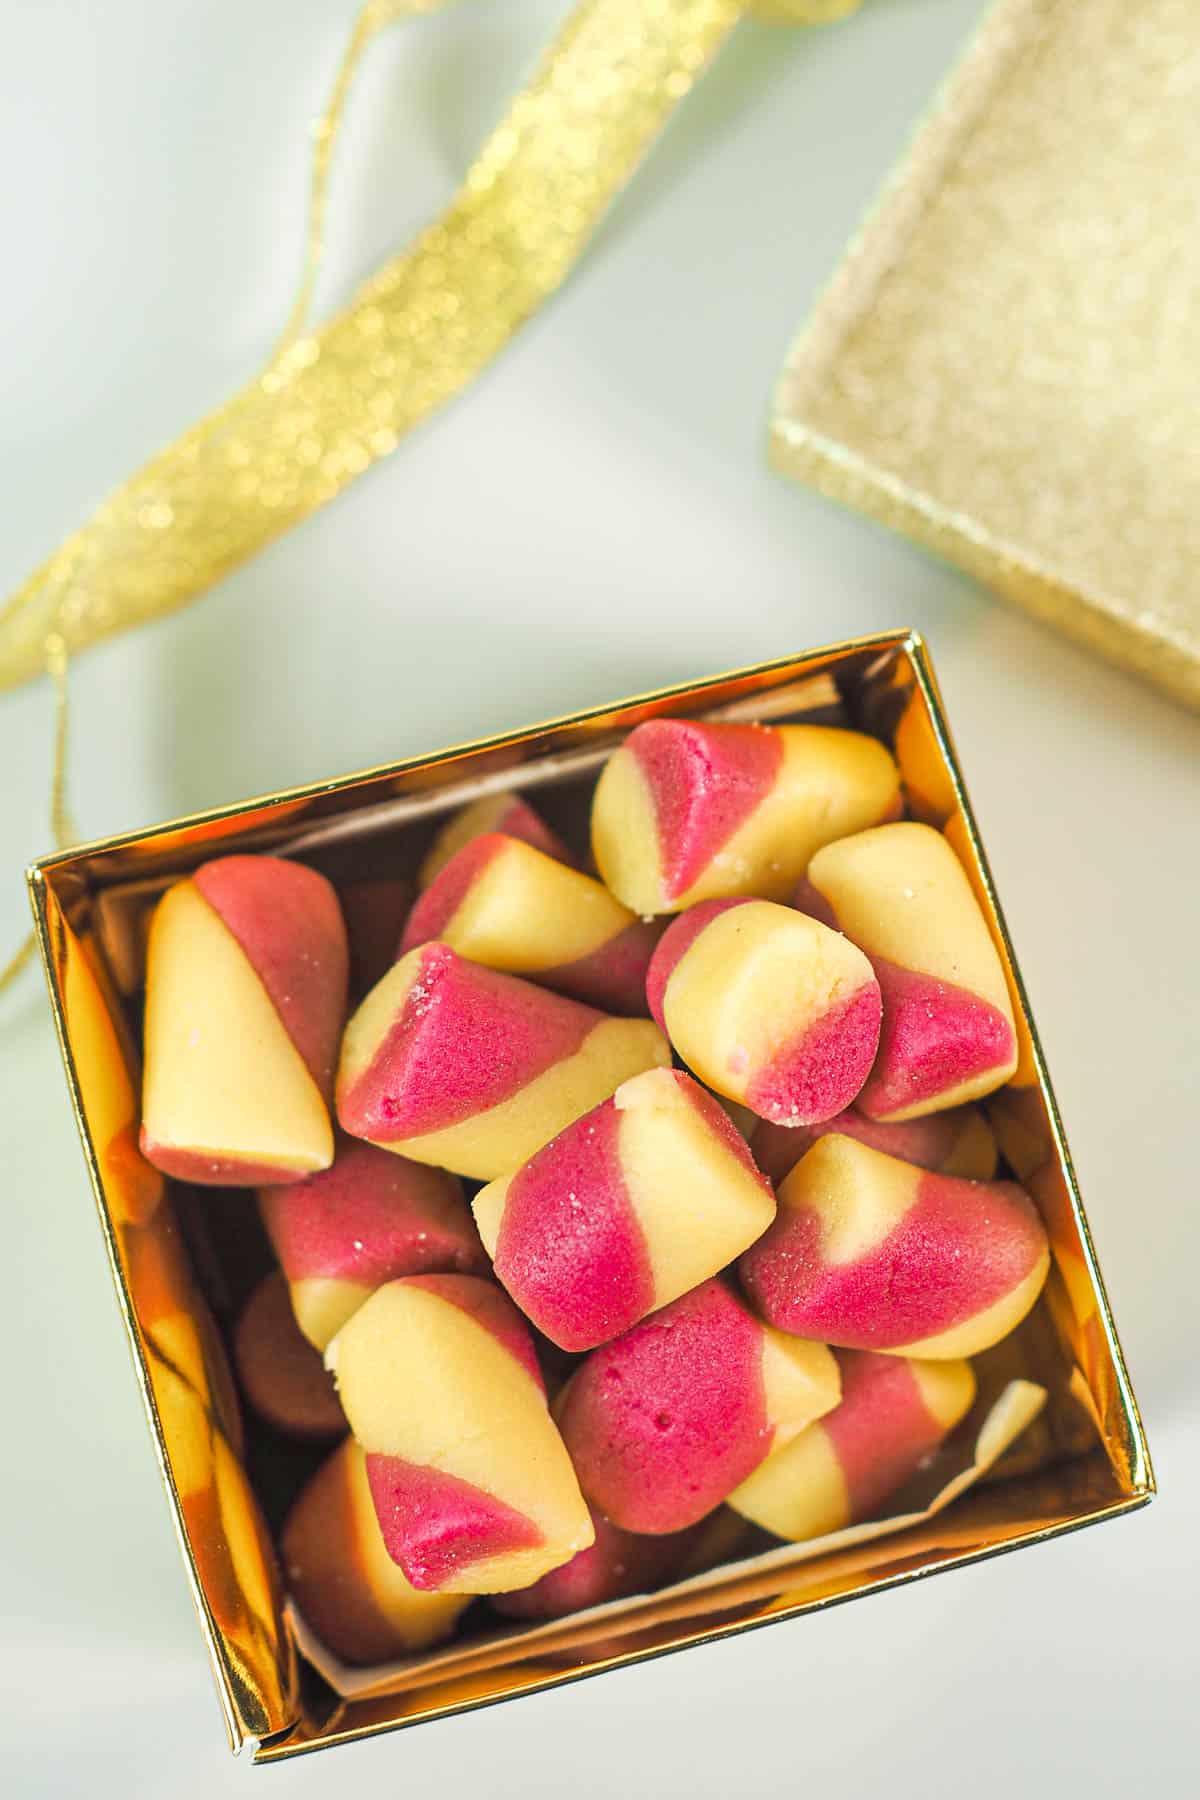
- They are also great as party favors, and as gifts during holidays and special occasions.
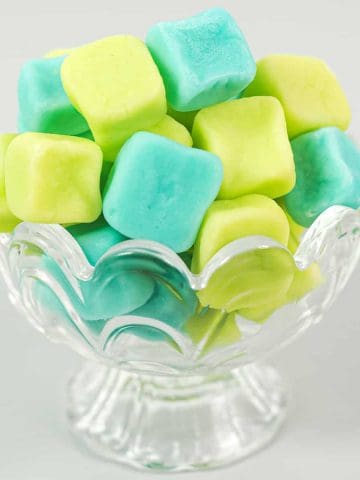
- The recipe can be easily customized to different flavors and colors.
Like this super easy candy recipe? Here are my other posts you might want to check out:
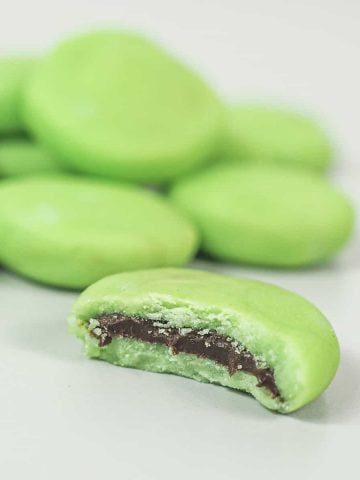
- Coconut Candy Recipe - A Quick and Easy Treat
- Chocolate Mints - Easy Homemade Candy
- Cream Cheese Mints
- Candied Lemon Peel
- Orange Peel Candy
- Homemade Marshmallows without Corn Syrup
📋Ingredients
- Butter - I used salted butter in this recipe, but unsalted butter will also work fine.
- Powdered sugar (icing sugar or confectioners' sugar) - sift first to break any lumps as powdered sugar tends to be lumpy.
- Condensed milk - helps bind all the ingredients together and contributes to the creamy taste of the mints.
- Salt - enhances the taste of the mints. Use fine salt.
- Peppermint extract - for the mint flavor in the candies.
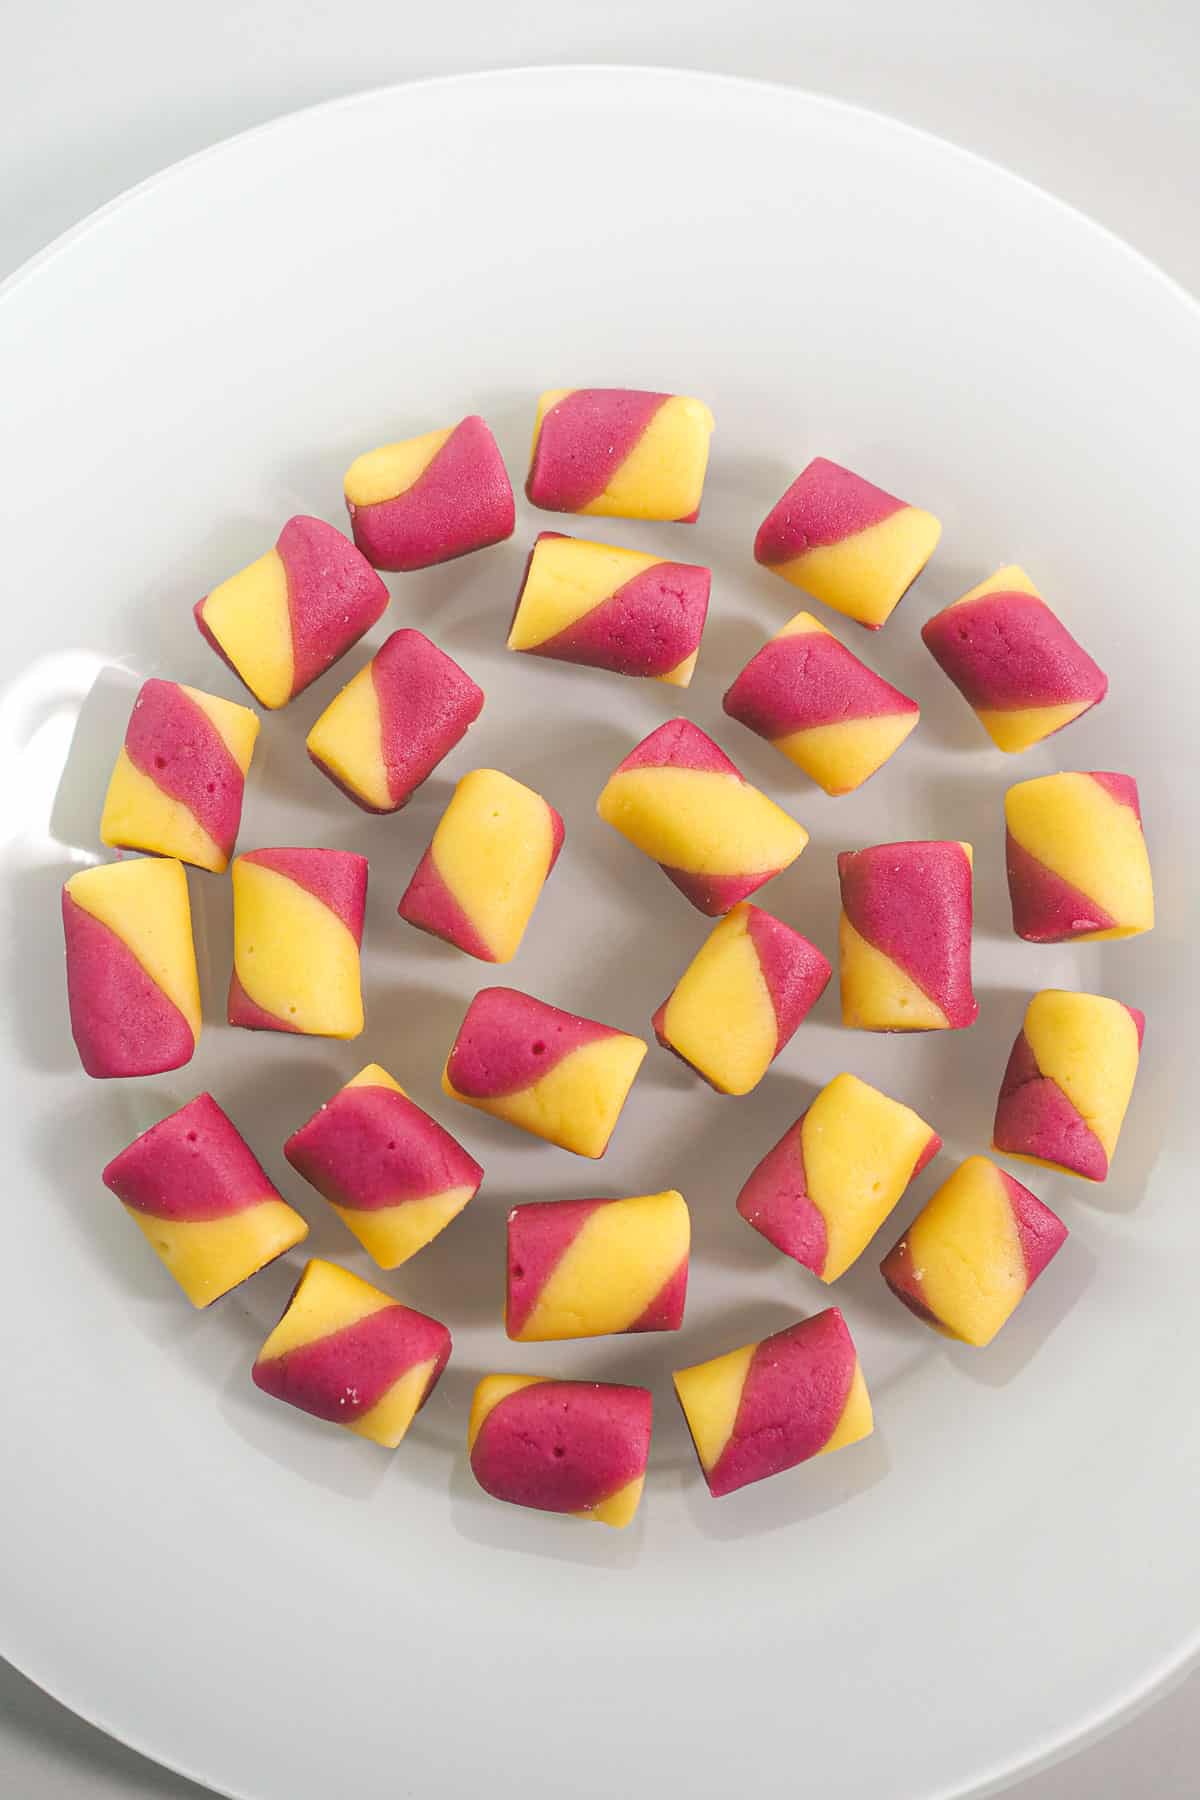
- Food coloring - I used AmeriColor Gold gel color & AmeriColor Fuchsia gel color.
*Refer to the recipe card below for full list of ingredients and exact quantities. For best results, use a digital kitchen scale where applicable*
🧾Substitution and Variations
- For additional flavoring, you can include other extracts in the butter mints. Some of the flavors you can try include orange extract or vanilla extract. Use one eighth of a teaspoon.
- Color of the mints can also be customized. You can color the dough all into one color and make more than 2 colors.
This recipe has not been tested with other substitutions or variations. If you do try, please let me know in the comments section below!
👩🍳How to Make
Making the candy
- You start the process by sifting the powdered sugar. This sugar tends to be lumpy and it is best sifted before making these mint candies or you could end up with tiny lumps of sugar in your candy. Once the sugar is sifted, set it aside.
- In a large bowl, beat butter and salt until creamy.
- Add the sifted powdered sugar, a little at a time over low speed (to avoid the sugar flying all over) until it is all combined with butter. Another option is to mix the sugar in by hand (with a spoon) until it is lightly moistened before using the machine).
- The mixture will appear crumbly at this stage, and that is because the proportion of sugar is much more than butter.
- Add the condensed milk and mint extract and continue mixing until it comes together into a dough. Scrape the sides and bottom of the bowl.
- If the mixture is still crumbly, try pressing it with your fingers until a dough forms. It should come together into a lump . If it still appears crumbly, continue to knead with your hand. The heat in your hands will melt the butter and help the candy come together.
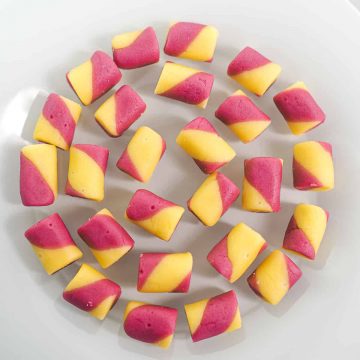
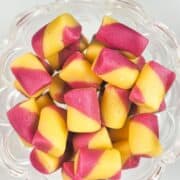
- Divide the dough into 2 portion.
- Add a few drops of gold food color (AmeriColor Gold gel color) into the first section and fuchsia (AmeriColor Fuchsia gel color) into the second. Knead the colors into the dough until the color is even.
Shaping and cutting the mints
- Next is shaping the butter mints candy.
- Roll both colored dough (by hand) into long thin ropes and twist both colors together. Doing this is a little tricky especially if the ropes are long as they tend to break when twisted. It is best to do with shorter strips. And every time you see a crack, pinch the cracks together so that the mint strips are patched.
- Roll the twisted mint rope until it becomes smooth and is in the width you want. You can still continue to twist the strip while rolling it smoothly if you find the colors are not so well twisted. And finally, cut it into equal lengths with a sharp knife. Let the mints set and dry at room temperature overnight before storing them in a candy jar.
⭐Other shaping options
Here are some other cool ways to shape your butter mints candy.
- Round flat patties - The easiest way to shape the butter mints candy would be to roll them into round little balls and press them down using the bottom of a drinking glass that has been dipped in icing sugar.
- Designed with a fork - Similar to the round flat patties shape, start by forming round balls. Place them on a parchment paper, slightly apart from one another. Use a fork to flatten the butter mint candy patties, leaving the fork prints on them as you do it.
- Shaped with molds - Dust the molds with powdered sugar. Pinch some of the dough. Form into a round ball and roll into some powdered sugar. Press it into the mold, firmly. Flip the mold and gently push the shaped mint out. For best results, use soft flexible silicone molds.
- Rolled and cut - Place the butter mints candy mixture between 2 plastic sheets. Roll to desired thickness and use mini cookie cutters (dipped in icing sugar) to cut out your desired homemade butter mint shapes.
🍽️Serving & storage
- Once shaped and rested overnight, keep the candies stored in an airtight container or jar. Store these in a cool dry place.
- The butter mints can last at room temperature for a good 2 weeks.
- If you wish to keep them longer, refrigerate them. They can be refrigerated for up to one month.
💡Expert Tips
- This recipe makes mildly mint flavored candies. If you prefer a stronger mint flavor, you can add more extract, but do it a little at a time. Do a taste test after mixing the extract before adding more to avoid adding too much extract.
- Similarly, when coloring the mints, it is best to start with a small amount of food coloring. Also, gel based colors are more preferred as liquid colors might alter the consistency if used much.
- It also helps to wear plastic gloves when mixing the color by hand to avoid staining your hands.
- If you do not intend to shape the mints immediately after mixing, wrap the mixture in plastic wrap and refrigerate. Knead lightly before shaping.
- This amount produces about 460 g of butter mints candy mixture and the final number of mints you get will depend on how large each mint is cut or shaped into.
💭FAQs
Butter mints are small, soft candies made with butter, sugar, condensed milk and peppermint extract. They have a creamy texture and subtle mint flavor. These candies are often served as after-dinner treats at restaurants or parties.
They often come in various colors and shapes.
If your dough is crumbly, try kneading it lightly.
If that does not help, it might need a touch more moisture. Gradually add some condensed milk, until the dough comes together without being too sticky.
If your mints are too soft, you might have added too much liquid or not enough powdered sugar. Adjust the proportions to achieve the desired texture.
By right, the dough should not be sticking to your hands. If it does, it could be because you have added too much condensed milk.
If the dough is sticky, dust your hands with a little powdered sugar. If necessary, add some more powdered sugar to the dough and knead lightly.
❤️More Recipes You Will Love

Do you like this recipe? Please leave a 5-star ⭐⭐⭐⭐⭐rating in the recipe card below and consider a review further down this page. I would love to hear from you. Thank you!
📖Recipe
Butter Mints Candy (Easy Homemade Recipe)
For best results, use the metrics measurements. US customary measurements have not been tested and are only meant for guide.
Ingredients
- 60 g butter
- 360 g powdered sugar
- 1 tablespoon condensed milk
- A pinch of salt
- ⅛ teaspoon peppermint extract
- Food coloring (Gold and Fuchsia)
Instructions
- Sift powdered sugar to break any lumps. Set aside.
- In a separate mixing bowl, cream butter and salt over medium speed until smooth. Add the sifted powdered sugar, a little at a time until well combined. Mix on very low speed to avoid the sugar from flying all over. Alternatively, mix the sugar briefly with a spoon (by hand) to moisten it slightly before using the mixer.
- Beat until all the sugar is well combined with butter. It may appear crumbly at this point and that is perfectly fine.
- Add condensed milk and the peppermint extract and continue beating. If the mixture is still crumbly, try pressing the mixture with your fingers, if it comes together into a dough, it is ready for rolling and cutting.
- Divide the dough into 2 sections. Color the first section in gold and the other section in fuchsia. Knead well to distribute the color evenly.
- Turn the doughs onto a clean surface (dust with powdered sugar if still sticky) and roll both into long ropes.
- Twist both colors together. Doing this can be a little tricky especially if the ropes are long as they tend to break when twisted. It is best to do with shorter strips. If there are any cracks, pinch the cracks together to patch the cracks.
- Roll the twisted mint rope until it becomes smooth and is of the thickness preferred.
- Cut the roll into equal lengths with a sharp knife. Place the cut mints on a clean parchment paper and let them rest at room temperature overnight. The next day, turn them over and let them set again for another day until they have dried and set well before storing them in a candy jar.
Notes
- This recipe makes mildly mint flavored candies. If you prefer a stronger mint flavor, you can add more extract, but do it a little at a time. Do a taste test after mixing the extract before adding more to avoid adding too much extract.
- For additional flavoring, you can include other extracts in the butter mints. Some of the flavors you can try include orange extract or vanilla extract. Use one eighth of a teaspoon.
- Color of the mints can also be customized. You can color the dough all into one color and make more than 2 colors.
- Similar with the flavoring, when coloring the mints, it is best to start with a small amount of food coloring. Also, gel based colors are more preferred as liquid colors might alter the consistency if used much.
- It also helps to wear plastic gloves when mixing the color by hand to avoid staining your hands.
- If you do not intend to shape the mints immediately after mixing, wrap the mixture in plastic wrap and refrigerate. Knead lightly before shaping.
- This amount produces about 460 g of butter mints candy mixture and the final number of mints you get will depend on how large each mint is cut or shaped into.
Shaping options
- Round flat patties - The easiest way to shape the butter mints candy would be to roll them into round little balls and press them down using the bottom of a drinking glass that has been dipped in icing sugar.
- Designed with a fork - Similar to the round flat patties shape, start by forming round balls. Place them on a parchment paper, slightly apart from one another. Use a fork to flatten the butter mint candy patties, leaving the fork prints on them as you do it.
- Shaped with molds - Dust the molds with powdered sugar. Pinch some of the dough. Form into a round ball and roll into some powdered sugar. Press it into the mold, firmly. Flip the mold and gently push the shaped mint out. For best results, use soft flexible silicone molds.
- Rolled and cut - Place the butter mints candy mixture between 2 plastic sheets. Roll to desired thickness and use mini cookie cutters (dipped in icing sugar) to cut out your desired homemade butter mint shapes.
Leave a Reply