

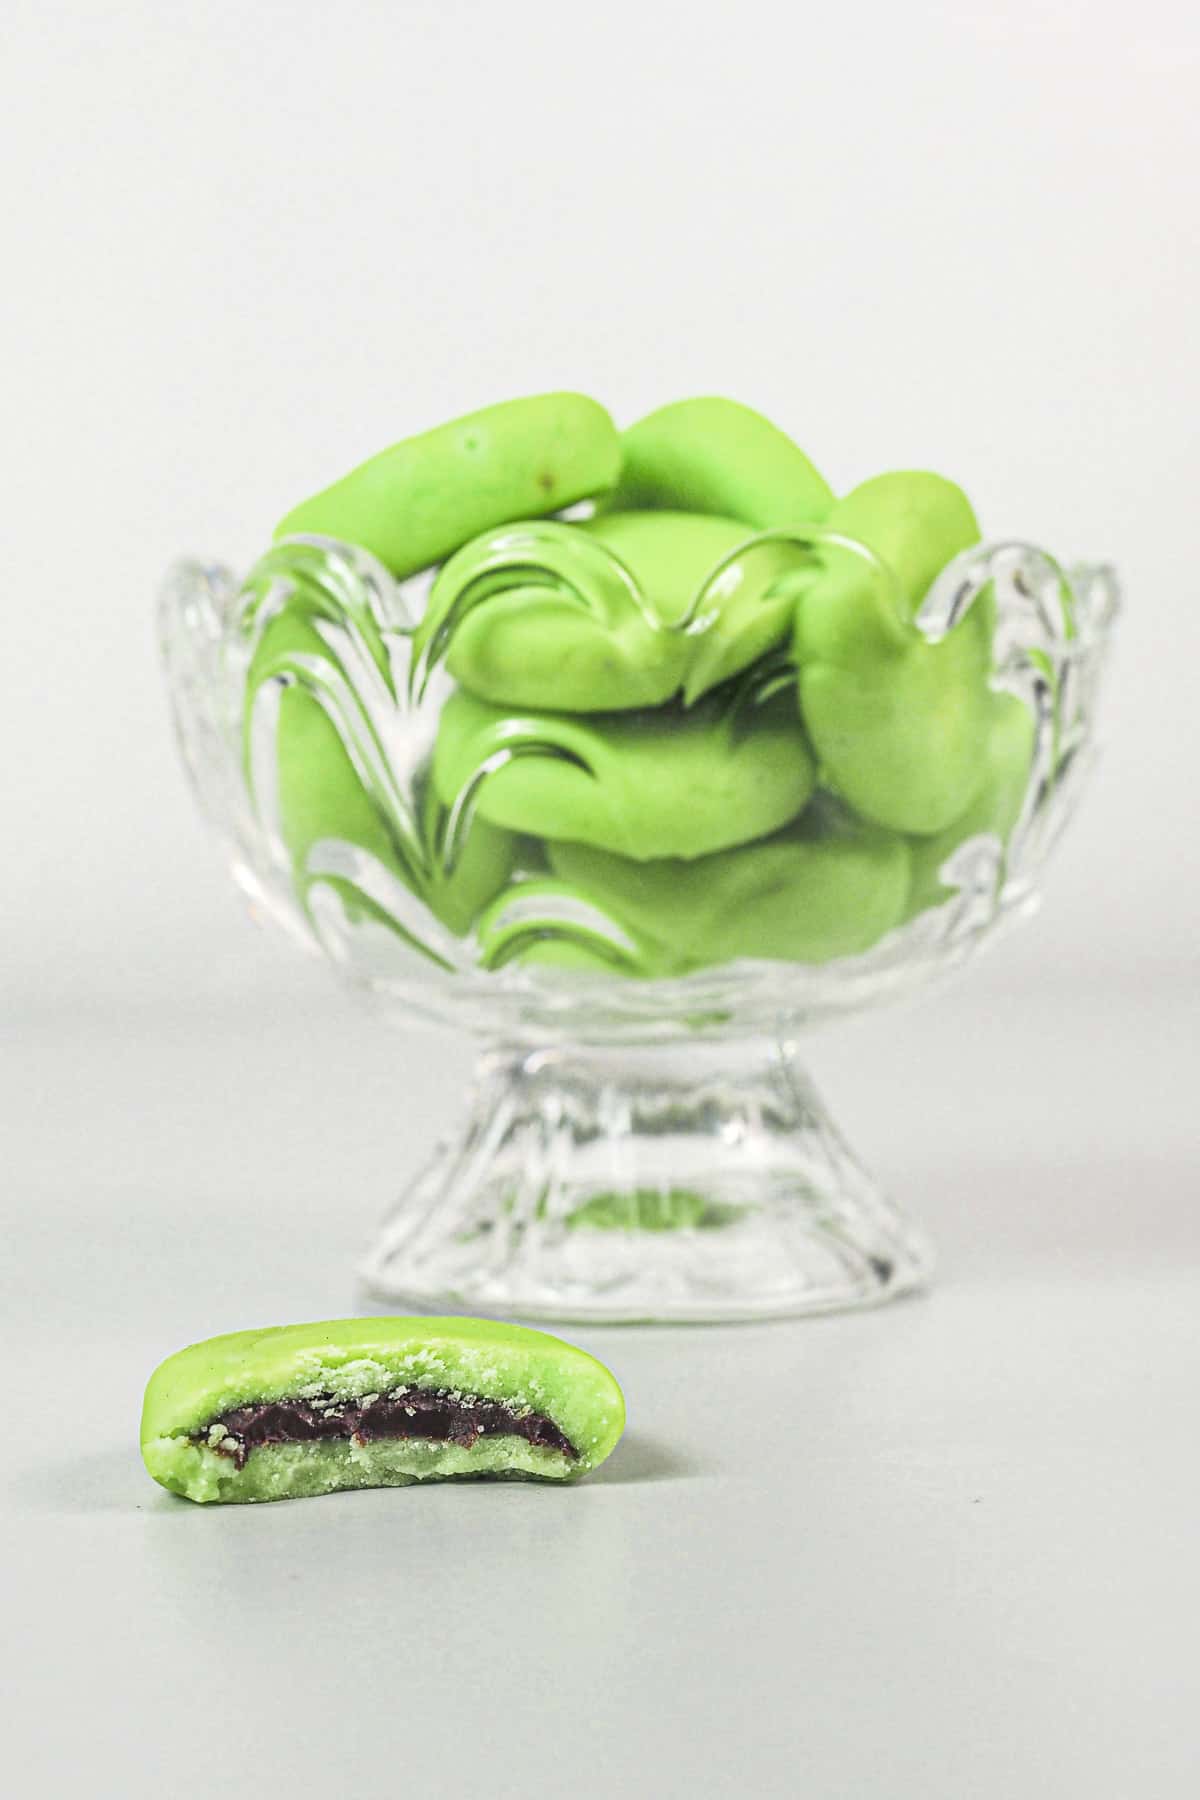
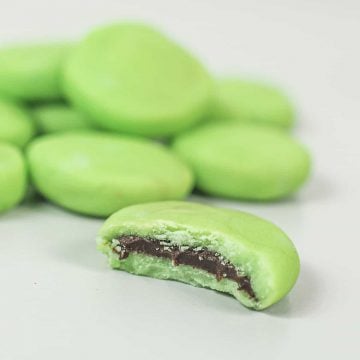
This chocolate mint candy recipe makes delightful mint candy treats with luscious dark chocolate centers. Inspired by the After Eight and Andes mints, these candies are a perfect combination of dark chocolate and mint flavors and make a great variation to the traditional butter mints.
Jump to:
❤️Why you will love this recipe
- The candies are delicious, with a delectable combination of lovely mint flavor and dark chocolate.
- They make great dinner mints and great sweet treats for chocolate lovers too.
- This is an easy candy recipe, uses simple ingredients and is easy to follow.
- There is no baking or cooking involved.
- No special tools or molds required.
- The recipe makes great Christmas candy recipe idea. You can even make these homemade chocolate mints as great gifts for the holiday season too!
Like this candy recipe? Here are my other posts you might want to check out:
- Coconut Candy - A Quick and Easy Treat
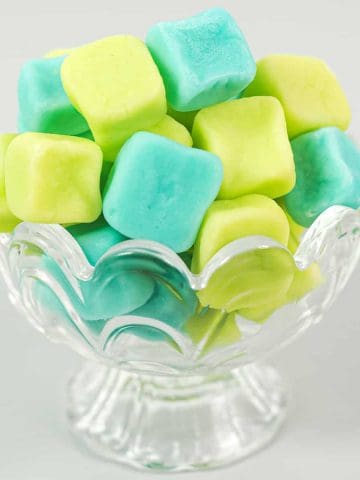
- Homemade Butter Mints
- Cream Cheese Mints
- Homemade Marshmallows without Corn Syrup
- Orange Peel Candy
- Candied Lemon Peel
- Chocolate Covered Orange (An Easy Recipe)
📋Ingredients
- Butter - both salted butter and unsalted butter will work for this recipe. Use room temperature butter.
- Powdered sugar (icing sugar or confectioner's sugar) - sift first to break any lumps as powdered sugar tends to be lumpy.
- Condensed milk - adds to the creamy taste in the mints as well as brings the ingredients together.
- Salt - enhances the taste of the mints. Use fine salt and adjust the quantity depending on whether you are using salted butter or unsalted butter. Only a small pinch is required for the recipe.
- Peppermint extract - adds to the mint taste in the candies.
- Mint green food color - to match the mint taste.
- Dark chocolate buttons - these make the filling for mints.
*Refer to the recipe card below for full list of ingredients and exact quantities. For best results, use a digital kitchen scale where applicable*
🧾Substitution and Variations
- Food coloring is optional and can be omitted if preferred.
- Dark chocolate buttons can be replaced with milk chocolate or white chocolate, though dark chocolate tastes way better in these homemade candy.
- To make chocolate covered mint candies, melt chocolate (chopped dark cooking chocolate bar or chocolate melts) over a double boiler or in a microwave and dip the prepared mint candies into the melted chocolate to create a thin layer of chocolate around the mint layer. Lift with a fork and place them on a wire rack to let excess chocolate drip off before placing them on a baking sheet or parchment paper lined trays to allow the chocolate layer to set completely.
This recipe has not been tested with other substitutions or variations. If you do try, please let me know in the comments section below!
👩🍳How to Make
Making the candies
- Measure and place the butter and salt into a large bowl. Cream well on medium speed (with a hand mixer or stand mixer).
- Sift in the powdered sugar, a little at a time. It is important that the sugar is sifted before being added to the butter. This is because powdered sugar tends to be lumpy and your mints will end up with those tiny lumps if you don't sift the sugar. Also, when adding the powdered sugar, it is important that you do it in little batches. This is simply to avoid the sugar from flying all over as you start mixing it. Another option is to mix the sugar into the creamed butter by hand (with a spatula).
- Once the powdered sugar is all mixed in, you can add the condensed milk and peppermint extract. At this stage, the mixture will be crumbly and that is fine.
- An important note about peppermint extract is that you add it in small increments. My recipe below yields candies with a mild taste of mint. If you prefer a stronger mint flavor, you can increase amount of extract used. However, do it in small increments to avoid adding too much extract into your candies.
- Next is the coloring. I used a mint green color to match the mint taste. You can color yours to your liking. Again, start with just a few drops of green food coloring to avoid too intensely colored candies.
- At this point, if the mixture still appears crumbly, knead it a little with your hands. The heat from your hands will help to bring the mixture together.
Shaping the candy
- Divide the mixture into half tablespoon scoop sizes. You can do this by scooping the mixture with a measuring spoon with a capacity of ½ tablespoon.
- Form each scoop into a ball and flatten it.
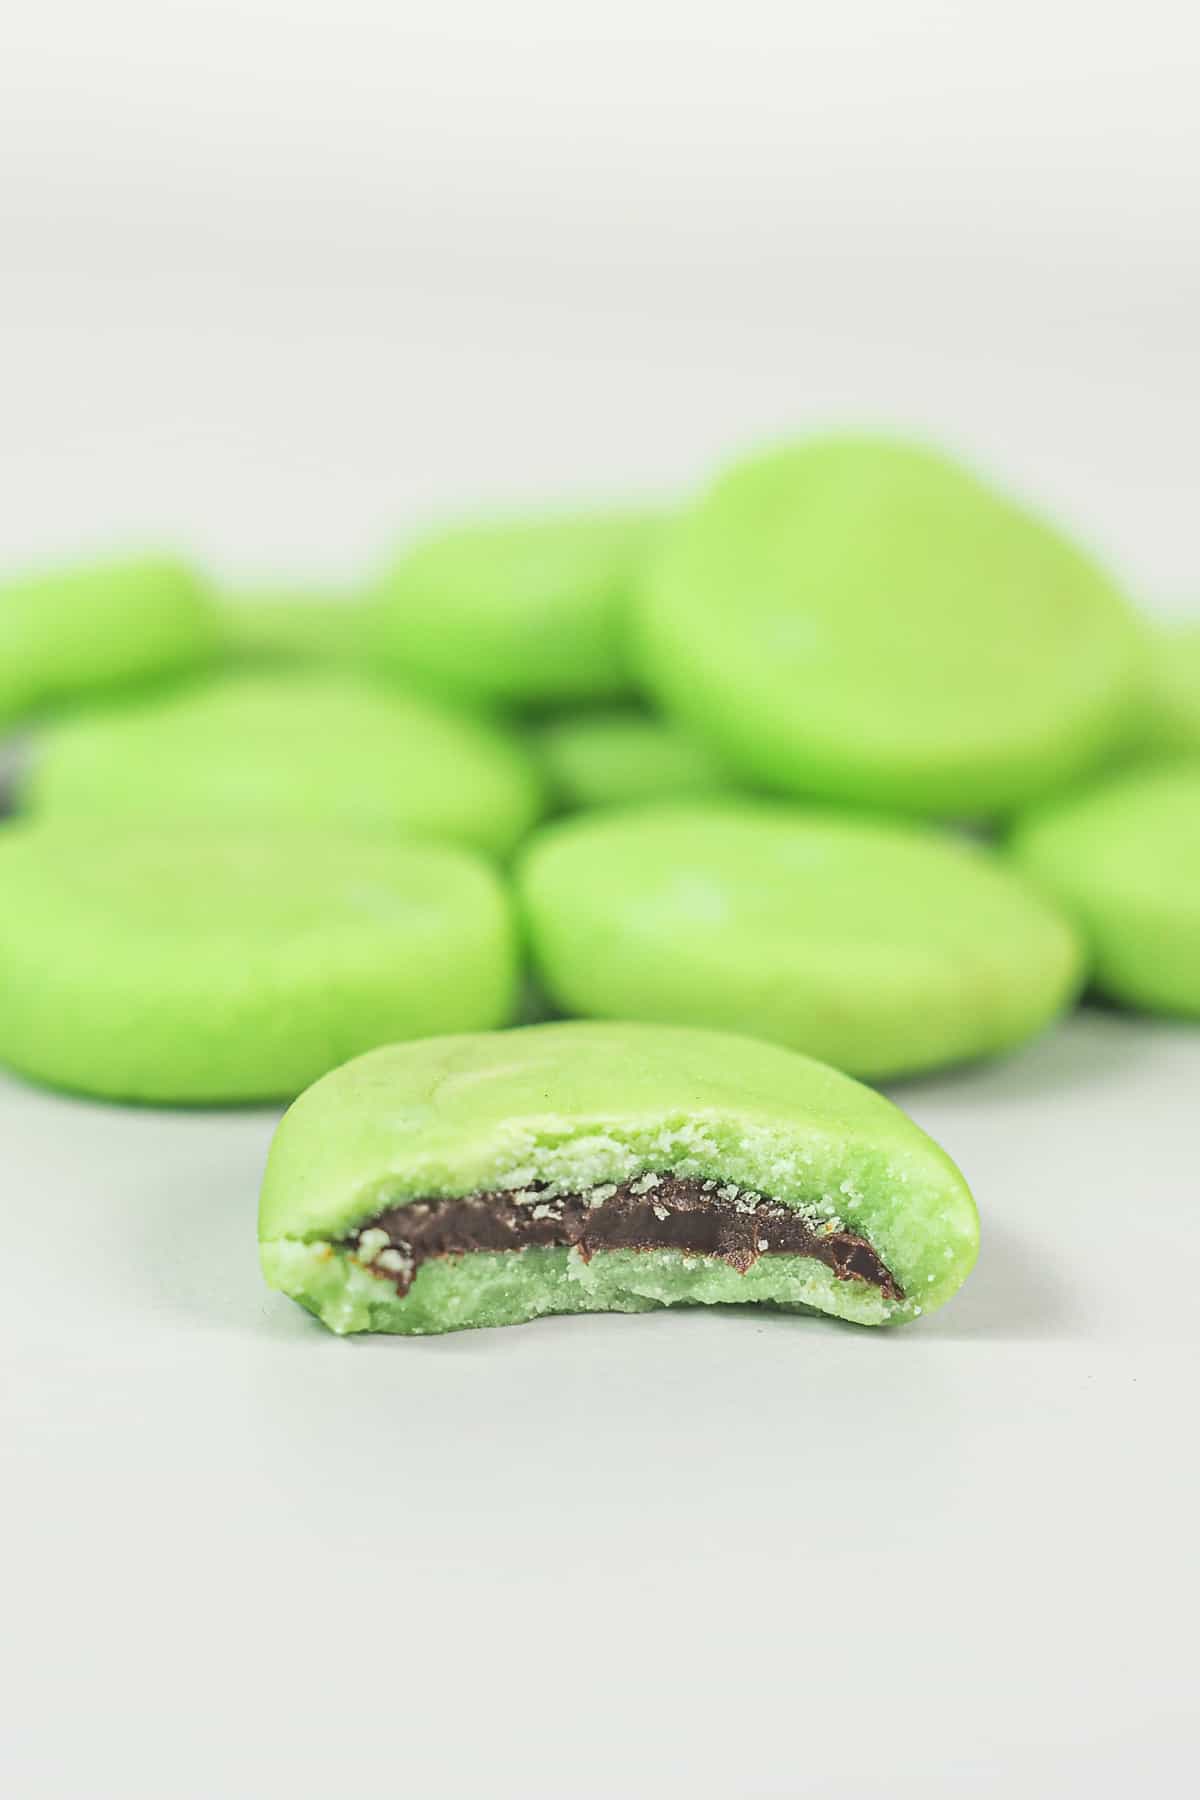
- Place one chocolate button in the center and cover it with the candy from the sides.
- Once the chocolate is fully covered, press the mint candy between your palms to smoothen any creases and to shape it.
- Continue with the process for all the scooped mints mixture.
- Once done, place the mints on a large tray (lined with parchment paper / wax paper). Let them rest at room temperature, overnight.
- The next day, turn them over and continue to let them sit for another day before consuming them.

🍽️Serving & storage
- This recipe yields approximately 420g of mint mixture. With ½ tablespoon mint mixture for each patty, you will get approximately 30 peppermint patties.
- Similar to the butter mints, these mint candies also need drying time. This means you would need to rest them for at least 2 days before consuming them. That allows the mint to dry and firm up. And you need 2 days simply to allow each side of the patties to dry and firm up. I turn them over after one day of drying so that the other side also gets an equal chance of setting.
- I prefer to keep my chocolate mint candy at room temperature, in an airtight container. That way, the rich chocolate filling is soft when bitten into and matches the texture of the mint. Refrigerating the mints will give you a soft exterior and a hard chocolate interior. If you like it that way, feel free to keep your candies chilled.
💡Expert Tips
- When adding the peppermint extract, it is always advisable to add a little peppermint extract at a time. This recipe yields mildly minty candies. If you prefer a stronger mint taste, feel free to add a bit more of mint extract than what is mentioned in the recipe below. Do note that peppermint extract is different from peppermint oil.
- To make sure all the mint patties are of equal size, you can use a measuring spoon to scoop the mint mixture. I used a ‘½ tablespoon’ measuring spoon for these patties.
- Once the candy mixture is scooped, flatten it as much as you can, place a chocolate button in the center and cover the chocolate up with the excess flattened mint at the sides. And then press the patties in between your palms to smooth and flatten them. You can also use the back of a drinking glass to flatten the candy.
❤️More Recipes You Will Love
Do you like this recipe? Please leave a 5-star ⭐⭐⭐⭐⭐rating in the recipe card below and consider a review further down this page. I would love to hear from you. Thank you!
📖Recipe
Chocolate Mint Candy Recipe
For best results, use the metrics measurements. US customary measurements have not been tested and are only meant for guide.
Ingredients
- 60 g butter (salted)
- 360 g powdered sugar (sifted)
- 1 tablespoon condensed milk
- A pinch of salt
- ⅛ teaspoon peppermint extract
- Mint green food color (a few drops)
- 30 Dark chocolate buttons
Instructions
- Sift powdered sugar to remove any lumps. Set aside.
- In a separate bowl, cream butter and salt until smooth (with a paddle attachment). Add powdered sugar, a little at a time and mix until well combined.
- The mixture may appear crumbly at this point and that is perfectly fine.
- Add condensed milk, mint extract and green food color and continue beating. If the mixture is still crumbly, try pressing the mixture with your hands, if it comes together, it is ready for rolling and cutting.
- Continue kneading by hand until the mixture comes together into a ball and the color is well distributed.
- Scoop the mixture with a 1 tablespoon measuring spoon. Roll it to form a ball and then flatten it with your fingers. Place a chocolate button in the center and carefully cover the chocolate from the sides with the flattened mint mixture.
- Once the chocolate is completely covered, press the patty in between your palms to flatten and smooth the candy. Place the chocolate filled mint patty on a parchment lined tray. Continue until all the mixture has been used up to make the patties.
- Let the patties rest at room temperature overnight. The next day, turn them over and let them set again for another day until they have dried and set well. Store the mints in a candy jar in a cool and dry place.
Notes
- When adding the peppermint extract, it is always advisable to do it in small amounts or increments. This recipe yields mildly minty candies. If you prefer a stronger mint taste, feel free to add a bit more of the peppermint extract than that mentioned in the recipe above. Do note that peppermint extract is different from peppermint oil.
- To make sure all the mint patties are of equal size, you can use a measuring spoon to scoop the mint mixture. I used a ‘½ tablespoon’ measuring spoon for these patties.
- Once the candy mixture is scooped, flatten it as much as you can, place a chocolate button in the center and cover the chocolate up with the excess flattened mint at the sides. And then press the patties in between your palms to smooth and flatten them. You can also use the back of a drinking glass to flatten the candy.
- Food coloring is optional and can be omitted if preferred.
- Dark chocolate buttons can be replaced with milk chocolate or white chocolate, though dark chocolate tastes way better in these homemade candy.
- To make chocolate covered mint candies, melt some dark chocolate over a double boiler or in a microwave and dip the candies into the chocolate. Lift with a fork and place them on a wire rack to let excess chocolate drip off before placing them on parchment paper lined trays to allow the chocolate to set completely.

Bev
Can you freeze these?
Priya Maha
Hi Bev,
I have not tried freezing these mints. Do let me know if you try.