

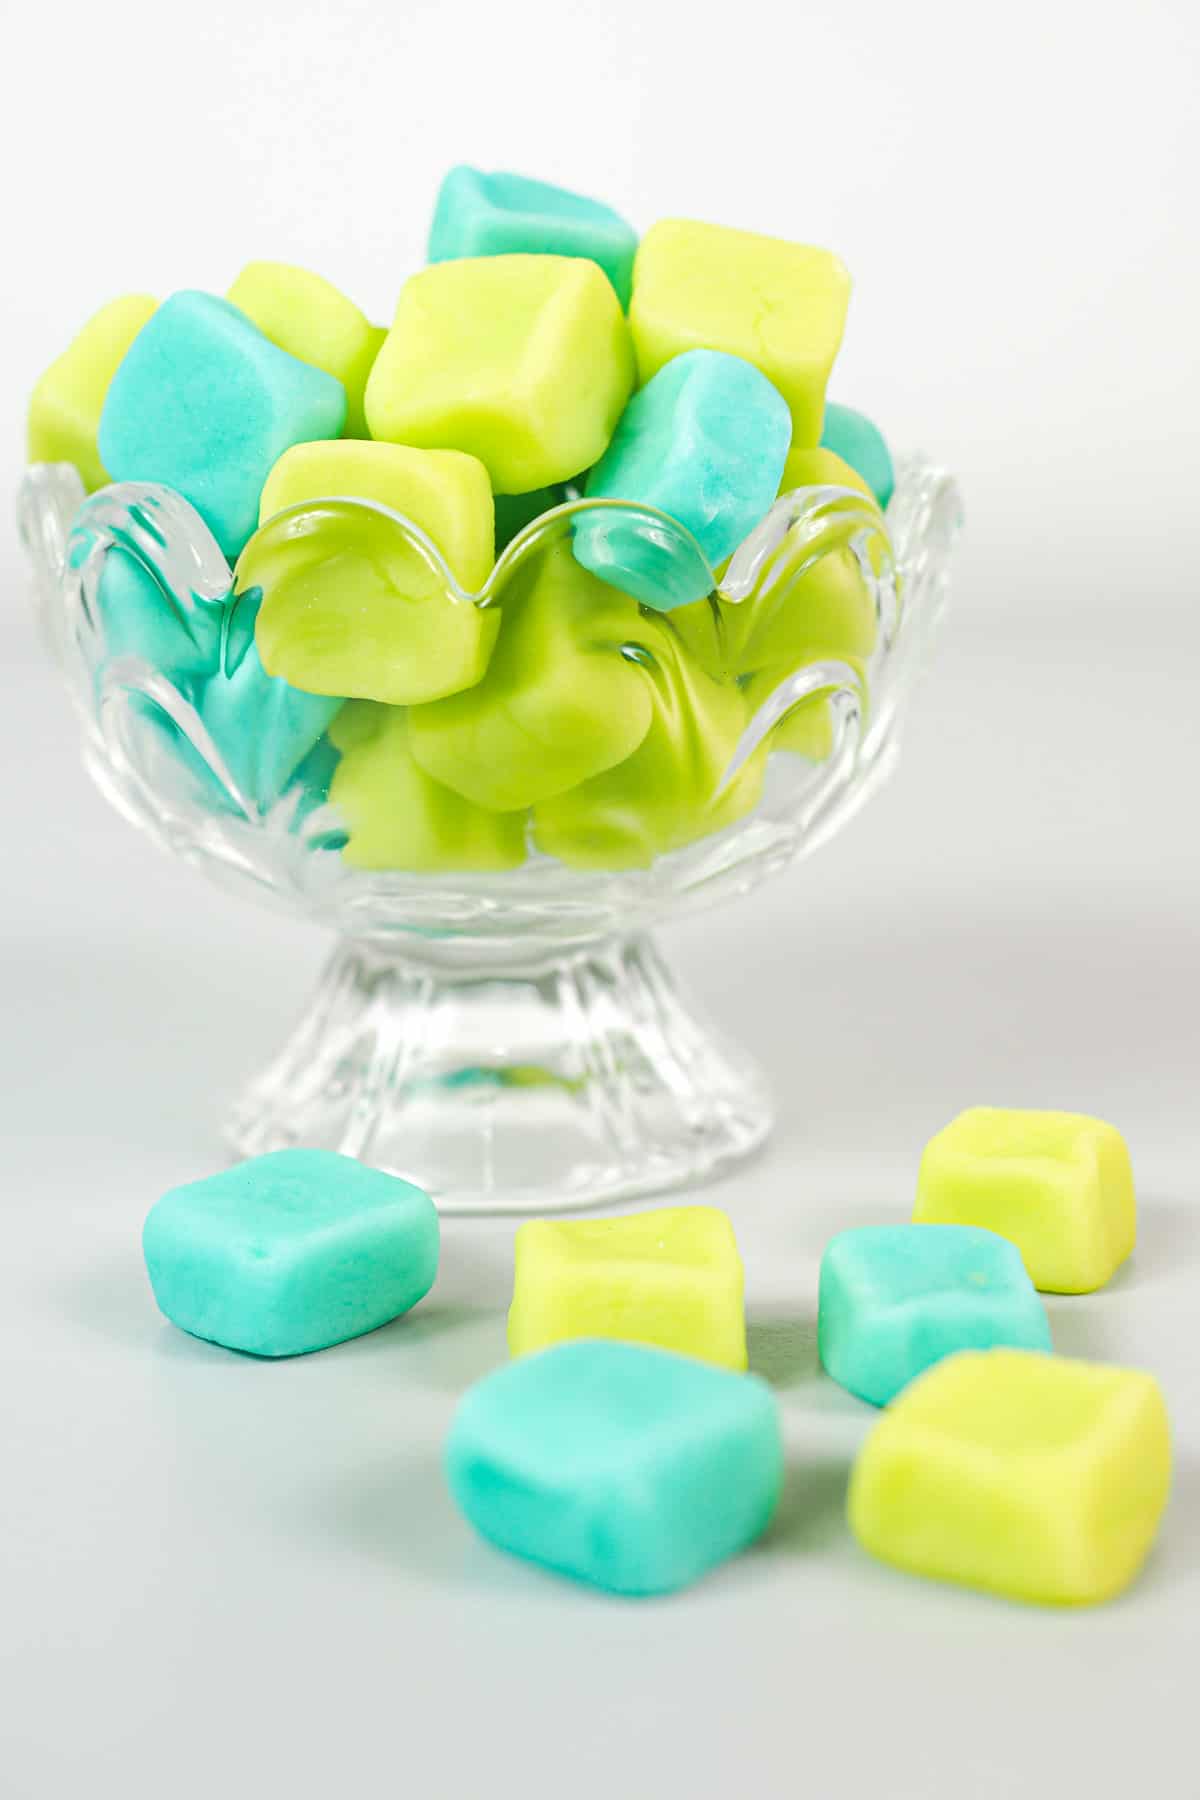
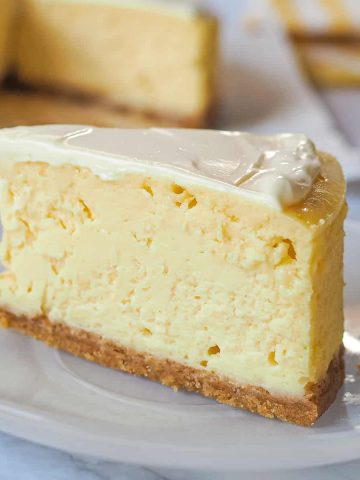
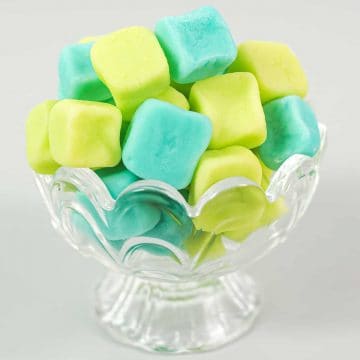
These easy cream cheese mints are another one of my super easy-to-make candies (click here to see my butter mints recipe and chocolate mint candies recipe).
And just like the name suggests, these pretty candies are indeed super easy to make. No cooking involved and with just 3 simple ingredients, you get refreshing mint candies in no time!
These cream cheese mints are almost similar to butter mints. The only difference is that these candies use cream cheese (without any butter) and the butter mints use butter.
The other difference between these 2 recipes is that the butter mints have condensed milk added to them. Cream cheese candy is purely cream cheese, powdered sugar, and mint (other than a pinch of salt and food color).
Jump to:
❤️Why you will love this recipe
- It is an easy recipe and makes delicious mints.
- The mints are very easy to make, and only require 3 simple ingredients.
- There is no cooking or baking required.
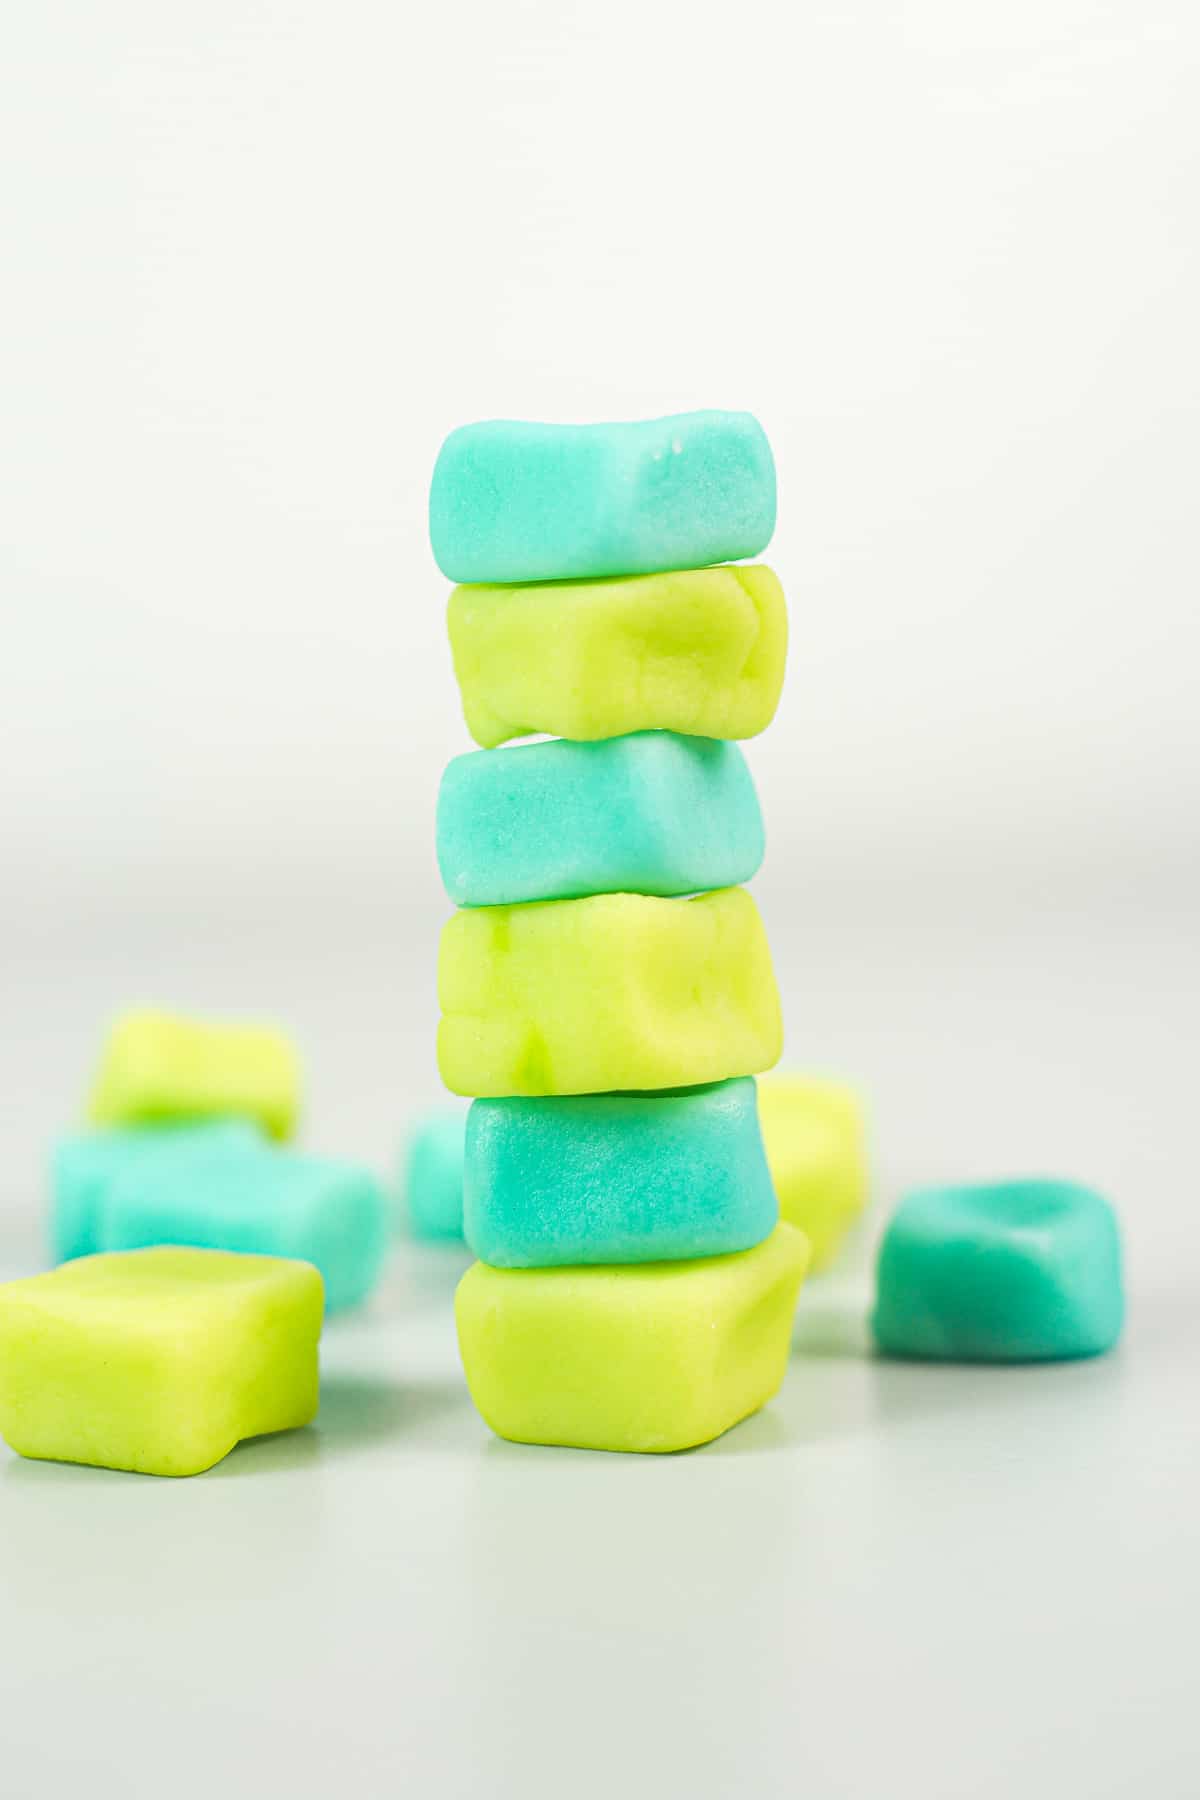
- They are not only awesome as simple candies, they can also be used at any party as dessert table goodies. You can color the mints to suit the party and you can even shape them to suit the theme. These mints are great for wedding showers, graduation parties, and any other occasion.
Like this easy homemade mints recipe? Here are my other posts you might want to check out
- Coconut Candy Recipe - A Quick and Easy Treat
- Homemade Marshmallows without Corn Syrup
- Candied Lemon Peel
- Butter Mints - Easy Homemade Candy
- Orange Peel Candy
📋Ingredients
- Cream cheese - should be at room temperature for easy creaming. Use the cream cheese that is sold in blocks. Spreadable version will not work for this recipe.
- Powdered sugar (icing sugar or confectioner's sugar) - sift first before using as powdered sugar tends to be lumpy.
- Peppermint extract - adds the mint flavor to the candies.
- Food color - this is optional. Best to use gel based colors as they are more concentrated. You can customize the color to your liking. I have used AmeriColor Electric Blue and Electric Green gel food coloring.
- Salt - to enhance the taste. Use fine salt.
*Refer to the recipe card below for full list of ingredients and exact quantities. For best results, use a digital kitchen scale where applicable*
👩🍳How to Make
Making the candies
- Start by sifting the powdered sugar to break all lumps. This is an important step to avoid your candy from having tiny lumps of sugar. Set the sugar aside.
- In a medium-sized bowl, cream the softened cream cheese until it is smooth (with an electric mixer on low speed). Add salt and one-third of the powdered sugar into the cream cheese. Do this a little at a time to avoid the sugar from flying all over. It also helps to mix the sugar in with a spoon until it is well moistened before using the electric mixer.
- Add the mint extract and beat again.
- Continue with the rest of the powdered sugar.
- Once the sugar is all added, divide the mixture into 2 separate bowls. Add the green food coloring to the first section and mix well until the color is well distributed. Add blue food coloring to the second section and mix well too. Start with just a tiny bit of food coloring, especially if you want your candy to have pastel shade. Add more if you want a more intense color.
Shaping the mints
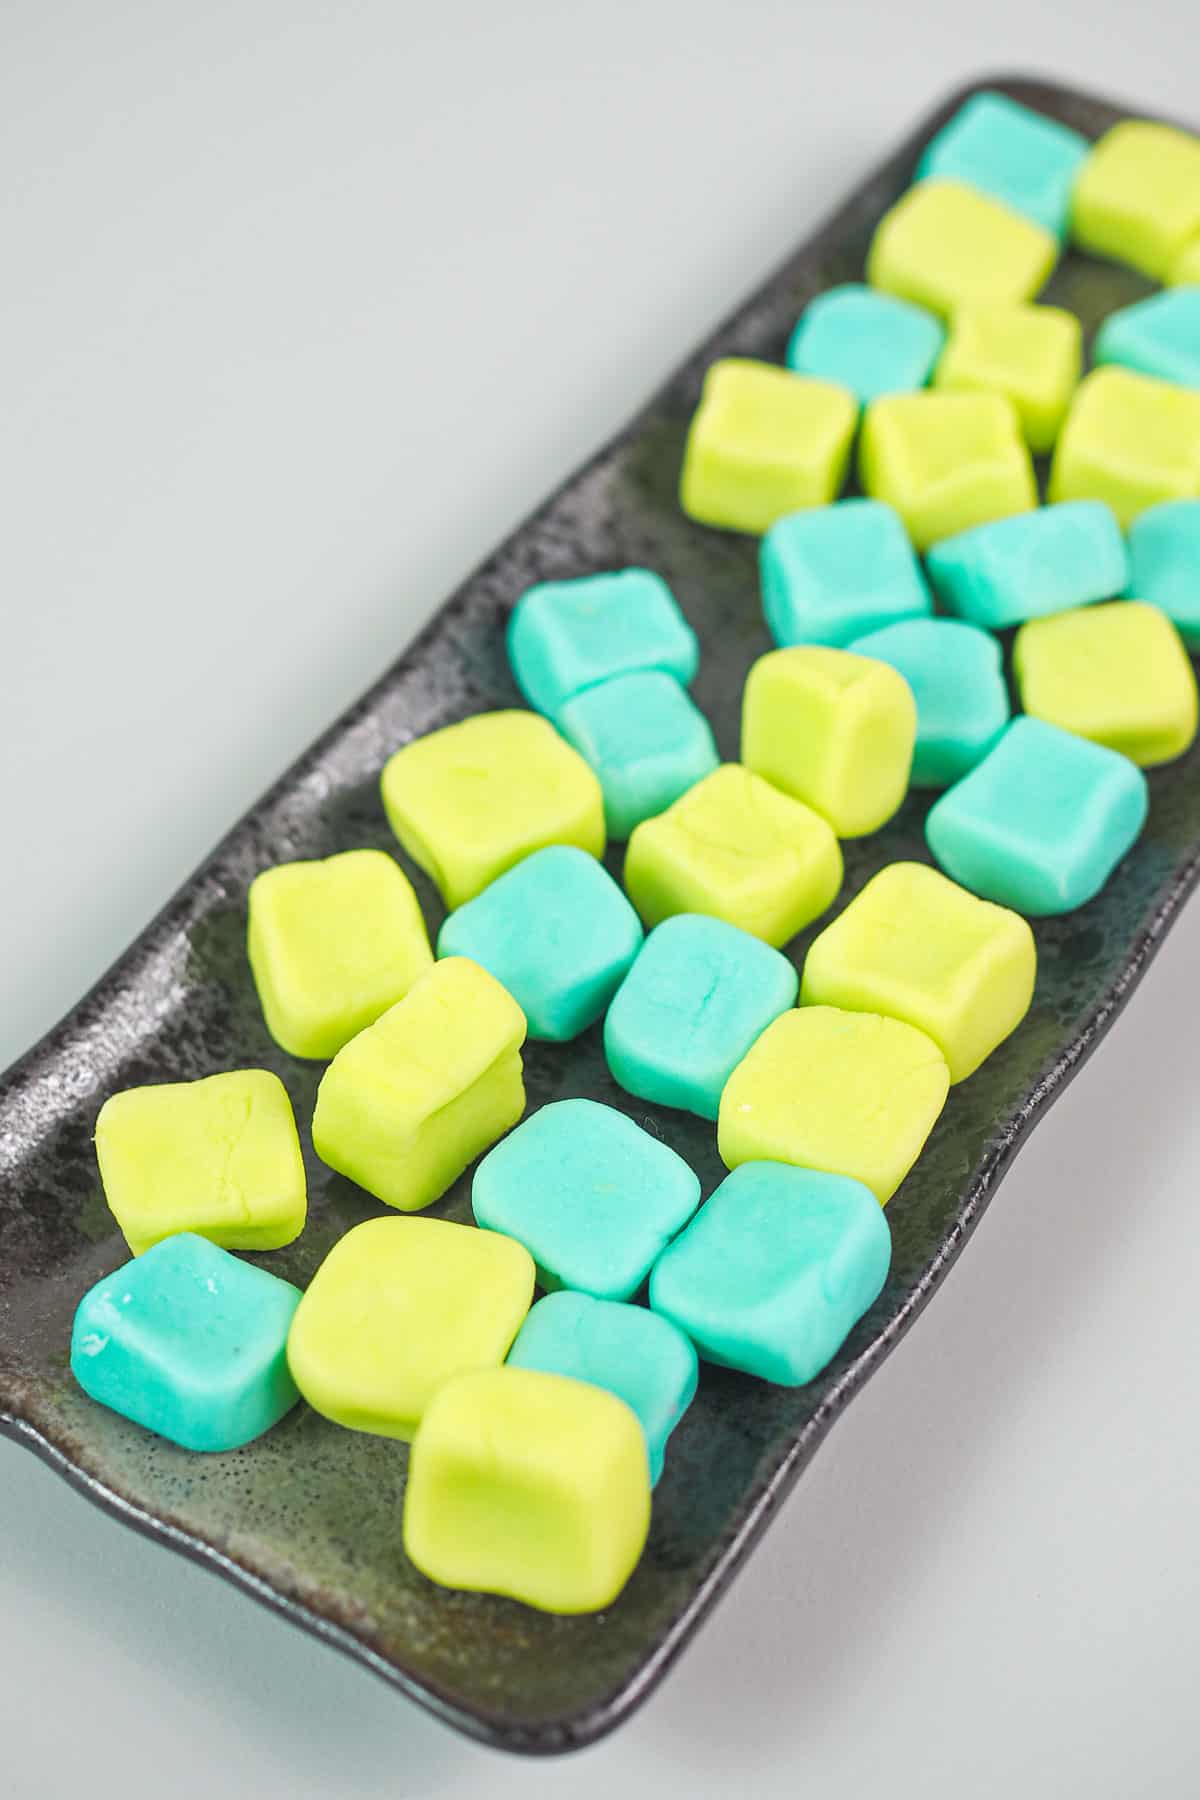
- To shape the candy, take a small section of the cream cheese mixture and roll it into a thick strip (about 1 cm in diameter). Cut the strip at 1.5cm intervals to make little mints.
- Shape each section into squares by pressing the sides flat such that there are 4 sides to each candy.
- Place the shaped cream cheese mints on a tray lined with parchment paper in a single layer.
- Let them sit overnight at room temperature. The next day, turn the cream cheese candy over and continue with another day of setting before storing them in a candy jar.
⭐Other shaping options
These candies can be shaped in the same way as the traditional butter mints, some of which are as follows:
- Round balls – Pinch the mixture into small portions and roll them until smooth into small balls. Place on parchment and let them set.
- Flat discs – Similar to the round balls above, place the rolled balls on a parchment-lined tray, making sure the cream cheese candy balls are well spaced from one another. Using the bottom of a glass that has been dipped in powdered sugar, press the balls to form flat discs. Let them set before storing them in a candy jar.
- Flatten with the tines of a fork – Shape the mixture into small balls and place on a parchment-lined tray or cookie sheet. Use a fork dipped in powdered sugar to press the little balls flat while leaving the fork lines on them. Let the mints dry and set before storing.
- Roll and cut – Roll mixture in between 2 plastic sheets and cut various shapes using cookie cutters. Dip the cutters in powdered sugar before cutting to avoid sticking. Rest the cutout candies on parchment until they are set and firm.
- Twisted ropes – This involves twisting 2 colors of the mints into ropes and then cutting them into equal intervals. That way you get 2 colors prettily twisted in each mint piece. Click here to see how I did this with my butter mints.
- Shaping with candy molds or silicone molds - Dust the molds lightly with powdered sugar. Pinch some of the mints mixture and shape into a round ball. Roll into some powdered sugar or granulated sugar. And then press firmly into the molds. Flip the mold and gently push the shaped mint out. For best results, use soft flexible silicone molds.
🍽️Serving & storage
- Once shaped, let the cream cheese candies rest overnight. This helps to dry them up. And then turn them over so that the other side of the candies dry up as well.
- I normally place the candies on a parchment-lined tray and keep them in my oven (with the oven switched off). I like to leave the cream cheese candies in there so that I can leave them uncovered not worry about any lizards or ants getting to them.
- You can store them any way you like. But do not keep them covered as that will not allow them to dry and set well. The mints are best kept in an airtight container.
💡Expert Tips
- Always sift your powdered sugar. This is to make sure it is free from lumps. These lumps can remain in the mixture. And your candies will end up with tiny lumps of sugar here and there.
- When adding the mint extract, always start with a small amount first. Taste the mixture before adding more so that you don’t end up with cream cheese candy mints that are too minty to eat.
- While the recipe below calls for the mint to be added halfway in between the addition of powdered sugar, you can always add in more at the end of the process. Just make sure you knead/mix it in well so that it is well distributed throughout the mixture.
- The amount of extract indicated in the recipe below is just nice to give these candies a mild minty flavor.
💭FAQs
I have added a pinch of salt to the recipe. This is a candy recipe but that little bit of salt makes a whole lot of difference to the taste.
These are sweet with a light tinge of tangy taste.
Yes, you can. Wrap them well and keep them in an airtight container before freezing. They can last for at least 2 to 3 months.
❤️More Recipes You Will Love
Do you like this recipe? Please leave a 5-star ⭐⭐⭐⭐⭐rating in the recipe card below and consider a review further down this page. I would love to hear from you. Thank you!
📖Recipe
Cream Cheese Mints (Easy Homemade Candy)
For best results, use the metrics measurements. US customary measurements have not been tested and are only meant for guide.
Ingredients
- 90 g cream cheese (at room temperature)
- 200 g powdered sugar
- ⅛ teaspoon peppermint extract
- Food color (optional)
- ⅛ teaspoon fine salt
Instructions
- Sift powdered sugar to free from lumps. Set aside.
- In a separate bowl, beat cream cheese (using a paddle attachment) until it is smooth and creamy (and no longer clumpy). Add in ⅓ of the powdered sugar, a little at time, beating well after each addition.
- Add in the peppermint extract and continue beating. Add the remaining powdered sugar in small batches and mix until all the sugar has been incorporated into the cream cheese mixture.
- Add food coloring if you wish at this stage and mix until the color is well distributed.
- To shape the candy, take a small section of the cream cheese mixture and roll it into a thick strip (about 1 cm in diameter). Cut the strip at 1.5cm intervals to make little mints.
- Flatten the mints and shape them into squares by pressing the sides flat with your fingers. If the mixture is too soft for rolling or shaping, dust it with powdered sugar.
- Lay the shaped mints on a parchment lined tray and let them set overnight. Turn the mints over and continue to let them dry another day before storing them in a candy jar.
Notes
- Always sift your powdered sugar. This is to make sure it is free from lumps. These lumps can remain in the mixture. And your candies will end up with tiny lumps of sugar here and there.
- When adding the mint extract, always start with a small amount first. Taste the mixture before adding more so that you don’t end up with cream cheese candy mints that are too minty to eat.
- While the recipe below calls for the mint to be added halfway in between the addition of powdered sugar, you can always add in more at the end of the process. Just make sure you knead/mix it in well so that it is well distributed throughout the mixture.
- The amount of extract indicated in the recipe below is just nice to give these candies a mild minty flavor.
Shaping options:
- Round balls – Pinch the mixture into small portions and roll them until smooth into small balls. Place on parchment and let them set.
- Flat discs – Similar to the round balls above, place the rolled balls on a parchment-lined tray, making sure the cream cheese candy balls are well spaced from one another. Using the bottom of a glass that has been dipped in powdered sugar, press the balls to form flat discs. Let them set before storing them in a candy jar.
- Flatten with the tines of a fork – Shape the mixture into small balls and place on a parchment-lined tray or cookie sheet. Use a fork dipped in powdered sugar to press the little balls flat while leaving the fork lines on them. Let the mints dry and set before storing.
- Roll and cut – Roll mixture in between 2 plastic sheets and cut various shapes using cookie cutters. Dip the cutters in powdered sugar before cutting to avoid sticking. Rest the cutout candies on parchment until they are set and firm.
- Twisted ropes – This involves twisting 2 colors of the mints into ropes and then cutting them into equal intervals. That way you get 2 colors prettily twisted in each mint piece. Click here to see how I did this with my butter mints.
- Shaping with candy molds or silicone molds - Dust the molds lightly with powdered sugar. Pinch some of the mints mixture and shape into a round ball. Roll into some powdered sugar or granulated sugar. And then press firmly into the molds. Flip the mold and gently push the shaped mint out. For best results, use soft flexible silicone molds.

Leave a Reply