

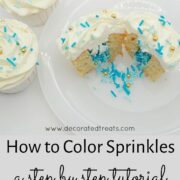
Learn how to color sprinkles with this easy technique. It is quick and easy and you can make colored sprinkles in any color you want for your cakes and cupcakes. All you need is white sprinkles and your favorite food coloring. Here's how.
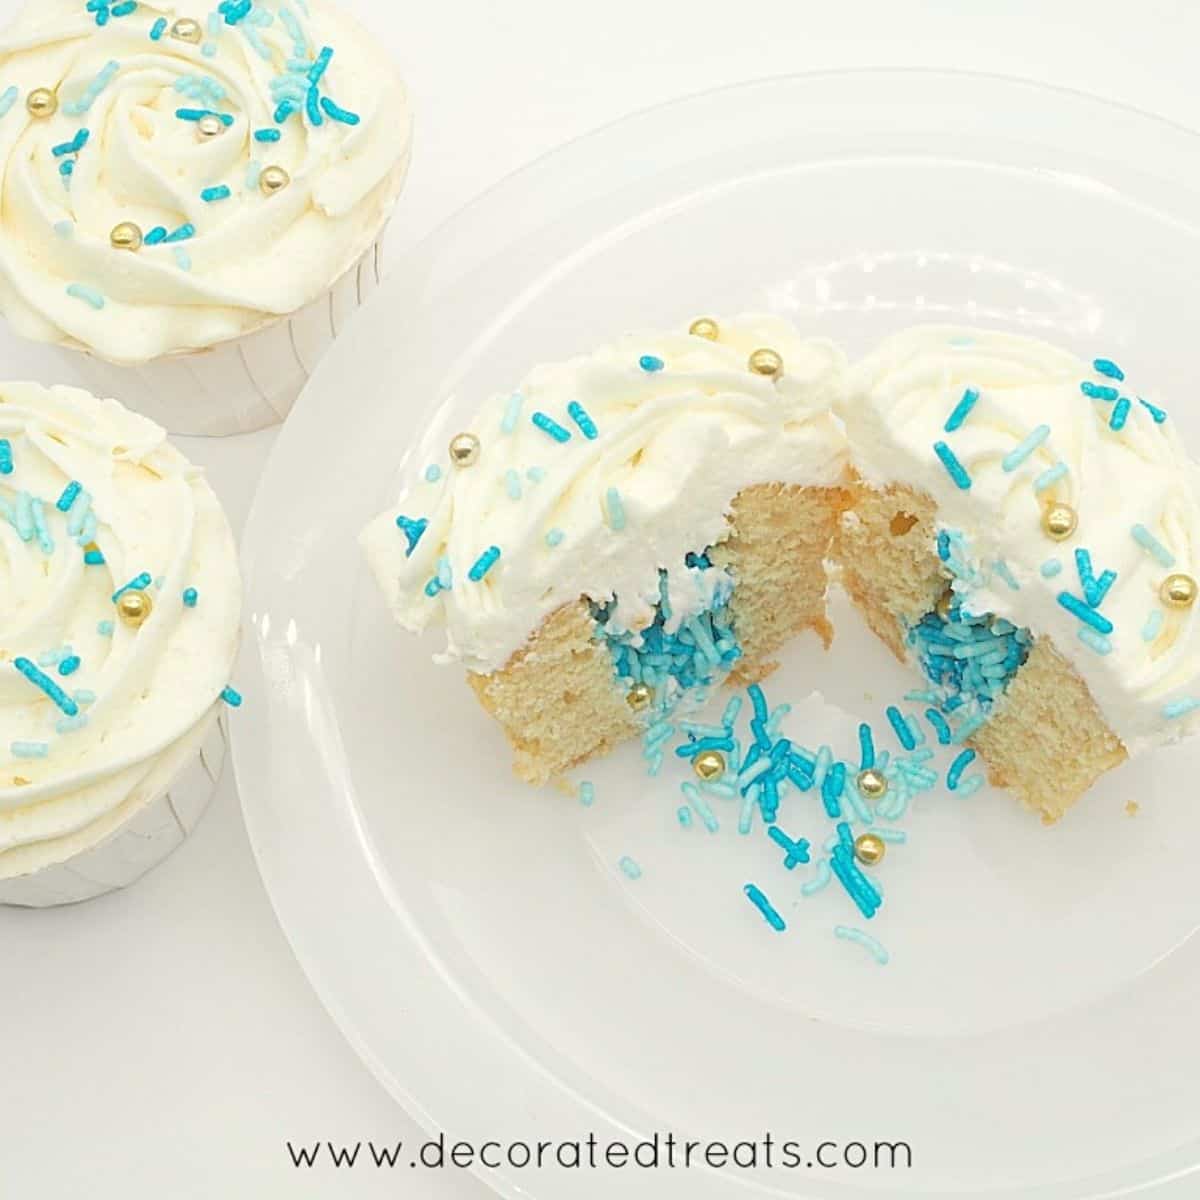
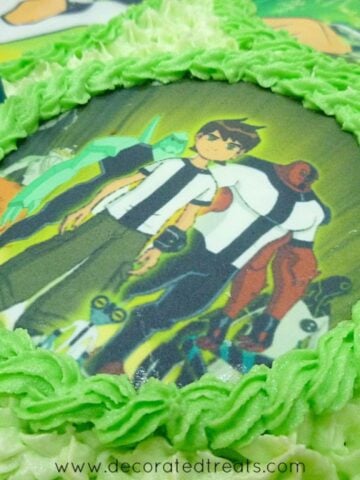
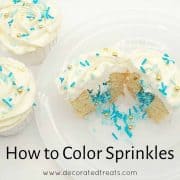
I used this method to color the sprinkles used in my pinata cupcakes. I made custom colored sprinkles in a combination of 2 blue shades, i.e. light and dark.
Jump to:
❤️Why you will love this technique
- It is quick and easy.
- This technique is a real lifesaver when you need sprinkles in a shade that is not available in stores.
- It is cost effective way to have colored sprinkles when you need them in small quantities. You do not need to buy a whole packet of sprinkles.
- You are able to customize the colors to the exact shades you need and in any combination you want.
If you like this tutorial, you will also like this post on how to color cake decorating dragees. It is equally quick and easy. And if you love sprinkles, do check out my layered cupcakes with sprinkles, Christmas sprinkle cookies, easy Christmas cupcakes and my orange and black Halloween marble cake.
📋Supplies required
- White sprinkles - I bought these from a local cake decorating supplies shop. They are sold in both bulk quantities as well as smaller retail packages.
- Gel food coloring - I used Wilton royal blue. Despite the 2 shades of blue produced in the image above, both were achieved using the same tint of food color.
- Toothpick (optional) - If you are using food coloring that are packed in jars like Wilton food colors, you will need the toothpick to take the coloring out of the jar. If you are using food coloring that comes in squeeze bottles (like Americolor), you do not need the toothpick. Just squeeze the coloring directly.
✂️How to make

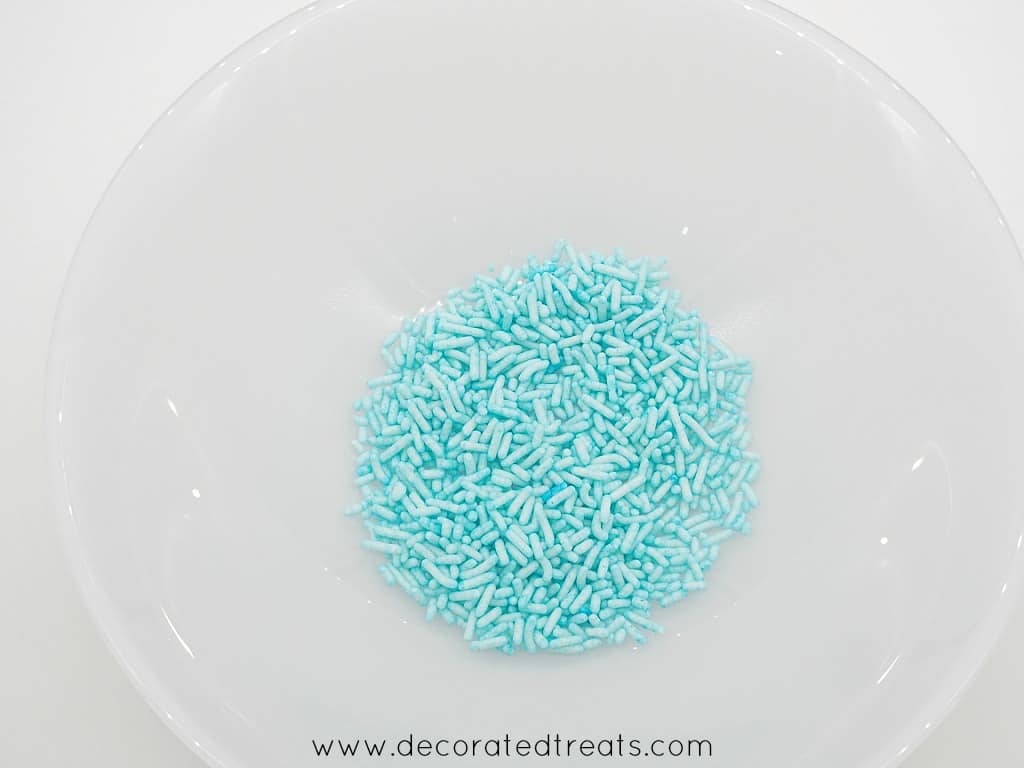
Measure the required amount of sprinkles onto a bowl.
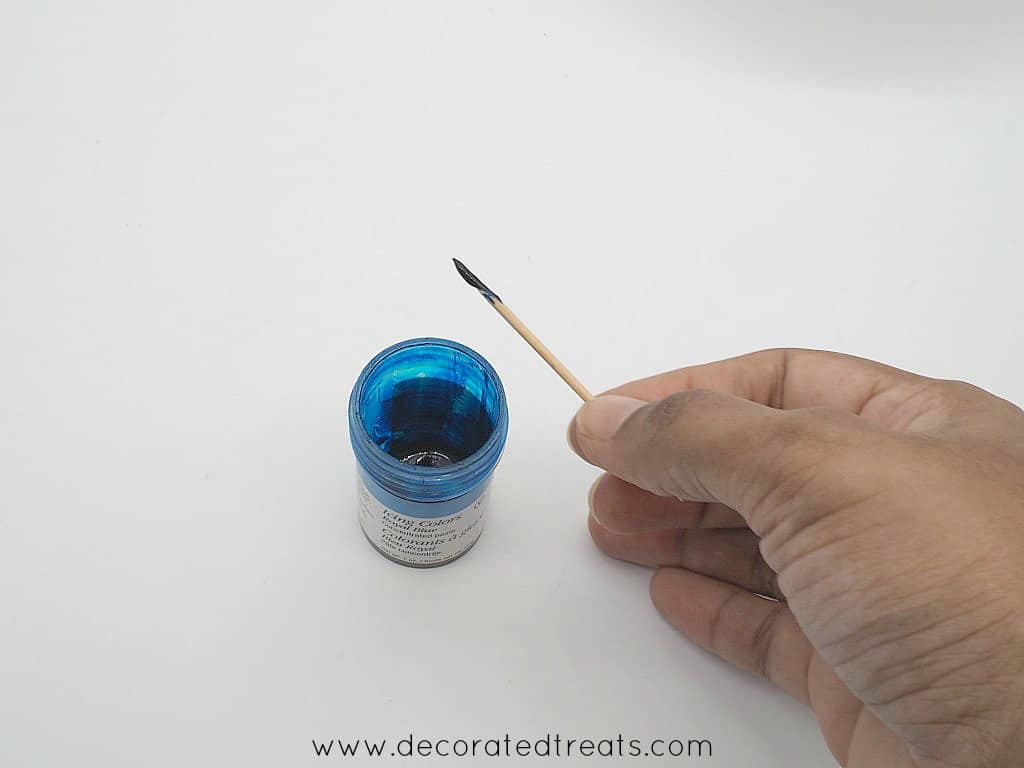
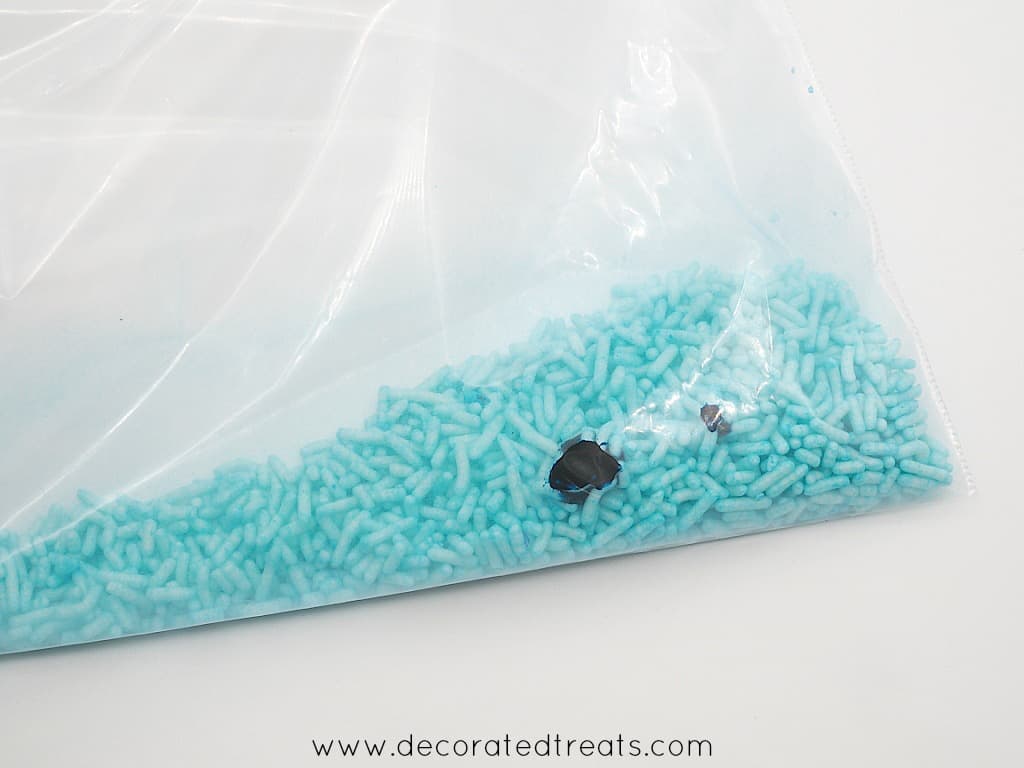
Dip a toothpick it into the color container.
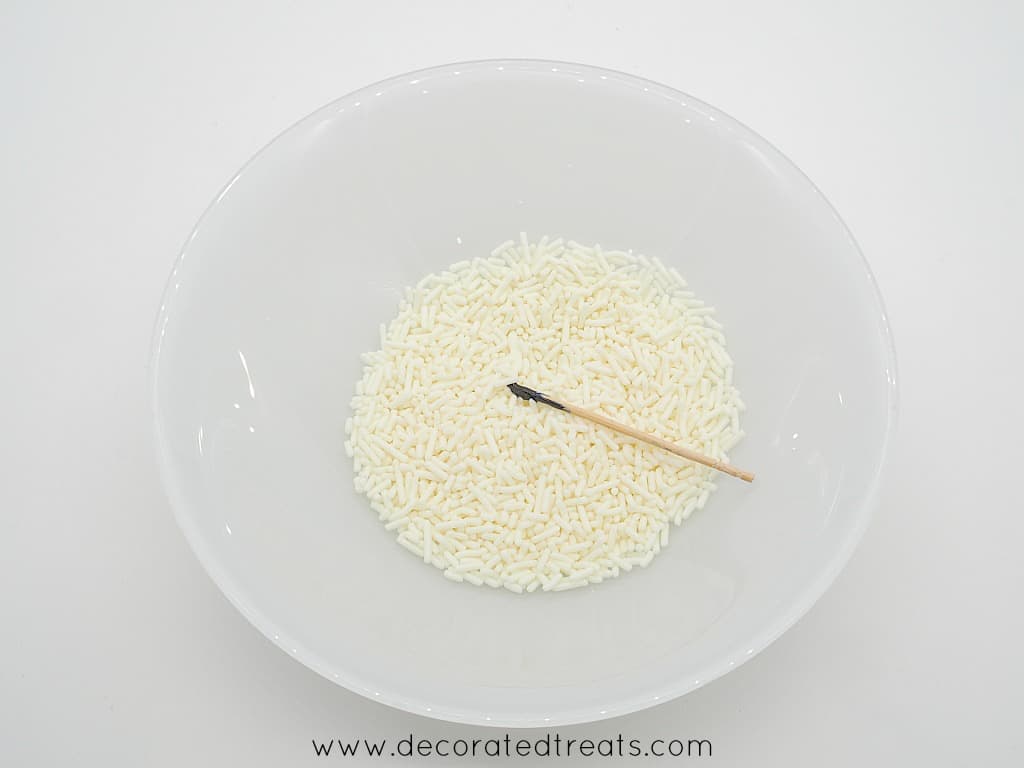
Drop the toothpick into the bowl filled with the white sprinkles.
Note: If using food coloring that comes in squeeze bottles, squeeze the color into the bowl of sprinkles directly. No need to use toothpick.
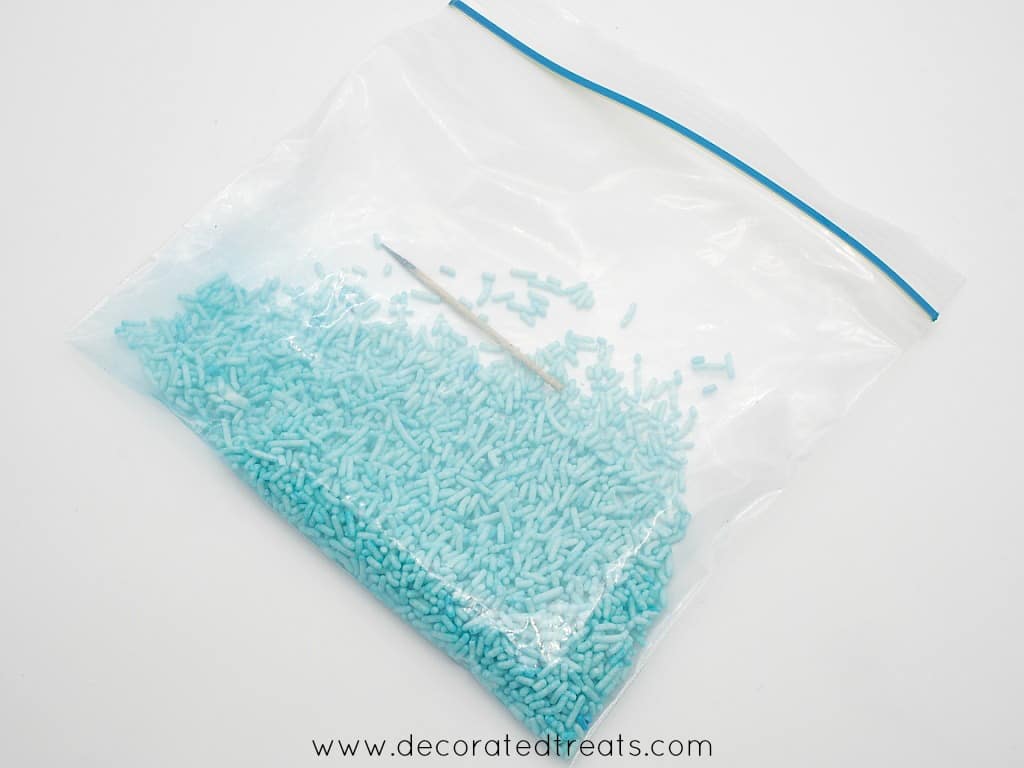
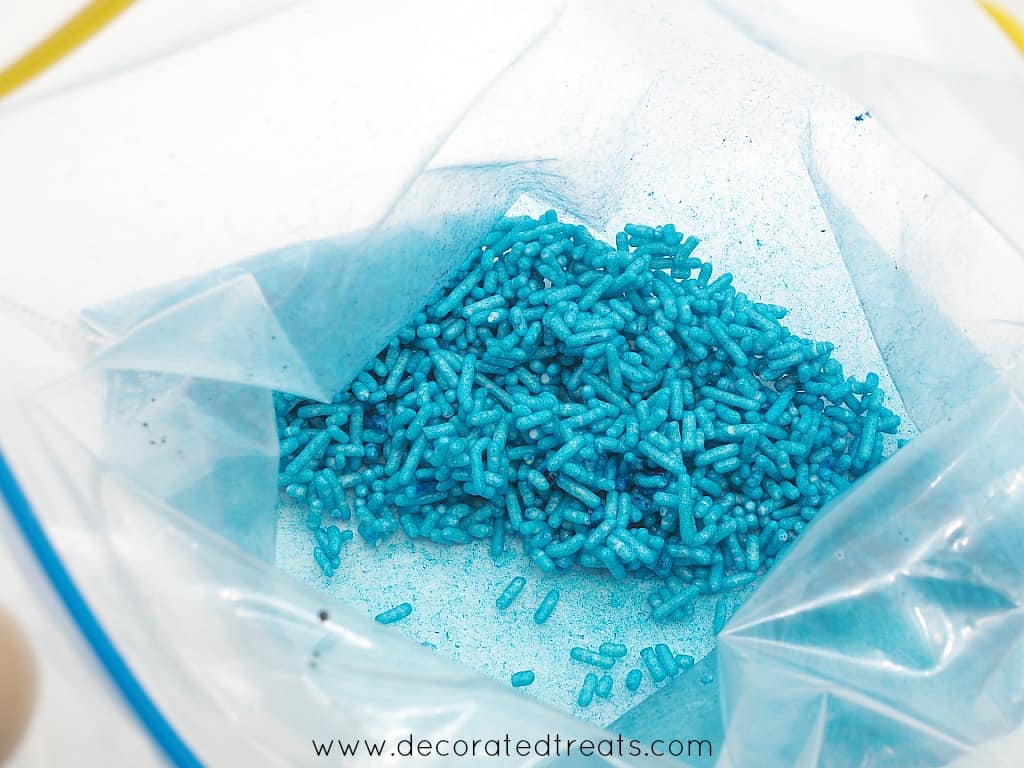
Transfer the sprinkles and the toothpick into a ziplock bag. Lock the bag and give the contents are good shake until the sprinkles have all turned blue and the color is well distributed. Shake gently to avoid the sprinkles from breaking.
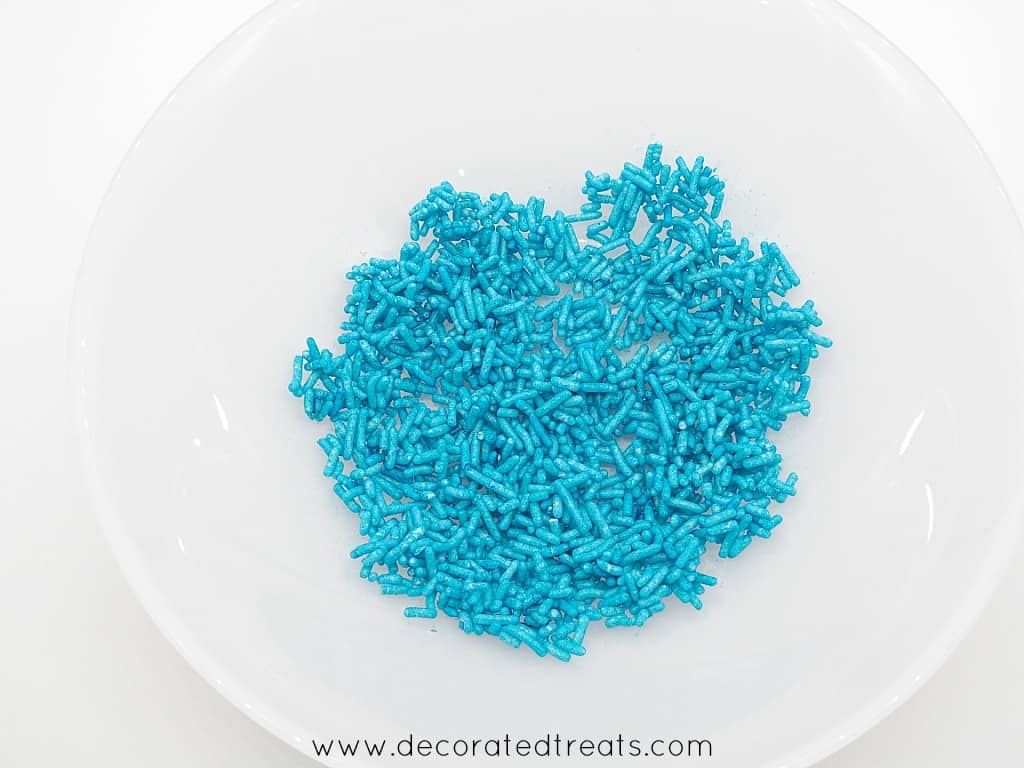
Pour them out into a tray or flat plate and allow any moisture from the food coloring to dry before using.
How to Create a Darker Shade of Sprinkles
To make darker shade of color, simply use more food coloring.
It is always advisable to start with a little coloring at a time to avoid too much color. Also, you will need to leave the sprinkles to dry for a longer time when using more food coloring.
How to use the DIY colored sprinkles
Once they were nice and dry, you can start using the sprinkles. You can mix the colored sprinkles to create themed color sprinkles.
These sprinkles are best used on their own, sprinkled on cakes and cupcakes or as a filling for sprinkles inside or pinata cakes and cupcakes. The color has a tendency to bleed when mixed into frosting or cake batter or when in contact with any liquid.
How to store the colored sprinkles
Keep them covered in airtight containers away from moisture. They can also be refrigerated but bring them back to room temperature before using to prevent condensation and color bleed.
You can keep them up to the expiry date of the original sprinkles.

Li
Worked like a charm to make some black sprinkles (which are virtually impossible to find in any store). Thank you so much!