

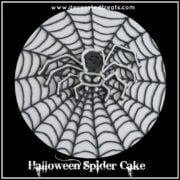
Here is a Halloween spider cake I made recently. It’s a fairly easy cake, made using fondant and royal icing.
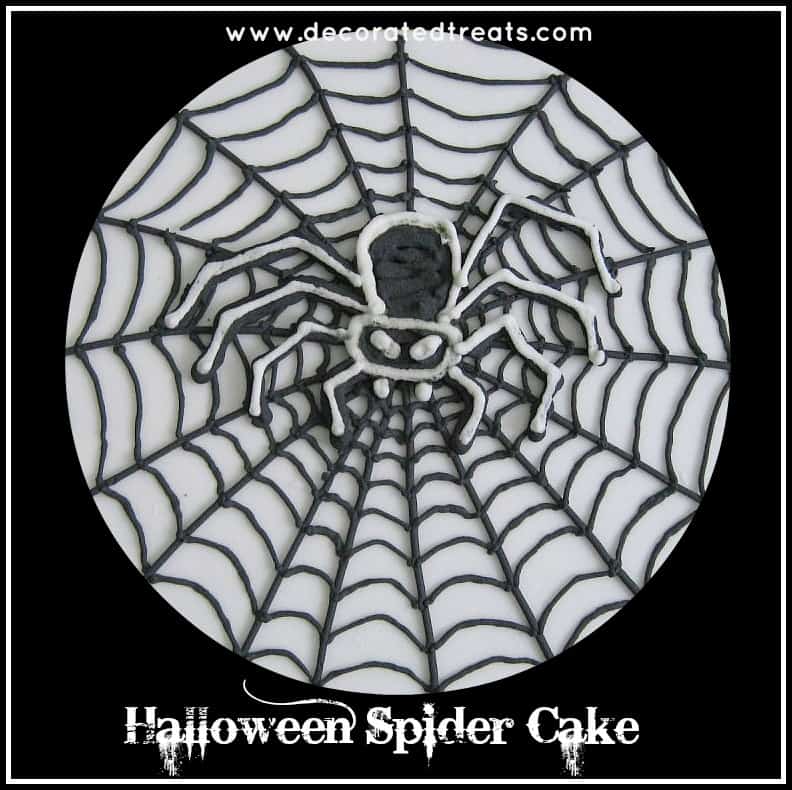
The main theme for the cake is spider. I wanted to come up with a spider design on the cake and wanted the spider to be large enough so that it leaves that creepy feel on whoever looks at it. After all, I cannot think of anyone who would think spiders are appetizing, so having a giant sized one on a cake should do the trick for Halloween.
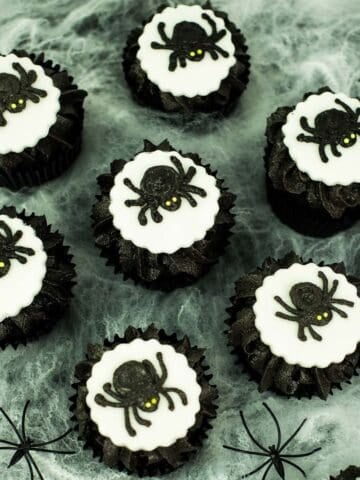
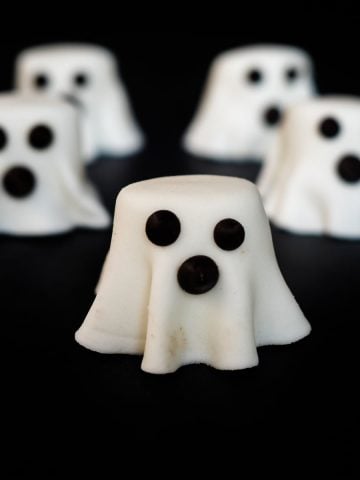
If you like this tutorial, you should also check out my other Halloween treats like these marshmallow ghosts, Halloween cupcakes and witches' brew Halloween cake jars.
🧾Supplies Required:
- 1 square cake – I used an 8-inch square cake. I baked the cake using my chocolate cake recipe.
- Buttercream - The cake itself was layered and sandwiched with chocolate buttercream and covered in white fondant.
- Fondant icing to cover the cake. I used white fondant here, and it was made using my fondant recipe.
- Royal icing in 2 colors, i.e. black and white
- Wilton tip 3
- Halloween spider web template and spider image template – These are the most important things for the cake. I had both templates prepared separately. In fact, I drew them freehand.
👩🍳How to Make
Step 1: Prepare the Spider and Spider Web Template
To draw the spider web template, I traced my 8-inch square cake pan onto a piece of white paper so that I had an idea of how big the web should be. I then drew the spider web lines, starting from the center towards the outer edges of the template.
Next was the spider. Also freehand, I drew the Halloween spider onto another piece of paper. I only drew the body because the plan was to pipe the Halloween spider separately on parchment paper, and once it has dried, to peel it off the paper and place it on the cake.
Since the spider’s legs were thin and long, it would be almost impossible to peel them off the parchment paper without them breaking, so I thought it would be easier to pipe the legs directly onto the cake once I transfer the body of the Halloween spider onto the cake. So once I had the body image ready, I traced it onto parchment paper.
Step 2: Pipe the Spider and the Web
I started off with the Halloween spider on the cake. Using black royal icing, I piped the spider’s body outline following the pattern I traced on the parchment paper. In doing this, I turned the parchment paper over so that the pencil marks do not get transferred to the icing.
Once I had the outline, I filled the head and body with royal icing. I did not think the icing but used it to pipe horizontal lines for both the head and body. I made sure the lines are closely piped and there is no gap in between. And then I left it aside to dry and set. Once dried, I peeled it off the paper and set it aside for the cake.
Next, as usual, I baked the cake, cooled, layered, and covered it in white fondant. Once the cake was ready with fondant, I traced the spider web onto the cake. I used my sugar craft knife to cut through the design template and in the process, mark the lines on the fondant. I then used black royal icing and piped along the lines to complete the spider web.
Step 3: Attach the Royal Icing Spider to the Cake
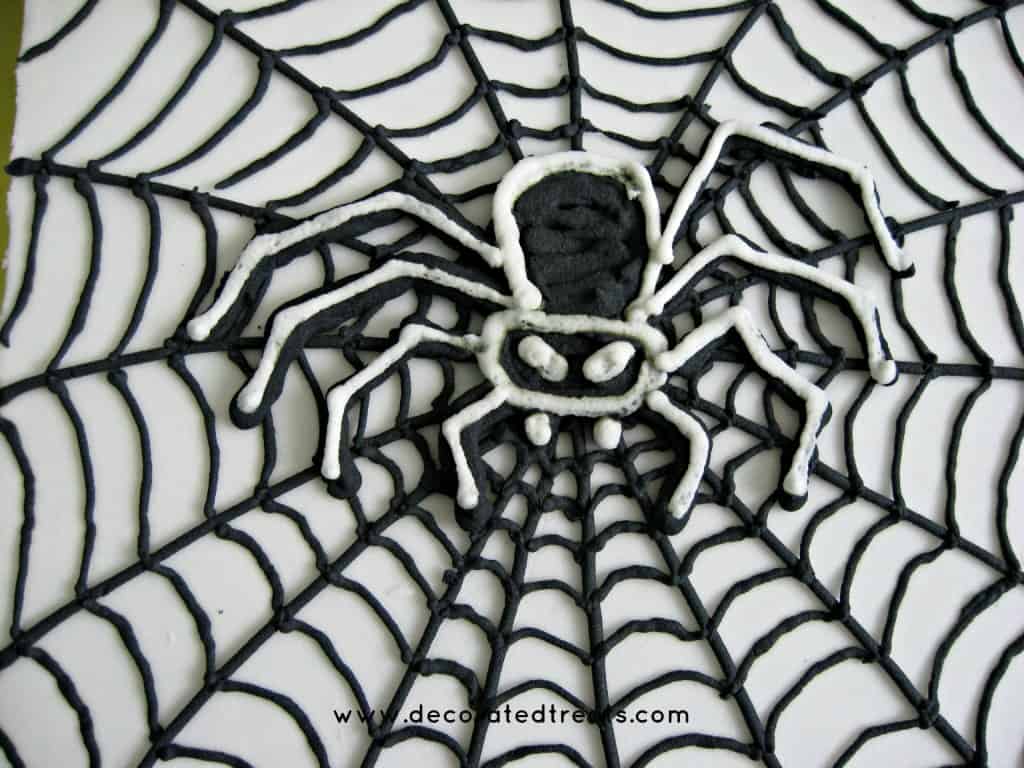
Once that was done, I took the spider (just the head and body) and placed it right in the middle of the web. I secured it to the cake with some black royal icing and then piped the spider’s legs, 4 on each side. I let the black icing to set.
And then I used white royal icing to pipe white lines along the outline of the spider including its legs. I also used the white icing for the spider's eyes and fangs.
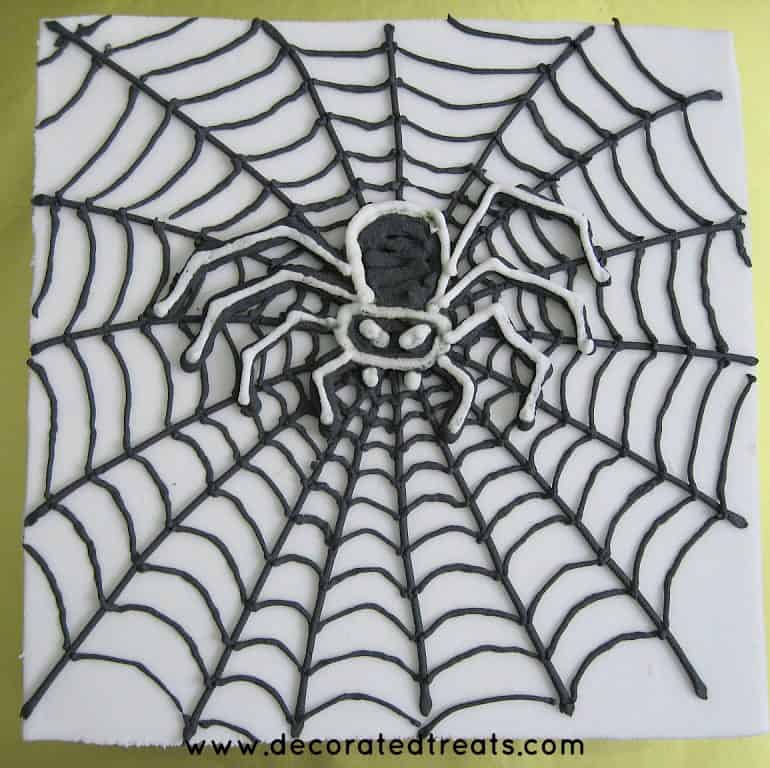
And that’s it. The Halloween spider cake is done!
Note: There is an option of piping the entire Halloween spider directly onto the cake without transferring it from a parchment paper.

Leave a Reply